
Table of Contents:
Why Brush Pens?
I get asked a lot why I prefer to use Arteza Real Brush Pens to create my illustrations instead of paints from tubes or pans. I still use traditional watercolors for my work, but more and more I find myself turning to them for so many reasons. First, let’s start with how easy they are to use. I get the same flow and strokes as I get with a paintbrush, but with all the control of a pen. Since the paint is in the barrel, I don’t have to stop for more paint, but can create continuously.
Second of all, I can take them anywhere I want to paint without having to worry about having a supply of water or a separate water cup that could tip over and spill. That’s also the reason I use the Arteza Real Brush Pens Travel Bundle. This easy-to-carry bag holds tons of pens all organized and stable in separate, tight stretch bands.
Third, just like watercolors, I use these pens with a palette, thin them for transparent washes, and layer them on top of each other. It’s actually easier to get a variant of colors just by applying a little or a lot of pressure to the pen.
The Best Paper to Use
I use thicker paper that can take being wet without warping. I always try to use paper that’s at least 140lb/300 gsm, like the sheets in the Arteza Watercolor Pad. It’s also a handy pad when I draw and paint away from my studio since the sheets are glue-bound, so I know they won’t fall out and will stay protected once I close the cover. They have a slight texture, which works well for drier techniques.
16 Real Brush Pen (RBP) Techniques
The ink from the RBP reacts differently on dry paper than it does on wet paper. The following methods are labeled either dry or wet because I am referring to whether the paper or the drawing is wet or dry, not the brush pen.
List of Supplies
Dry Techniques

RBP on Dry Paper
When I first started using brush pens, this is the way I used them the most. It’s as simple as choosing a color and filling in an area. I found that if I made one stroke at a time, I would get a solid block of color with a hint of shading.
Wet Brush on Dry Paper
If you’re used to working with traditional watercolors, you’ll be comfortable with this. Fill in an area on dry paper. Next, lightly dip the RBP into some water, but just for a few seconds, and paint over the area again. You’ll notice a change in the shade of the color. I use this method all the time for making gradients and creating smooth transitions.
One-Color Layering
Also called glazing, this involves coloring in an area and waiting for it to dry, then adding another layer of the same color to get a deeper shade. I do this when I want to create shadows to give my subjects more volume and depth.
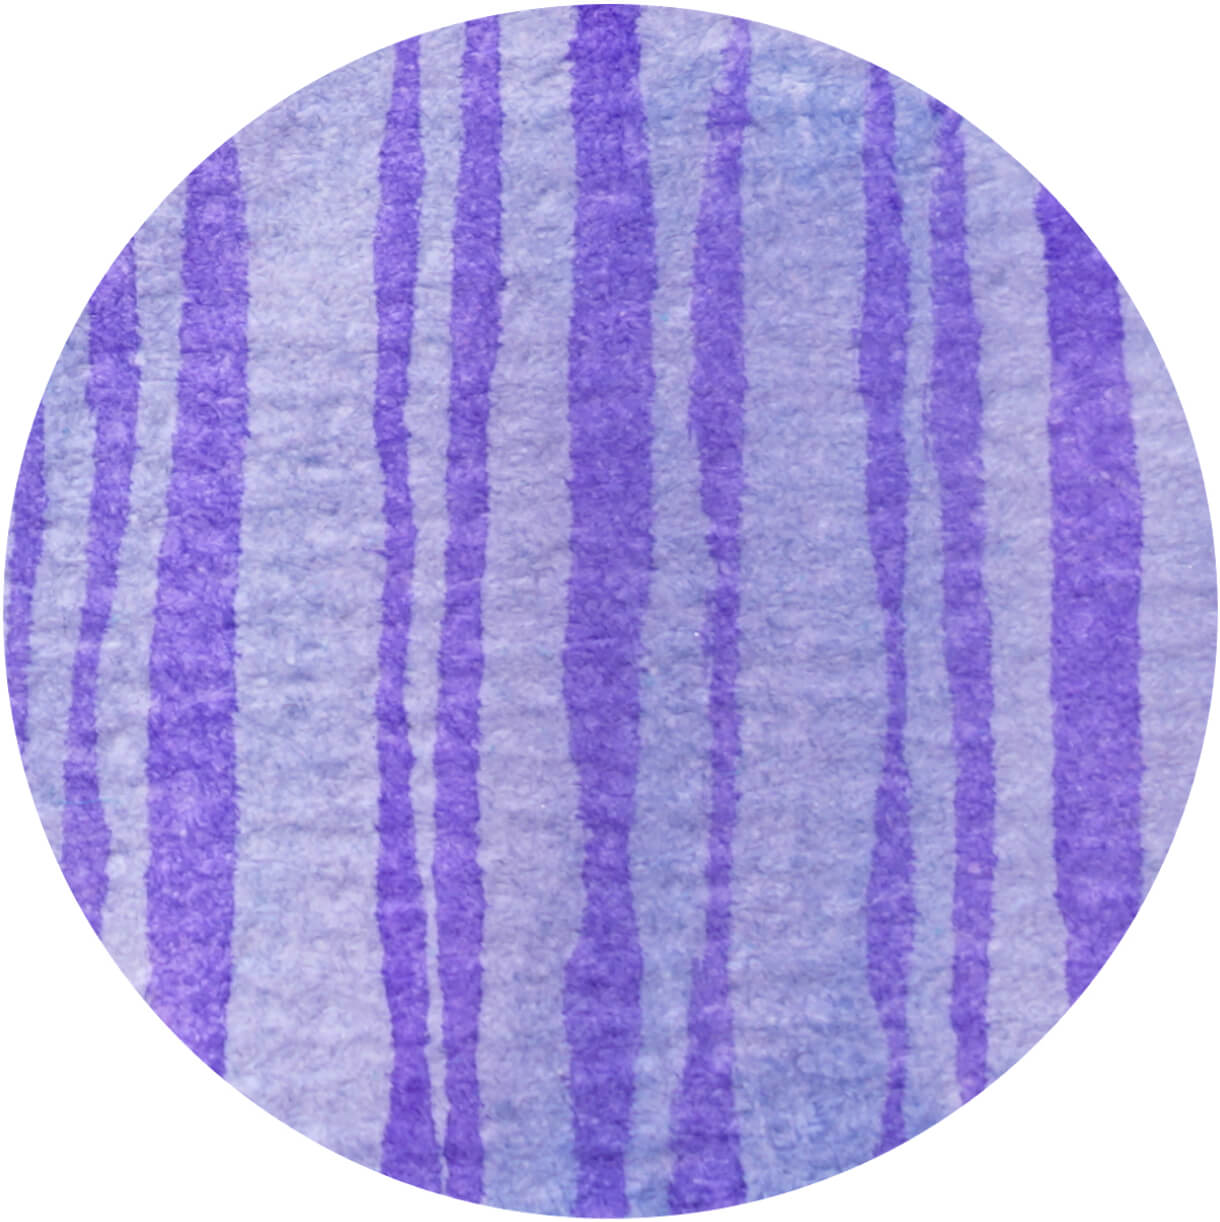
Overlapping Patterns
The layering I mentioned above is also a great way to create unique patterns. Once again, I paint an area with one color and let it dry completely. Next, I use another color to draw lines or patterns over it. I love to see the new colors as the two separate shades overlap. That translucent quality is another thing I really love about RBPs!
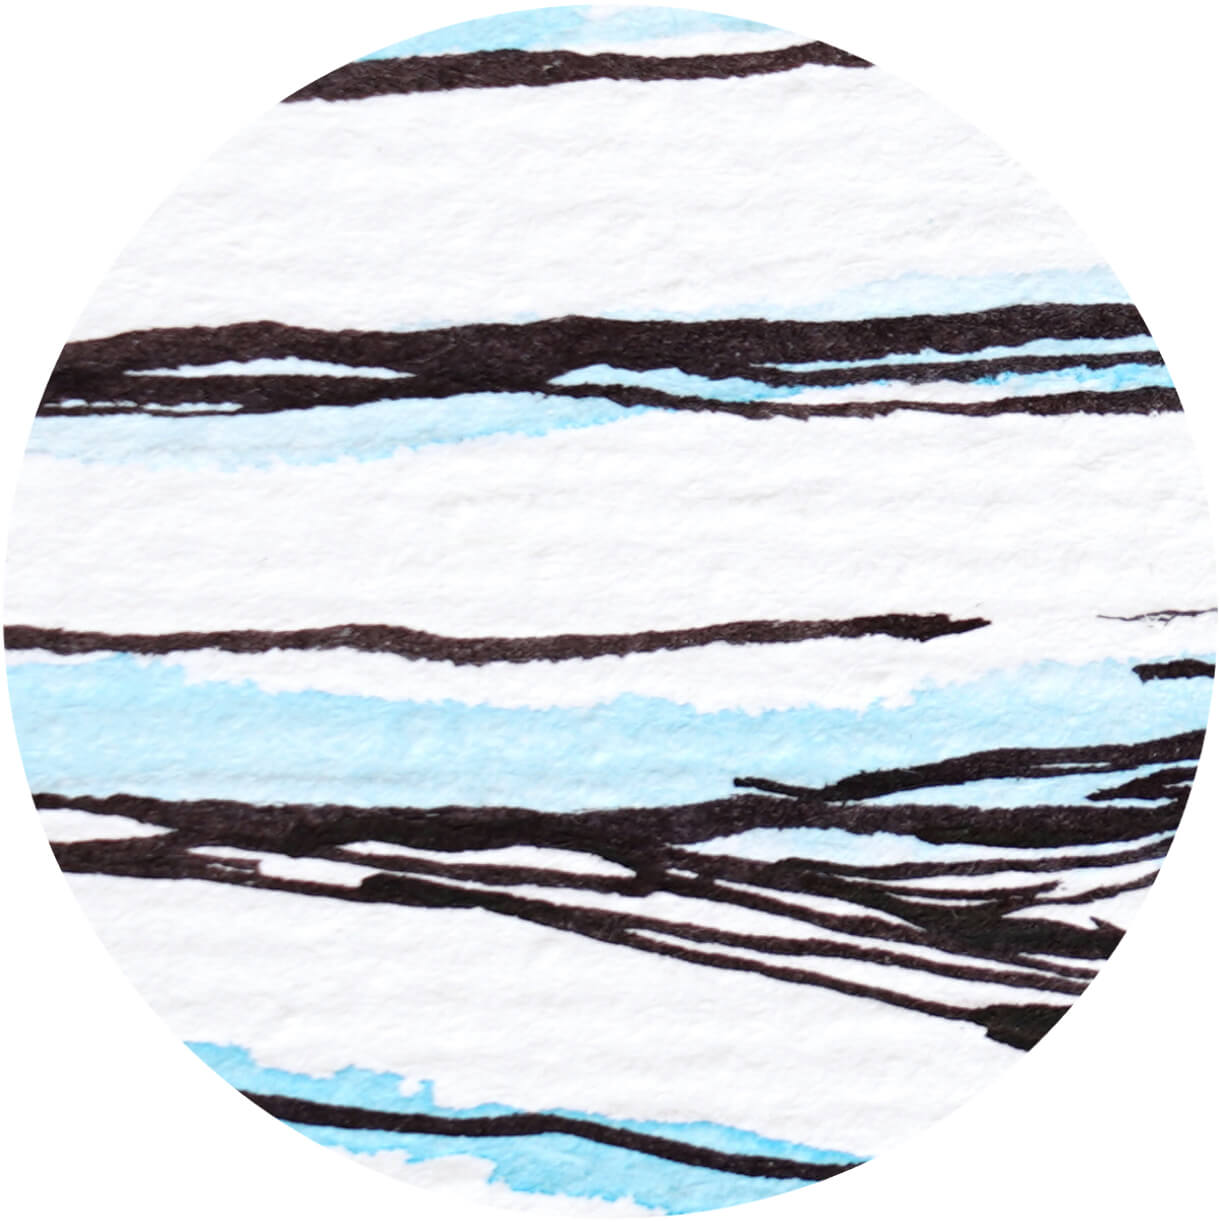
Lines
These pens are also wonderful for making lines of varying widths. The tip comes to a very fine point, so I can create a nice straight and even line when I want to outline something, write, or add interesting details. I love how easy it is to get either skinny or fat lines just by adjusting the amount of pressure I apply to the pen.
Wet Techniques
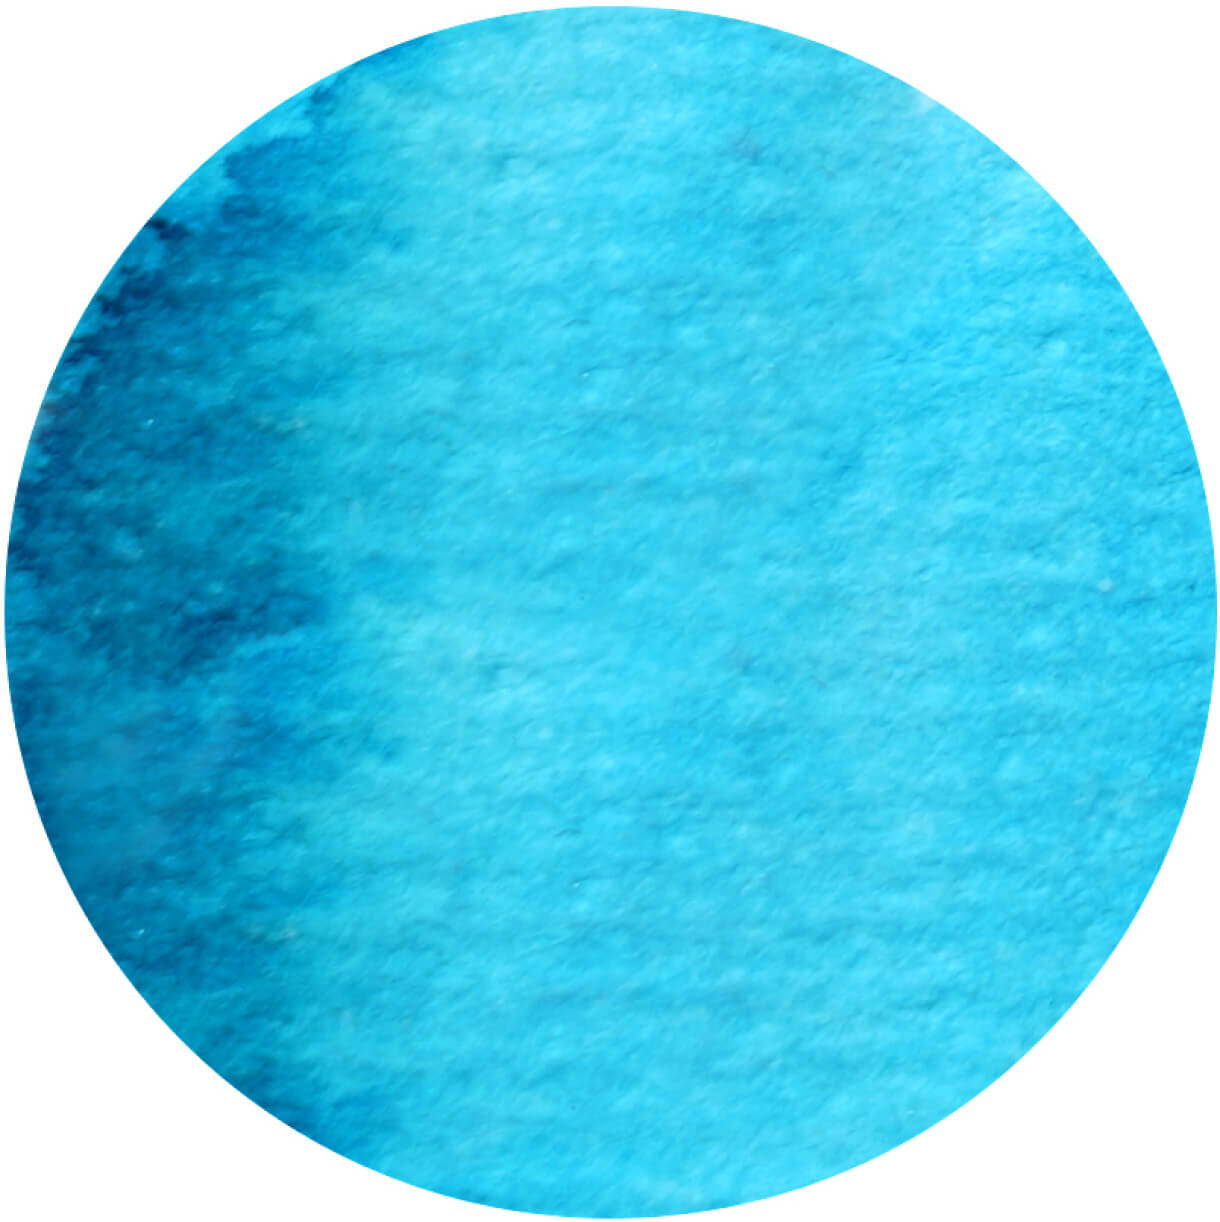
RBP on Wet Paper
It’s fascinating to see what happens when I wet the paper first, before using my RBPs. It reacts just like regular watercolor paint! I have found that when using wet paper, my ink will begin to fade into the water after a while. This is because the water on the paper absorbs the watery pigment of the pen. To bring it back to its original brightness, I just dab it on a palette or scrap of dry paper and I’m good to go!
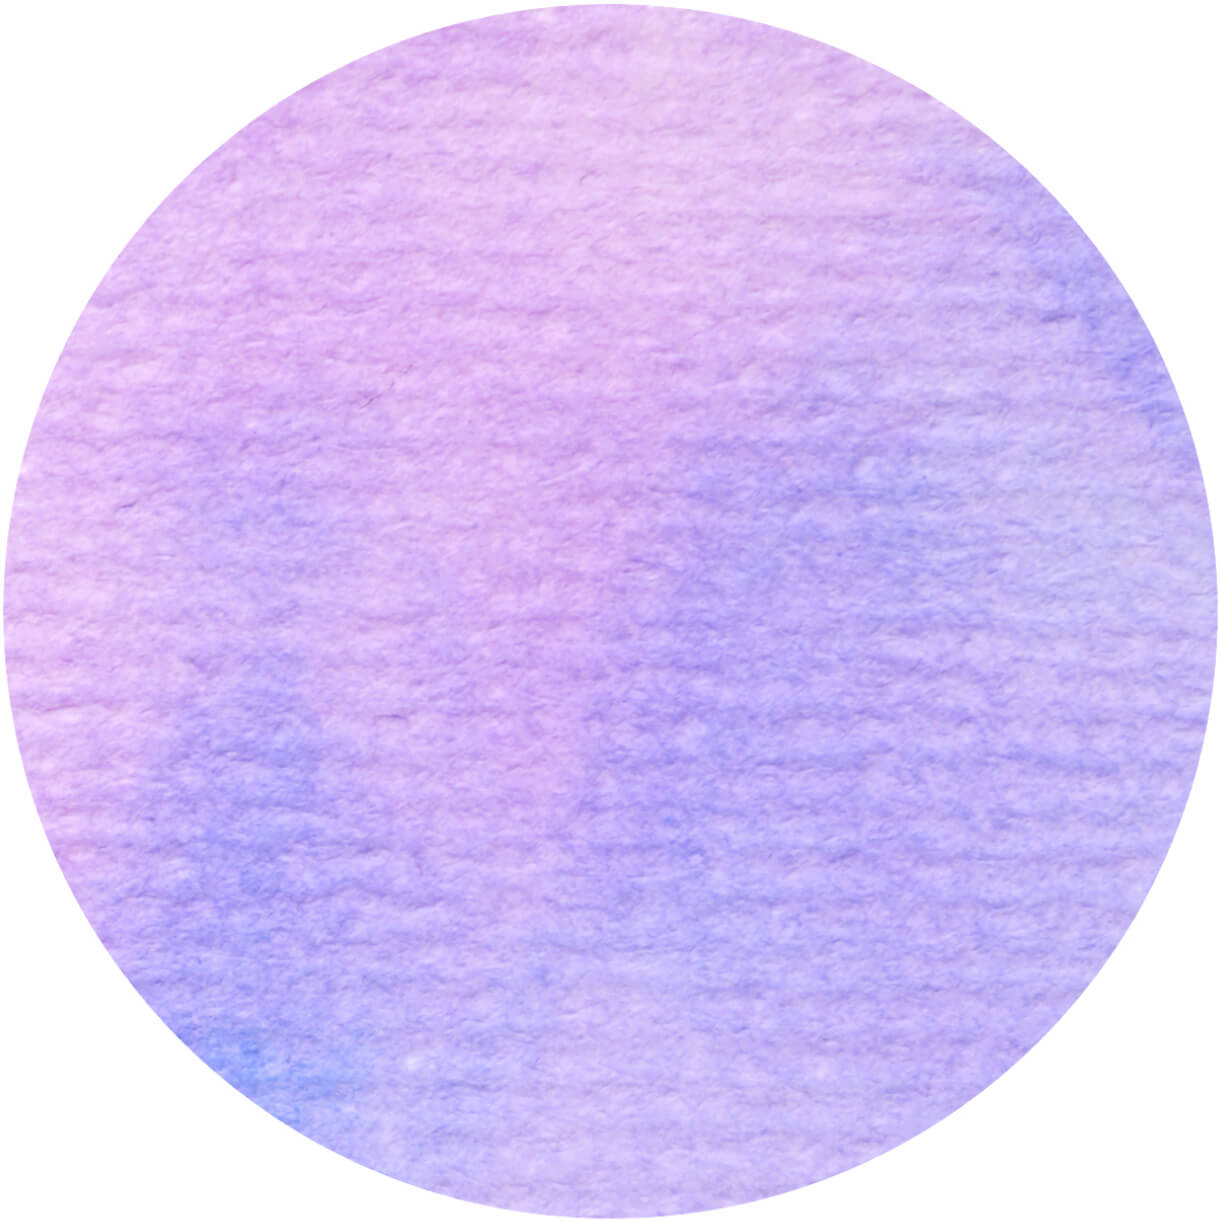
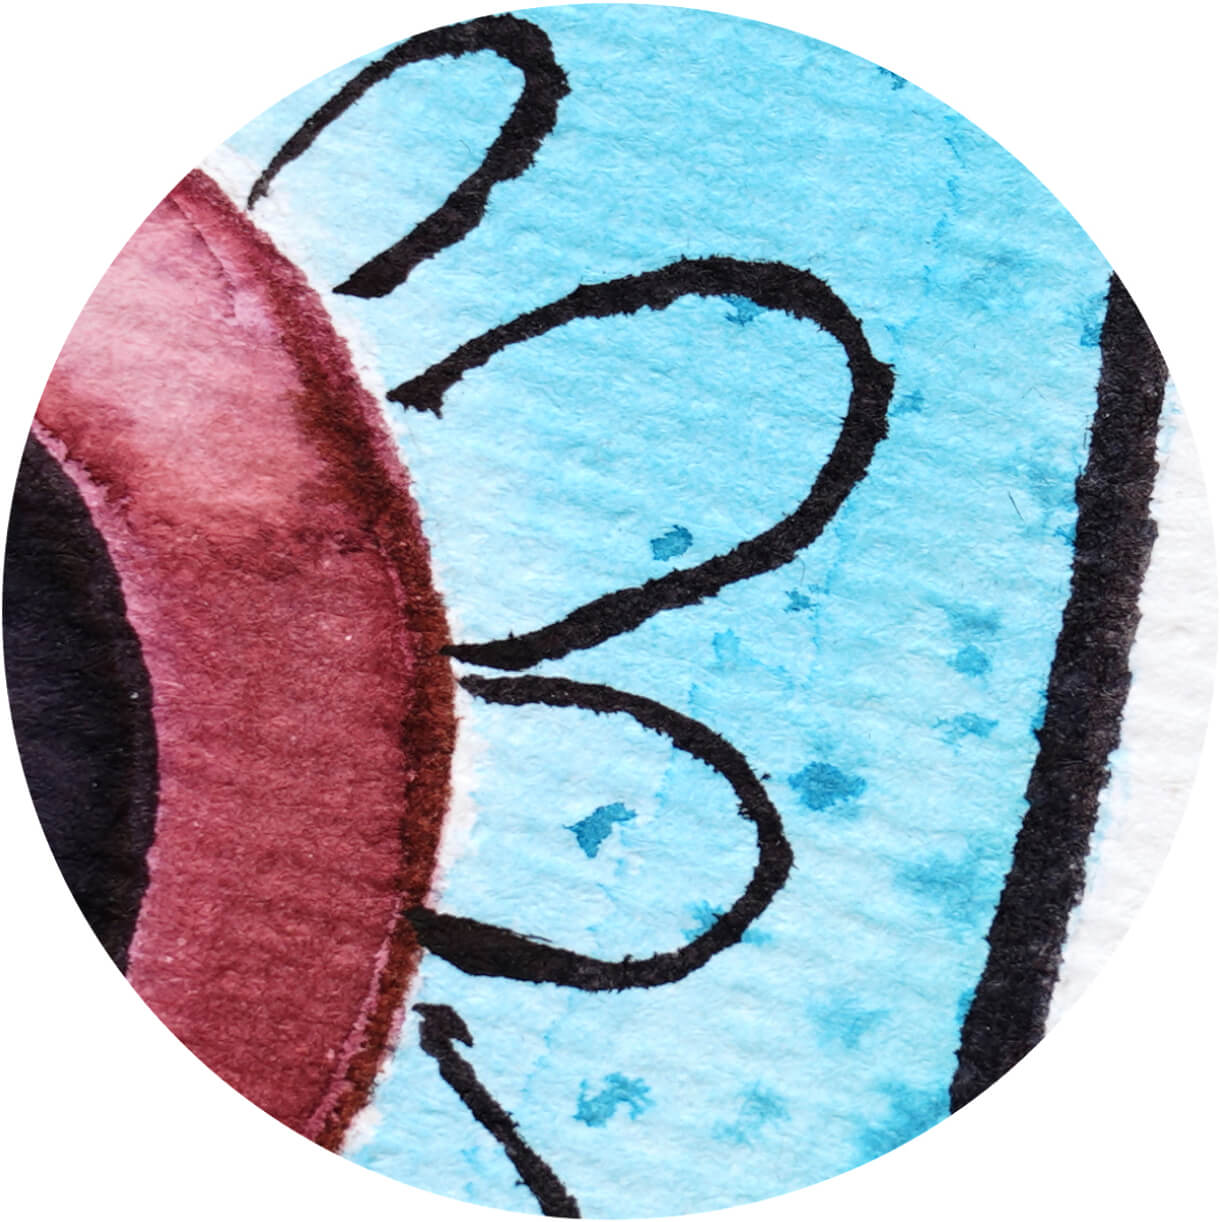
Mixing on Wet Paper
The beauty of using wet paper is that it almost acts like a palette to help me mix colors. I can place pink on the moist paper and then add blue to it and it mixes to a beautiful violet, right on the paper.
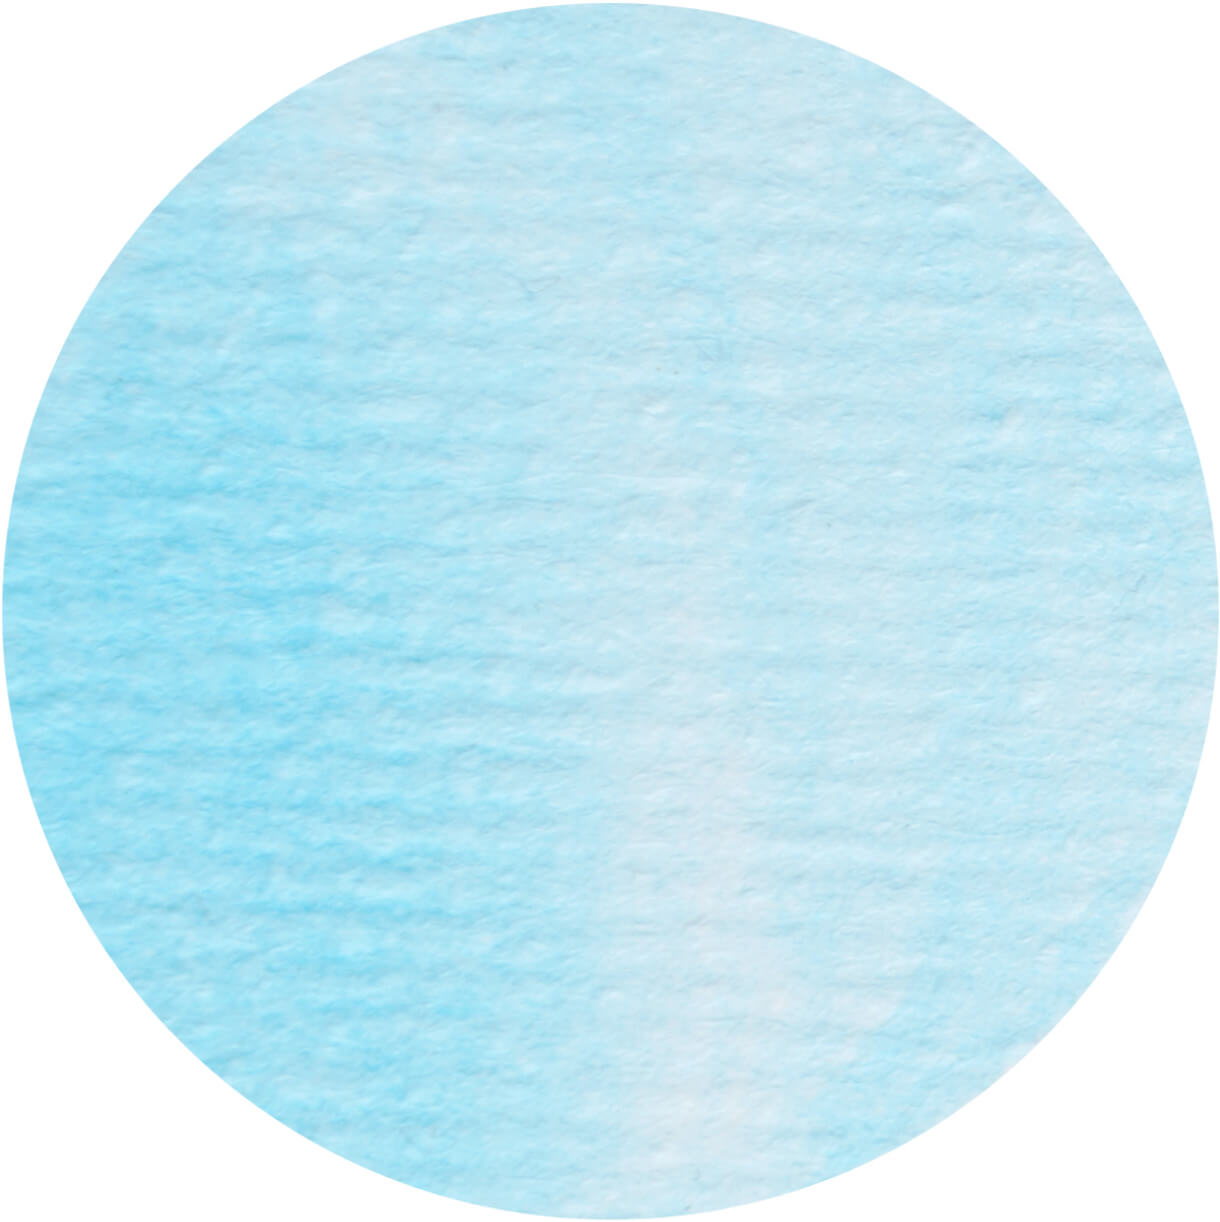
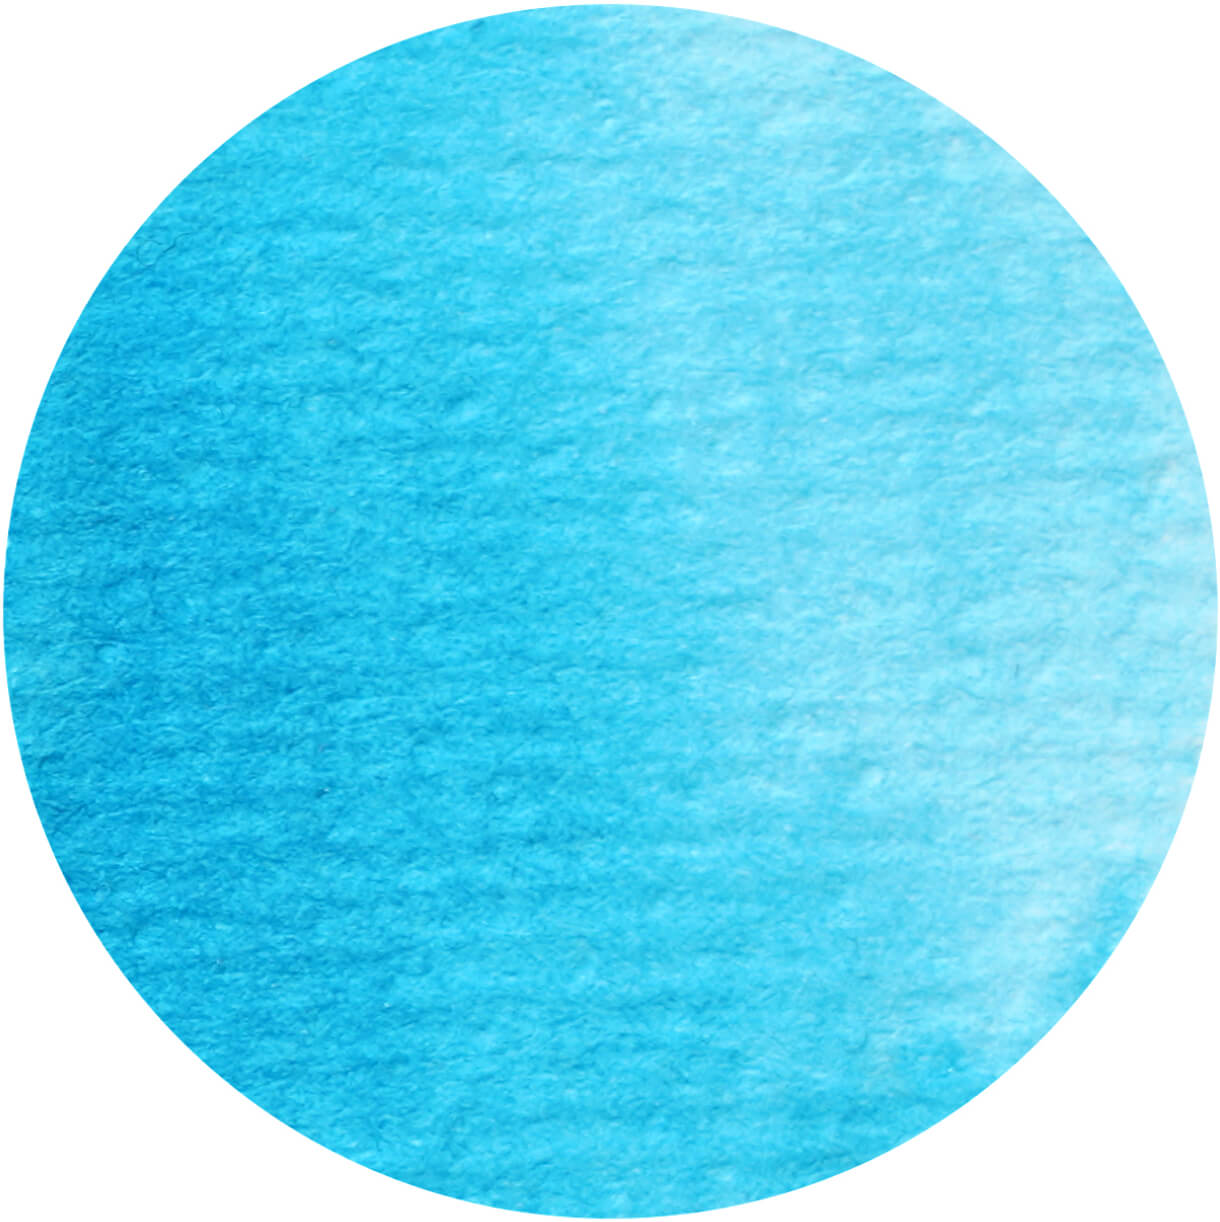
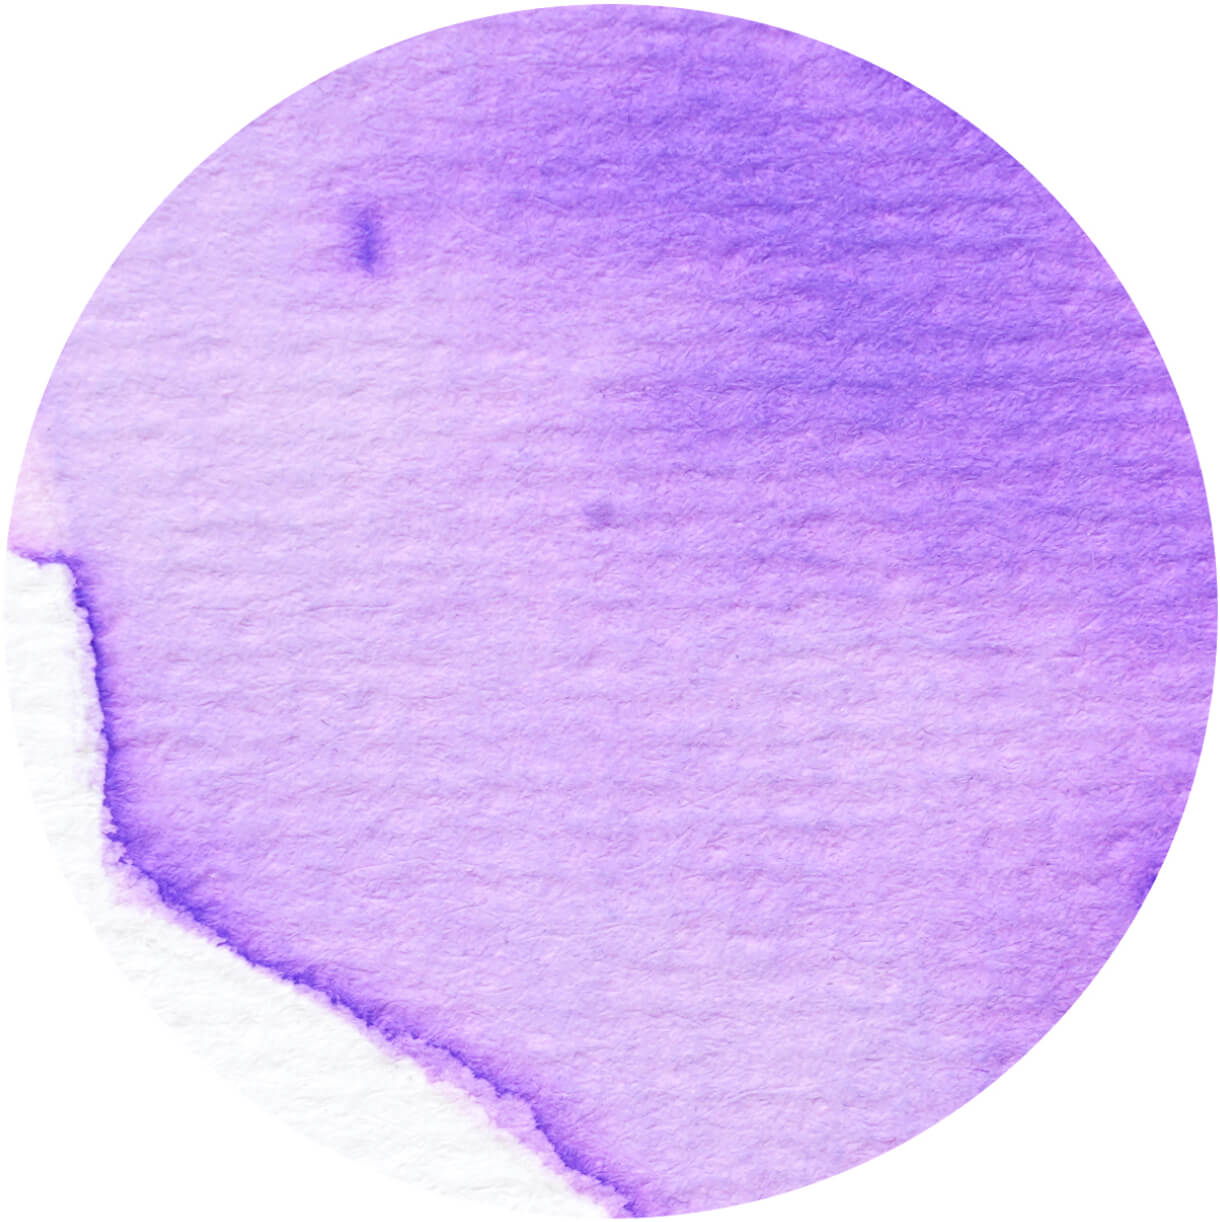
One-Tone Gradient
This involves both wet and dry paper. First, I wet the paper with clean water, but I leave a small dry section at either the bottom or top. I start filling in the dry area first and gradually move into the wet one, which makes a soft, even gradient from dark to light.
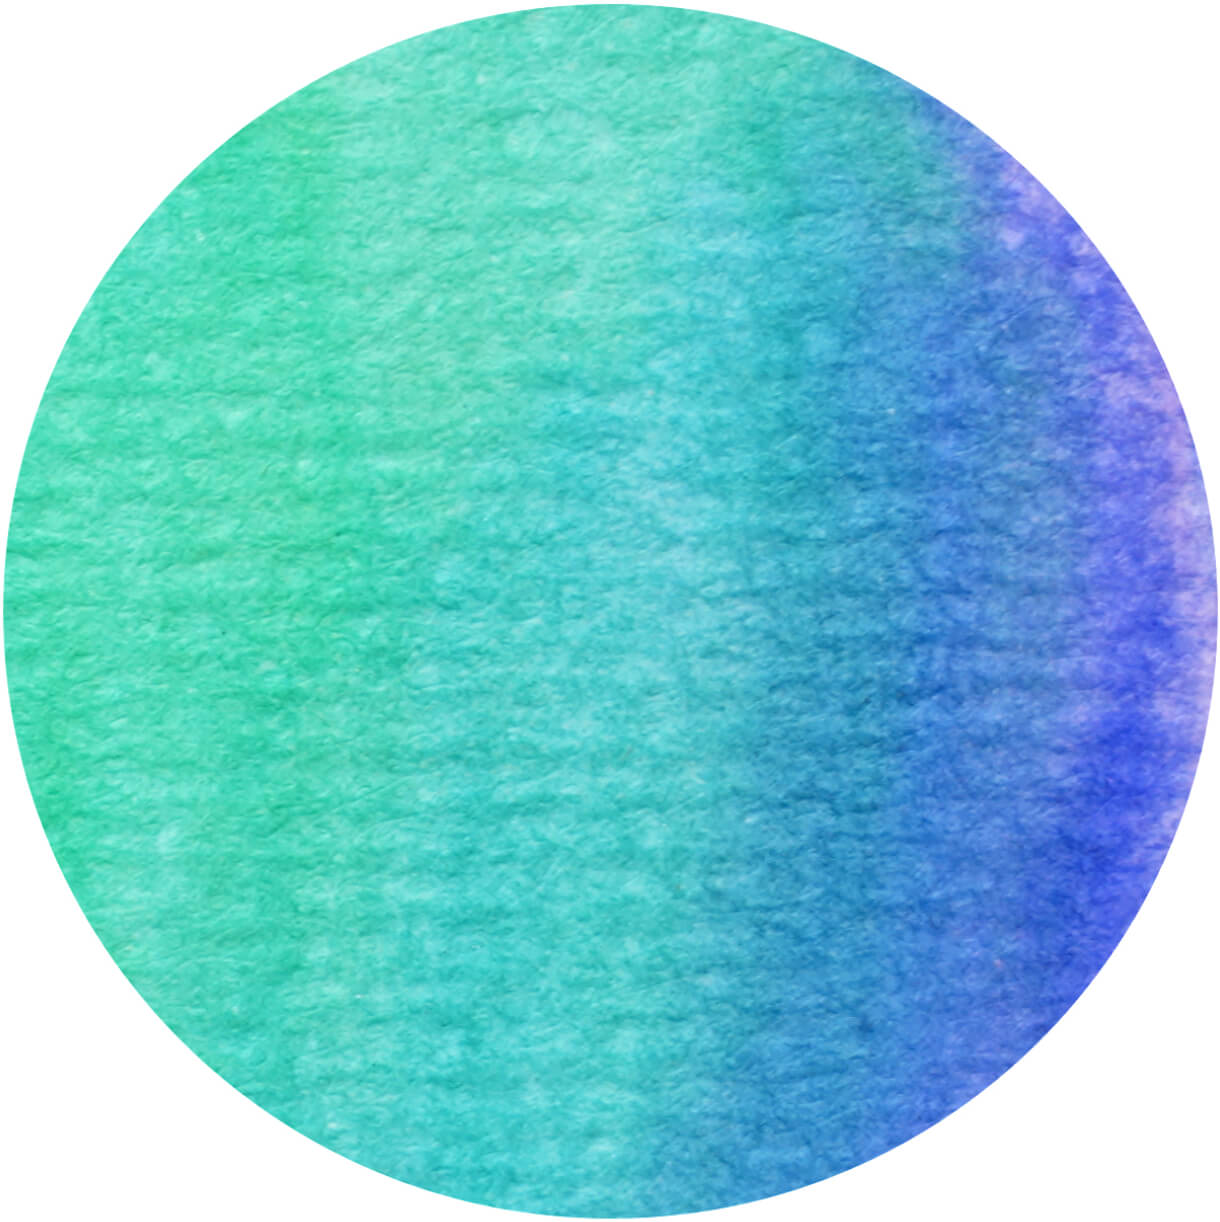
Two-Tone Gradient
This is closely related to the one-color gradient, only this time, I paint one color on one side of an area and a different color on the other side. As I apply the second color I move it towards the edge of the first color until they meet. This is where I blend the two together that form the gradient.
Creating “Water Blooms”
I first stumbled upon this as a “happy accident” and now I use it all the time to give atmosphere to my paintings. I apply the ink with the RBP across my sheet. Before it dries completely, I squeeze just a drop of water from the water brush onto the paper and then watch how it suddenly “blooms” into this lovely little lacy spot. You have to do this when the paint is almost dry, but still a little damp. If the paper’s too wet, the drop of water will just become absorbed into the existing moisture. If the paint’s too dry, it won’t bloom at all.
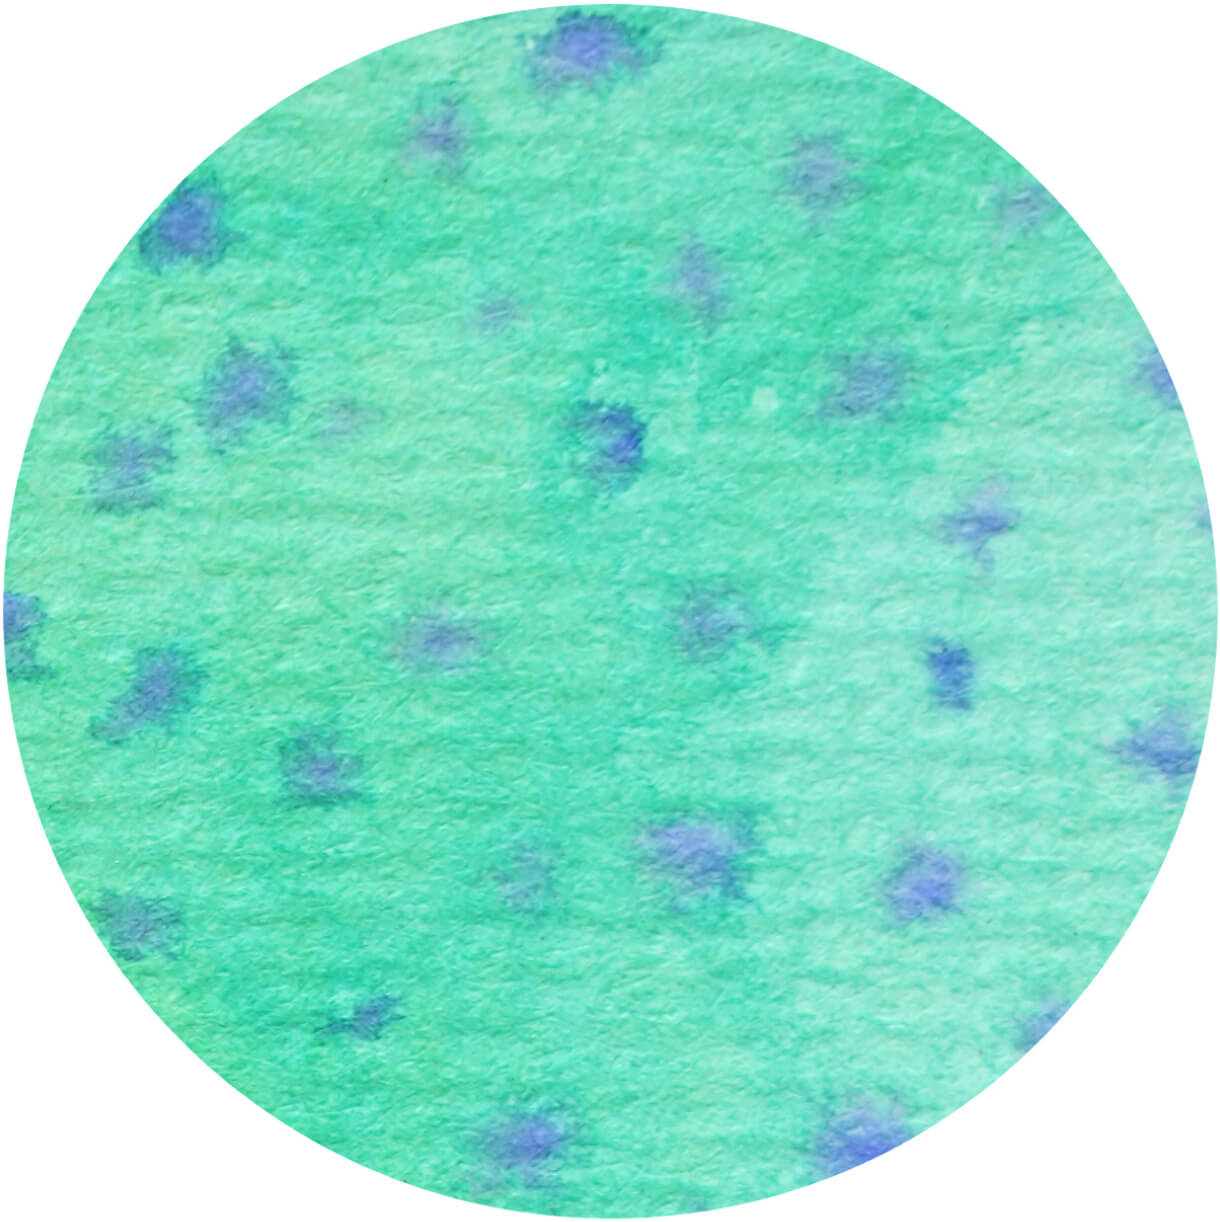
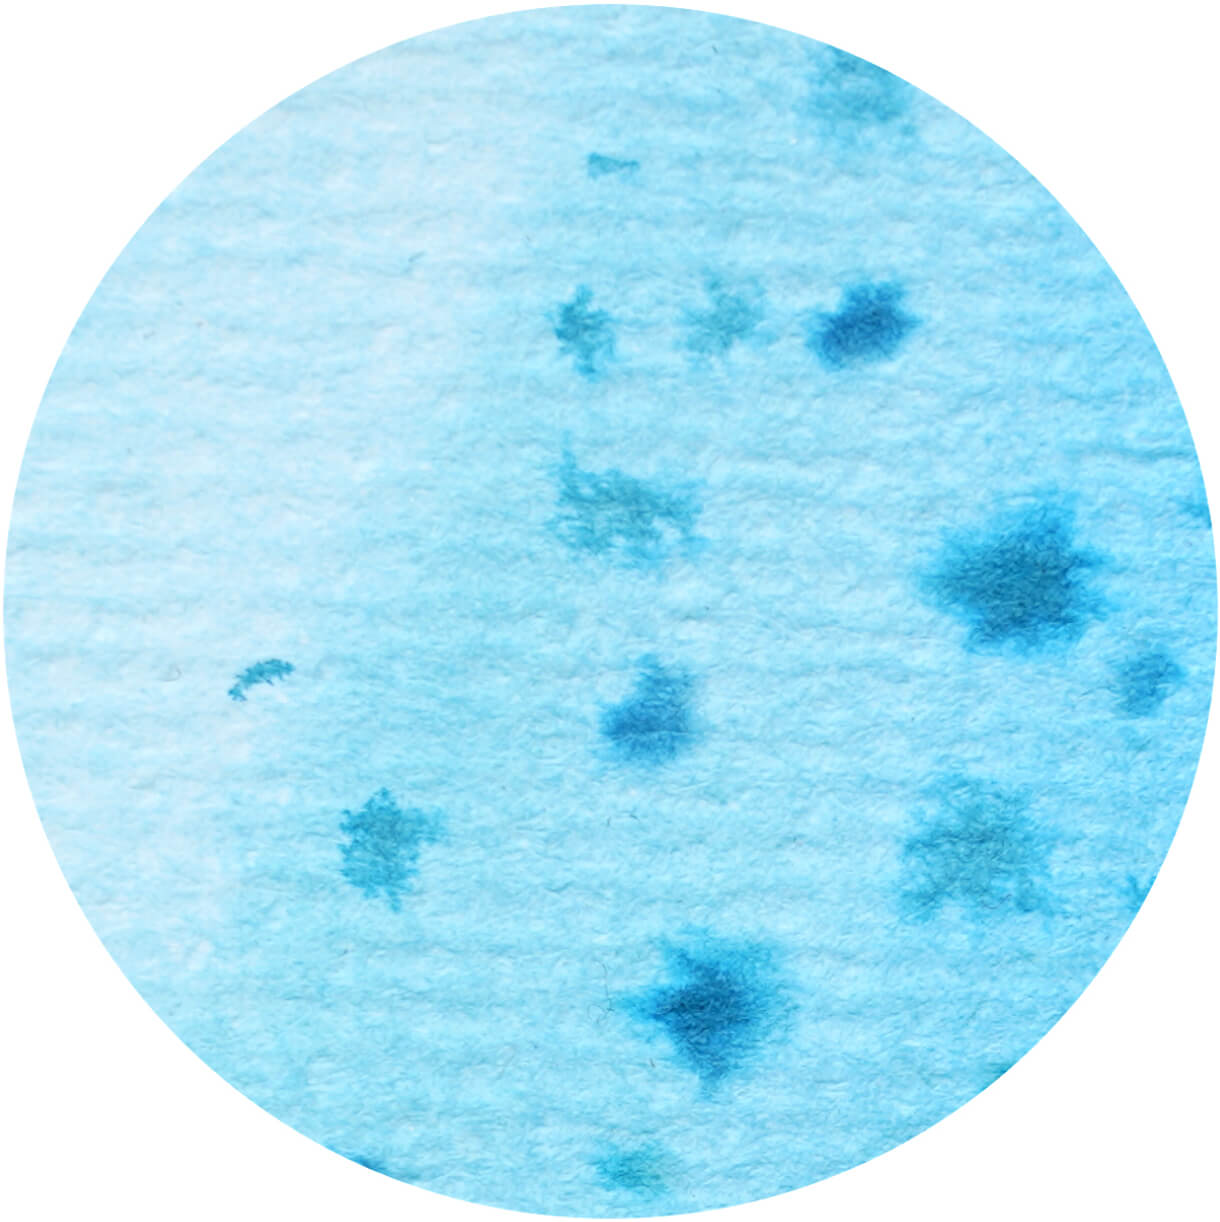
Mini Stars
You can make tiny star shapes in the same way I did the mini blooms. This time I use a light shade on my moistened paper. Once again, the wetness of the paper is a key factor in whether this works or not. With the tip of the pen, I randomly dot my page with a darker or contrasting hue. It’s fun to see the little colored dots start to slightly spread open, forming the stars.
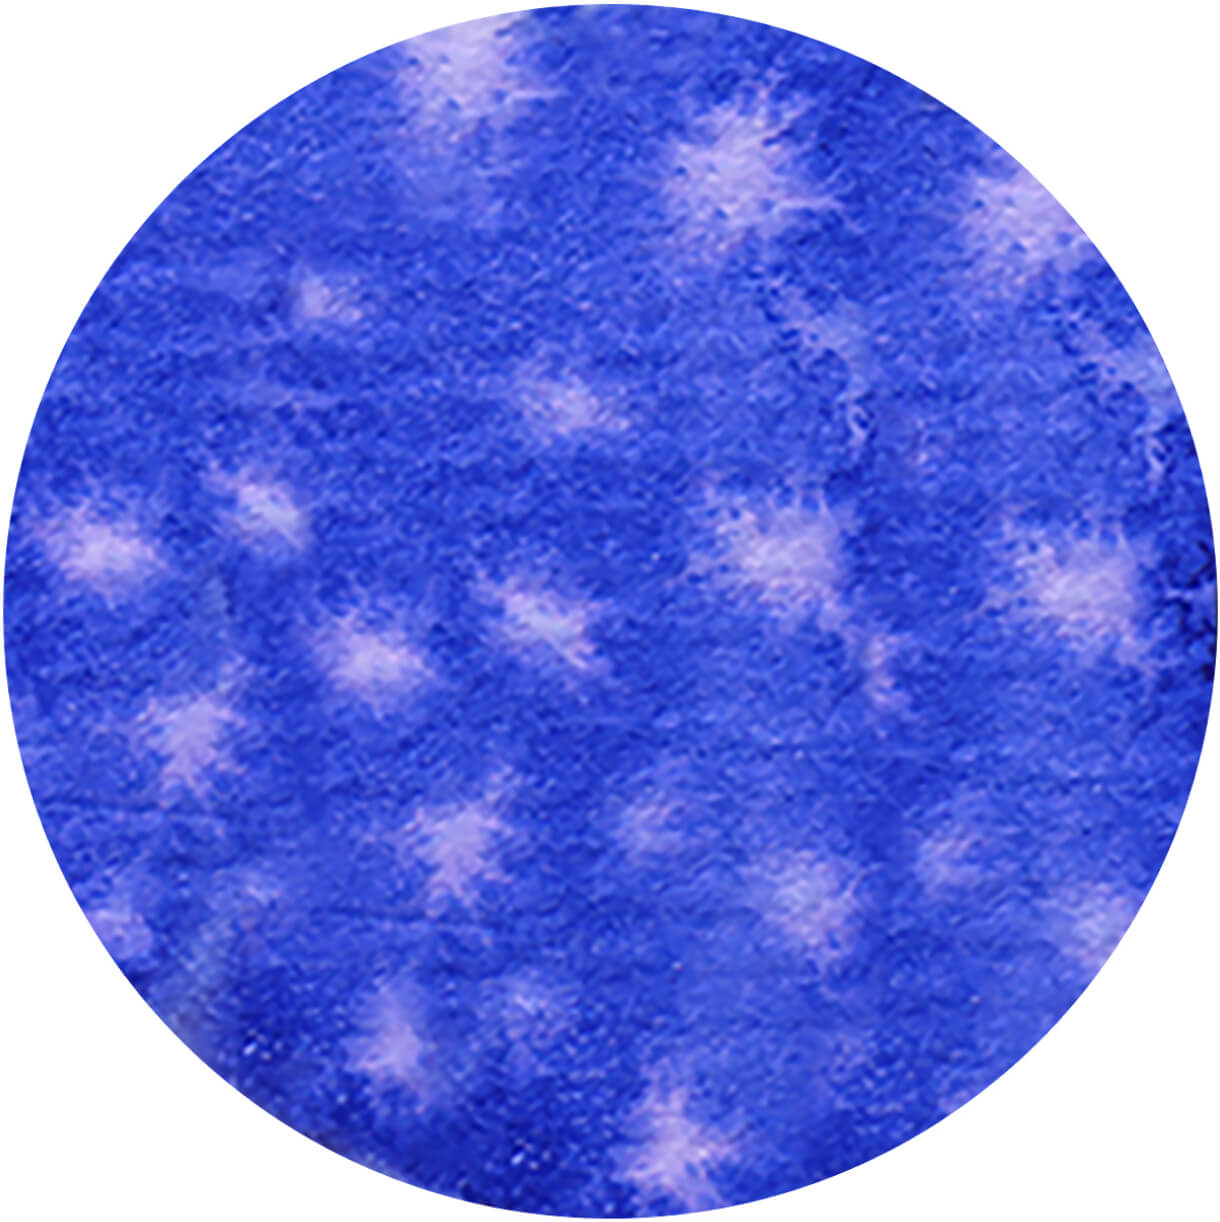
Dots
This is the same method as the one I’ve mentioned already, only this time I use a dark color on moist paper, then wait until the paper dries just a little. I dip my pen into water and then dab tiny, watery dots on the area. Once again, you’ll see little stars appear as the water spreads.
Using the Water Brush
As I’ve mentioned above, I frequently use the water brush to enhance my paintings. It’s an incredibly versatile tool that can be filled with clean water or with colors I’ve already mixed. I use it for blurring hard edges and blending colors together, as well as to create mid-tones.
Creating Visual Textures
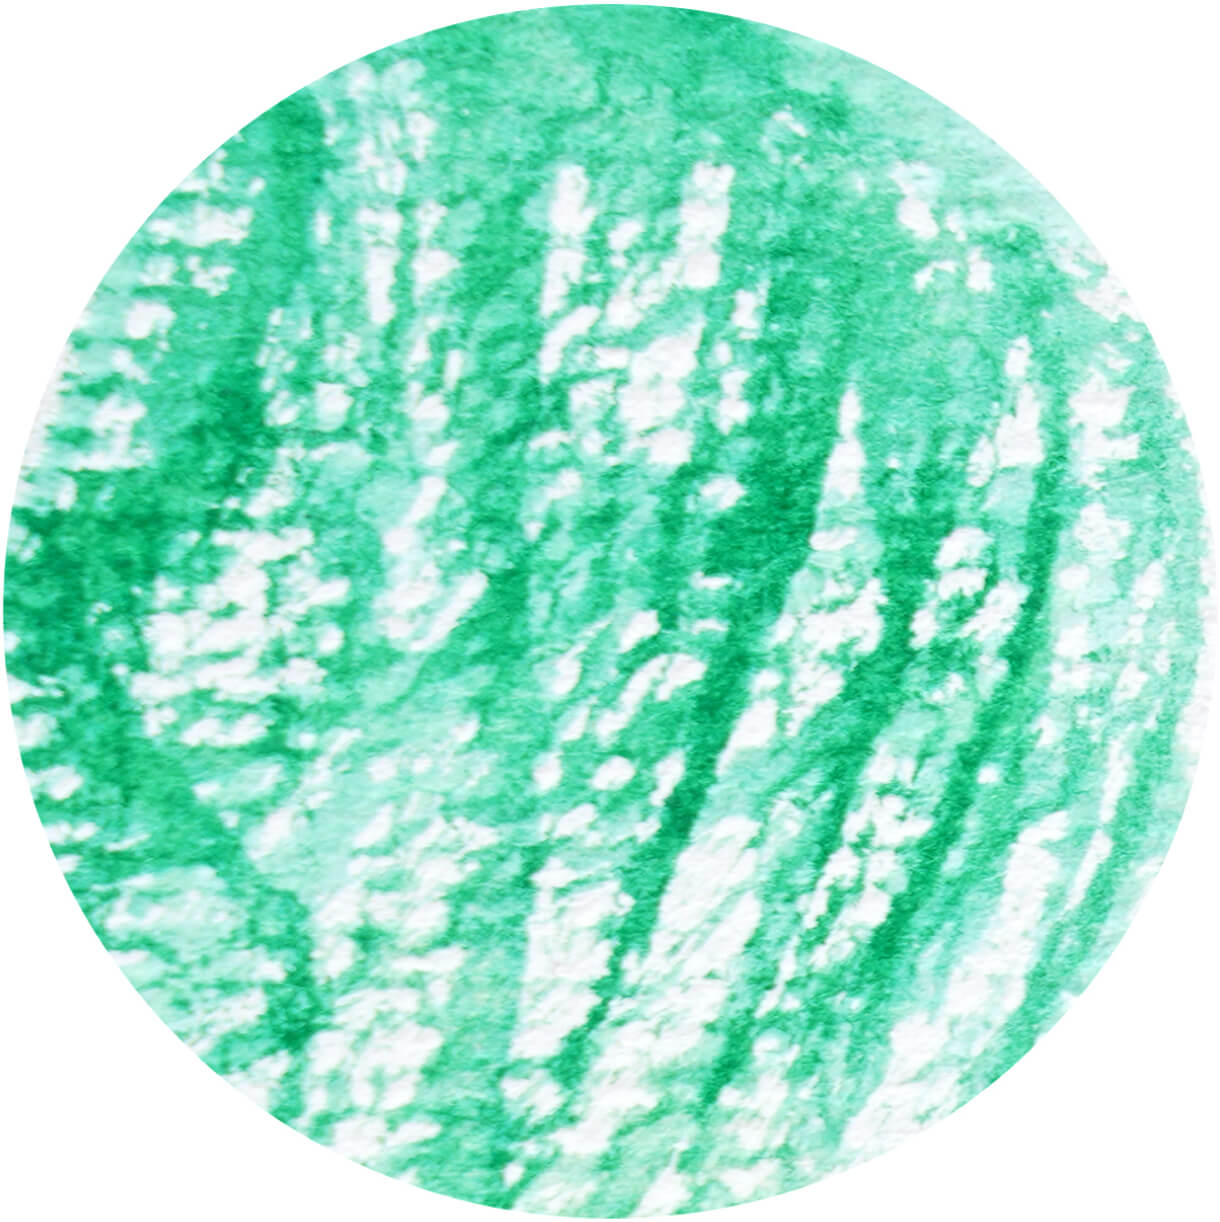
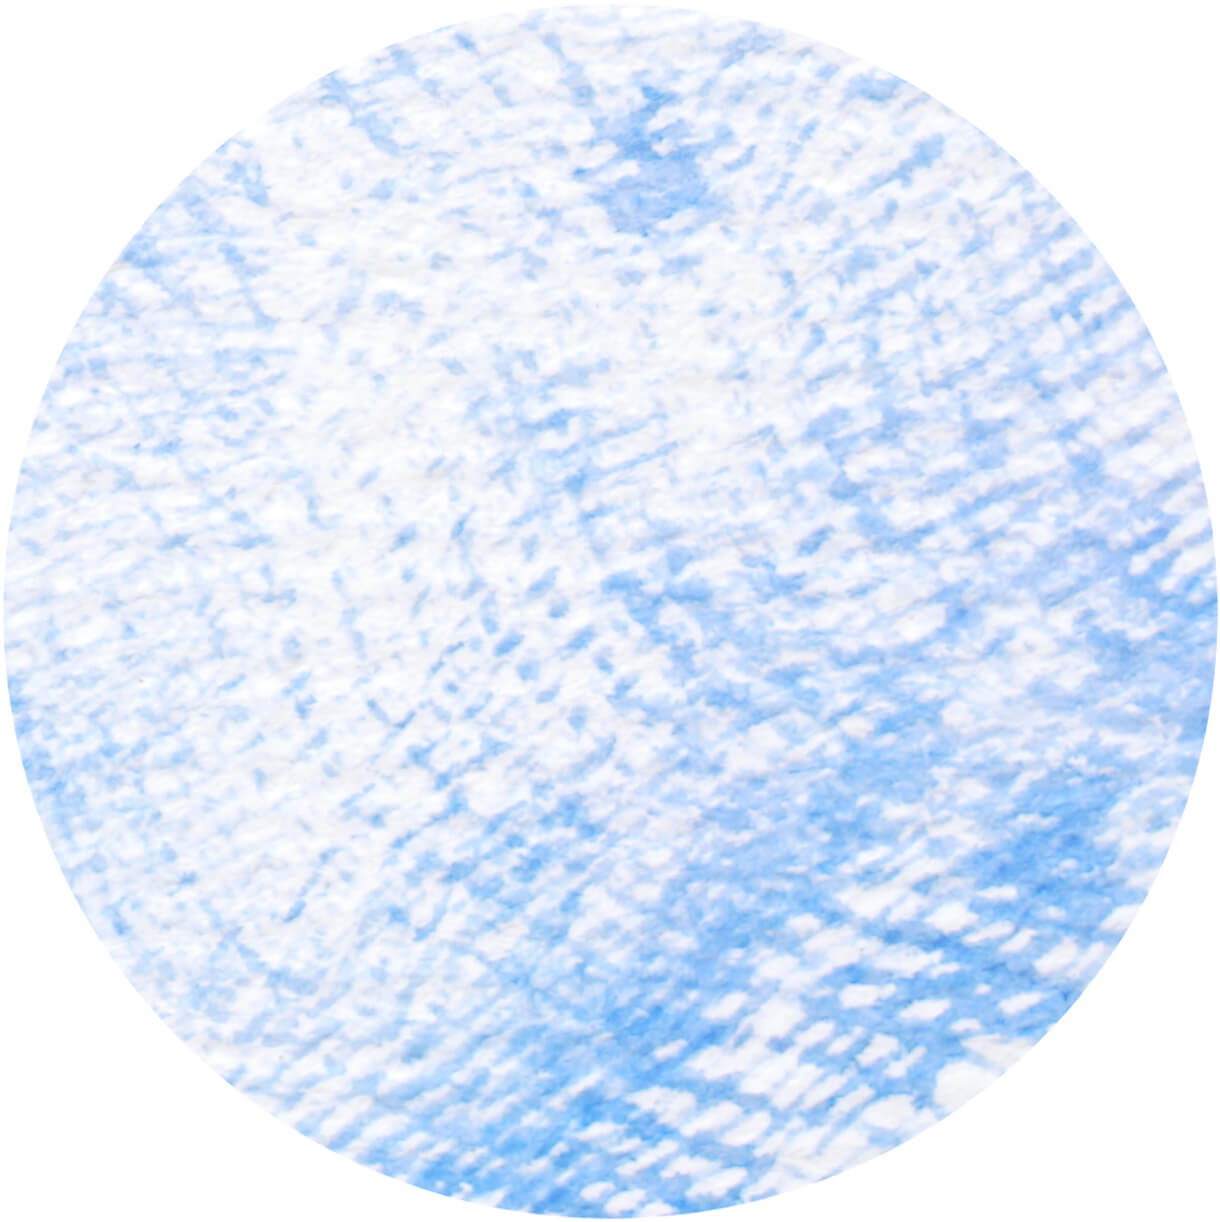
Dry Brush
Sometimes I don’t want a smooth swath of color; instead, I want to make something look as though it has a rough surface. To get that look with my Real Brush Pens, I take advantage of the bristles on these brush pens. RBPs have more bristles than many other pens, so all I have to do is flatten it against the paper until the bristles spread apart, and drag it over the paper, making rough and intermittent rugged marks. Doing this only takes a small amount of pressure because I want the paper to show through the ink. By varying the pressure, I can make some areas solid and others transparent.
Using Fabric
I found adding this method really took my art to a new level of interest. I begin by cutting a stencil out of paper. Then, I take a piece of fabric (in this case, some cheesecloth), and cut out a piece slightly larger than my stencil. I lay the stencil on the page. On my palette, I mix the color I want and gently lay the fabric in the paint until it is soaked through. Next, I gently lay the fabric over the stencil and press it down onto the page. When I remove the fabric and the stencil I have a unique design with an unusual texture. To make the design more clear, I sometimes use a paint cap to press the fabric onto the paper.
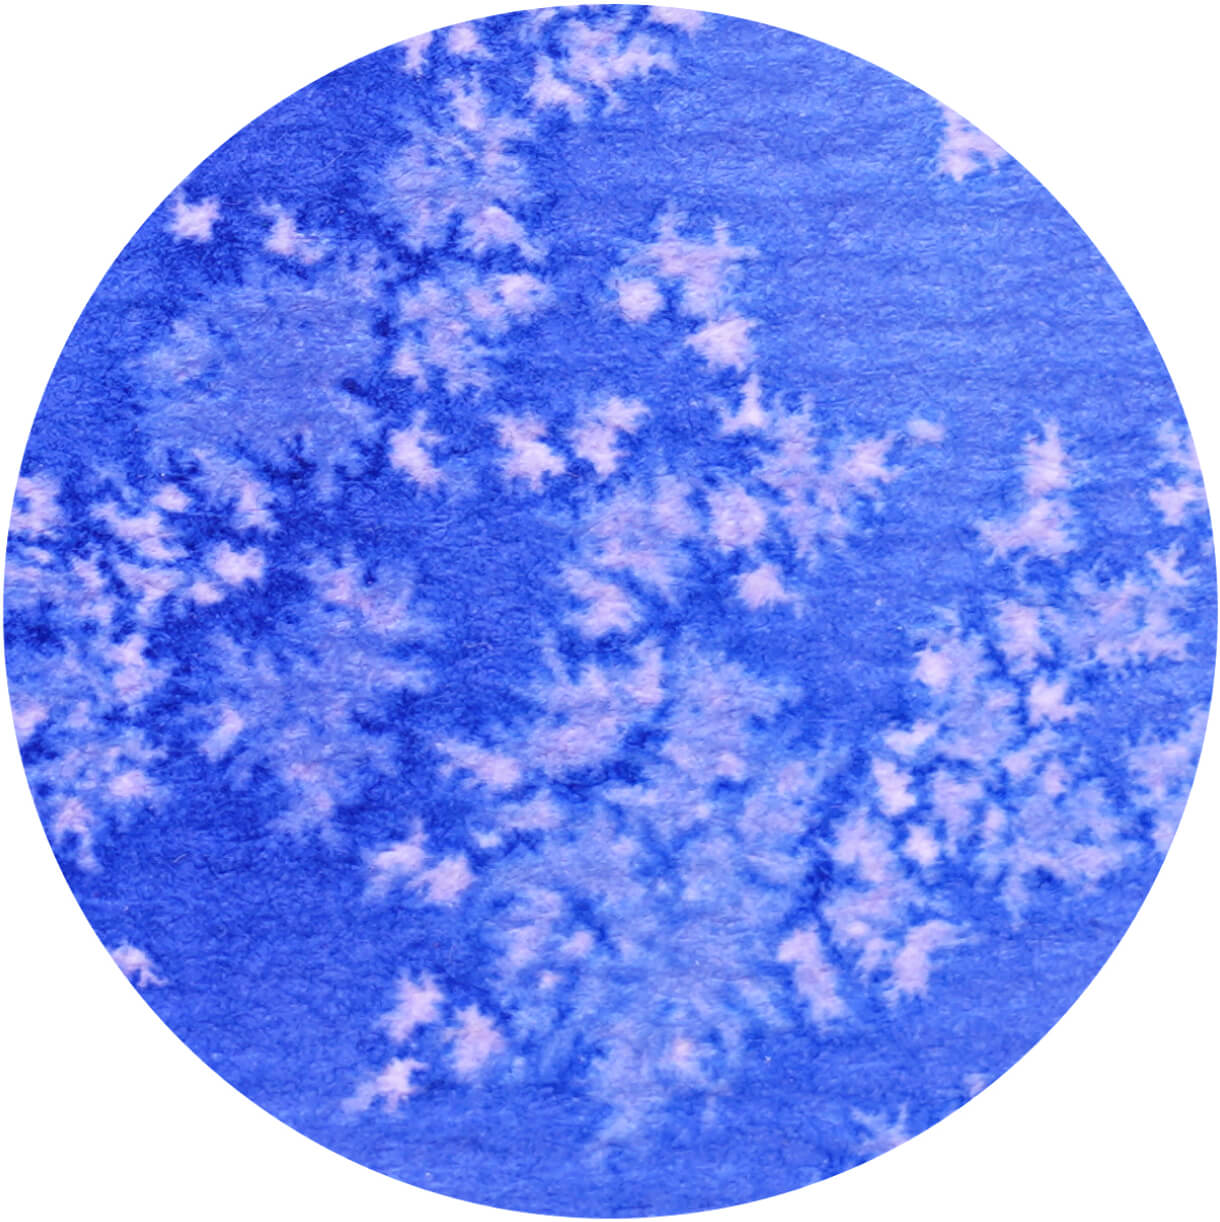
Adding Salt
Salt absorbs water so it’s no wonder that it makes a great way to add uniqueness to this medium. I start with a wet page and paint it with my RBP, usually a darker color. While it’s still wet I sprinkle some salt over it. I don’t use much. If I use too much it will form a heap and won’t create a pattern. I leave it to dry for a few minutes. I know that it’s time to remove the salt once I see that it has almost dissolved. I wipe the salt off with my hand to reveal a pattern that looks similar to crystals or snowflakes.
There you have it! Sixteen tried and true ways to use Real Brush Pens. I love using these art markers to produce beautiful works of art, and I'm not the only one! Take a look at what other people have said about Arteza, and our Real Brush Pens. Once you start playing around with them, you’re going to find even new ways to use them, I’m sure. I would love to know what you think, so leave me a comment. Until then, have fun!


2 comments
These are my favorite brushes. So easy to use and so many combinations. I have reordered several times.
Good walk thru and very nice pictures