
Table of Contents:
- Create a Realistic Raindrops Drawing
- List of Supplies
- Step-By-Step Raindrops Drawing
- Recommendations
Create a Realistic Raindrops Drawing
If you’ve ever seen a painting of a rose with dew on its petals or a drawing of a raindrop making a splash, then you know how important those water droplets are. They convey moisture in its simplest form but can seem a little complicated to actually draw. The truth is, they’re not! In this article, we’ll share with you the secret of how to draw water drops and it only involves six steps.
To help you make the most realistic raindrops drawing possible, our artist used gray-toned paper and just two colored pencils, black and white. The toned paper really sets off the drops and helps make them look three-dimensional once they are filled with color. The pencils our artist used were from the set of Arteza Premium Colored Pencils that are triangle-shaped. These ergonomic pencils are designed to be comfortable, no matter how long you want to draw. Plus, they come in 48 vibrant colors.
So, grab your supplies, and let’s get started!
List of Supplies
- Arteza Premium Colored Pencils, Triangle Shaped - A012 Noir, A024 White Quartz
- Arteza Gray Toned Sketchbook
Step-By-Step Raindrops Drawing
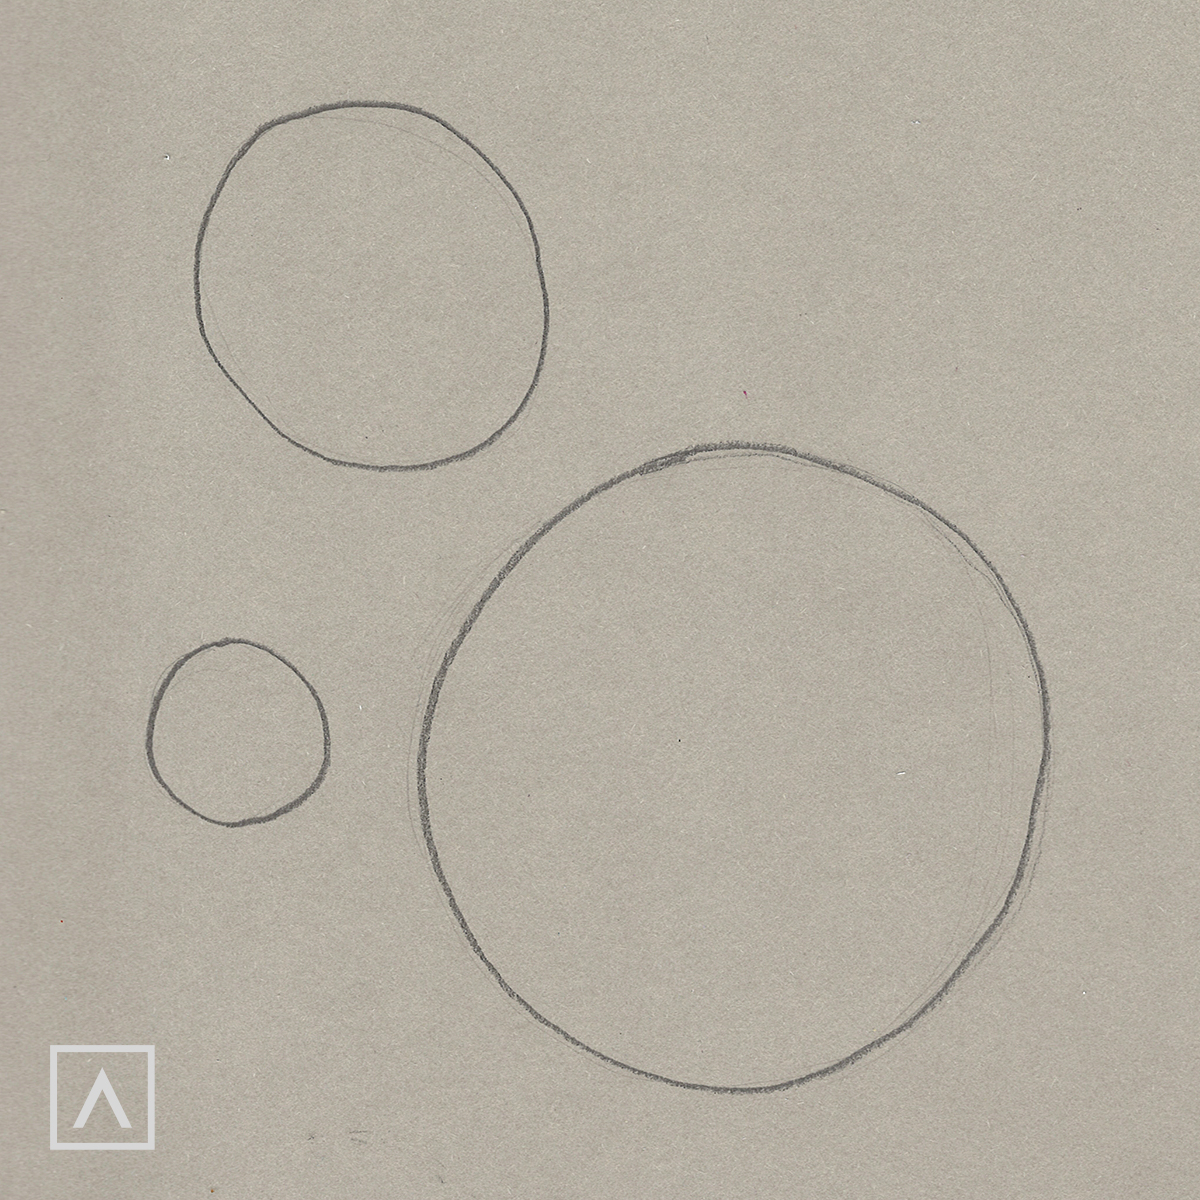
Step 1
Begin by drawing three circles of varying sizes using A012.
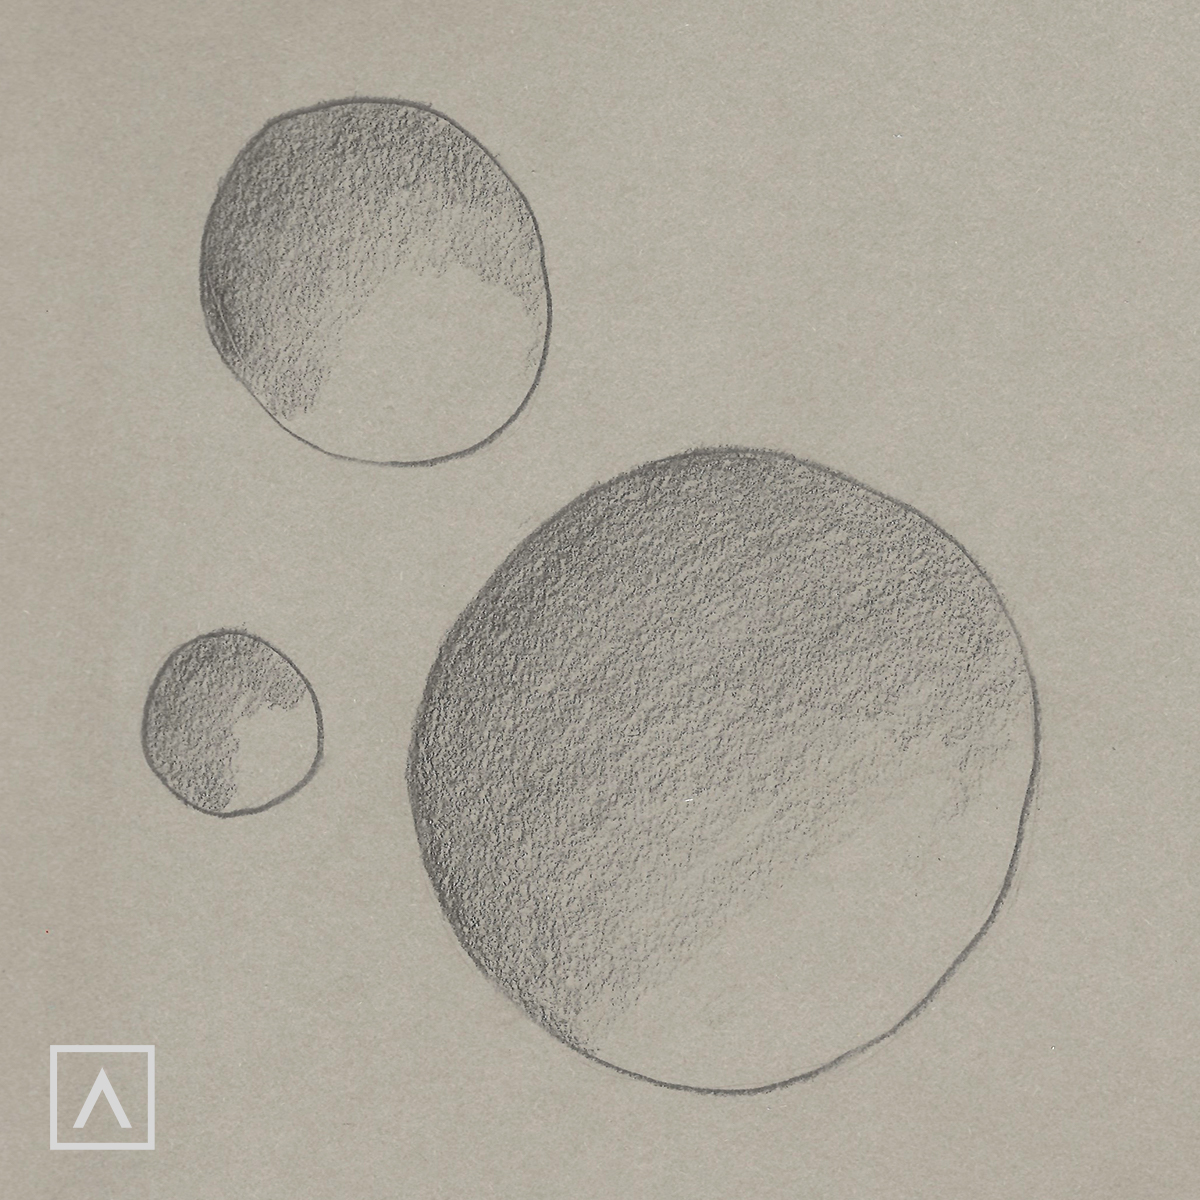
Step 2
Next, you’ll begin to build up the volume of each droplet by using A012 to fill in half of each circle.
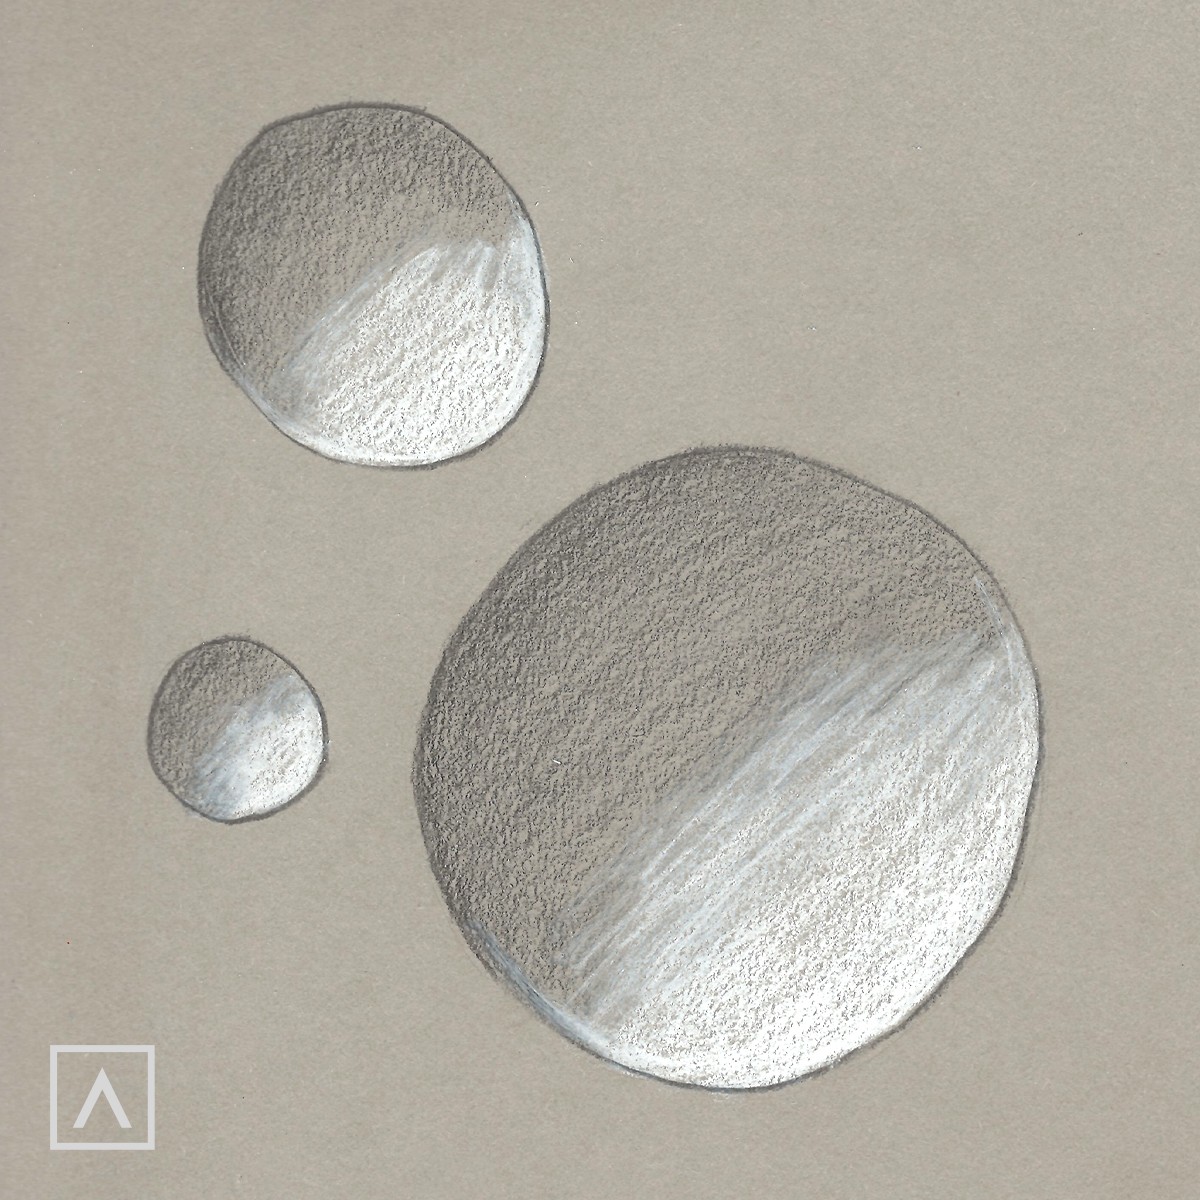
Step 3
Now, color the other half using A024. This is the side of the droplet that has the most light shining on it. As the droplets curve, less light shines on the opposite side, so that side is darker.
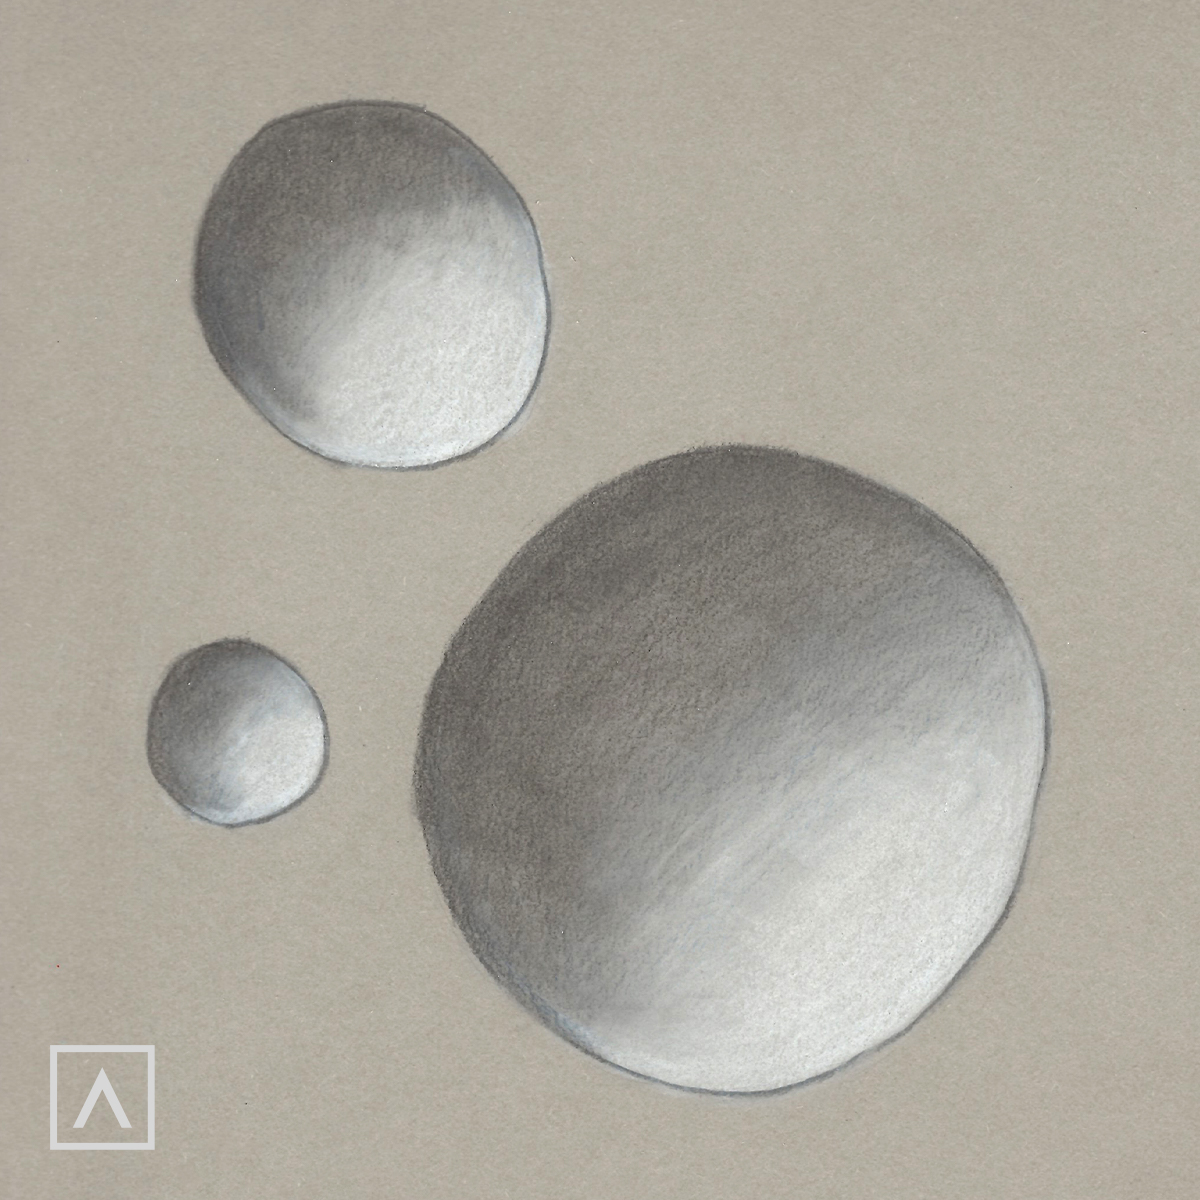
Step 4
Use a paper stump to blend the dark pencil into the white area. Can you see the subtle gradient of color formed? This makes the drops look as if they are round and gives them volume and dimension.
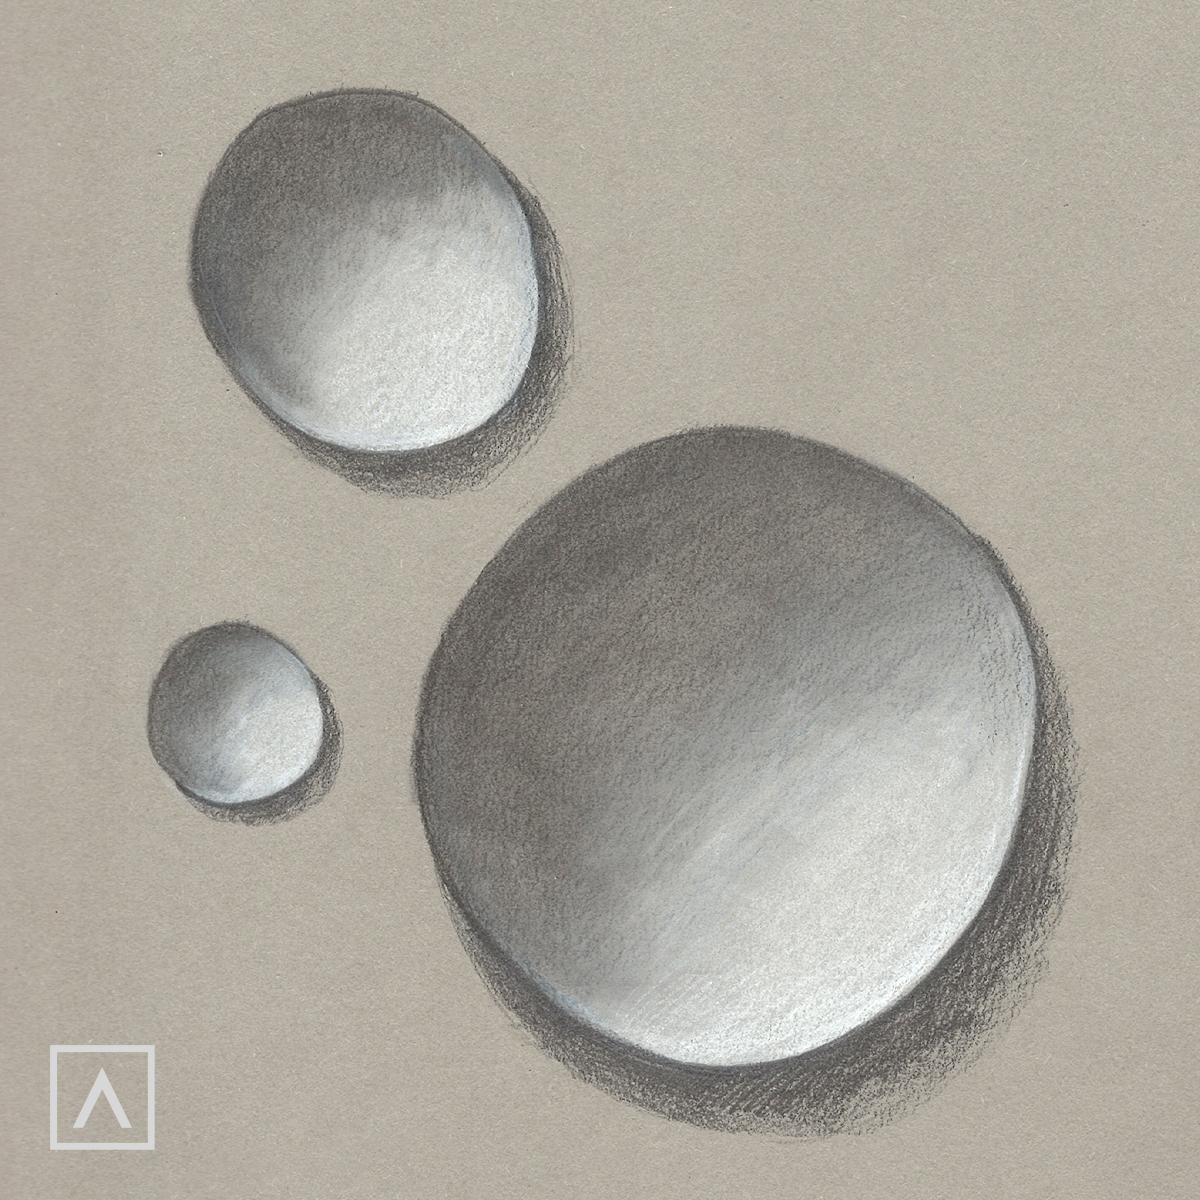
Step 5
Next, using A012, add shadows along the outside of the drops on the white side. This is called a cast shadow and makes the drops look as if they’re sitting on an actual surface.
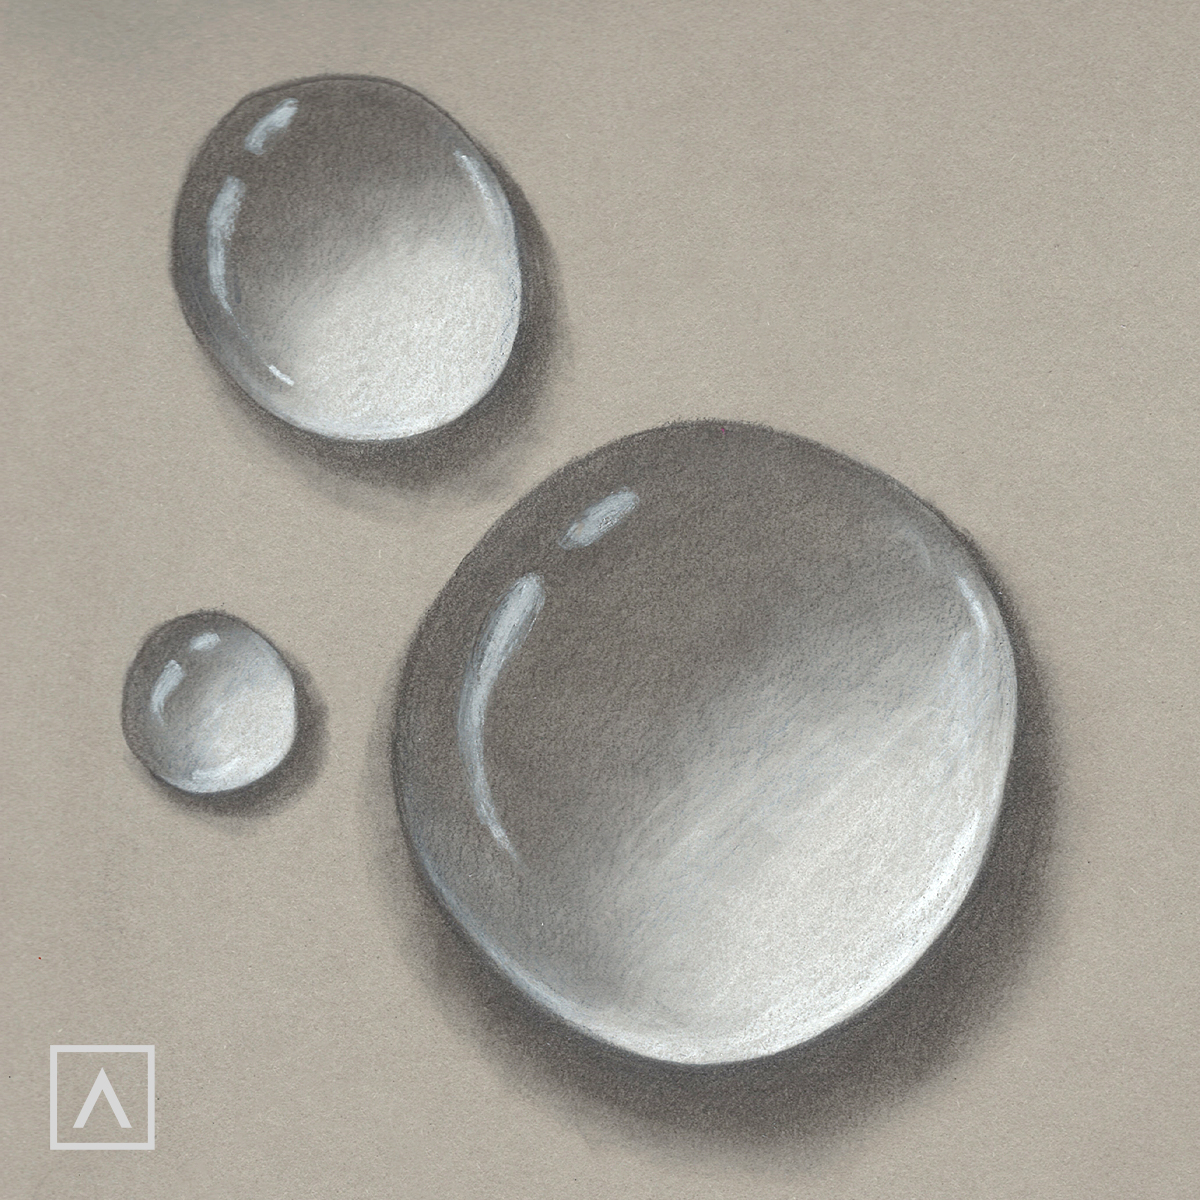
Step 6
Finish the raindrops by using the stump again to blend the shadows so they’re darker closer to the drop and lighter as they move away from it. Then use A024 to add reflections of light on the darker side.
You’ve done it! You’ve created drops that look like they just fell from the sky!
Recommendations
- Use curved strokes to mimic the curve of the drop to add more dimensionality to your drawing.
- As you blend the dark and light colors, remember to have your darkest on one side, your lightest on the exact opposite side, and a medium tone in the middle.
- Make sure your shadow is along the edge of the lightest side and is darkest along the drop’s edge.
By following these six easy steps you can have fun adding drops to your paintings and drawings. Whether you add them to a floral painting or a drawing of an ice-cold glass of tea to show the condensation, they are sure to help your creation look authentic. We’d love to hear about your experience drawing water drops, so please leave us a comment below.


