
Table of Contents:
My favorite way to share my art is by creating handmade cards and sending my small works of art out into the mail to brighten someone's day. In this tutorial, I’ll demonstrate how to make a simple greeting card that’s full of color. I create with many different art mediums, but my heart belongs to colored pencils. That’s why I’m using them here. Follow along and have fun!
List of Supplies
- Arteza Professional Drawing Pencil Set
- Kneaded Eraser
- Arteza Professional Colored Pencils: Pear Green A100, Moss Green A029, Olive Green A155, Turmeric Yellow A077, Blood Orange A073, Crimson Red A078, Lemon Yellow A004, Robin Egg Blue A044
- Arteza Gray Toned Sketchbook, 5.5" x 8.5", 50 Sheets - Pack of 3
- Arteza Inkonic Pens: A156, A154, A146, A101, A182
- White Gel Pen
- White and red card stocks
Step 1: Choose Your Paper
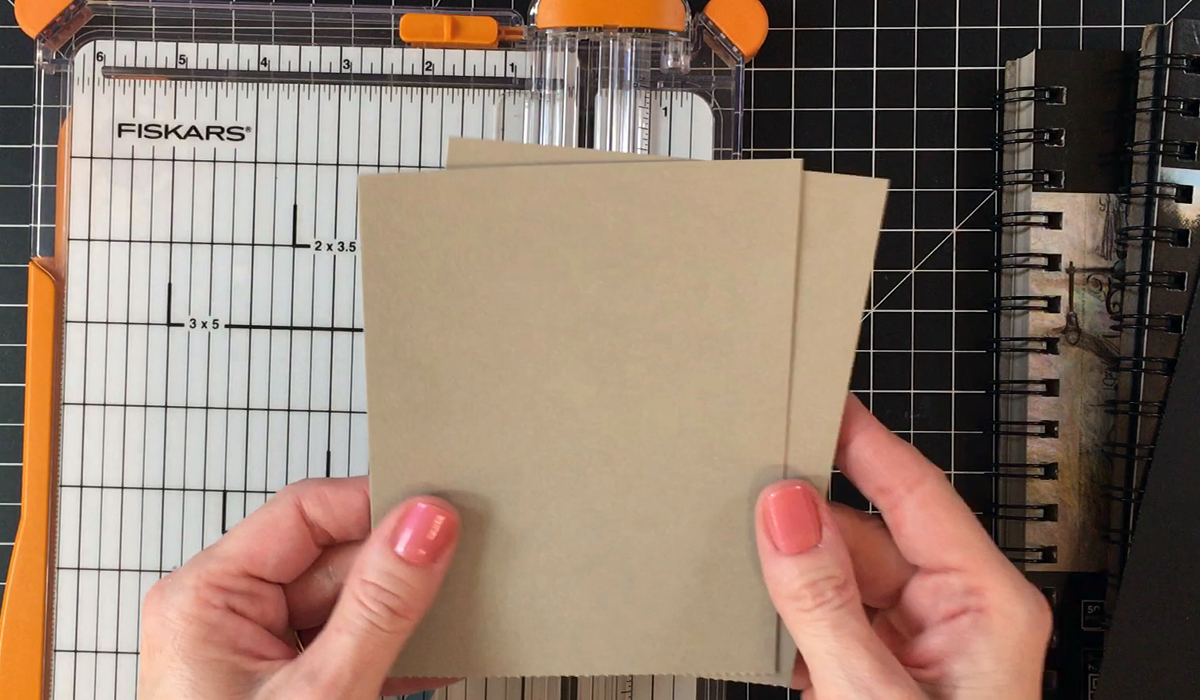
Since I decided to use Arteza's 120-set of colored pencils on my project, the next thing I needed to decide was what paper to use. For this card project, I'm using Arteza's gray-toned paper. This paper comes in perforated 5.5” x 8.5” sketch pads. It's perfect for card crafters because when you cut it in half, you get two A2 sized sheets. This is a standard size card.
I also have to mention that Arteza has black paper sketch pads of the same size. Colored pencils look gorgeous on black paper. Using colored pencils on a toned paper provides you with a nice base color and really makes your artwork pop and come to life.
Step 2: Drawing Your Images
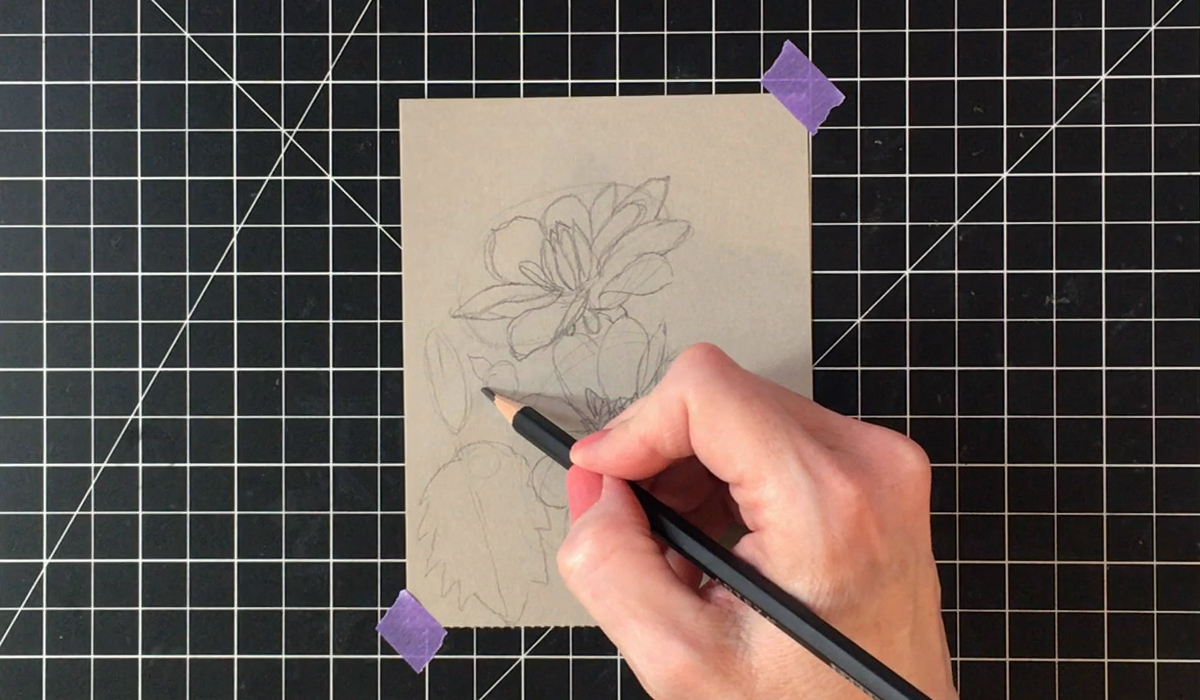
Springtime inspires me to draw the flowers that are blooming in my garden. For this card, I found some beautiful red dahlias. I took several reference photos and printed them out. When I sketch, I like to use a soft-lead pencil; I chose a 4B from Arteza's Drawing Set. To begin, I draw in the general shapes of the flowers and their centers, so I know where to draw in the base of each petal. After that, I start adding in the details.
Once I'm satisfied with my drawing, I lighten up the lines with a kneaded eraser. It's better if you dab the lead with the eraser and not rub it across the paper—you don't want to weaken the paper or smear your work. This set ensures you won't see the pencil lines under your colored pencil work.
Step 3: Adding the Color
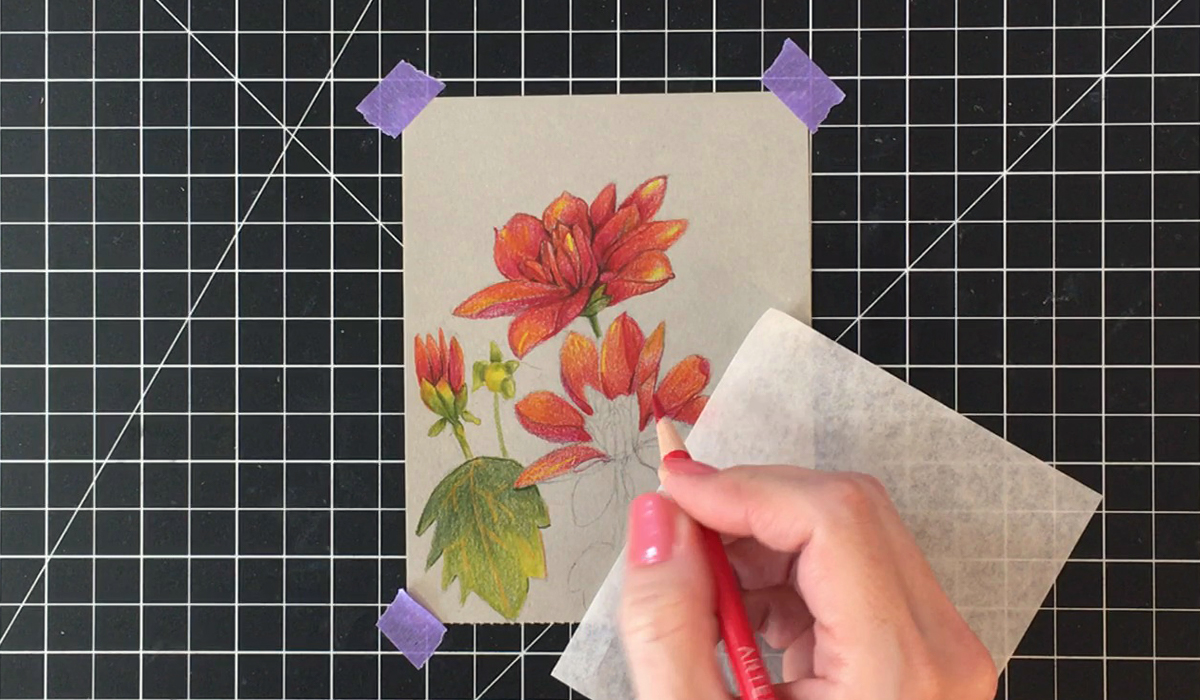
And now to add the color! I insist on having a nice sharp point on my pencils. This helps you get in all the crevices of the paper. I color in the flowers one petal at a time, putting the darkest colors at the base of the petals and lighten the colors as I work up. I put down lots of layers to add richness to the piece. Don't press down too hard with the pencil. If you press down too hard, it burnishes the paper and makes it difficult to continue adding layers. I added streaks of yellow on the petals which added colorful highlights. I also use a scrap piece of paper over the piece as I work to keep the card clean.
For the leaves and stems, I used Pear Green, Moss Green, Olive Green, and Turmeric Yellow. I colored the flowers in Blood Orange, Crimson Red, and Lemon Yellow.
To really make your work pop, make sure you add lots of contrast. I used dark colored pencils and even Arteza Inkonic Pens in A156, A154, A146 for the greenery and A101, A182 for the flowers to put dark shadows between the petals.
Step 4: Adding Color to the Background
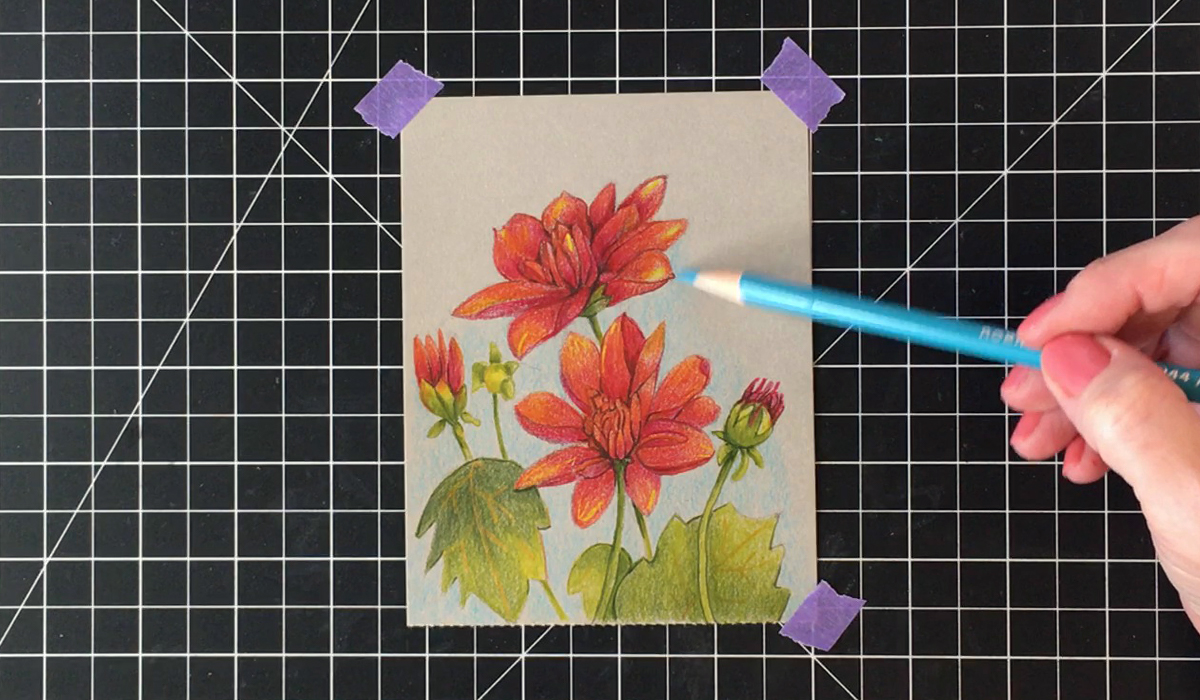
I used the Robin Egg Blue colored pencil to lightly apply color to the background. I don't take the color all the way to the edges of the card; I mostly focus on putting the color around the flowers and leaves. I want the gray of the paper to show. The blue pencil adds a nice hazy glow around the flowers. To get a smooth and quick application of color, I mainly use the edge of the pencil.
Step 5: Adding Details
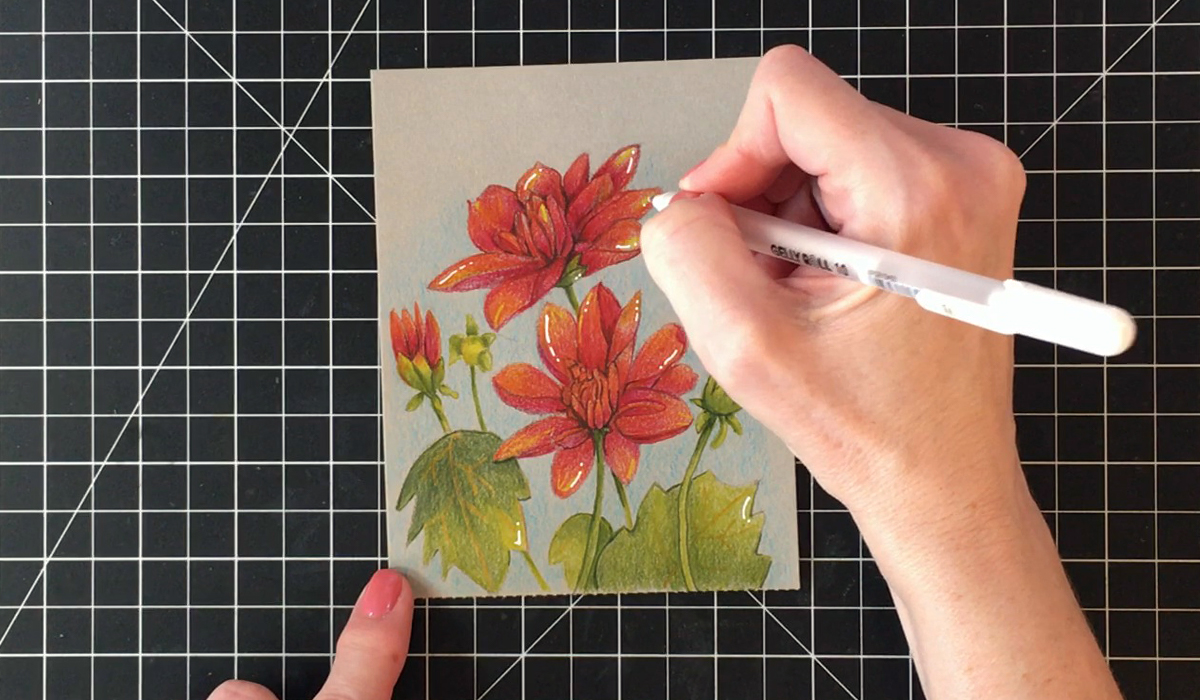
I love adding white highlights once I'm done with my coloring. I'm not going for a photo-realistic drawing most of the time, and the streaks and dots of white gel pen add a cute touch to the finished project. You can add it in many different ways. I like to use gel pens, but you could also use white gouache or white acrylic paint over your colored pencil work.
Step 6: Adding a Sentiment and Putting It All Together
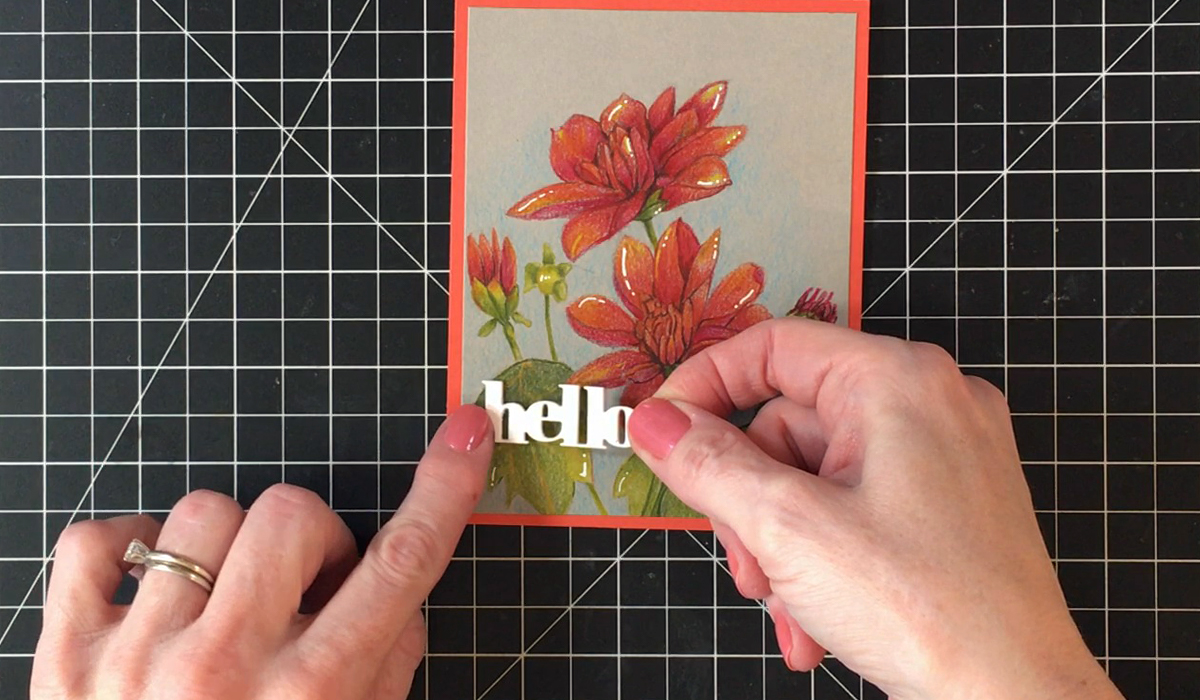
I cut down my panel to 5.25” x 4” so I could mat it with a piece of red card stock that matches the colors of my flowers. I used white card stock to die cut the sentiment for this card. I chose the white card stock to bring out the white gel pen highlights. I attached this panel onto a white card base, and it is ready to mail out to a friend.
Now, watch me create this card, using some beautiful products from Arteza.


2 comments
We’re overjoyed to hear that our products have allowed you to bring your creativity to life! Never stop creating!
Beautiful card! i have bought other Arteza products because of your videos. Keep crafting!