
Table of Contents:
- Draw & Paint a Beautiful Night Sky with Watercolor Pencils
- List of Supplies
- Step-By-Step to a Stunning Night Sky Drawing
Draw & Paint a Beautiful Night Sky with Watercolor Pencils
Watercolor pencils are one of the most versatile tools you can have in your artist tool kit. Not only do you get the vibrancy and color control you have with traditional colored pencils, but you also get the translucency and painterly effects of watercolors. If you’ve only used colored pencils, you’re going to fall in love with the ability to turn them magically into a paint. If you’re a tried-and-true watercolorist, you’ll appreciate that you can use all the same techniques you’re already using, plus draw with them. No more worries about pencil lines showing through. It truly is a two-for-one tool, that has become my go-to medium!
That’s why I’m so excited to share with you this tutorial. In it, you’ll see for yourself how to get the most out of watercolor pencils. I’ve tried to demonstrate the most techniques that can be used when working with watercolor pencils, using colors from my Arteza Watercolor Pencil set. With their dense and highly pigmented cores, I get the brilliant hues that will help create a stunning night sky. Before you start, I suggest reading the steps first and watching the video all the way through to the end. Join me now, as I take you through the process of learning watercolor techniques using watercolor pencils.
List of Supplies
For this project, I used the following supplies:
- Professional Watercolor Pencils - Set of 120
- Expert Watercolor Pad, 9"x 12", 32 Sheets - Pack of 2
- Professional Drawing Pencil Set
- Tape
- Round Watercolor Brush
- Flat Stiff Synthetic Brush
- Craft Knife
Step-By-Step to a Stunning Night Sky Drawing

Step 1. Make Initial Sketch
Before I begin, I always tape the edges of my paper. This creates a nice crisp border once the painting is complete. Then I use an HB pencil to sketch the landscape with the northern lights. I purposefully make them spiral upwards, ending in the silhouette of a bird. This creates some mystery.
The HB pencil has a hard enough lead to make very light lines that won’t be seen through the paint. If I accidentally make a mark that I feel will, I simply go over it with a kneaded eraser to lift off some of the graphite to lighten it.
I prepare my palette with a container of water, brushes and a metal pencil sharpener.
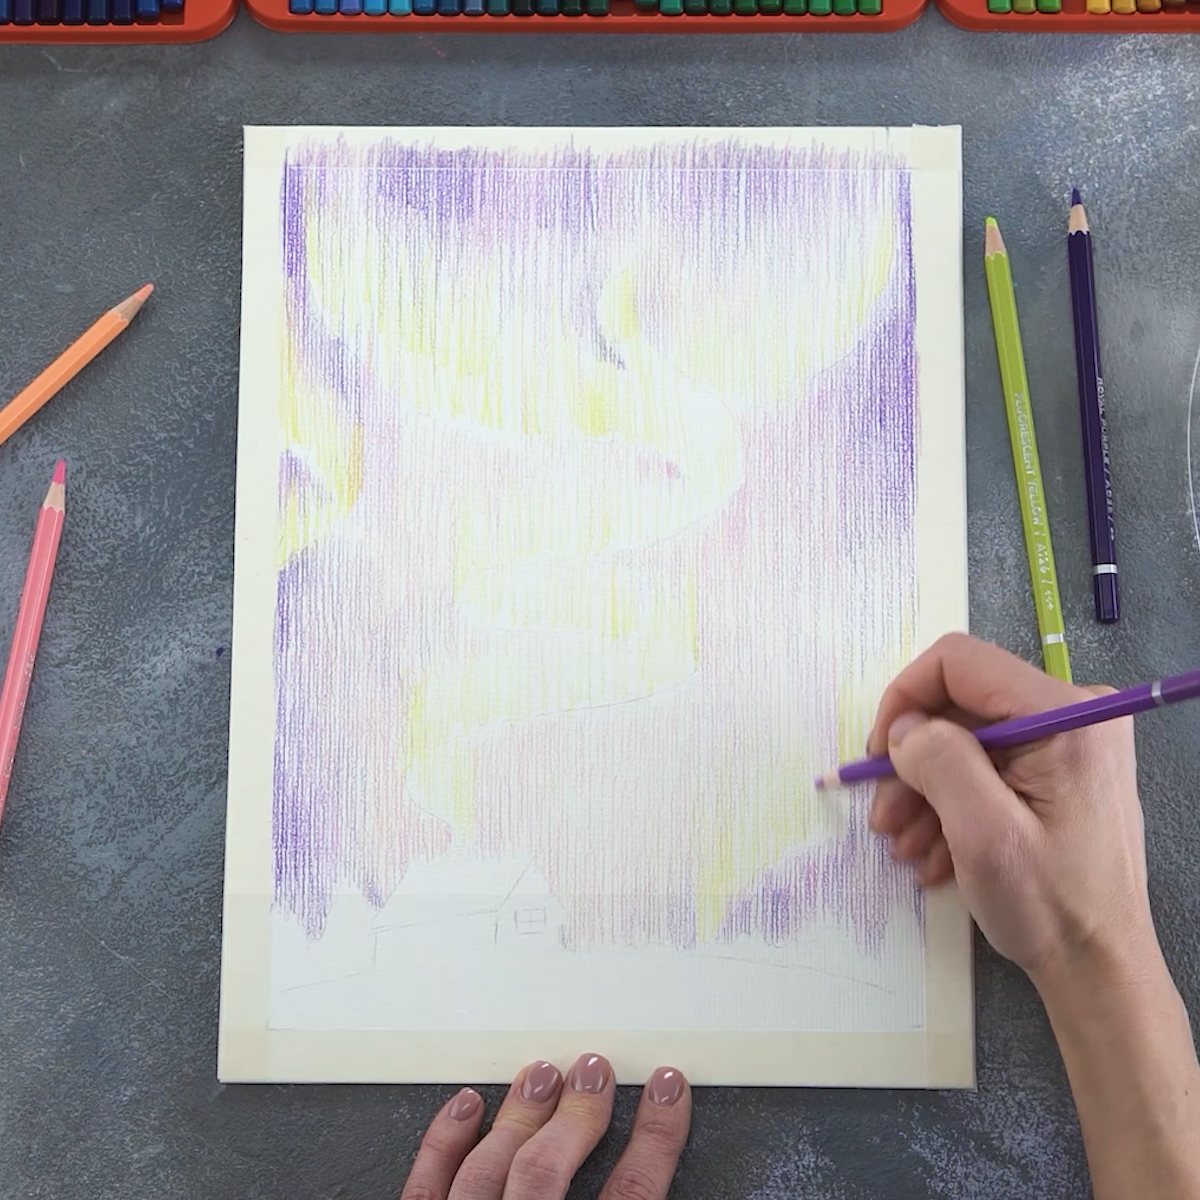
Step 2. Dry-On-Dry
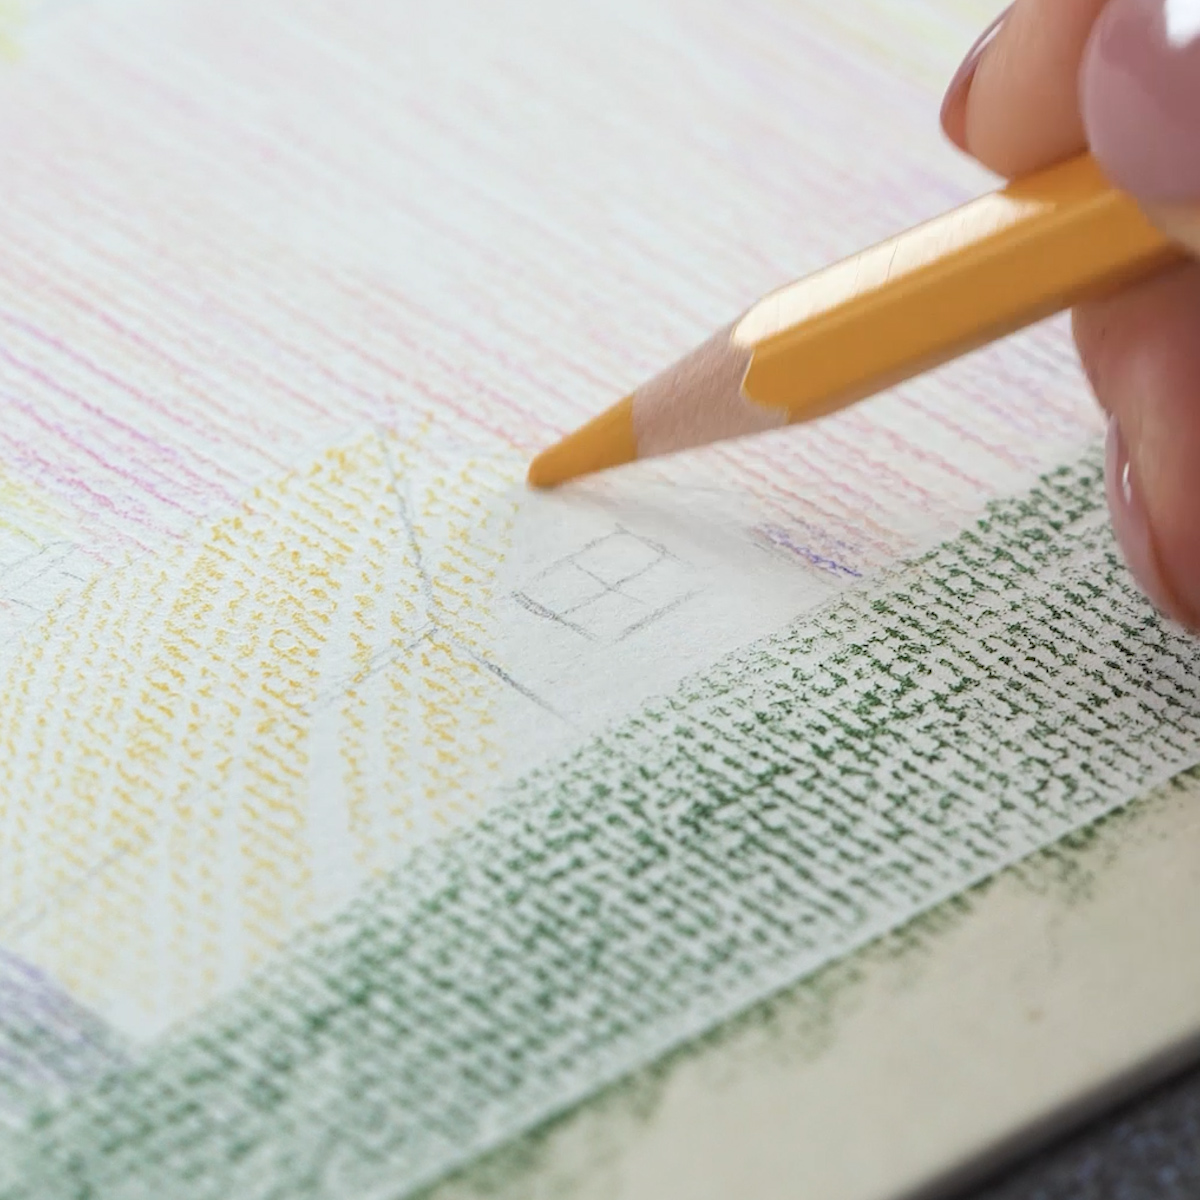
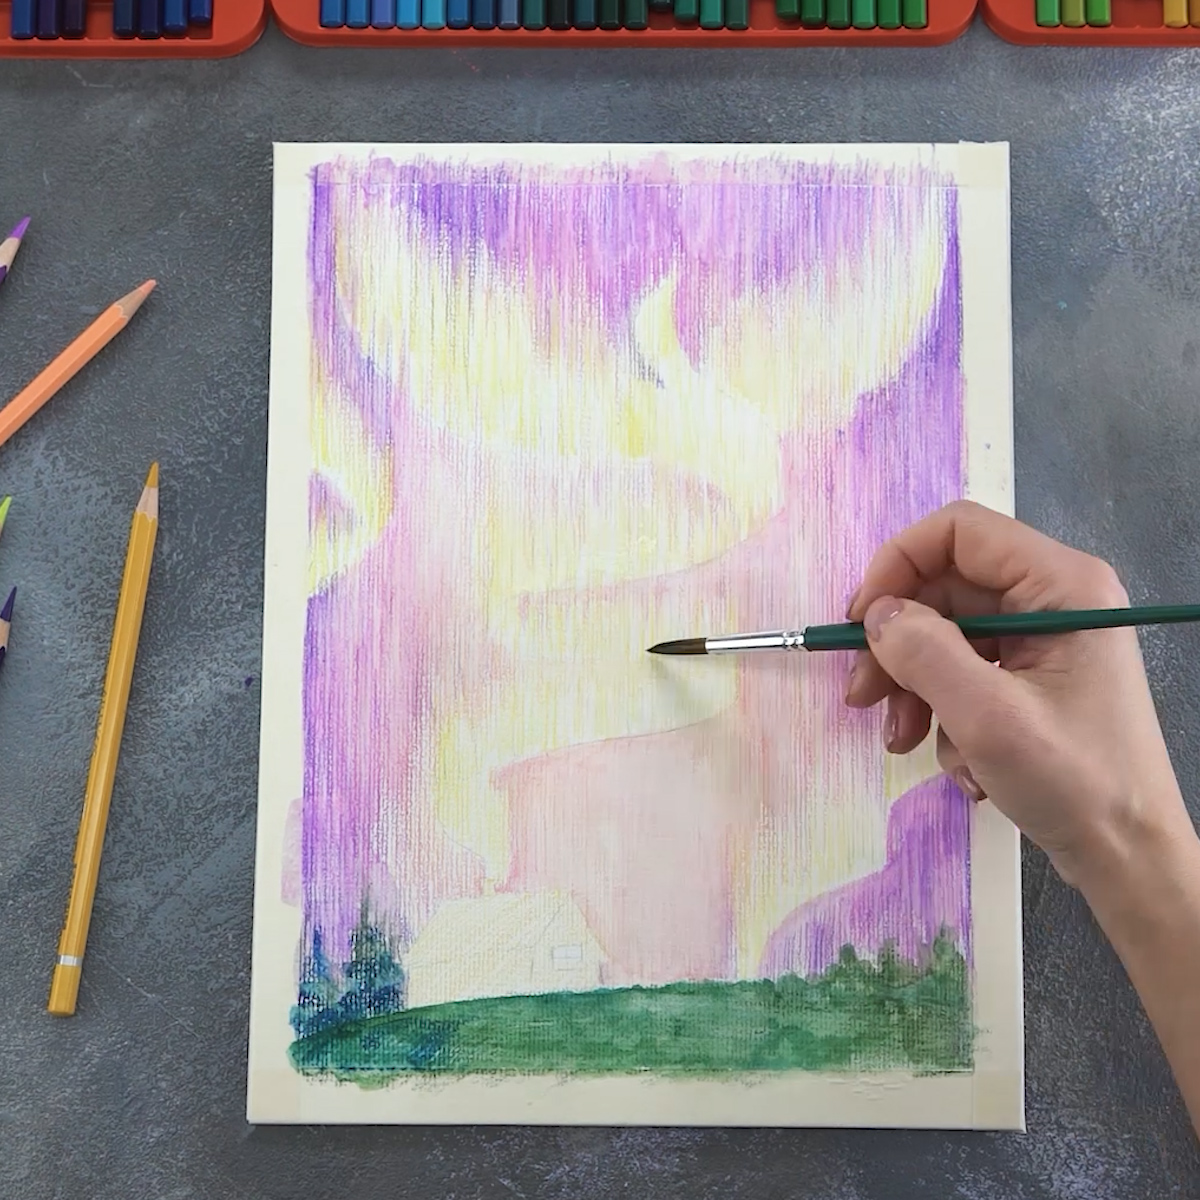
Once I’ve got my sketch, I begin using the pencils to fill in the sky. This is the classic way of using colored pencils on a dry surface, which is why it’s known as the “dry-on-dry” technique. I place my lightest shades in the center and my darker ones out toward the edges. I build up the values (the lightness or darkness of a shade) by layering one color on top of the other. This is how to combine the classic dry pencil on dry paper technique with layering. Fill in the sky and the landscape with vertical strokes using shades of pink, yellow, purple, blue and green. The green shades give additional contour to the northern lights.
TIP: By changing the pressure applied to the pencil, I can adjust the saturation of the tone. This helps me build my tones gradually so I get a smoother blend of colors and complexity.
Step 3. Create Shadows
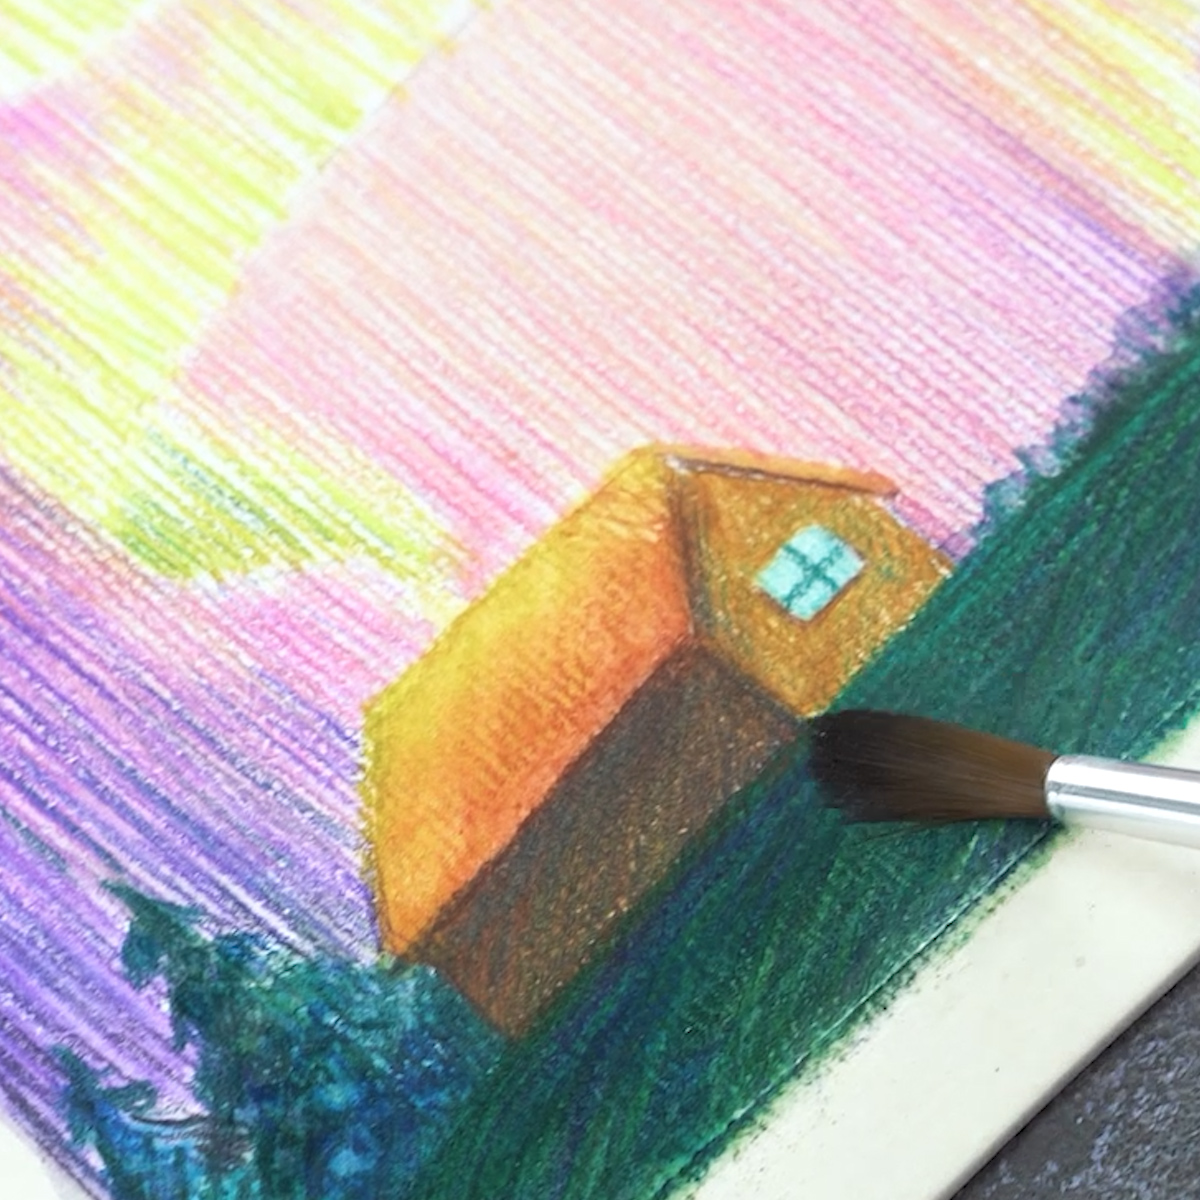
Now that I’ve worked on the sky, it’s time to turn my attention to the house. To make it feel more connected to the ground, I need to place some dark shadows under and around it. Usually, I would use black to do this, but in this instance, I prefer to use dark green. This makes it look more like a grassy lawn would look at night. I use green along the base of the house and across the bottom of the picture to make this shadowy lawn.

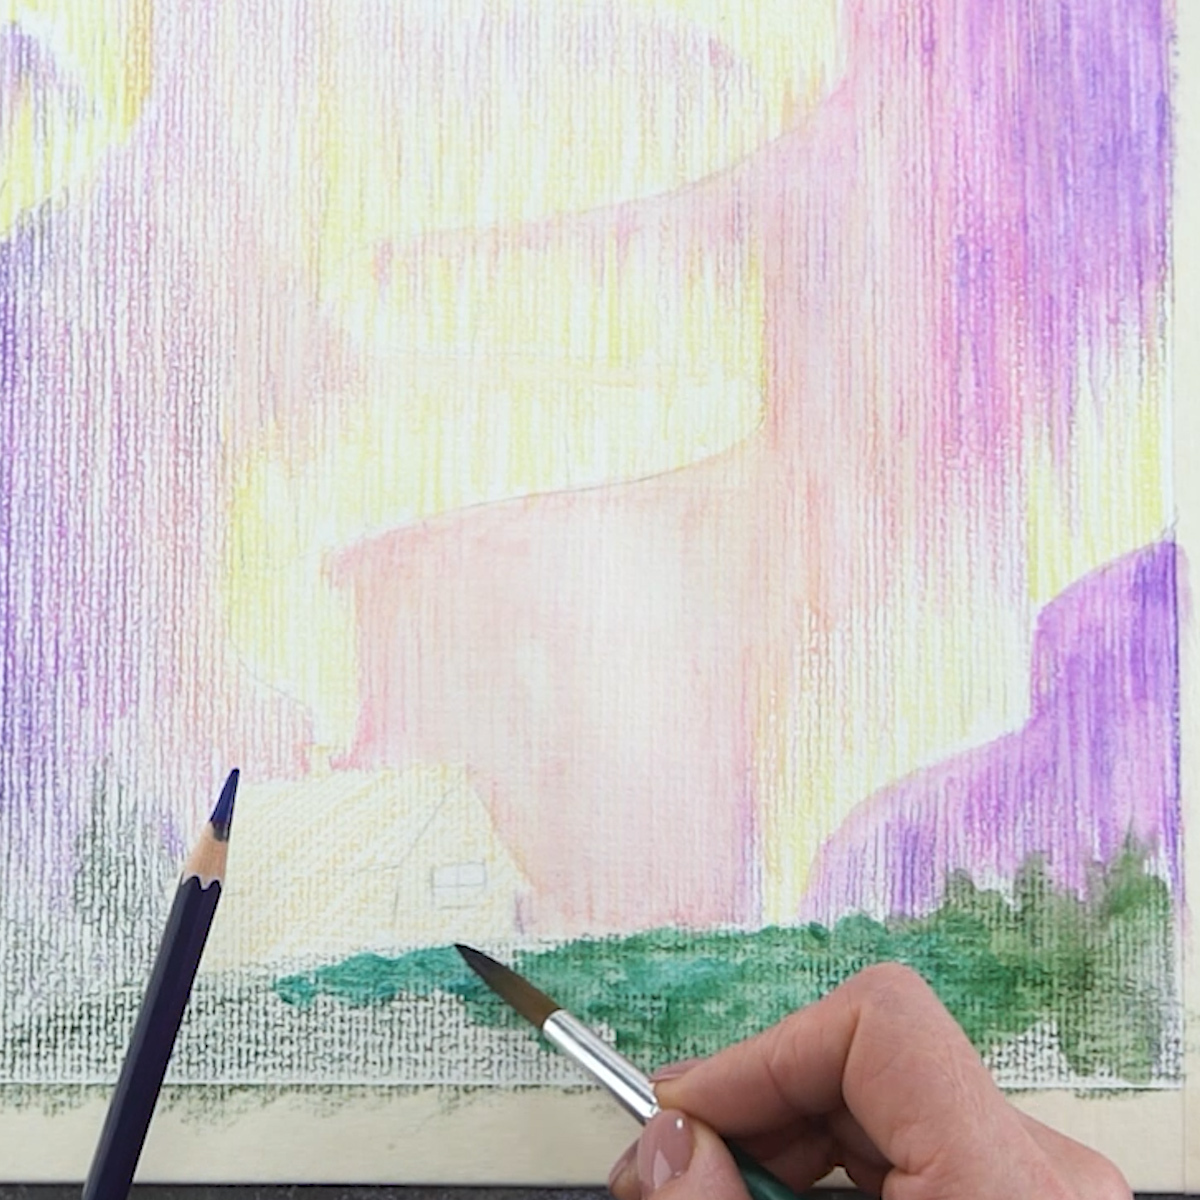
Step 4. Methods to Add Water
Now for the magical part! Using a wet brush, I apply water to the pencil lines. I do this by placing my brush strokes in the same direction as the pencil lines.
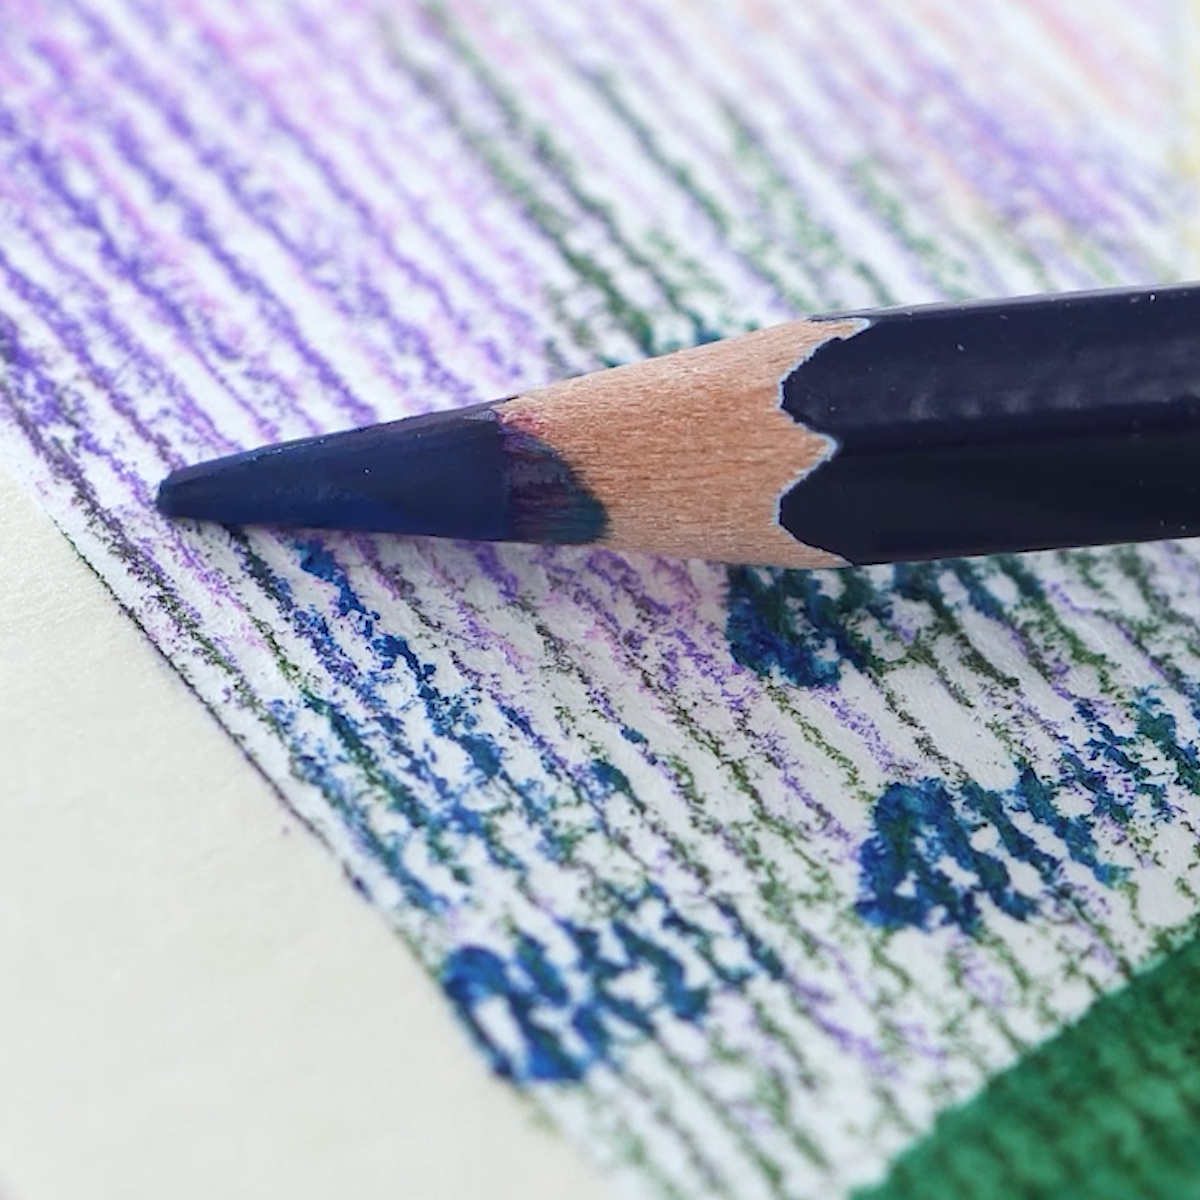
I use a blue pencil for the “dry-to-wet” technique by applying dry pencil marks to the wet paper. With this technique, my artwork looks more vivid and clear than if I had used a wet, blended layer.
Next, I dip the violet pencil in water and put it on wet paper for the “wet-on-wet” method. This technique makes some really interesting textures.
Step 5. Pick Up Color
Another fun technique is picking up color from the tip of the pencil with a wet brush. I do this using a blue pencil to paint over the dark green I laid down previously over the lower part of the composition.
Step 6. Create Trees
Because there’s still plenty of blue paint on the brush, now I add in some small trees with it. By using the tip and the sides of the brush at different angles, I can create the silhouette of the trees in differing shapes and sizes.
Step 7. Blending
Just as with watercolor paint, I use a soft brush and water to blend the colors in the rest of the sky. If necessary, I can also use a bristle brush to blend the pencil lines and create soft transitions.
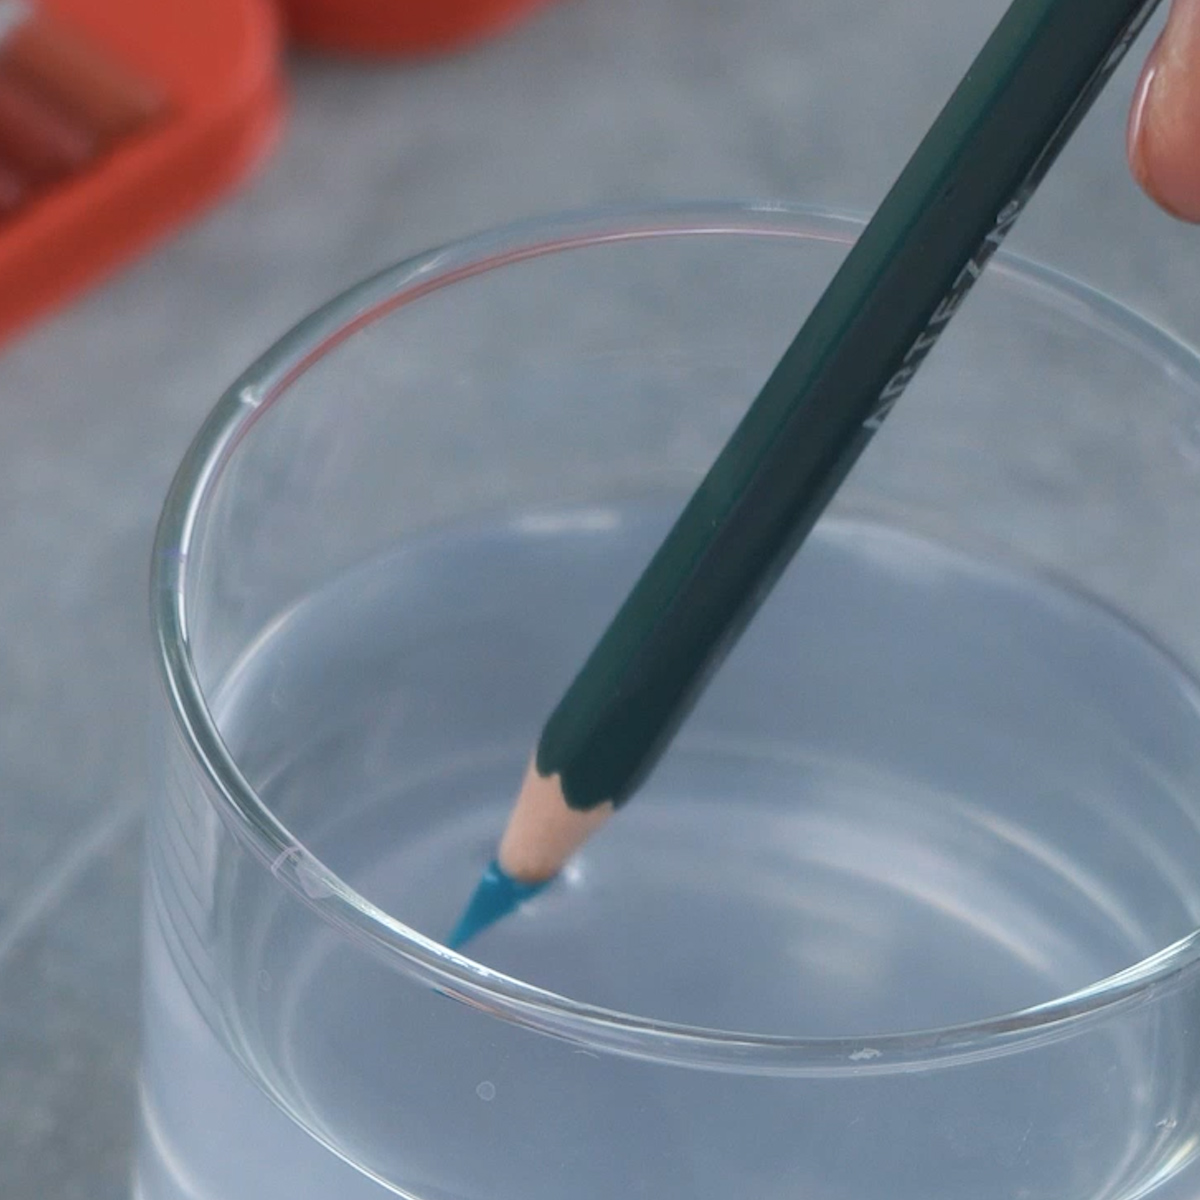
Step 8. Dip Pencil in Water
I add more blue and green to my artwork by picking up more pigment on my wet brush from the tip of a dry pencil. I alternate this with dipping the pencil in water.
Step 9. Create Contrast
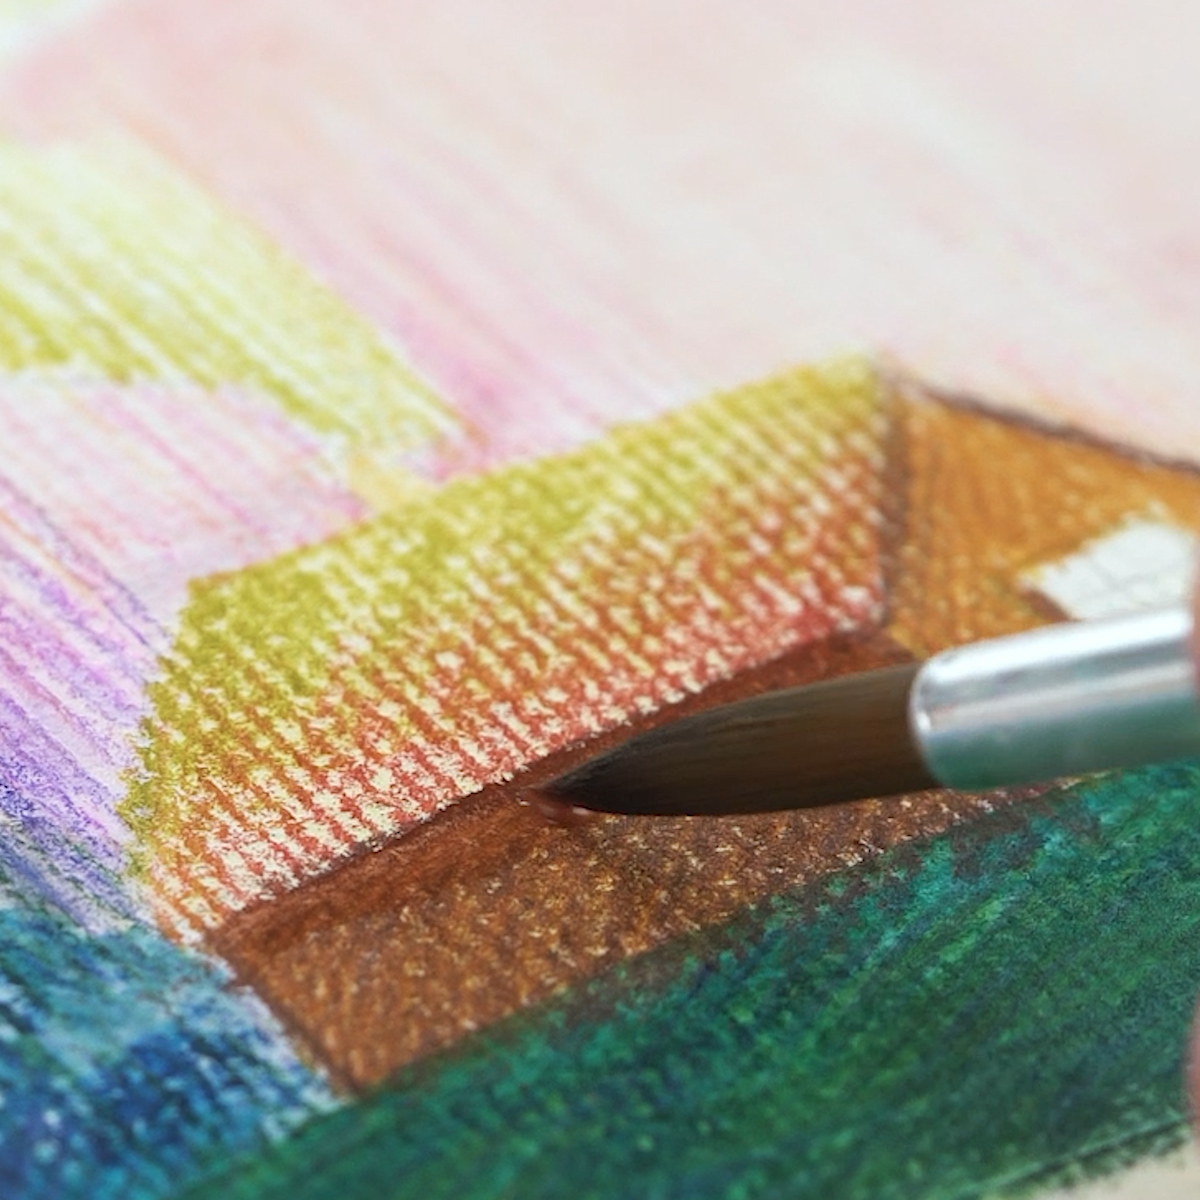
I keep working on the background, adding brown shades to the house and more details to the trees. I refine and complement my picture with more contrast in the different shades.
Step 10. Add Details
At this stage, I alternate between blending and the other techniques to create more tones and bring a brightness to the piece. I do this by using a stiff, synthetic round brush to blend the pencil layer in the same direction of the strokes. I pay attention to adding more vivid colors and details to the northern lights.
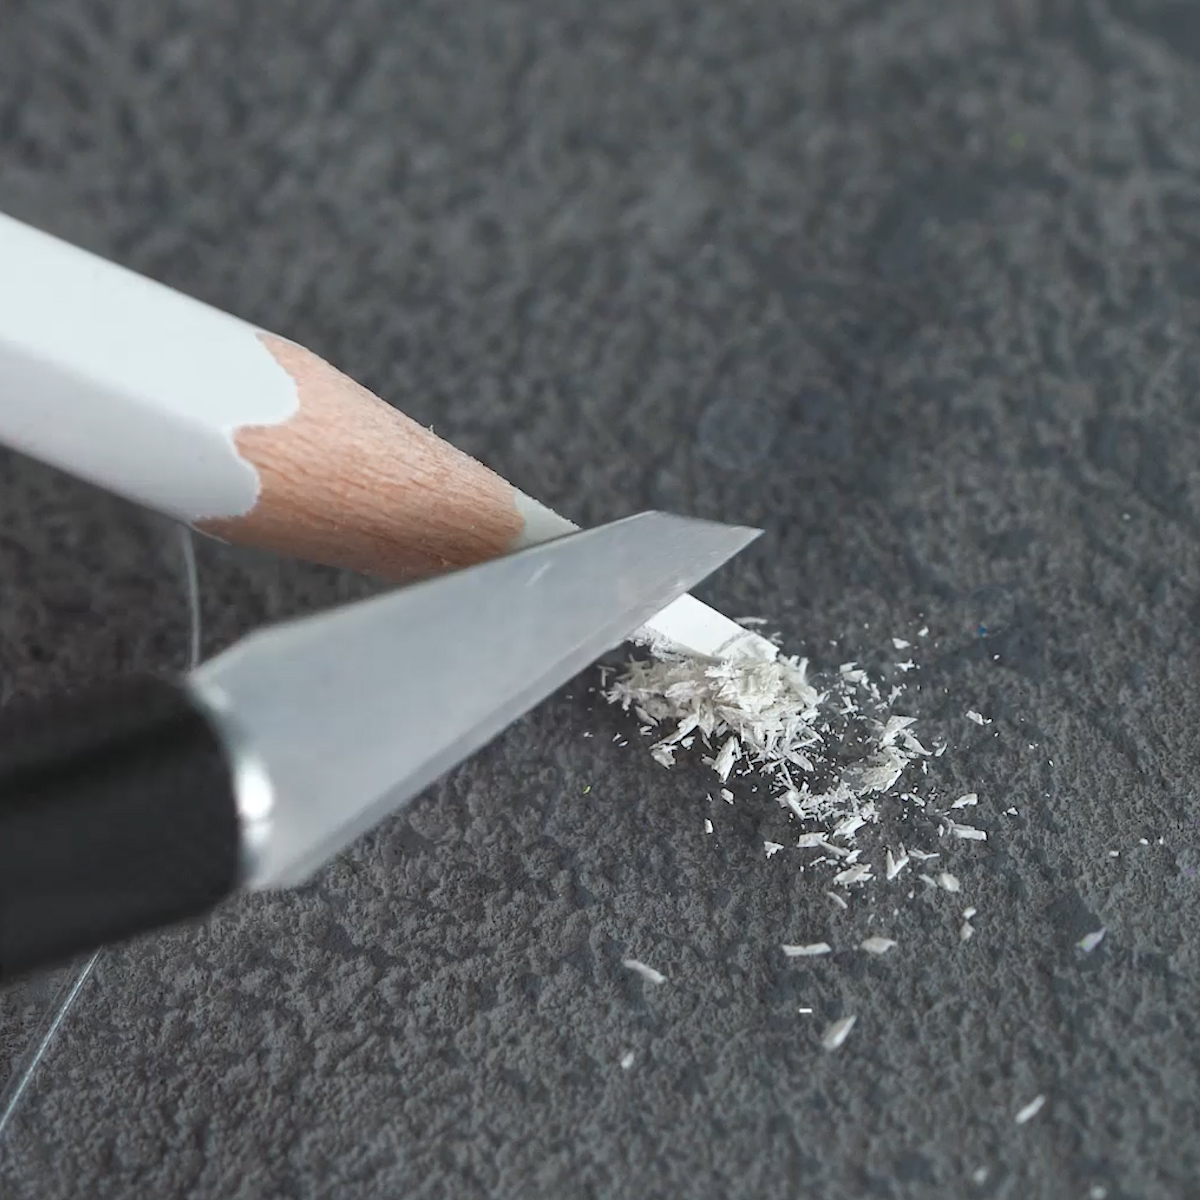
Step 11. Pencil Shaving to Paint
Here’s another fun thing to do that will add another layer of interest. I take my craft knife and gently scrape the tip, shaving off very small particles of pigment onto the palette. Then, with a wet brush, I add a dab of water to the shavings. As I mix the two together, paint is formed. I load my brush with it and tap it over the picture to create small splatters. This adds an atmospheric quality.

Step 12. Finishing Touches
Finally, I finish the work by adding stars and highlights with my pencil shaving paint. It’s time to remove the tape and let the piece dry completely.
There you have it. You’ve created a lovely painting using watercolor pencils. With these easy techniques, you’ll be able to create even more amazing pieces and enjoy hours of fun and creativity. We hope you enjoyed this lesson and video and you learned something new. Don’t forget to give the video a thumbs up and to subscribe to our channel!


