
Table of Contents:
Techniques to Improve Your Oil Painting
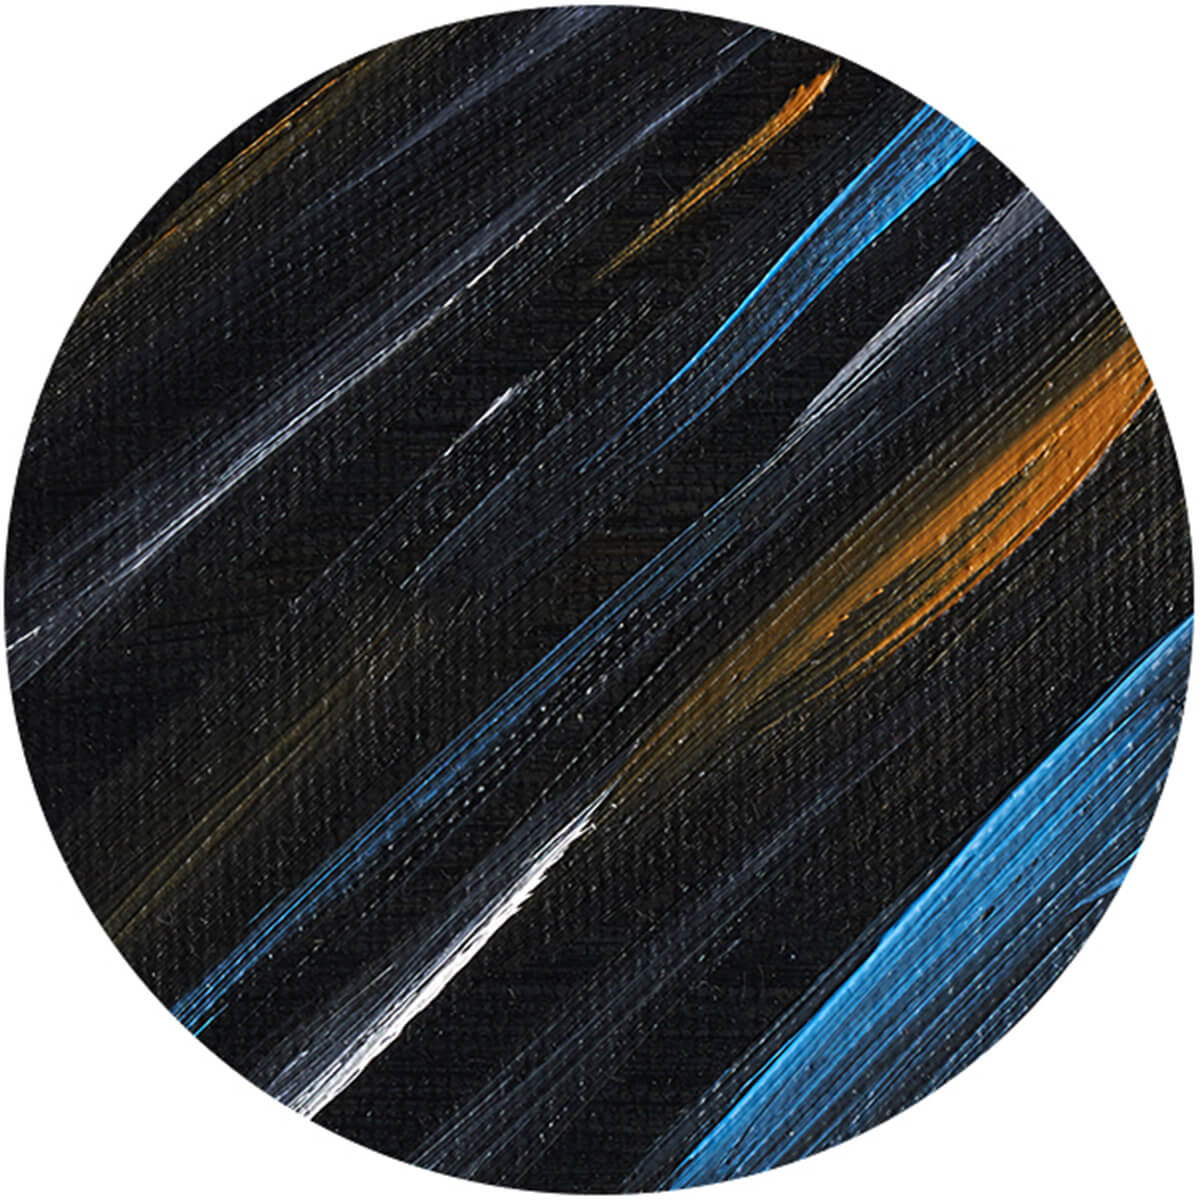
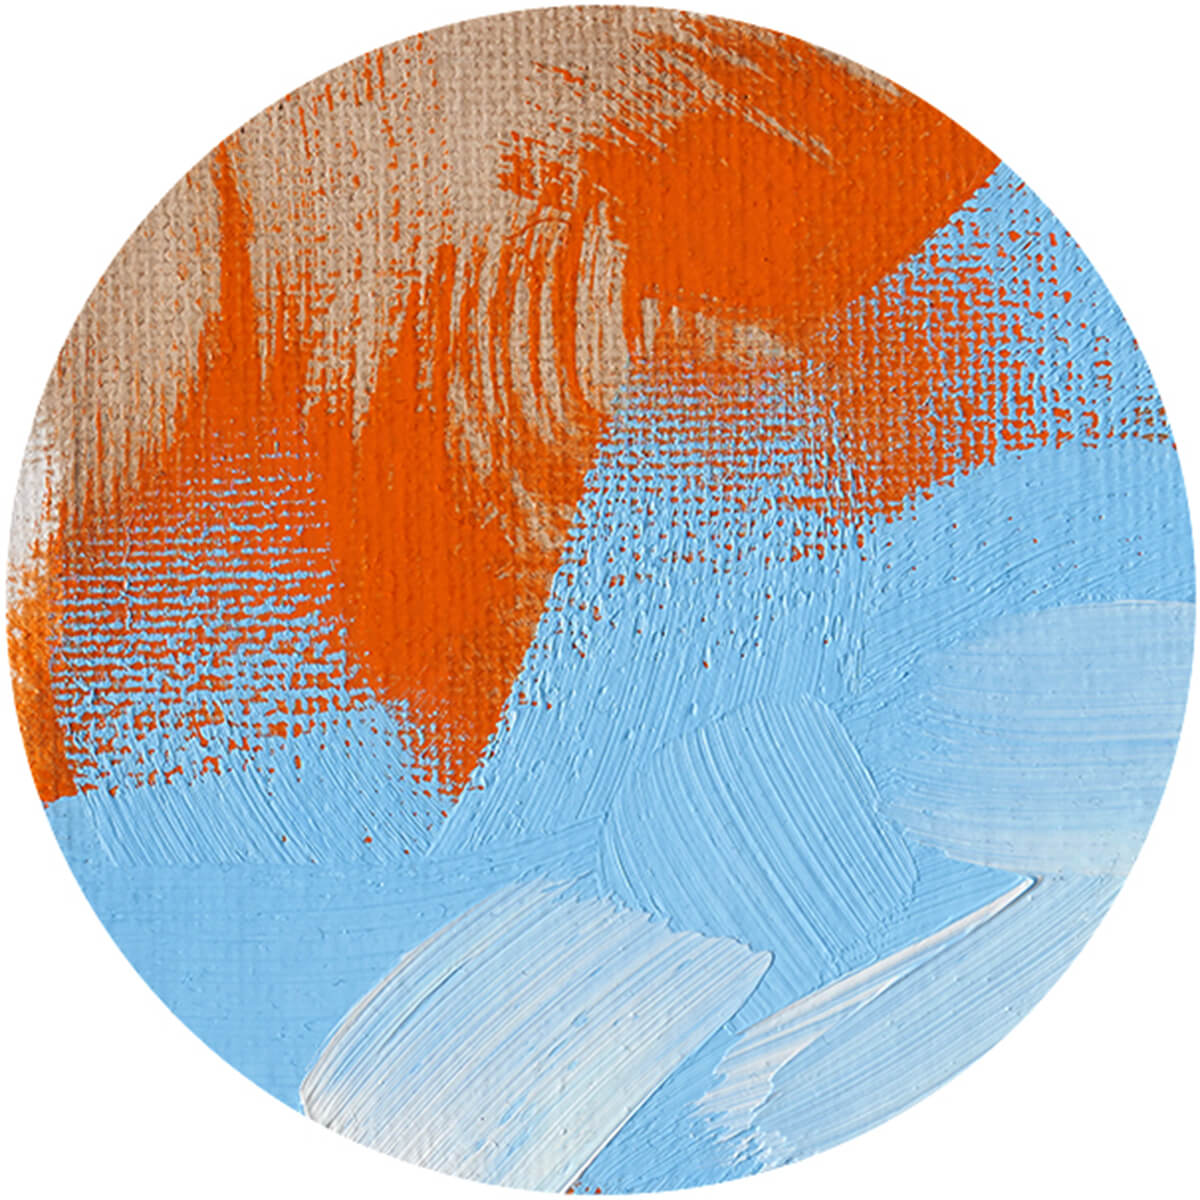
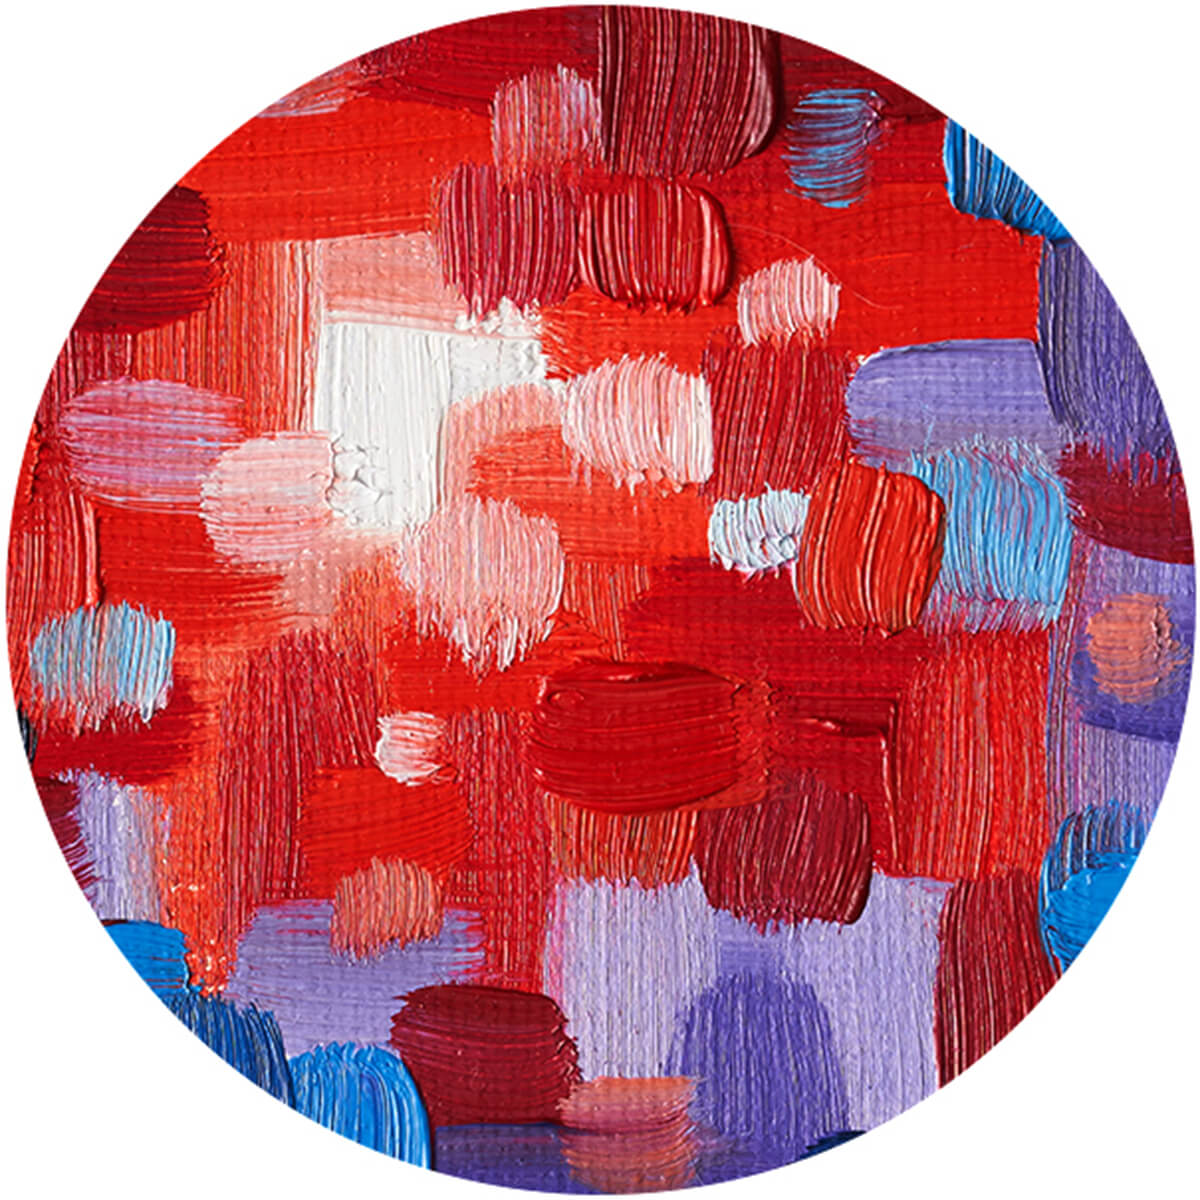
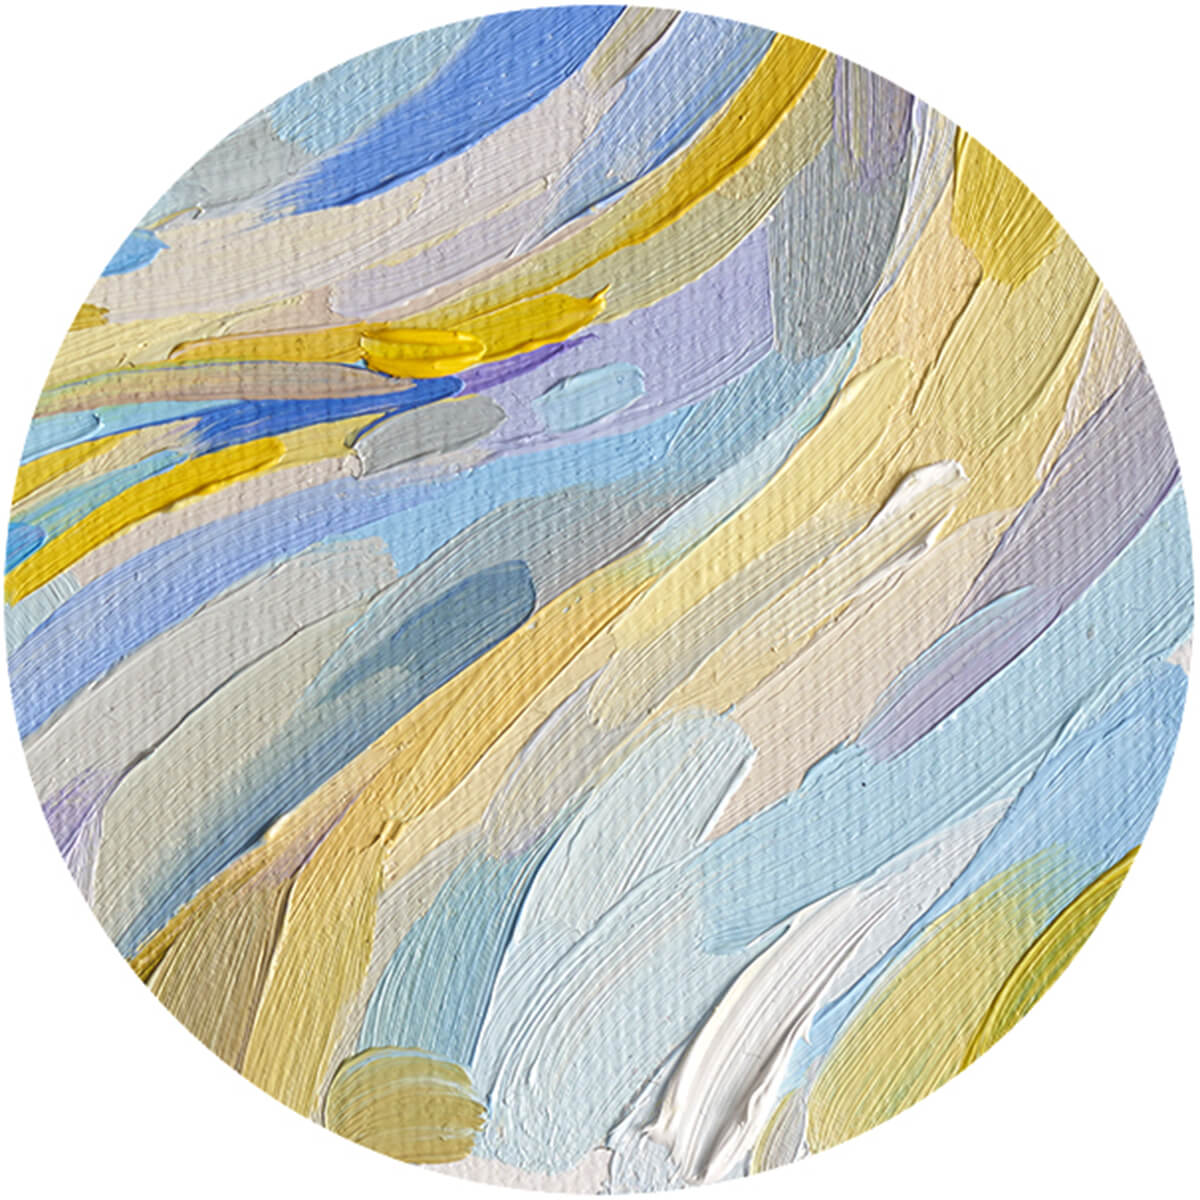
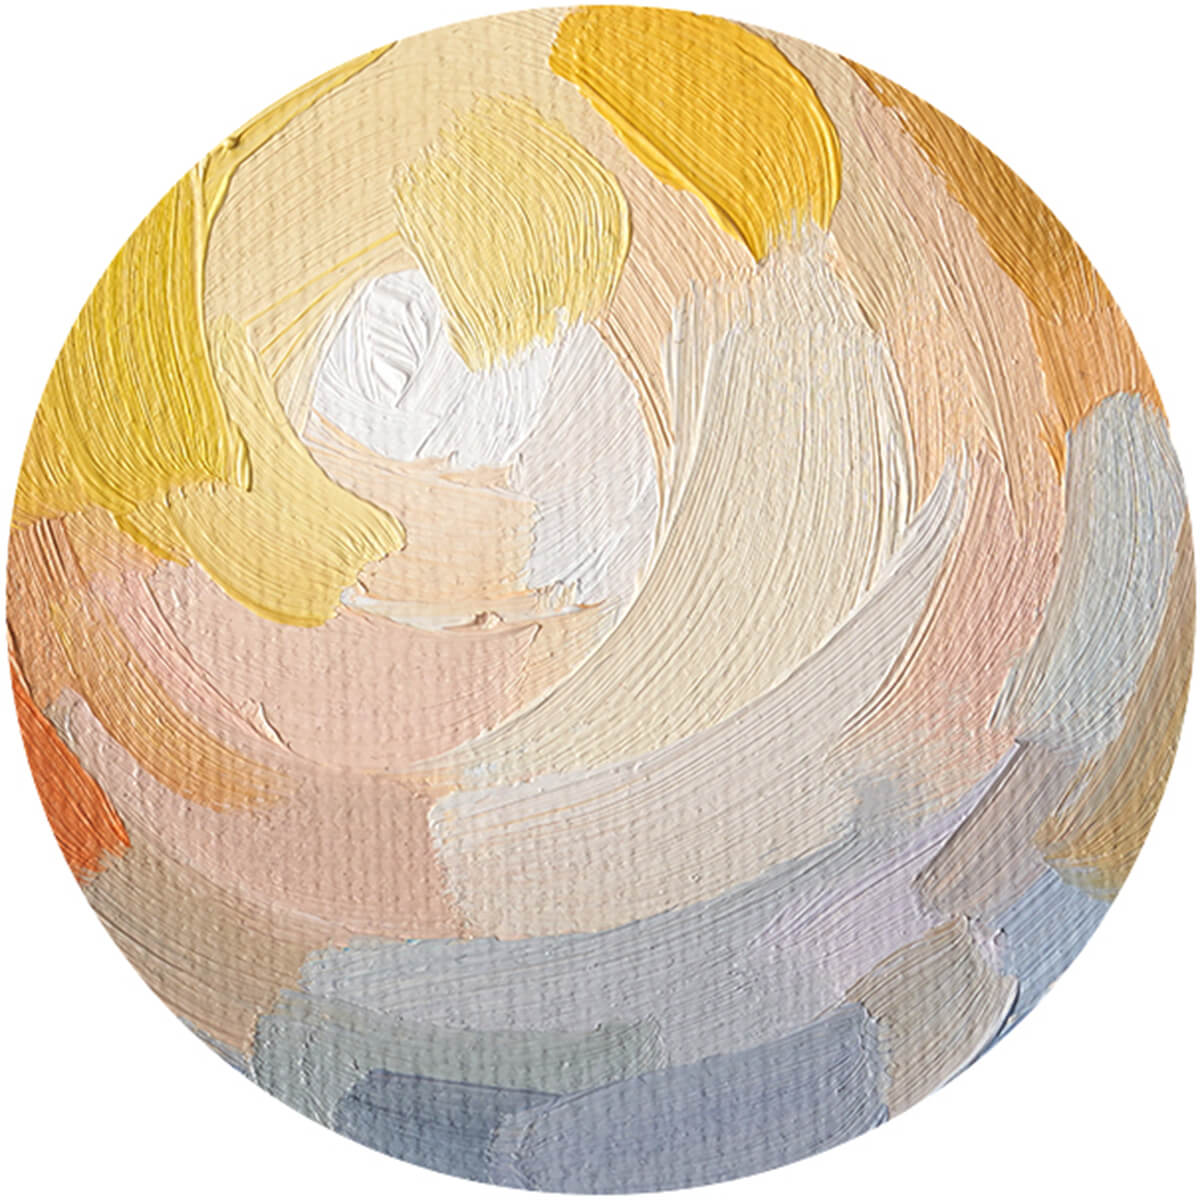
The rich buttery consistency of oil-based paints makes them a sumptuous and satisfying medium. The minerals that give them their intense hues are deeply suspended in an oil base that results in an easy flow on whatever surface it touches. The beauty of oil paints is also in their ability to be used for impasto works as well as thinned for semi-transparent glazes. The potential of what you can create through its shades and values are far-reaching and probably part of the reason artists have chosen it over the centuries.
These slow-drying paints are especially forgiving for beginning painters. Pieces can be reworked over a few days, allowing you to make changes or corrections without a lot of fuss. Once dry they maintain their vibrancy practically forever. Since they are made with oil, it's useless to thin or clean oil paint with water. Rather, solvents such as turpentine must be used for these purposes.
Oils offer so many opportunities for creating unique works of art. In this article, we’d like to share some popular techniques our artists use. If you've never painted with oil paints, now's a great time to give them a try. At Arteza we have sets that will help you start or add to your current supplies. Our paints are developed using premium ingredients so you achieve amazing results.
Oil Painting Basics
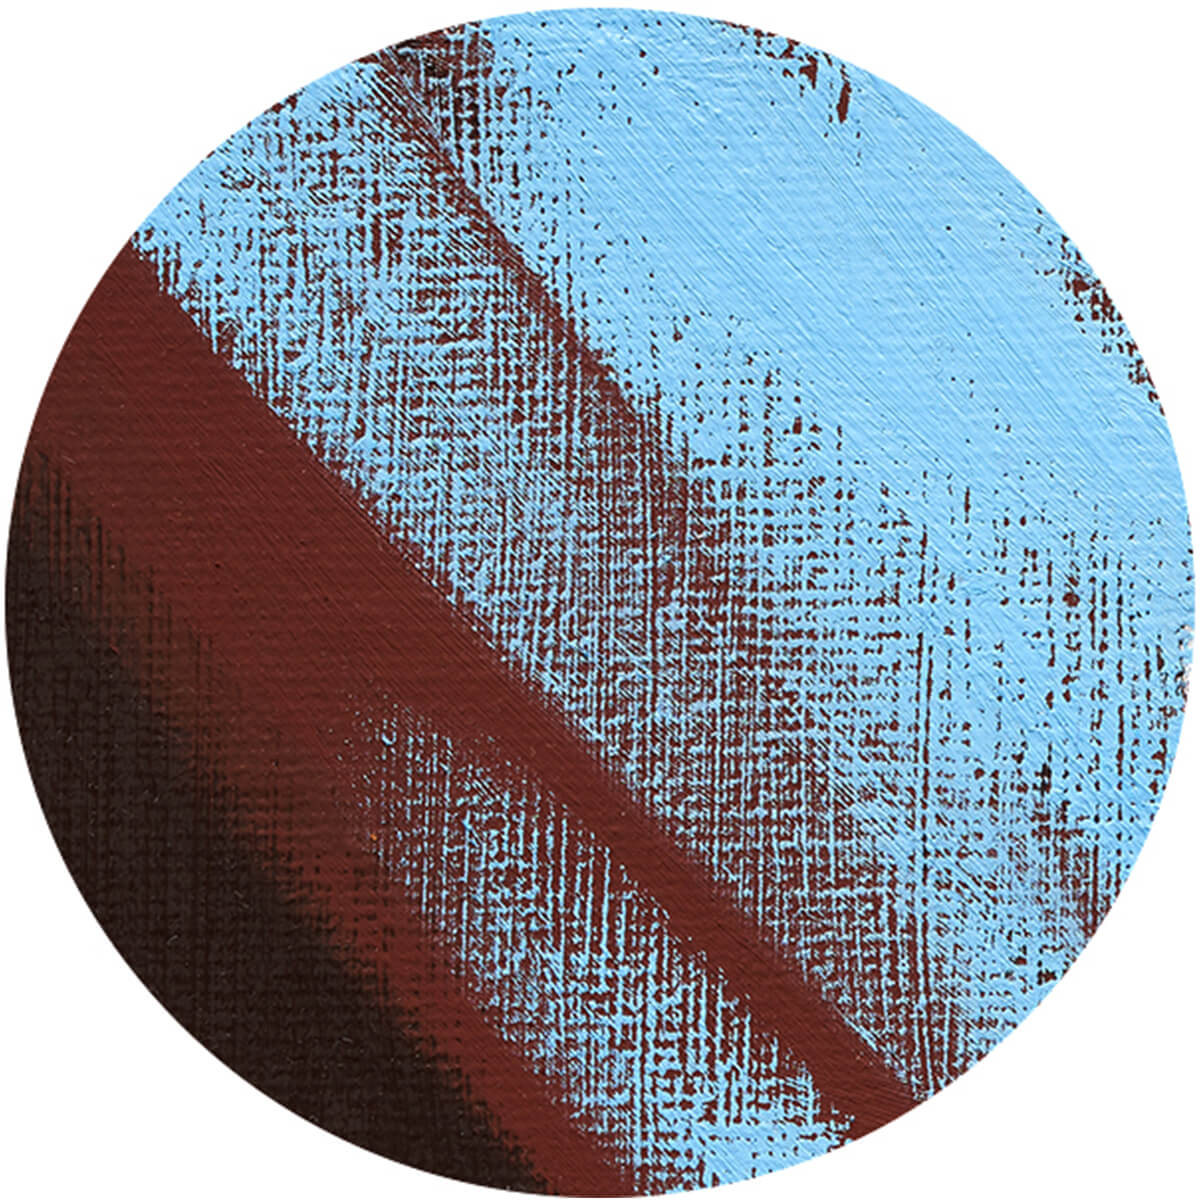
1. Opaque Layering
Oil-based paint is extremely opaque. It is able to completely cover up a dry area of paint without a trace. Many contemporary artists use this method to block out certain areas to evoke an emotional reaction or as a method of creating a focal point.
2. Alla Prima (Wet-On-Wet)
If an oil painting is completed in a single sitting, it is considered to be painted “Alla Prima” or while still wet. Not allowing the paint to dry allows the artist to take advantage of the creaminess of the medium for subtle nuances and new colors through blending. Many painters would rather finish work all at once than to keep coming back to it time and again.
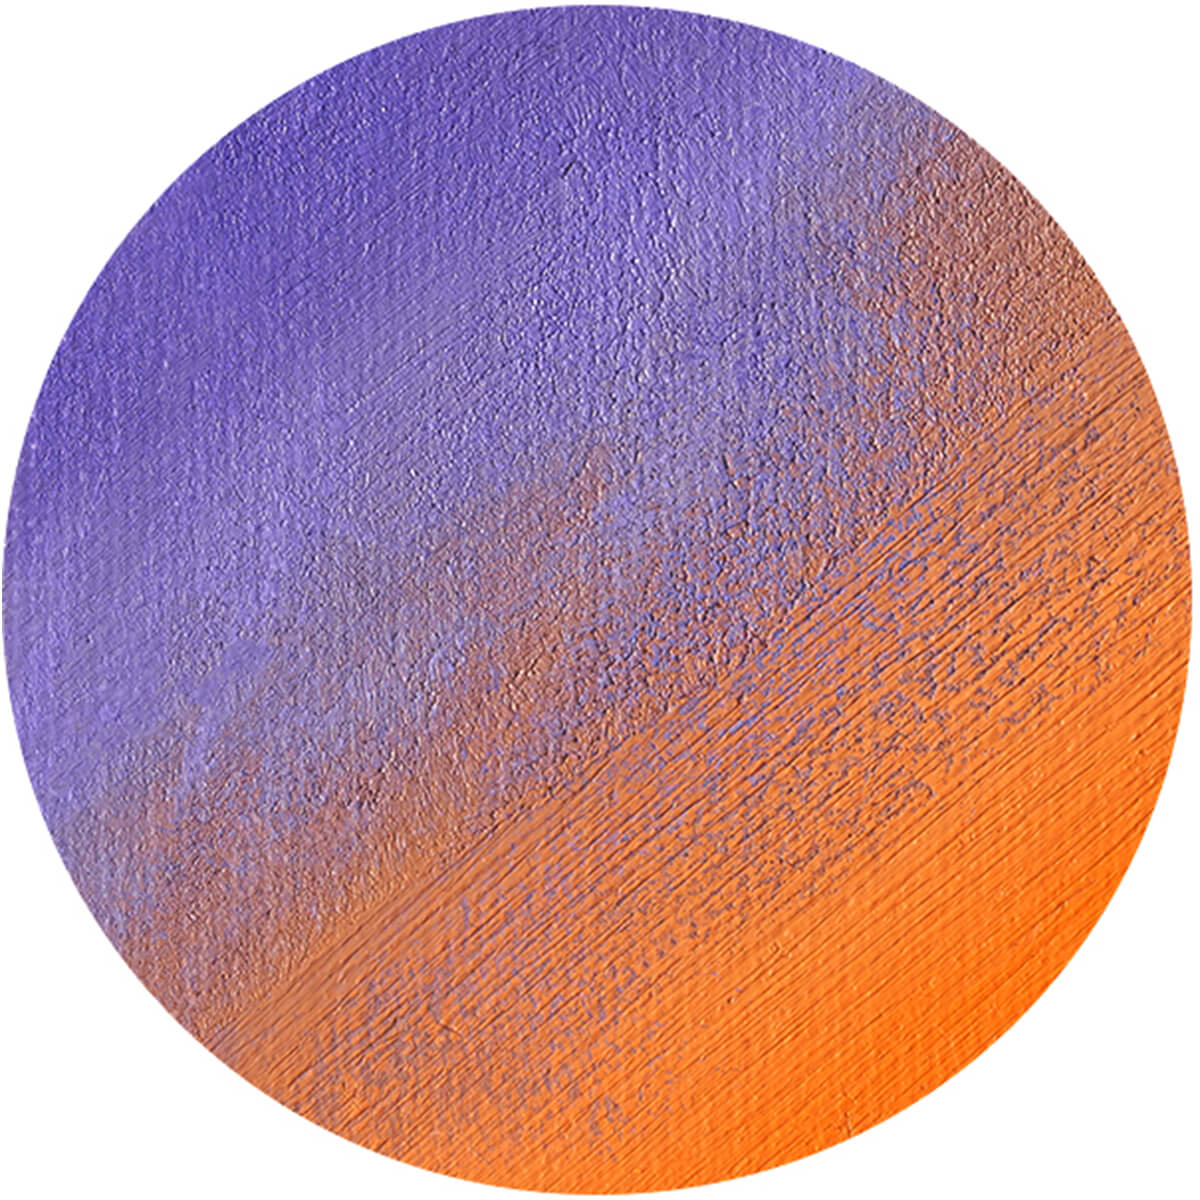
3. Color Transitions
The slow-drying time gives oil paints the ability to be moved around the canvas for a seamless transition from one color to the next. This aids in the creation of soft gradients which can boost the realistic qualities in still lifes, portraits, and landscapes.
4. Glazing Technique
This was one of the favorite techniques of the great Leonardo da Vinci. He used several thin layers of paint on top of an initial opaque layer to create a depth of color. In this method, the layers of paint are thin enough to dry more quickly, which is essential before adding the next layer. To thin the paint, a solvent is used to dilute the paint.
5. Layering Light Shades to Dark
Once your canvas has dried, it’s easy to add light hues on top of it. This is also the best way to get the most contrast.
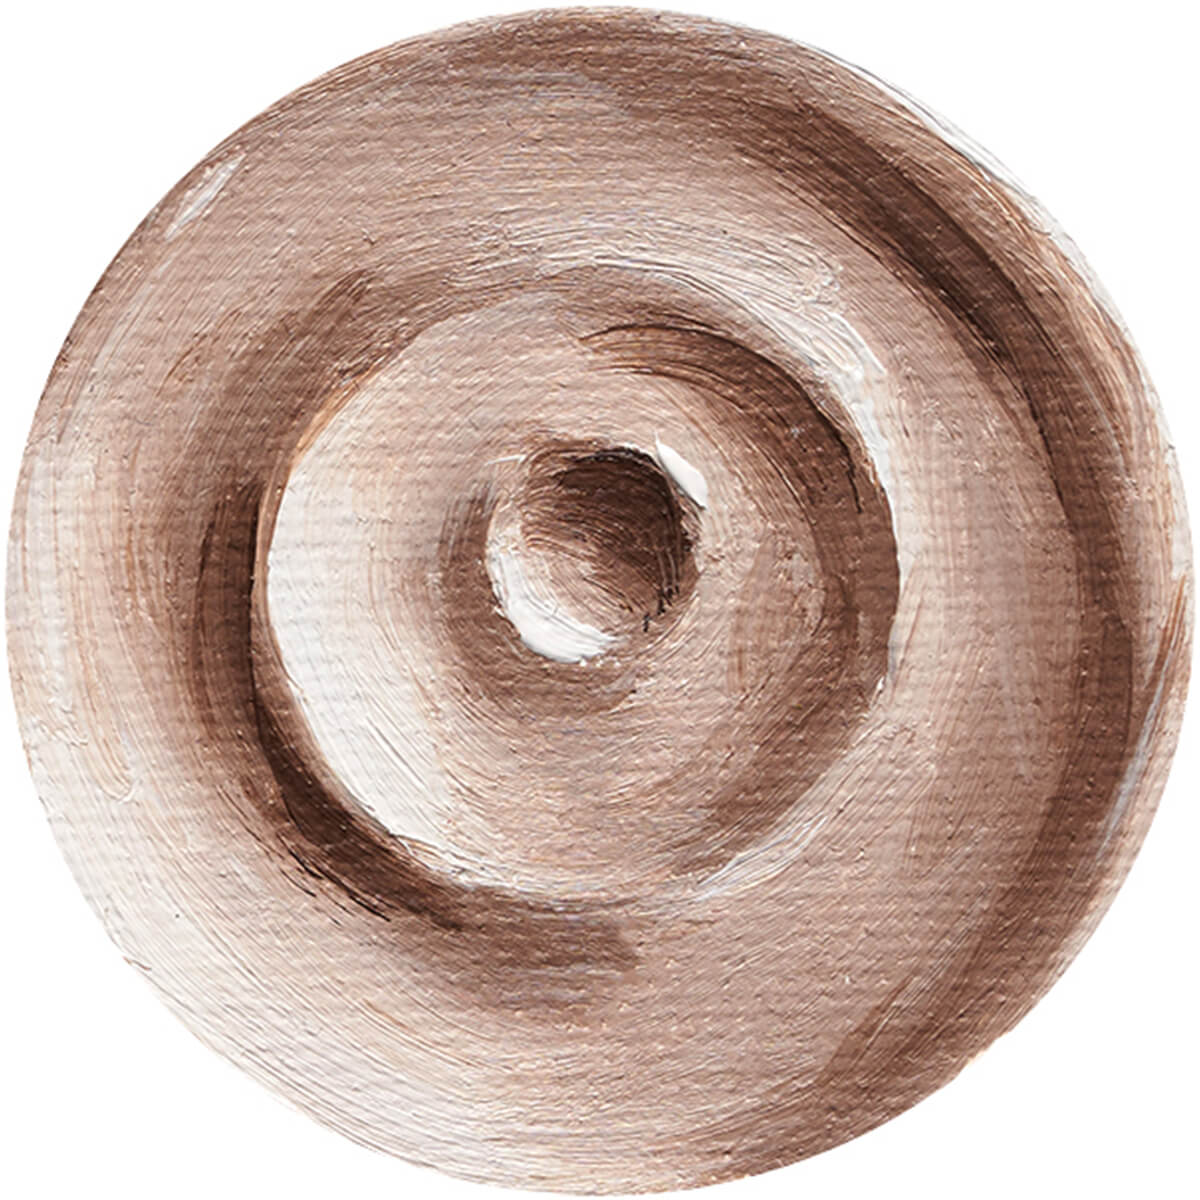
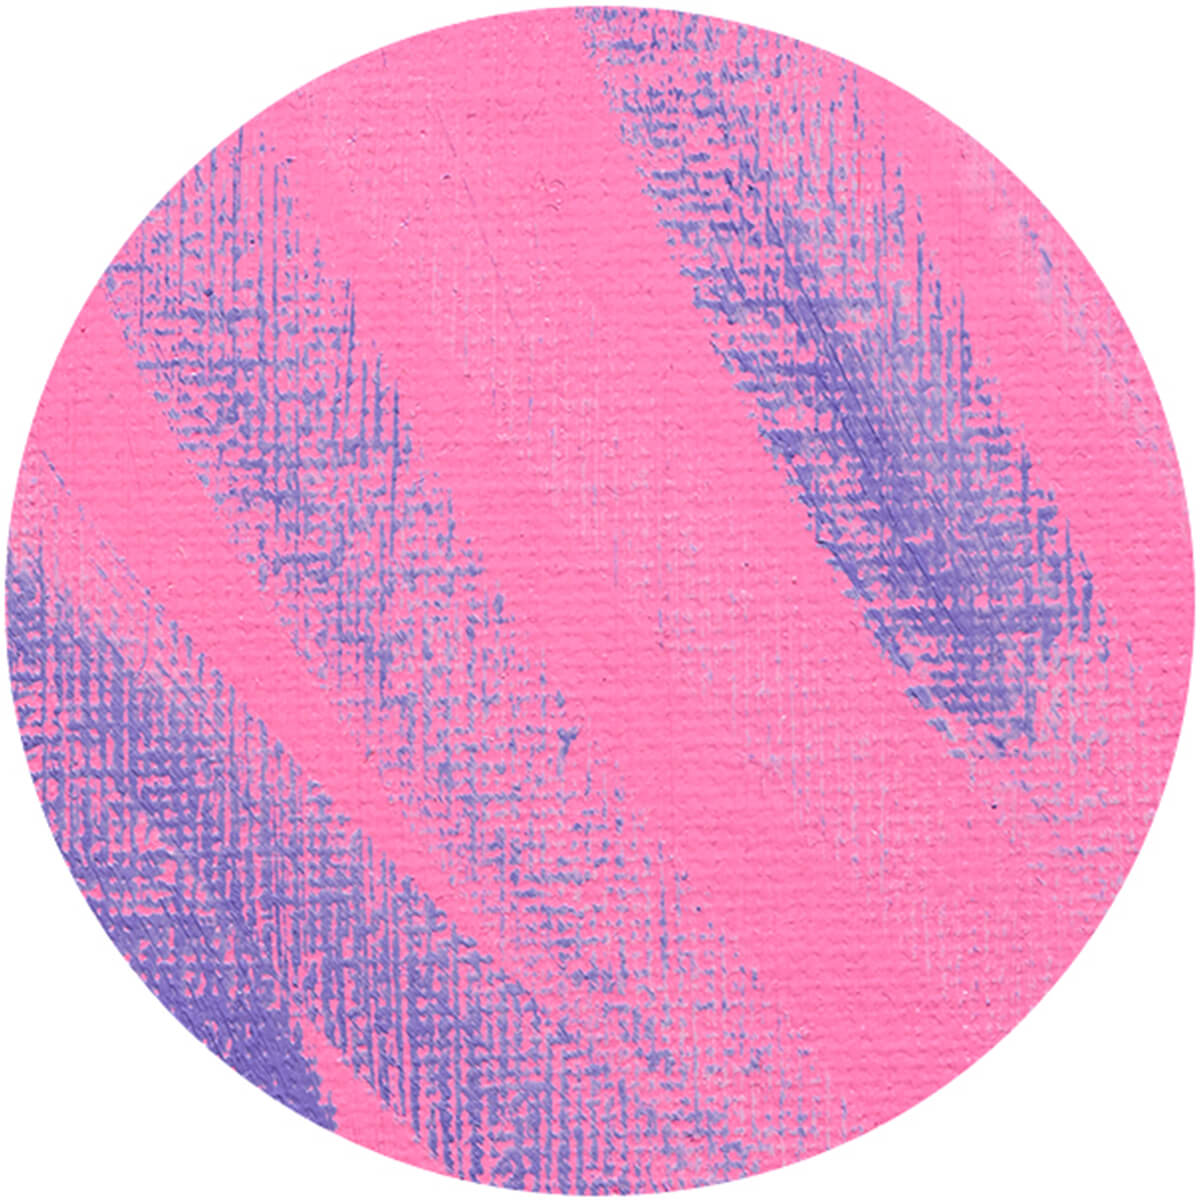
6. Sgraffito
Use the density of the paint to create textural elements. This is accomplished by allowing the first coat to dry, then laying down a contrasting color. Now take the handle of the brush, a palette knife, or spatula and scrape through the paint. This lifts a bit off to reveal the color underneath while leaving behind edges from the rut that was created.
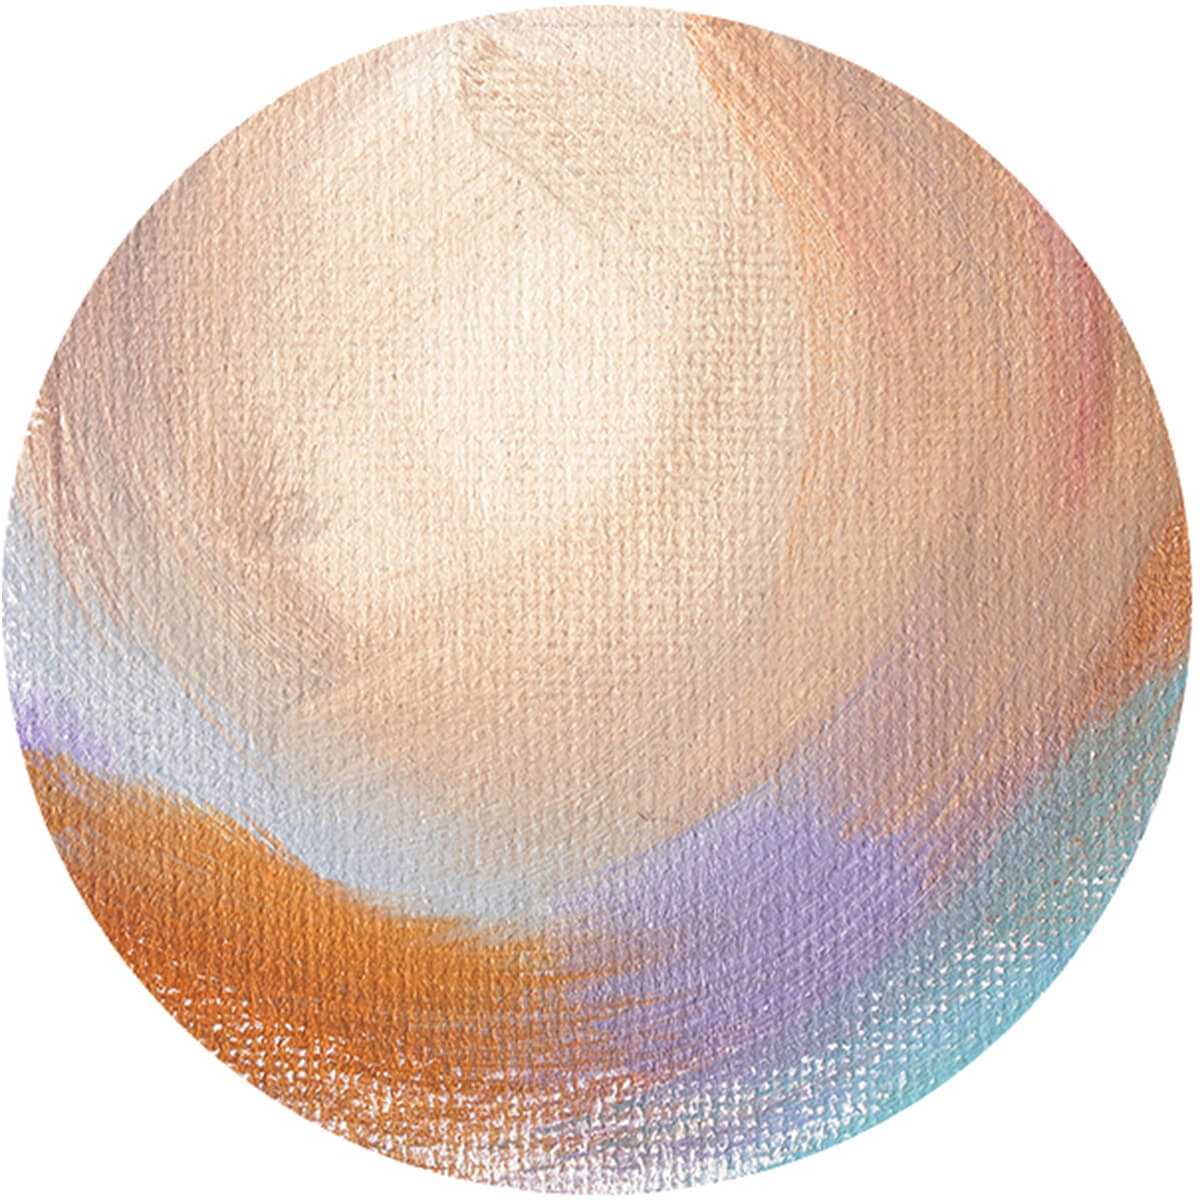
7. Sfumato
Sfumato means “to evaporate like smoke” and was another invention by da Vinci. It’s the act of softening the transition between light and dark colors by applying very little pressure to the brush as it is stroked between two values of a color. It takes patience and practice, but once achieved will bring a dimensional and ethereal quality to your work.
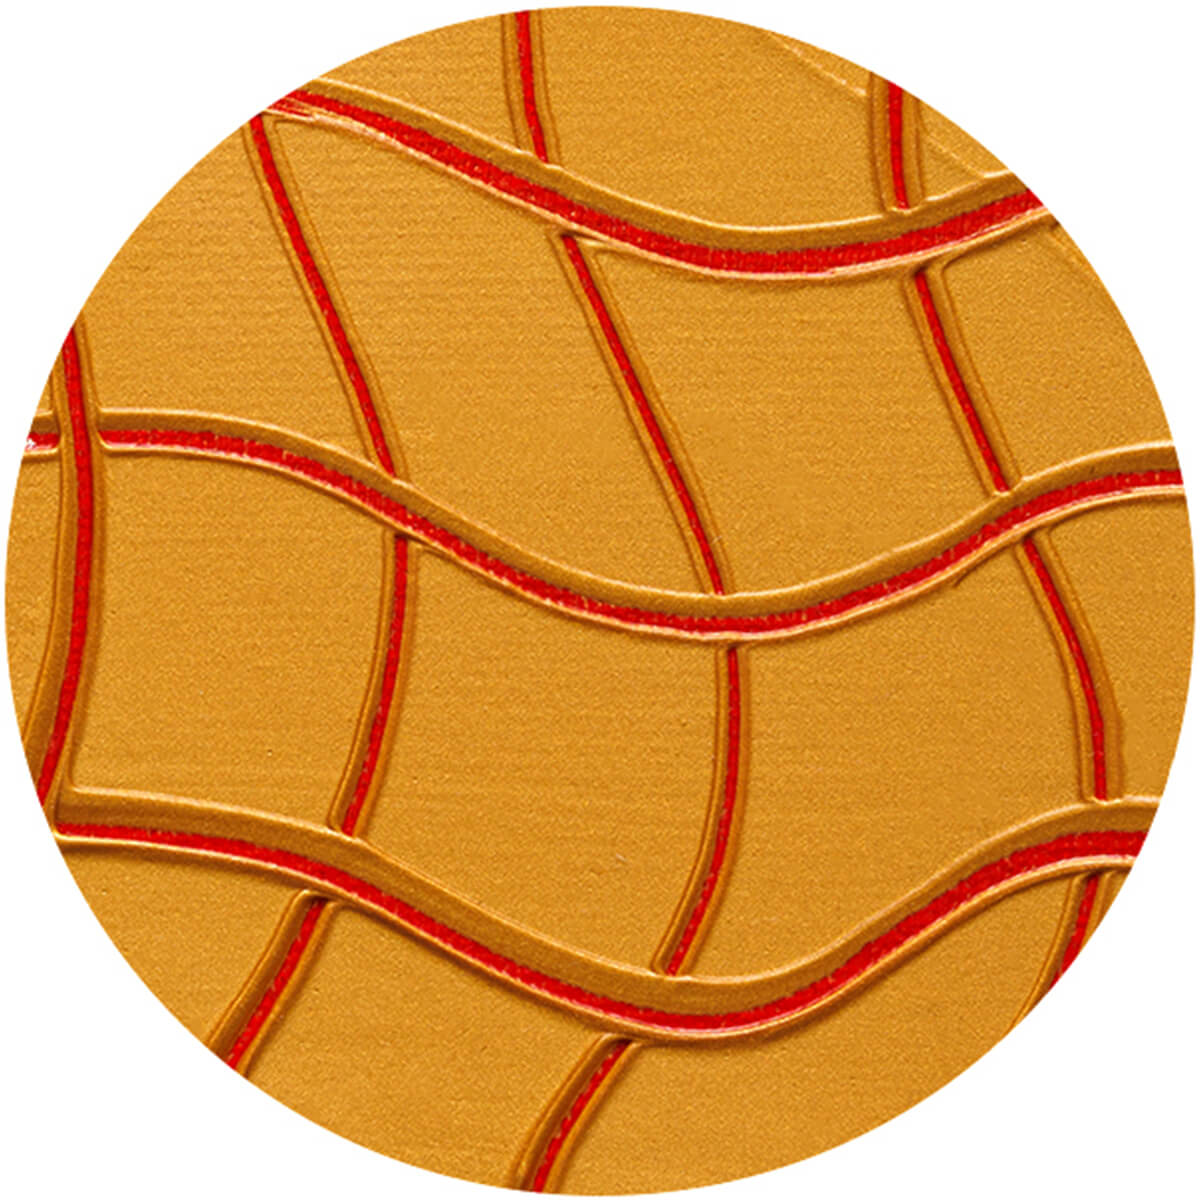
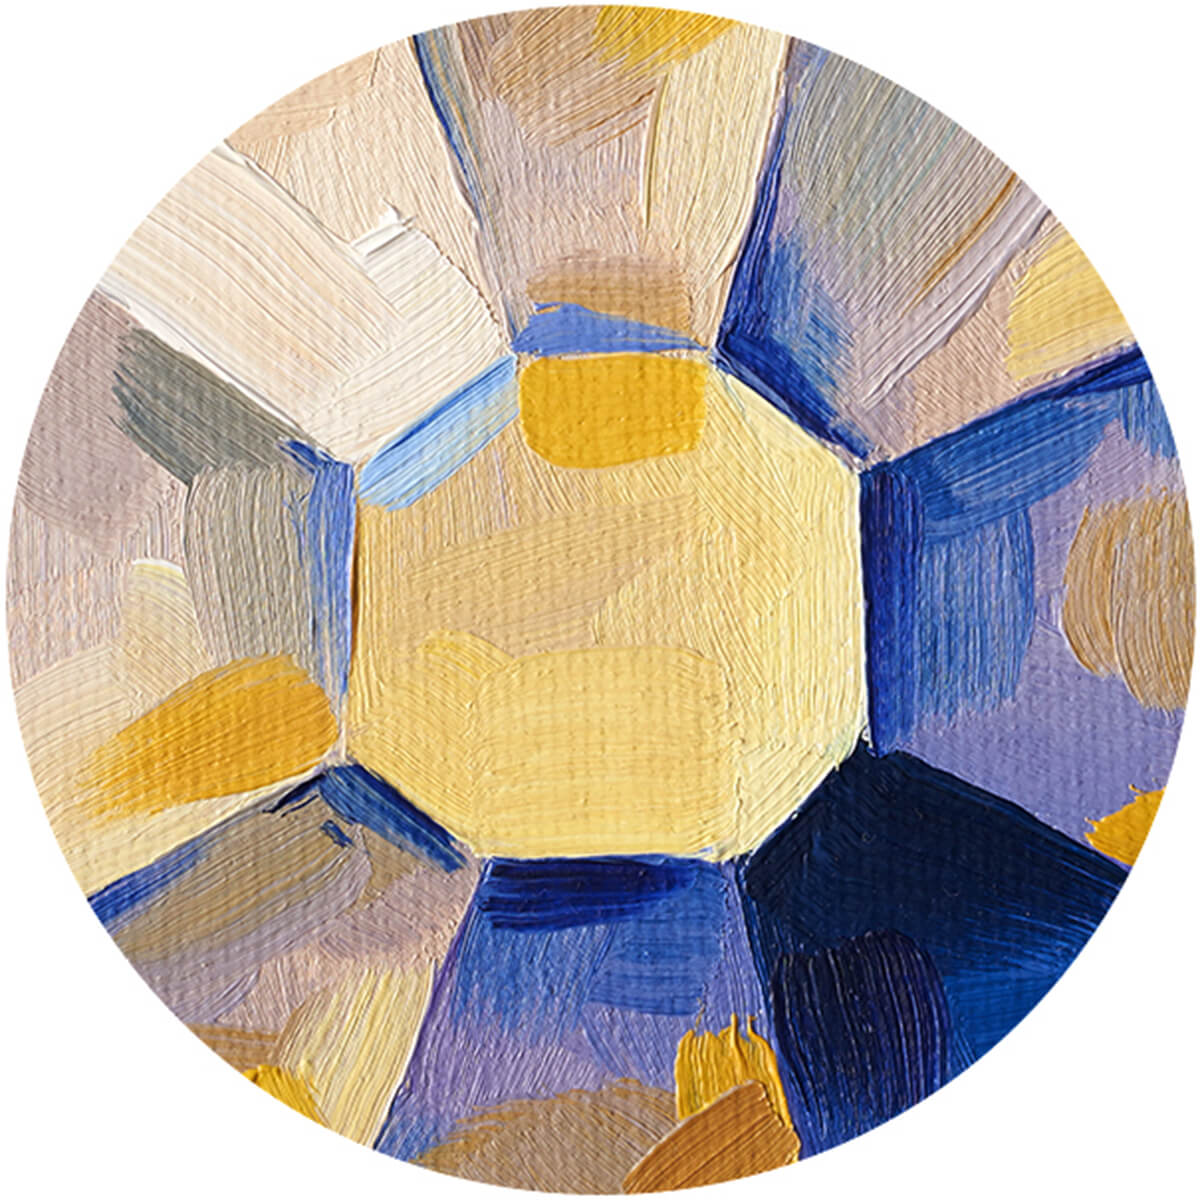
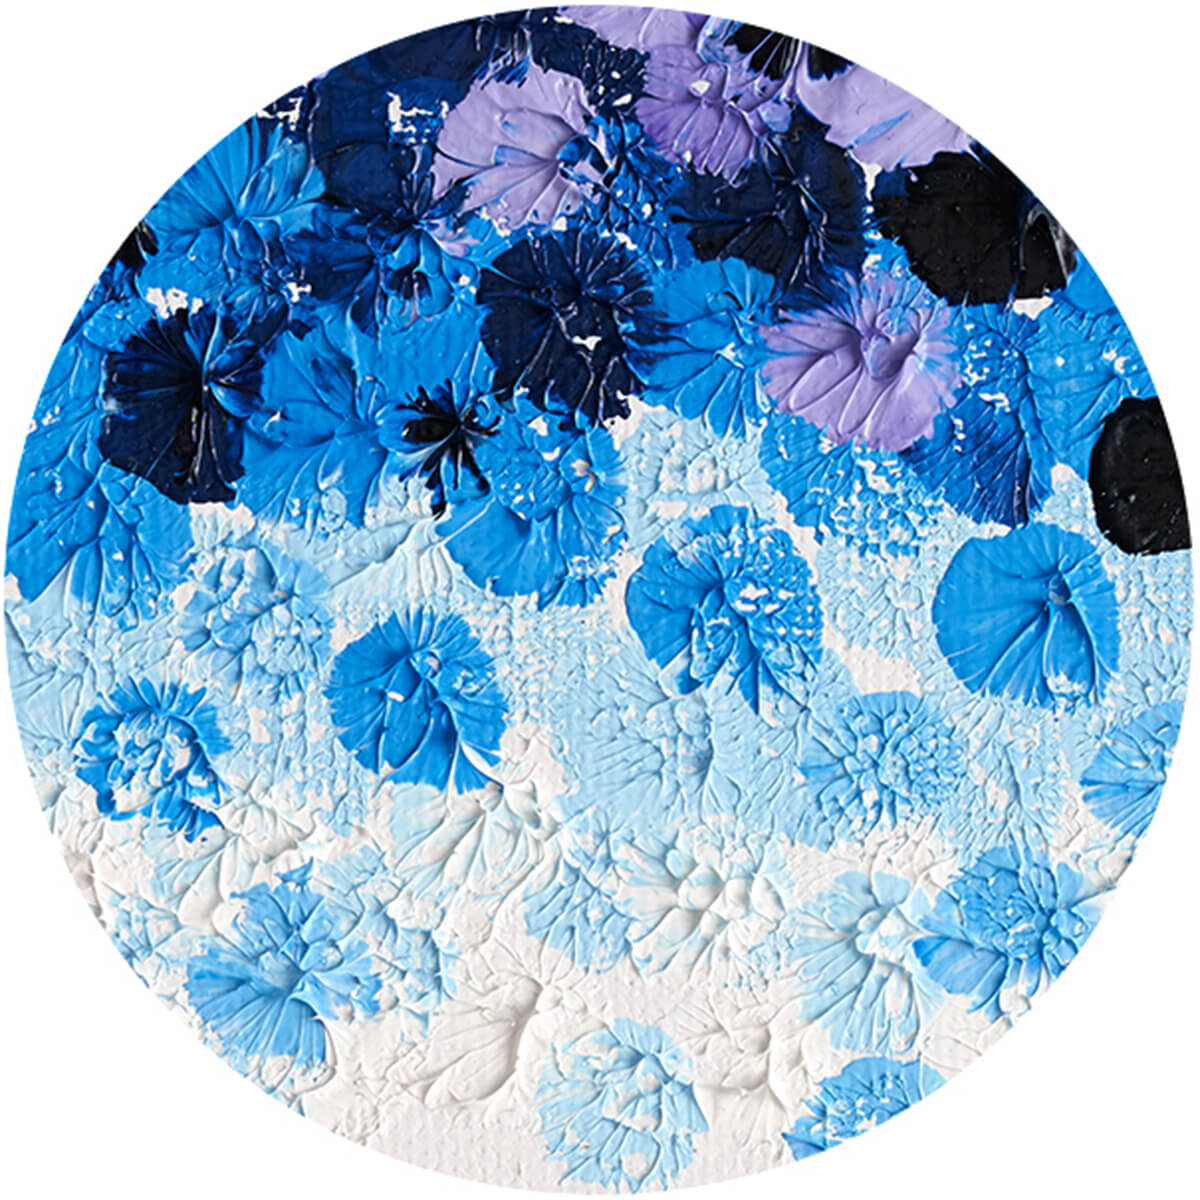
8. Impasto
When it comes to gaining the most texture in a work, impasto is the best way to do this. The thickness of the paint allows you to scoop some up with a palette knife and apply it directly to the canvas. Many artists forego the brush altogether and do the work entirely with a palette knife. This adds a sculptural quality, which gives expression and energy to the painting.
9. Thick Into Thin
In this method, the lower layers of the painting are done with highly diluted paints. Then, layers are applied in an approximately equal combination of solvent and oil, gradually moving to thicker layers using paints with high oil content. This last layer makes up the top coating of the canvas.
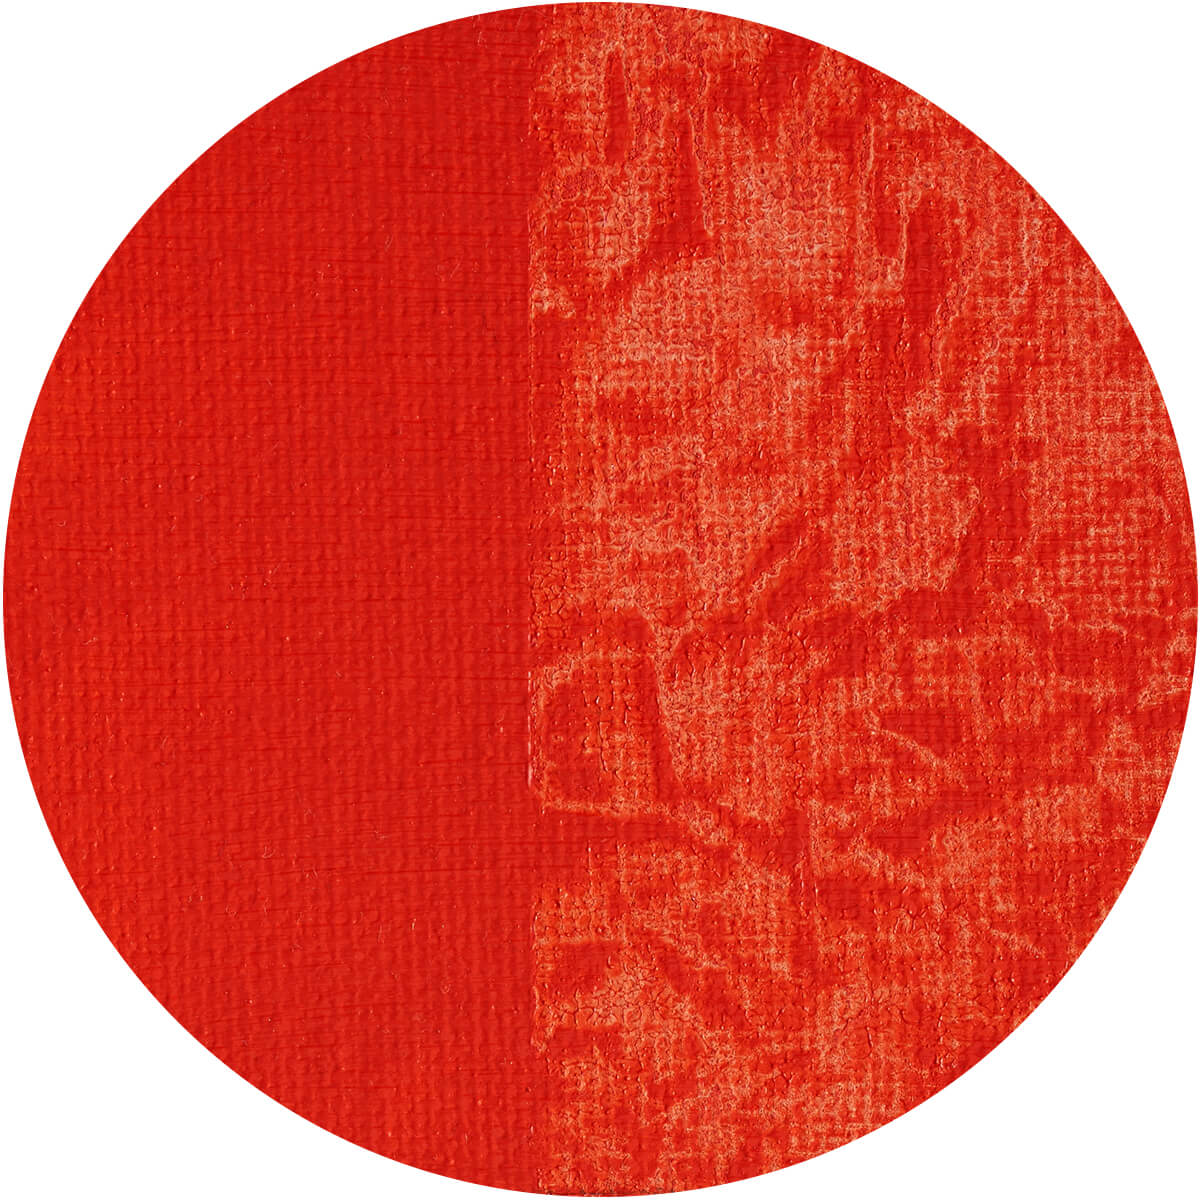
10. Dry Brush
Just as it sounds, in this technique the brush is loaded with slightly diluted paint so it remains thick. Using a hard bristle brush, rough strokes provide greater depth and saturation of the canvas.
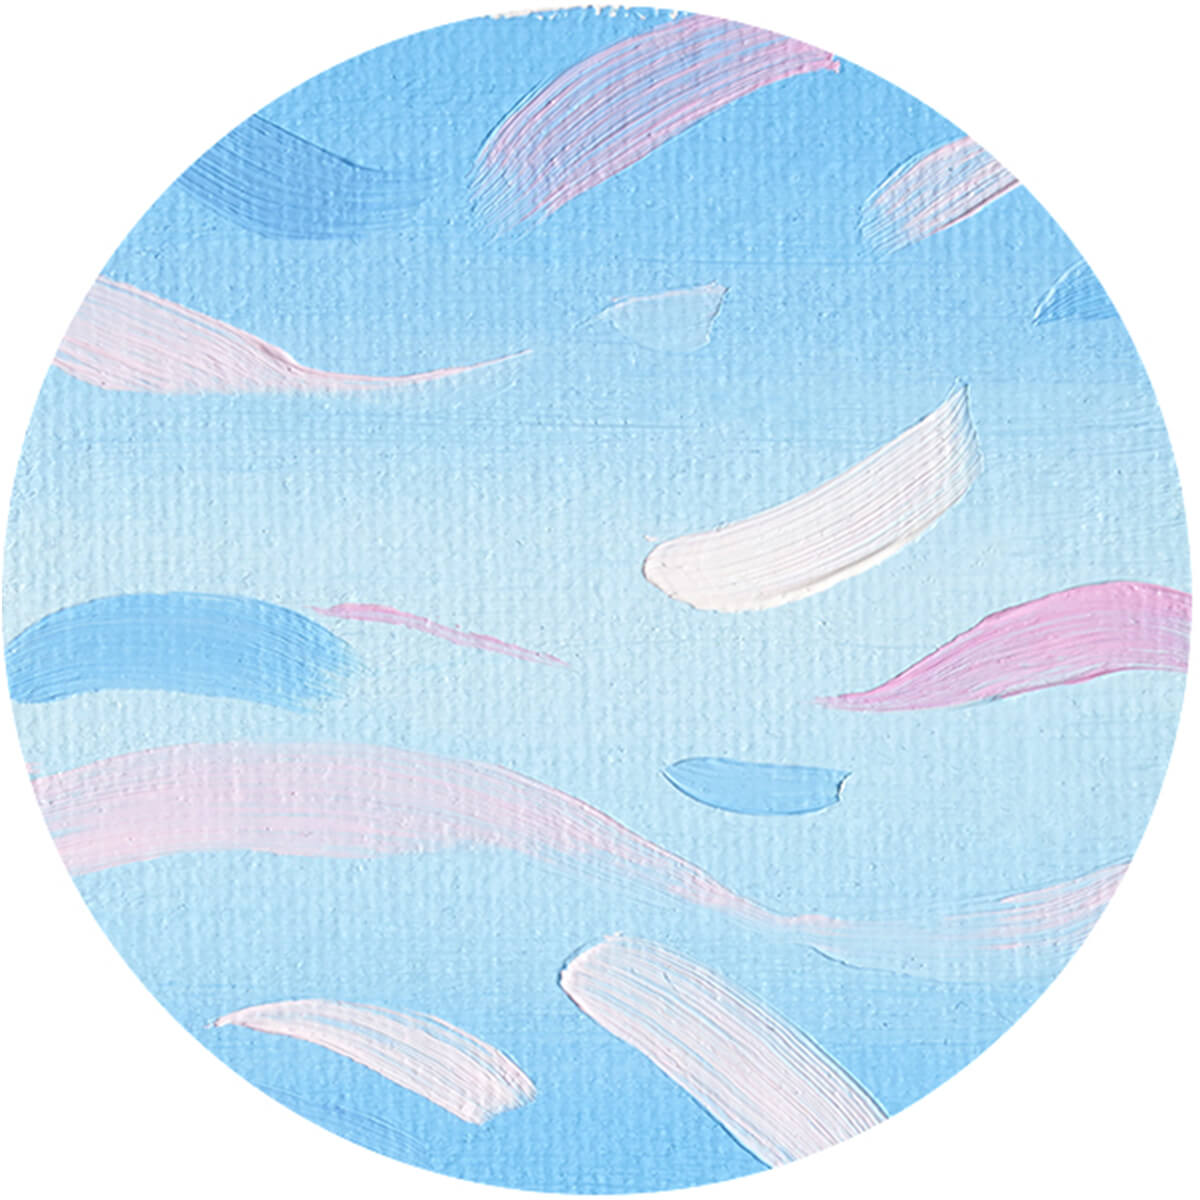
11. Basic Brushstroke Technique
This is when you mix the paint colors you desire on the palette and apply separate strokes with each one remaining in place. Thus, the volume and form in the painting are fashioned in the desired colors, tones, and sizes on the canvas.

12. Grouting
Instead of smooth strokes, this method is one of rubbing paint either on the canvas as the first layer, or on top of a previous one. This gives you softer, more organic edges and shapes.
13. Following the Existing Shape
To create dimension and volume to a particular object you’re painting, you can apply the paint according to its shape, following the curvature or ins and outs of the subject. This is an ideal way to bring voluminosity and realism to your work.
14. Grisaille
Here you use only one color. To create the shadowing that gives the three-dimensional feel of a real object, add gradual amounts of white or black to that color to lighten or darken areas.
15. Chiaroscuro
This is a classic technique that’s been used throughout the ages by all the great masters. It has to do with determining where a light source is shining on your subject and creating the light, medium, and dark values that result from that. For the most dramatic results, there must be a high amount of contrast between the lightest and darkest areas.
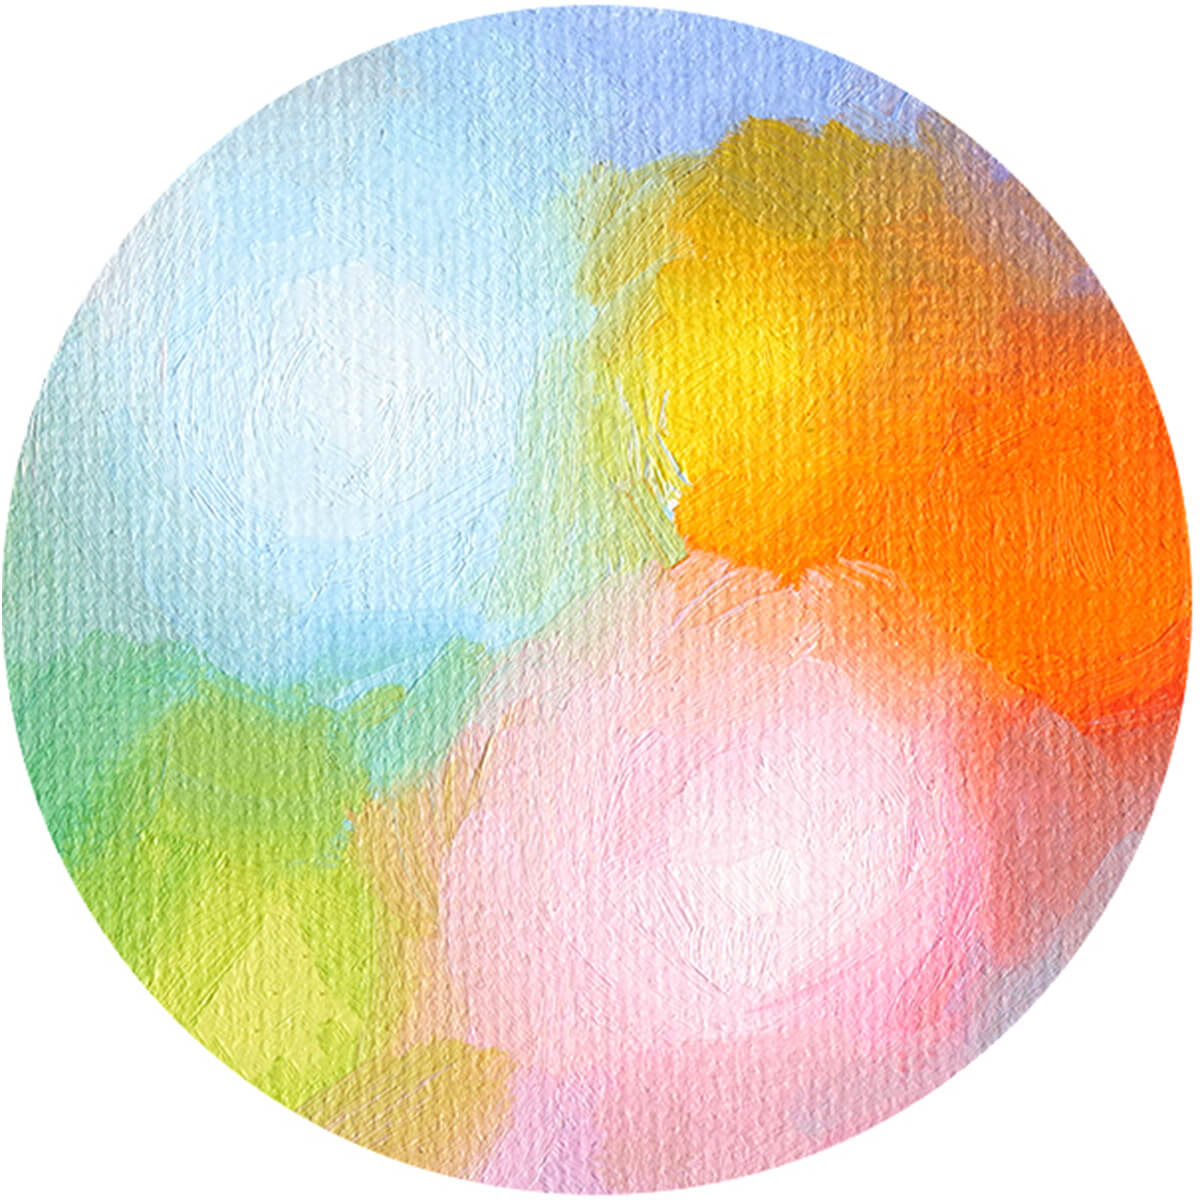
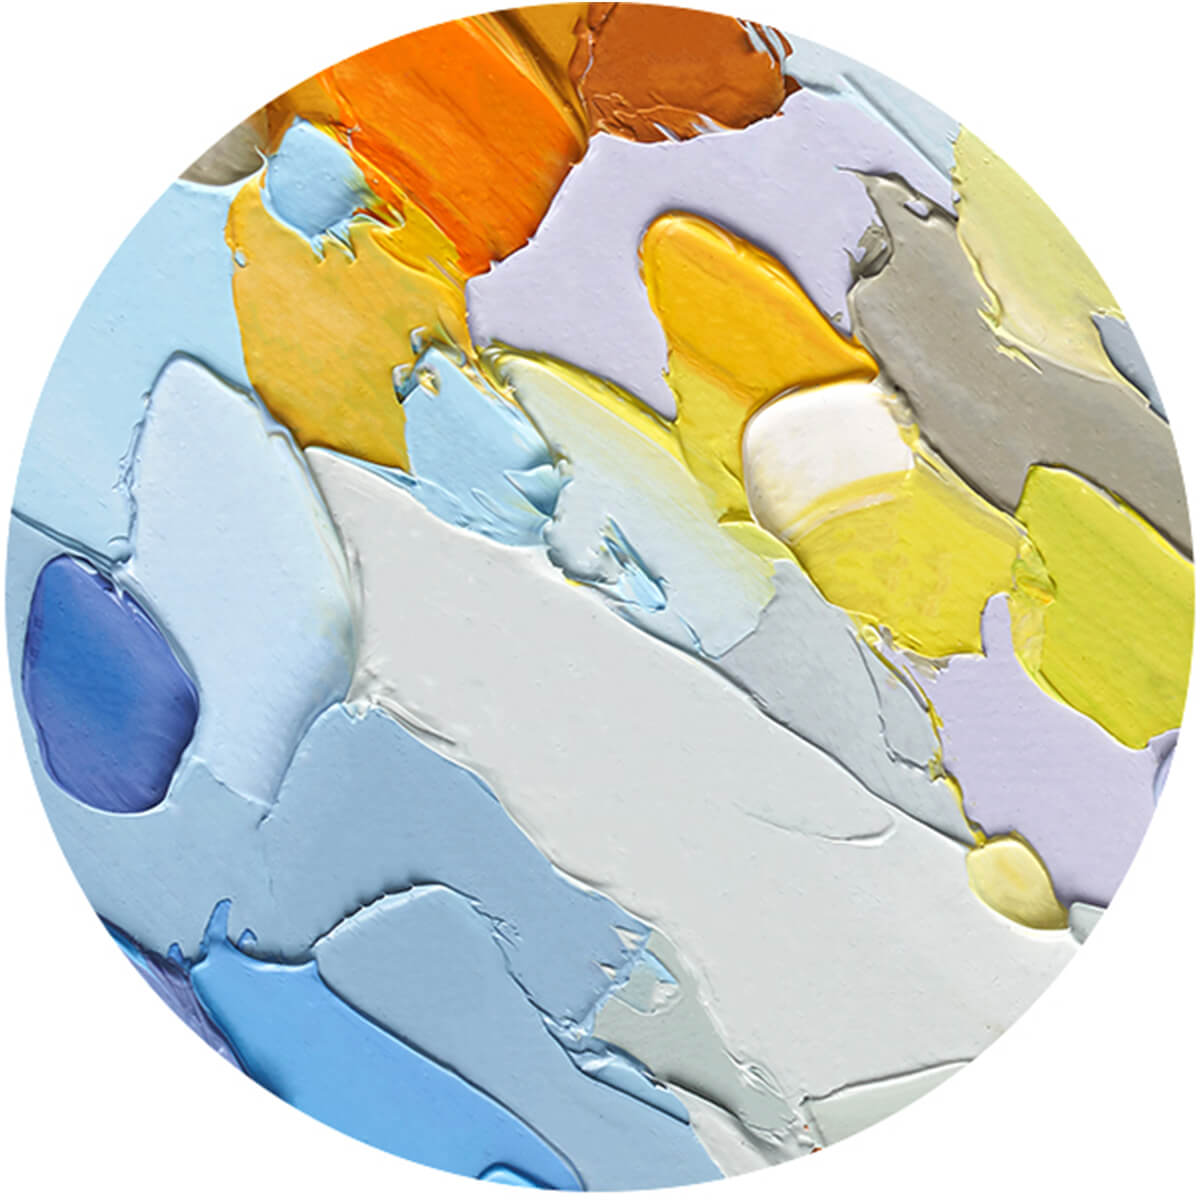
16. Blending
By placing a bit of one color next to another on the canvas, you can merge the two to blend them into another hue. Before mixing the colors, it’s good to have in mind the hue you want to end up with so you don’t add too much of one color to another.
17. Blocking In
To guide you through the painting process, you can add initial hues to the general areas of your work. This is known as “blocking in” and is very helpful to establish the values and color scheme of the painting before you begin. Many artists use this for making quick sketches as well as during the first pass at the picture.
18. Mixing with Charcoal or Graphite Lines
One of the first things an artist does is make a sketch or drawing on the blank canvas. This drawing is made using a graphite pencil or charcoal. It is possible to strengthen a shape by mixing the paint with these lines as you paint around it.
19. Transparency
For rendering an object that’s transparent, place opaque colors over the transparent ones, letting some of the translucent ones show.
20. Saturated Color
Saturated colors are those that come straight from the tube and are not mixed with other hues. These deeply pigmented shades are useful when depicting solid objects.

21. White
In the world of oil painting, white is an all-purpose hue. Its deep saturation lets an artist add volume and relief by emphasizing white tones on solid objects. To do this, apply white paint densely over the base color.
22. Soft Texture
Few other mediums offer a look of softness better than oil. You accomplish this look by making blurry and irregular brush strokes with small round or oval brushes, slightly going over one with the other. Then use a clean, dry brush repeatedly and smoothly along their borders until a uniform effect is produced.
23. With Acrylics
It’s possible to use acrylic paint with oils, but the rule is that you can apply oil over acrylics but never the other way around. Acrylics are a nice base because of their quick-drying nature, so you can immediately go to the next stage of your work.
24. Tonking
Instead of adding paint, here you take it away. This is a method for removing excess paint by lightly placing a sheet of newsprint over it and rubbing it with the palm before carefully peeling away. The paint becomes textural as it partially exposes the underpainting.
25. Pointillism
Georges-Pierre Seurat made this technique famous and it led to an entirely new painting genre. As it implies, the paint is applied as dots or points with intermittent dabbing of the paint. To achieve this look, you can use a small round brush, a spatula, or a fingertip.
Now you’ve got some things to practice with oil paints. You’ll discover that this timeless medium can do any style you’re interested in, whether it’s hyper-realism, impressionism, or abstract. We hope now that you’ve seen the range of what you can do with it, you’ll become inspired to do one, some, or all of these. Let us know how your journey in oil painting is going by leaving us a note in the comments below.


2 comments
We’ll gladly pass the suggestion along to our team for you!
hi
the content was very valuable and useful.
please send more tips about oil color painting , especially on flowers .
thank you so much .