
Table of Contents:
Starting Your Piano Drawing
Music is such a wonderful form of art that often inspires artists to create their best work. Sometimes music can be so inspiring, we can practically see the colors and emotions flowing through the sounds. In this post, we’re going to show you how to draw a piano step-by-step using Inkonic Fineliner Pens. These unique, fine-tip drawing pens come in almost every shade imaginable, which makes them perfect for a drawing like this. You’ll get to try out many different types of fineliner drawing techniques throughout this tutorial. Grab your fineliners and other supplies, get comfortable, turn on some of your favorite tunes and let’s start drawing!
List of Supplies
Step By Step Instructions
Step 1
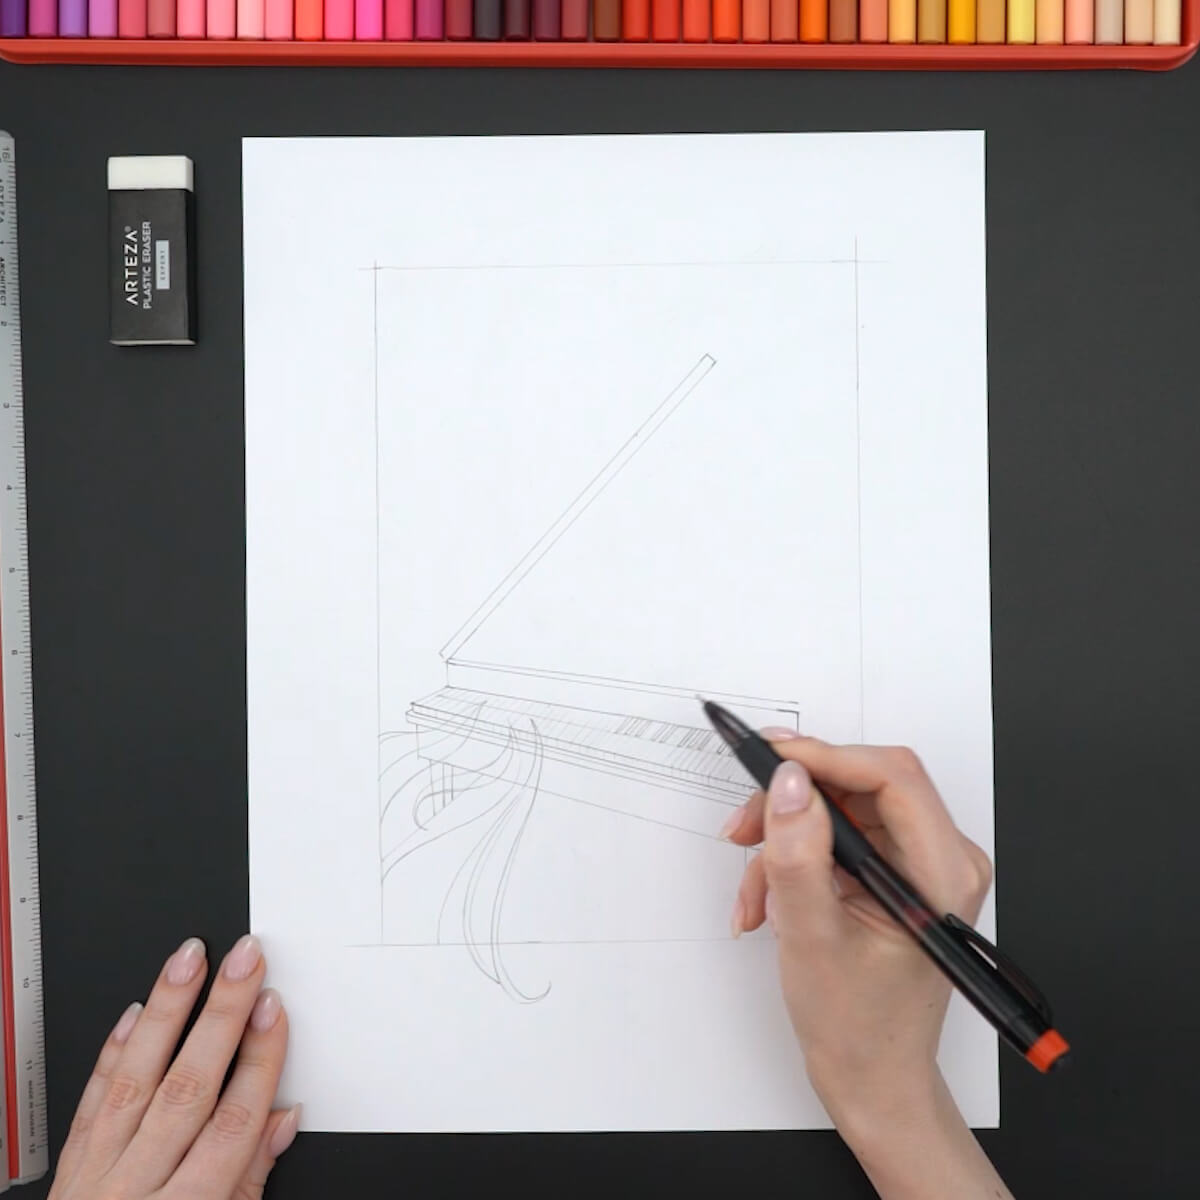
Start by sketching a frame in the center of your page for the drawing. To help us sketch the piano, we used a ruler and a mechanical pencil. Once you’re finished with the basic shape of the piano, sketch some swirls reaching towards the bottom of the picture. Once you’re finished with that, draw the keyboard. Next, sketch the swirls reaching towards the top of the picture and some swirls gradually turning into the lower part of the picture. Add some lines to the body of the piano and some curves to fill the bottom of the picture. Remove any excess construction lines with an eraser and add more butterflies.
Step 2
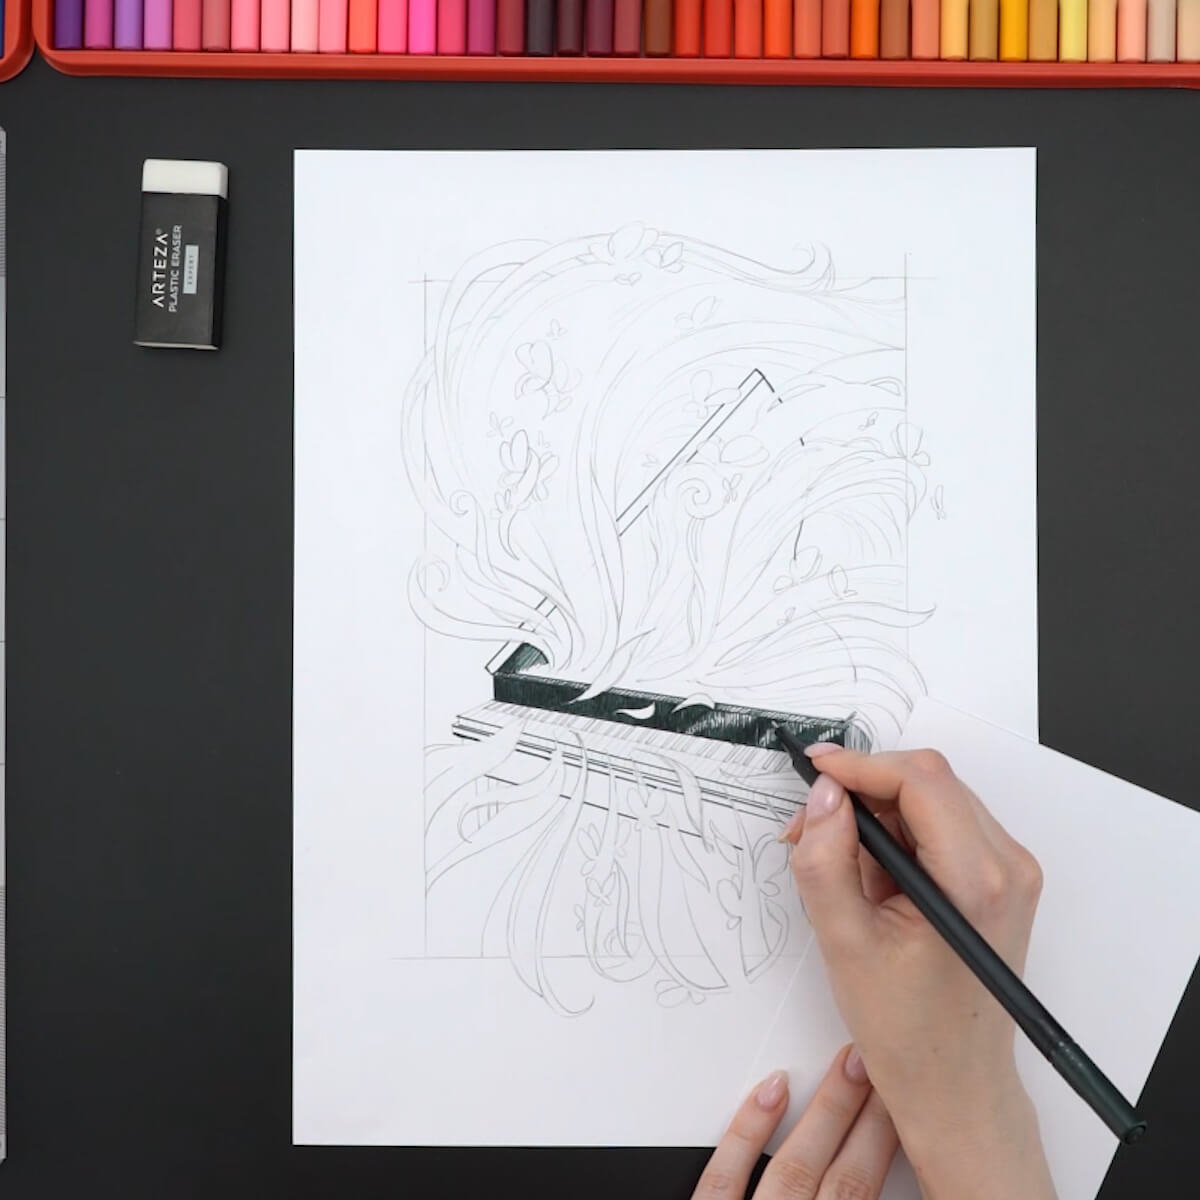
Use A207 to fill the piano with vertical hatching. Draw the outline of the piano using a ruler. Go over the lines of the piano lid to make them bolder then begin shading the surfaces of the piano. Outline the contours of the swirls and shade the areas in between them. Fill the shadows with denser hatching. Now let's move on to finishing the piano lid. Outline the areas between the swirls on the lid then fill them in with hatching. Use the ruler to help you fill in the larger areas. This helps you create longer and more uniform strokes.
Step 3
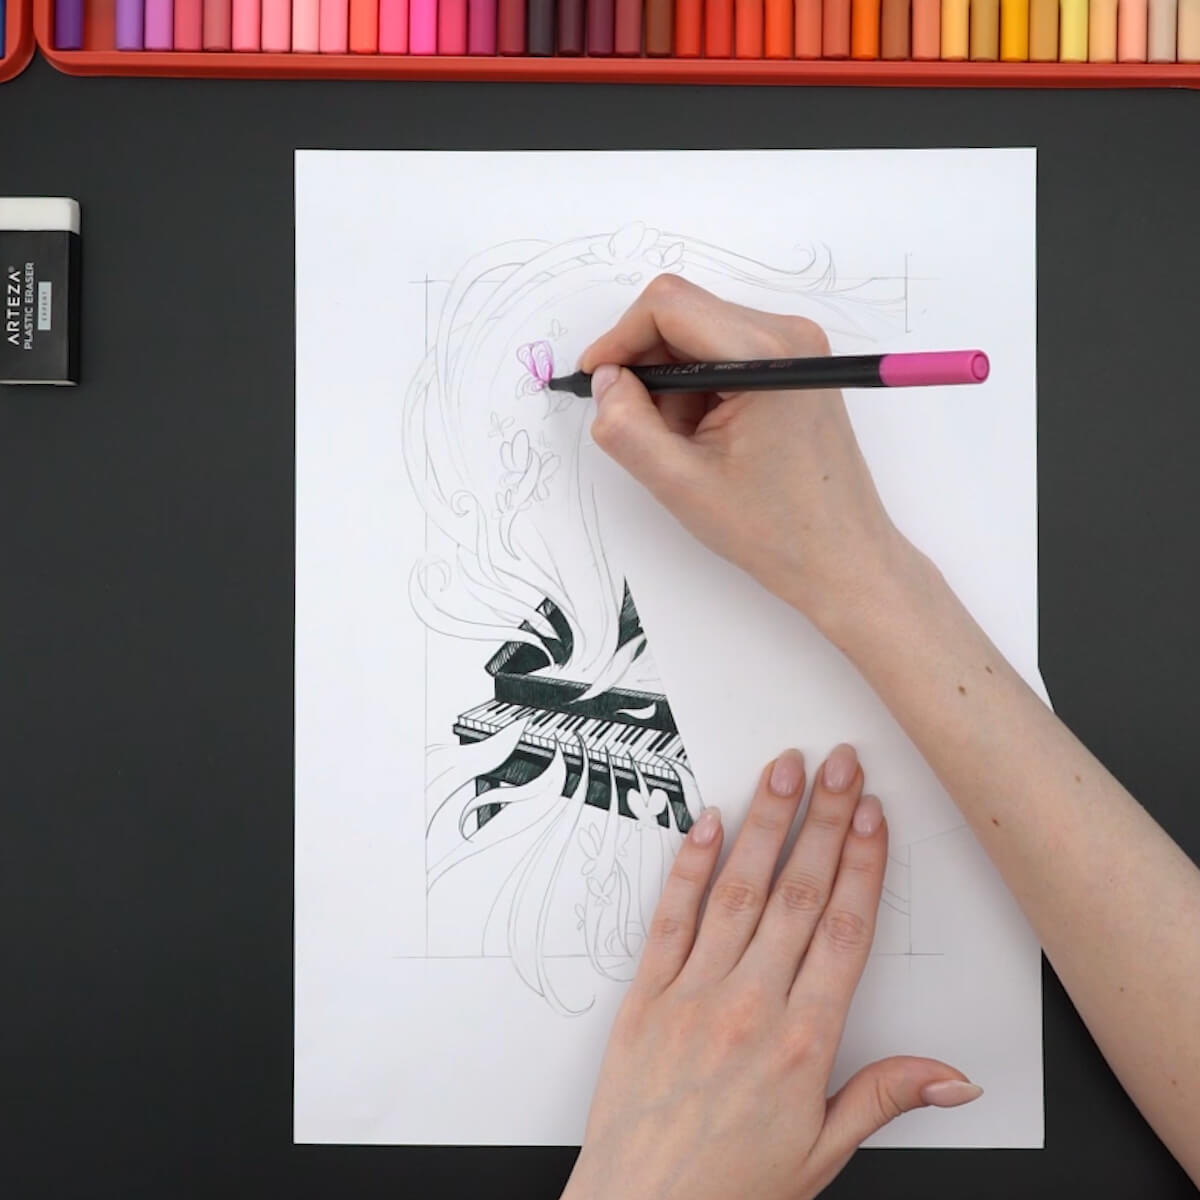
Make the edge of the piano lid bolder, then shade it. Fill in the rest of the piano lid. Draw the outlines of the black and white piano keys. Remove any excess construction lines with an eraser then move on to darkening the shadowed areas. Next, let's move on to coloring the butterflies.
Step 4
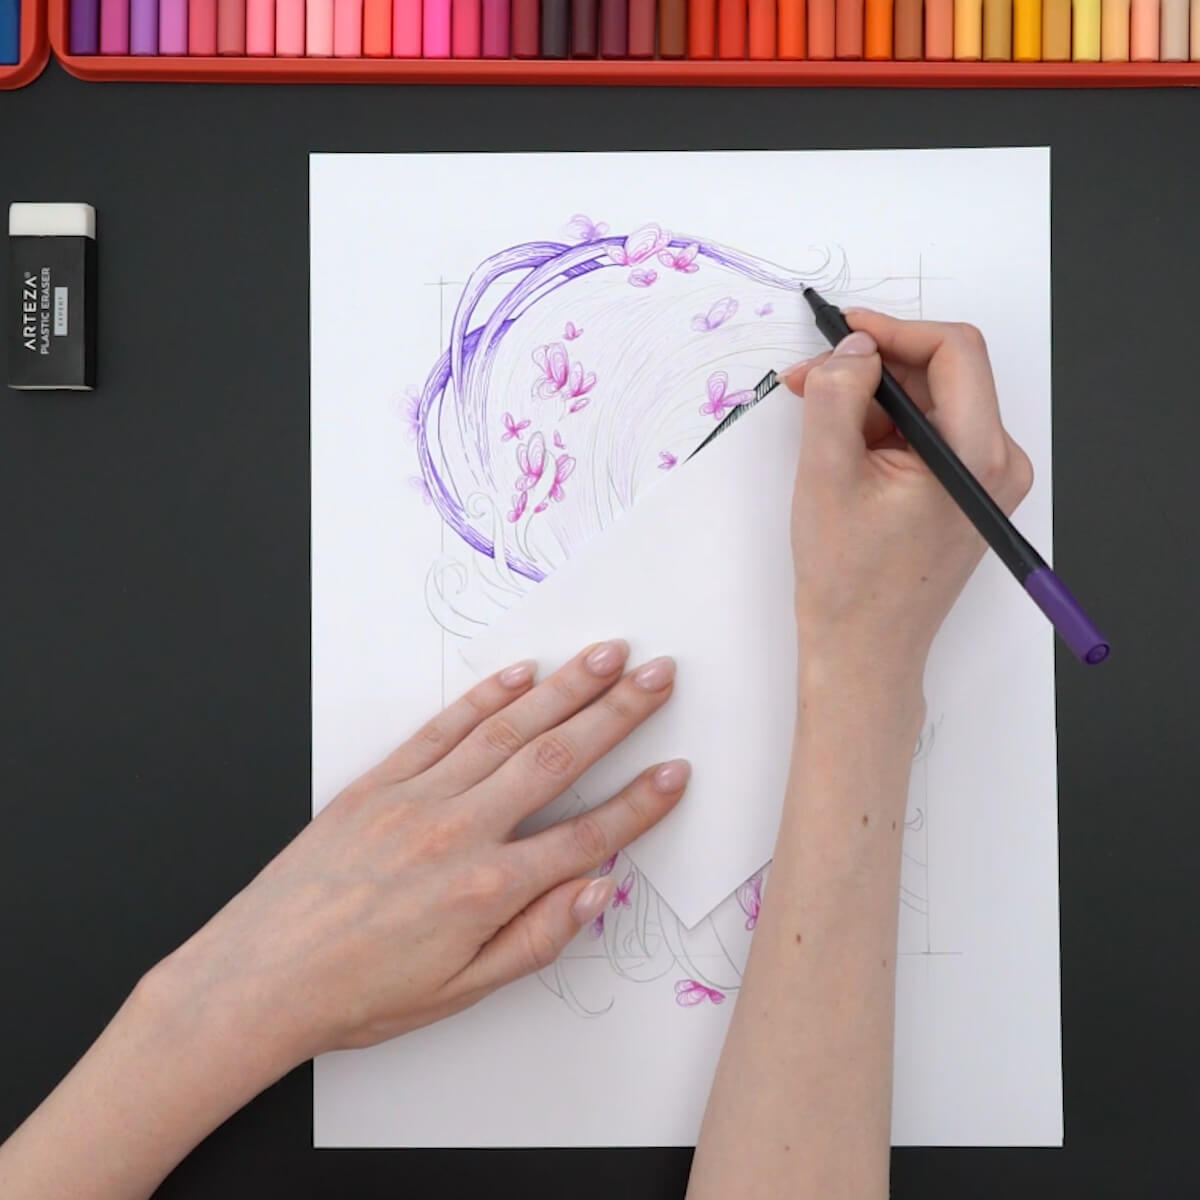
Use the darker and more saturated A109 to make shadows on the musical waves. First, create an outline to fill the shadow areas with lines that go with the flow of the wave. Next, use A125 to create more subtle and beautiful transitions. Use this color to fill in the bends of the waves and to create transitions. Next, use A215 to color the lower waves. Go towards the bottom of the picture and use A188 to fill in the area around the contour of the piano. Densely hatch the area near the piano then smoothly transition to the blank paper.
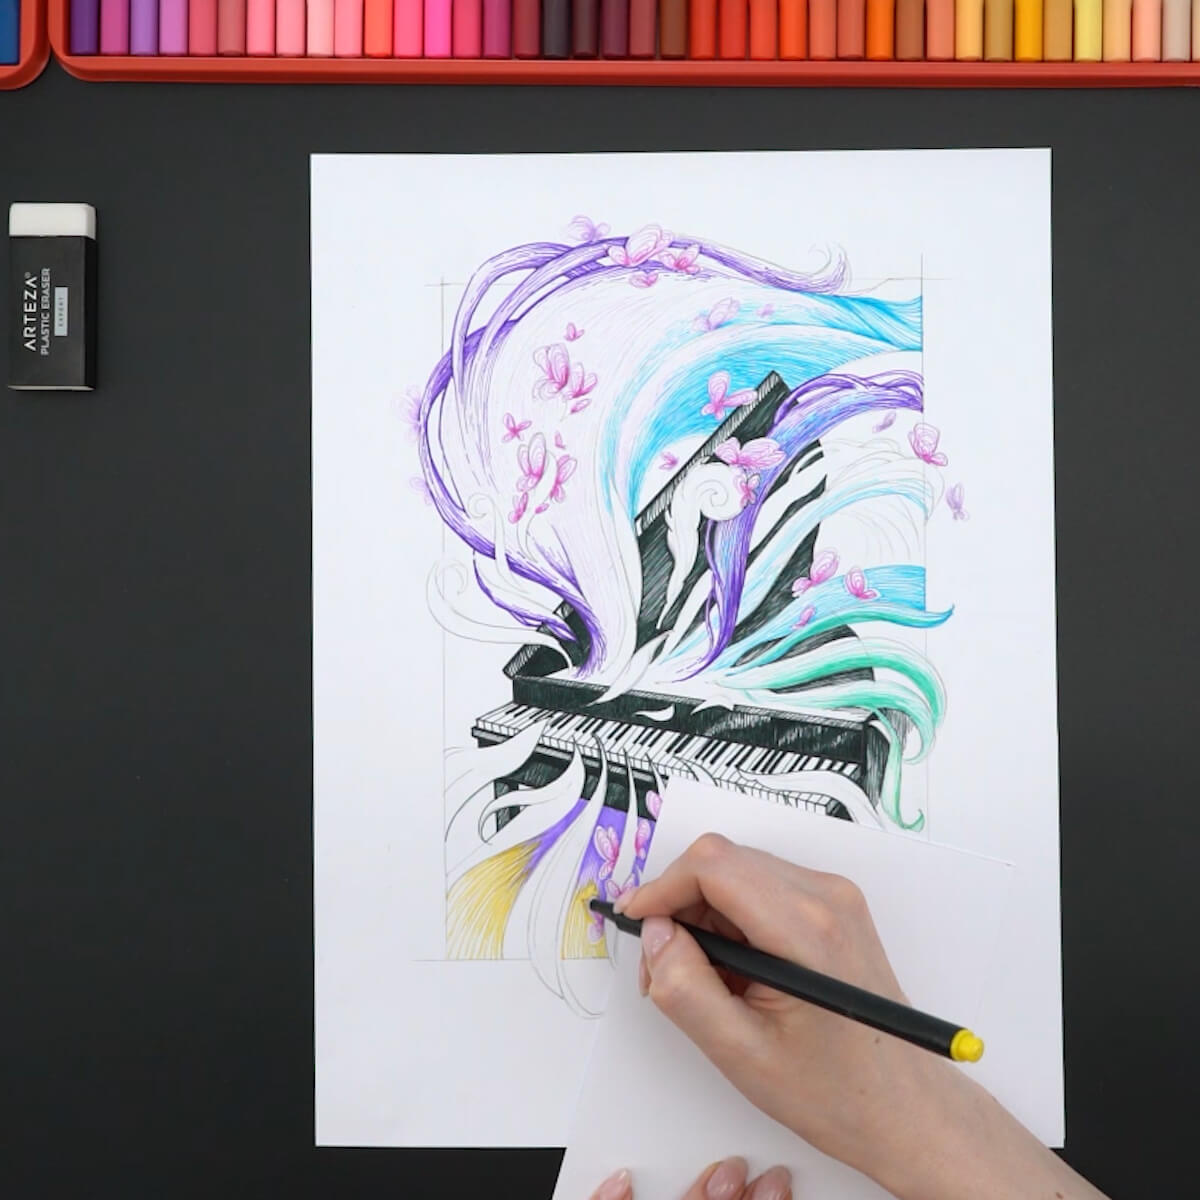
Step 5
Use A128 to create a transition from this color to the previous delicate lavender color, A188. Add shading using A202 and A219. Fill in some of the small swirls using A107. Let's move on to drawing the big wave. Use A107 to hatch areas according to their shape in various lengths. This way, you achieve richer tone transitions while you’re gradually building up the shading.

Step 6
Next, use A112 to add some color transitions. Create a smooth flow of one color into another using short hatching. Use A129 to repeat the shape of the swirls and create color transitions. Also, use A107 to enhance the shadows. Use A128 to add more color to the small swirls and butterflies.
Step 7
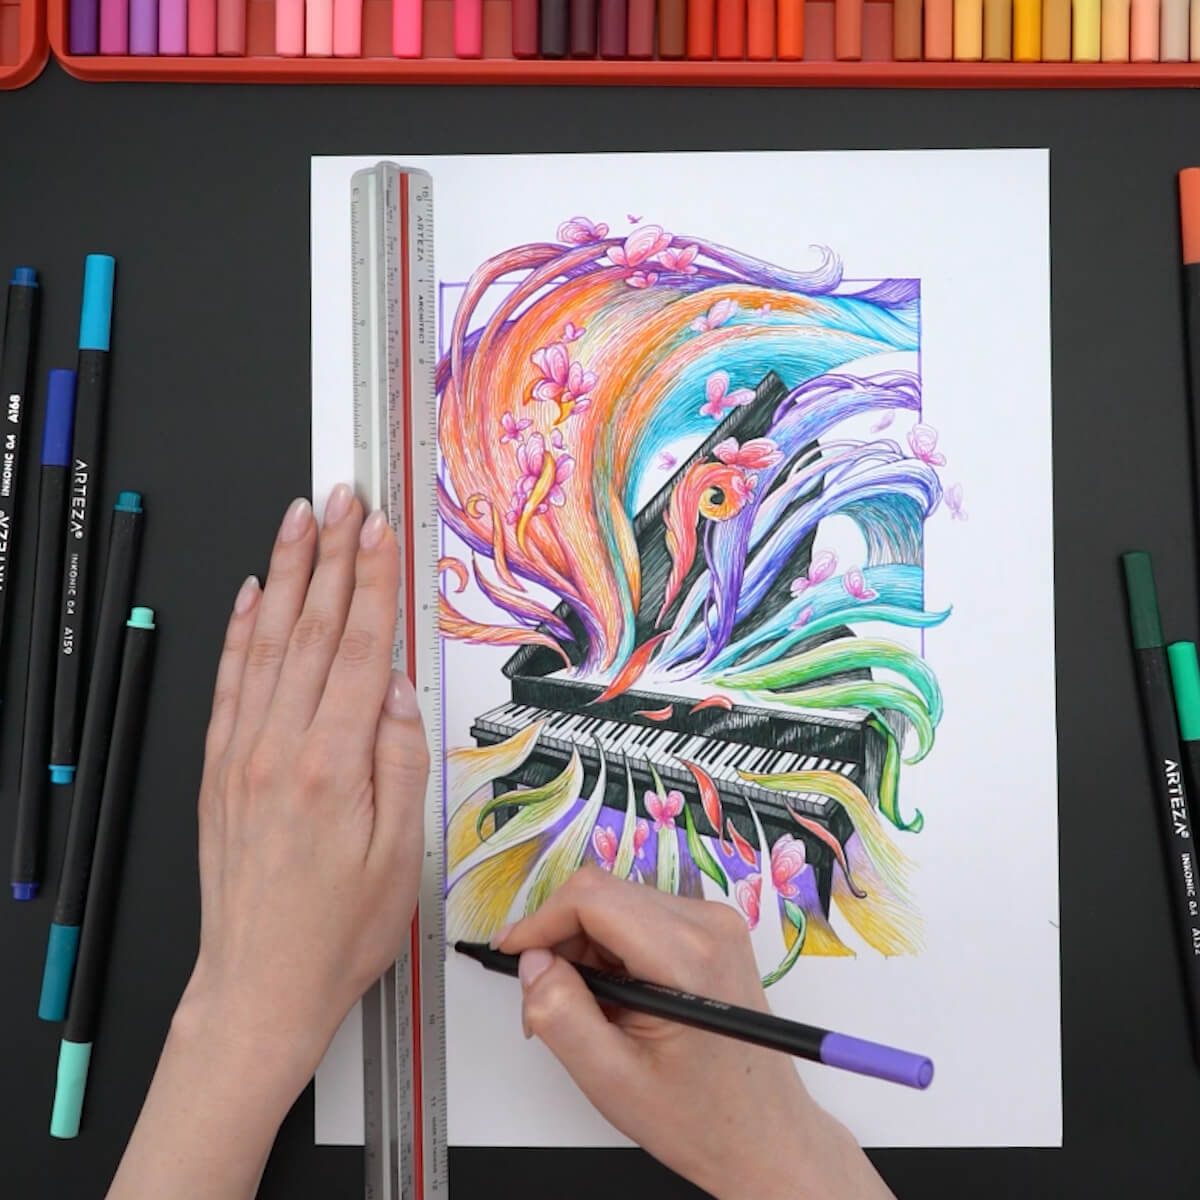
Use A129 to add shading to the butterfly wings and musical swirls. Use A159 to fill in any gaps and create color gradients. Add shading using A168, A131, A133 and A136. Use A147 to draw the leaves in the foreground of the drawing. Enhance the shadows using A133. Use A193 to add some shades. Use A110 to add details. Draw the leaves using A147, A215 and A177. Add details using A112, A128, A147 and A132. Remove the pencil lines of the frame with an eraser. Use a ruler and A188 to redraw the picture frame.
Recommendations
Now your Fineliner drawing is finished and ready to be displayed! You can use many of the techniques used in this tutorial in your other drawings and sketches. Inkonic Fineliner Pens are some of the best drawing pens to use because of their exceptionally fine 0.4 mm tip and vibrant range of colors. When you’re not using them for drawing, you can use them for writing, taking notes or journaling. Add a set of Inkonic Fineliner Pens to your supply collection today and keep creating incredibly detailed artwork.


