
Table of Contents:
Dive Into Dolphin Drawing
How to draw a Dolphin? Dolphins are one of my all-time favorites to draw! They are so lively and have great personalities. They are also sleek and beautiful animals making them ideal for using with watercolor pencils, which happens to be a medium I like best. In this simple tutorial, I’ll show you how you can draw and color a realistic dolphin in just six steps. It’s a great way to start using watercolor pencils and once you finish this drawing, I know you’re going to want to do more!
My preferred watercolor pencils are Arteza’s Professional Watercolor Pencils because they are highly saturated with pigment and come in a wide range of shades. They are easy to draw small details with, as well as enable me to use various pencil-drawing and watercolor painting techniques. I highly recommend them!
List of Supplies
- Watercolor Pencils - A008 Peacock Blue, A088 Amethyst, A070 Blueberry Blue, A020 Ube Purple
- Watercolor Paper
- Paintbrush
How to Draw a Dolphin Step-By-Step
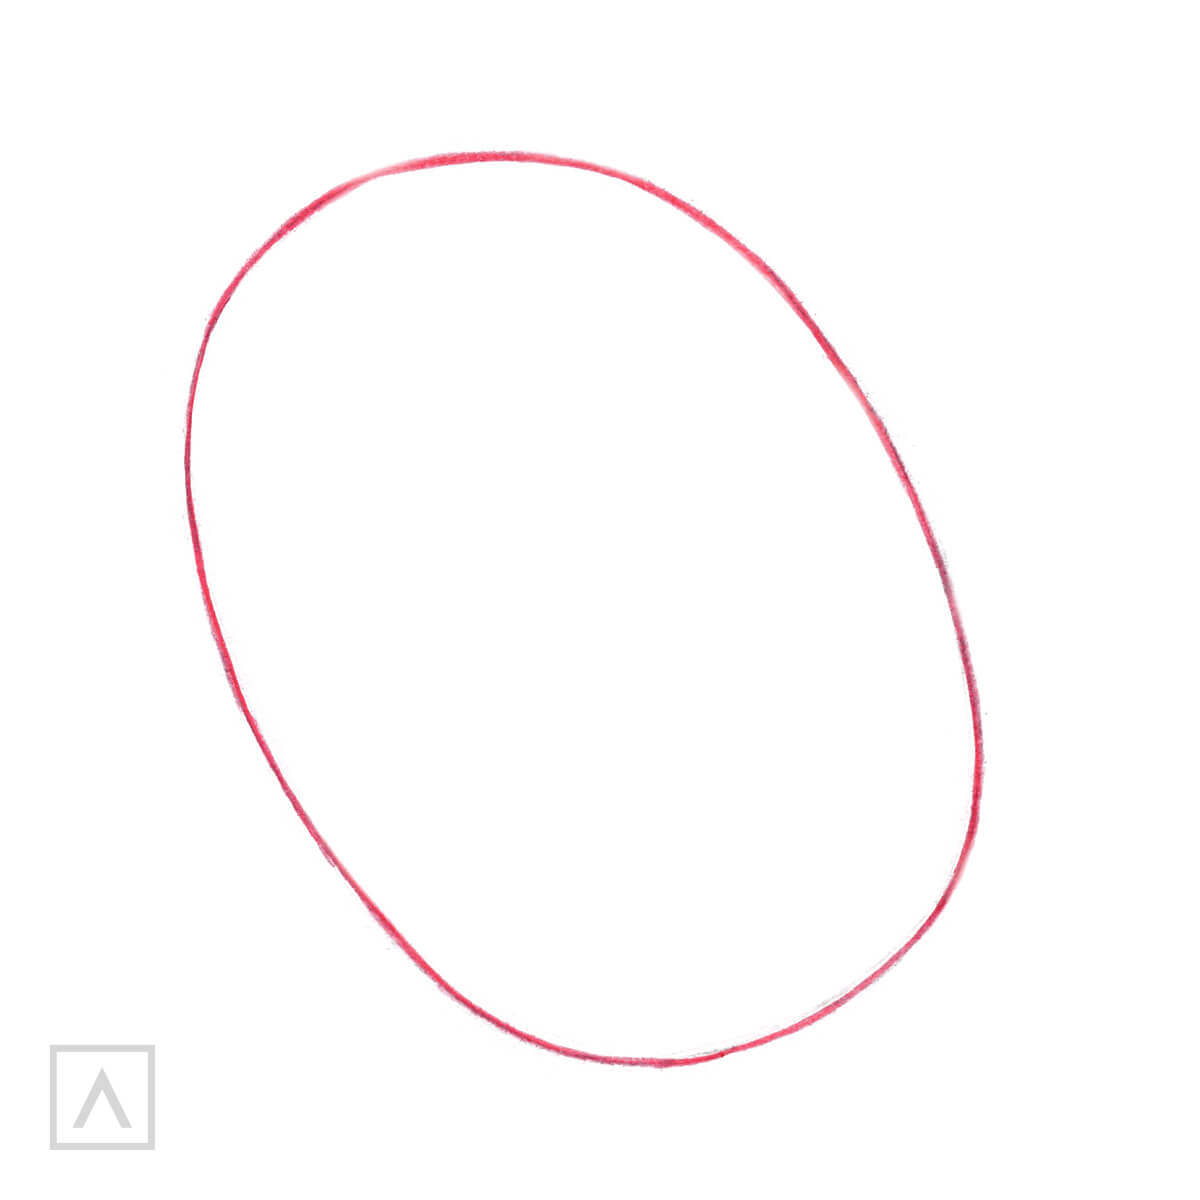
Step 1. Draw the general shape
I start by drawing an oval at an angle.
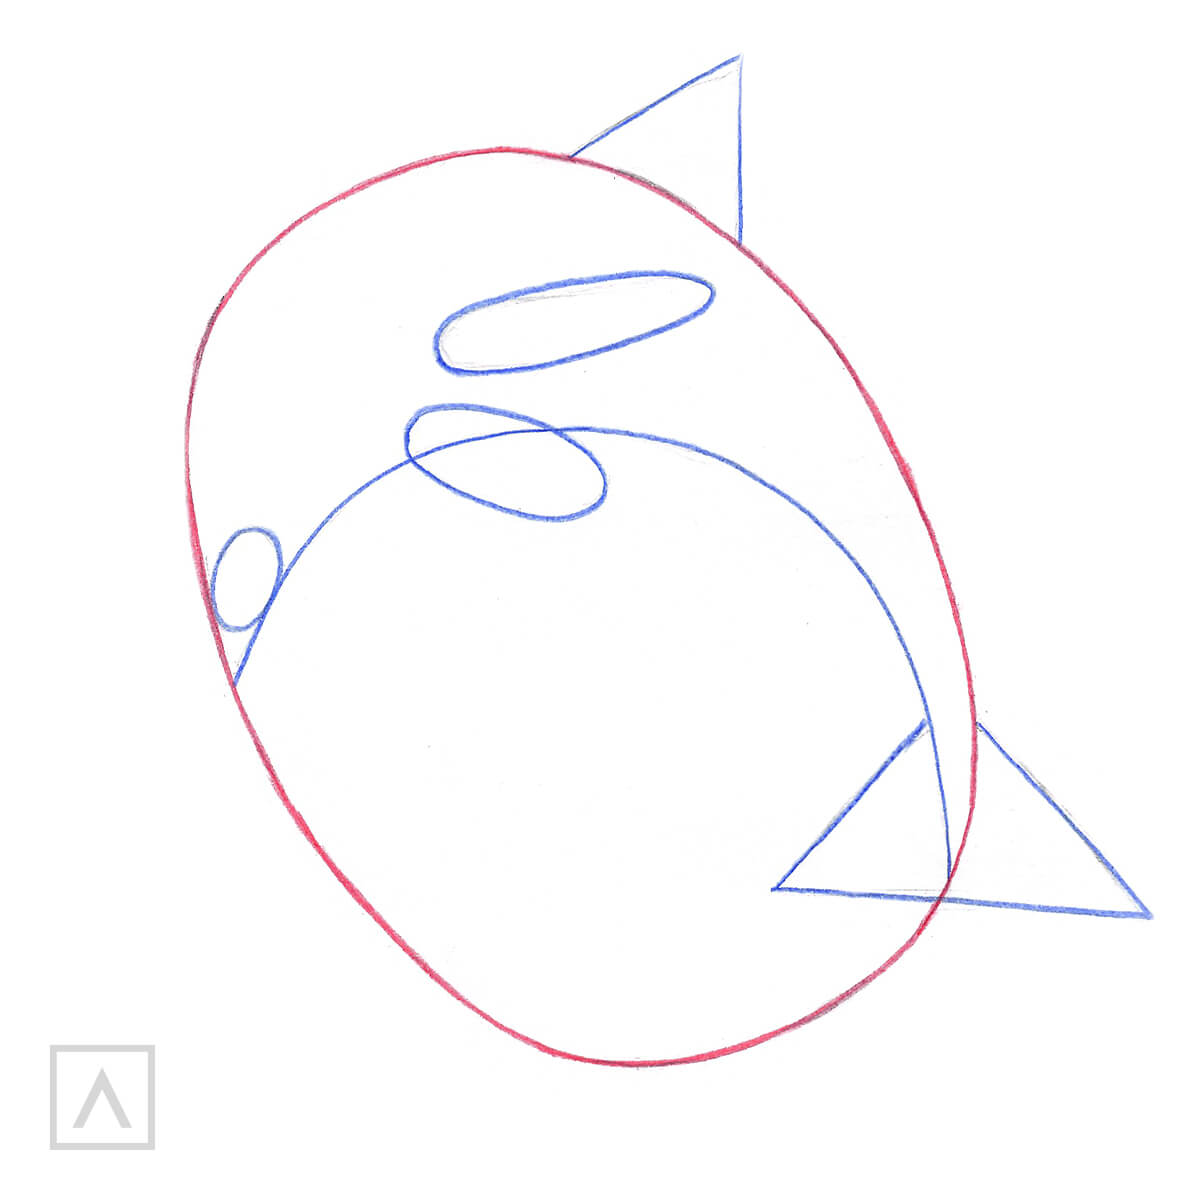
Step 2. Define the dolphin’s body and fins
Next, I place a curved parallel line near the upper part of the oval to divide it in two. This creates the body of the dolphin. Notice how the space created by this line makes the area wider on the left, tapering down to become narrower on the right.
Where the lines meet on the left side, I draw a small oval that will become the dolphin’s nose, then I add two more ovals along the lower part of the body for the fins. I make the dorsal fin on his back and his tail fins by drawing them as simple triangle shapes.
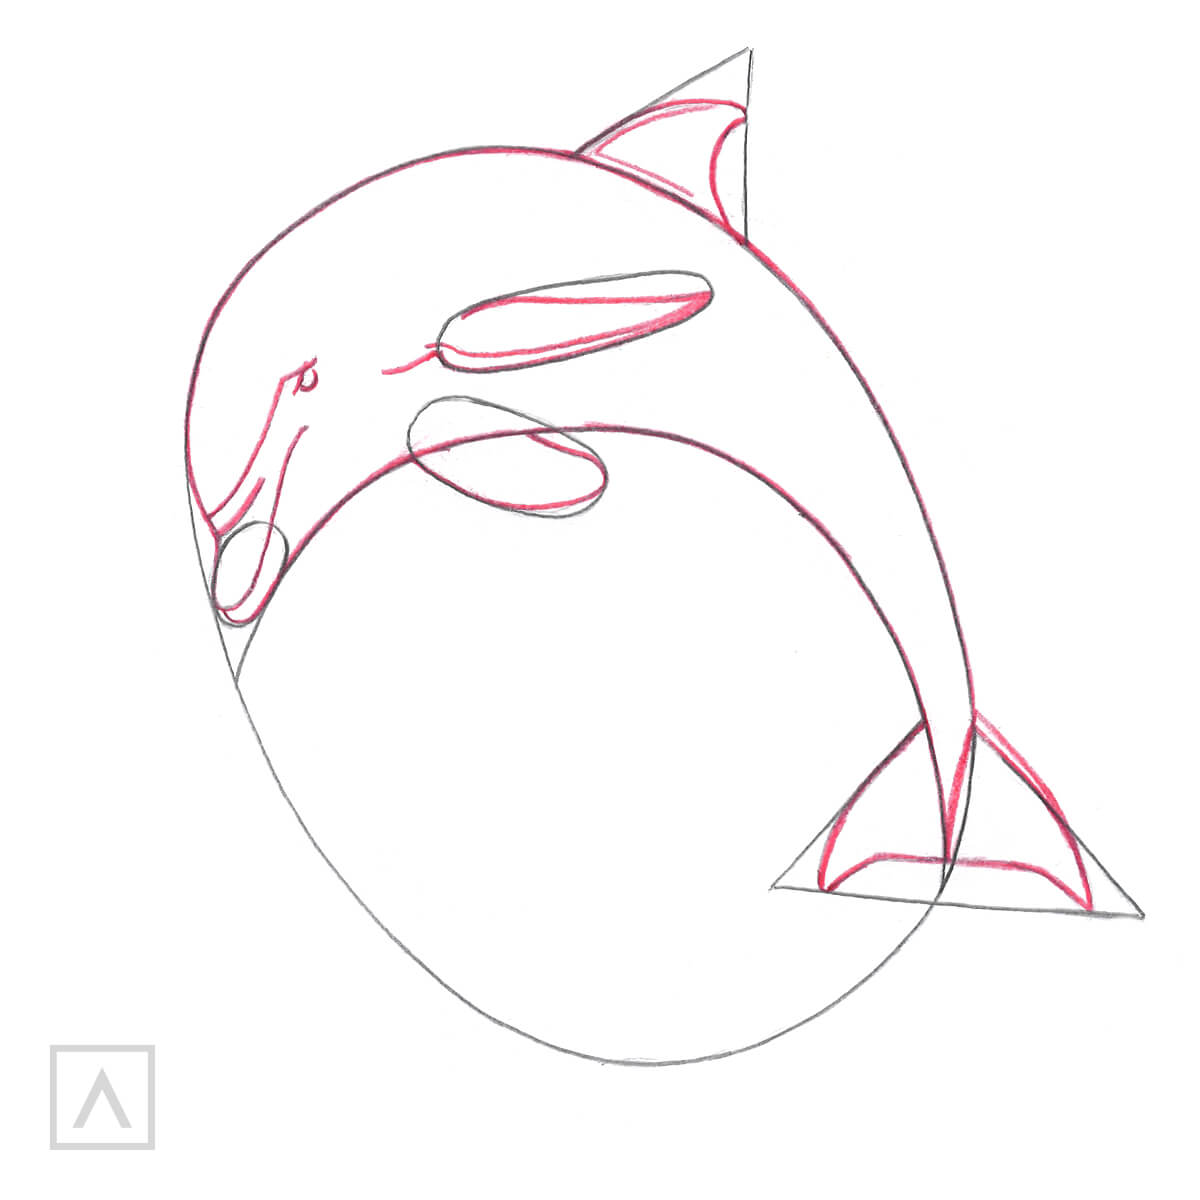
Step 3. Refine the drawing
Now that my general shapes are in, it’s time to get more specific. I start by adding an eye parallel to the fin in the middle of the body. I make the tail fins pointed to give them a more accurate shape. Then I round the lines over the nose and mouth to create the folds over the nose and the mouth line. I define the thickness of the upper fin by making it more of a small strip in shape. I refine the shape of the dorsal fin as well. Once these details are finished, I go over all the contours of the dolphin, smoothing out my lines to make them continuous. Lastly, I erase the preliminary or unnecessary lines.
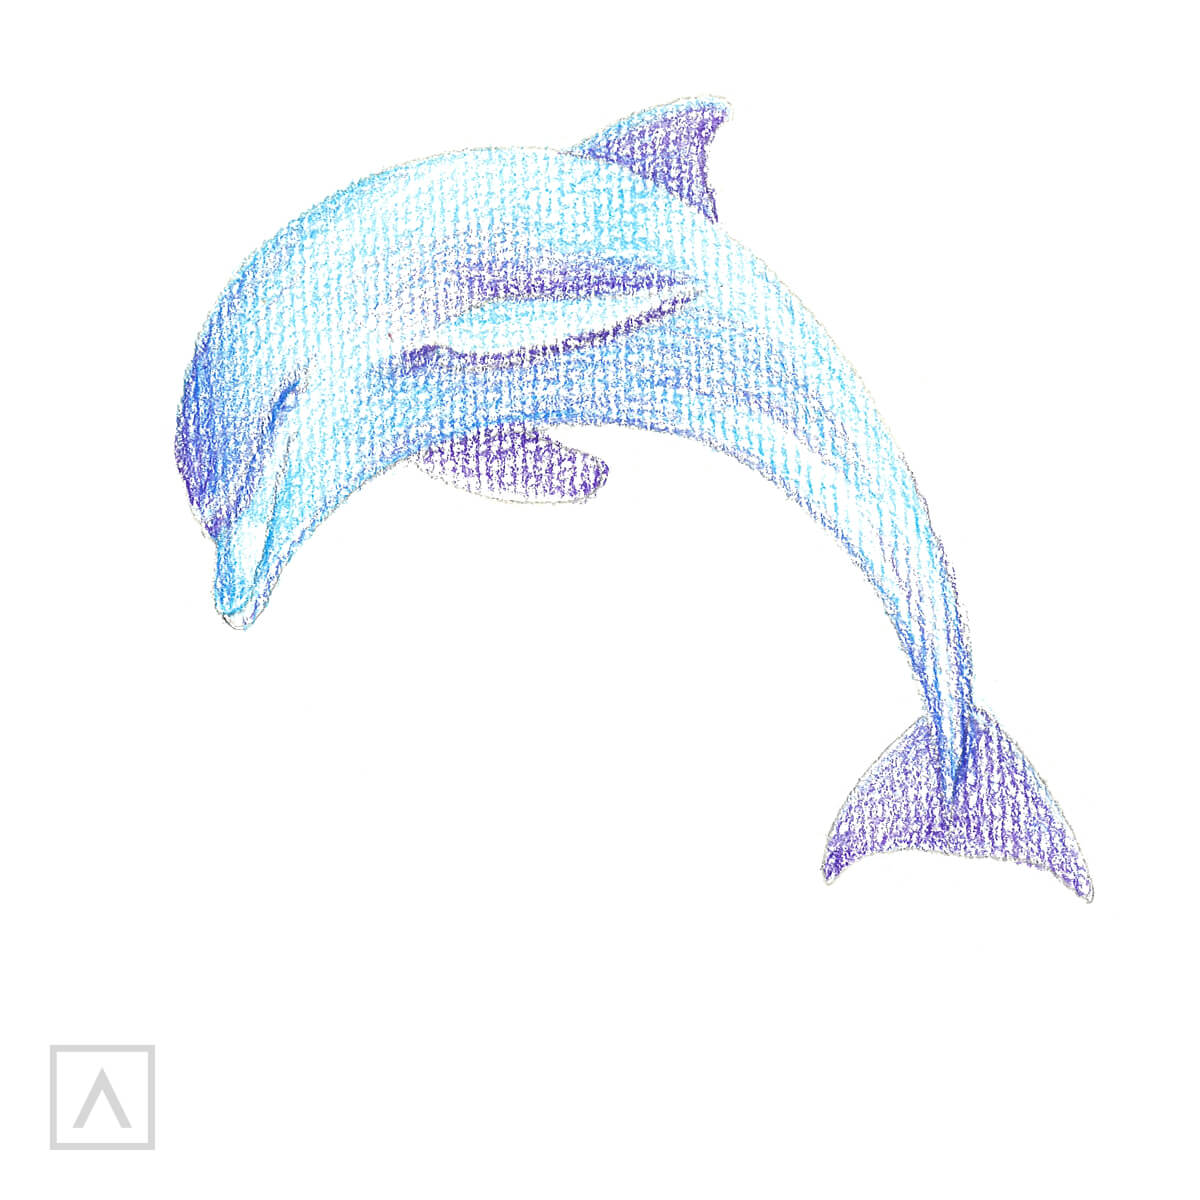
Step 4. Add color
To begin the process of adding color, I use light hatching to go over the dolphin’s entire body with A008. Then I use A088 in the areas on the body that would be in shadow—the lower fin and around the upper one, on the forehead, in the fold above the nose and on the tail. Darkening these areas, where there would be the least amount of light, will give the feeling of volume to the dolphin and make it look more realistic.

Step 5. Add water
To blend the colors together, I dip a small paintbrush in water and use soft strokes across the hatching marks I’ve already made to dilute the pencil marks.
Step 6. Strengthen the shadows
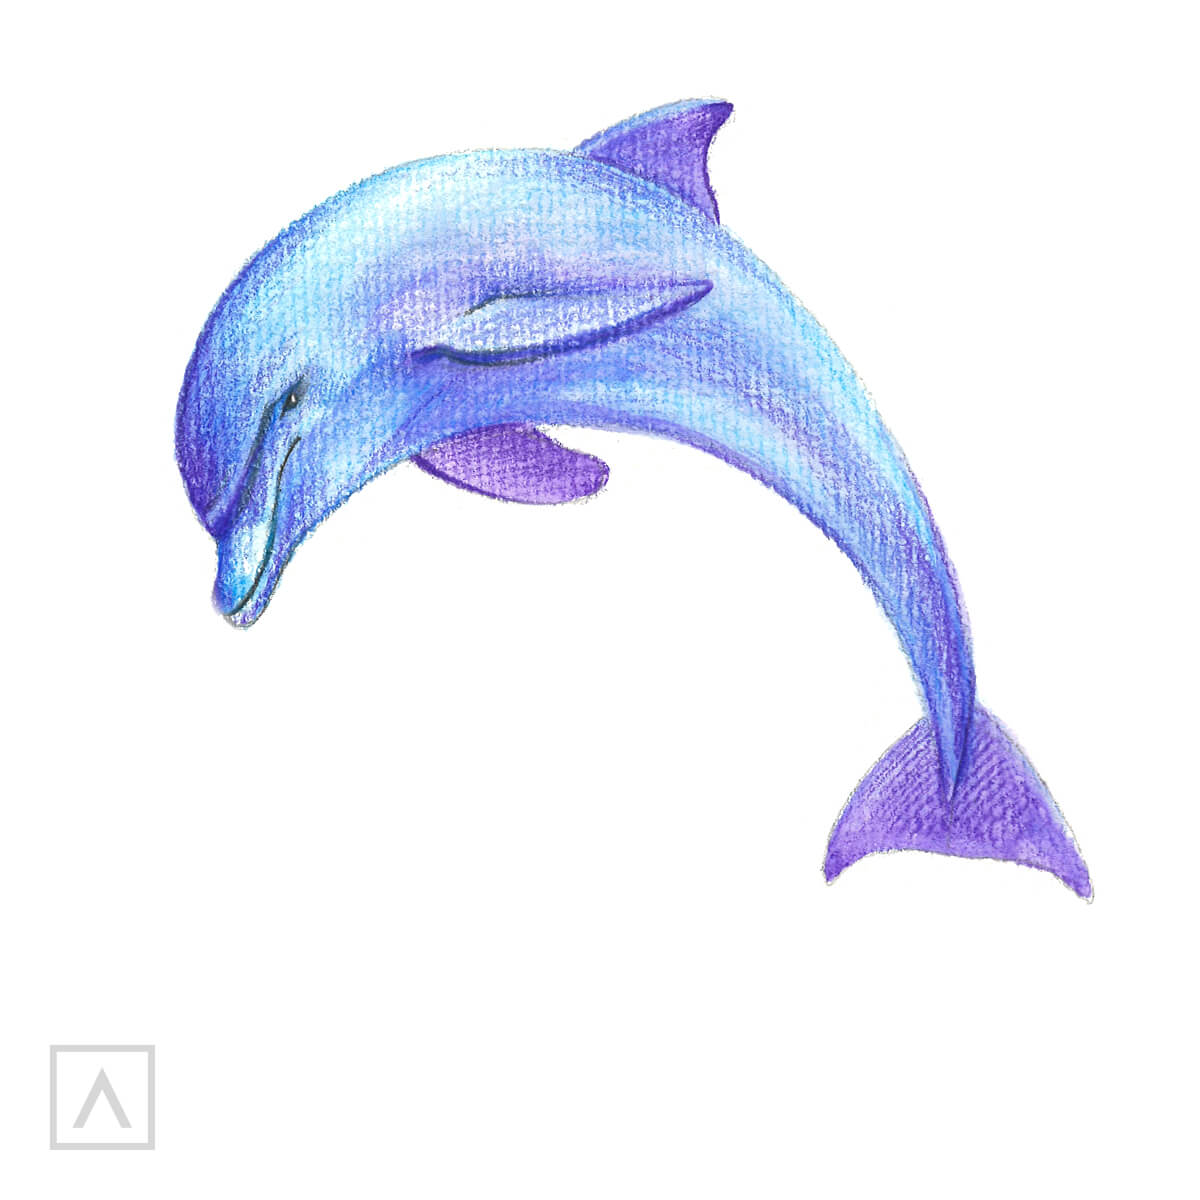
I make my dolphin come to life by adding more contrast. This means I need to strengthen the shadows, which I do by adding A088, A070 and A020 in the nasal fold, forehead and fins as well as in the eye, and to create a more accurate shape of the mouth and reinforce the thickness of the fins.
There you go! You dove right in and now you have a beautiful dolphin!
Recommendations
- To ensure your colors will blend smoothly and be uniform, use light hatching by not pressing too hard on the pencil.
- It is better to erase a watercolor pencil in one approach to evenly blur the tone.
- To wet the colored pencil to turn it into the paint, you can use a paintbrush dipped in water and go over the pencil on the paper or you can dip the pencil into the water first before applying to your drawing.
For me, watercolor pencils are like magical drawing tools because they can transform right before my eyes from pencil to paint! There are few art tools that are as versatile, too. I use mine like regular colored pencils, for making sketches or more elaborate and colorful drawings, and I use them like watercolor paint. I use them in my sketchbook or on thicker watercolor paper to create frameable artwork. I encourage you to experiment with them and see what you can do! Have fun and let me know how you like them in the comments section below.


10 comments
We’re so glad you enjoyed this tutorial and found it helpful! :)
Hello Anastacia! I loved your dolphin and thank you for making it easier to draw one! Thank you once more!
Thanks for sharing! We’re so glad you enjoyed this tutorial. :)
Thank you for the drawing lesson used kingery mixed media gel sticks. Similar colors. But goes on paper creamy like lipstick. Easy to blend
omg really what was it like i love dolphins!!!!!!!