
Table of Contents:
- Using Metallic Paint in Octopus Painting
- List of Supplies
- Octopus Painting Step-by-Step
- Recommendations
Using Metallic Paint in Octopus Painting
I love octopuses! And, even though the octopus is often shown as an evil sea monster attacking ships, in reality, it’s a shy, solitary creature that spends most of its time hidden away in the crevices of coral reefs and ocean caves. I think the octopus is a beautiful creature and one that is really fun to draw and paint. That’s why I add them to my illustrations whenever I can.
The one I’m going to show you how to draw was painted using Arteza’s Metallic Acrylic Paint-Set of 36. The colors are perfect for capturing the grace and movement of this stunning sea creature. I love how easy it is to create a three-dimensional texture with them. And, the colors are so soft with a beautiful metallic sheen that gives me a really unique color palette to experiment with.
List of Supplies
- Metallic Acrylic Paint - Set of 36
- Drawing Pad, 80 Sheets, 9”x12”
- HB Drawing Pencil
- Small Detailing Brush
Octopus Painting Step-by-Step
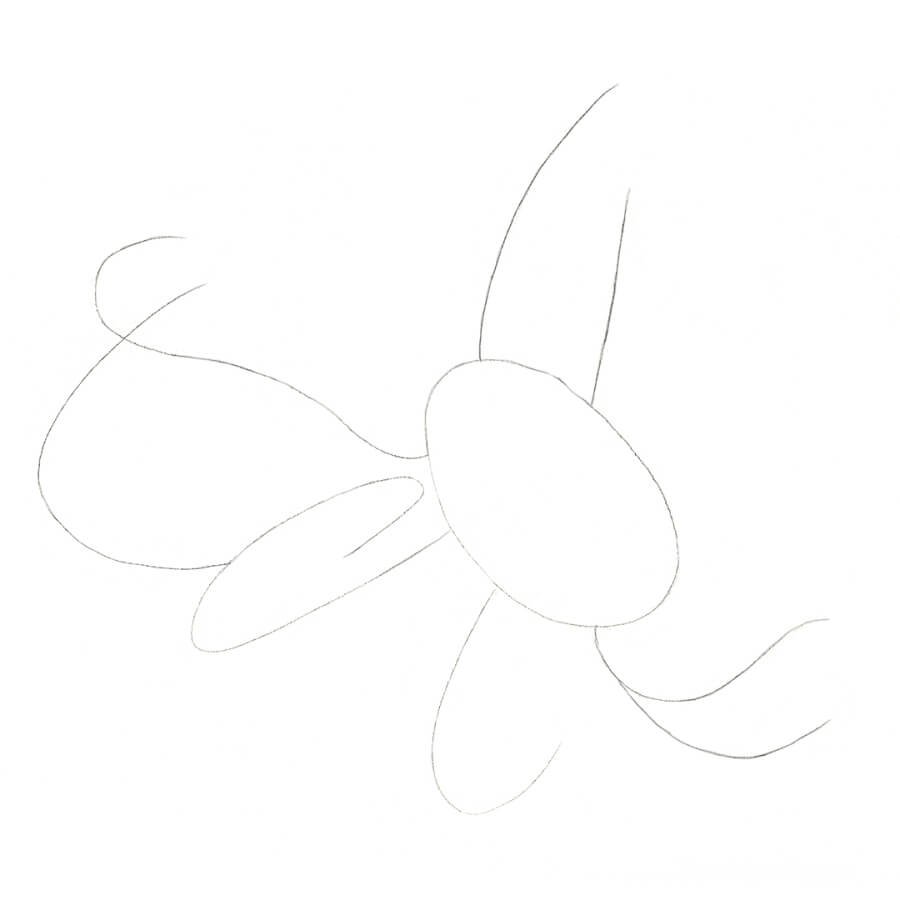
Step 1
To sketch the octopus drawing, I use an HB drawing pencil, since this will give me a really light line. I keep my drawing pretty loose at this stage. You’re probably looking at this thinking, what the heck is that? Right now, this octopus outline hardly looks like anything but it does give me an idea of where the legs will be and the different positions they’ll be in.
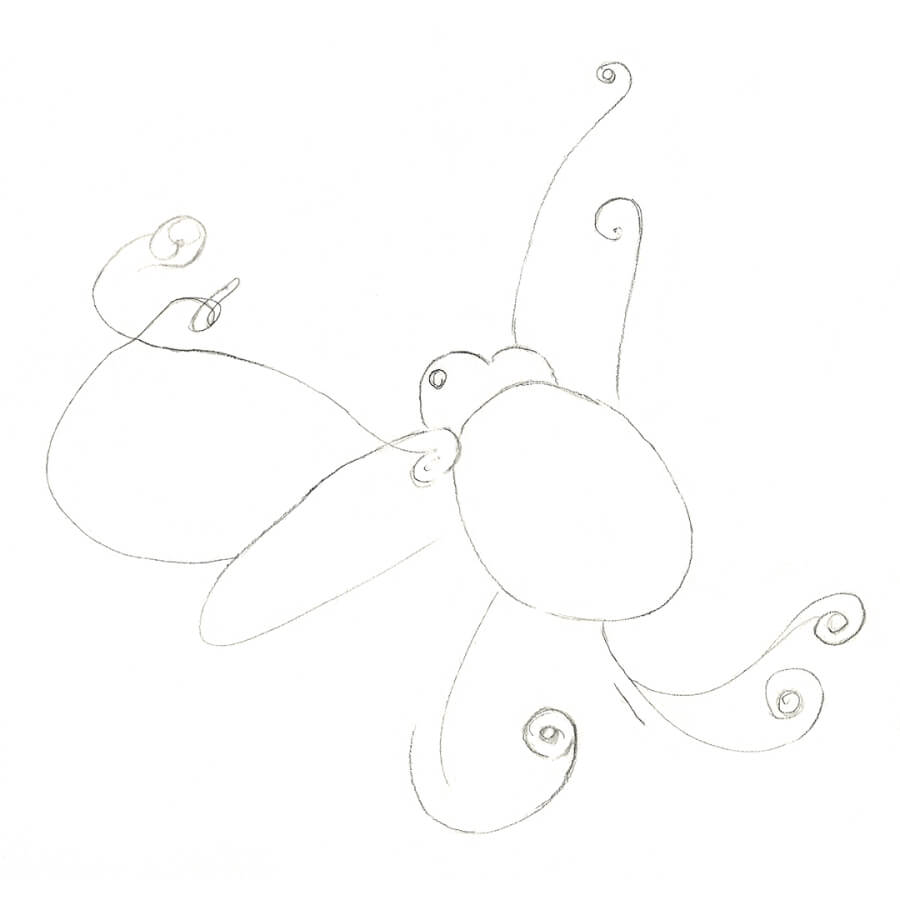
Step 2
Next, I draw the eye and the outline of the tentacles, making sure to include how each one curls up at the end.
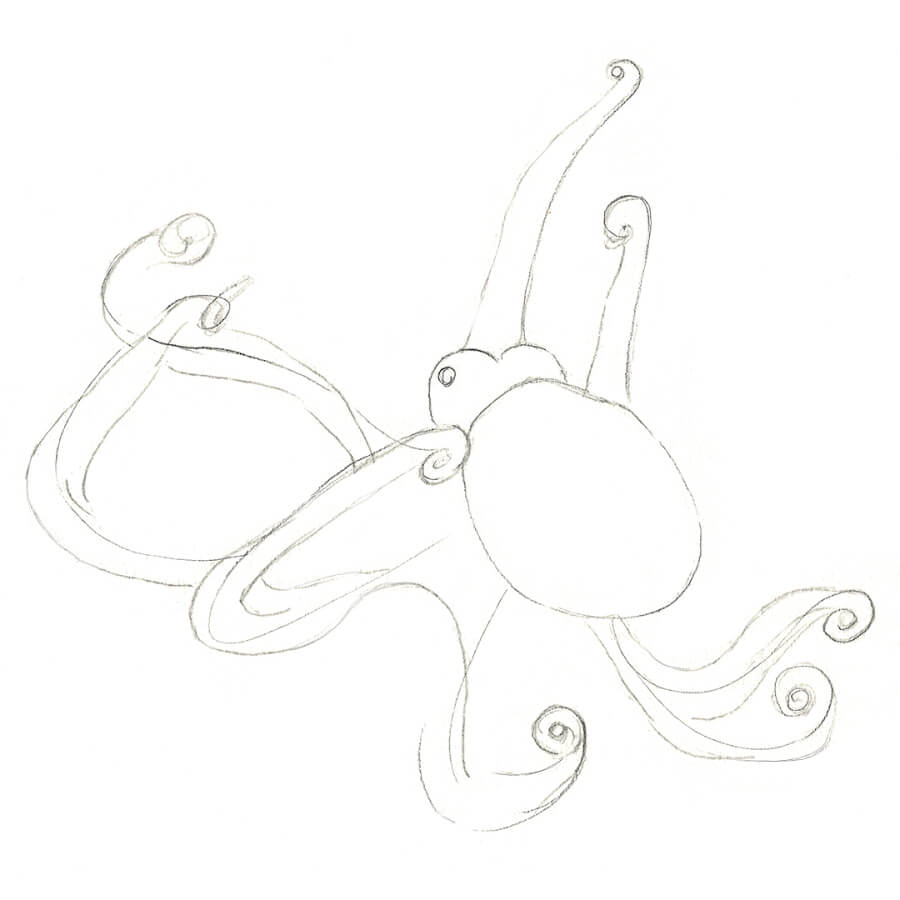
Step 3
Now it’s time to make the tentacles thicker. They are the arms of the octopus so they need to look kind of muscular. See how I add another line to show this while staying with the curve of each one?
TIP: If you’re not sure how the tentacles look in real life, look at octopuses online or in books from the library.
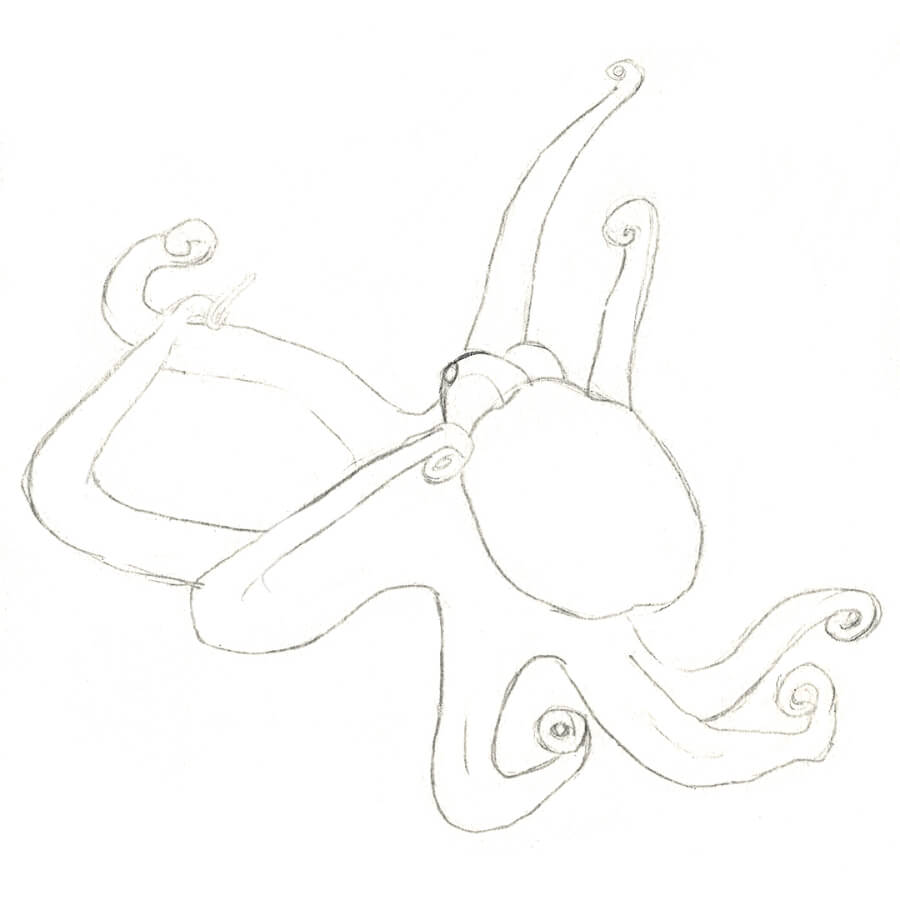
Step 4
Make sure each tentacle doesn’t go all the way up to his head. If you do, your octopus won’t have a body! I draw them up a little ways before attaching them to each other with curved lines. Once all the sketched lines are erased, your octopus looks more like a real creature.
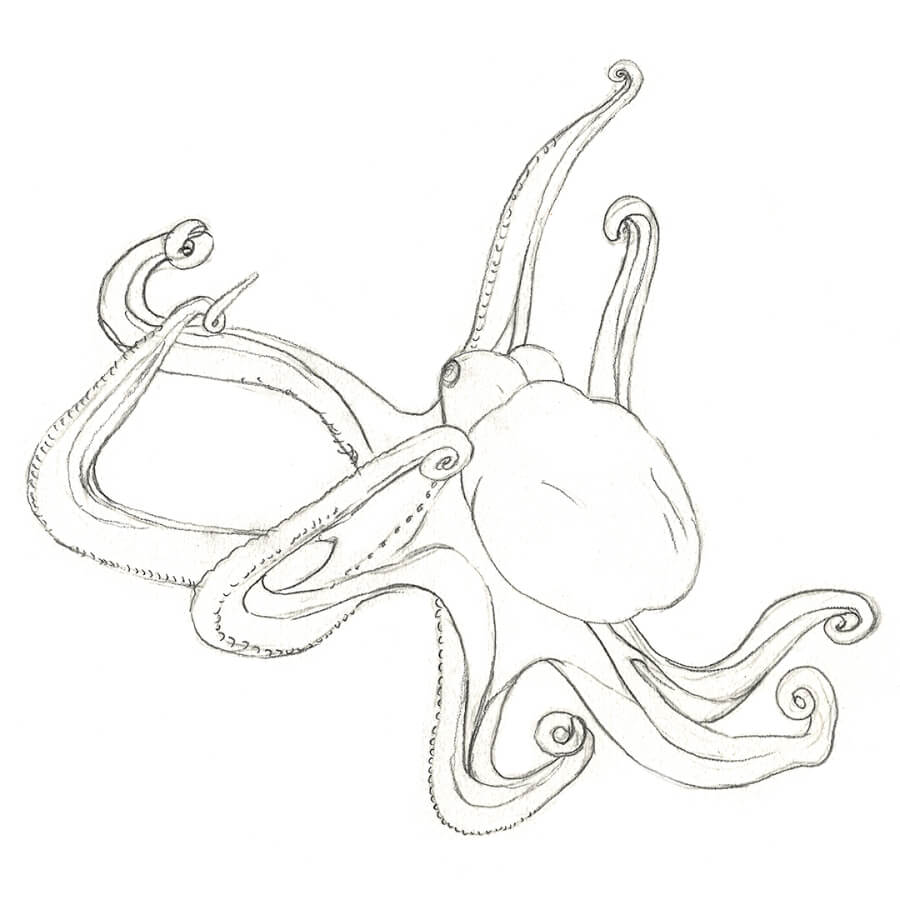
Step 5
Octopuses have these little suction cups along the inside of their tentacles. I add these where I think they would be seen if the octopus was twisting its tentacle. I don’t add them to all of the tentacles, because real ones twist and turn differently.
To really make the body look 3-D, I add lines to indicate the skin between the tentacles. I just place details where I think they’re needed, such as putting a slit-shaped pupil in the eye. Once these are done, it’s time to clean up the drawing to get it ready for painting by erasing all the unnecessary lines. Don’t worry if you’ve smudged your drawing, I smudge mine all the time. Just get rid of the smudges with the eraser.
TIP: To make sure you don’t see any pencil lines through the paint, lightly run the eraser over the darkest pencil lines to lighten them. A kneaded eraser or rubber eraser works great for this.
Step 6
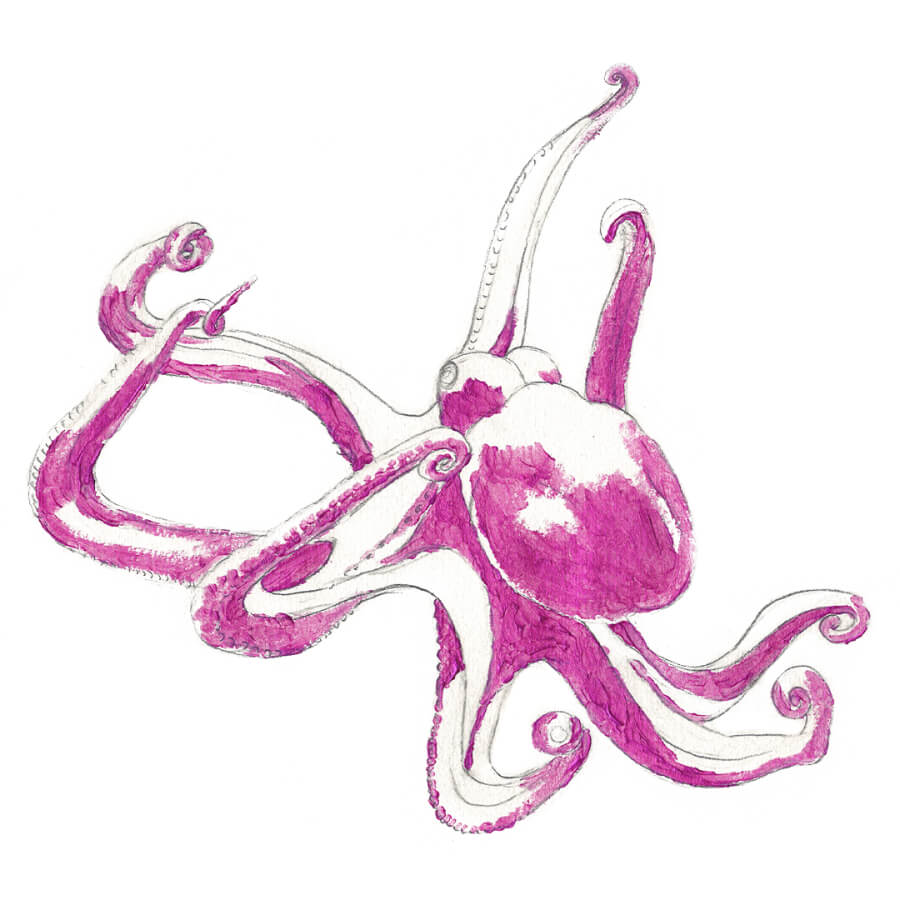
Now for the really fun part—painting! I will be building up the color a layer at a time, so the first thing I do is add the shadows using A221 (Pearl Magenta). This helps to start giving the octopus volume and dimensionality.
Step 7
Every object has pale shadows and dark shadows depending on where the light hits it, so I darkened the areas where I think there will be less light by using A209 (Pearl Royal Purple). Can you see how he’s taking shape now? I can almost feel how round his head is.
Step 8
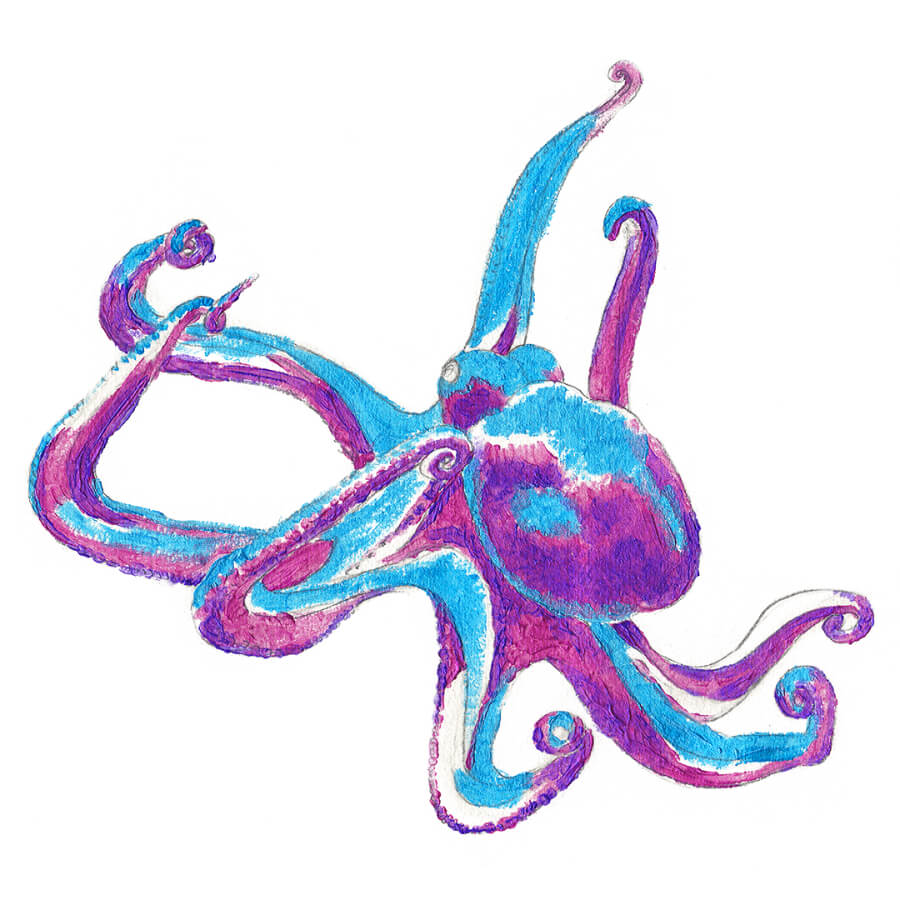
Now I mix together A210 (Pearl Electric Blue) with A225 (Pearl Glacial Blue) to get a nice bright shade and fill in the areas where I think the most light hits. I’ve learned that making an object have a 3-D feel always requires a lot of contrast.
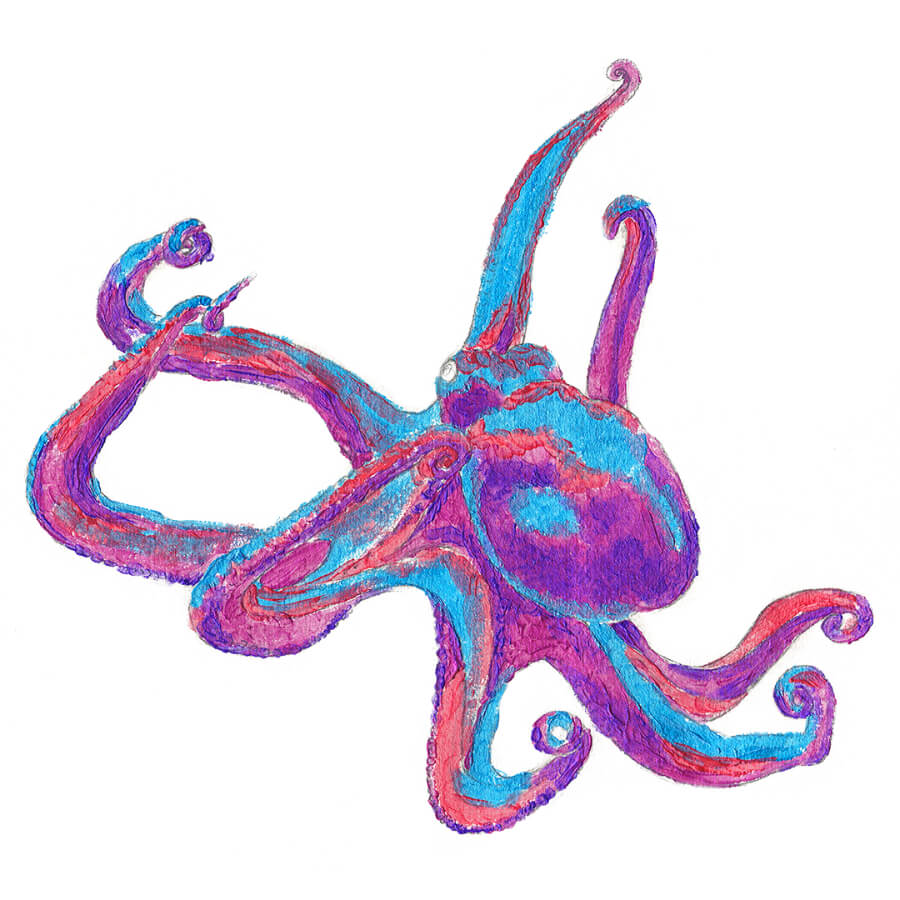
Step 9
When trying to show a three-dimensional shape on a flat surface, I think it’s important to have some transitions between the contrasting colors. To do this, I use A215 (Pearl Amaranth Red) between the blue and purple areas.

Step 10
For the very brightest spots, I use A216 (Pearl Pink) and A217 (Pearl Rose Quartz).
Step 11
These pearl paints are really full-bodied, so when I mix A224 (Pearl Sky Blue) and A205 (Pearl White) and add it to the light areas I get even more volume.
Step 12
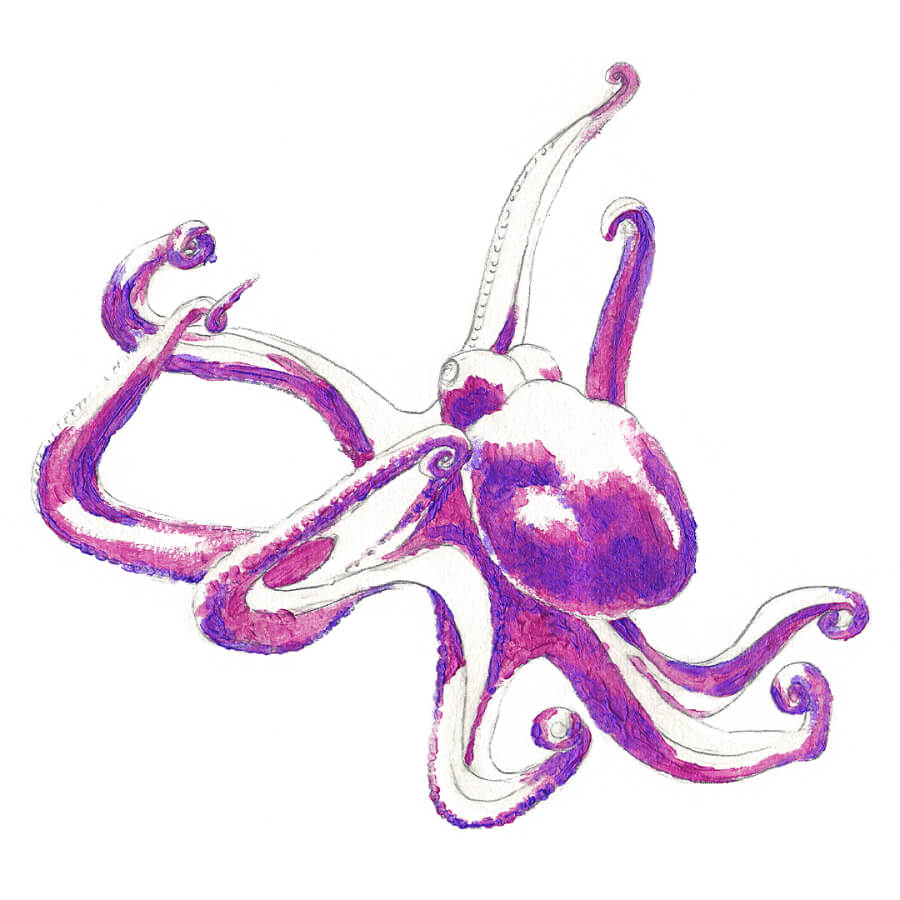
In the process of painting, the borders of the light areas and the shadows can shift slightly. I find it helpful to step back and look at the overall painting and see where I might have gotten out of line. I believe using a mid-tone is the best way to make a transition between light and dark shadows. Here, I added A218 (Pearl Rose) and A219 (Pearl Hot Pink) to create this half-shade.
Step 13
Now that I’ve used multiple colors in my light areas, I need to do the same for the shadows. I do this with A221 (Pearl Magenta) and A209.
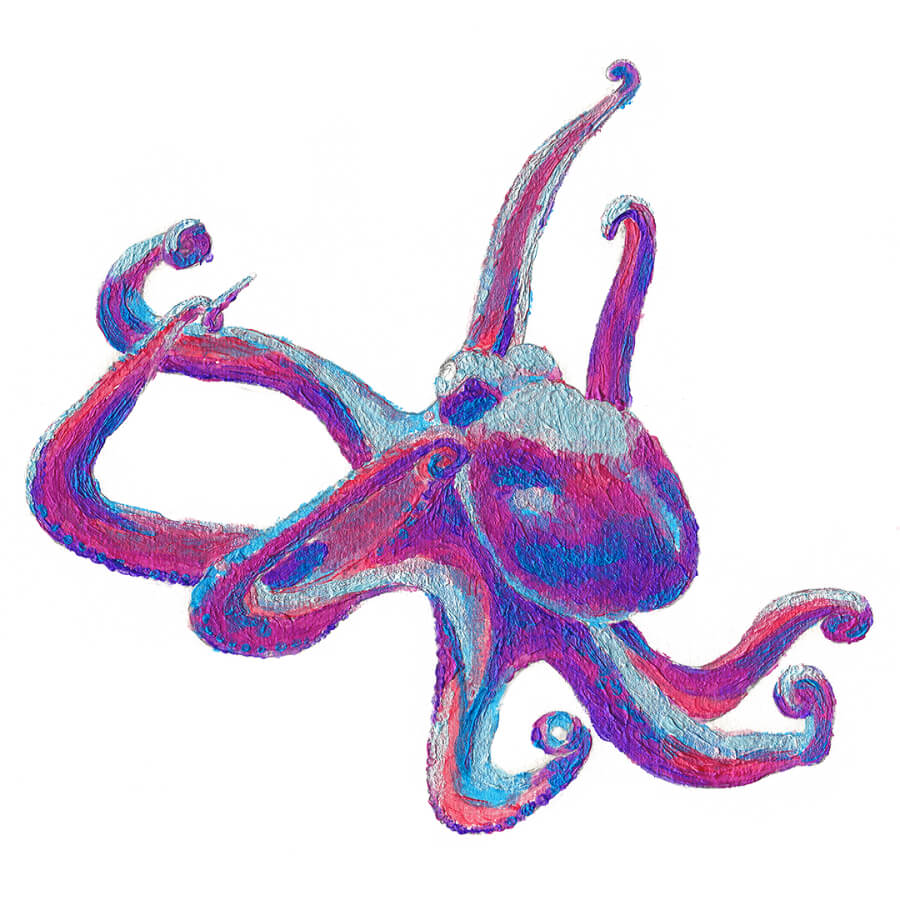
Step 14
At this stage, all the basic tonal relations and colors are in place, but it never hurts to keep darkening those shadows, so now I use A210 to make them stronger.
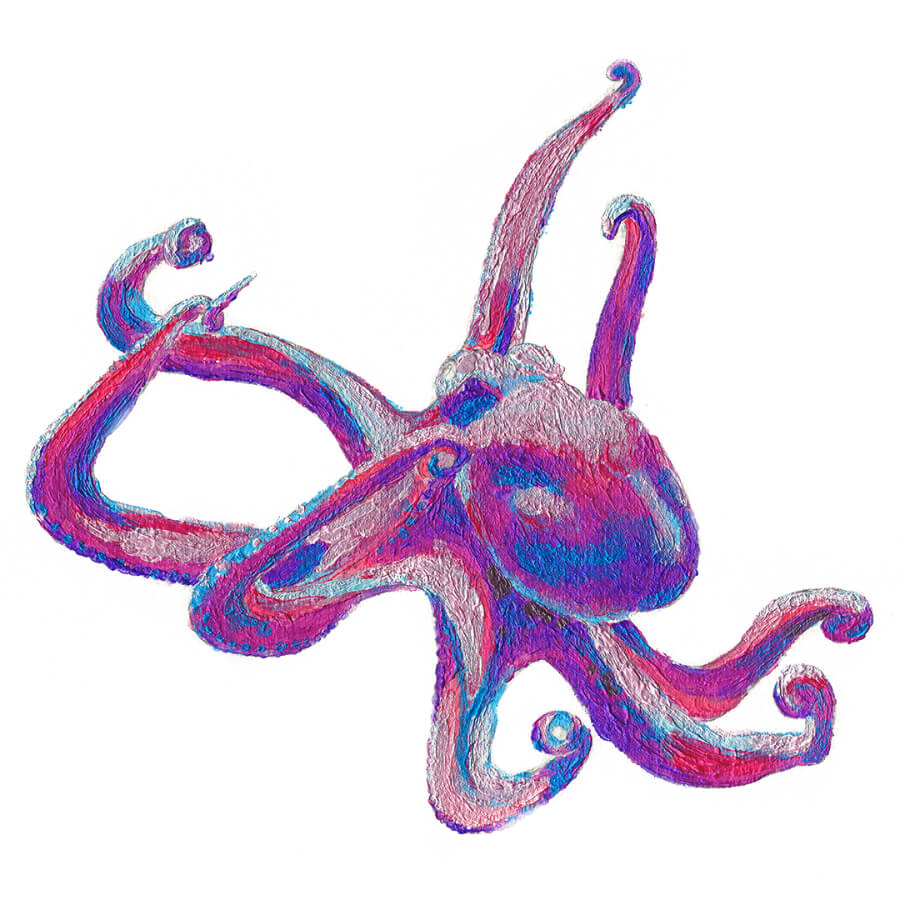
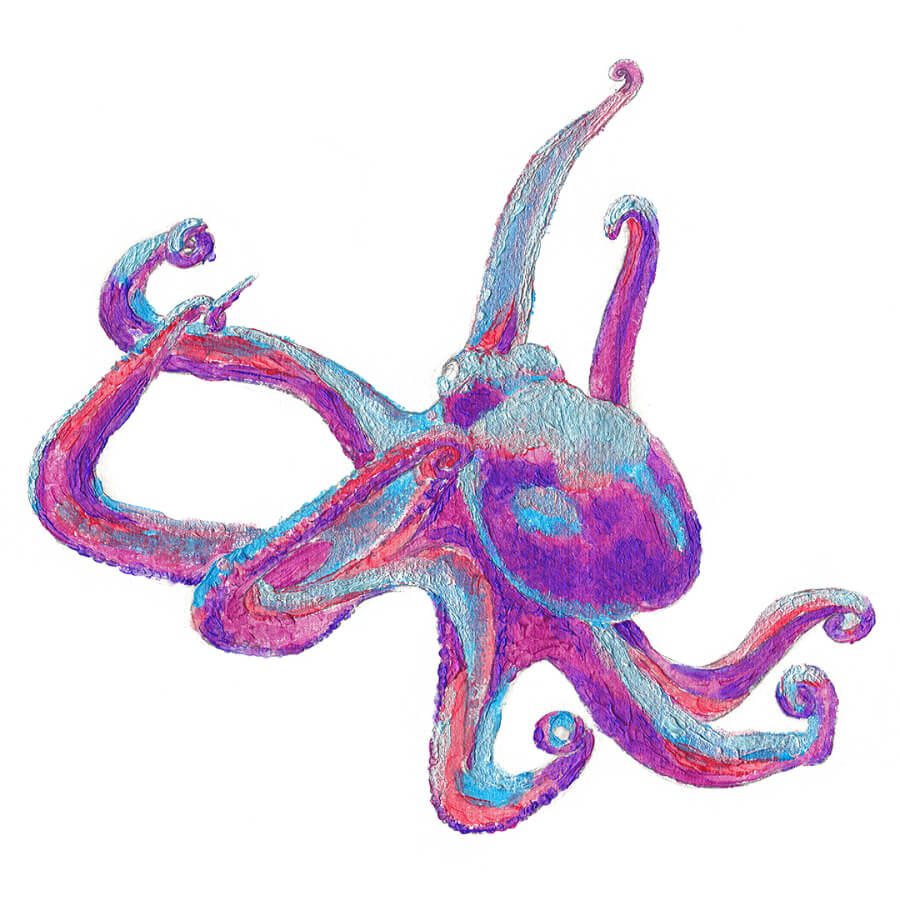
Step 15
But as I darken the shadows, I feel like I need to make the light areas have more contrast! I can do this by using a combination of A216, A217, and A205 to the light areas of this painting.
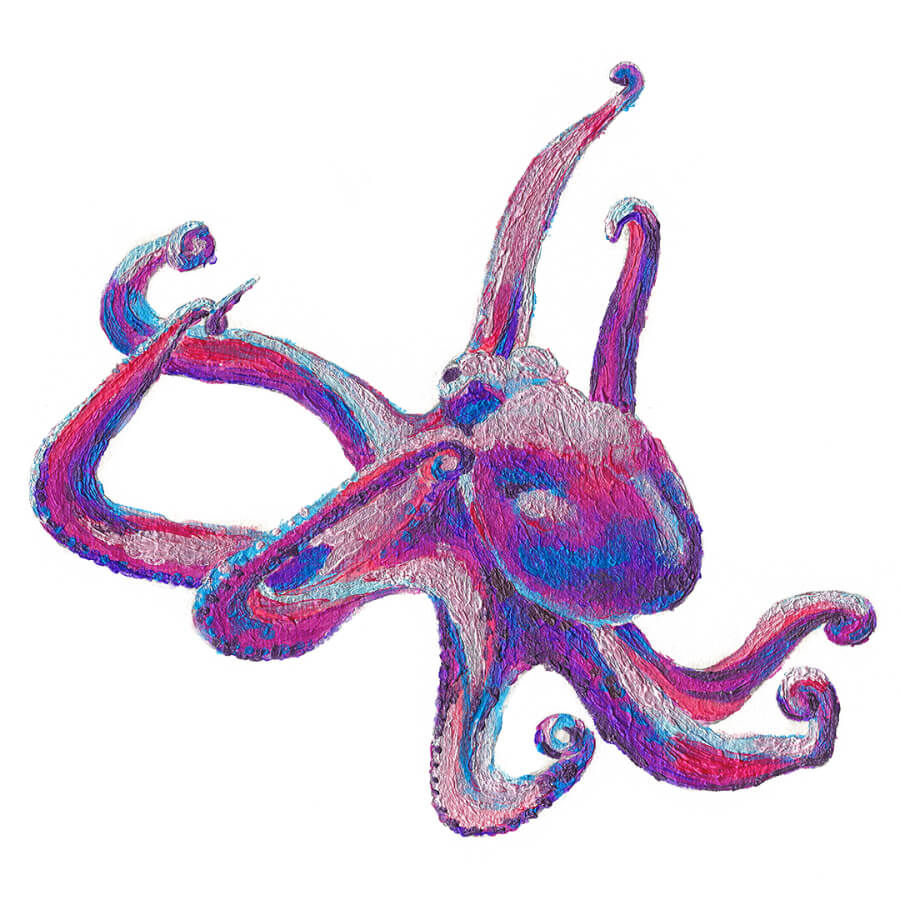
Step 16
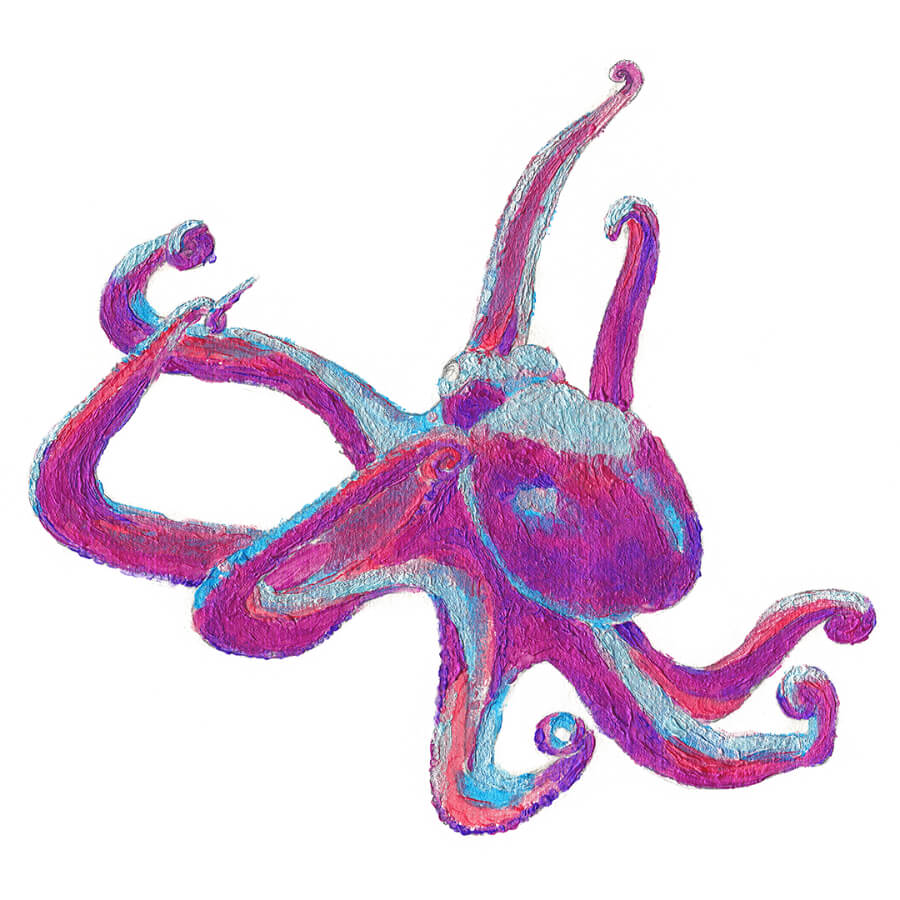
My octopus’s body is looking really good at this stage! I think it’s time for some details. I start with the darkest areas—the suction cups, the eye, and the stripes of shadows on the tentacles—painting them with A130 (Pearl Deep Brown) and A209.
Step 17
Next, I go in with A225 and A205 to paint in some more mid-tones.
Step 18
Since I think he needs just a few more dark touches, I add dabs of A216, A218, and A205.
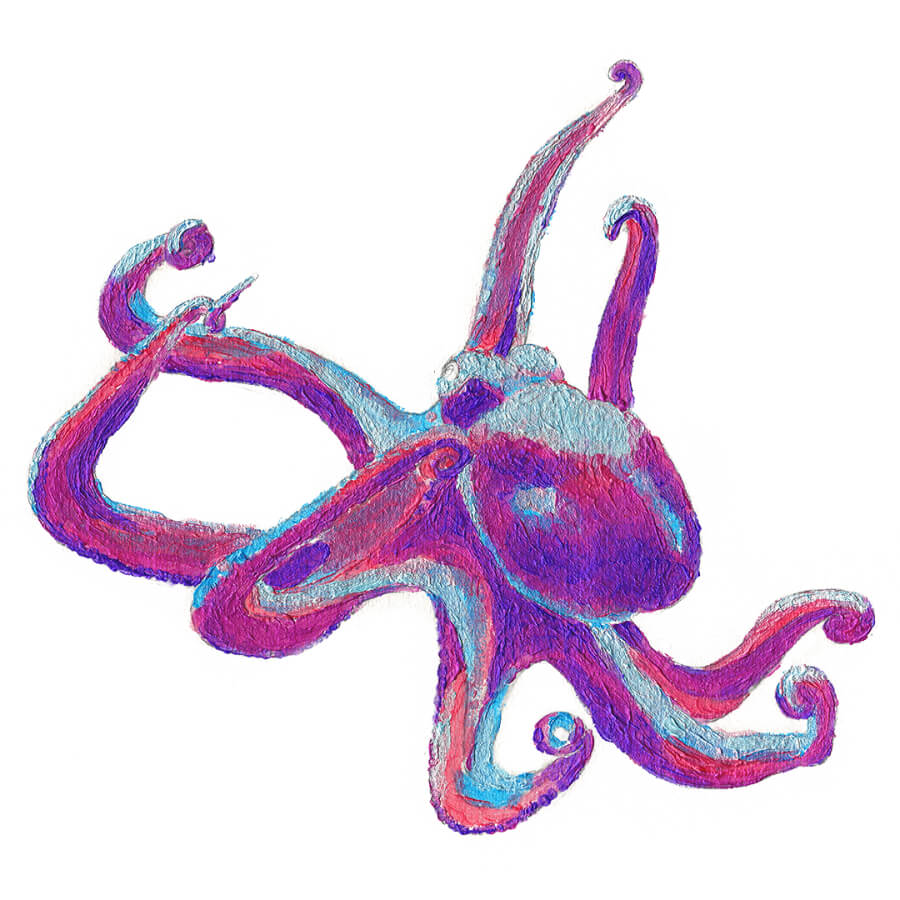
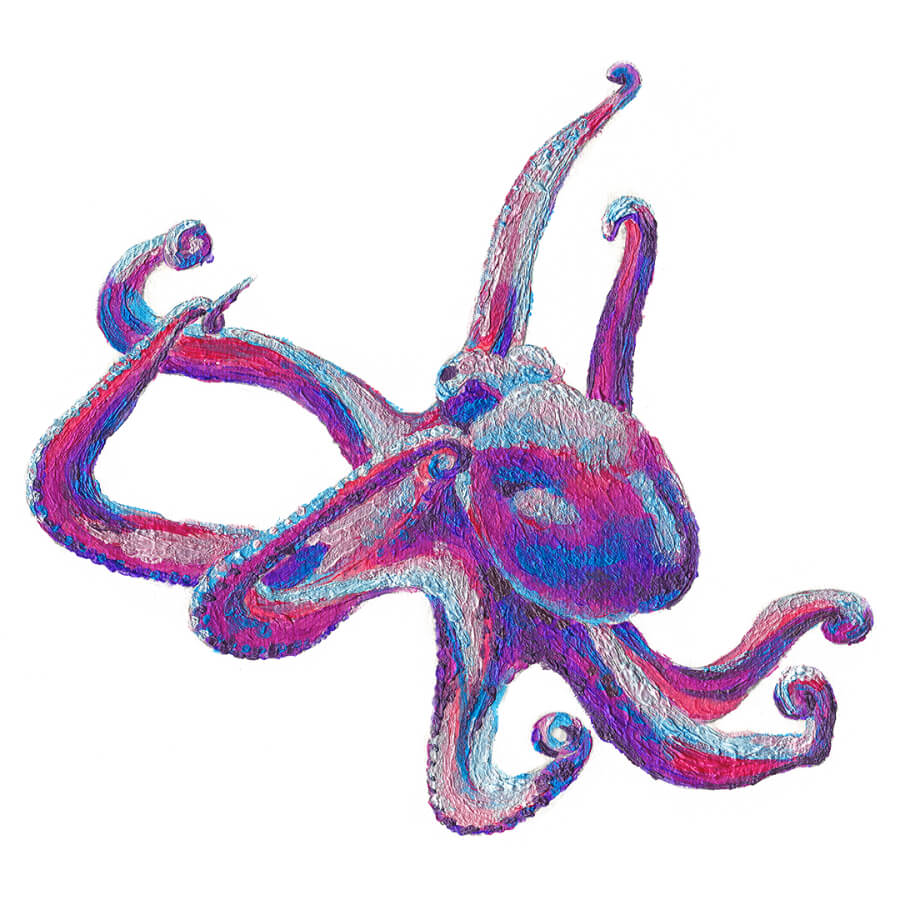
Step 19
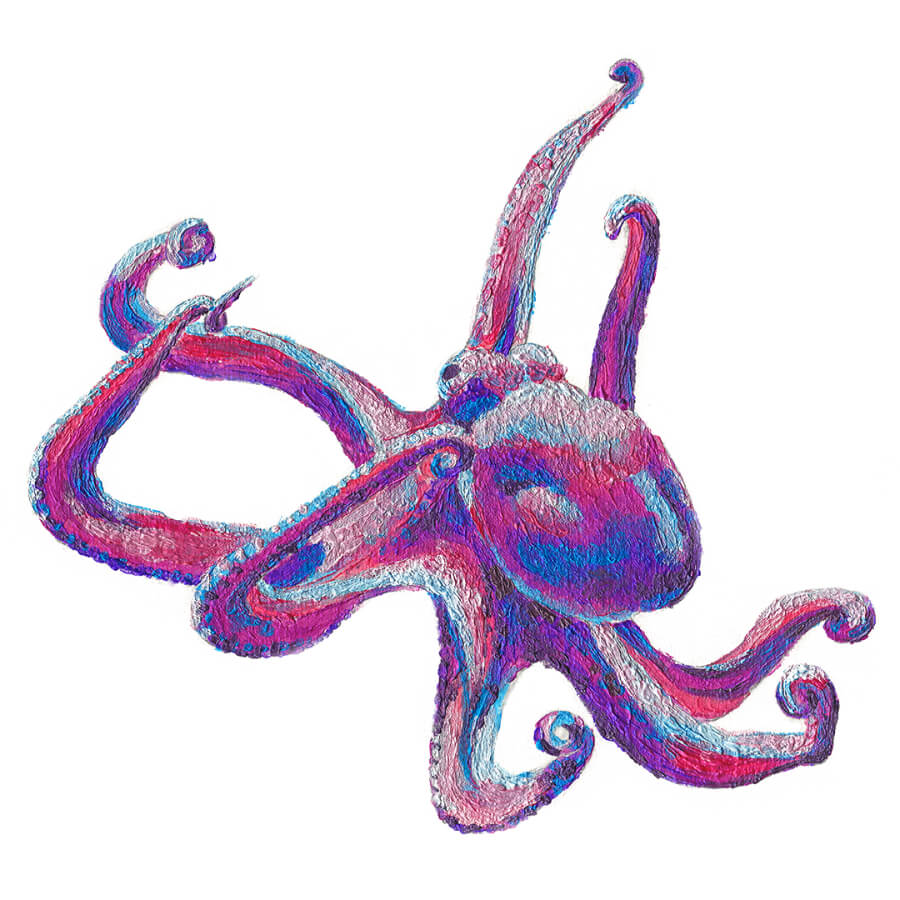
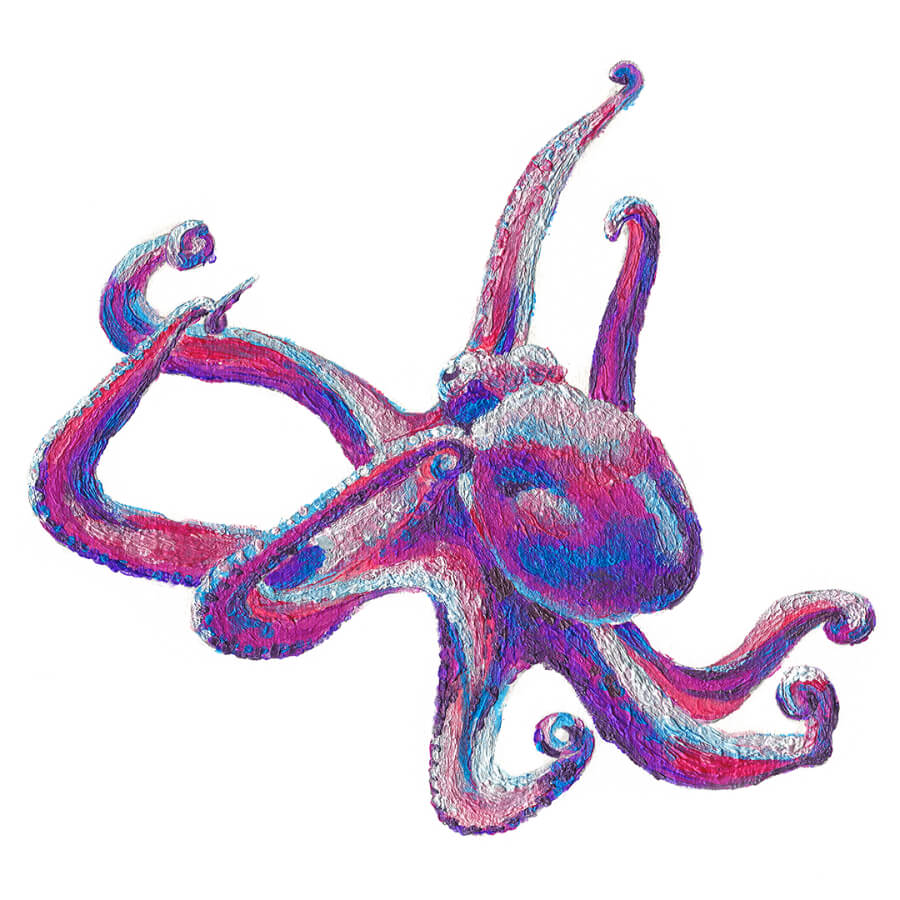
The final step is adding the highlights that will really bring my octopus to life! To do this I use A205 and A224 in the brightest areas, making it almost white. Now, he looks like he’s scurrying off the page!
I'd love to know about your experience using metallic paint. Let me know in the comments below.
Recommendations
- Always paint the light areas after applying the dark colors or your lights will get too dark. For the best results, wait until the darker layers are completely dry before putting on the lighter colors.
- Since these acrylic paints are more translucent than others, apply it in multiple layers or in very thick strokes, especially when you are overlapping one color over another.
- Acrylic paint appears darker when dry, so the paint you see wet may not be the right shade you want once dry. By remembering the amount of each color you used to mix the shade on your canvas, you can make adjustments to ensure it’s the color you want after it dries.
Congratulations, you’ve just painted an octopus! Whether you paint fine art, crazy graffiti, or draw cool steampunk illustrations, you’re off to a great start to adding octopuses with confidence. I know you’ll have fun creating your own version and I really hope you’ll fall in love with these incredible creatures just like I have!
I'd love to hear how this guide helped you. You can put your comments below.


