
Table of Contents:
Tell Dad You Love Him with a DIY Picture Frame
My Dad means the world to me. He’s always been there for me with warm words of advice, encouragement and unconditional love. Every Father’s Day, I try to give him something special that I’ve made myself to show him how much he means to me. For Father’s Day 2020, I’ve created this unique picture frame that I’ll put a picture of the two of us in and he’ll be able to put it on his desk or bookshelf as a reminder of my love and admiration.
It was so easy and fun to make, I decided to share it with you. I used a surprise ingredient—dried mung beans!—to create the textured surface and glitter for lots of sparkles. I know our Dads are going to love it!
List of Supplies
- Large Cutting Mat
- Black Foam Board
- Red and Gold Glitter
- School Glue
- Black Acrylic Paint
- White Colored Pencil
- Ruler
- Sculpting Knife
- Round Foam Brush
- Printed Text and Heart
- Wooden Craft Sticks
- Scissors
- Ceramic Plate for Glitter and Glue
- Mung Beans (You can also use rice or peas)
- Paint Brushes
Step-By-Step Father’s Day Frame
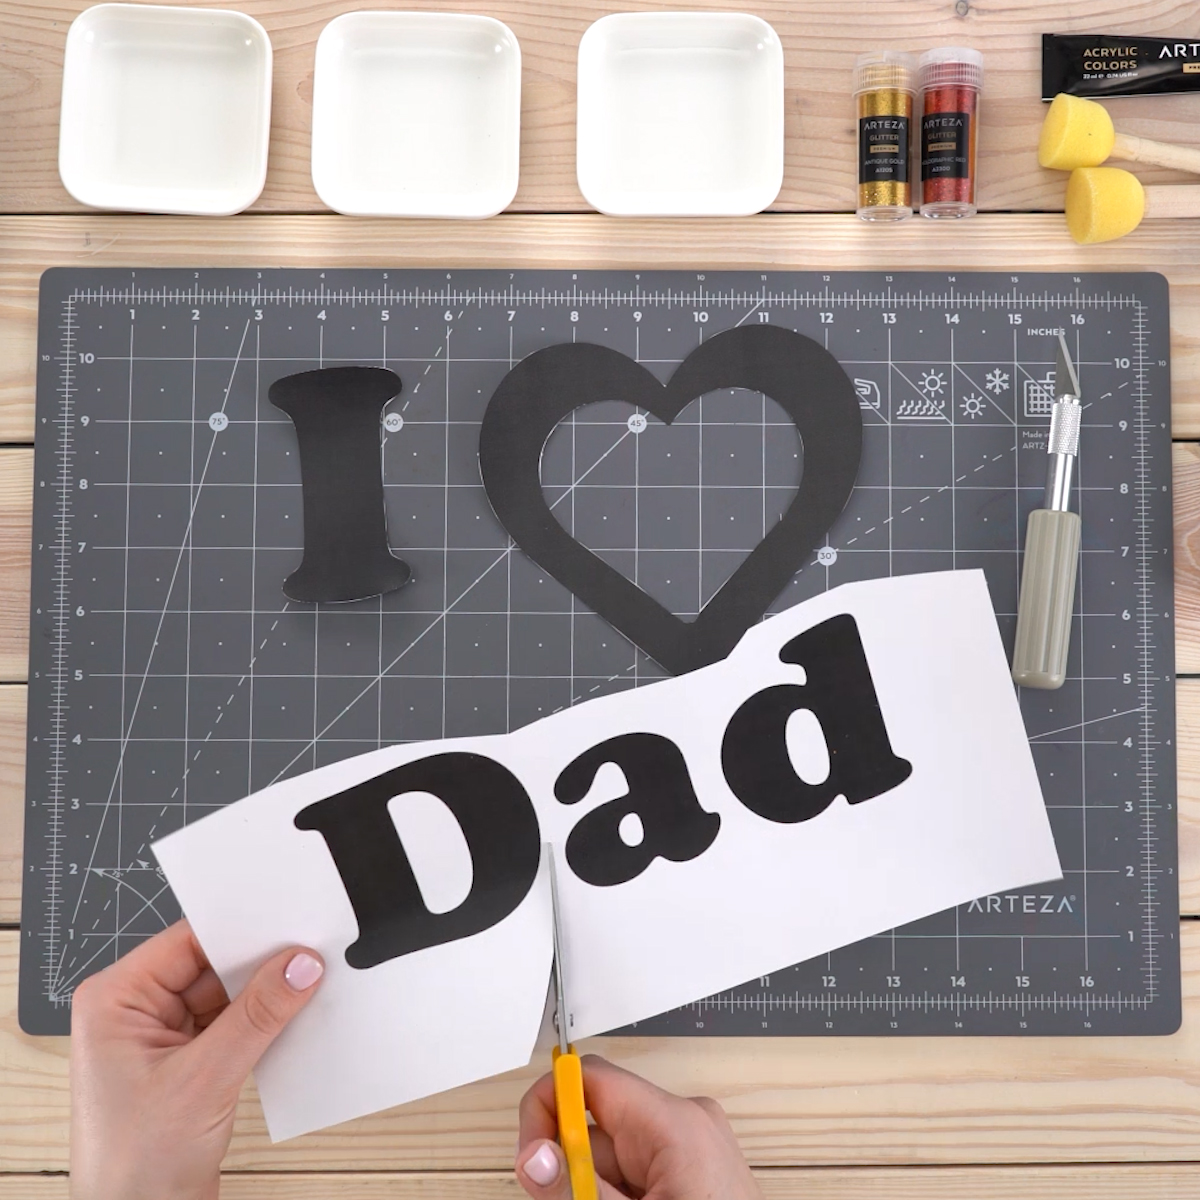
Step 1. Cut out the text and heart
The very first thing I do is find a font I like and adjust it to the size I want. I do the same for the heart. Then I print the text and the heart. Once I cut these out, they’ll be the pattern for my frame. I find it easier to cut the outline of the letters with a scissor and then use a craft knife for the inner parts. This gives me a clean line inside and out.
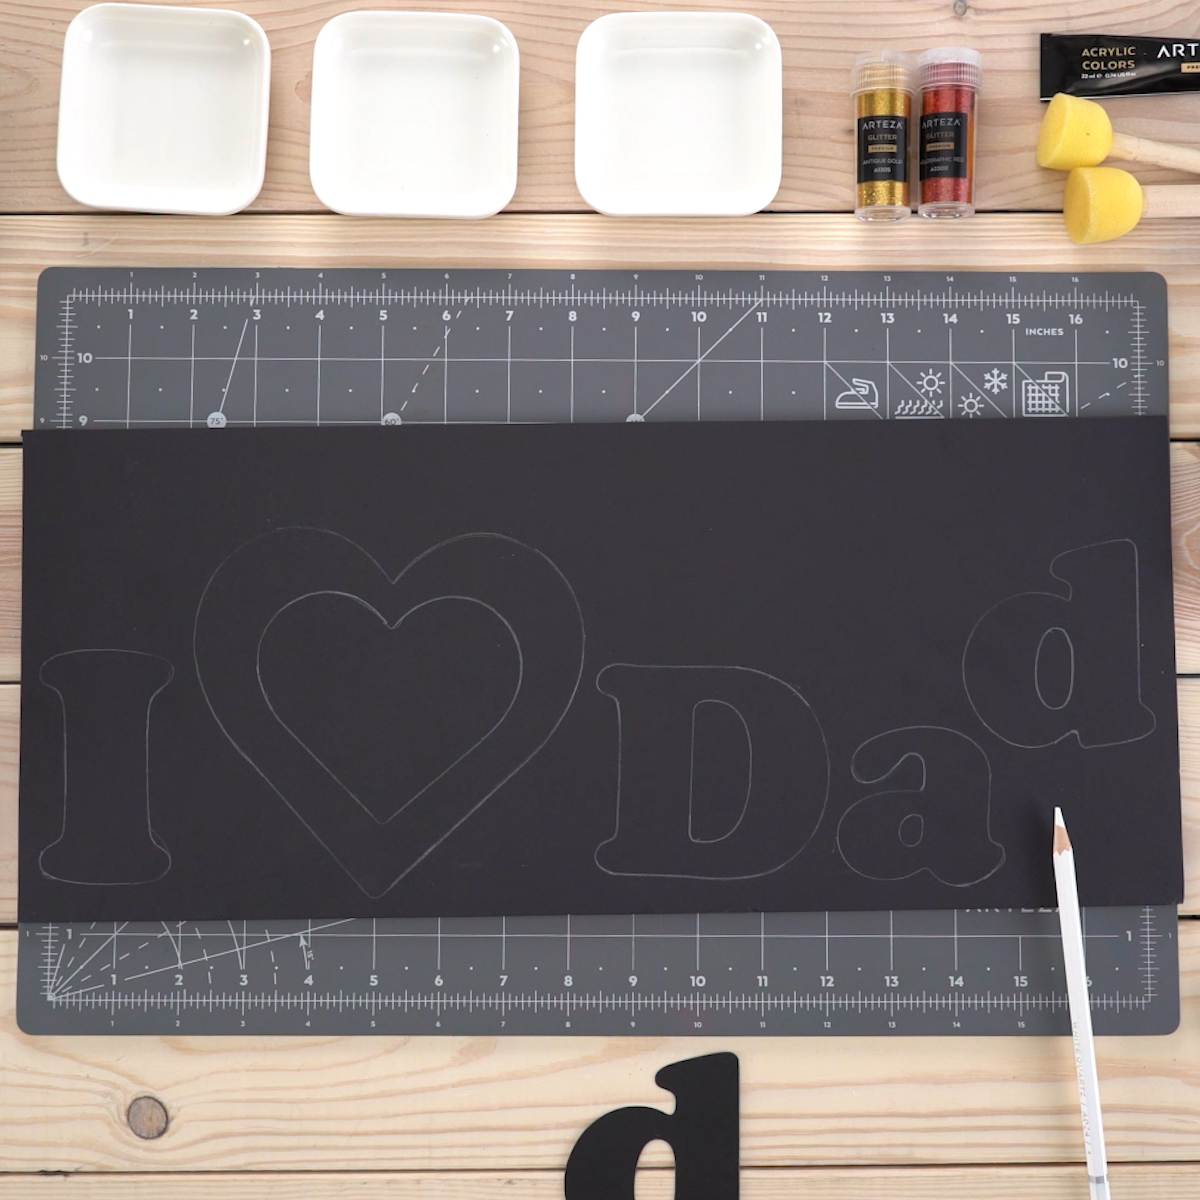
Step 2. Trace the letters and the heart on the foam board
Next, I place the letters and heart on the foam board and use the white pencil to trace around them. I recommend using Arteza’s black foam board because of its dense structure and how perfectly the letters and heart will retain their shape. In the next steps, I’ll be applying glue and the beans and ordinary paper simply would not support their weight.
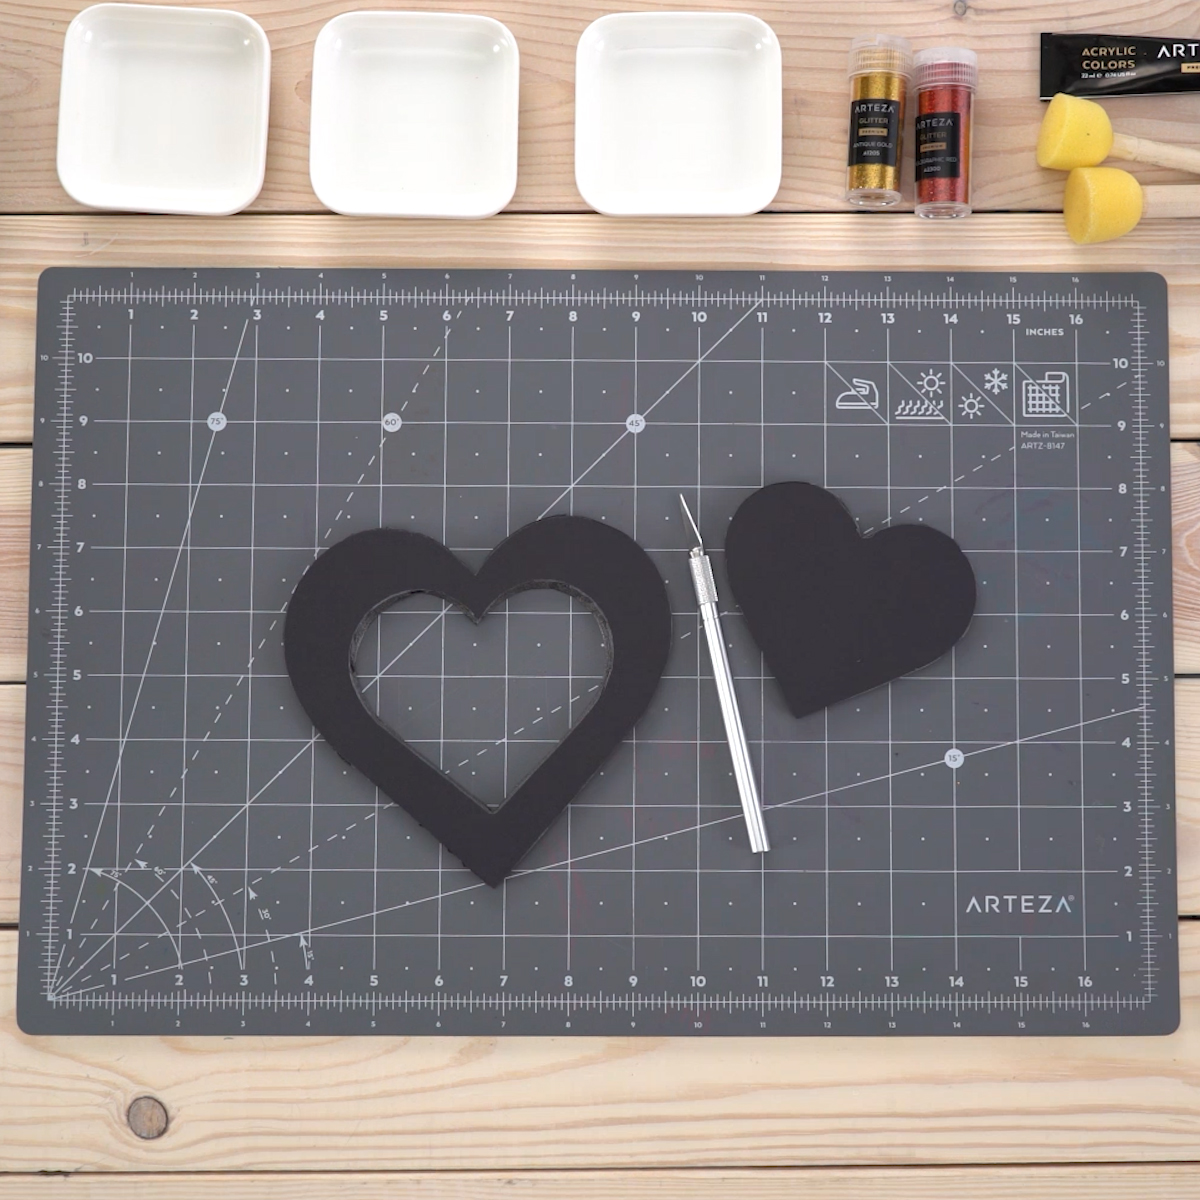
Step 3. Cut the letters from the foam board with a craft knife
Make sure your knife has a new blade to ensure a straight and clear cut. I use my knife set from Arteza because it has several different blades.

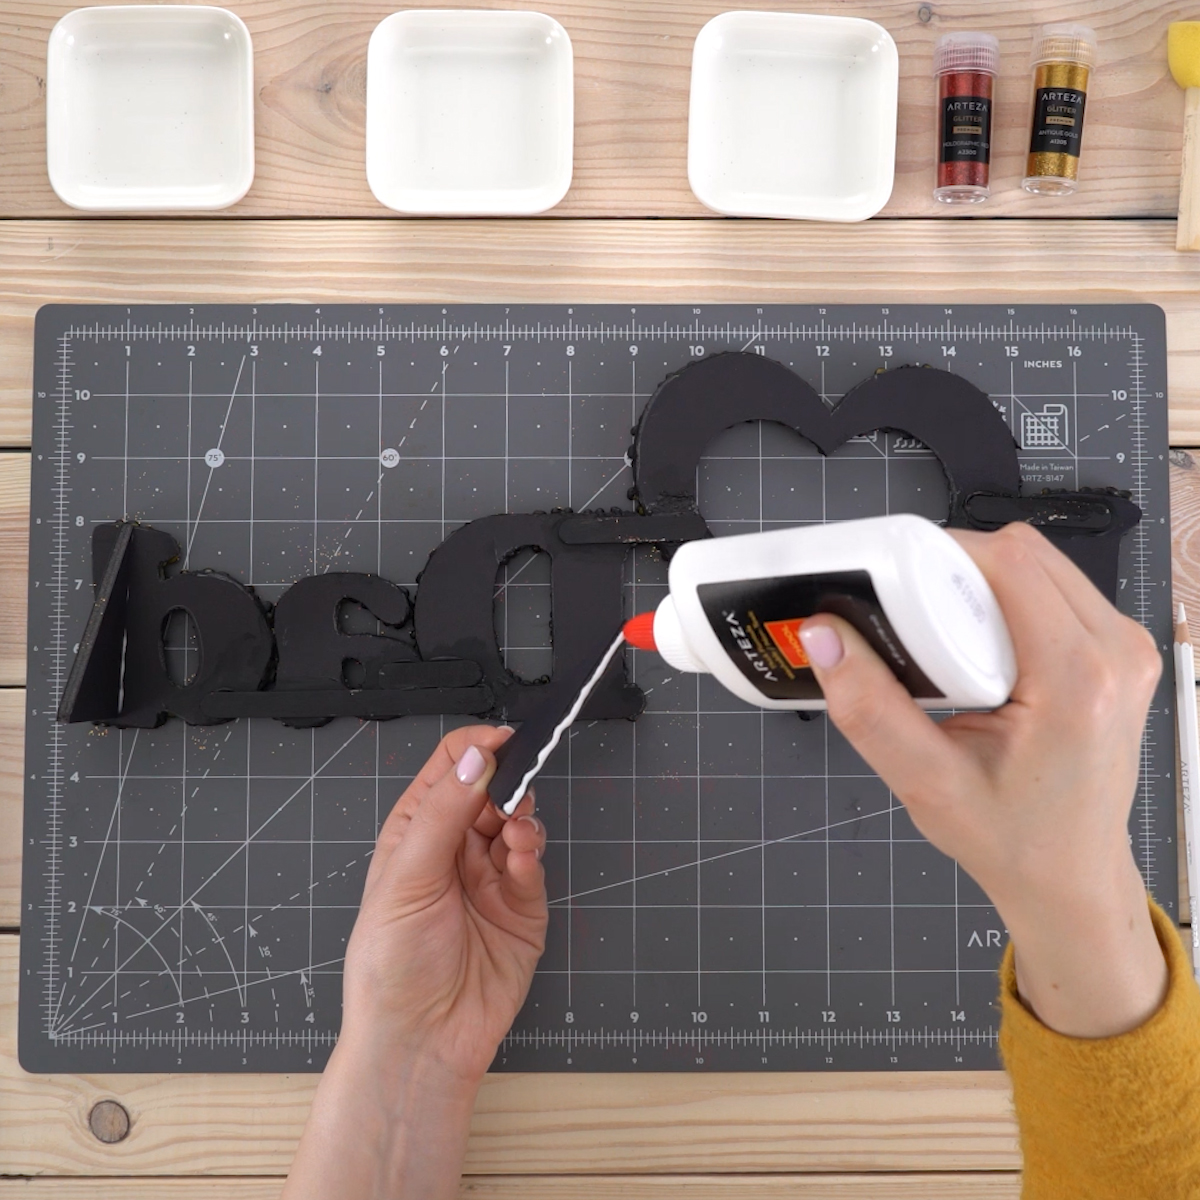
Step 4. Join the letters and the heart together
Now, I flip over the foam board letters and heart and glue them together with the wooden sticks.
TIP: Before you glue them together, make sure the letters are facing backward so that when you flip the entire thing over they will be going in the right direction. Use plenty of glue and allow enough time for it to dry completely before proceeding.
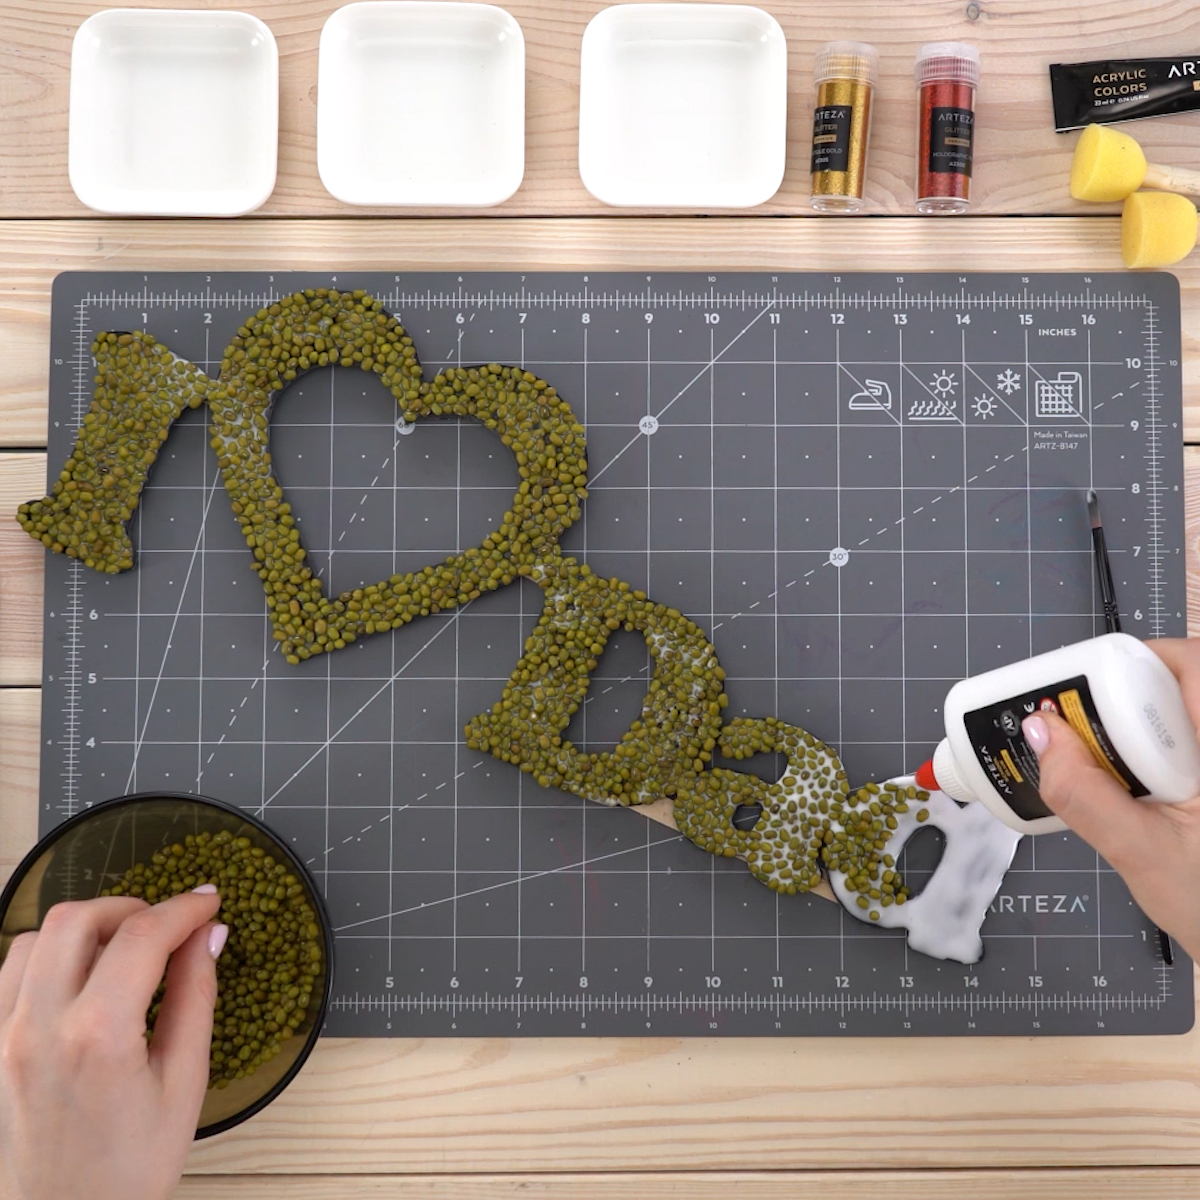
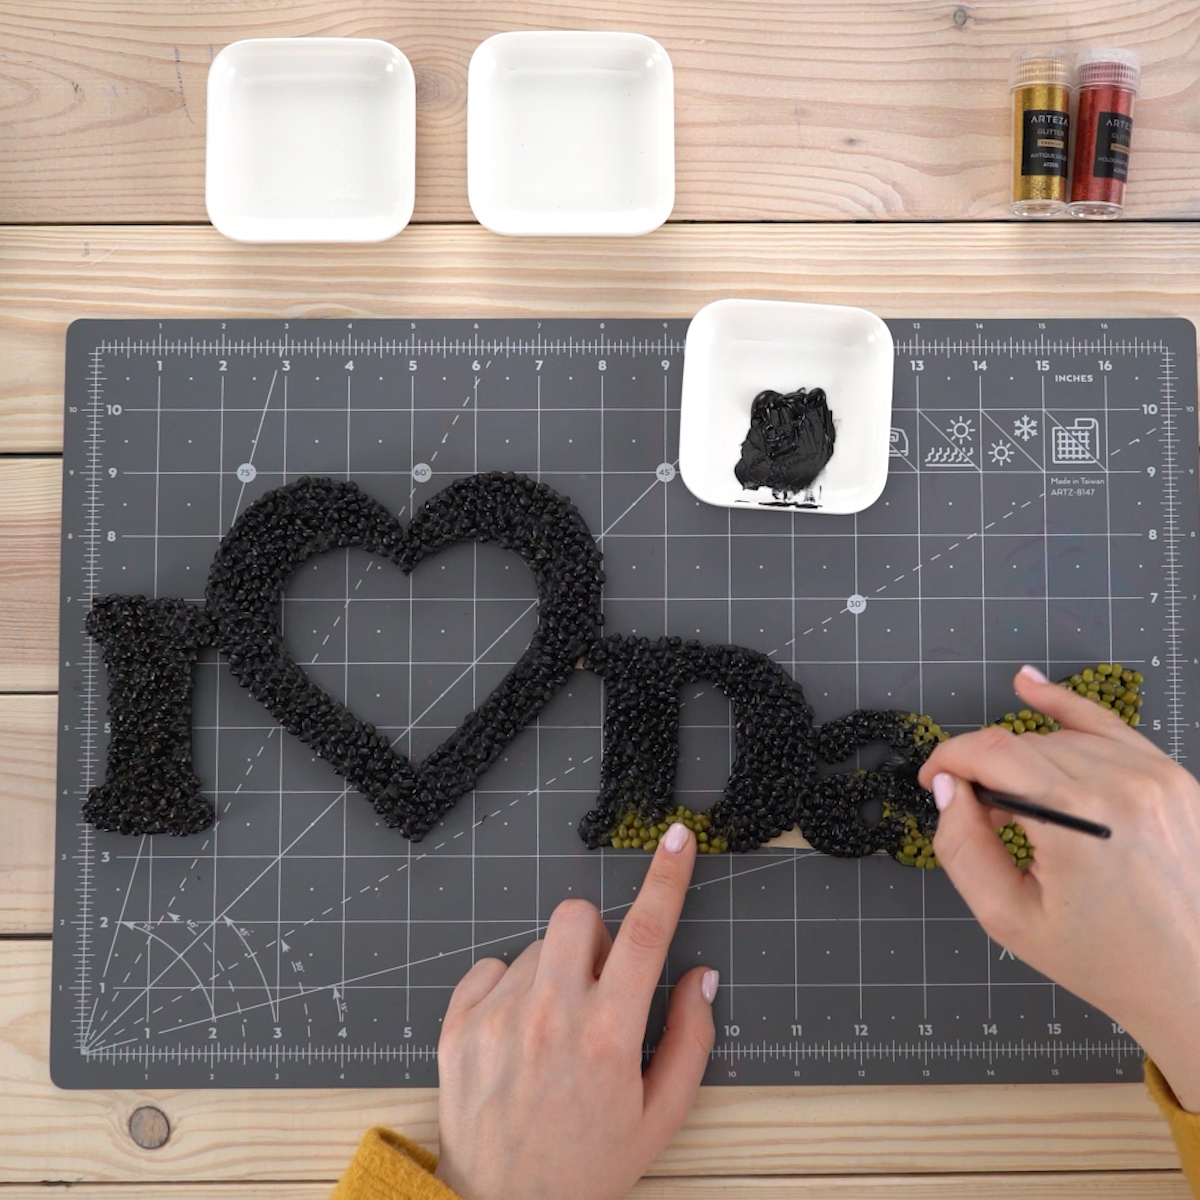
Step 5. Add the beans
Once your frame is dry it’s time to add the beans. I squirt the glue onto the letter and then use a paintbrush to paint the glue over the entire surface. This lets me use a lot of glue and get even coverage. I recommend doing one letter at a time.
After the glue is in place, I sprinkle the beans over the glue. I use one of the wooden sticks to align the edges of the letters and pack the beans tightly so that there are no gaps. I let them dry for at least 8 to 12 hours or overnight.
Step 6. Paint
When the frame is dry and the beans are secure, I paint the entire piece with black acrylic paint. I paint the front, the back and along all the edges. I let the paint dry completely.
TIP: To keep the beans intact, it’s best to start painting from the bottom of the letters, holding the frame with your finger, and painting the entire front first, before painting the back and edges.
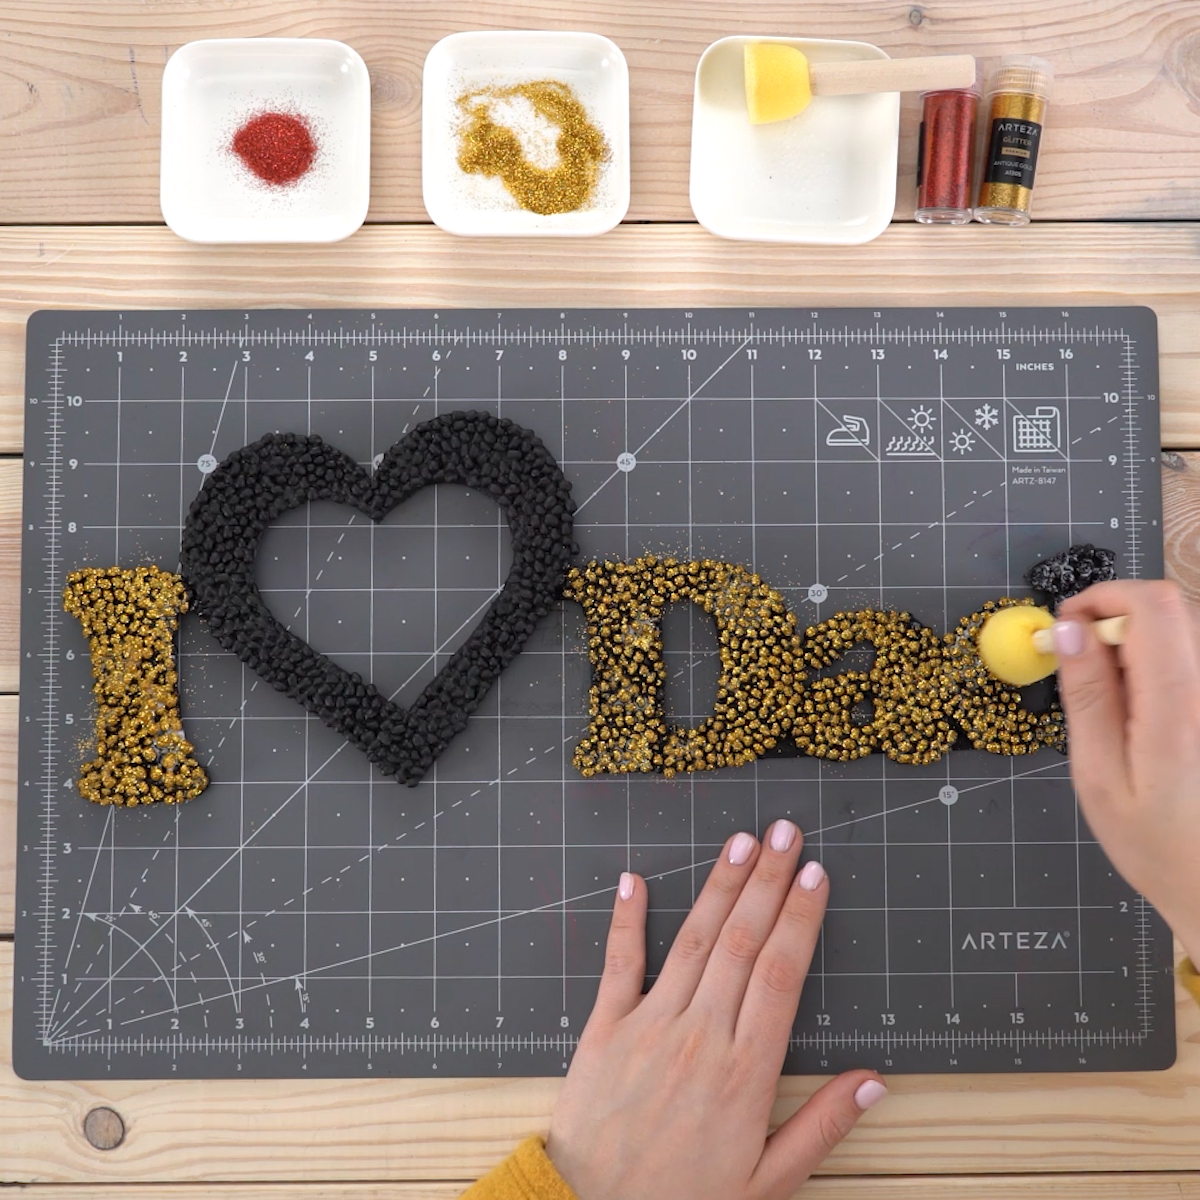
Step 7. Add glitter
Now that the paint is dry, I can add some pizazz to this frame! A round foam brush works the best for this step. It’s large enough to cover a lot of area at once, which speeds up the process, and is soft enough to exert gentle pressure on the beans so none will become dislodged and fall off.
First, I apply glue to each letter and then use the sponge brush to put on the glitter. I do all the letters in gold first, then switch to a new sponge brush for putting the red glitter on the heart. I allow the glue to dry well before going to the next step.
Step 8. Create a base
I want this frame to be able to stand up on a desk or shelf, so I need to create a base for it. I do this by cutting out two triangles from the foam board and gluing them on either end of the back. Once they’re dry it’s ready to go!
Now just tape a favorite picture of you and your Dad on the back of the heart, or leave the picture off and it can be a stand-alone sign, for the perfect Father’s Day gift he’ll cherish for years to come!
Watch this video to see all the steps in making this frame.


