
Acrylic Paint: The Best of Both Worlds
Acrylic paint is one of my favorite mediums. Since it was developed in the ’40s, it has become the choice for millions of artists, and it’s no wonder. Acrylics combine the best of oil paints—creamy texture, opaqueness, ability to blend smoothly, vibrant colors—with the best of watercolors—quick-drying, water-soluble, easy clean-up—for paint that works on most surfaces. It’s a multifunctional medium that allows me to create artwork in so many different forms—on canvas, paper, cardboard, wood, glass, fabric, plaster, furniture, and even on the ceiling.
I’ve gathered my 36 favorite techniques to help you get the hang of this incredible medium. I suggest you start with quality paint in a large selection of colors, such as Acrylic Premium Artist Paint, 22ml Tubes - Set of 60. After you’ve tried all these techniques, I know you’re going to want to try them out in your own art and this set will give you all the colors you need.
What You Should Know About Acrylics
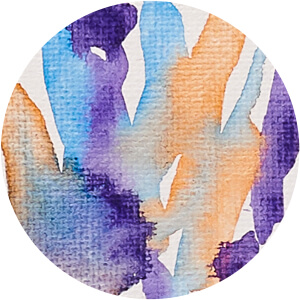
Since acrylic paint is water-soluble, it can be used to create watercolor effects on canvas or paper. On the other hand, when used alone, it is quite opaque and thick and can be used to create texture and dimension in your painting.
I prefer flat synthetic brushes when working with acrylics. They hold the paint well and are flexible enough for blending and making smooth strokes. I use round brushes for small details and stiff bristle brushes for making special effects and filling in large areas.
36 Acrylic Techniques
1. Wet brush on dry canvas
Wet the brush and use it to mix the paint with water on the palette until it is a uniform liquid, free from lumps. After that, apply an even layer across the surface.
2. Wet brush on wet canvas
Apply clean water to the canvas first. Thin the paint with water and apply it with the wet brush to the wet canvas.
3. Dry brush
Scoop up a considerable amount of paint using a dry brush and apply it to the canvas. (I love to use thick coats. Acrylic works great for this!)
4. Thin paint
Combine the paint with water on the palette. Apply the thinned paint to the canvas. Wash the brush and then move the clean wet brush, with no paint, around the edges of the painted surface. Do this a couple of times. It’s important to work quickly because thin coats of acrylics soak in and dry really fast.
5. Gradient relief
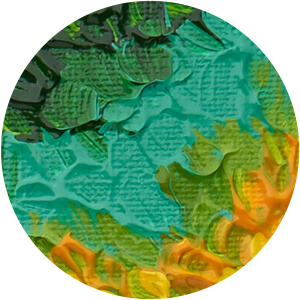
For this example, I used three colors to create a gradient, but you can use as many colors as you like; even one color will work. I squeezed them out onto my palette, then used a flat brush (a filbert brush works well for this, too) and repeatedly applied the paint on the canvas in tiny strokes, which should be positioned close to each other. This technique requires a lot of paint to build up the texture for true relief.
6. Toothbrush splatters
When I use this technique, I always cover my work surface with a sheet of plastic because it can get messy. Then I squeeze the acrylics onto a palette (you can use one or several colors). Next, take an old toothbrush, pick up some paint with it, then pull the bristles back with your fingernail, which will splatter it onto the canvas. You can make different sizes of splashes and splatters by using more or less paint, applying a little or a lot of force with your fingernail across the bristles, or by adjusting the distance between the toothbrush and the canvas.
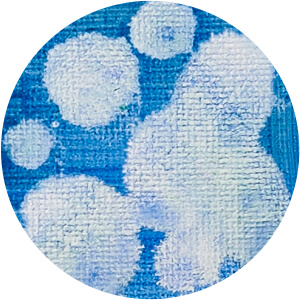
7. Dry sponge
Squeeze some paint onto the palette. Dip a dry foam rubber sponge in it and press the sponge to the canvas, then quickly remove it. Do this repeatedly. The look of the resulting texture depends on the amount of paint and the force applied to the sponge. For best results, practice on the palette first until you get the look you want.
8. Wet sponge
Wet the sponge, dip it in paint, and stir well to thoroughly fuse the water on the sponge with the paint. Using a light hand, and without pressing the sponge too heavily on the canvas, apply the wet paint.
9. Rough sponge
Lift up some paint with a dry rough sponge and then press it to the canvas, moving it away repeatedly. The resulting texture depends on the pressure applied and the amount of paint used.
10. Palette knife
It’s fun to experiment with painting with other tools besides a brush. In this case, I used my palette knife to scoop up some paint from the palette, and using different angles, transfer it to the canvas. The trick to maintaining the texture is not to apply too much pressure to the knife.
11. Color Mixing
Squeeze two colors on canvas close to each other. Stir them in a circular motion until a third color is created.
12. Color Gradients
Squeeze two colors on a palette; here I used red and yellow. On canvas, I painted a line of yellow on the top and a line of red on the bottom with a dry brush. Next, I washed the brush. Then, I took some yellow paint and moved it from the yellow line to the red one, gradually mixing the colors in the process. I mixed the colors quickly, as it dries fast.
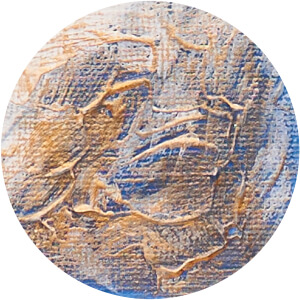
13. Dry Brush Layering
To do this technique, I applied blue paint thickly to the canvas by scooping up a large amount and applying it so it created a raised texture. Next, I waited until it was completely dry. Then, I took a bristle brush and a little bit of white and painted on top of the blue with light touches. When the white dried, I repeated the process using gold.
14. Mix on canvas
Squeeze three colors out of their tubes directly onto the canvas. Stir them using a dry brush, but don’t combine them completely. Instead, leave the paints’ textures and streaks of different colors untouched.
15. Mix on palette
Squeeze two colors straight from the tubes onto a palette. Stir them in a circular motion until they blend fully, then apply an even layer over your surface.
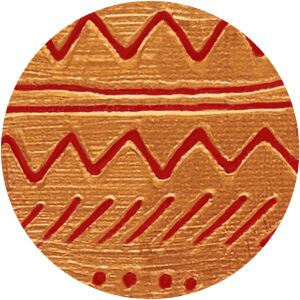
16. Sgraffito
This technique is centuries old and is most commonly used in sculpture and pottery making. I think it also looks great when used in painting. For this technique, first apply paint in a dark shade thickly on the surface. Next, wait for it to dry fully. Then, apply gold paint or paint of lighter tint on top of it. Before it dries, scratch a line, a pattern of triangles, dots, symbols, or whatever shapes you like through this layer of paint using the opposite side of the brush, a small stick, or a toothpick.
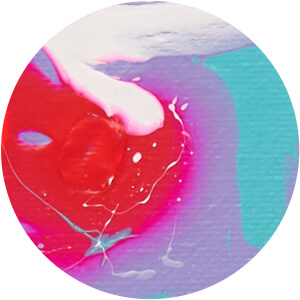
17. Pouring
This is another technique that requires you to protect your work surface, as the paint will spill. In three separate cups, add the color of your choice of acrylic pouring paint. This paint is specially formulated, premixed, and ready to pour. (We recommend Arteza Acrylic Pouring Paint, 60 ml bottles.) Next, add all three paints into one cup (don’t stir or combine them) and pour the resulting mixture on the canvas. Tilt the canvas to make it flow across the surface and drip off the edges to create some striking designs.
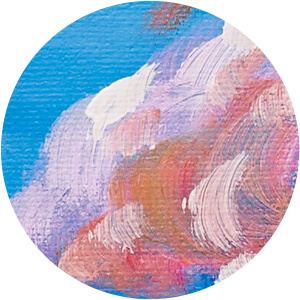
18. Scumbling
First, apply an even layer of paint as a background. (I like to make a gradient from white to blue to create a sky). Wait for it to fully dry. Then use a dry bristle brush dipped in paint and rub it on the canvas. You can use different colors to get lots of different effects. My favorite use for scumbling is making wispy clouds.
19. Soft edges
Use a wet brush dipped in paint and draw a line. While it is still wet, dip the brush in water and touch the edges of the line, blurring and softening it.
20. Hard edges
Put a good amount of paint on a dry brush and draw a line. After it has dried thoroughly, you’ll have a nice hard edge along the line.
21. Large splashes
Protect your work surface before scooping up a lot of paint with the paintbrush and flicking it onto your canvas. This will make big splashes of paint (like Jackson Pollock did). To get smaller splashes, hold a clean brush horizontally and tap the paint-filled brush against the clean brush’s handle.
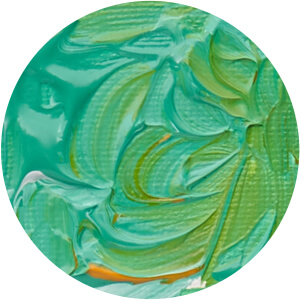
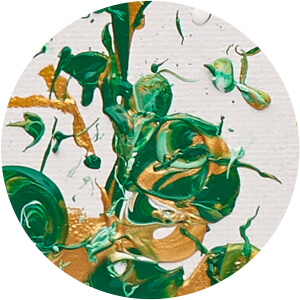
22. Impasto
The impasto painting technique results in a highly textured, thickly painted surface. To get this appearance I like to squeeze a few colors on the palette first. With a palette knife, I scoop up a large amount of paint and transfer it to the canvas. Then, I wipe the knife clean and scoop up another color, placing it near the first one on the canvas. I work it across the canvas, avoiding pressing the paint flat with the knife while forming peaks. Sometimes while it is still wet, I sprinkle the surface with glitter.
23. Glazing
Dilute the acrylic paint with lots of water and then apply it to your surface. Once the first layer is dry, paint over it using the same or another color. Every time you add a layer, the shade will become darker or incorporate with the first color to create a new shade. Here I painted stripes and you can see where the colors mixed when another layer was added.
24. Water drops
First, apply diluted paint using a wet brush. While it is still wet, use a pipette to collect some clean water and add drops of water on the painted layer.
25. Stencils
I create my own stencils by printing a symbol, letter, or design on paper and then cutting it out. If I don’t print it on adhesive-backed paper, I use painter’s tape to attach the stencil to my surface. Using a stencil brush or sponge, I use a small amount of paint and apply it over the stencil using pouncing motions, making sure all the edges are covered well. Wait until it is almost dry to remove the stencil.
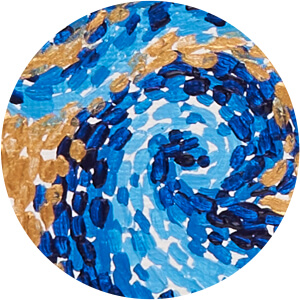
26. Dot technique
This technique was used by Van Gogh. Start by applying different colors in small strokes close to each other. I used light blue and dark blue, and swirled them into a wave. If you’re not confident to start painting the wave, you can make the wave’s outline first, then paint over it using small strokes.
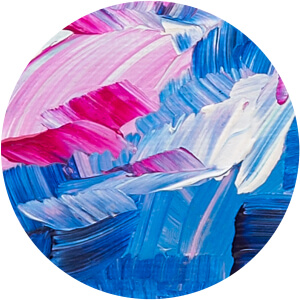
27. Smudging
Apply 3-4 colors close to each other with a dry brush, randomly blending some of the colors together.
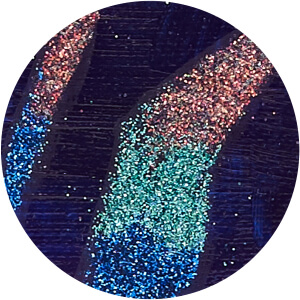
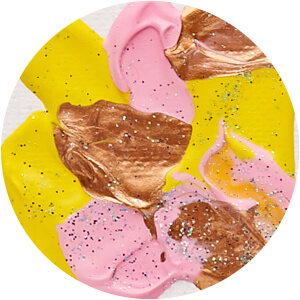
28. With glitter
Apply paint and wait for it to dry fully. On top of the painted layer use glue to draw stripes or other shapes. Sprinkle the glue lines with glitter of different colors using more than needed to thoroughly cover the glue. Shake off the excess glitter.
29. With pastel
This is a technique I use often in my art journals. I first cover the page with diluted acrylic paint. Once the page is completely dry, I use oil pastels to write, draw, or make marks over it.
30. With a gel pen
This is the same technique as using pastels over acrylic, only this time I used a gel pen. Using gel pens with acrylic painting is fun because they come in so many bright, fun colors.
31. With markers
Apply paint, and wait for it to dry fully. Use markers to draw graphics or illustrations on top of the layer of acrylic.
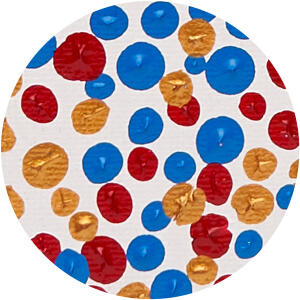
32. Acrylic dots
Squeeze three colors onto the palette. Dip the blunt side or the eraser end of a pencil into paint and press it to your surface for the perfect little dots. Repeat using different colors.
33. Mix with Palette knife
Squeeze four colors and combine them using your palette knife. Don’t blend them completely together to make sure all the colors are visible.
34. Texture paste
To create the thickest texture possible, I add texture paste to my paint by combining it with the acrylics until I get the consistency I want. Then I use a palette knife to lift it from the palette and place it on my surface. I continue using the knife to spread it around, leaving some areas untouched and varying my peaks by applying different amounts of pressure.

35. Dry bristle brush
Apply a thin layer of paint using a dry bristle brush. Move the brush to create a wavy pattern.
36. Add mica powder
Adding mica powder will make your acrylic paint look metallic. First, put the paint onto a palette. Then, carefully add the powder to the paint and mix it very slowly. Mica powder is very fine and if you add it to quickly it will fly off the paint and create a mess.
Recommendations
- Keep a piece of cloth around at all times to wipe excess water from your brush.
- The most basic acrylic techniques you should begin with are: mixing colors on the palette and the canvas; making gradients of color, impasto, glazing by using thin layers of color, and using the palette knife.
- Acrylic paint dries quickly, so you need to work fast. Sometimes, to achieve an interesting effect, it’s better to wait until it dries.
- There is an almost infinite number of techniques achieved by combining acrylic paint and gel pens, markers, and pastels. Experiment and have fun using different media together.
- Thoroughly wash your paint brushes after using them with acrylics; otherwise, they become ruined and useless.
- To conserve the beauty of your acrylic painting, cover it with a varnish so it doesn’t fade over time due to sun exposure.


11 comments
I want to know sbout oil painting. What do i use to thin my paint? If it oil or fluid and what kind and where to get them.