
Table of Contents:
I fell in love with fluid art due to its freeing nature and the controlled chaos of each design. I love that I can be a scientist and an artist all in one. I love many different fluid techniques, although ring pour is one of my favorites.
List of Supplies
- Arteza Metallic Acrylic Paints
- Arteza Canvas
- Floetrol (latex paint additive)
- Gloss Medium
- GAC800 (acrylic paint extender)
- Cups
- Stir Sticks
- Torch
Time: 15–20 min Dry time: 2–3 days Cure Time: 3–4 weeks
Step-By-Step Demonstration
Step 1: Prepare the Pouring Medium 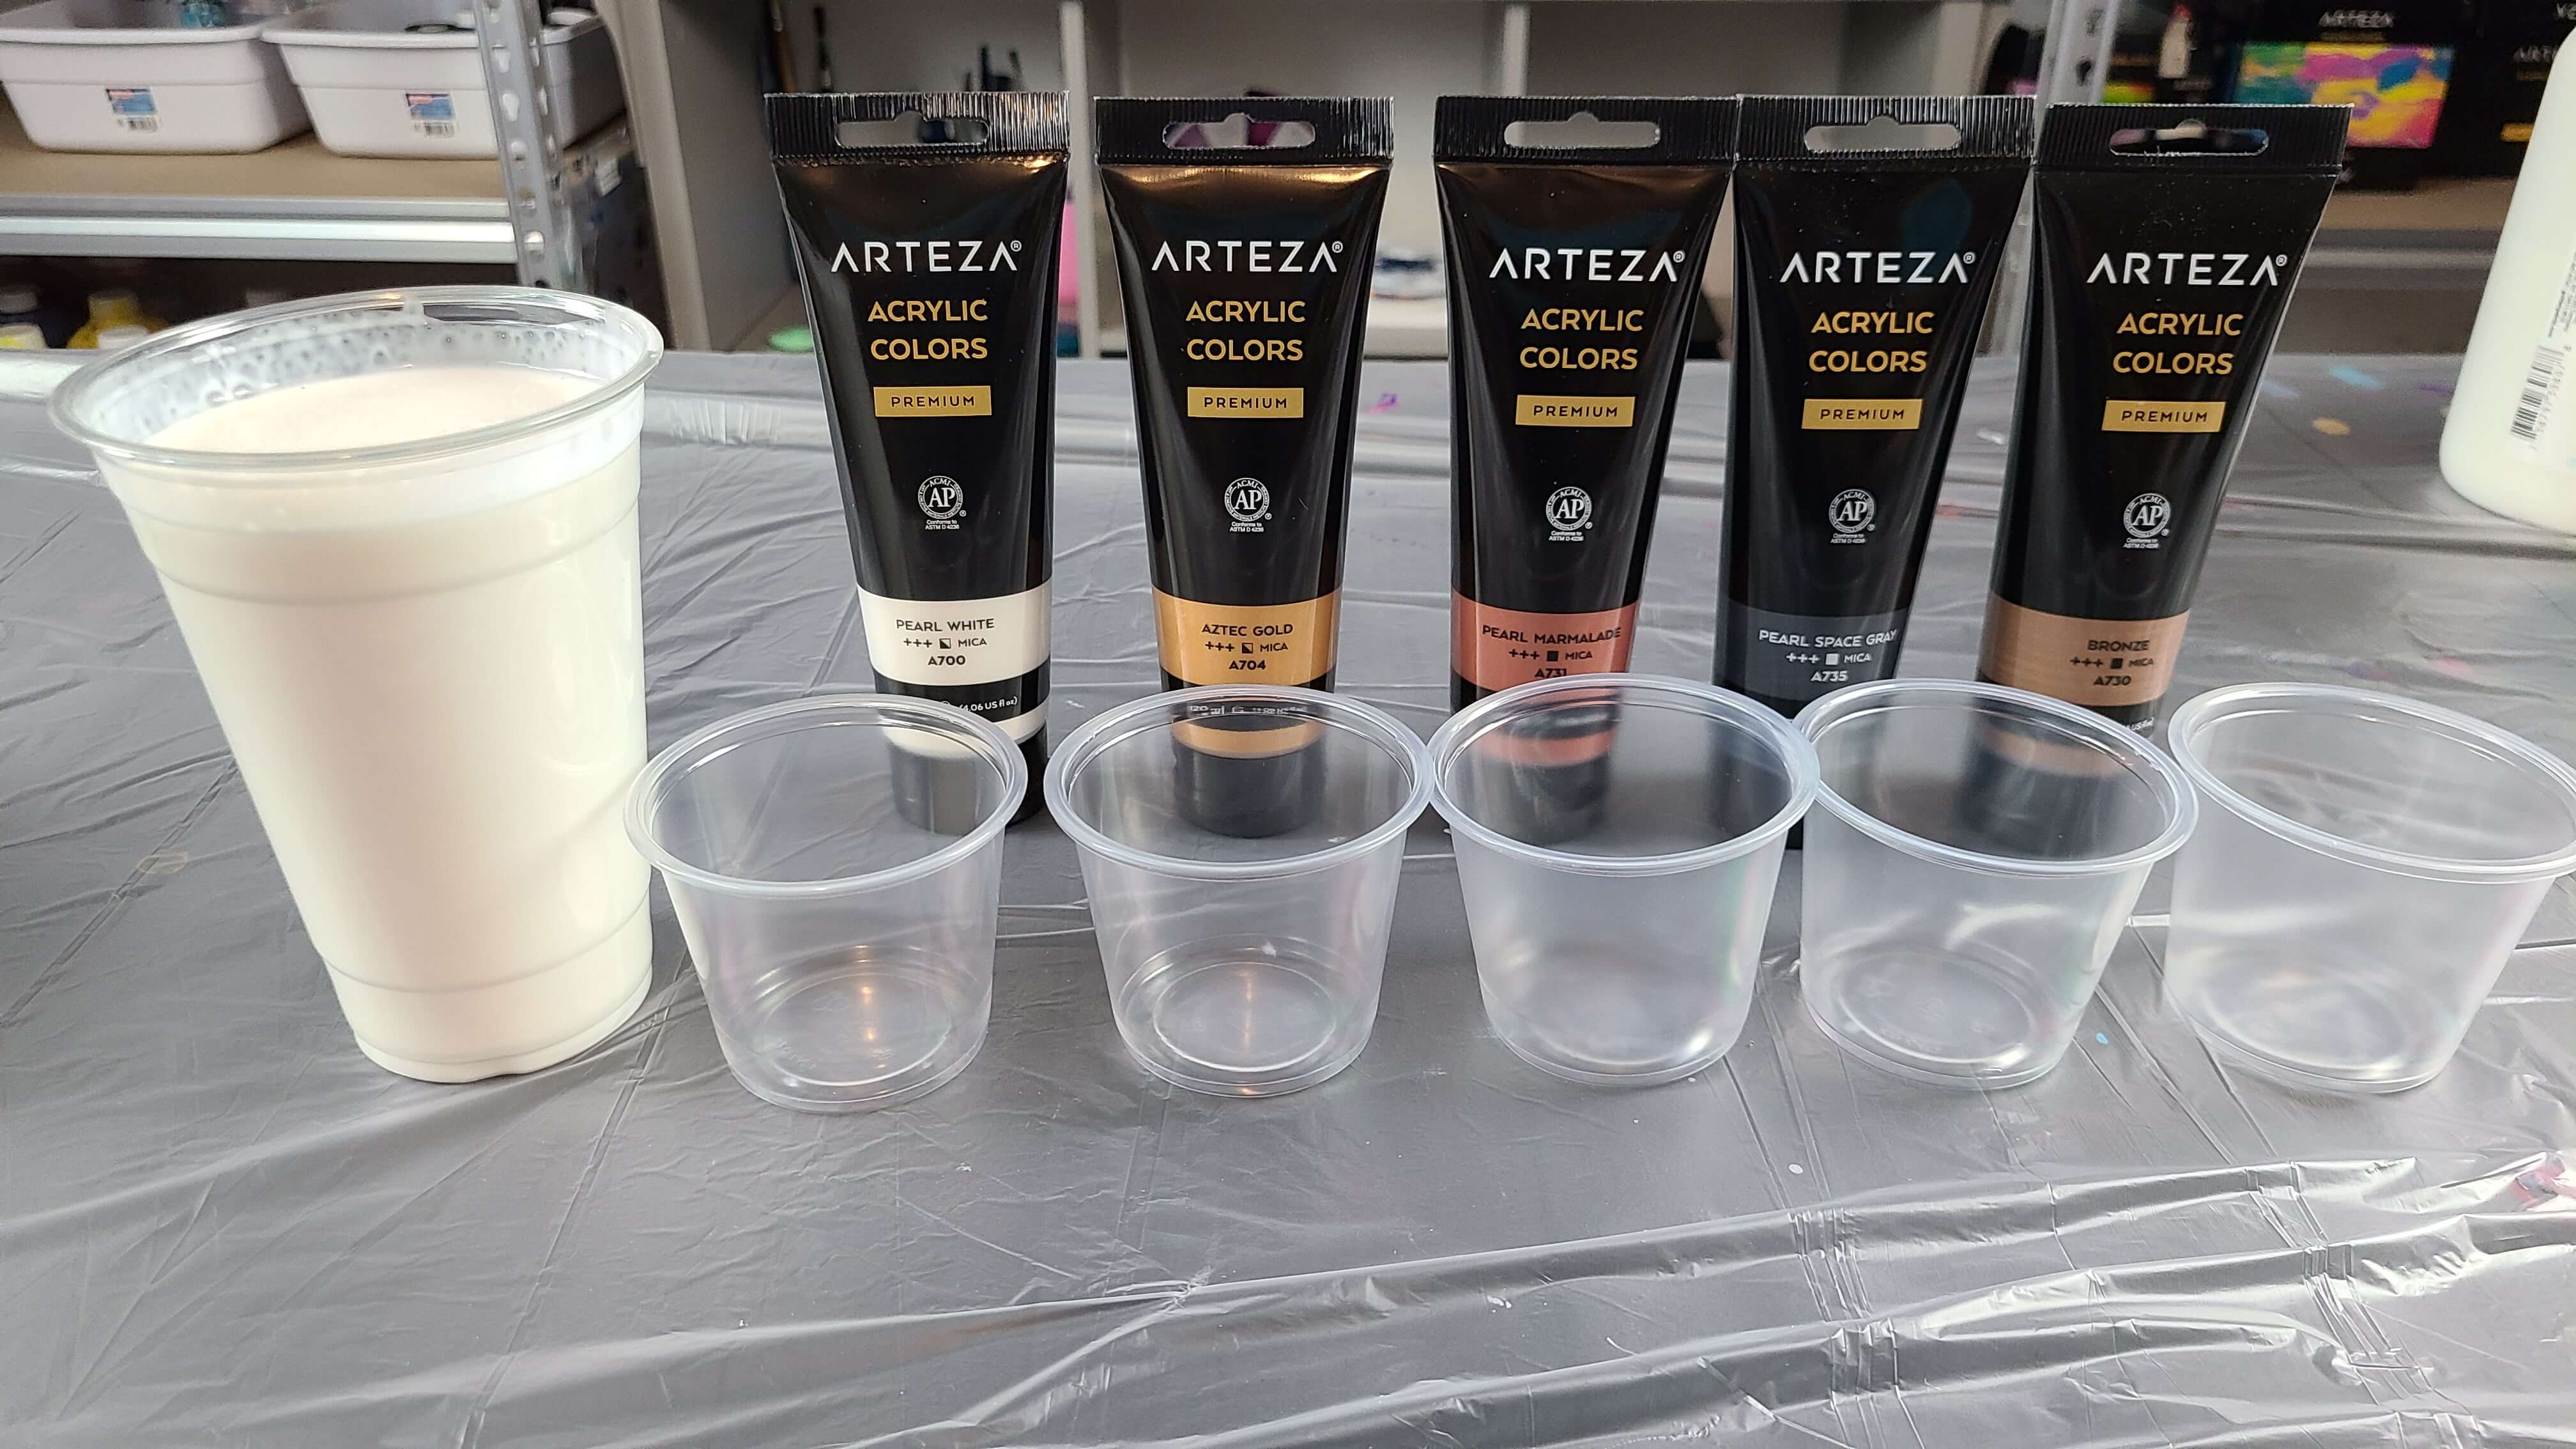
I mixed Floetrol, gloss medium, and GAC800 in a ratio of 60/20/20. Stir well.
Step 2: Prepare the Paint
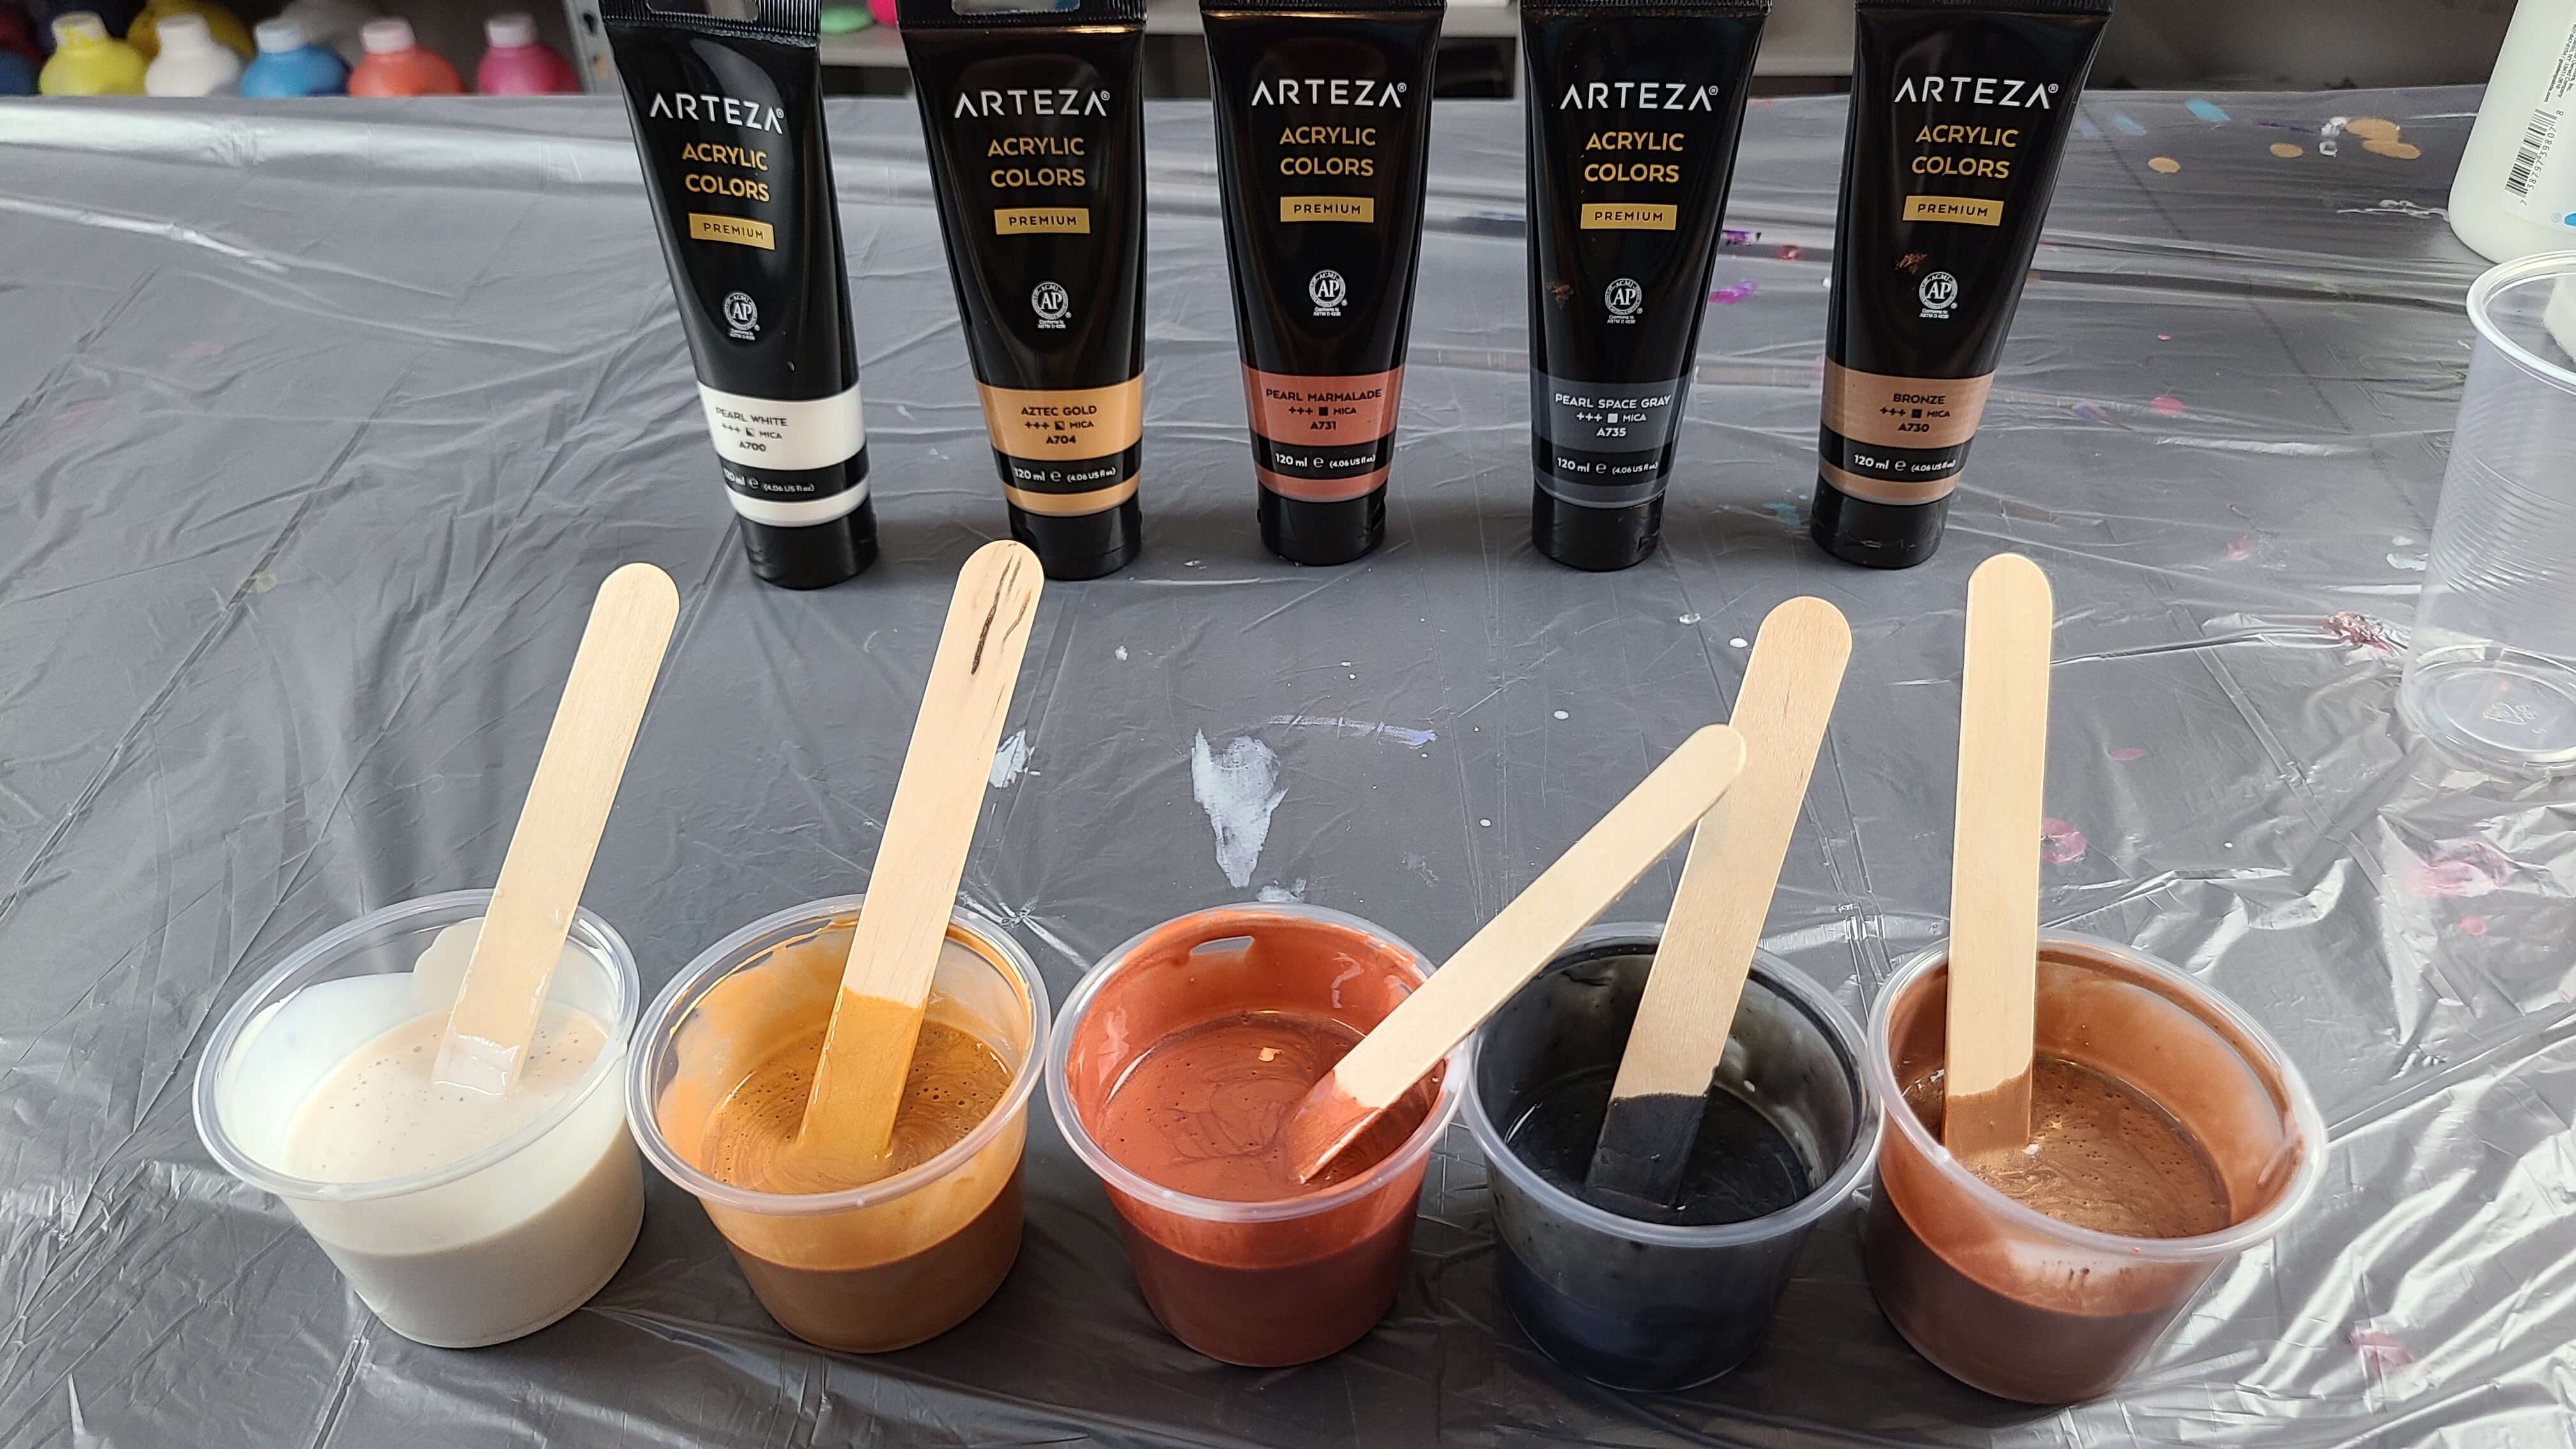
Take some smaller cups and place the paint into each one. I then mix 1 part paint to 1–2 parts pouring medium. The ratio of paint to pouring medium will vary based on the type/brand of paint and the type of pouring medium you are using.
If there are air bubbles, it is best to let the paints sit until those dissipate as they can change the design of your painting. You can also tap the cup on the table to bring the air bubbles to the top.
Step 3. Layer the Paints
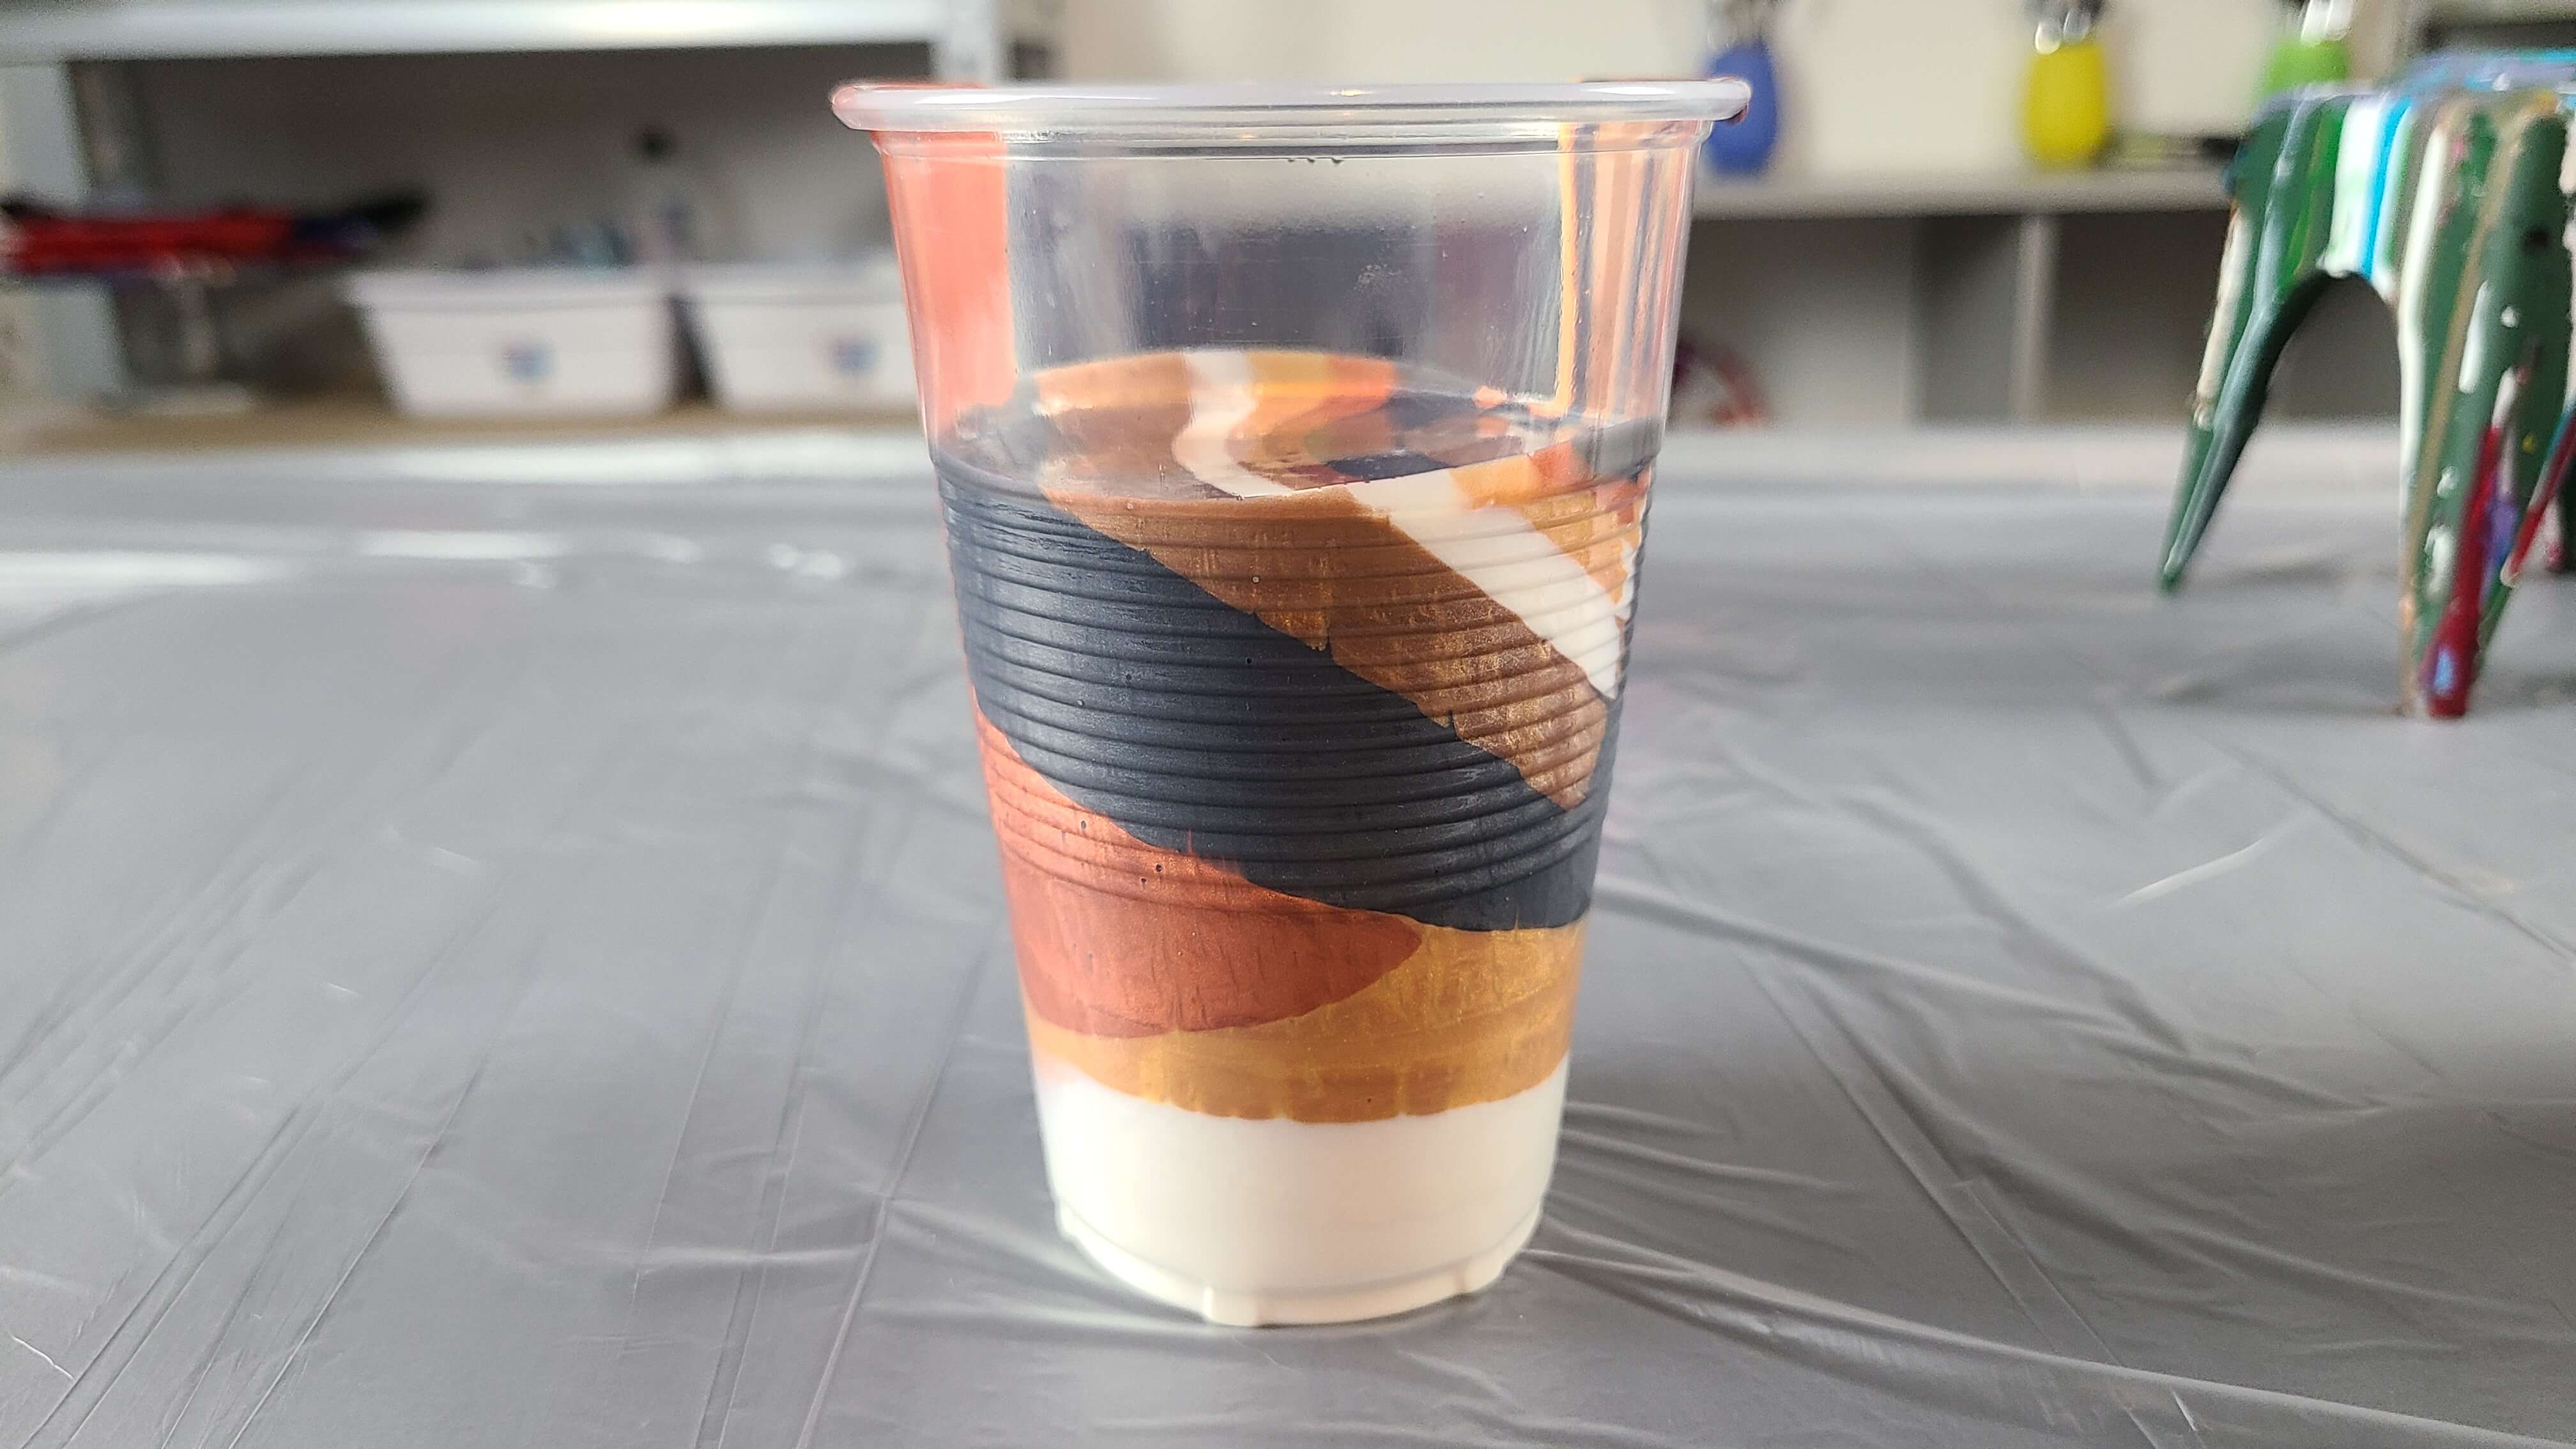
I like to start with a lighter color at the bottom of the cup. You can choose any color you like. What is layered on the bottom of the cup will end up being what comes out in the center. I also like to layer the colors in contrasting styles to get a more stunning effect. You will pour the first color at the bottom. All of the other colors, you will tilt the cup and pour it down the side. This way each layer sits on top of each other. This is the part you can really have fun with. Experiment with different layering techniques, try different color combinations. The sky is the limit here!
Step 4. Prepare the Canvas
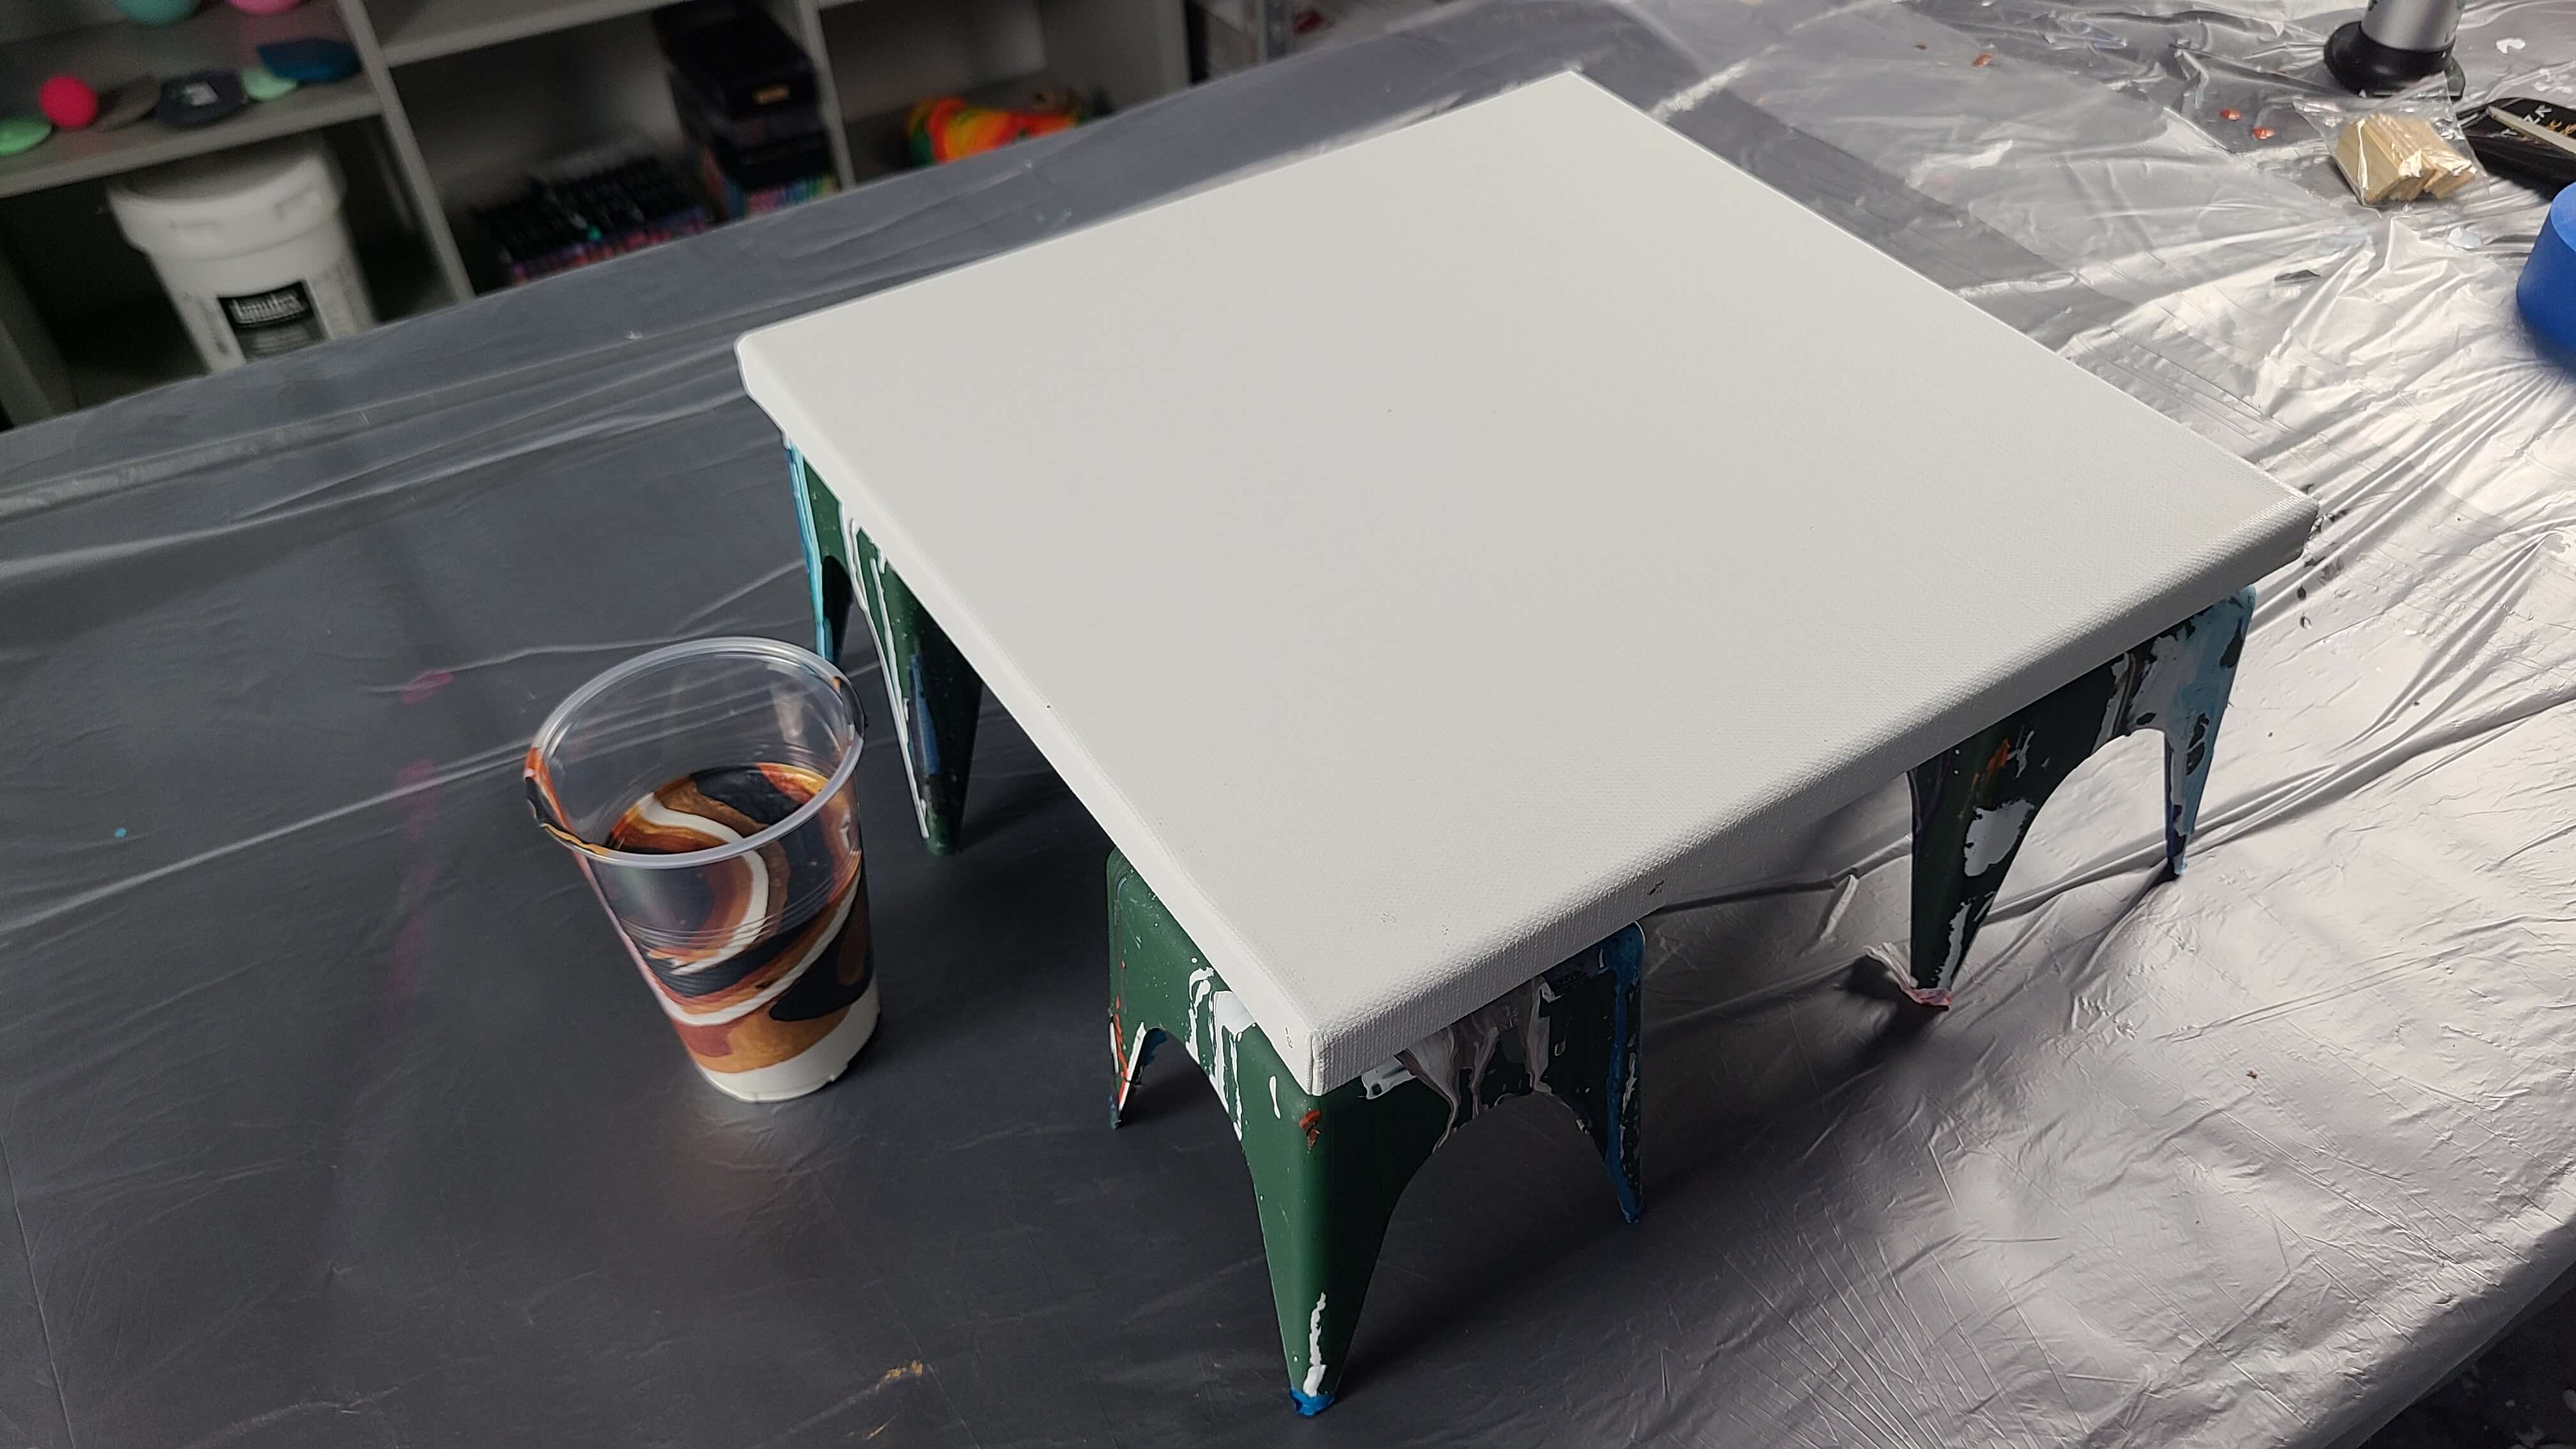
You can use whatever size canvas you like, just make sure that you use enough paint to cover that size canvas. I go by experience now, but you can get an estimate of how much total paint (plus pouring medium) is needed by multiplying length times width (in inches) and dividing by 24-26. This will give a measurement, in ounces, of the approximate total paint mixture needed. I always like to overestimate a bit so that I have plenty of paint to create the design that I desire. How much paint you need will also vary depending on the depth of your canvas (for coverage of your sides).
To prepare the canvas, I tape off the back for a clean look, as well as make sure the canvas is tight. You can spray the back with water, or you can use shims that are provided with some brands of the canvases to make the canvas taut. You want a canvas that is tight like a drum so that the paint will not move around while drying (unless this is an effect you are going for).
Step 5: Pour the Paint
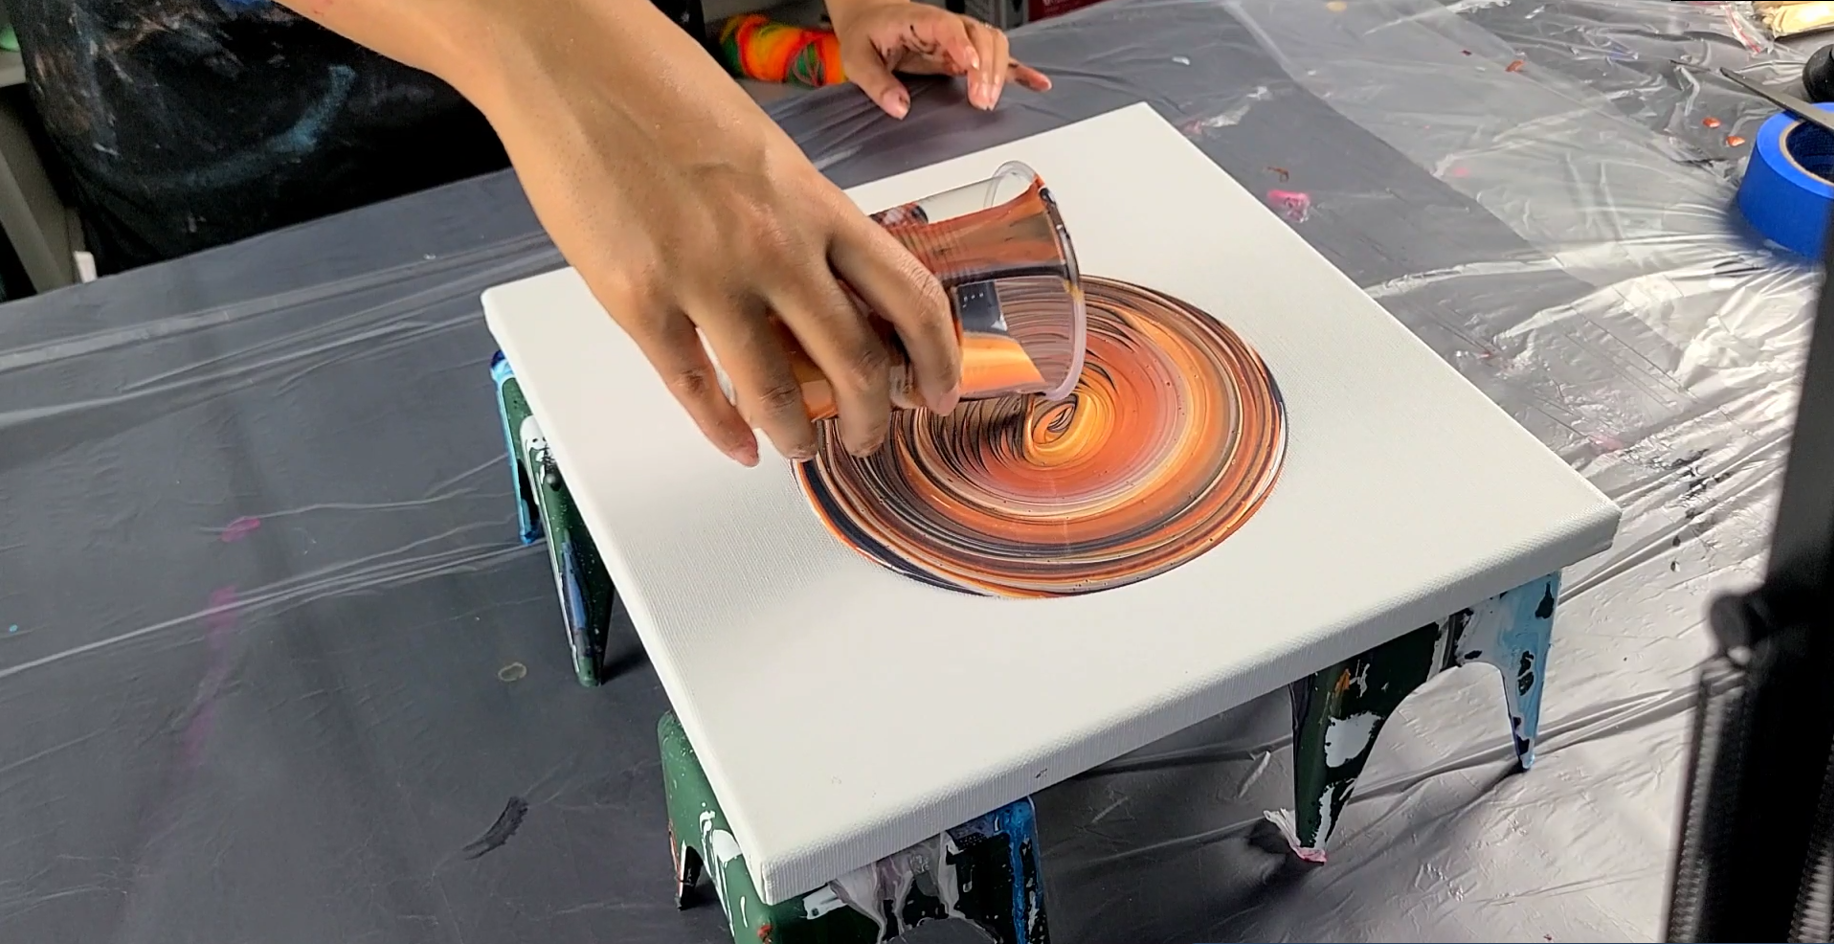
Now that you have prepped your canvas and mixed your paints, you are ready to pour! I start in the center of my canvas and move my hand in a circular motion to create the rings. For a regular ring pour you can stay in the center with the circular motion. There are other variations, such as a traveling ring pour, in which you move your hand and the paint in different directions. This is the part of creating art that is unique to each person. You can create whatever design you like! Experiment! That is the fun part! Find what works for you.
Step 6: Spreading the Paint 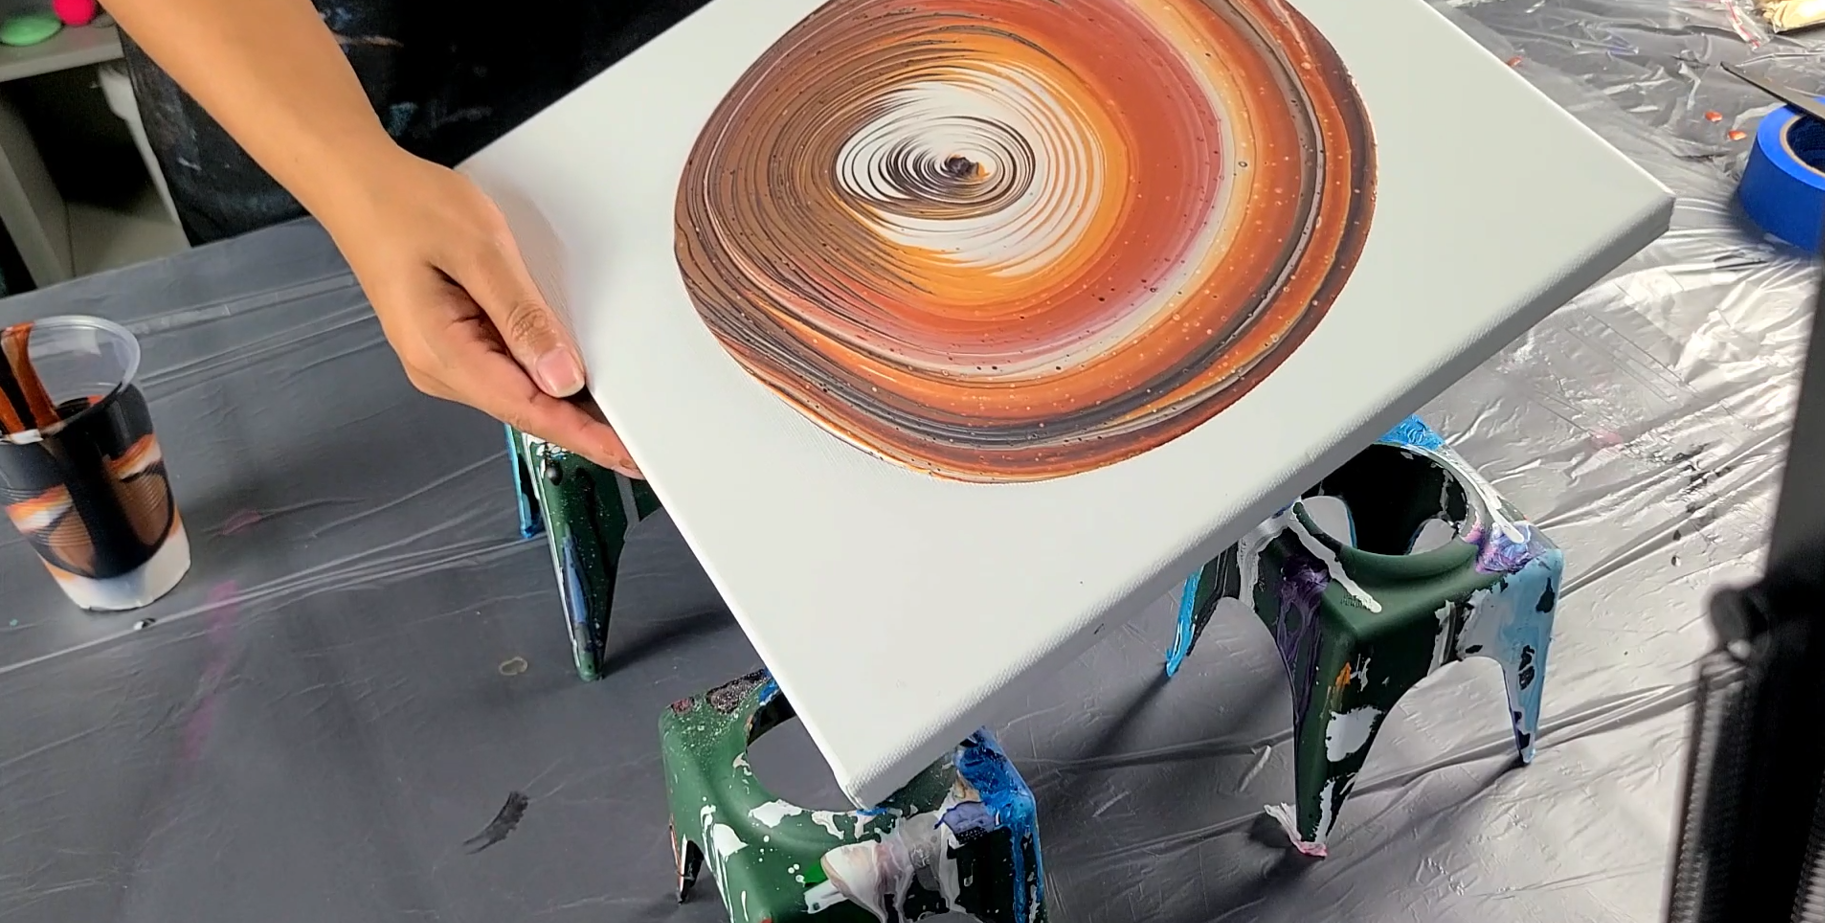
I pick up the canvas and hold it from underneath. I move the paint in a circular motion, really taking care of where the weight of the paint is on the canvas. I then continue to move in a circular motion until all of the paint has covered the canvas. You will want to make sure that all of your edges and corners are also covered.
Step 7: Finishing Touches 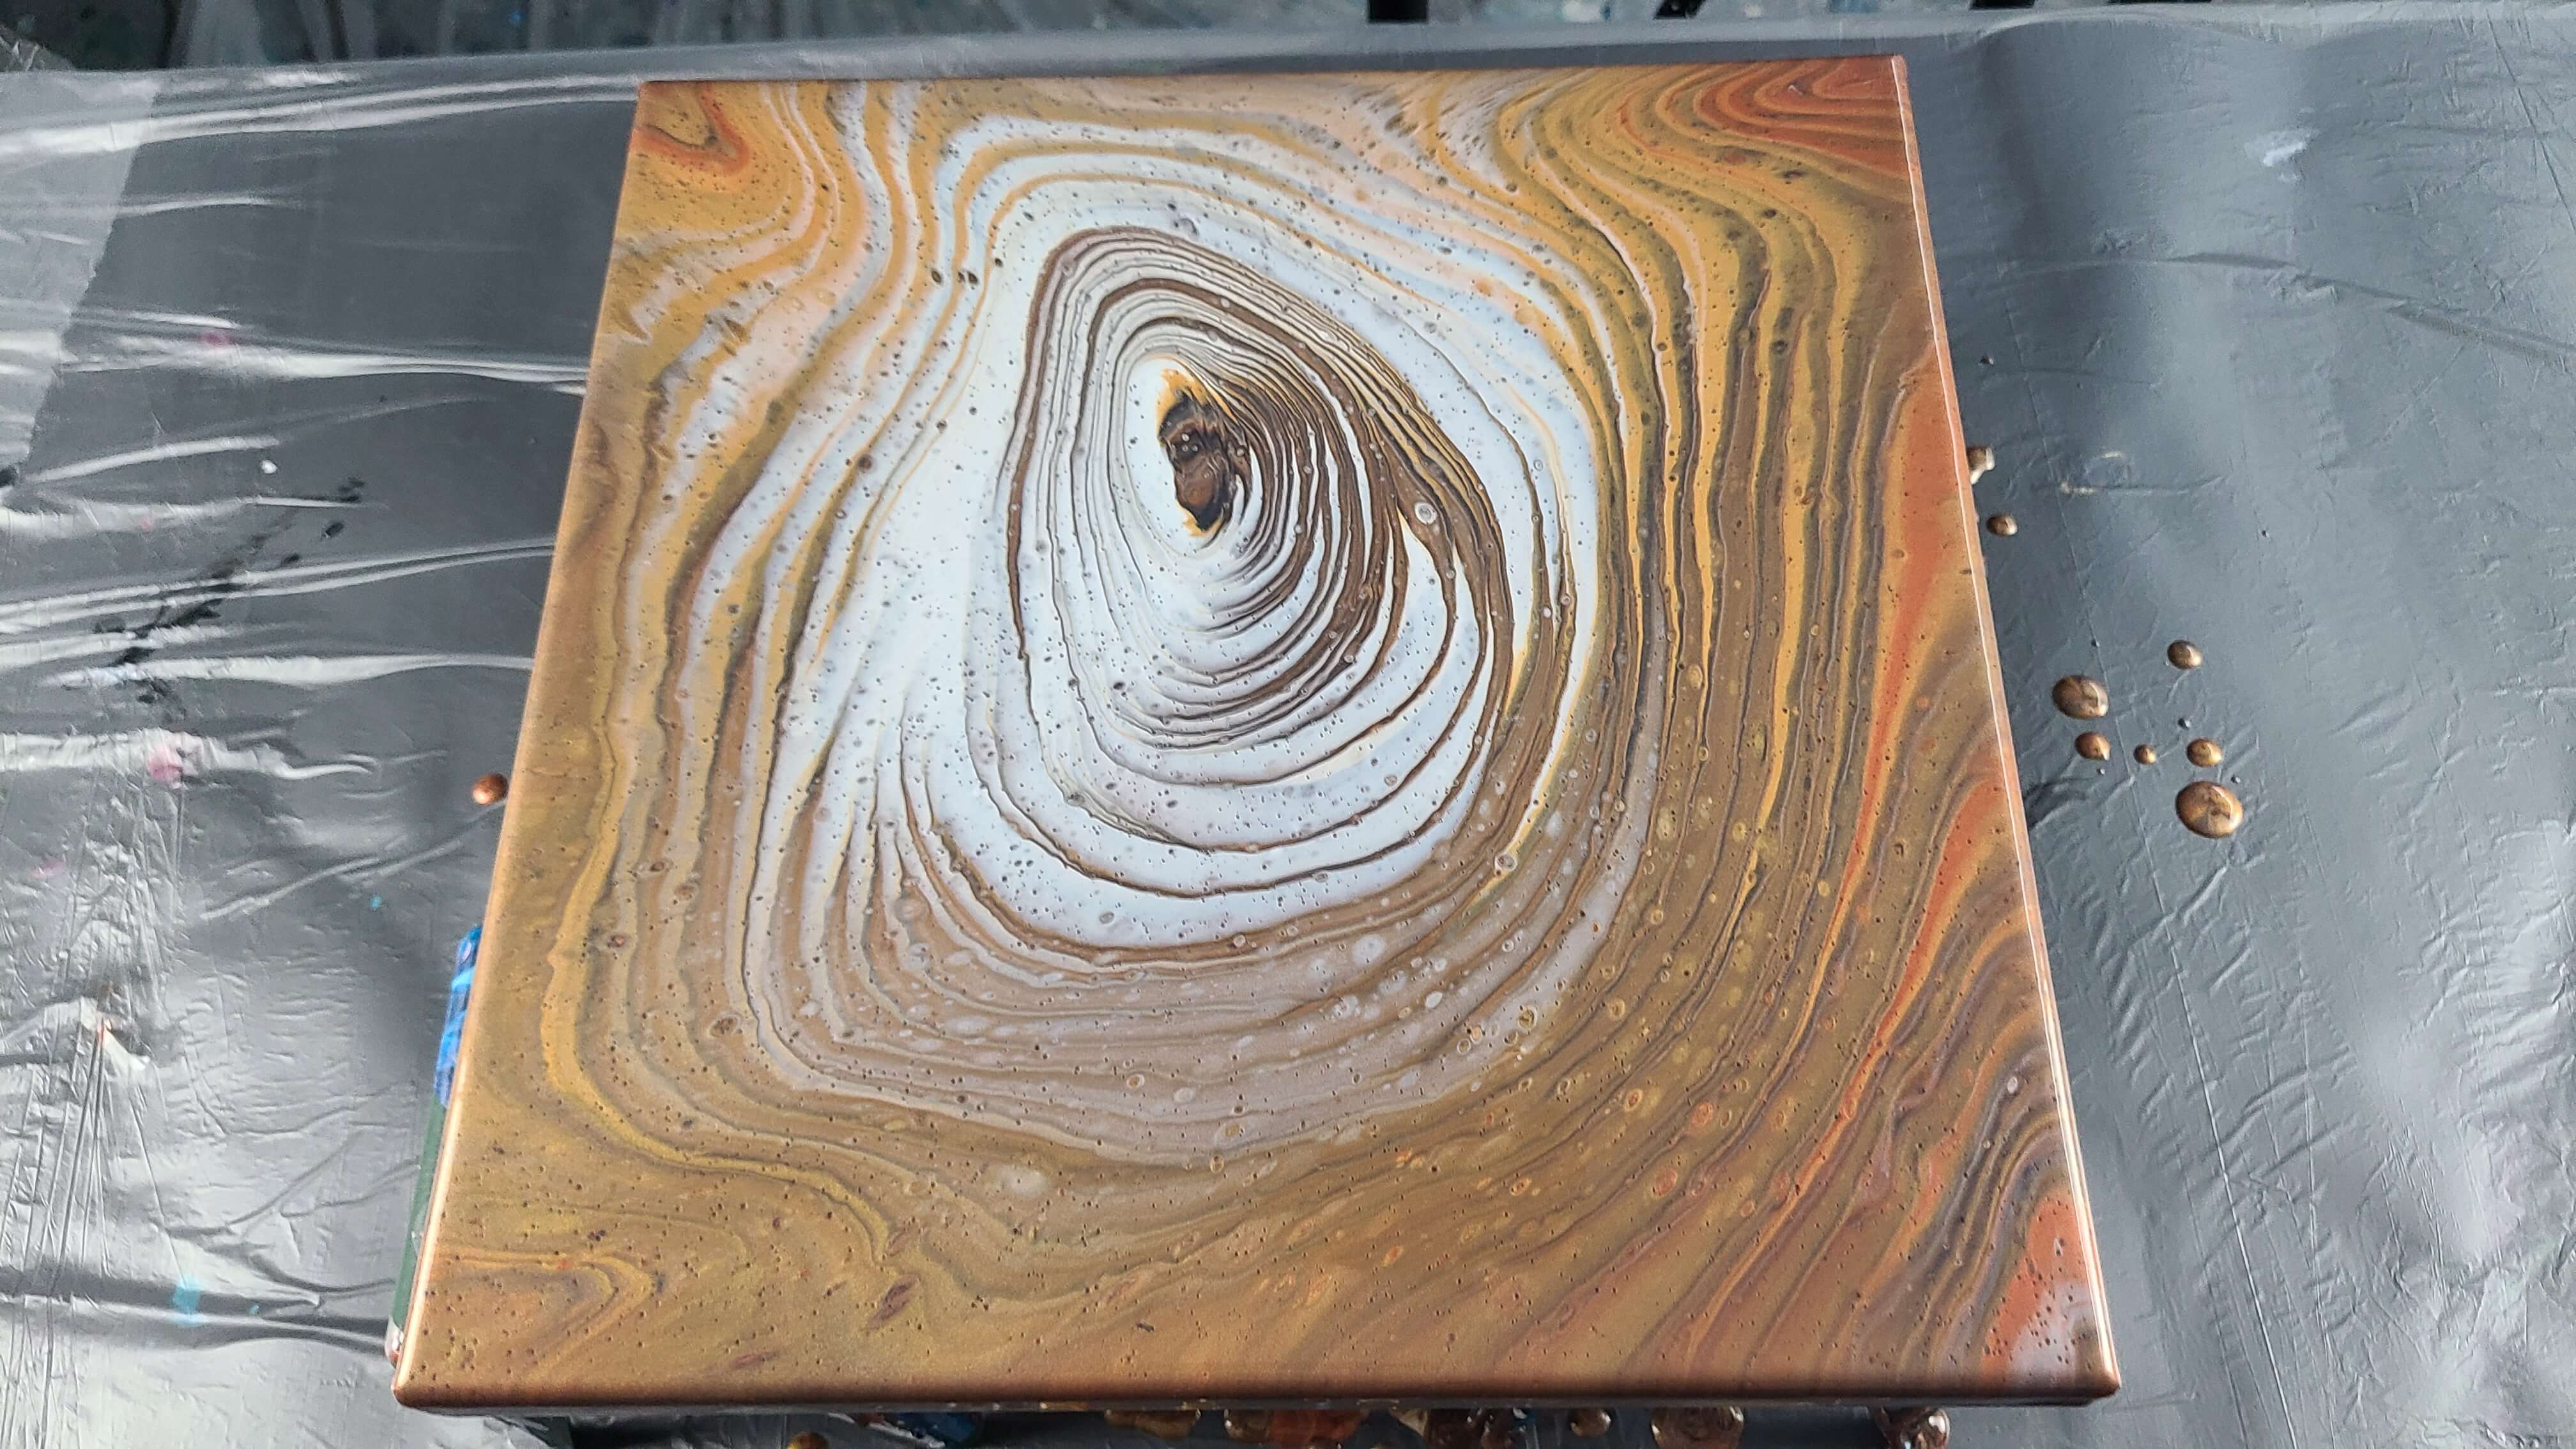
You will want to pop any additional air bubbles with a torch and make sure to leave in a level place for drying. It will take 1–3 days to dry, depending on the conditions of your space, location, and the mediums that you use. You can also add a protective layer of varnish on the painting after it has cured for a few weeks.
So that’s how you get lines and rings in a tree-ring pour. It’s very beautiful. I hope you guys will try out the technique! For more tips, techniques, and demonstrations follow me on YouTube, Instagram, and Facebook.
You can see the technique in action in this video.


20 comments
I have watched almost all Molly’s video, and I noticed she has an unique canvases. However, I could not find the same online. Please let me know the brand of Molly’s canvas she uses with her acrylic pouring projects.
She sells them on her Etsy shop. There’s a link (& discount code)in the description of her YouTube videos. :) hope this helps
This may be the case, however, we do not currently sell Molly’s risers on our website.
I saw where she now has these but am unable to find out how and where to order Anyone??
I understand you can now order risers from Molly but unable to find out where to order Anyone?