
Table of Contents:
Make “Balloon Roll” Paint Pouring Art
I’m often called the “Queen of Balloon Rolls” because one of my signature techniques uses a blown-up balloon. This technique gives my art a flowing, soft movement. They are fun to do, and I often use a blown-up glove instead of a balloon. I use balloons and gloves in conjunction with Arteza’s acrylic pouring paints. These paints give me lots of bright colors to work with as well as the paint consistency that is needed for this type of art.
Let’s get started.
List of Supplies
For this technique you will need:
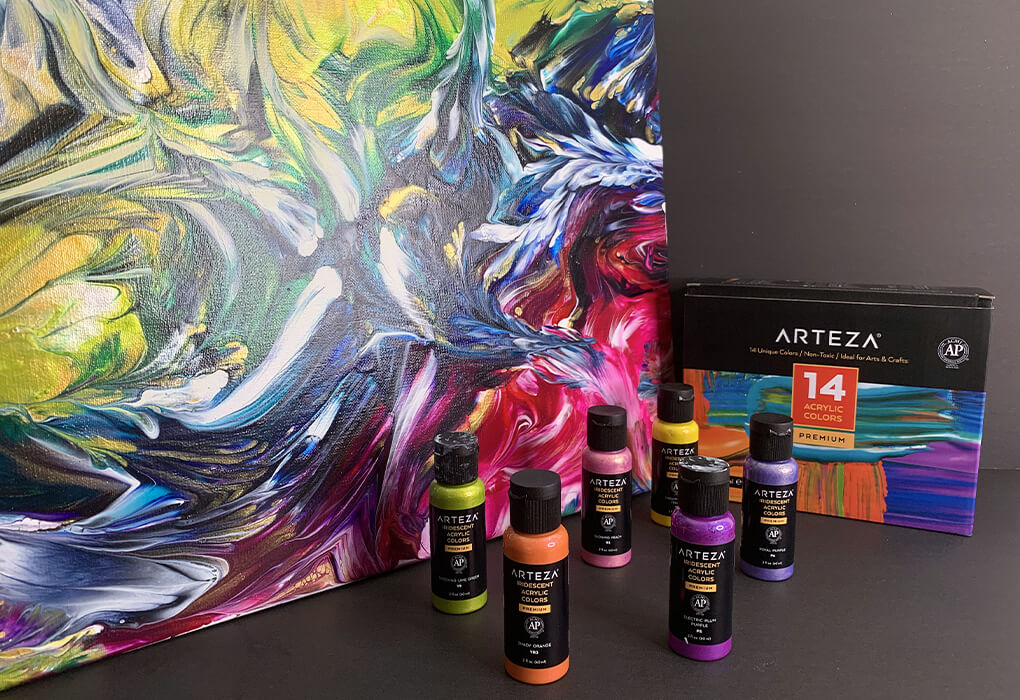
- Arteza Premium Paints and/or Iridescent Paints - any color you choose will work (Arteza Pre-Mixed Pouring Paints eliminate Step #2, as you don’t need the additional pouring mediums)
- Arteza Canvas - any size
- Gloss Medium
- Floetrol (Latex paint conditioner)
- GAC800 (pouring paint extender)
- Cups
- Stirring Sticks
- Balloon or Gloves
- Scissors
- Paper Towels
- Torch - a culinary torch works great for this
- Water - only if needed
Time: 30-40 minutes Dry Time: 2-3 Days Cure Time: 3-4 Weeks
Step-By-Step Demonstration
Step 1: Prepare the Pouring Medium
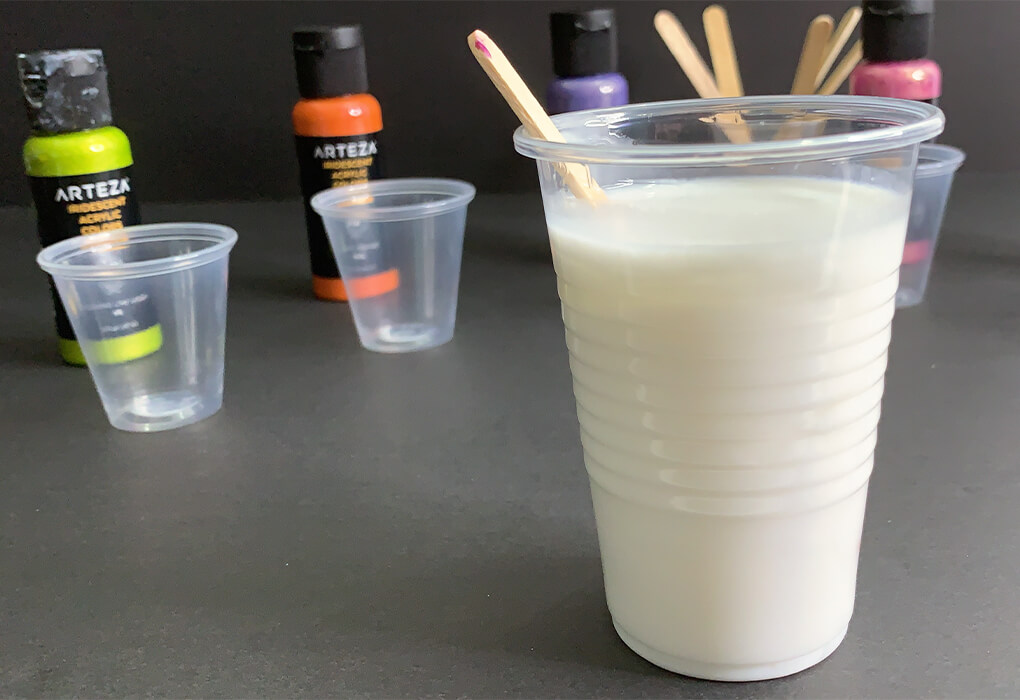
In a large cup, mix Floetrol Gloss Medium and GAC800 in a ratio of 70/20/10. Stir until combined and smooth.
Step 2: Prepare the Paint
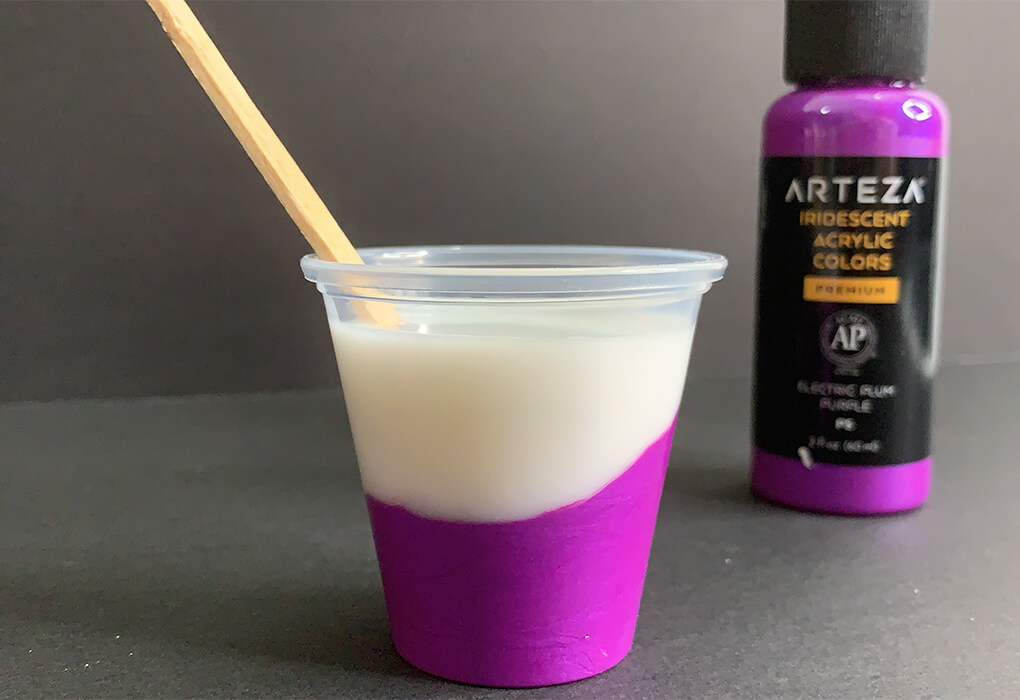
Place paint into each cup, leaving room for the pouring medium. I used a combination of Iridescent Paints and Acrylic Premium Paints. Mix 1 part paint to 1 or 2 parts pouring medium.
The ratio of paint to pouring medium will depend on the type of paint you are using, the viscosity of the paint and the thickness of your gloss medium. Make sure all the paints are the same consistency when you are done, adding drops of water if necessary.
You can estimate how much fluid paint (paint mixed with pouring medium) is needed by multiplying length x width (in inches) of the canvas you are using and dividing by 26. This will give an estimation of the amount of paint you will need.
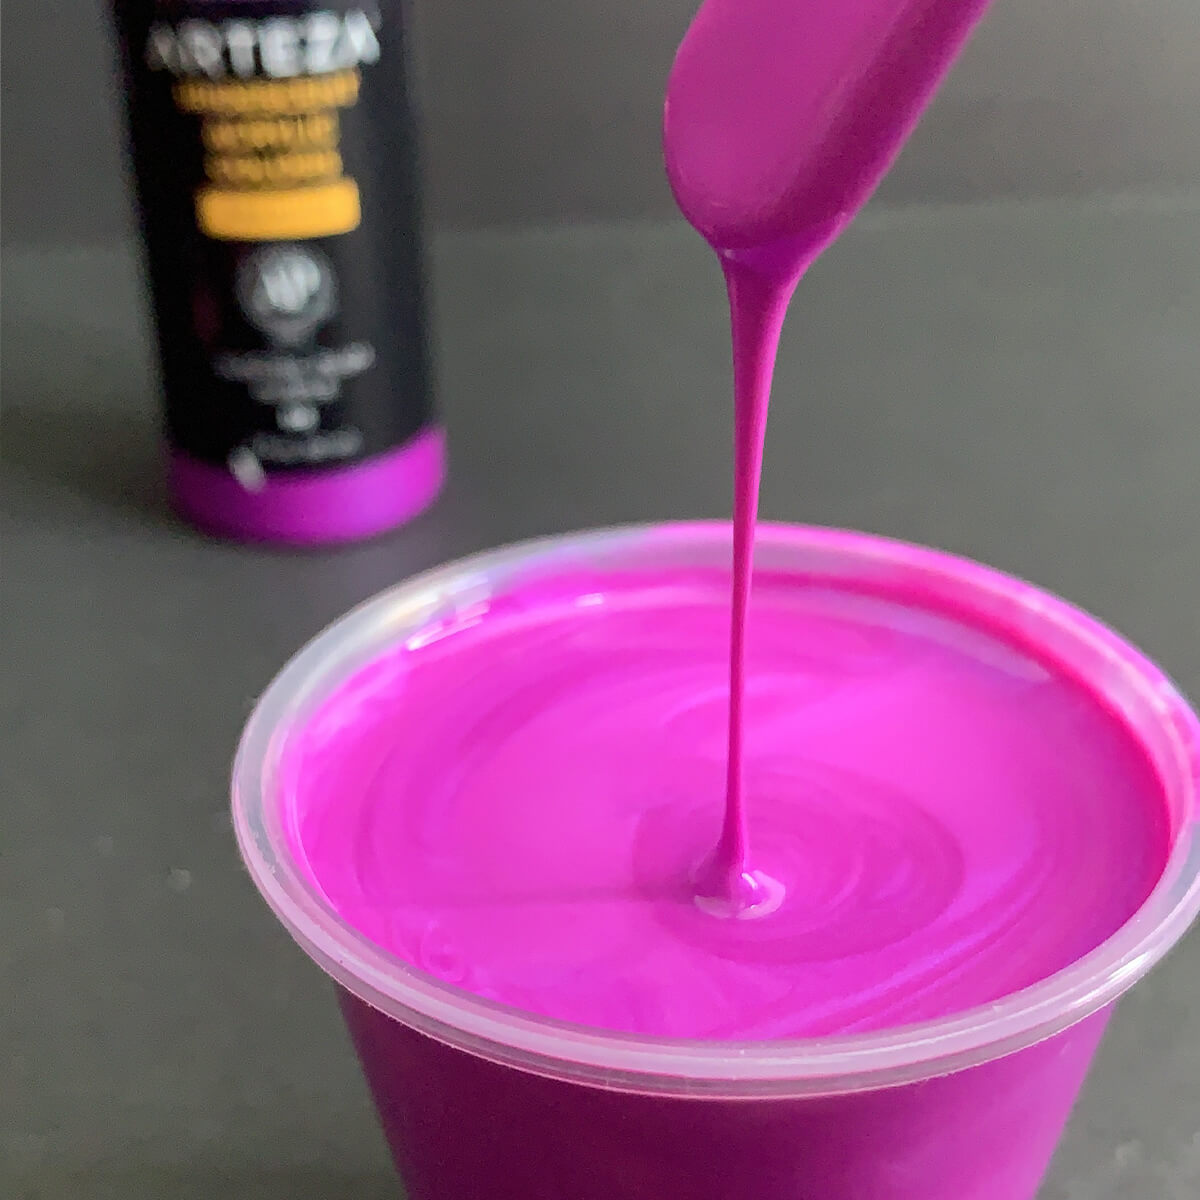
TIP: You want the paint to naturally “flow” off the end of your stir stick, leaving a trace of paint that quickly disappears on the top of the paint in the cup. Think of it as the consistency of warmed honey.
Step 3: Drizzle Your Paint on The Canvas
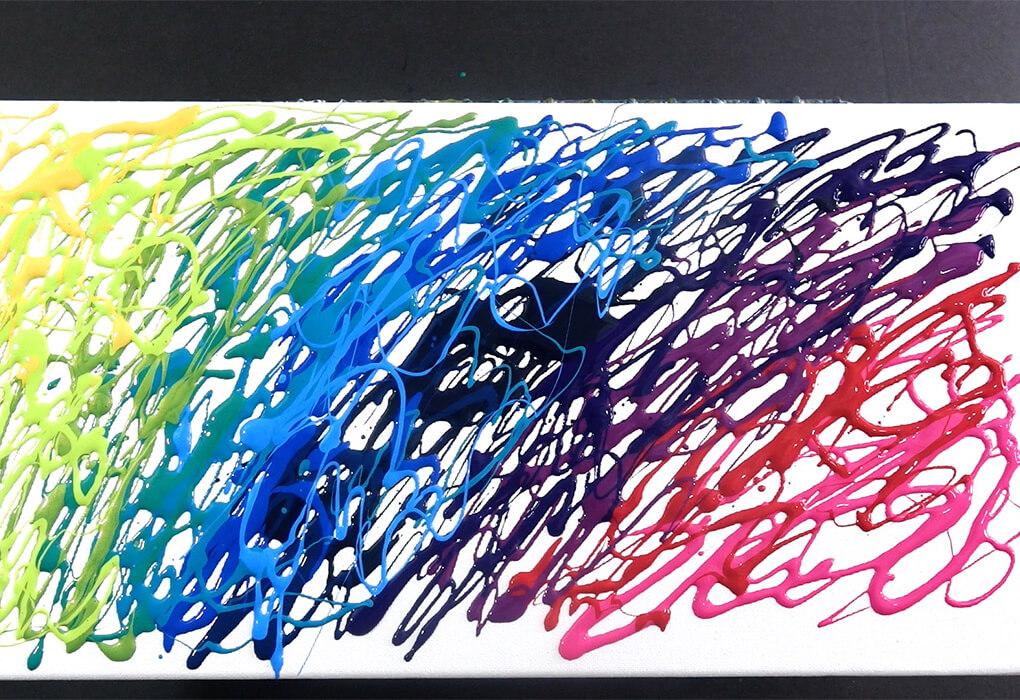
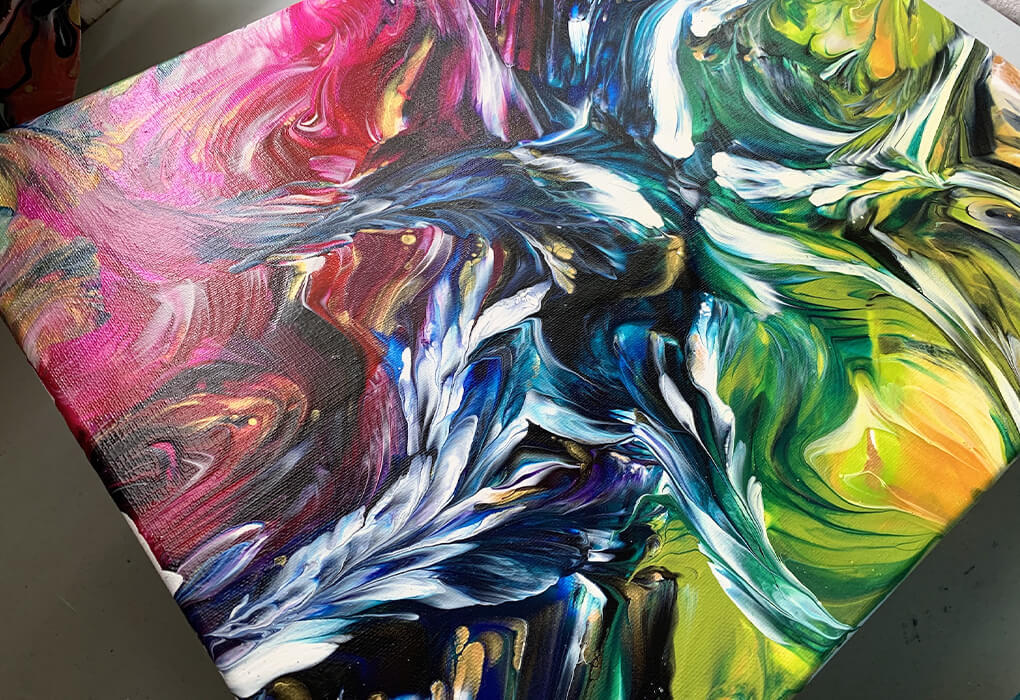
Choose your Arteza Canvas and drizzle your paint all over the canvas. For this painting, I followed the colors of the rainbow—from Violets, Purples and Blues to Red, Pink Orange and Yellow. Add any colors you like to get the effect you desire.
Step 4: Blow Up Your Balloon
If you are using a balloon, blow it up! Make sure it is a manageable size for you to handle. If you are using a glove, you can blow it up and tie off the wrist, then tie off the fingers (leaving the thumb) and snip off the excess vinyl material with scissors.
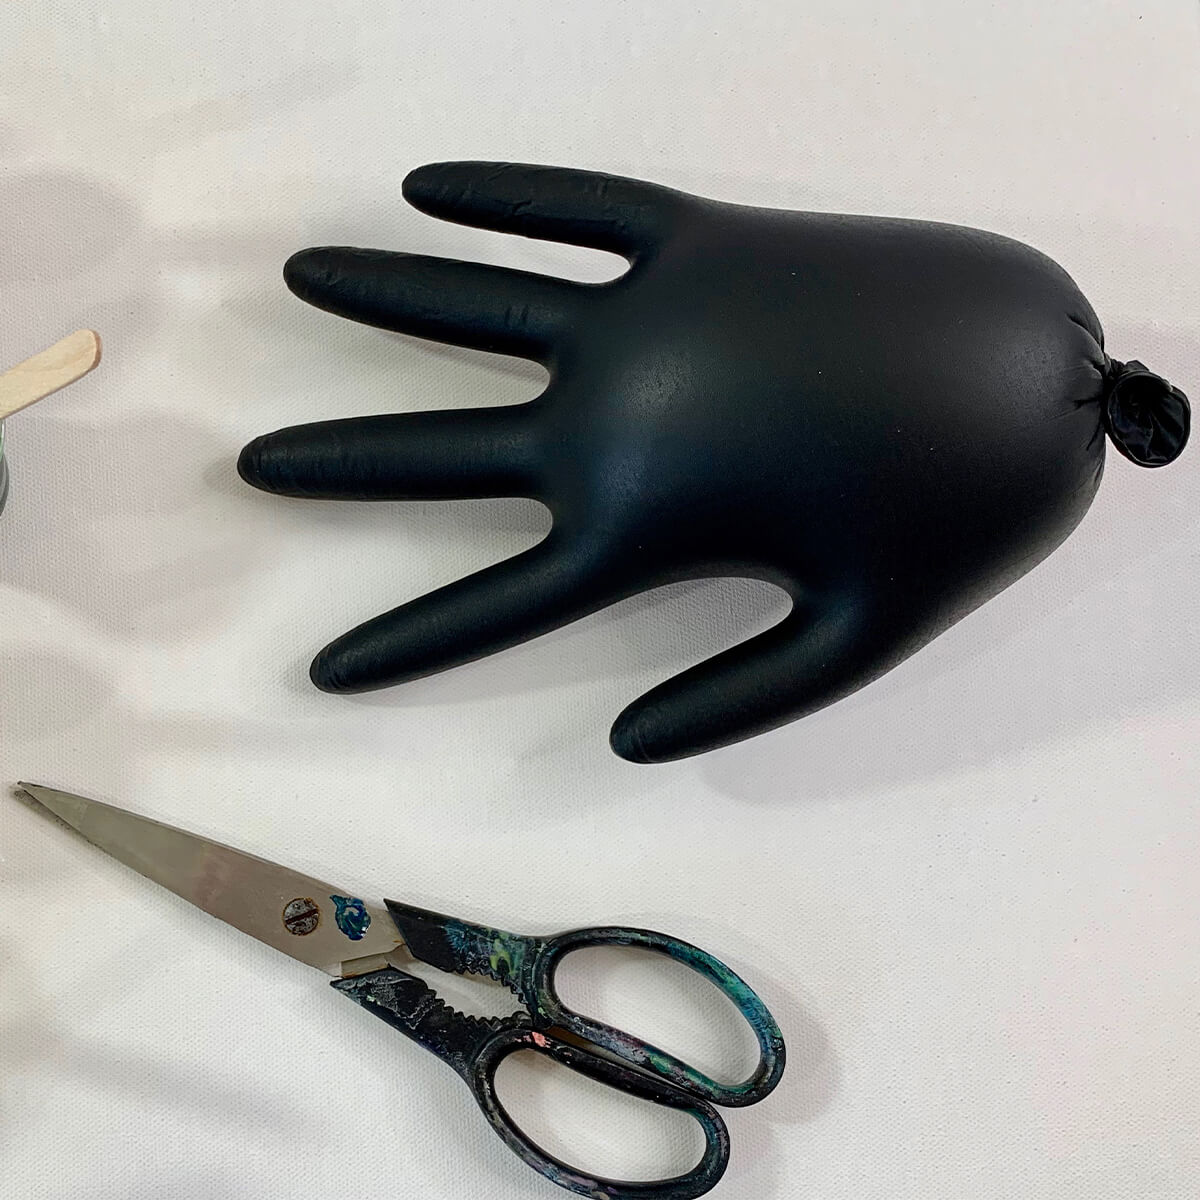
TIP: If you have arthritis or have limited hand strength, the balloon is the easiest choice for this.
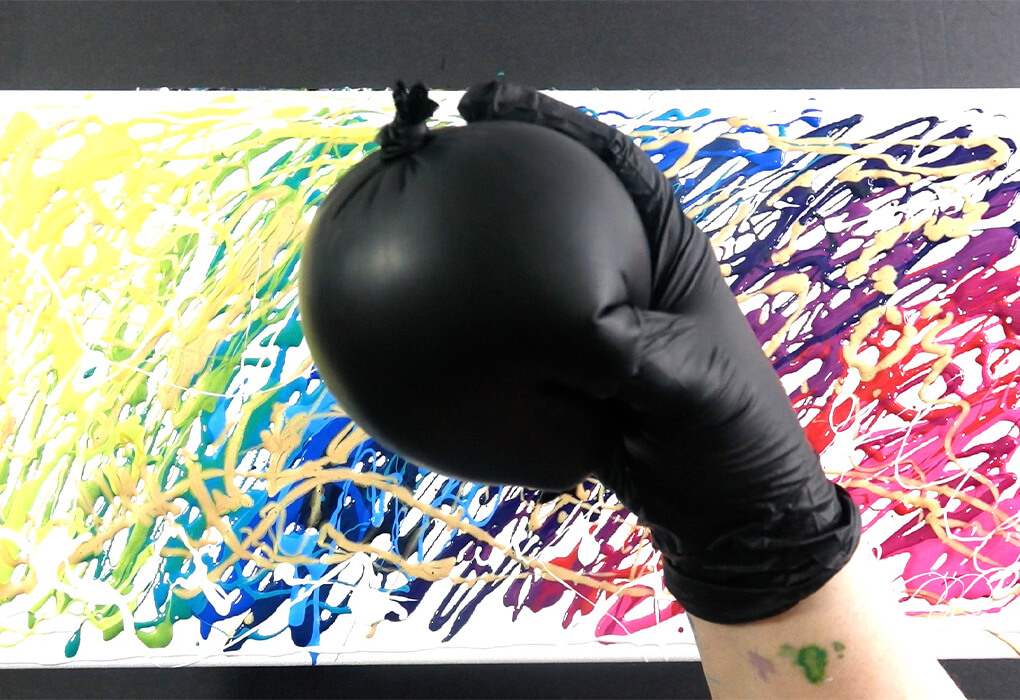
Step 5: Roll, Roll, Roll
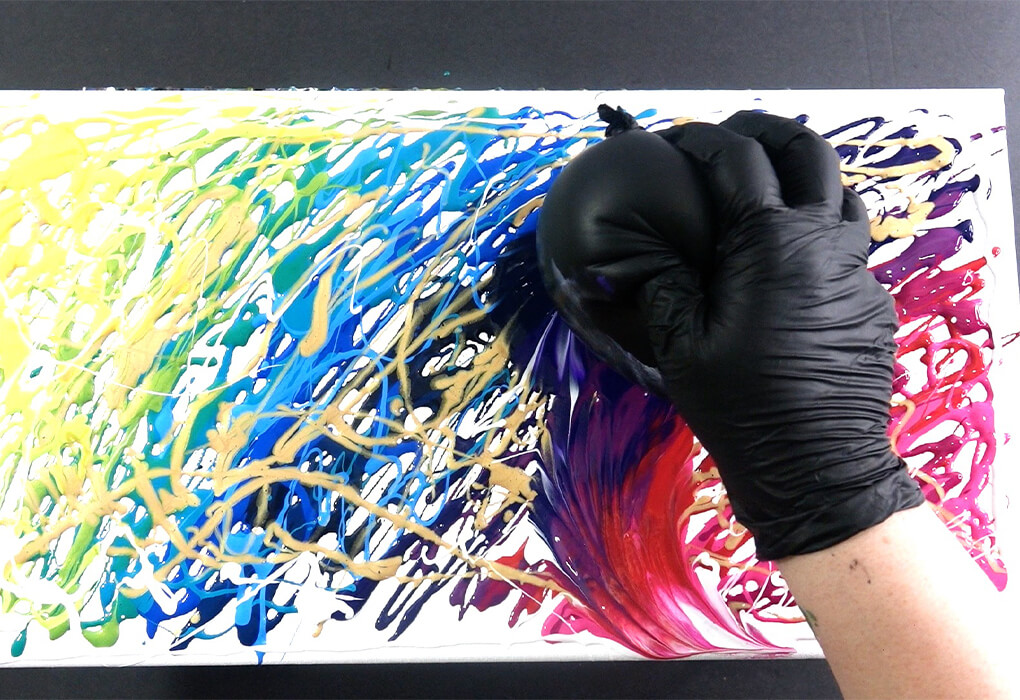
Roll the balloon across the drizzled paint to create a “feathery” effect, wiping the balloon off with paper towels after each roll. If you have spots with dry canvas, feel free to drizzle on more paint. The biggest trick to doing balloon rolls is making sure your paint isn’t too watery thin, otherwise the patterns won’t stay.
TIP: Use varying degrees of pressure to create different effects and try “kissing” the canvas for a balloon kiss!
Step 6: Make Sure You Love It
Step back and look at your painting from all angles. See if you love it or what you might like to change. If the colors have gotten muddied, scrape off that part and try again. Make sure there are no spots on the canvas that have thick puddles of paint left on it and also that no spots are bare.
Use the torch to pop any air bubbles that might remain on the surface and then leave it to dry on a level spot, elevated, so air can flow under it. It will take 1-3 days to dry, depending on humidity, temperature and airflow. After the painting has cured for 2-3 weeks, you can add varnish to bring back the vibrancy and to protect the painting.
I hope you enjoyed this tutorial and will try out my Balloon Roll Technique too! For more tutorials, techniques and demonstrations, please follow me on YouTube, Instagram and Facebook or visit me on the web at Heather Mader Art!
You can see the technique in this video!


3 comments
Heather is definitely an amazingly talented artist and we love seeing her spread inspiration the way she does!
Heather is definitely an amazingly talented artist and we love seeing her spread inspiration the way she does!
Thanks Heather! You have been my mentor when it comes to balloon rolls, the more I watch you the better I get at learning how to do them! This blog is great as is the video on YouTube!