
Table of Contents:
- Mix a Colorful Cocktail Using Arteza Real Brush Pens
- List of Supplies
- Real Brush Pens Tutorial: Cocktail Drawing
- Recommendations
Mix a Colorful Cocktail Using Arteza Real Brush Pens
It’s time to quench your creative thirst and what better way to do that than with a colorful cocktail! If you’ve been wanting to try brush pens, this is the perfect project to get you started. I love using brush pens because they’re like having two art tools in one. They feel like a pen in my hand and are as easy to control as one, yet they have a brush tip that lets me get those painterly qualities—thin or wide brush strokes, translucent or solid layers and soft gradations of color. If you prefer drawing but also enjoy painting, you’re going to really enjoy using brush pens.
My faves are the Arteza Real Brush Pens. They come in a wide range of colors and since the ink in each one is water based, it makes it easy to mix colors on the palette or blend them together on the paper. I combine them with my watercolor brushes for some great watercolor techniques. Even after they dry, the colors stay bright.
To get the best results, I suggest reading through the guide and watching the video below. 🍹
Ready to give it a try? Here we go!
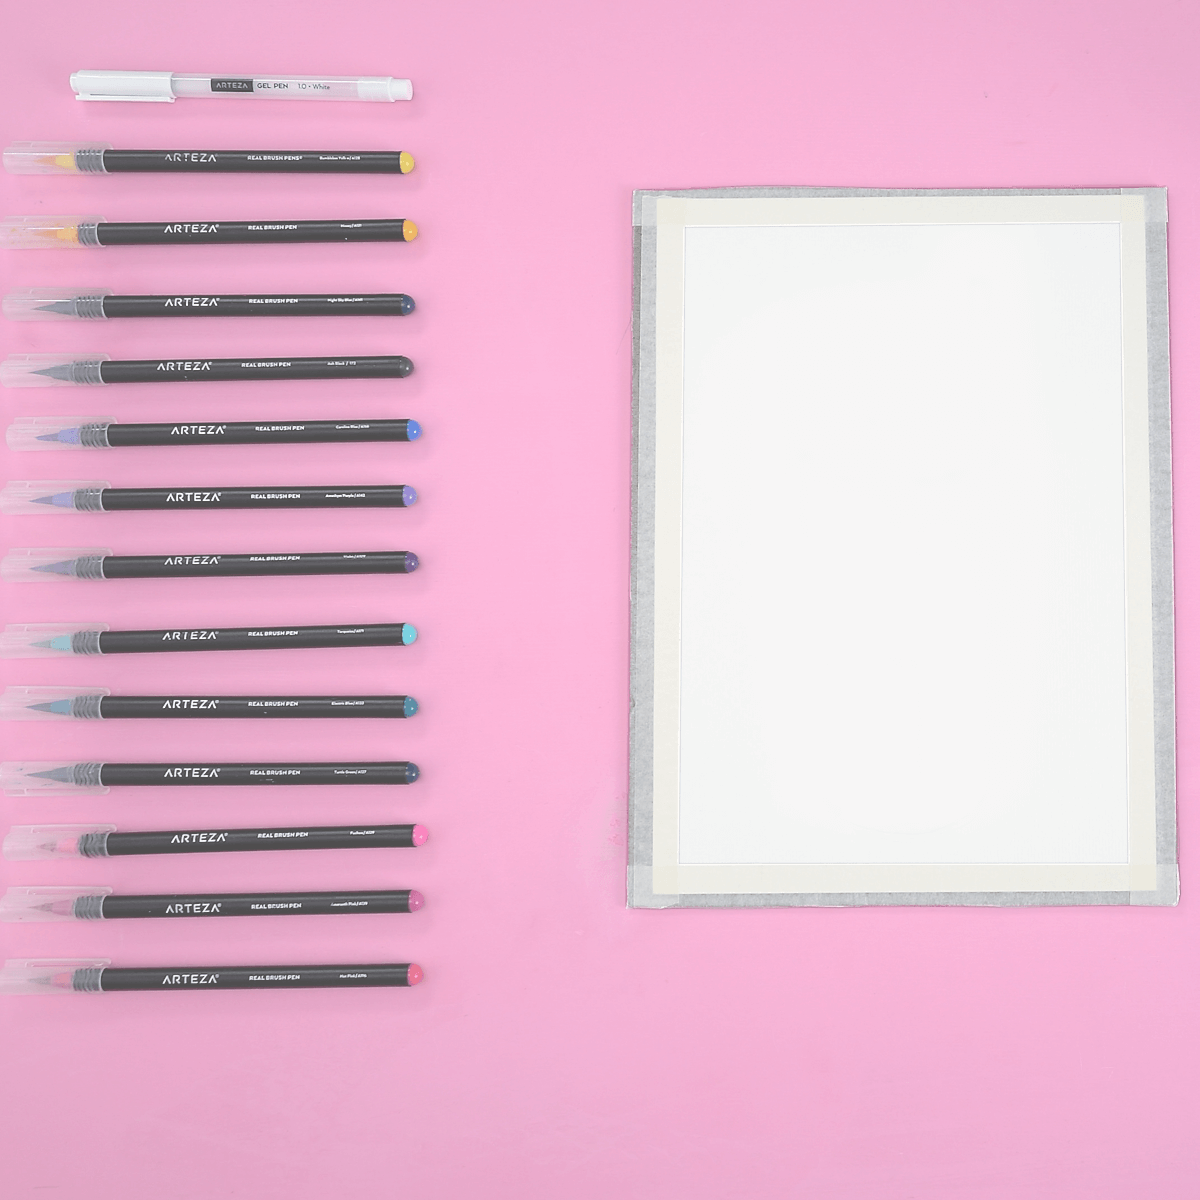
List of Supplies
- Real Brush Pens - A105, A121, A196, A184, A188, A109, A171, A133, A138, A141, A172, A123, A143, A181, A115, A192, A131, A117, A142, A136, A129, A108, A139, A166
- Premium Watercolor Pad, 9" x 12", 32 Sheets - Pack of 2:
- White Gel Pens
- Masking tape
- Watercolor paintbrushes
- A glass of water
- A palette
- Paper towel
- Salt
Real Brush Pens Tutorial: Cocktail Drawing
Step 1. Sketch Preparation
To create a nice clean border around my picture and to hold my paper firmly in place to prevent it from bending, I always tape all sides of my paper with masking tape. Masking tape is made with a removable adhesive so that once I’m finished I can take it off without the paper tearing.
It's really important to use high-quality watercolor paper. Watercolor paper is heavier and will not warp when it gets wet. Also, the thinner papers absorb the ink too much, making it impossible to blend your
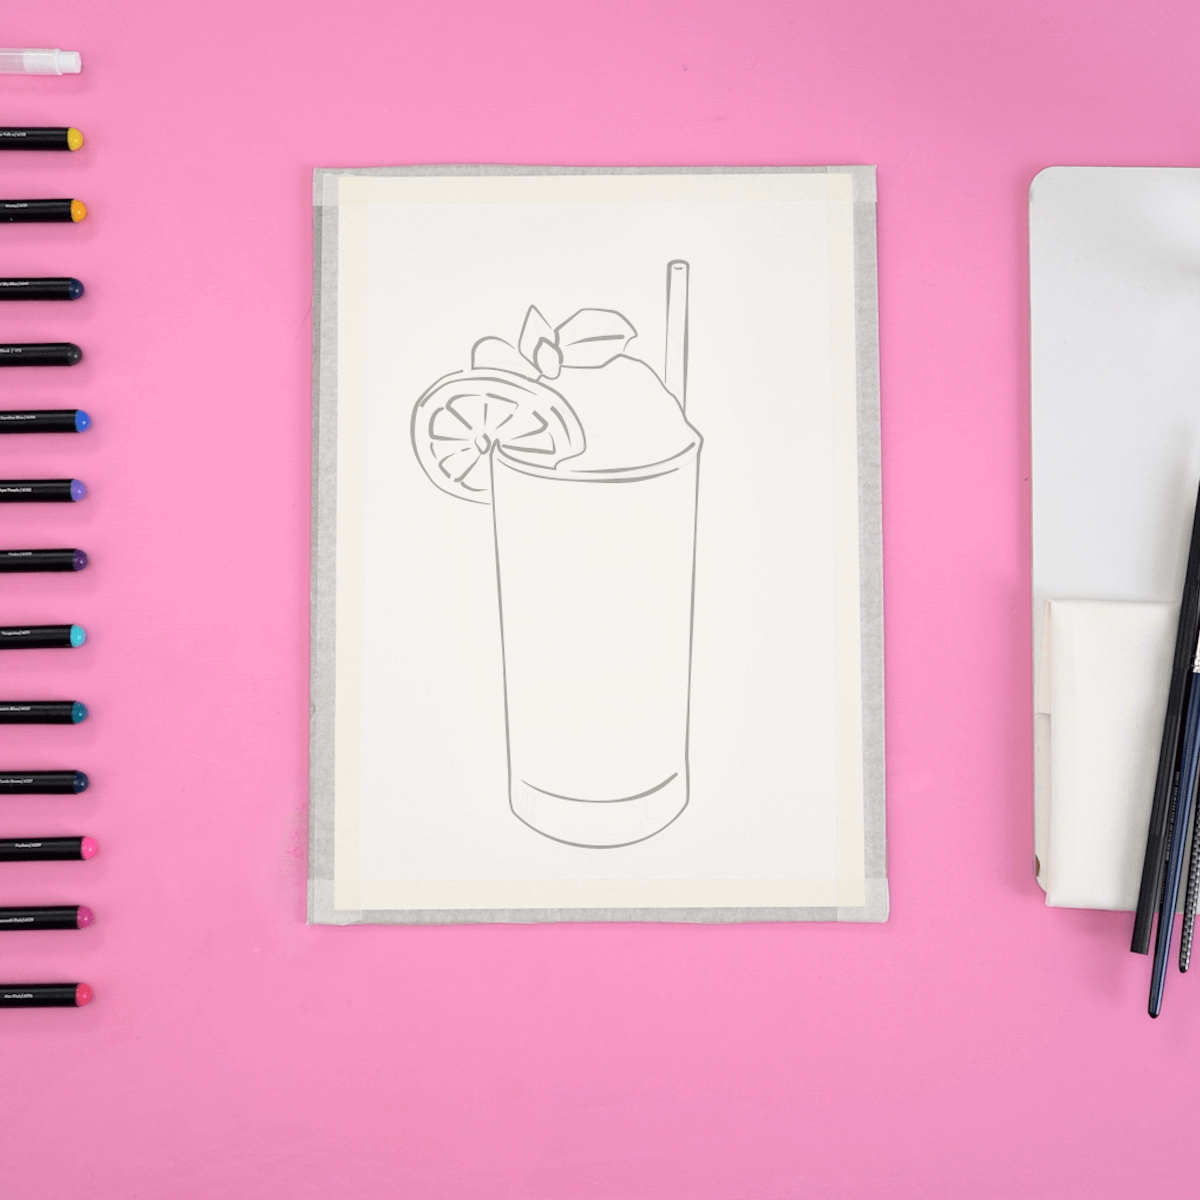
Step 2. Sketch the Cocktail
When drawing the initial lines, I suggest you use a pencil with a hard lead, such as an HB or H. Hard leads make very light lines, which is important when using Real Brush pens. RBPs contain waterbased ink which is translucent and if you use dark lines for your drawing, they will show through the ink.
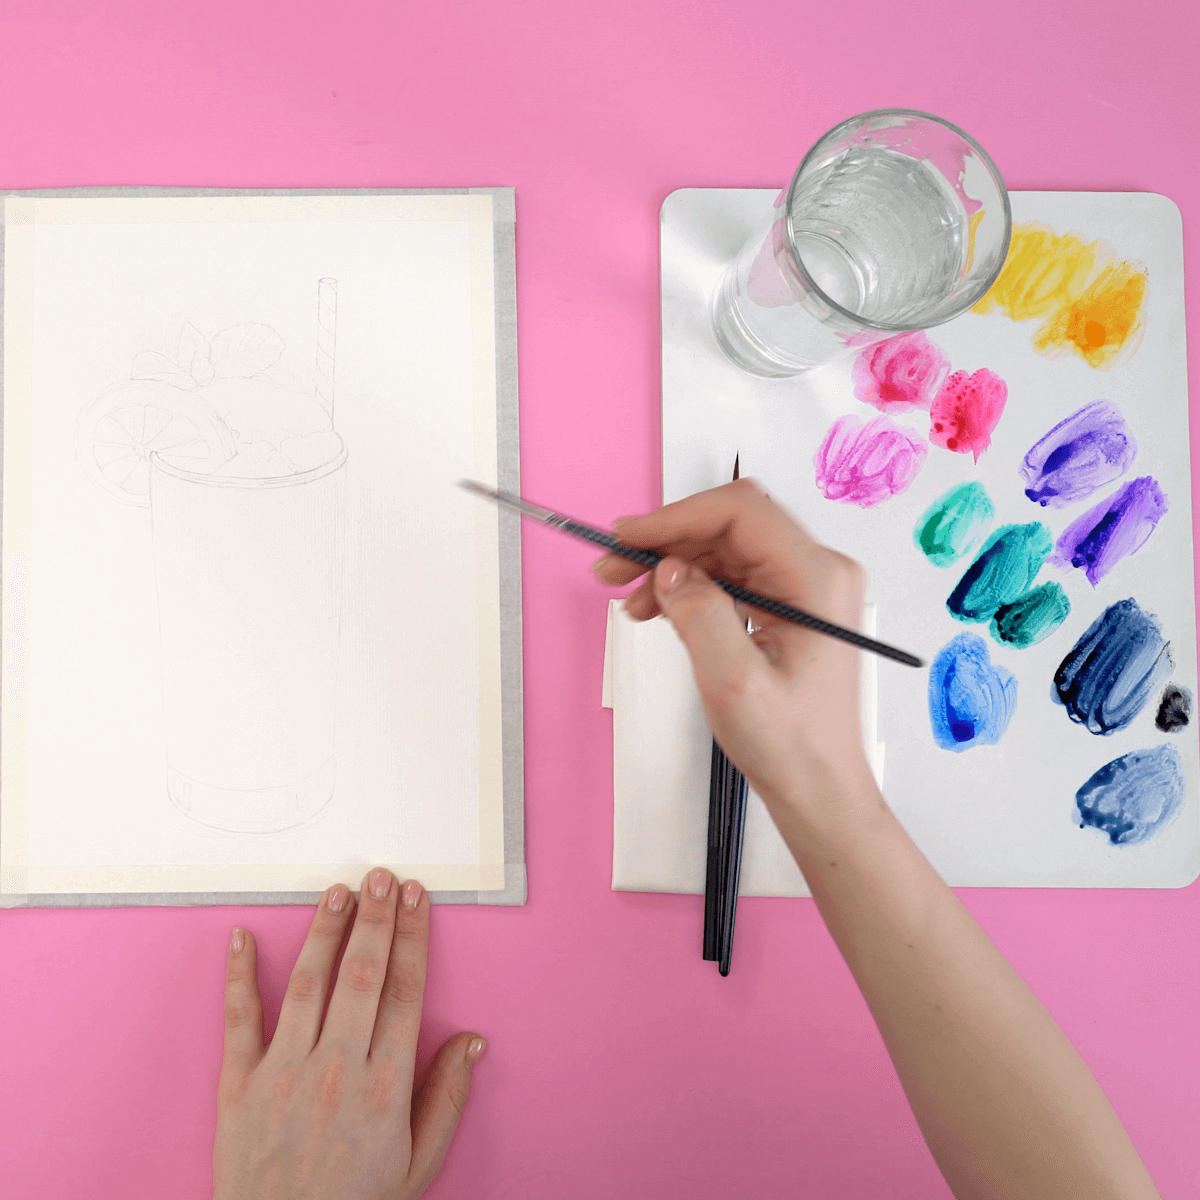
Step 3. Choose the Colors
The great thing about these pens is that you can place the ink on a palette and treat them just like watercolor paint. By applying pressure to the tip of the pen, I start by adding the colors I will use for the background first—A105, A121, A196, A184, A188, A109, A171, A133, A138, A141, A172, A123, A143. It’s important to choose the right shades for your illustration. The painting process moves very fast. The ink quickly spreads over the paper and absorbs instantly.
TIP: Experiment with your colors on separate sheets of paper. This gives you an idea of how much water to add and lets you see which colors mix well with each other.
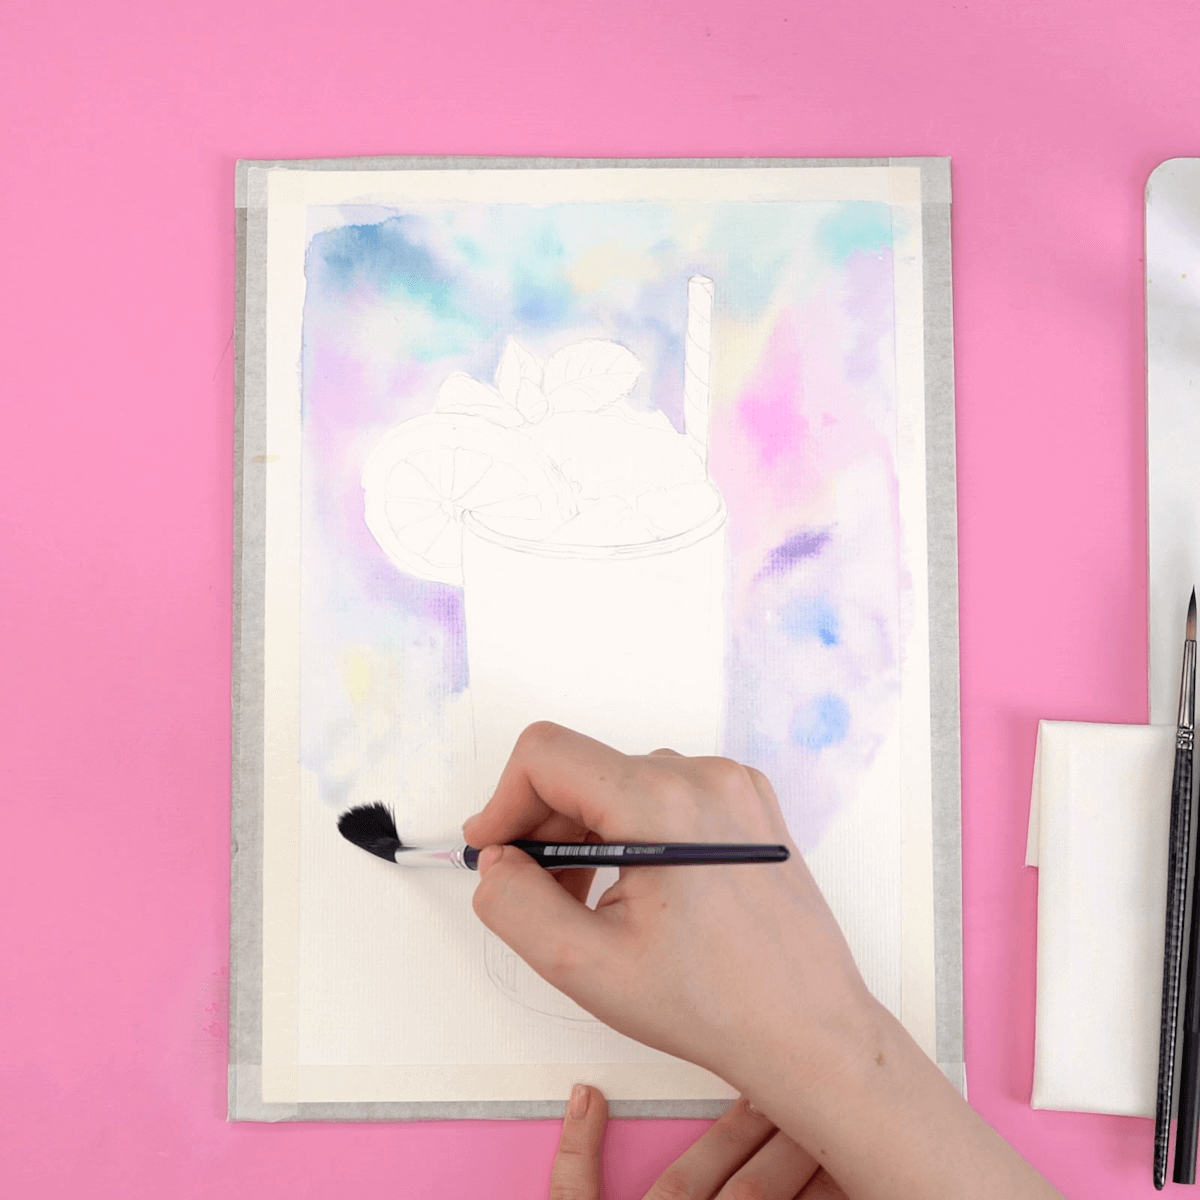
Step 4. Paint the Background
I start by working on the background. I wet the paper with clean water, first using a smaller brush to get close to the edge of the glass and around the complex shapes of the mint leaves and then a large round brush to moisten the rest of the surrounding areas.
Applying the colors from the palette to a damp surface is known as the wet-on-wet technique and gives a soft, blended appearance. I like to use an extra sheet of paper for color testing and a paper towel to wipe off the excess water from the brush. Once the background is finished, I put the palette away.
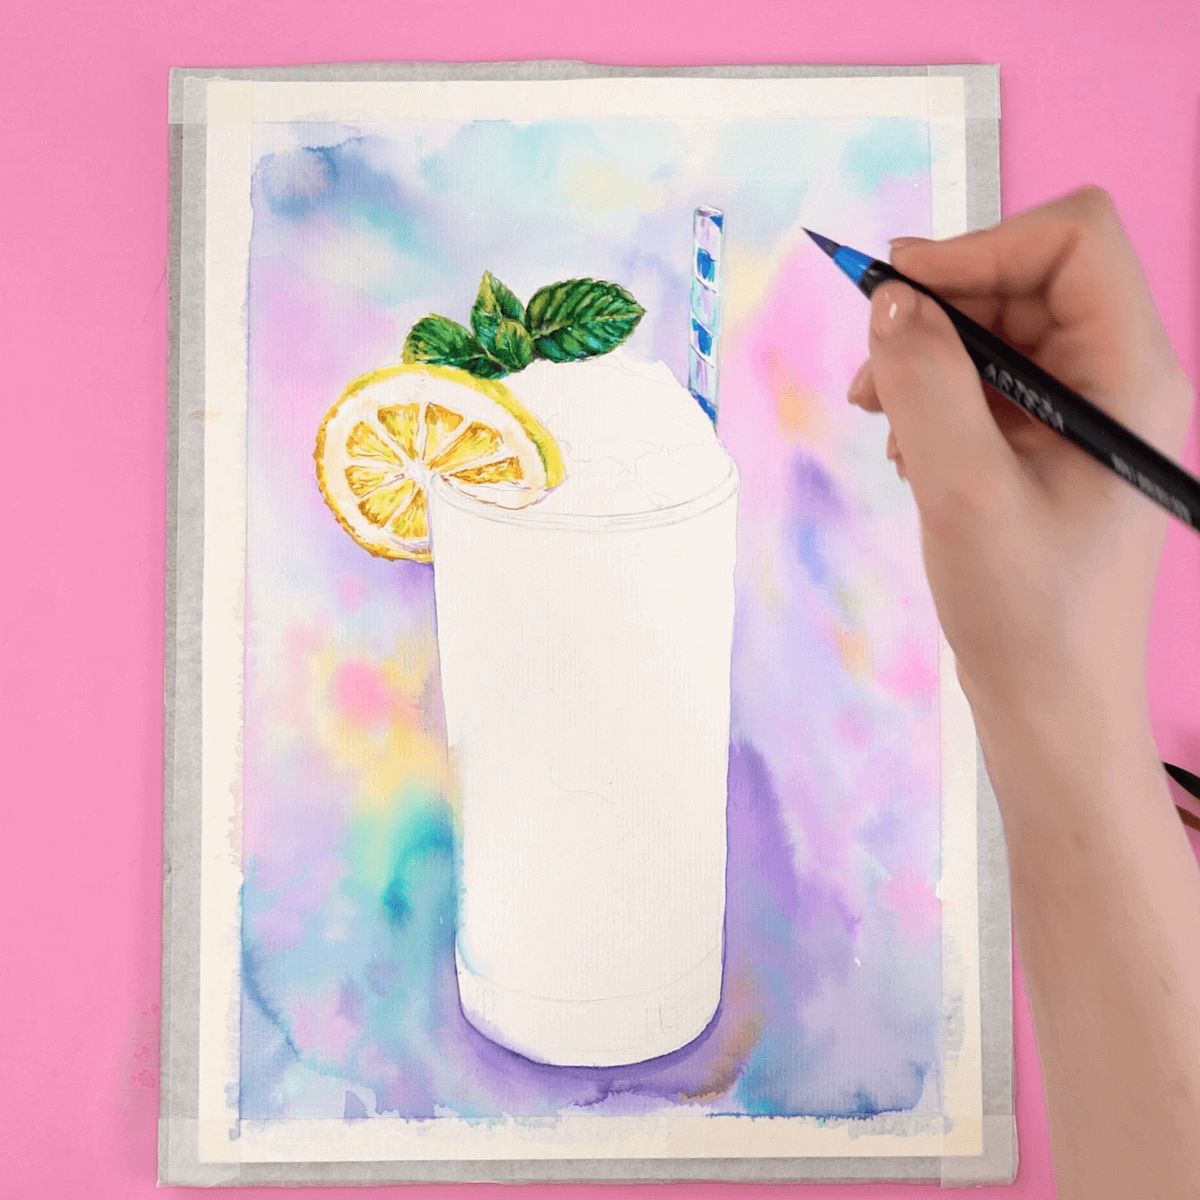
Step 5. Use Real Brush Pens to Color the Drawing
I begin the process of coloring my drawing using dry RBPs. Once I get my colors in place, I will blend them with water. I color this drawing from top to bottom, beginning with the details. I start with the lightest shades, then the darker ones.
- Mint Leaves - For the mint leaves, I use RBPs in cool blues and purples. I use a small wet brush to blend these colors. This makes them look more realistic. Then, I go on top of this and add more texture and volume using the RBP to put in the tiny veins.
HINT: Real Brush Pens combine beautiful vibrant colors with a flexible nylon brush. That's great for drawing fine lines and creating textures.
- Lemon - I brush the color on the lemon in small strokes to mimic its peel and pulp. Again, I work from light to dark, starting with light yellow shades. Next, I add orange and red shades to create volume and depth. Then I blend the colors of the lemon.
- Straw - I paint the stripes on the straw using shades of gray and blue—A181, A143, A115, A192, A131, A123.
- Ice - I fill in the top of the glass by coloring the ice in these shades—A115, A181, A117, A142, A136, A123, A129, A108, A139, A133, A138.
TRICK: To get the effect of bubbles and the fizziness of the drink, dampen the area above the glass where the ice is painted and sprinkle a little salt on it. Let it dry completely before brushing the salt off. The salt absorbs the ink and leaves little “stars” behind!
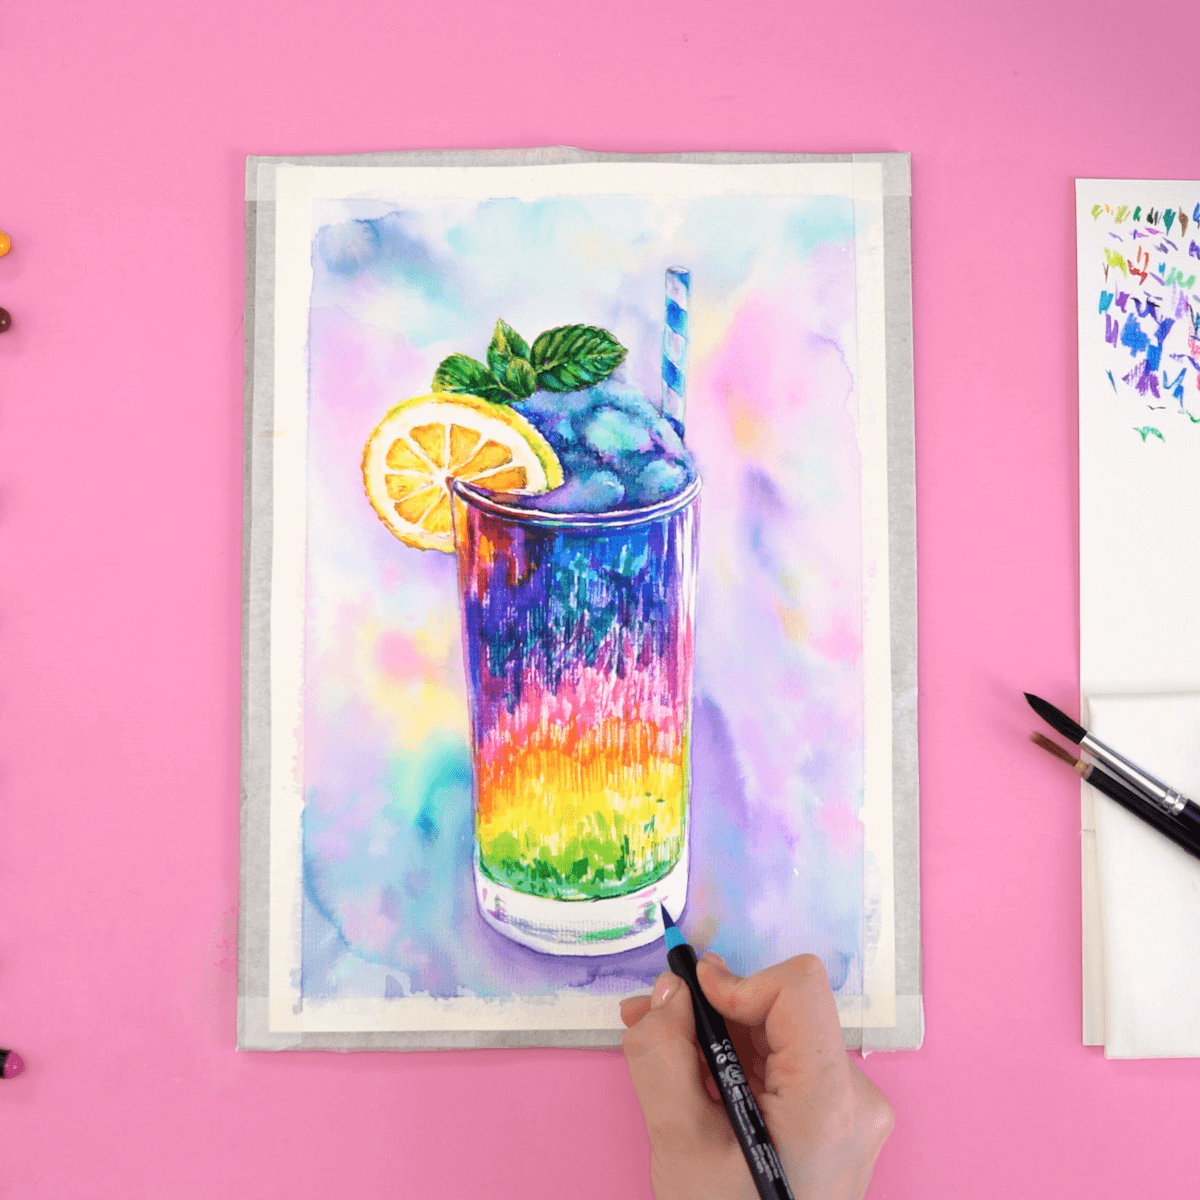
Step 6. Fill the Glass with Color
Once the small details are completed, I turn my attention to the drink in the glass. I use random colors in uneven rows going from the top to the bottom. Don’t rely on the colors I chose. Have fun and create your own custom cocktail or use the ones from your favorite drink! I color the entire area of the glass with the Real Brush Pens. Next, I apply a wash by adding water from a clean brush, While the paper is still wet, I sprinkle some salt on it to give it the effervescence of soda water.
My glass has a thick bottom. It’s important for me to give it the look of reflected glass so I use A192, A115, A171, A166 to do this.
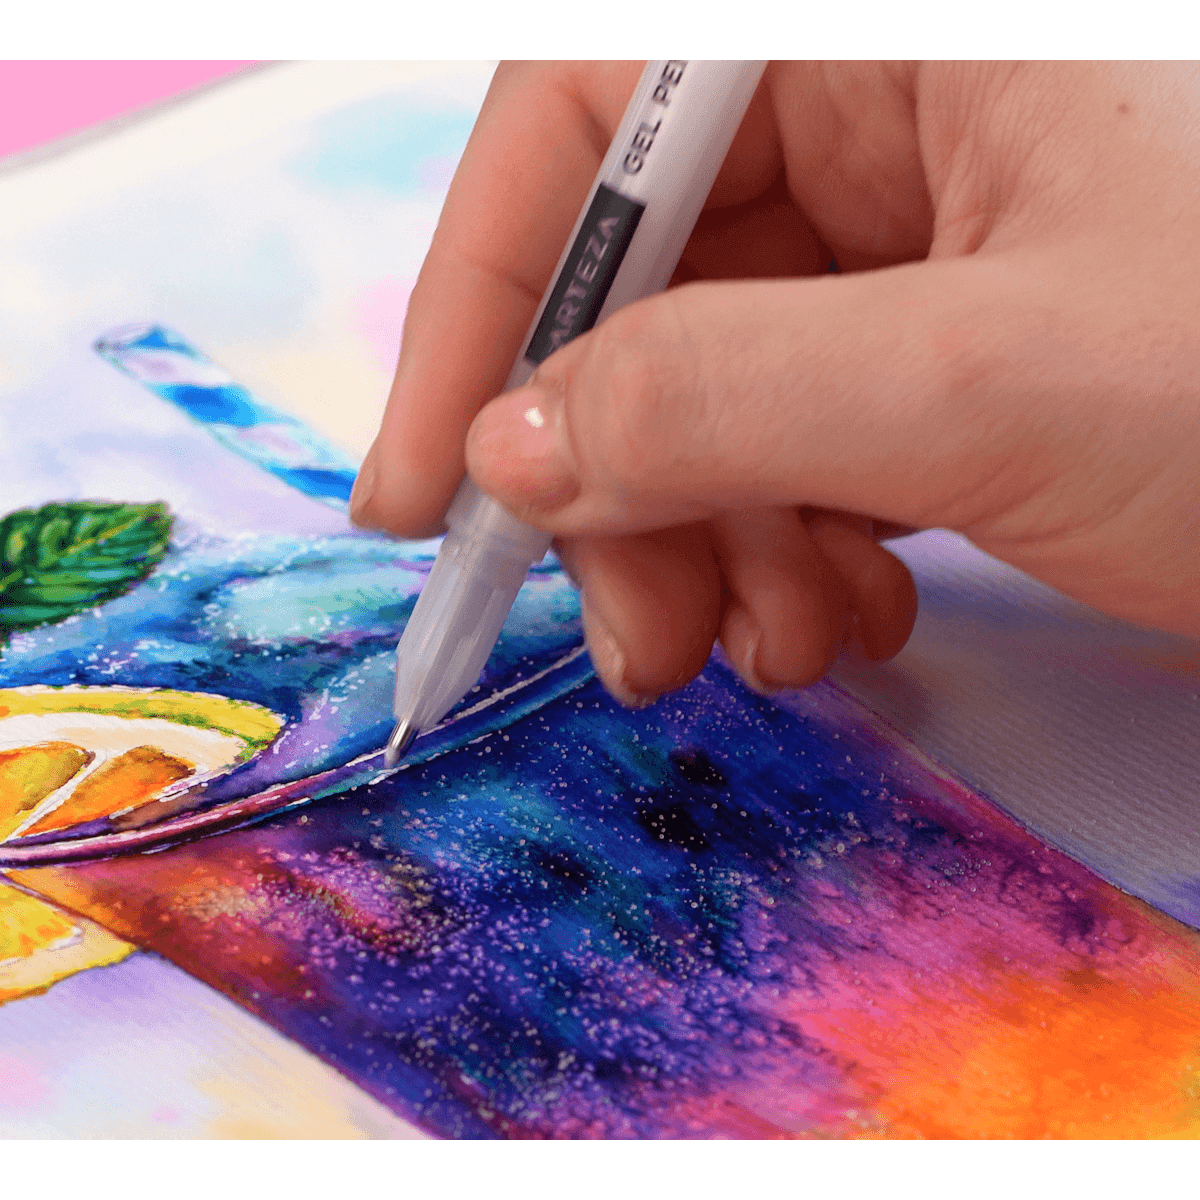
Step 7. Add Highlights with a Gel Pen
To make the lemon and ice look more realistic, I use a white gel pen. I add some little seeds to the lemon slice and some highlights to the ice cubes. I also add a few highlights on the rim of the glass.
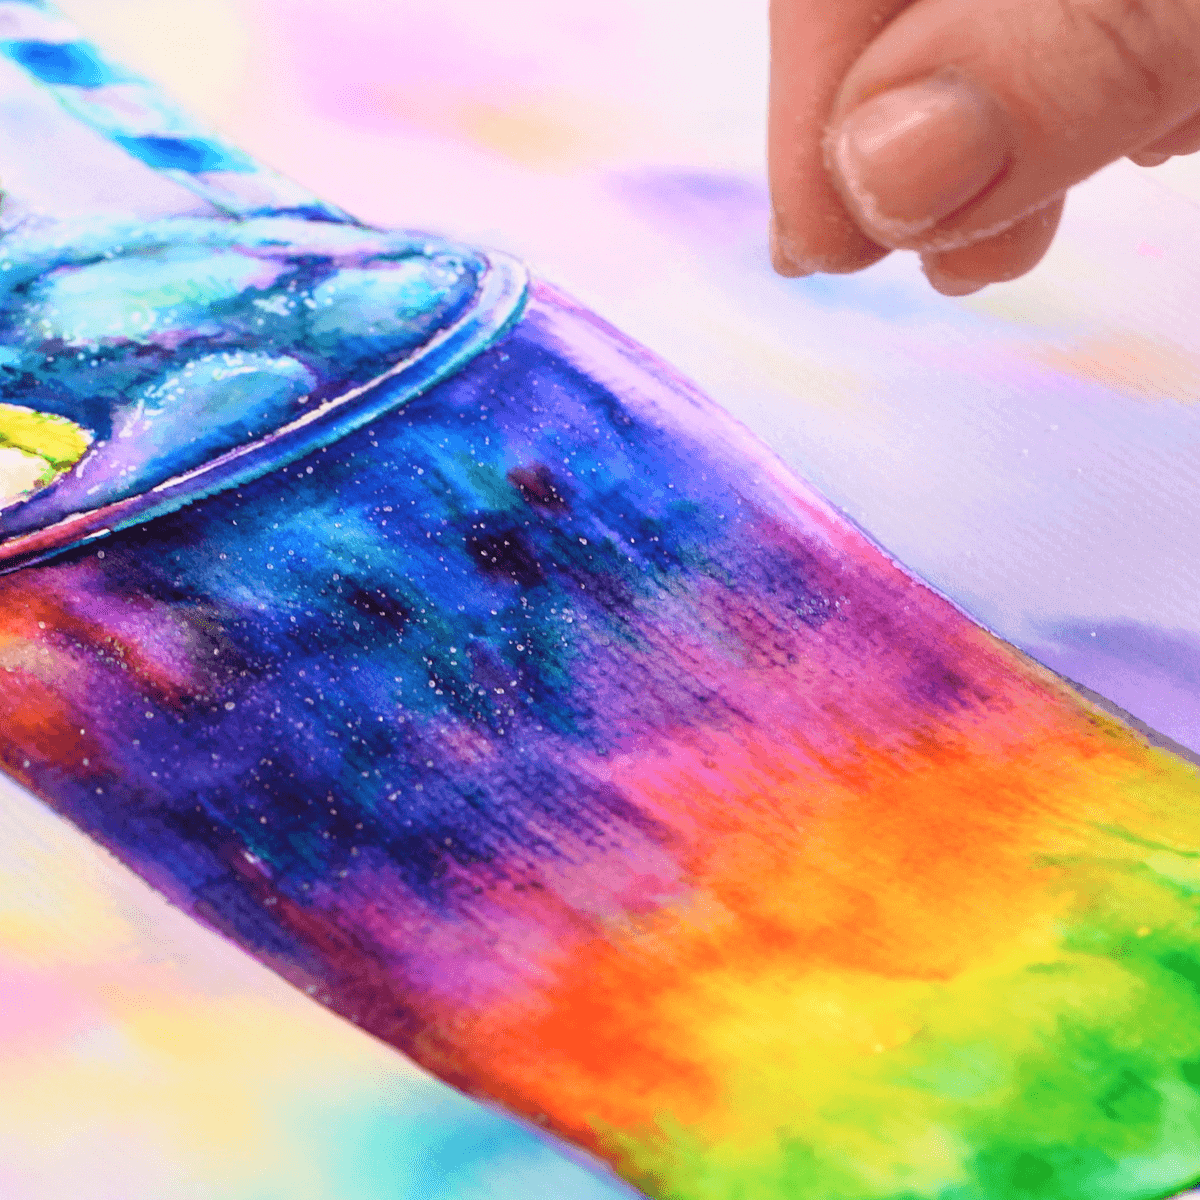
Step 8. Finishing Up
It’s always a good idea to take one last look at your drawing to see if there are any areas that need more blending or touching up. For this picture, I dampen the paper with a wet brush and go over these areas to blend the colors more. I add some salt to give the glass the look of condensation. After blending the colors a little more on the bottom of the glass, my picture is complete and I can remove the tape.
Recommendations
Congratulations! You’ve just finished a cool cocktail illustration using Arteza Real Brush Pens. These pens are so versatile I know you’ll keep using them whether it’s for making more illustrations like this one, drawing in your sketchbook, practicing hand-lettering for greeting cards, or using them for meditative coloring in an adult color book. I’d love to hear how you like them, so please leave me a comment in the section below.
See how to use Arteza Real Brush pens by watching this video:


