Table of Contents:
- Make Incredible Flower Drawings with Scratch Art Paper
- Tips & Tricks for Using Scratch Art Paper
- Create This Colorful Flower Drawing
- Recommendations
Make Flower Drawings with Scratch Art Paper
There’s nothing quite as magical as scratch art paper. It looks like a plain black sheet of paper, but with a few scratches, it reveals brilliant and shining colors! It’s fun to use and is a great way to dazzle your friends and family. The best part is that anyone, regardless of age or skill level, can have fun with this paper. The things you can draw and the effects you can get are endless!
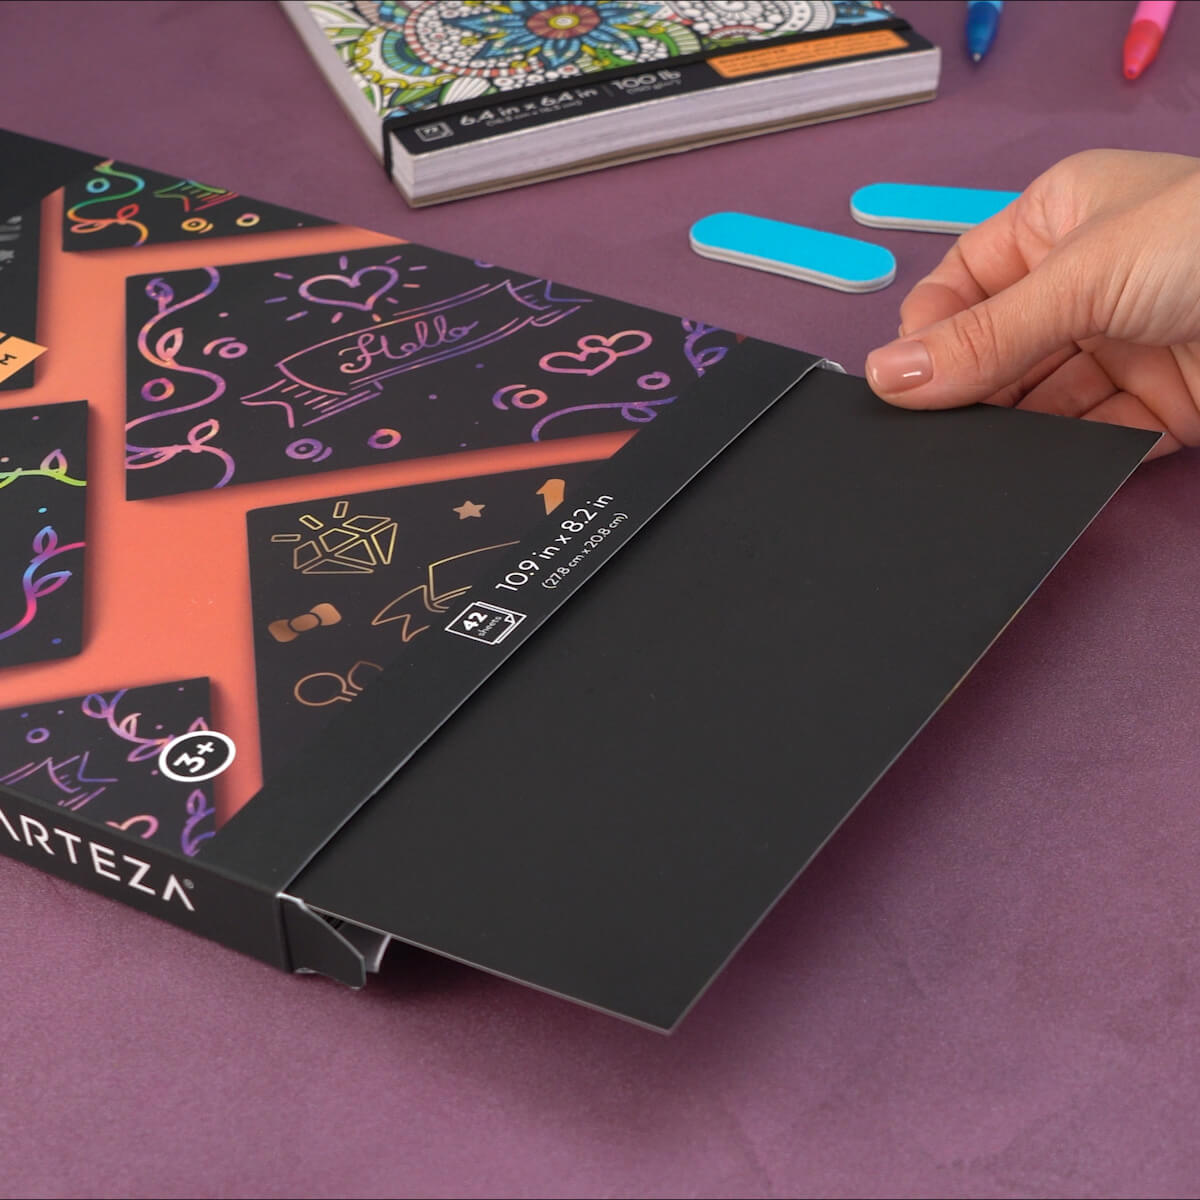
Here, we’ll give you some tips, tricks and a guide with a video showing our artist creating a stunning flower drawing that we hope will inspire you and reveal a whole new world of art making! In this article, we want to show you how you can take your art to the next level using Arteza’s Ultimate Scratch Art Paper Kit. In this kit, you get four types of sheets—gold, silver, rainbow and an outer space pattern—plus the special scratcher stick that makes the magic happen! It even includes additional items for added fun.
Tips & Tricks for Using Scratch Art Paper
1. Plan Before You Scratch
Before you start scratching, it’s a good idea to keep in mind that scratch paper isn’t like any other paper you’ve ever used. Once you start etching into the black surface you can’t erase your line, so preplanning is crucial. Think carefully about your composition first. You might want to sketch your ideas on a sheet of paper that you can make changes to before committing to it on the scratch art paper.
2. Choose the Right Subject
You’ll want to choose a subject that you can add fun designs to that will really show off the color underneath. Individual elements with lots of small details and shading won’t look as good because the transitions will be too sharp from one color to another. Subjects that work well include flowers, inspirational quotes, birds, butterflies and graphic designs.
3. Sketch Your Design Carefully
The nature of this paper makes the black surface pretty delicate. If you decide to sketch your design first, draw very carefully so you don’t accidentally scratch the black layer of the paper because it’s very thin.
4. Use Both Ends of The Scratcher Stick
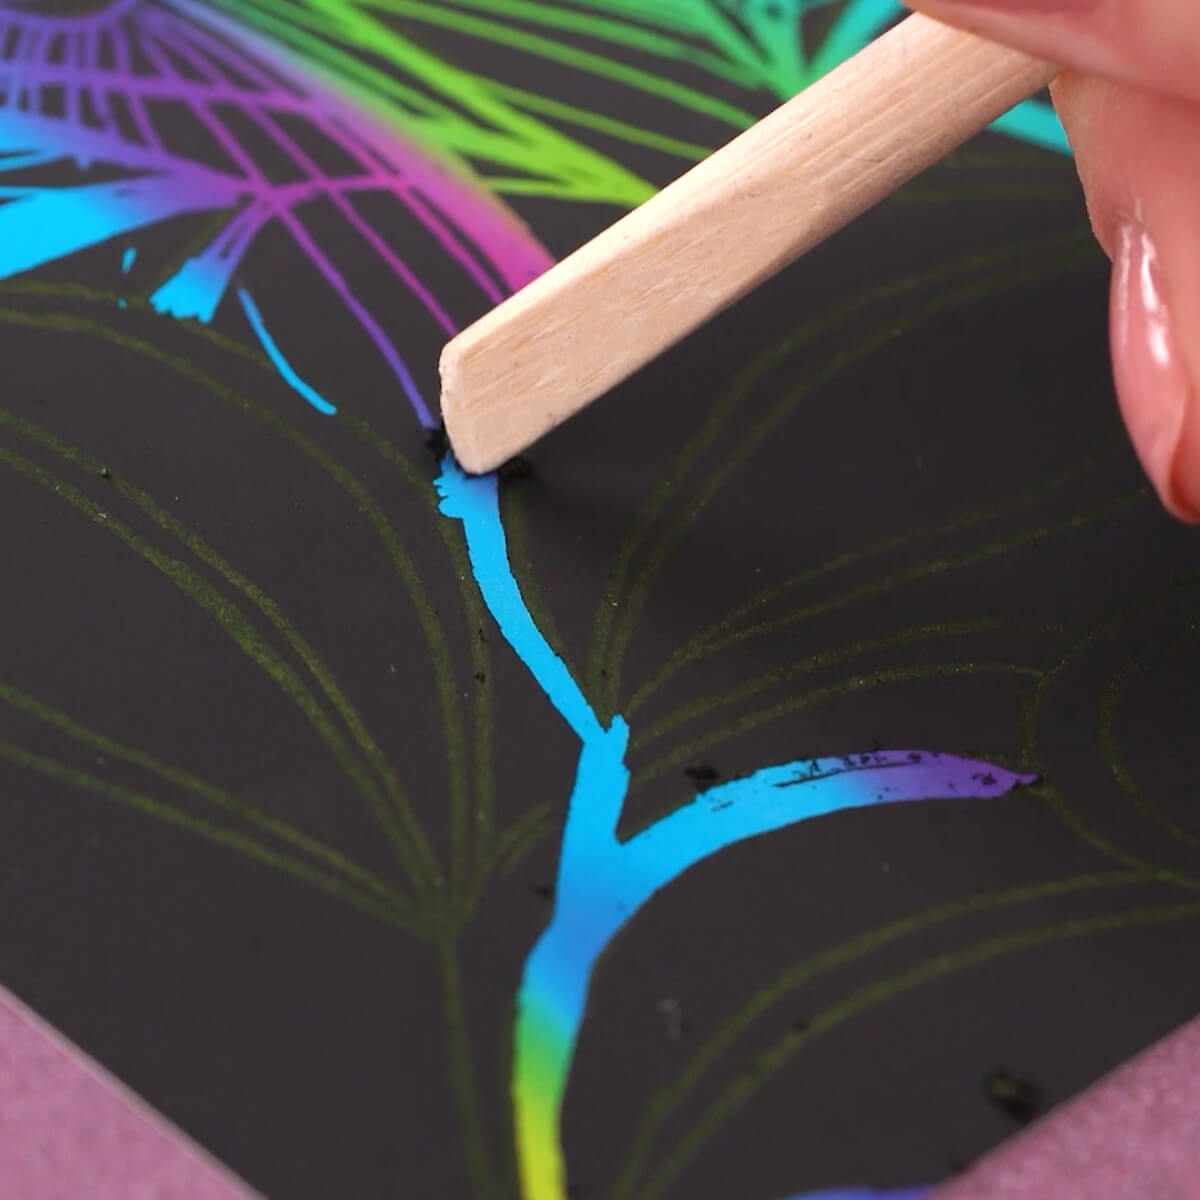
The stick that comes in the kit is double-sided with a thin, pointed end and a wider, flat end. Having both size ends will help you scratch areas and lines of different sizes with ease. Wide lines or large areas should be done with the flat side, while details and thin lines should be done with the pointed end.
Create This Colorful Flower Drawing
Now that you’ve gotten some tips on using this paper, here’s a fun drawing to get you started. Our artist used the rainbow scratch paper from the kit.

Step 1. Sketch the flowers
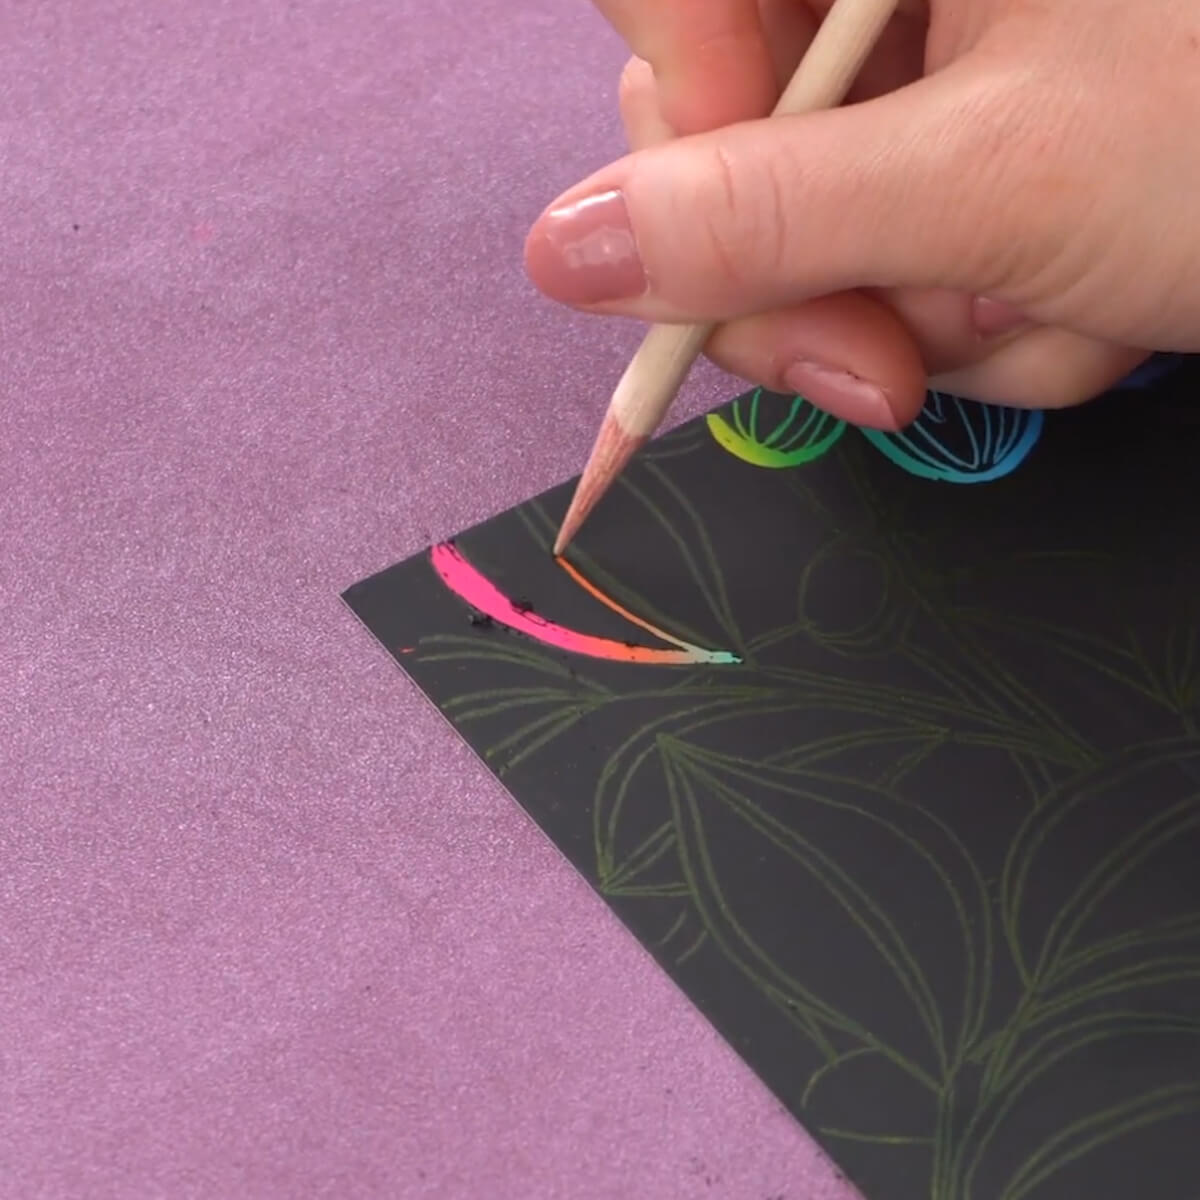
The artist first lightly drew some large flowers with leaves across the entire sheet. Then she added designs and marks inside each flower’s petals to make each one unique from the flower next to it. She filled in the leaves the same way.

Step 2. Scratch the outline of the flowers
Using the flat side of her scratcher, she scratched off the outline of the flowers and petals creating evenly wide lines and revealing the colors.

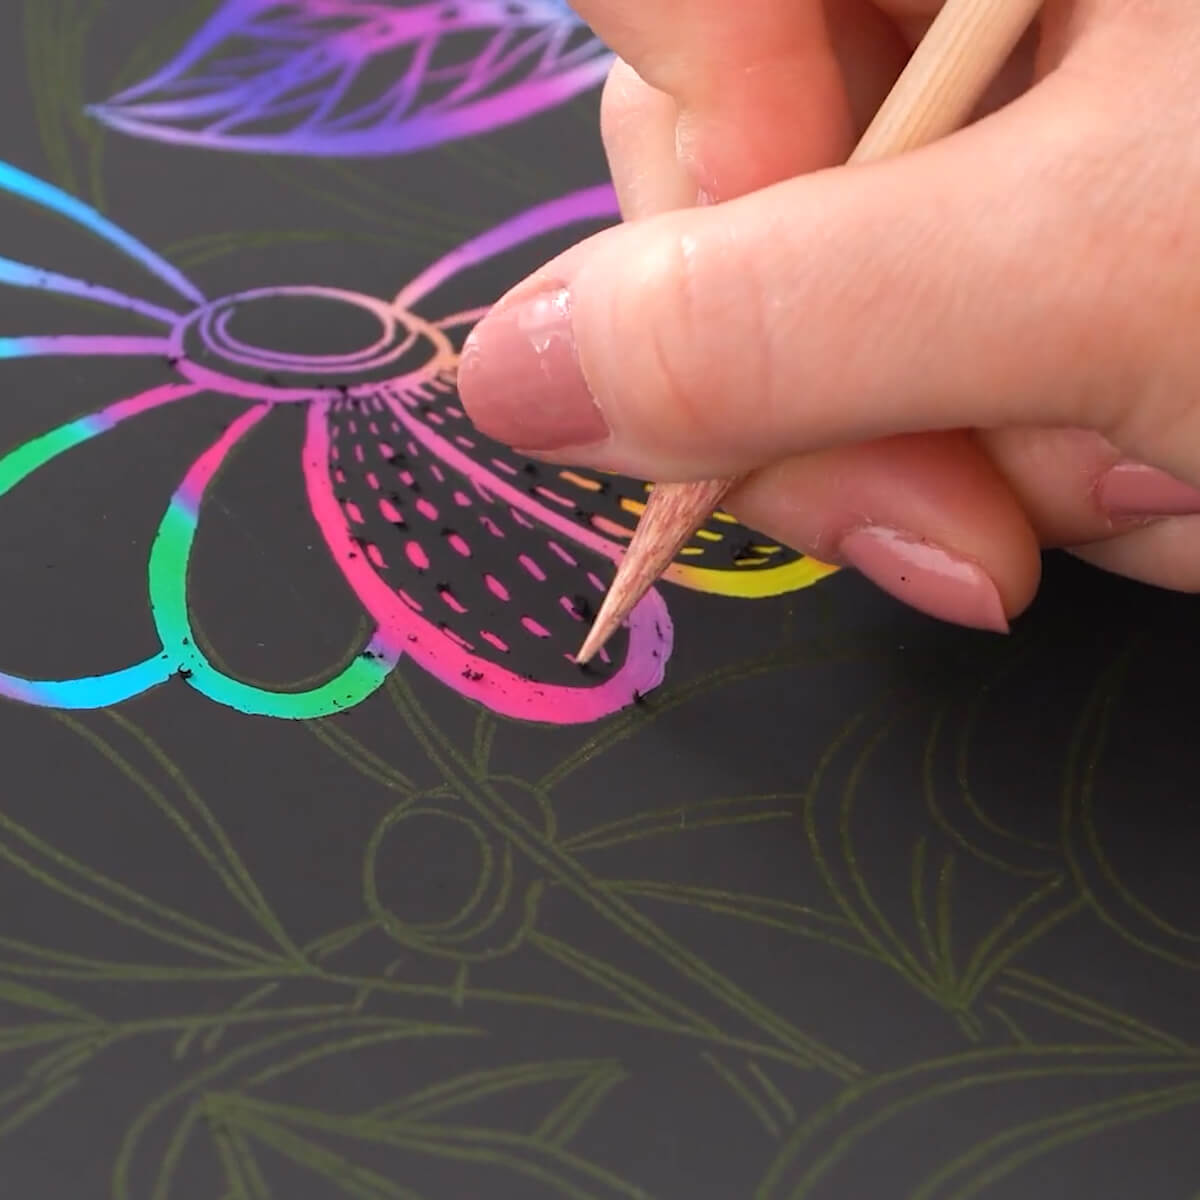
Step 3. Add details
Next, she used the thin side of the scratcher to scratch the thin lines inside the petals.

Step 4. Add the leaves
Finally, she repeated this process on all the leaves.
Once you’ve scratched all the lines, you’ll have a multi-colored flower bouquet! How easy and fun was that?
Recommendations
- Inside the kit you’ll also get some stencils and postcards. We recommend giving these a try as well to create a unique artwork or to send a special greeting to a friend.
- You can find lots of ideas for subjects to draw and scratch on the internet. We suggest you choose one that’s simple at first and work your way up to more complex subjects.
- Planning ahead is essential for making great scratch art. It’s always a good idea to sketch your ideas on paper that allows you to erase and change things before sketching it on this paper.
As you can see from the artist’s video, this paper is not just for kids. It can be a way to express yourself in a whole new way. Now that you’ve learned how to use this miraculous paper we know you’re going to want to make even more things with it. Let us know what you think by leaving us a comment in the section below.
Follow along with the video as our artist reveals amazing flowers!


