ArteTable of Contents:
Add Some Fizz with Mica Powder Bath Bombs
After a long day, there’s nothing more soothing than a relaxing soak in the tub. Bath bombs make it even better by adding some fizz to the water as well as helping clean and soften your skin. Having a bathroom set that includes bath bombs near the tub can also give your bathroom a spa-like feel!
These effervescent bombs are so easy and fun to make. You only need a few ingredients and a mold. We’ve created this unique recipe using the Arteza Mica Powder Set. This set lets you choose from a wide variety of colors and comes with its own handy, little measuring spoon. Plus, it’s cosmetic grade powder, which means these bath bombs are safe for your skin. We know you’ll enjoy making these fizzy bombs for yourself or as great DIY gifts for your friends and family.
Bath Bomb Supplies
- Mica Powder - Amethyst Purple, Spring Green
- 5.29 oz/150 g Sodium Bicarbonate (baking soda)
- 2.82 oz/80 g Citric Acid
- 1-2 teaspoons (5-10 ml) Olive Oil
- Bath Bomb Mold
- 3 Small Mixing Bowls
Mica Powder Bath Bomb Recipe
Step 1
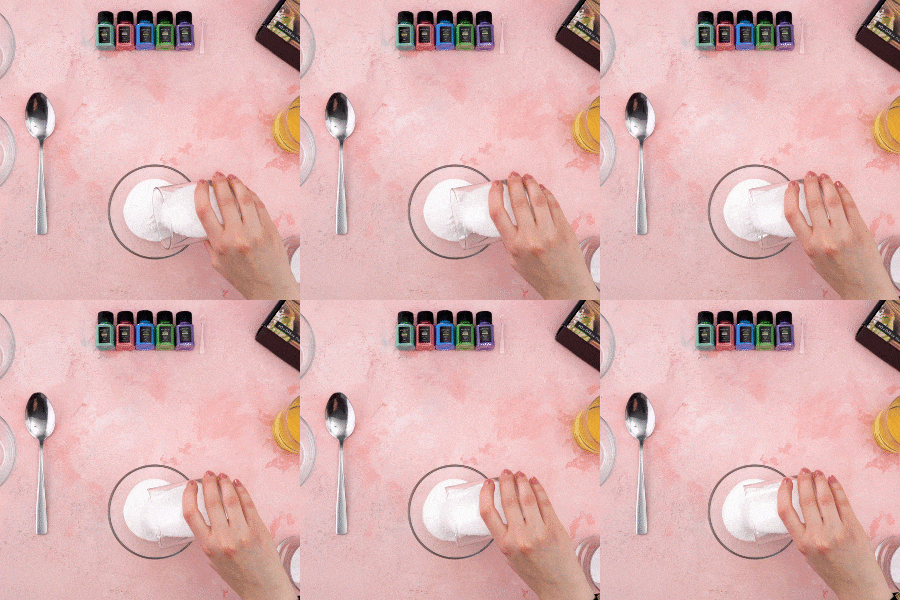
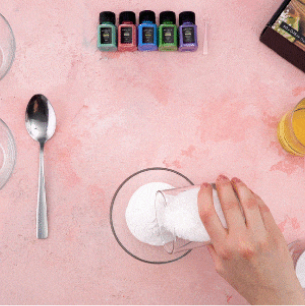
In a bowl, thoroughly mix together the sodium bicarbonate and citric acid.


Step 2
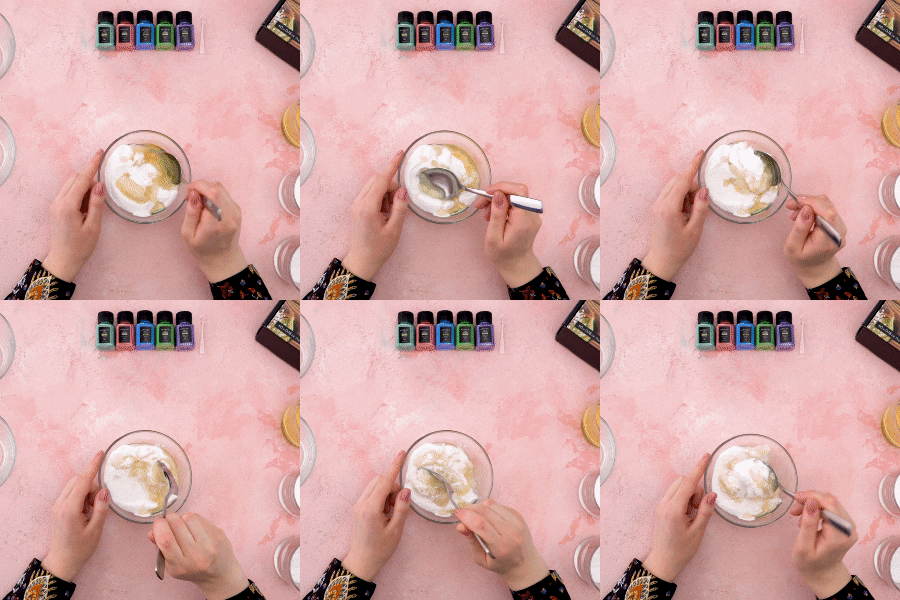
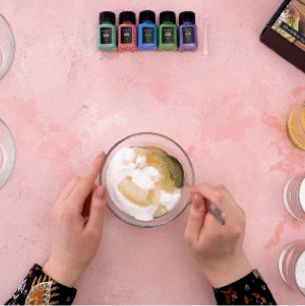
Add the olive oil to the dry ingredients and stir until the mixture holds together.


Step 3
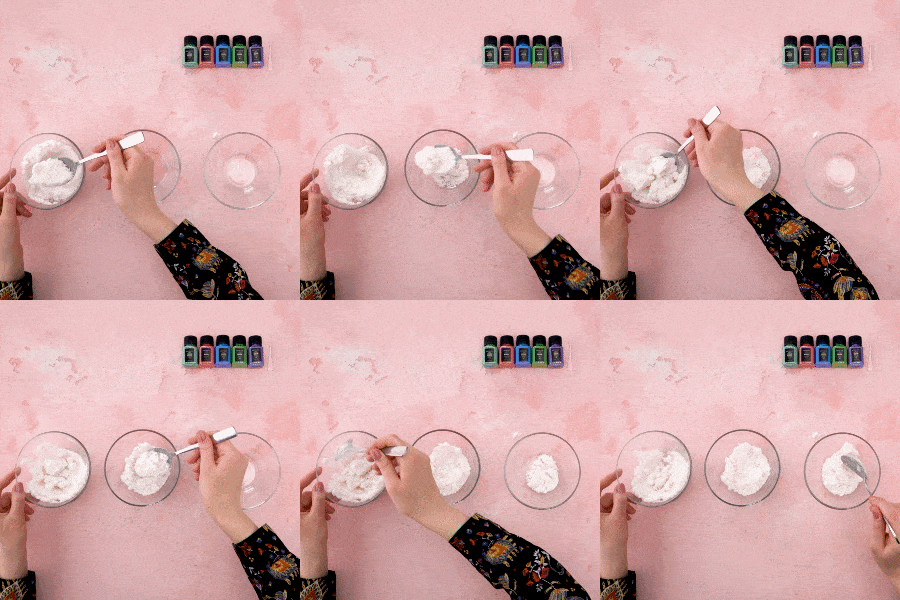
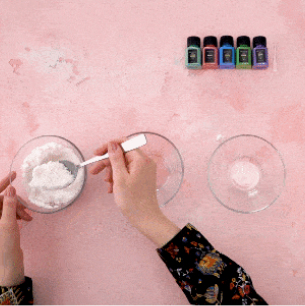
Divide the mixture equally into the other two bowls, leaving a small amount of the white mixture in the first.


Step 4
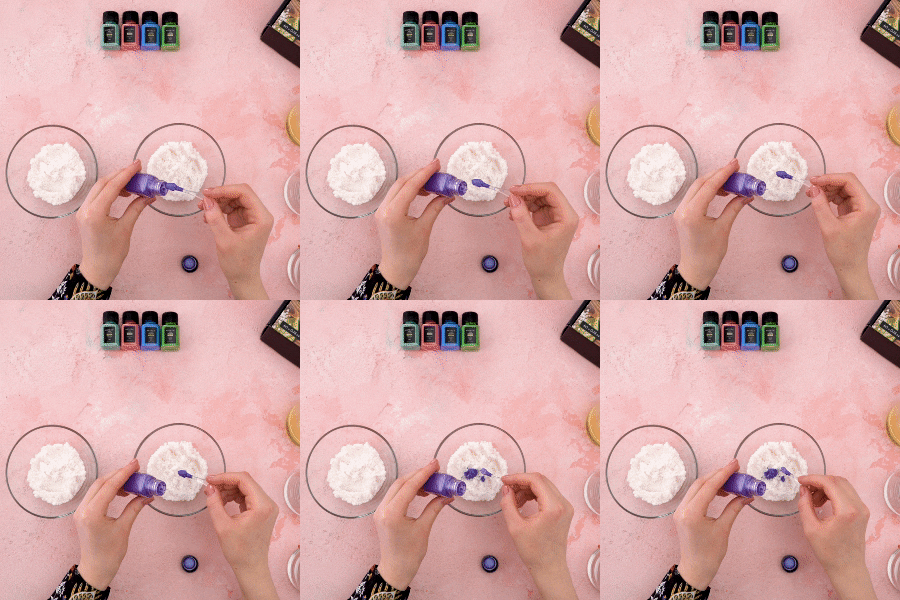
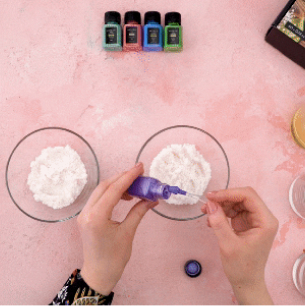
Take the small spoon that comes with the set and use it to add 2 spoonfuls of amethyst powder into the mixture in one of the bowls. Stir until the color is evenly distributed. In the other bowl, add 2 spoonfuls of spring green and mix well.


Step 5
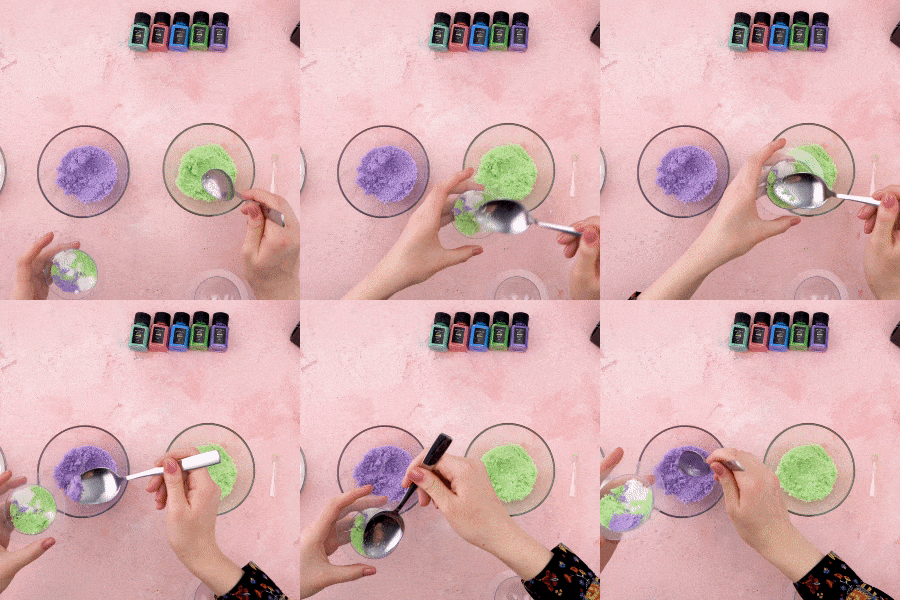
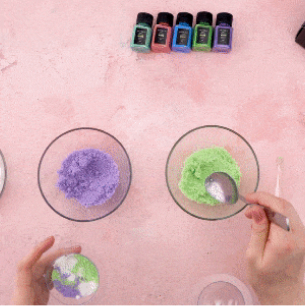
Open the bath bomb mold. Alternating between amethyst, spring green, and white, add the mixtures into one half of the mold. Fill until the mixture is slightly over the edge. Repeat this process in the other half.


Step 6
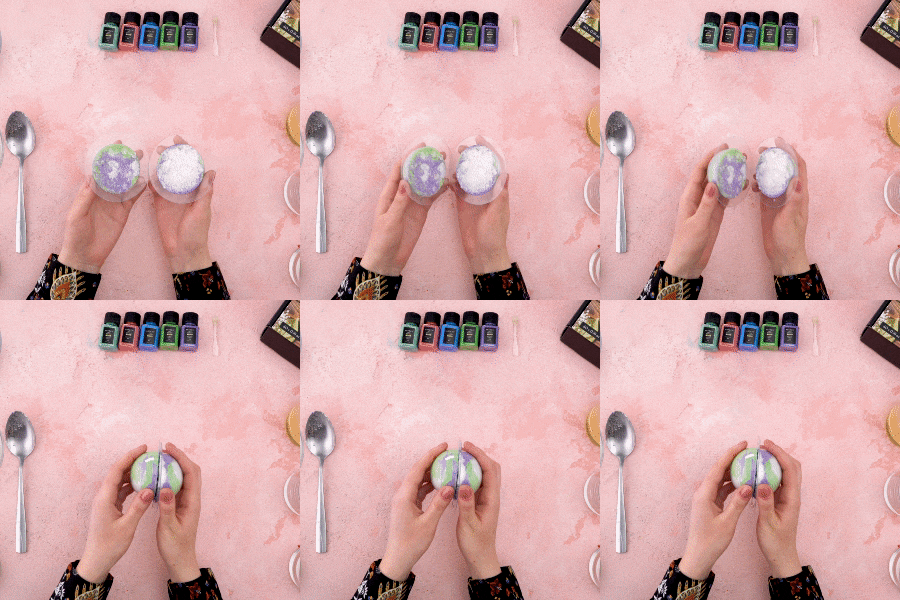
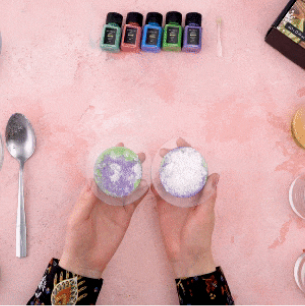
Once the halves are firmly filled with the mixtures, wipe the surface of the mold clean and gently press the two halves together, snapping the mold shut.


Step 7
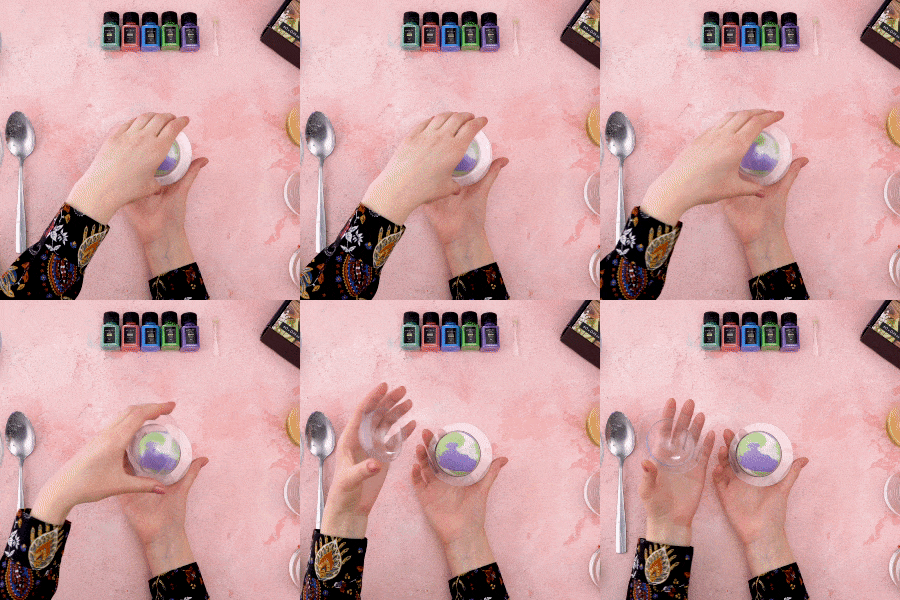
Place the mold in the freezer for a couple of hours. After the bomb is completely frozen, take it from the freezer and carefully remove the bomb from the mold.


Your bomb is ready to drop into the bathtub for a fizzy and relaxing bath!
Recommendations
- If your mixture isn’t holding together, add a little more of the dry bath bomb ingredients until it can be molded.
- When adding the mica powder, add a little at a time. If you add too much, your color will turn out too bright and if you add too little, the color will appear pale and dull. By adding a tiny amount of the pigment at a time you can easily adjust the shade to get the one you want.
- Avoid getting the materials or the finished bomb wet. Water activates the bomb and will make it dissolve.
- You might want to wear rubber gloves when making bombs, as the mica has a tendency to leave smudges on your fingers.
- You don’t have to worry about the pigment in the bomb staining your skin. The pigments completely dissolve in water.
When it comes to easy DIY crafts, there are so many possibilities when it comes to creating your own bath bombs. You can make them in one or two tones, or as we did here using three colors. Create bombs that coordinate with the color scheme of your bathroom and display them in a pretty jar or bowl. As long as they stay dry, they’ll be ready to use when you need a little downtime to unwind.


6 comments
very good blog thanks for posting.