Table of Contents:
- Creating Custom T-Shirts Using Animal Designs & Heat Transfer Vinyl
- Steps for Making a DIY Animal Graphic HTV T-Shirt
- See What Else You Can Do with Arteza Vinyl
Creating Custom T-Shirts Using Animal Designs & Heat Transfer Vinyl
Have you ever wished you could create your own custom DIY t-shirts? Maybe you’ve wanted to make a shirt featuring your favorite team mascot or maybe a fun shirt for the holidays? Well, you’ll be happy to learn that your wish can come true with easy-to-use heat transfer vinyl (HTV).
Heat transfer vinyl provides great opportunities for your imagination. You can create various designs and bring them to life with vibrant colors and beautiful combinations. HTV can be easily applied with an iron and can withstand multiple machine wash cycles. It is also nontoxic and safe, making it great for projects with kids.
You may have tried a DIY shirt that you had to print, without successful results. HTV DIY t-shirt projects differ from printing processes by being easier to achieve and involving only a few supplies — a sheet of vinyl, a craft knife and your design. There are no frames, emulsions, or inks, making it a simple process with easy clean up.
Now that you’ve learned how versatile HTV is and that it’s an easier way to create your own DIY shirt without the fuss of trying to print one, you’re ready to see how it’s done. Here’s a video that explains the process and shows you the spectacular results you can get with HTV. You can follow along by reading this step-by-step guide as well. Whether you’re a beginning crafter or an experienced DIYer, you’re sure to have a good time making your own custom animal graphic t-shirts.
Steps for Making a DIY Animal Graphic HTV T-Shirt
If you’ve never used HTV before, it will help you to watch the video and review the steps multiple times until you completely understand how to make vinyl shirts. You may wish to experiment on an old shirt before creating the final one. It is best to use 100% cotton t-shirts. HTV also works on linen as well as heavy-duty bull denim.
Step 1
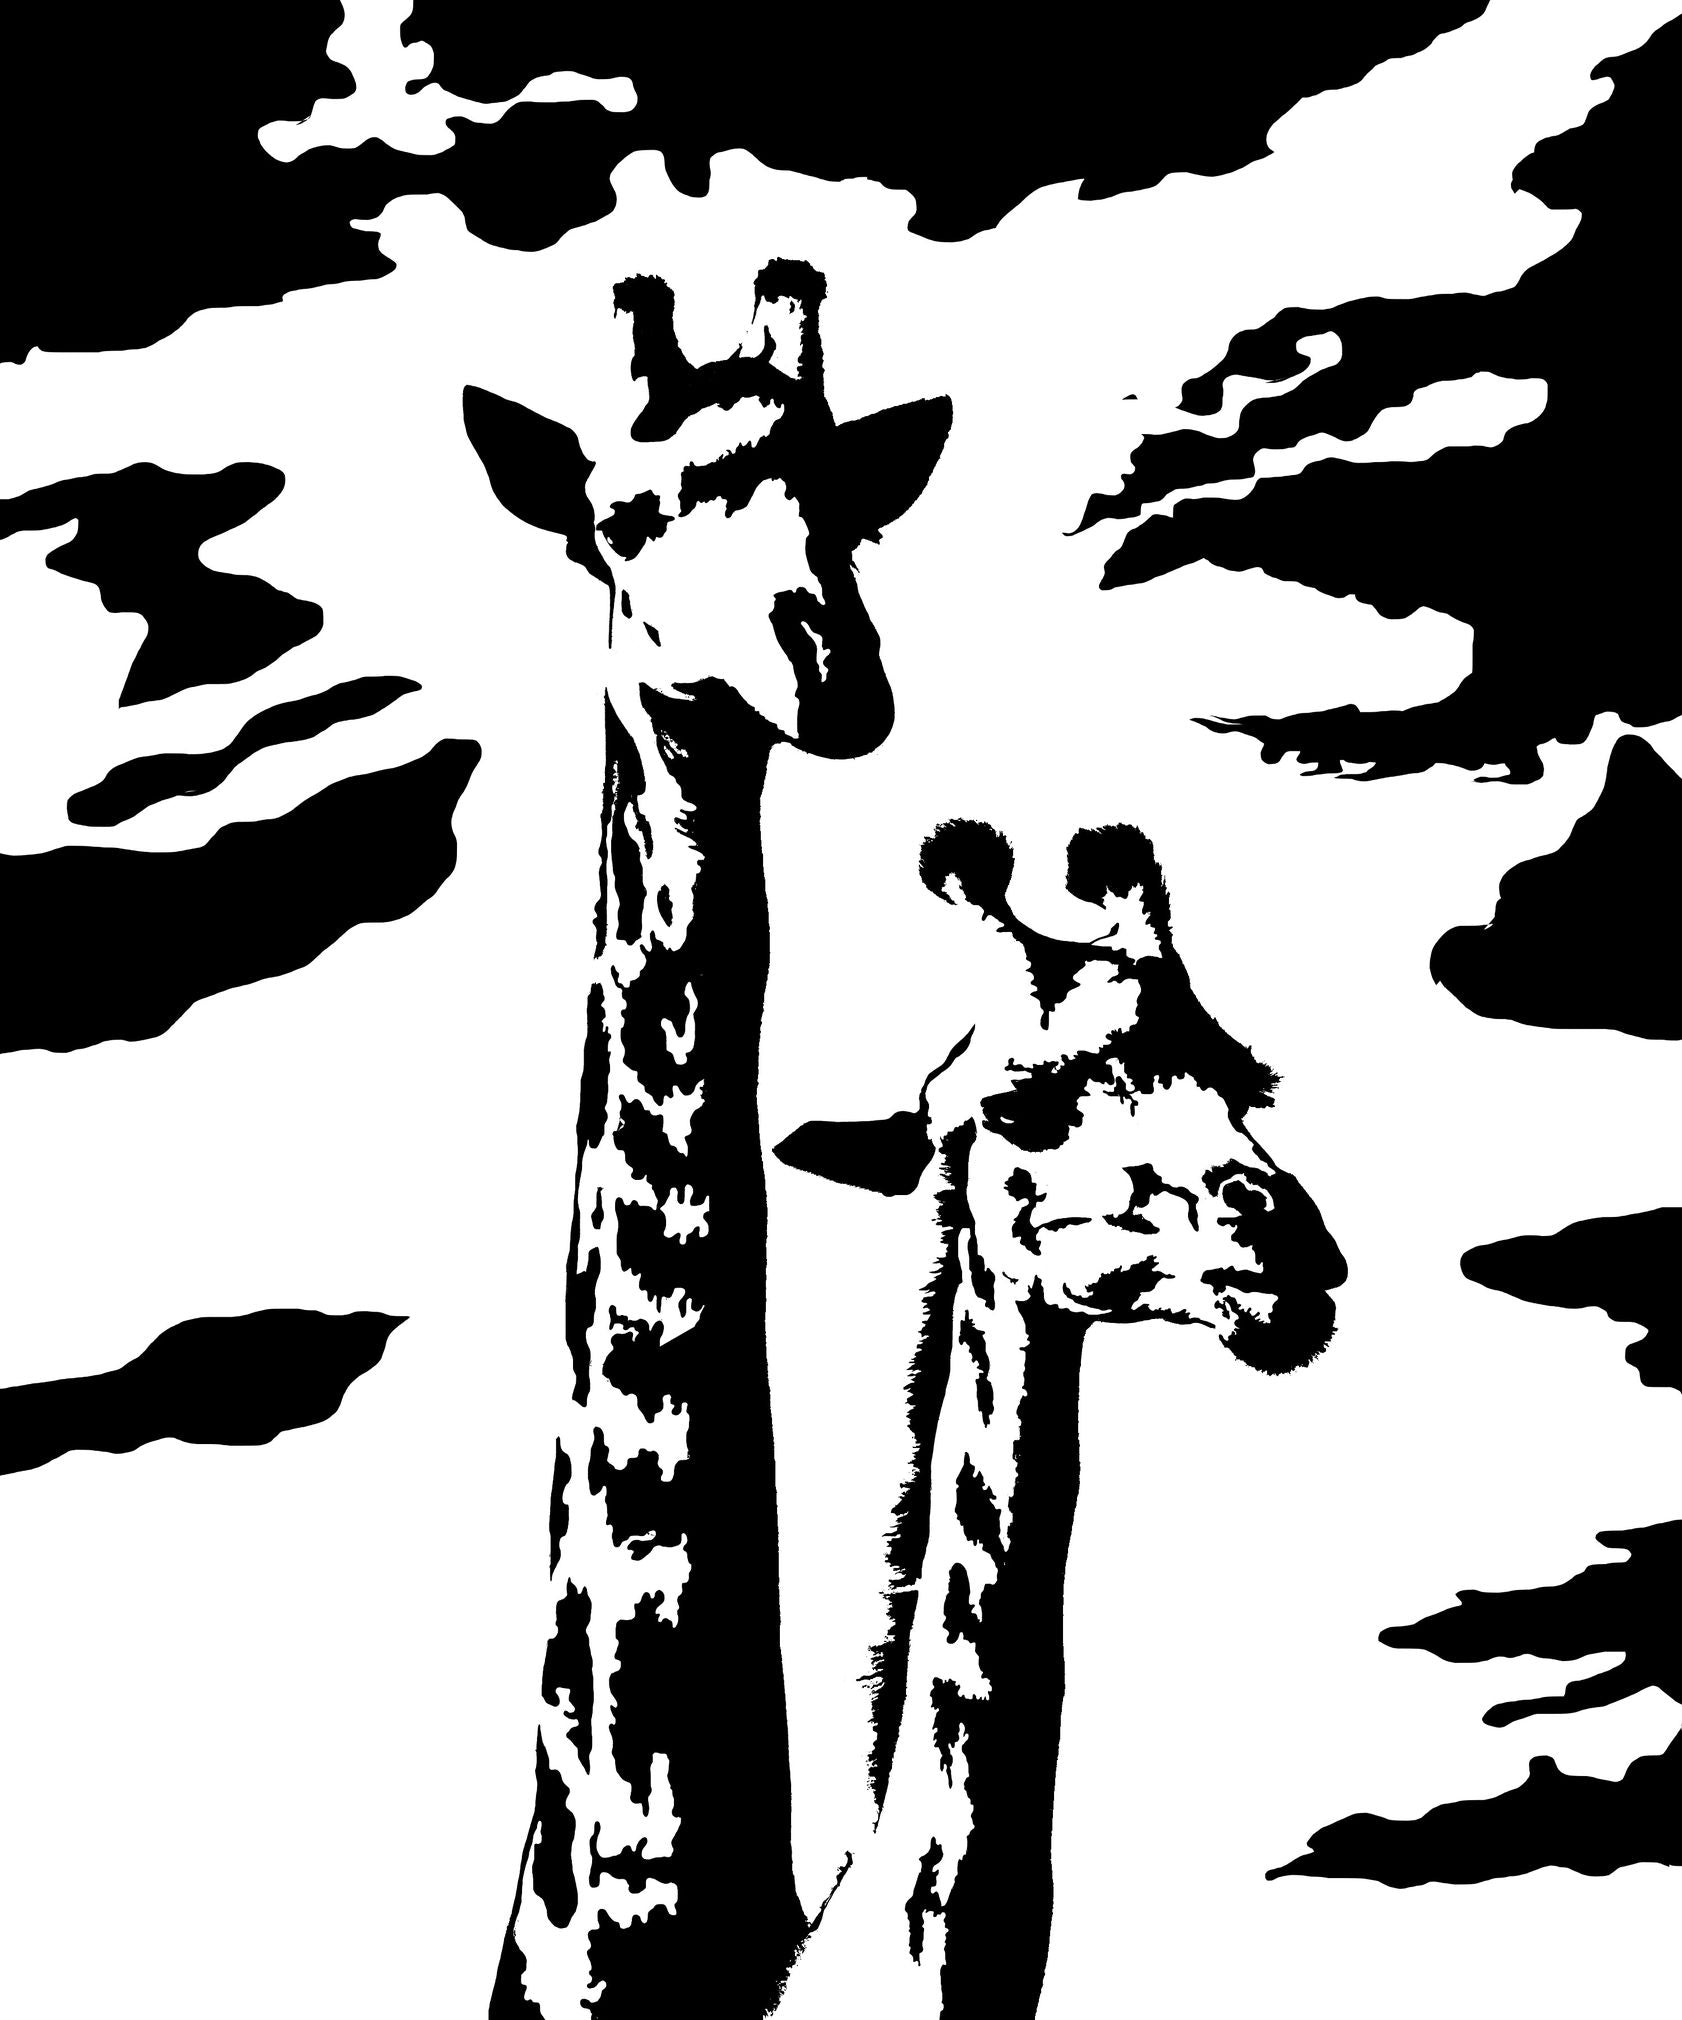
Choose the animal you like most. Can’t decide? We’ve included some photos of animals you can choose from. Something to keep in mind when choosing your animal is that the simple designs will be easier to execute. If you have a sophisticated design, such as the one in the video, you will not be able to implement it without a plotter and a heat press, like the ones we used. For beginners, we recommend starting with a less complicated design.


Step 2
Using a computer graphics editor will allow you to convert your image to black and white, use posterization, or enhance the contrast. This is also a good way to clean up the image to remove any unnecessary details or add missing details, such as the glare spots in the eyes. At this step, you can identify which images are suitable for further preparation for printing and which are not.
Step 3
Before proceeding, take time to make sure you know which side of the vinyl you will cut out your design on and which side will be pressed against the fabric.
You are going to be cutting your design on the colorless side of the sheets. For sheets with colors that look almost the same on both sides — black, white, silver, and gold — take something sharp like the tip of scissors or a craft knife and make a small scratch on a corner of both sides. The side that lifts up is the side that you want to cut your design on.
Also, make sure the image is mirrored before transferring it to the vinyl. This is especially important if the design has any text — you don’t want to print it and have the words appear backwards!
Now, transfer your design to the vinyl. Cut out your design using a cutting machine, a craft knife, or scissors.
Step 4
At this stage, check to make sure there aren’t any unwanted details that are not a part of the future design. If there are, remove them from the vinyl sheet with a craft knife.
Step 5
Before pressing the vinyl onto the t-shirt, check to make sure it is placed properly. As you can see in the video, the colored side, which has the protective coating, is facing up (the colorless side is facing down). Place in a heat press or apply a hot iron on top of the image at a temperature of 300–320°F. Press for 10-15 seconds.
Since temperature settings can vary on different heat presses and irons, you may want to check to see if the vinyl has adhered after 10 seconds. Test a corner to see if you can pull up the vinyl. If it lifts up, press with the iron for a few more sec
Wait for it to cool down before proceeding to the next step.
Step 6
Now, remove the protective film and admire your cute custom t-shirt!
See What Else You Can Do with Arteza Vinyl
Why stop at t-shirts? Once you’ve seen how easy it is to make these vinyl transfers for shirts, you’ll want to decorate all kinds of things with them. This versatile product not only works for DIY t-shirts, but you can make customized hats, tote bags, aprons, and backpacks. But, don’t stop there. Use HTV on curtains, bedspreads, quilts, pillows, and throws to decorate your home. Use it to create items for yourself or to make thoughtful gifts for friends and family. You’re only limit is your imagination!


