
Table of Contents:
- Show Off Your Flowers in Koi Fish Garden Pots
- List of Supplies
- Step-By-Step Koi Fish Flower Pot
- Recommendations
Show Off Your Flowers in Koi Fish Garden Pots
It’s so much fun to use decorative flower pots on a porch, patio, and around the garden. Filled with your favorite blooms, they add a pop of color and a lovely fragrance that lasts all season. And, if you’re like the artists at Arteza, garden pots are another place to express yourself through your art.
Since not everyone can have a serene koi fish pond in their garden, one of our artists decided to create a DIY flower pot with a koi fish painting that gives an illusion of a pond. She used our Outdoor Acrylic Paints that are specially formulated for withstanding the outside elements while retaining their vibrancy and shine. As with our other how-to’s, we recommend you first read our instructions and watch the video all the way through to have a good understanding of how you’ll be creating these cool koi fish art flower pots.
List of Supplies
- Outdoor Acrylic Paint, 59ml bottles, Set of 20
- Professional Drawing Set, 33 pieces
- Flower Pot, Clean & Dy
- Paintbrushes - Large & Small
Step-By-Step Koi Fish Flower Pot
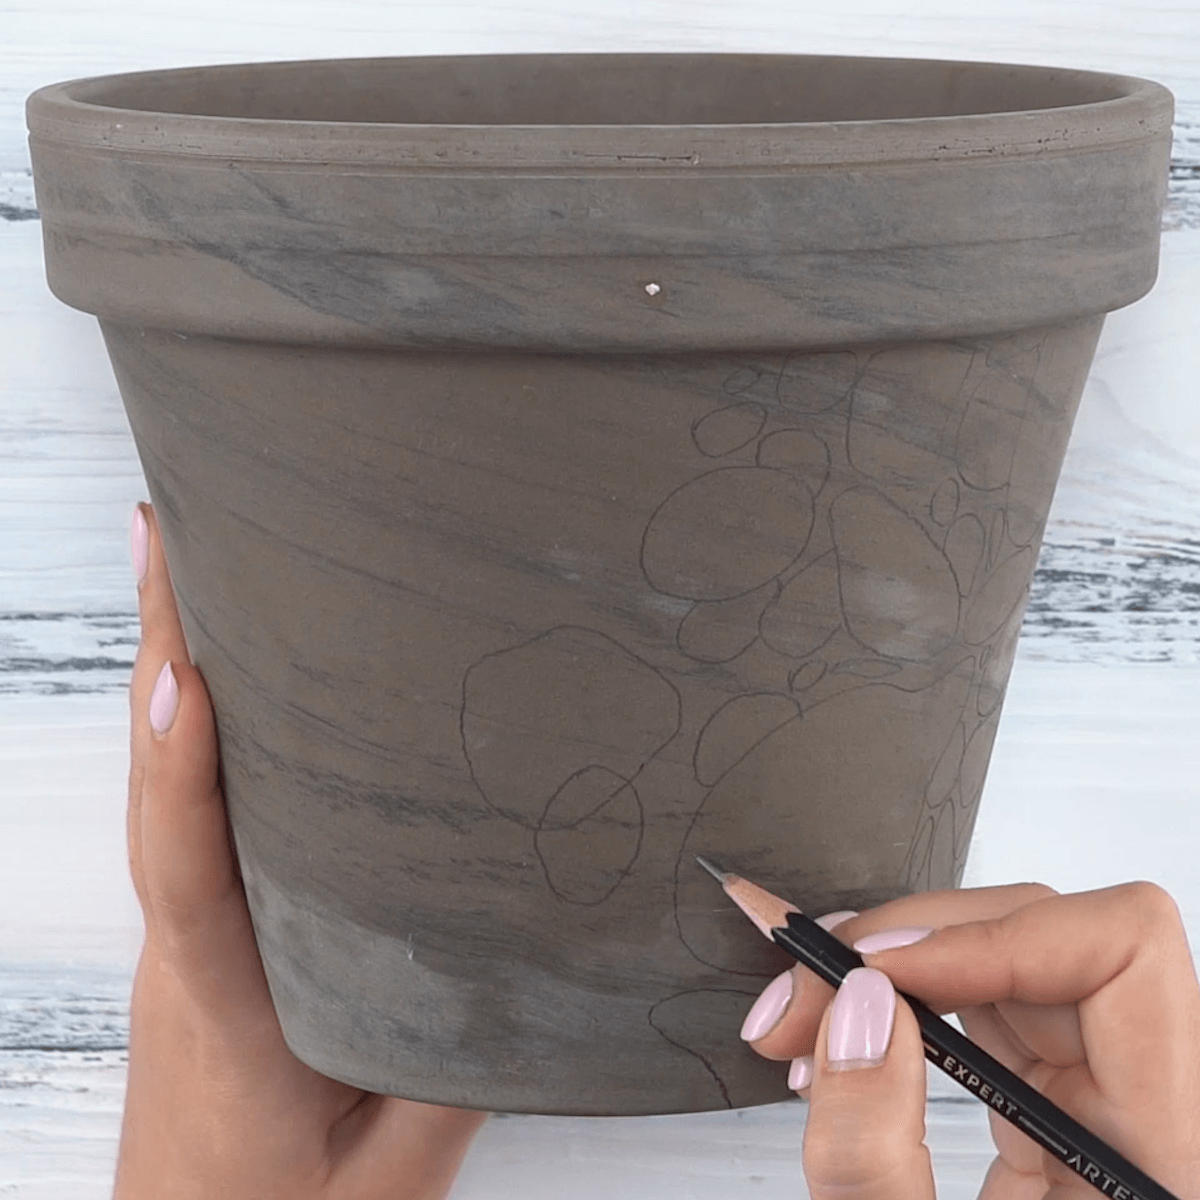
Step 1
The artist in the video begins by lightly drawing some rocks on the pot in various sizes for a realistic look.
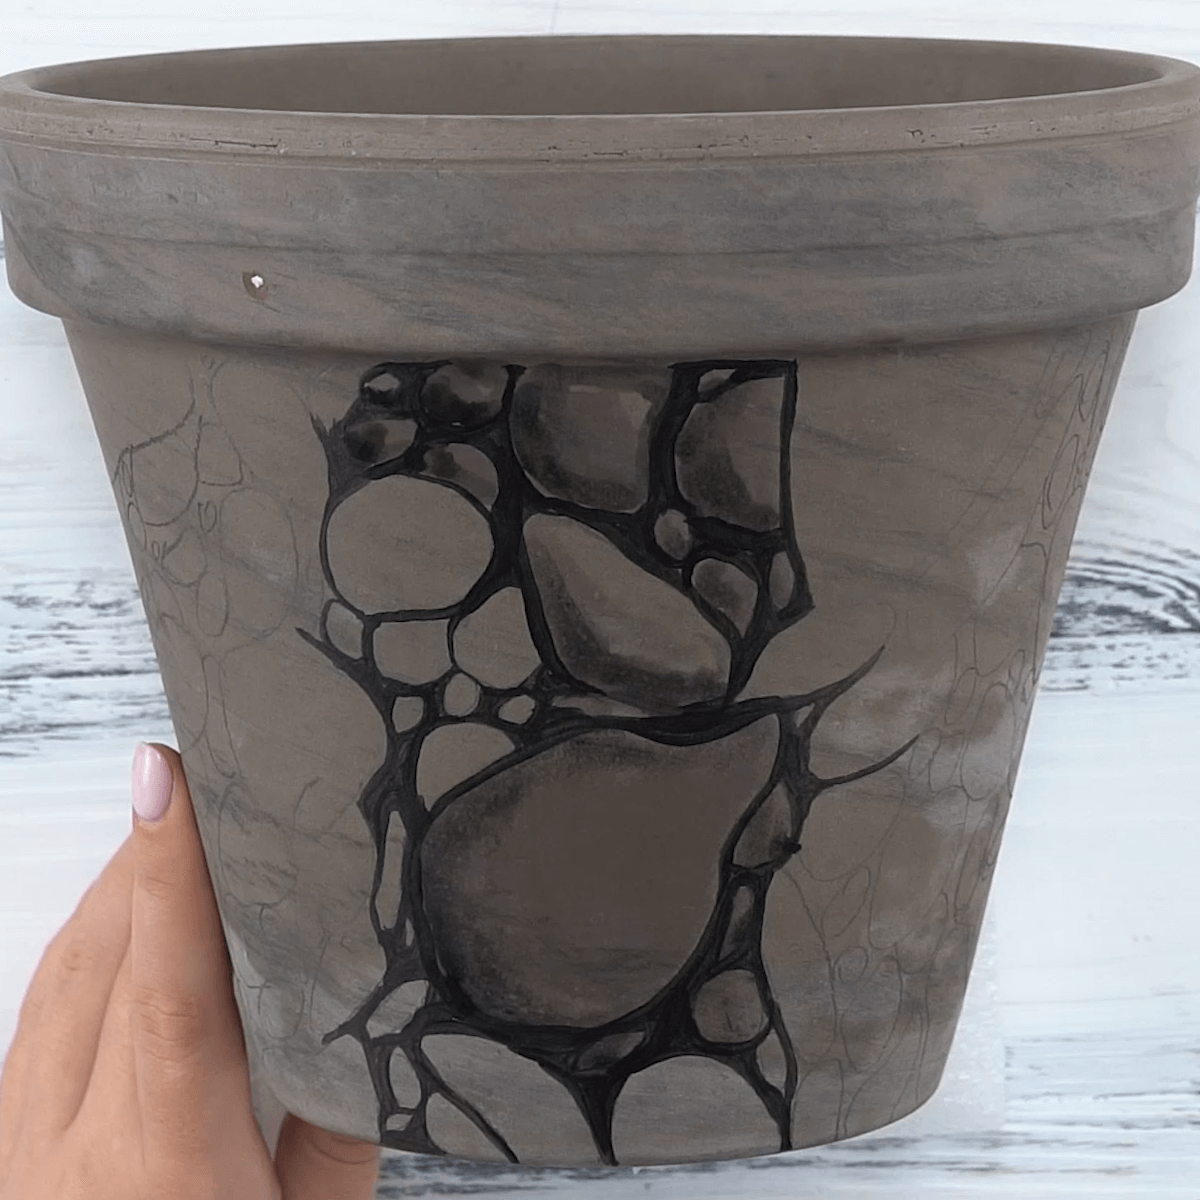
Step 2
She dilutes black paint with water and outlines the rocks with a thin brush. Since the paint dries fast, she reloads the brush often, adding extra water to keep a consistent line going. She keeps the paper towel handy for cleaning her brush when needed. Next, she fills in the rocks with thin paint that’s been diluted even more with water and paints just one side of each stone for a shadowed effect.

Step 3
It’s a good idea to practice drawing some koi fish first. Once you’ve got the hang of it, paint a base layer of white for the fish and waterlilies’ over the rocks, as our artist does. She continues adding fish and leaves around the entire parameter of the pot.
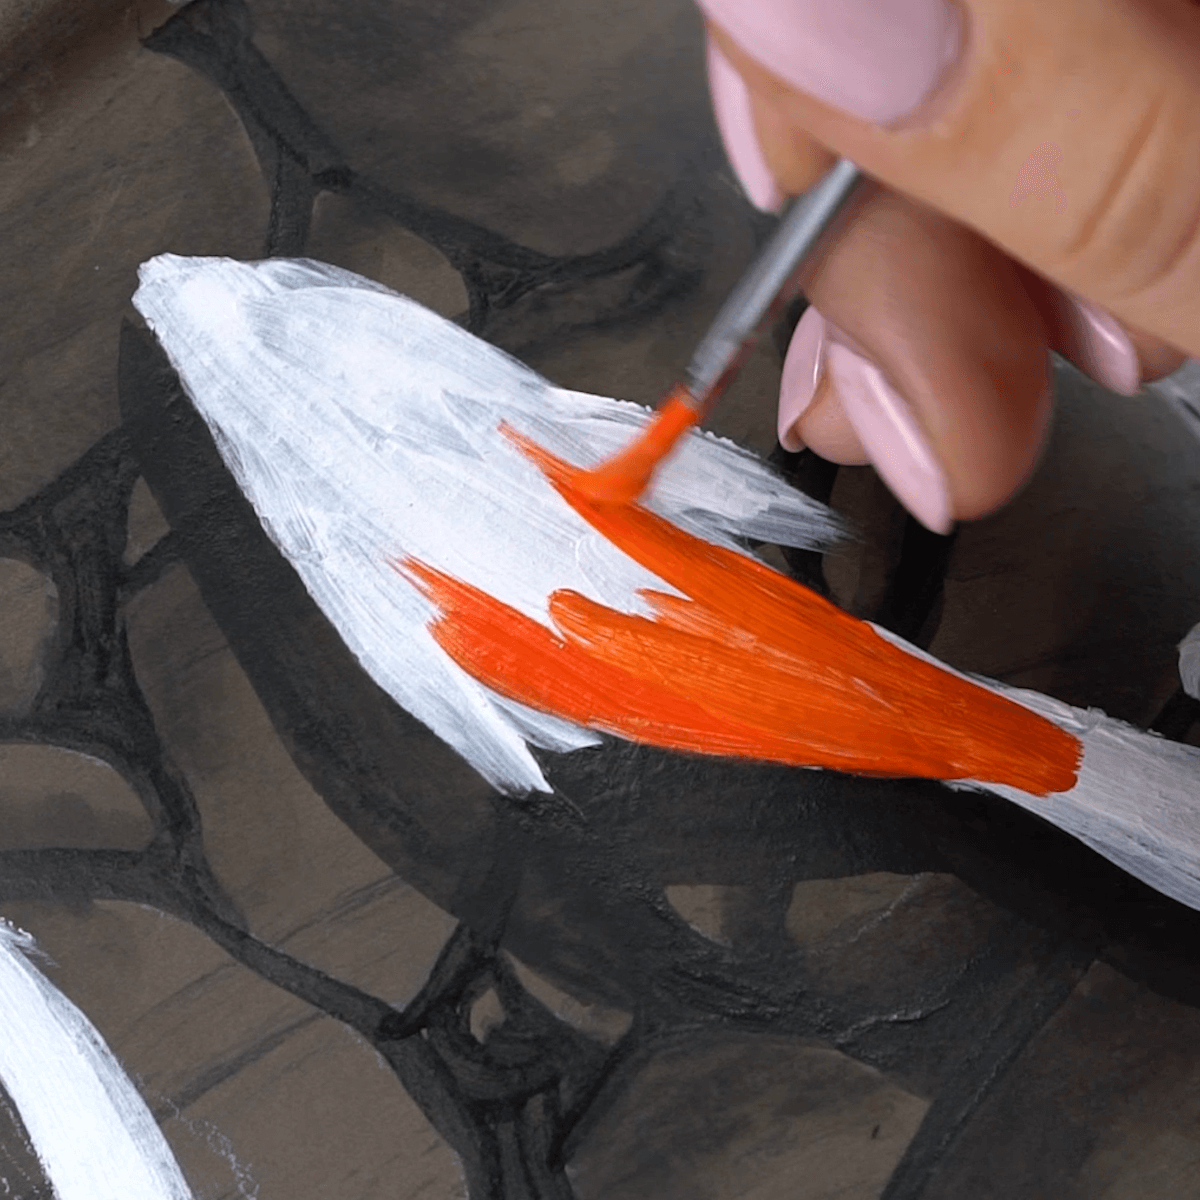
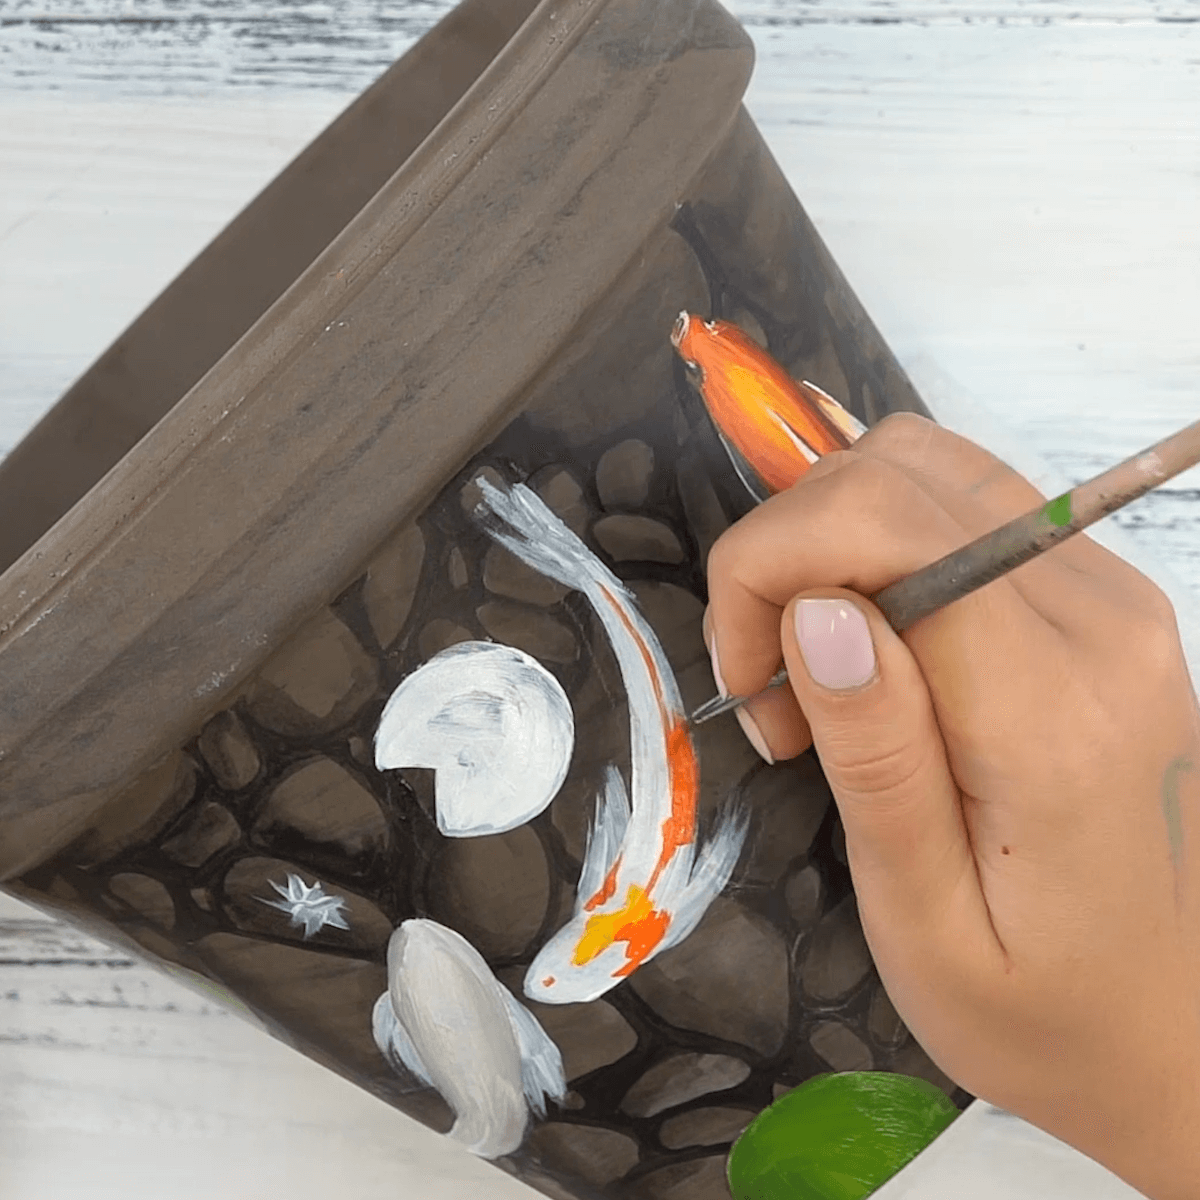
Step 4
Next, she begins by painting the first koi’s body with yellow and orange, making it lighter on its back and darker on the sides to give volume to its body. She repeats this on the other orange koi.
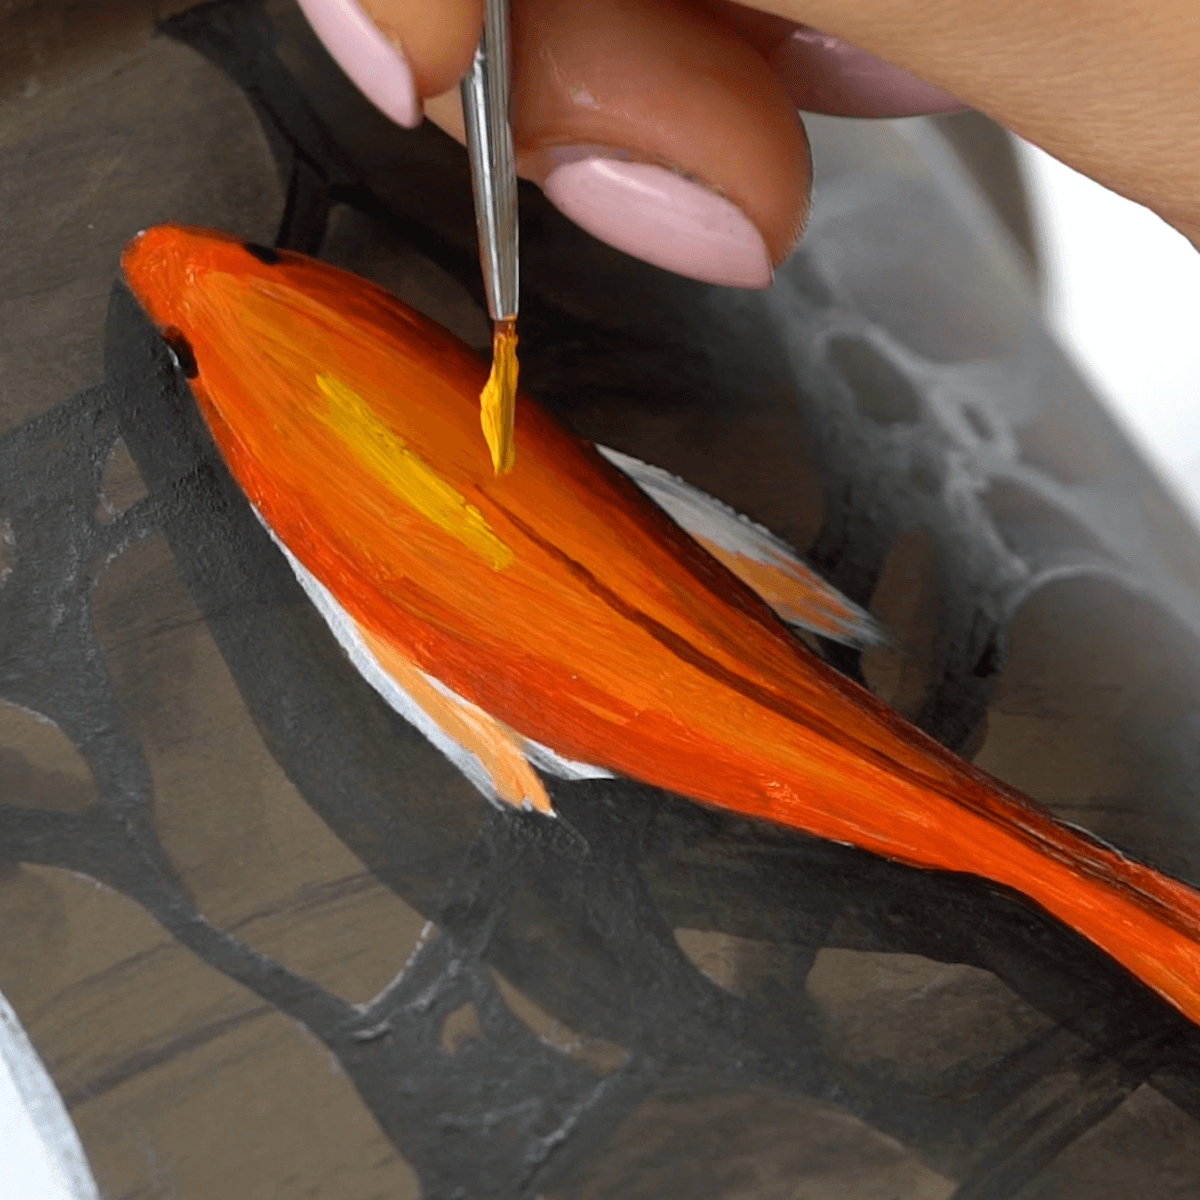
Step 5
Now it’s time to add fins and eyes. The artist uses dark paint for these details and to create even more shadow along the sides. For the side fins (pectoral fins), she uses light orange and adds highlights of yellow along the fish’s back.
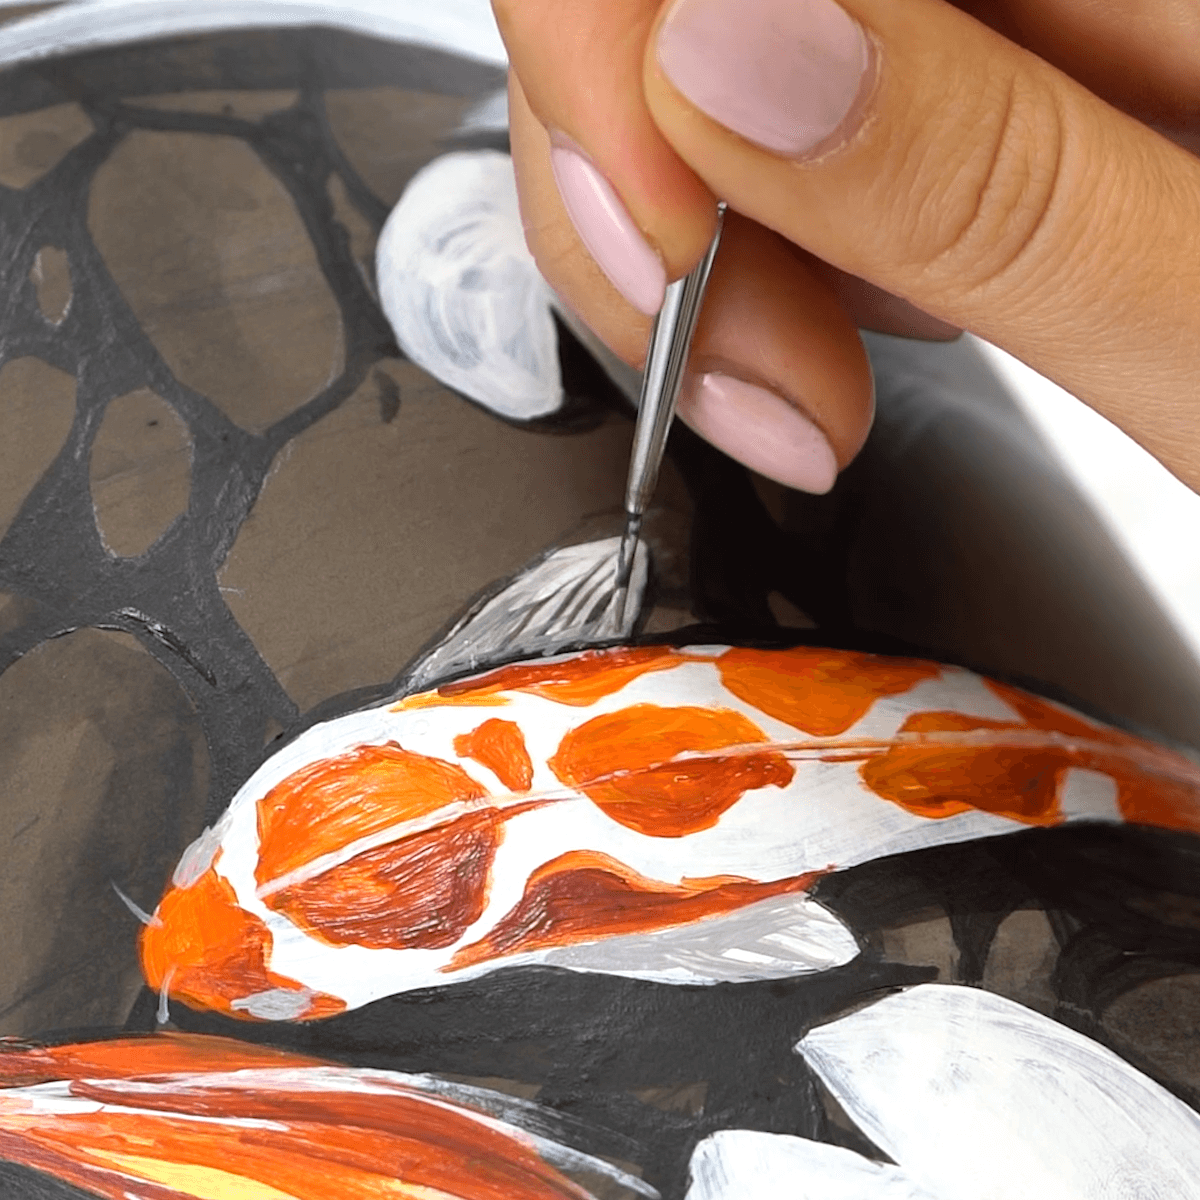
Step 6
With white paint, she adds the details to the fish’s upper fin (the dorsal fin) and then adds thin lines on the tail and fins to represent the spines inside the fins. She also adds details to the eyes. Yellow paint is used for the mid-tones on the fin and tail.
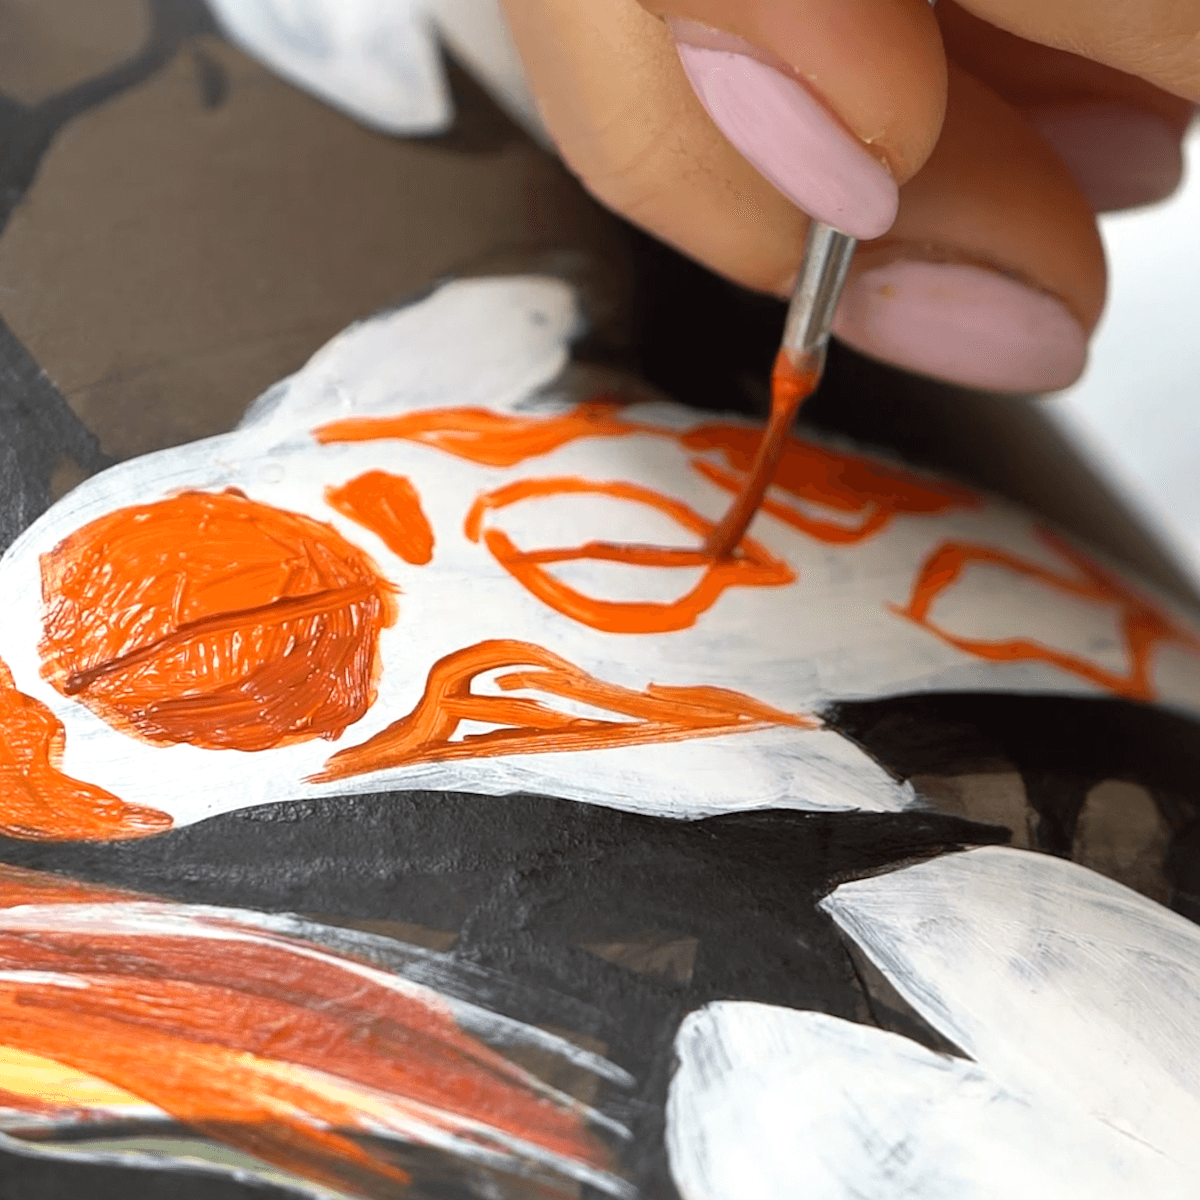
Step 7
Koi fish come in many colors and patterns. To make this pot really decorative, the artist includes some spotted ones. She begins by outlining the spots with orange and then filling them with a lighter orange, placing a darker orange only on one side.
Step 8
Next, she draws the dorsal fin using white. The pectoral fins are painted gray and colored in black. She then outlines the eyes and the barbels (those thin whiskers over the mouth) in gray. Black paint is used for drawing the eyes and adding its dorsal fin’s shadow.
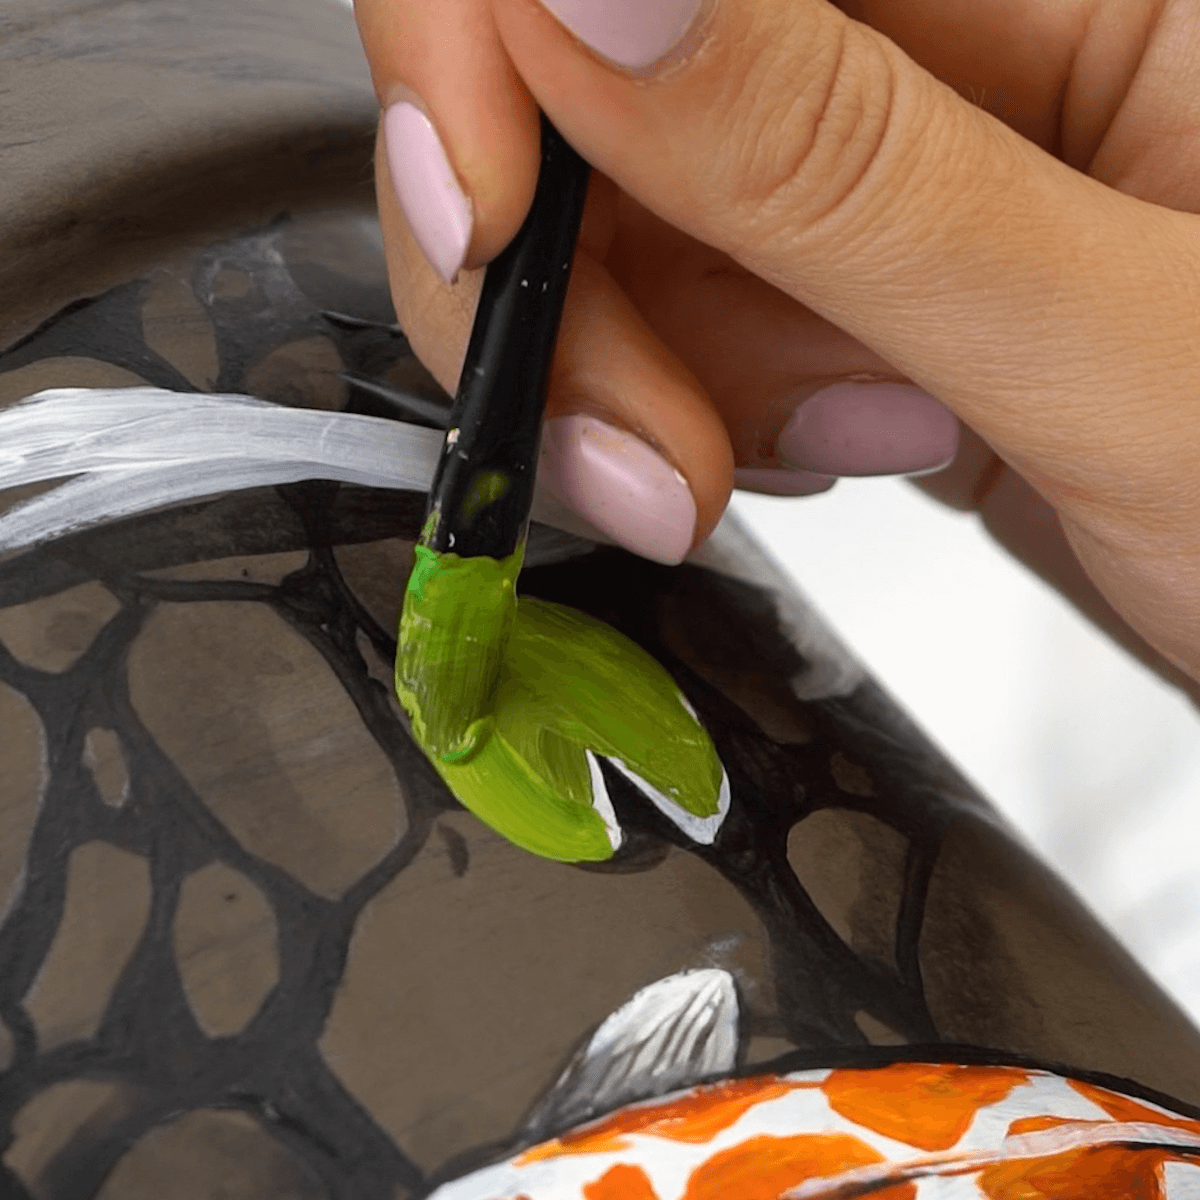
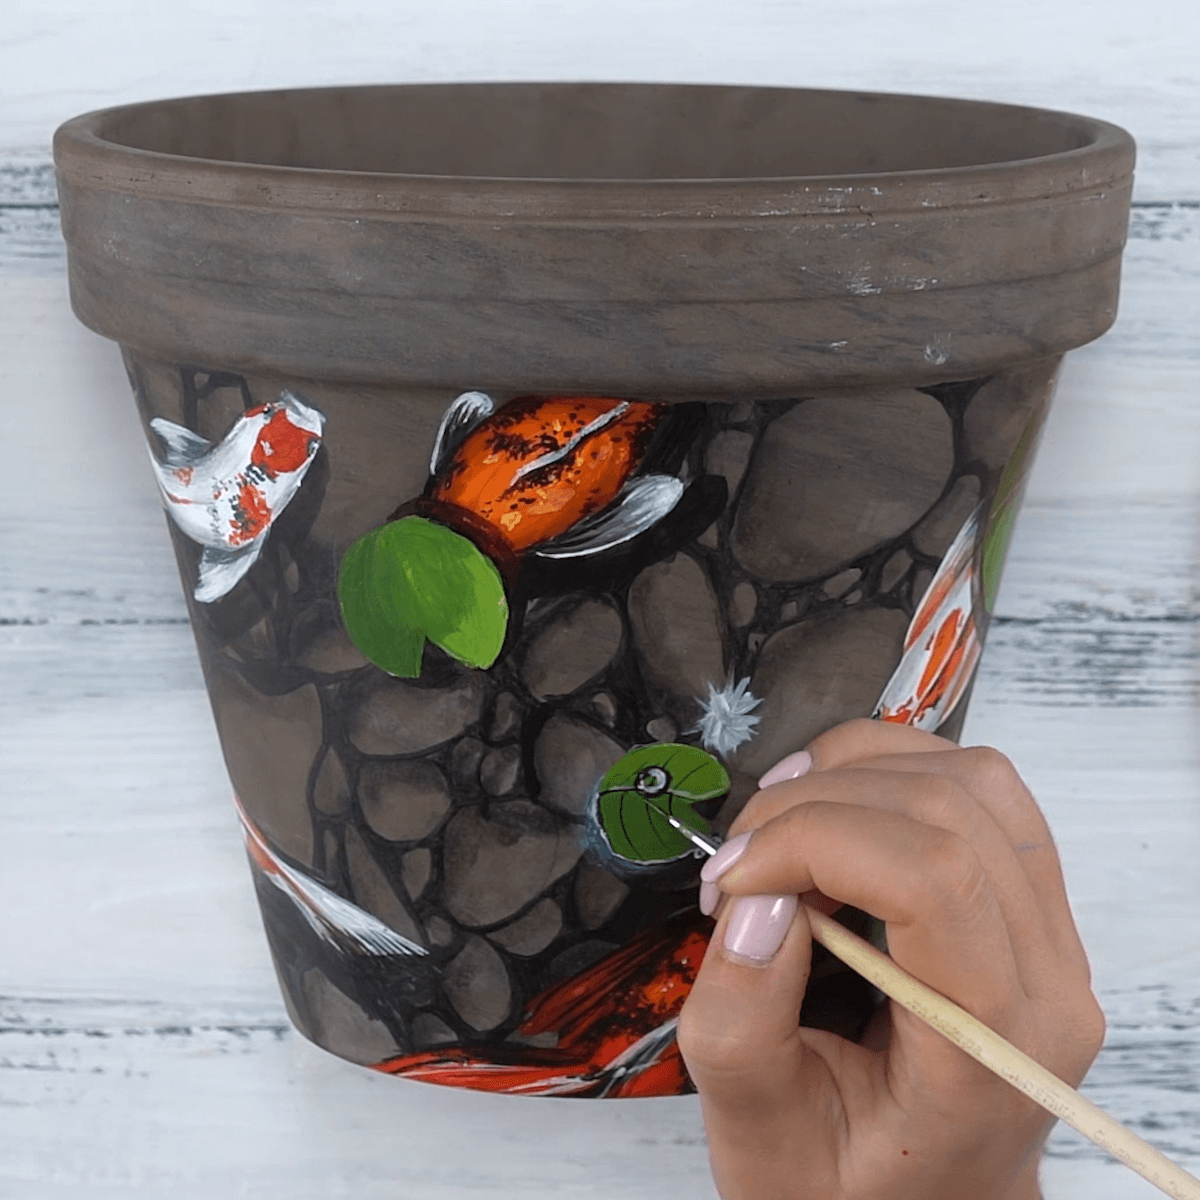
Step 9
It’s time to work on the lily pads, which will be light green on one half and a mixture of green and yellow on the other half. To show the gradual gradation of these two halves, she blends them together where they meet. To give the leaves a more solid appearance, it’s necessary to apply two layers.
Step 10
For the koi with black spots, the artist repeats the process, only first painting this fish orange and then putting black and yellow dots along the back and, again, gray for the fins. She paints the rest of the koi in the same manner.

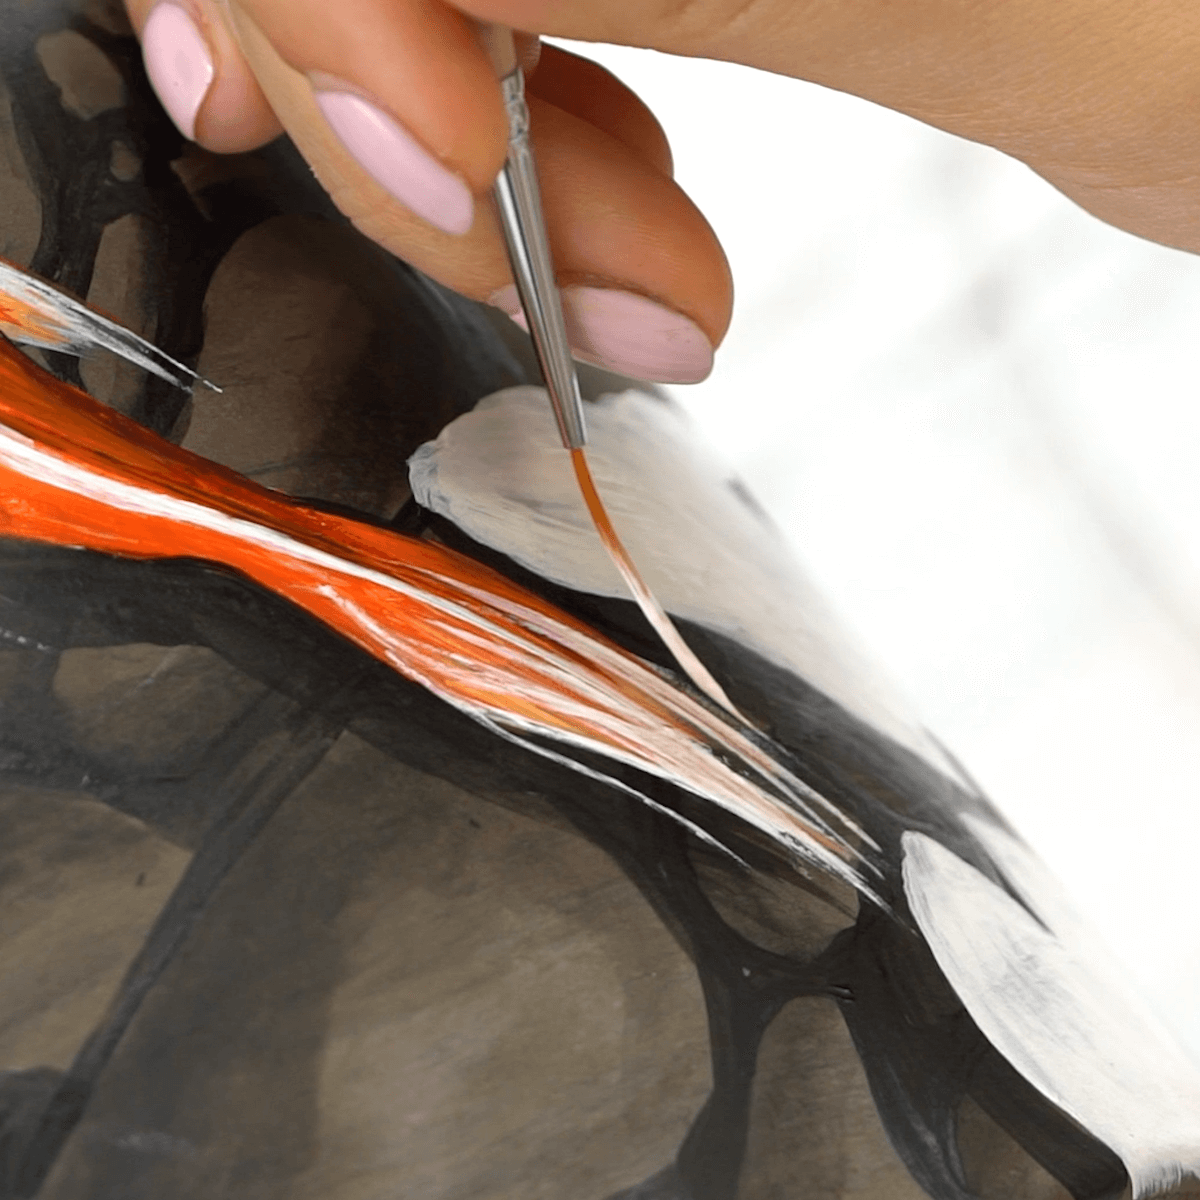
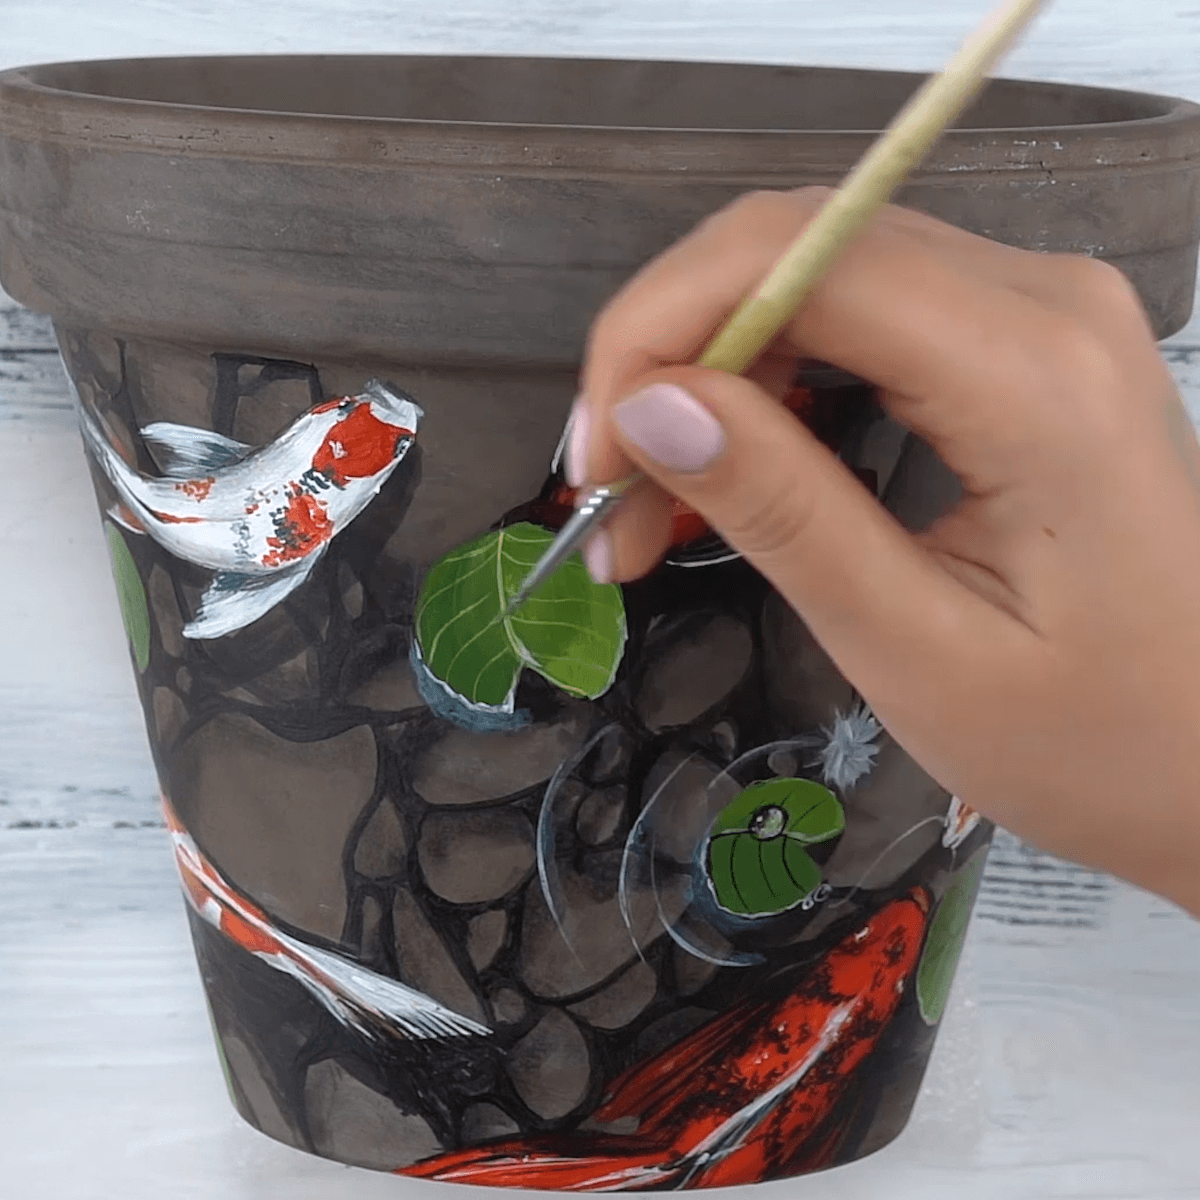
Step 11
Now that all the koi are painted, the artist begins placing the shadows of the lily pads on top of the fish. This gives the scene a realistic touch. To put the fine veining on the lily pads, the artist uses a very thin brush.
Step 12
In a real fish pond, there would be water droplets on some of the floating leaves. To achieve these drops, the artist first draws a circle in white paint and paints it with a mix of white and green. Once the drop is outlined in black and a dab of white for a highlight is added, the drop looks wet and transparent.
Step 13
To give the impression of the movement of the fish, the artist begins by highlighting one side of each lily pad with white, then blends it with the blue used for the water. Using a thin brush, she makes ripples on the water, blending them with blue paint. She purposely overlaps the fish with ripples, spreading them farther apart as they move away from each pad as actual ones would do as they swim underwater.
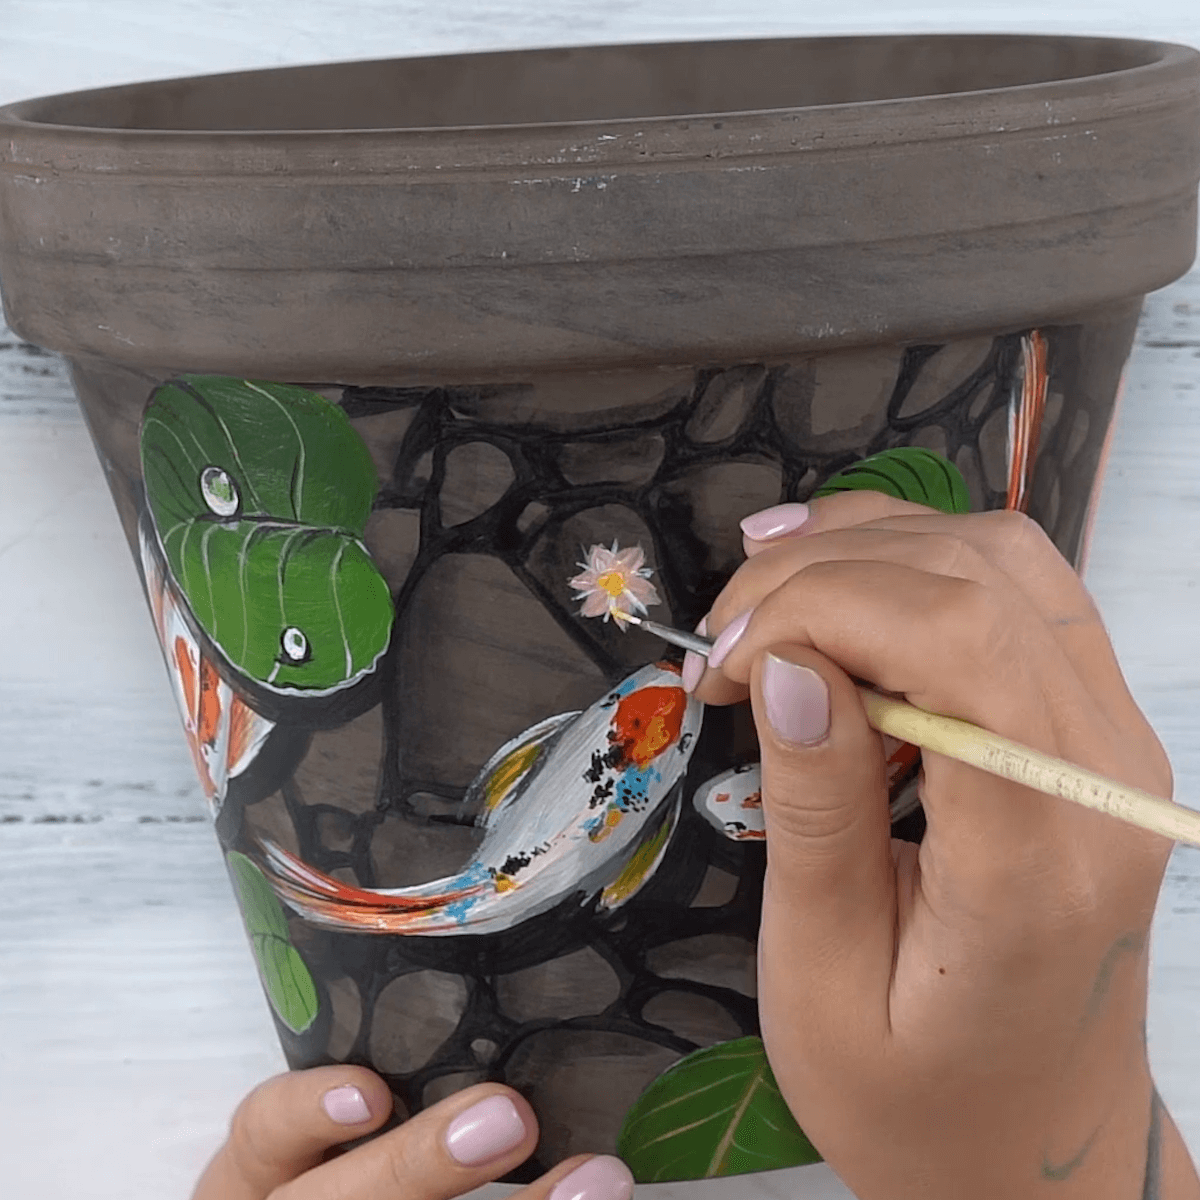
Step 14
The final touch is the addition of lilies in bloom above the leaves. To make these, she uses white for the petals, shading them with peach. Once again the black is brought out to give the flowers some shadows.
Congratulations! Your decorative fish flower pot is finished! Now, fill it with your favorite blooms and enjoy them all summer!
Recommendations
- It’s really handy to keep some koi reference pictures nearby. If you don’t have access to live koi to take photos of, try using images from magazines, books or the internet. Keep checking these references while you work to recreate the colors and patterns of the fish and to get ideas about fish you want to feature.
- Contrast is important when trying to replicate a realistic scene. It indicates where the light is hitting and gives the illusion of dimension. To do this, make the backs of the fish the brightest areas—because that is the place the light shines brightest—and darken its sides since very little light is there.
- It’s best to use a thin brush with long bristles for fins, tails, and barbels.
This fish pond scene is just one of many things you can paint on pots. It’s fun to take the colors of your existing plants, flowers, and outdoor fabrics (such as cushions and awnings), and match the colors and patterns on your pots to them. By using outdoor acrylic paint, whatever you choose to portray, you’ll have a piece of garden decor that will last for many seasons to come.
We hope you enjoyed this little tutorial. We’d love to know what you’re painting on garden pots.
Watch, learn, have fun as our artist shows the steps for creating the koi fish art flower pot.


