Want more great inspiration? Check out our other art camp tutorials!
- Art Camp Day 1 - How to Draw a Toucan in 7 Steps
- Art Camp Day 2 - Create a House Drawing & Paint with Gouache
- Art Camp Day 4 - Seashell Drawing Using Arteza Drawing Pencil Set
- Art Camp Day 5 - How to Draw Ice Cream with Colored Pencils
- Art Camp Day 6 - Learn to Make Polymer Clay Jewelry
- Art Camp Day 7 - The Key to Making Art with Alcohol Based Markers
- Art Camp Bonus Day - 7 Easy to Draw Pictures Kids Will Love!
Table of Contents:
- Painting with Acrylics Is Easier Than You Think
- List of Supplies
- Enjoy Arteza Acrylics
- Recommendations
Painting With Acrylics Is Easier Than You Think
If you’re looking for a medium that’s easy to control, offers brilliant colors and dries fast, then acrylic paint is your best choice. For beginning painters, there are no smelly or toxic solvents to worry about and it cleans up easily with just soap and water. For more advanced artists, acrylics provide the versatility and density to let your creativity flow. I love this paint because one day I might want to use really thin layers on paper, then the next day I may be more in the mood for thick impasto techniques on a wood panel. Acrylics allow me to do either and everything in between!
If you’ve never tried them, I encourage you to give them a go, which is why I’ve created this little video. This is a quick and simple way to get familiar with what they can do and you’ll end up with a cute painting for your wall or desk!
I’ve chosen a symbol of summer—the swimming pool—as the subject of my lesson. Using a bird’s eye view, it’s easy to draw, has some interesting angles and calls for bright colors. Plus, it’s just plain fun! I’m using the Arteza Acrylic Premium Set of 60, which is my favorite paint and this set gives me more than enough colors to work with. It has a creamy texture and highly saturated hues and I really like the way it pops off the surface.
List of Supplies
- Arteza Acrylic Premium Artist Paint, 22ml Tubes - Set of 60: A115 Rose, A102 Lemon Yellow, A101 Titanium White, A123 Cerulean Blue, A156 Yellow Green
- Arteza Canvas Panel
- Paintbrushes: Small, Medium, Large, Detail/Liner
- Palette
- Water
- Masking Tape
- Scissors
- Hairdryer
Enjoy Arteza Acrylics
One of the things that makes this acrylic painting so simple is that no sketching or drawing with a pencil beforehand is necessary. I’m going to use masking tape to create the edges of my pool, so I can fully enjoy just painting. This is a very simple technique that you can use for so many other creative art ideas. So relax and let’s dive right in!
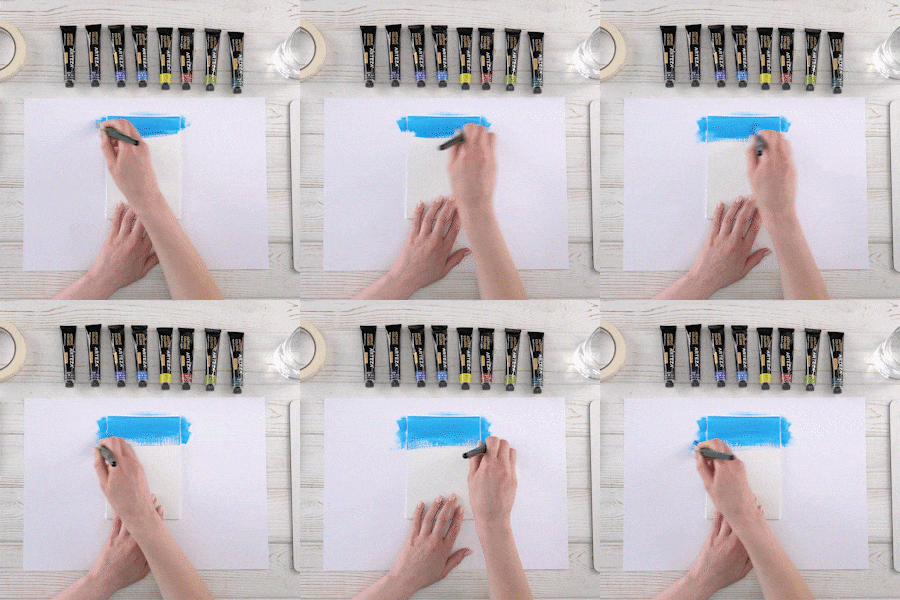
Step 1. Paint the water
The first thing I like to do is lay out all the supplies I need. By doing this I can really get into the flow without having to stop and search for the right colors or brushes. I suggest you develop the same habit and I promise it will make your painting experience more enjoyable.
I squeeze out Cerulean Blue, Yellow Green and Titanium White on my palette. I mix together the Cerulean Blue with some Titanium White and paint over half of the canvas. To this mixture, I add a bit of Yellow Green and continue to cover the rest of the canvas. Now, I want to make a gradient between these two colors, so I make sharp horizontal strokes to blend them, creating a subtle new shade.
TIP: To help you feel uninhibited and free to make big, broad strokes be sure to lay a sheet of paper or a drop cloth under your canvas. This way you don’t have to worry about your table getting paint on it.
I hasten the drying process by using my hairdryer. The painting must be completely dry before I proceed.
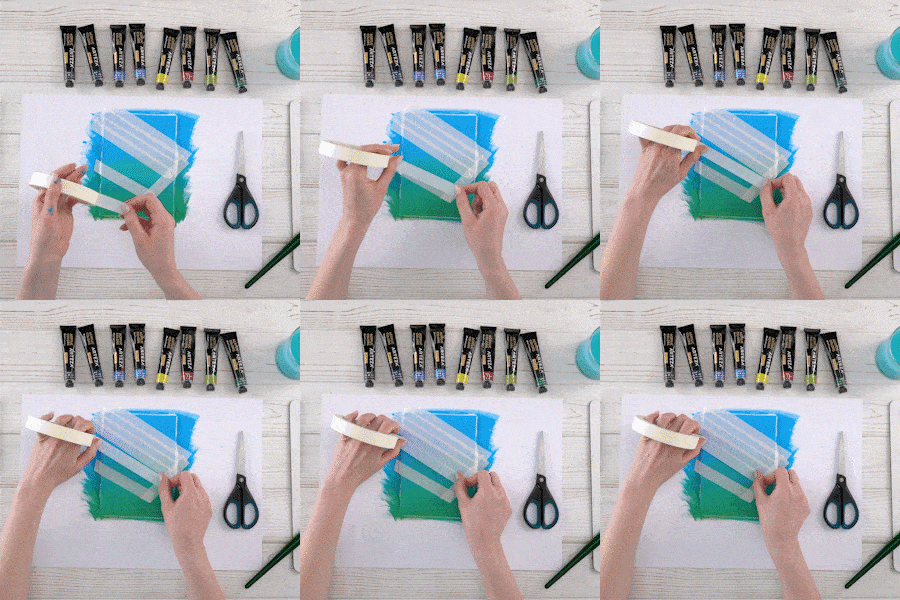
Step 2. Paint the pool deck
Before beginning to work on the pool’s deck, I place a dollop of Rose on the palette and mix it with Titanium White. Using the masking tape, I cover the center part of the canvas. I start from the outside and place the tape at an angle. Then I cut strips of masking tape to cover the entire area inside the tape.
TIP: It’s important to use tape with a low adhesive that’s removable. I will be lifting this tape off and I don’t want it to take off any paint or tear or damage the surface below it.
Next, I cover the entire canvas with a large flat brush in the pink hue I’ve mixed. For the look of a tiled edge, I use a medium-sized brush with just the white to place short strokes along the edges of the tape.
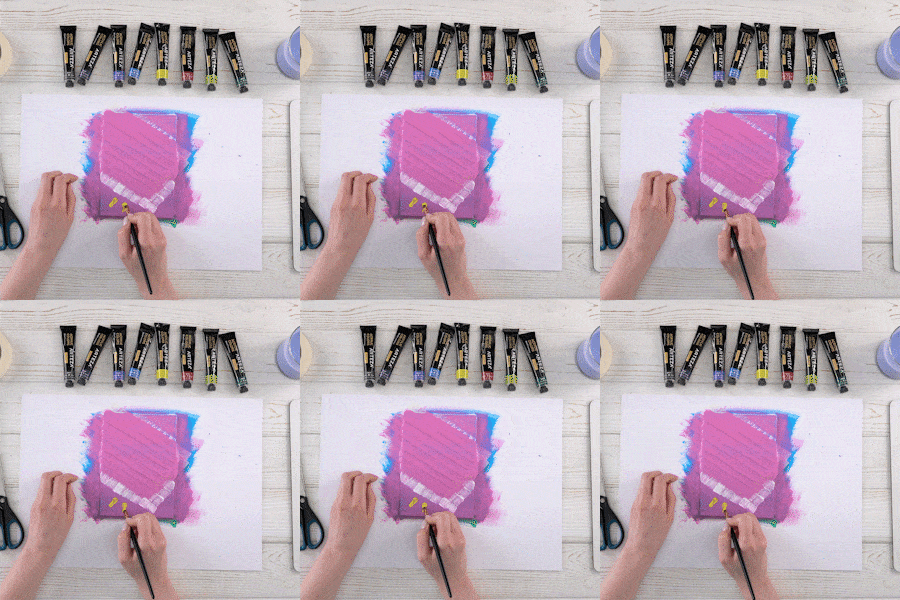
Step 3. Add pool accessories
It wouldn’t resemble a real pool if it didn’t have some sandals that look like they’ve been kicked off to swim, as well as an inner tube floating on the water. To make these, I put Lemon Yellow on the palette and with my small brush, I draw a tiny pair of flip-flops in the foreground. Now it’s time to remove the tape and reveal the crystal blue water of the pool!
With Cerulean Blue I add a strip of darkness to the right edge to give the pool a shadow. This gives it some dimensionality. Then, I draw the rubber float using the small brush, in Lemon Yellow, so it looks as if it’s sitting on top of the water. To make it look more three-dimensional, I take a little more Cerulean Blue and place a shadow under the front of it.
All pools have stairs to help you get in and out. I add some to the right side of this one by using a touch of white with my fine detail brush. They’re simply thin lines that curve up and over the edge of the pool. I use this same brush to add the reflections of the ripples in the water as well as to fine-tune the tiles. To finish up, I place some little shadows under the flip-flops.
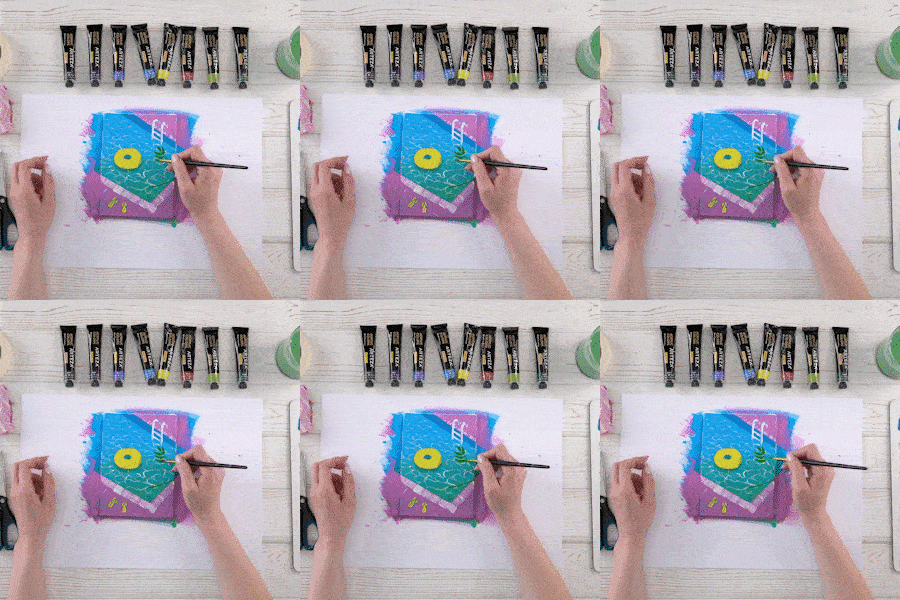
Step 4. Plugin some plants
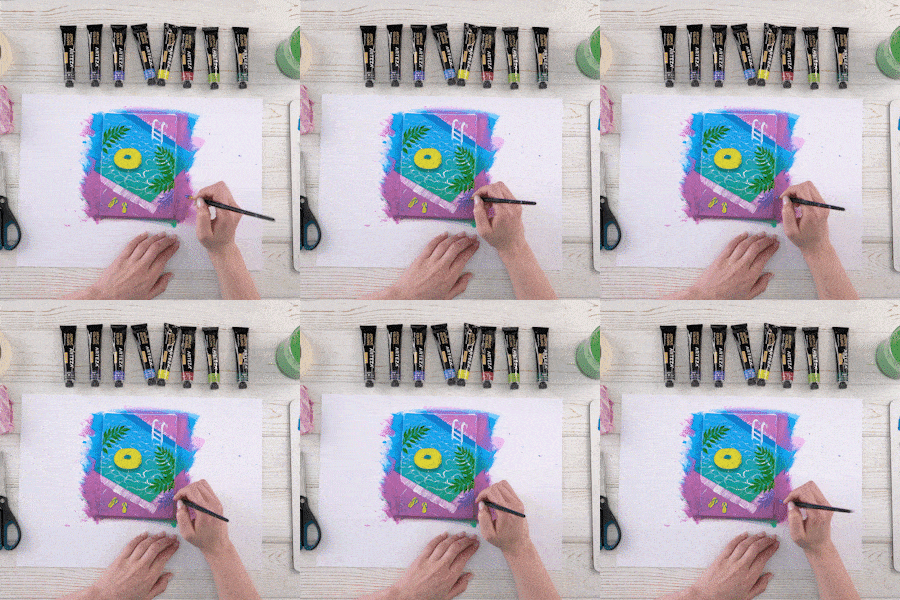
The angle of the pool suggests that the viewer is looking at it from above. To reinforce this perspective, I’m going to add some palm fronds that are hanging over the pool. This will also give it a tropical vibe. I squeeze out some Phthalo Green and mix it with Yellow Green. With one of the smaller brushes, I draw the leaves in the vacant spaces on the right and the left, drawing the stem first, then each blade. I blend together some Rose and Cerulean Blue and use this purple shade to paint in some shadows under the fronds.
Step 5. Finishing touches
To complete this work, I refine some of the details, such as the shadowing under the float and adding highlights to it with dabs of white.
Ahh, I feel like it’s time to take a dip! How about you? This is such a fun painting and I hope it’s shown you that painting with acrylics is a lot easier than you thought.
Recommendations
- This painting uses a lot of different mixtures of paint colors. I have learned from past experience that it’s best when creating a new color, to start with a good amount of paint so that you end up with plenty to work with. It can be difficult to mix the exact same shade again if you run out of paint.
- Before using the masking tape, make sure to let the paint dry well or the tape will lift the paint off when you remove it. It will look bad as well as be hard to fix.
- My rule for which brush to use is to always use the largest brush for large areas and work down from there, which is a medium brush for medium areas and a small one for smaller spaces. It can be frustrating and time-consuming to use a tiny brush to cover large to medium areas.
In this mini-lesson, you’ve learned a little about color mixing, perspective and choosing the best brush for the job. I hope this has piqued your interest in acrylics and that you’ll keep going. Once I discovered them, acrylics became my medium of choice and I’ve never regretted it. I don’t think you will either. Just keep trying and keep creating!
I look forward to hearing from you and how it’s going in the comments section below.


2 comments
It’s always a pleasure to help a fellow artist!
Thank you for a great lesson! So much fun, I really liked the techniques and using only a few colors.