
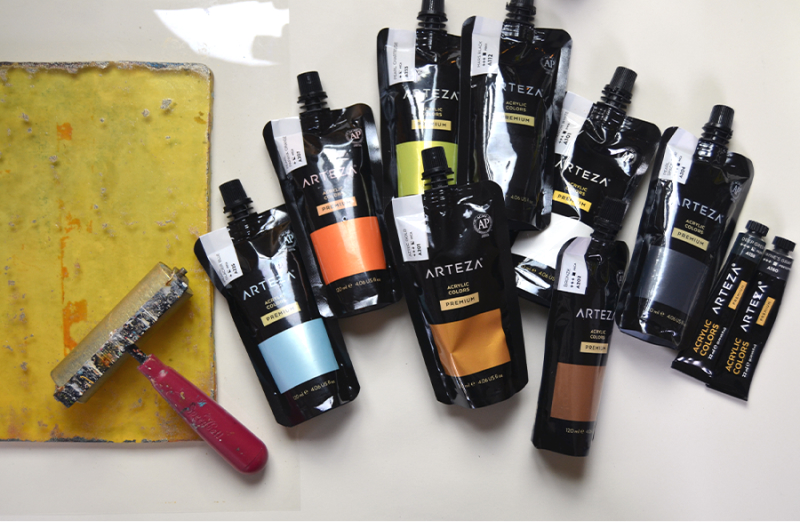
List of supplies:
- Gelli Plate
- Arteza Acrylic Paint - Titanium White, Mars Black, Aztec Gold, Pearl Glacier Blue
- Paper
- Brayer
- Tissue Paper
Background 1 - Two-Tone Paint
Step 1

Beginning with a clean Gelli plate, place two colors. In this case, I used white at the top and black at the bottom.
You’ll notice that I have some old paint on the plate. I have left this, as it will begin some of the mark-making and build-up that is characteristic of my prints . This gives an old-world texture and look to the images from the beginning. The amount of paint that builds on the plate helps determine the character of the print.
Step 2

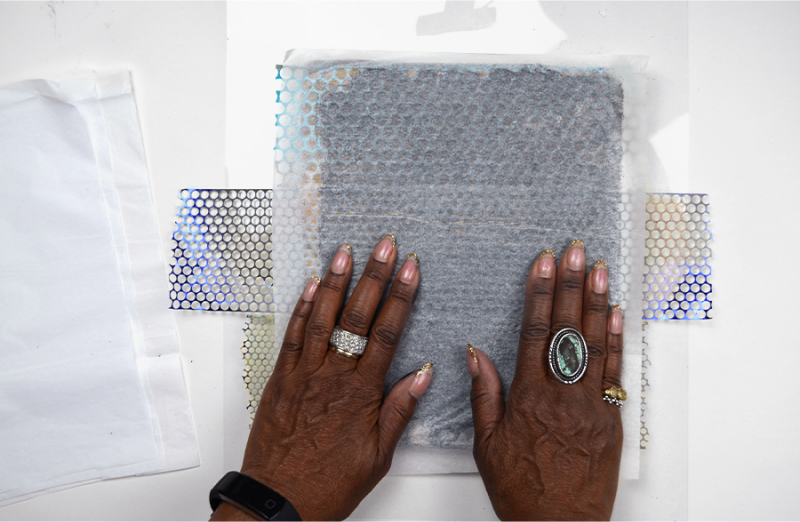
Use a brayer to spread the color evenly, then lay the paper down, rubbing gently. Pull the paper from the plate to see the image that’s been made.
Step 3
The resulting image from pulling the white and black paint from the plate. Notice that there are a lot of pit marks with missing paint, that’s the antiquing and old print quality that I love.
Additionally I purposely loosely brayer the plate to create the patchy incomplete look. This adds to the “old” quality and will create lots of variation, as we are creating these prints to be used as backgrounds for our collage.
Background 2 - Using Stencils
Step 1
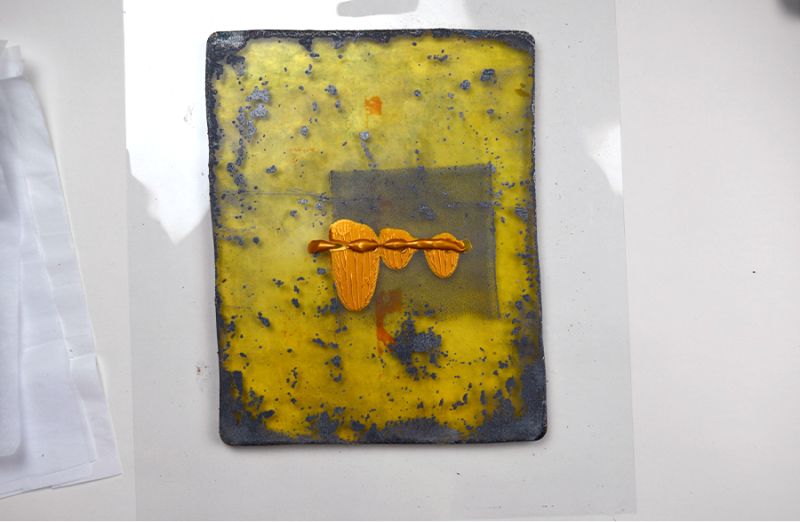
Here, I’ve added Aztec Gold to a plate that has even more texture built up from previous pulls.
Step 2
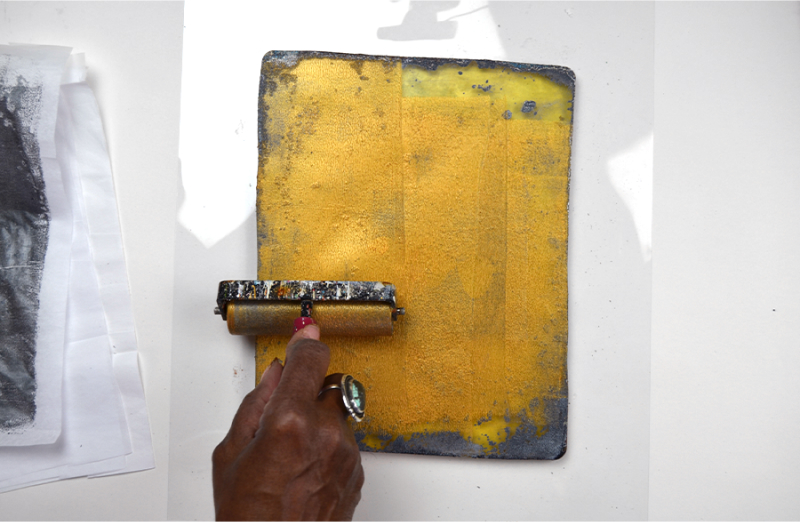
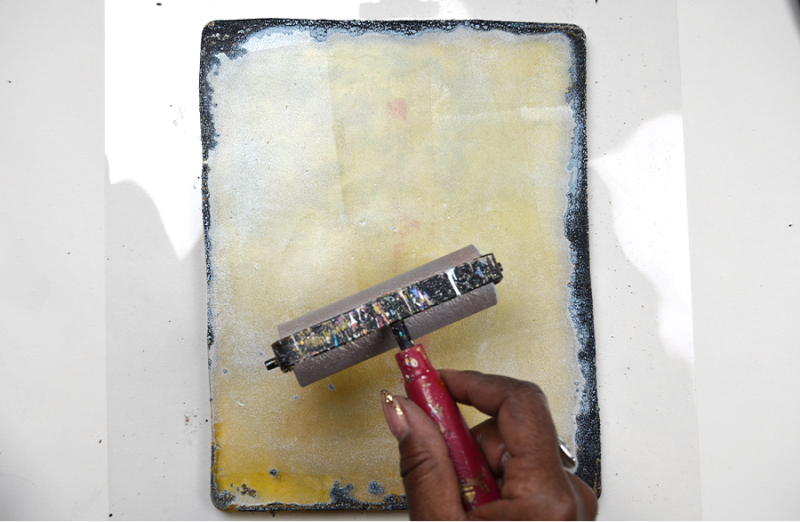
I use the brayer to apply the gold paint over the entire plate, getting an uneven coverage on the paint. The idea here is not to have too much nor too little paint on the plate. Practicing and a little patience will help you get the correct amount.
Step 3
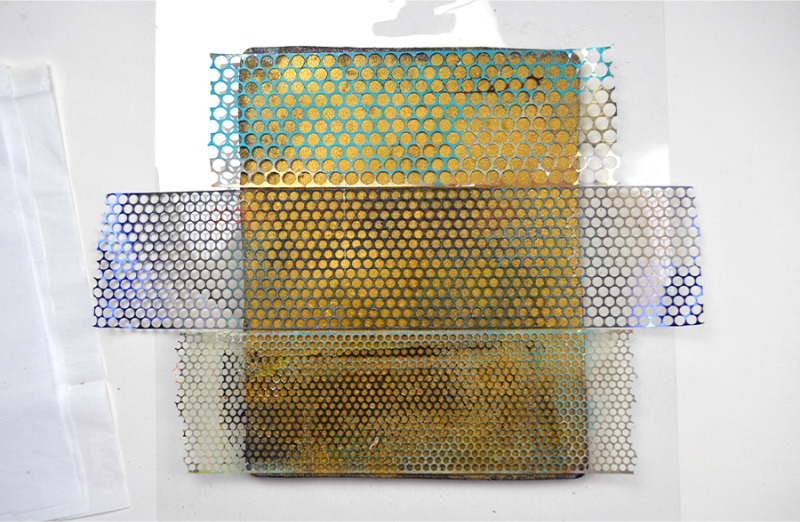
In this example, I’m showing how you can use your favorite stencil to pull extra sheets to use in the collage. In this case, I’m using a punchinello ribbon. I have three different hole sizes for variation.
Step 4
I lay another piece of paper down that I previously pulled with a black background. The resulting image will be layered to add interest to the print.
Step 5
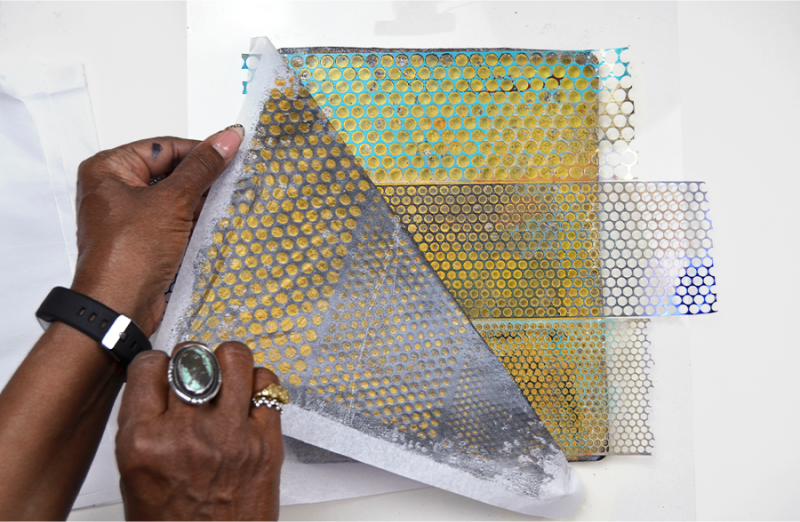
Here’s the image with the various hole sizes. Charcoal metallic with the Aztec Gold on top is a beautiful background—ideal for collaging.
Background 3 - Magazine Images for Photo Transfers
Step 1
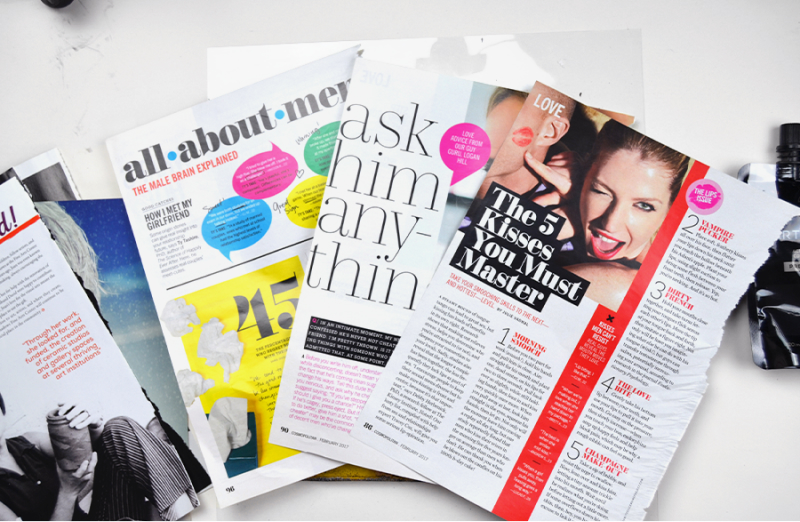
Here, I’m using random pages from magazines. You’ll need to sample various publications— some work better than others. Some suggestions are fashion, home interior, and cooking magazines. The best images I find come from glossy photo-quality pages. Also, the increased contrast from black to white really seems to help the final print. Notice that I’ve selected pages for the text. Look for word groupings or font styles that you like, as these will further add to your collage elements.
Step 2
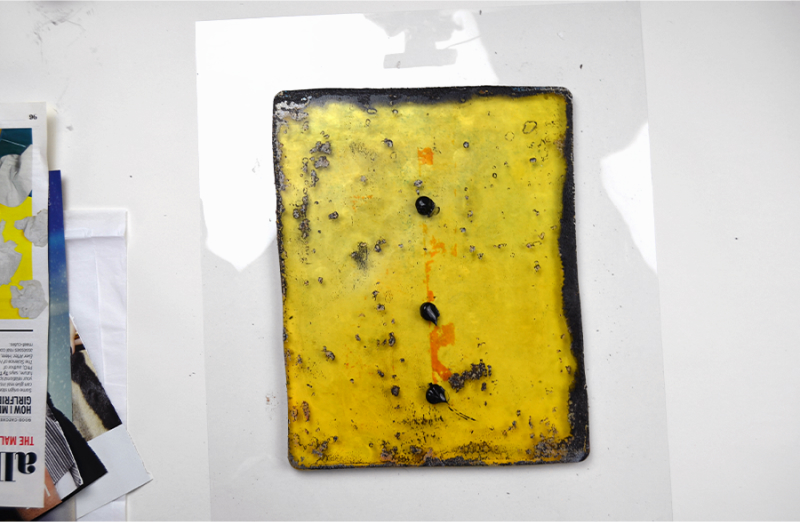
Apply Mars Black Arteza acrylic. Here again, notice a lot of the small buildup on the plate that is really going to become valuable as we pull these next prints. I really like that sort of old topography look when I pull these images, because I’m using other people‘s photographs and text and I really want to alter it to be used in my work.
My goal is to pull an imperfect print, which has its advantages when coming to this process for the first time—no need to stress out about getting it perfect! With time and practice, you’ll be able to pull a perfect print but in this demonstration, I’m focusing on creating background “old world” prints to use in our final collage.
Step 3

Once again create an even layer of paint. You don’t want it too thick because the image may slide on the Gelli plate and won’t transfer. The goal is for the carbon in the image’s ink to stick to the paint on the plate. It should stick to the areas where the dense black ink is on the magazine page, and leave blank the white areas or where there is no image. Here again: not too thin, not too thick.
This is where it’s going take a little patience to play around with the thickness until you’re able to pull a print that will transfer the image. Be patient and willing to play a bit. Using the tissue paper is extremely economical allowing you to print until you get the correct amount of paint and images that you’ll enjoy using!
Step 4
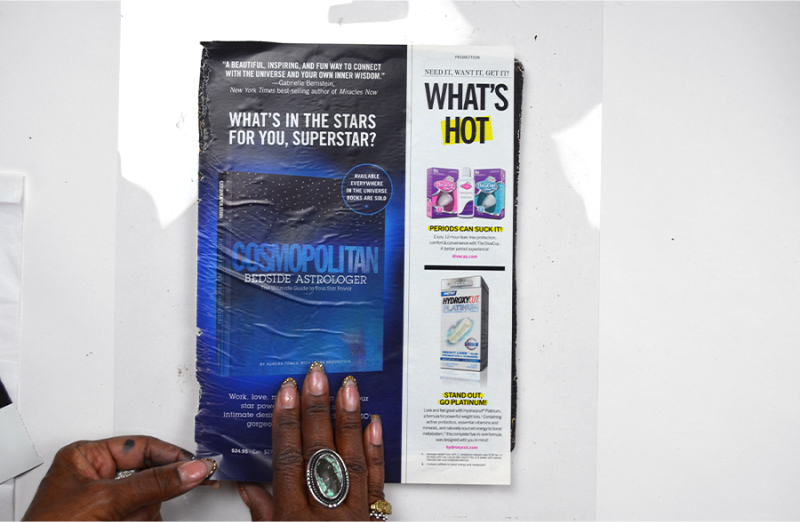
I’ve laid the magazine page image side down, making sure it adheres nicely to the plate. I rub and flatten gently before pulling the magazine page from the plate.
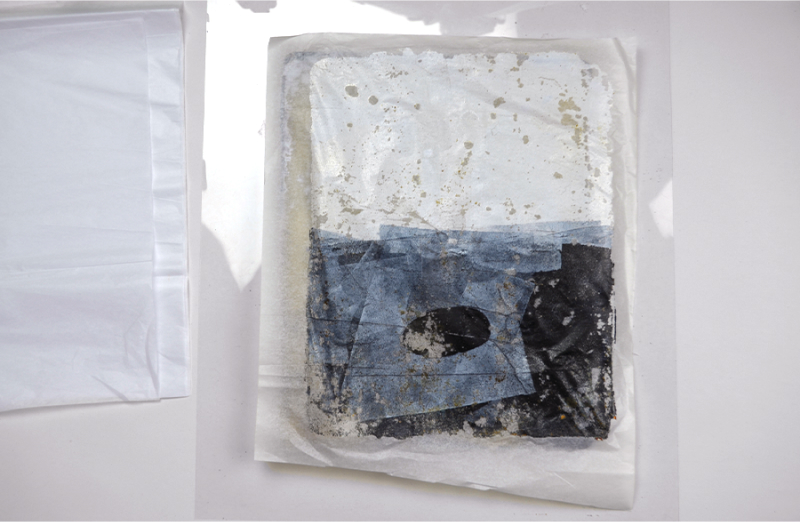
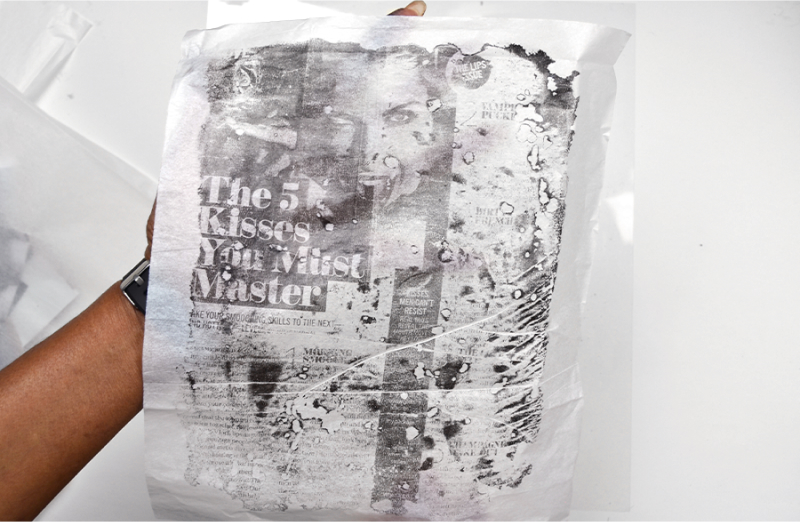
Step 5
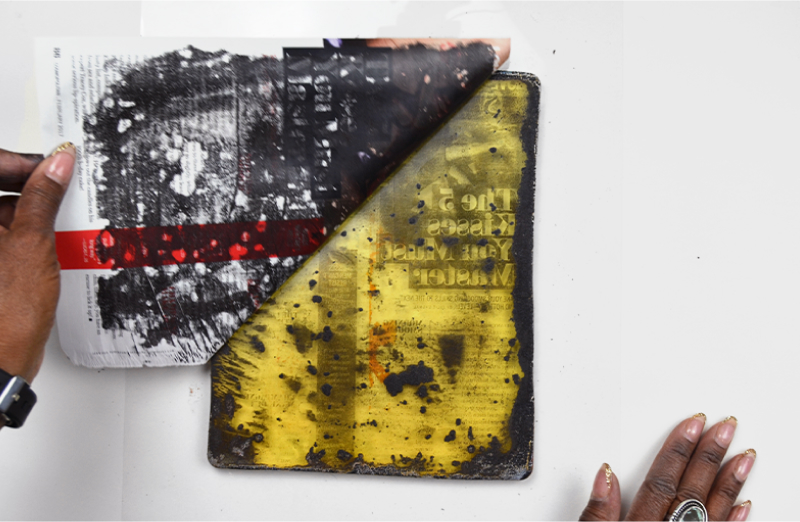
Lifting the page, you can see what’s left behind of the high-contrast black and white. The text is nicely defined. I love the black pit marks from the plate.
Step 6
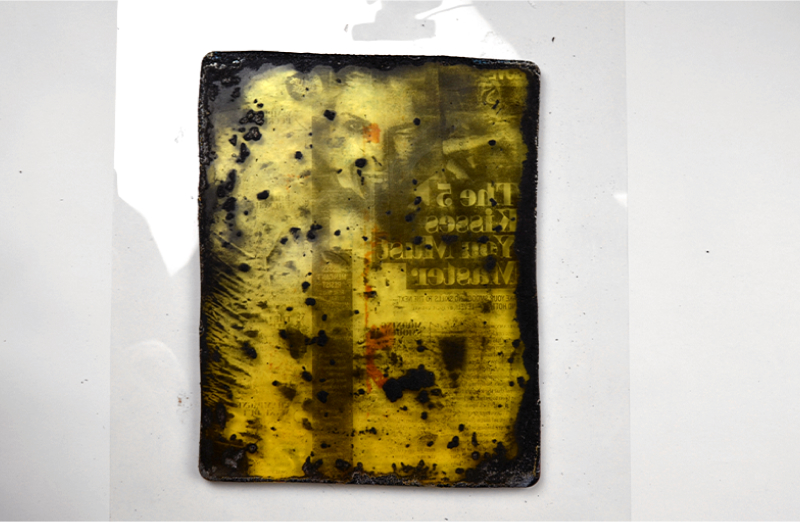
This is how the plate with the image looks before we lay the tissue paper down to pull the print.
Step 7
The final image from the plate has lots of texture. If you don’t want the texture, make sure you work with a completely clean plate. It’s just that easy! I’m known for creating these incredibly rich textures on the Gelli plate, and for creating a found “textural materials” quality to my work. Also, this style of printing will help you with not being too concerned with perfection, and will allow you to have fun with your artwork.
Step 8
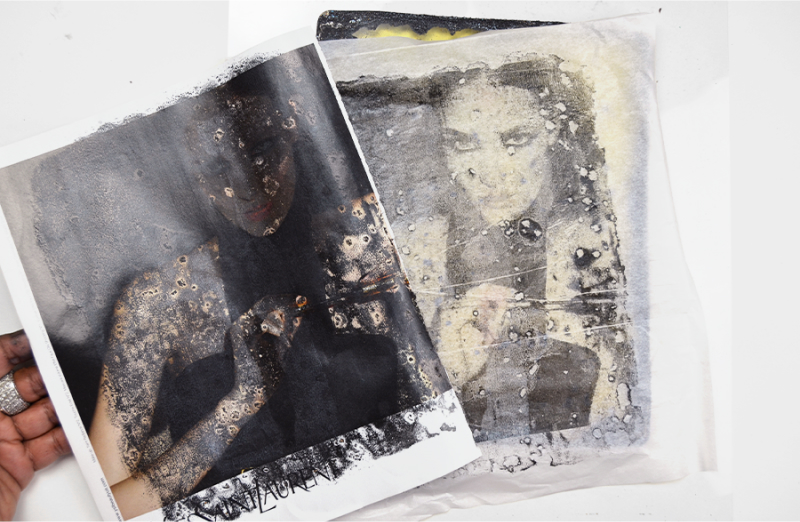
Here are other examples of the image from the magazine and the final pull. Again, just a beautiful etheric version of the magazine.
TIP: Cleaning the Plate Between Processes
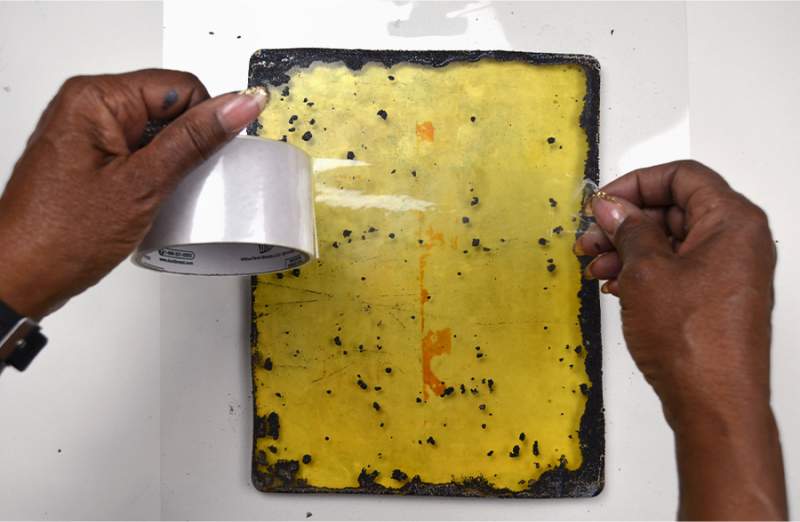
Here’s a quick way to clean the plate while you’re printing if you begin to get more build-up than you like. Lay down and pull up strips of packing tape to the paint in the places you’d like to remove. You can clean the entire plate this way as well.
Background 4 - Glazing Photocopies
Step 1
One of the things I also love to do on my Gelli plate is to use photocopies of images that I may find in old books from my collections. I then “glaze” the copies (a term I use for this technique). In this case, we’re going to use the Pearl Glacier Blue. It creates such a beautiful metallic layer on a common black-and-white photocopy!
Step 2
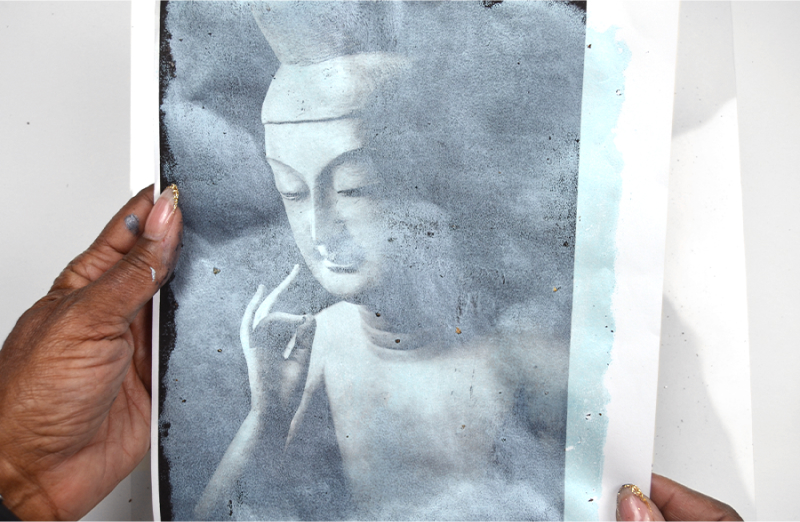
I’ve laid the black-and-white photo down onto Glacier Blue and pulled it. Notice the transformation of the image.
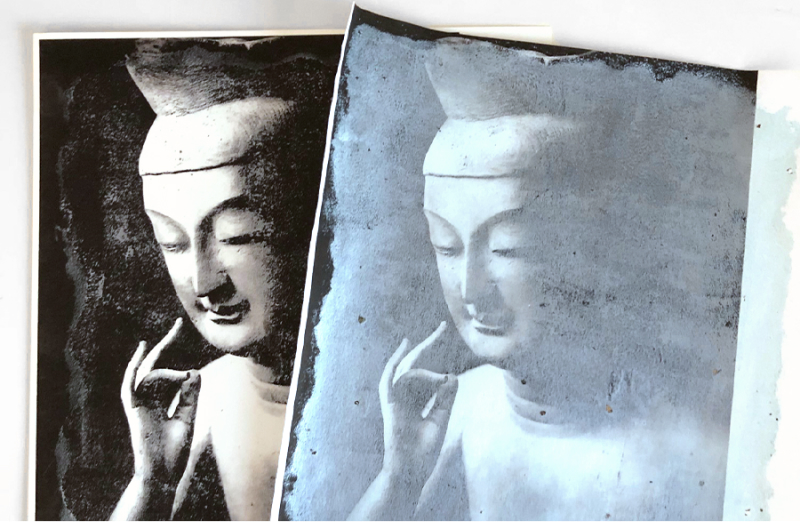
Here is a dramatic comparison of the original black-and-white image and the glazed photocopy.
Intuitive Collage
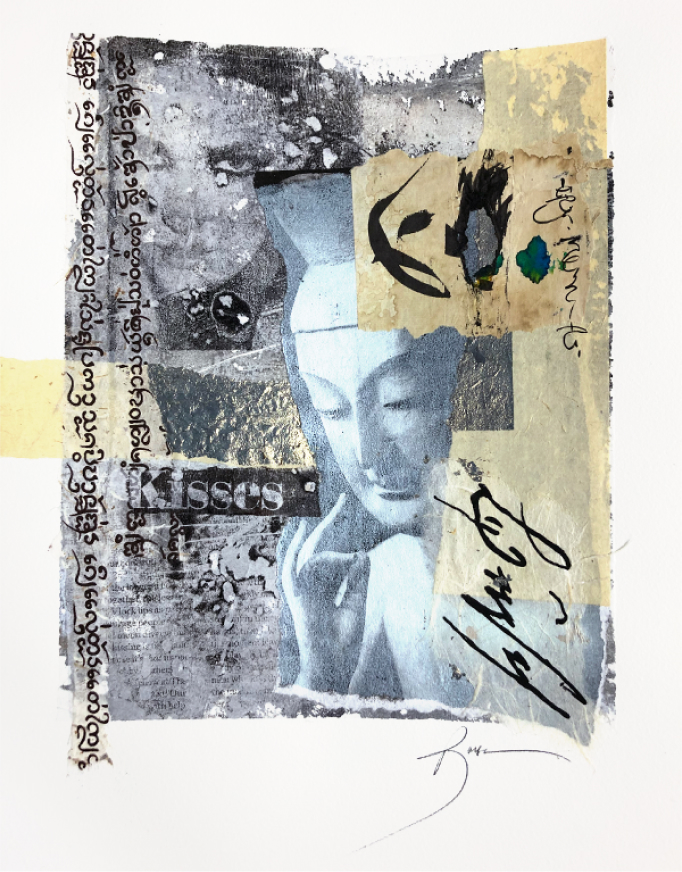
Here is the final artwork, using the elements that were demonstrated here along with collage techniques.


14 comments
Wow you are so amazing! You mentioned during pass the brush that you might have some of your script/calligraphy styles turned into stamps…any word on that? and if so where would they be available? Inquiring minds….
Oh wow that is amazing! I just recently discovered the gelli plate and found you on IG today, your work is amazing I’ll definitely be keeping my eye on your techniques. Thank you
We’re lucky to have such beautifully creative minds like you and Robin as part of the Arteza family. Thank you so much for bringing us along for the journey!
I’m a follower of Robin. I love her technique and she’s my inspiration for most of the products I have gotten from arteza. Love every one of them.
It’s an absolute honor to be able to help spark your creative drive once again! We can’t wait to see how you bring your imagination to life with this technique.