
Let’s face it, this year has been a struggle and I don’t know about you, but my brain could use a rest. That’s why I created this little brain drawing that shows my brain relaxing on a unicorn float. It’s a cute cartoon you can share with your friends and relatives and they’ll know exactly what you mean!
Little drawings like this are the perfect thing to do in a sketchbook. For this, I used the Arteza spiral-bound sketchbook because it allows me to flip back the cover and have a flat surface on which to draw. It also works great with my set of TwiMarkers, as the paper is heavy enough so that the marks don’t bleed through. TwiMarkers have dual tips that let me make bold strokes of color by using the wide tip and small details with the fine tip on the opposite end. They are really versatile and fun to use!
Let’s get started!
List of Supplies
- Arteza Sketch TwiMarkers
- Arteza Sketchbook
- HB Pencil
Here’s How to Draw a Brain
If you’re looking for a quick way to draw a brain for kids, this is the drawing for you! The best way to start is to break down your image into basic shapes and then refine them. It’s also good to use an HB pencil, as this pencil has a hard lead that will make light lines. Once you’ve sketched your brain drawing, you can go over it with the markers without worrying that your lines will show through.
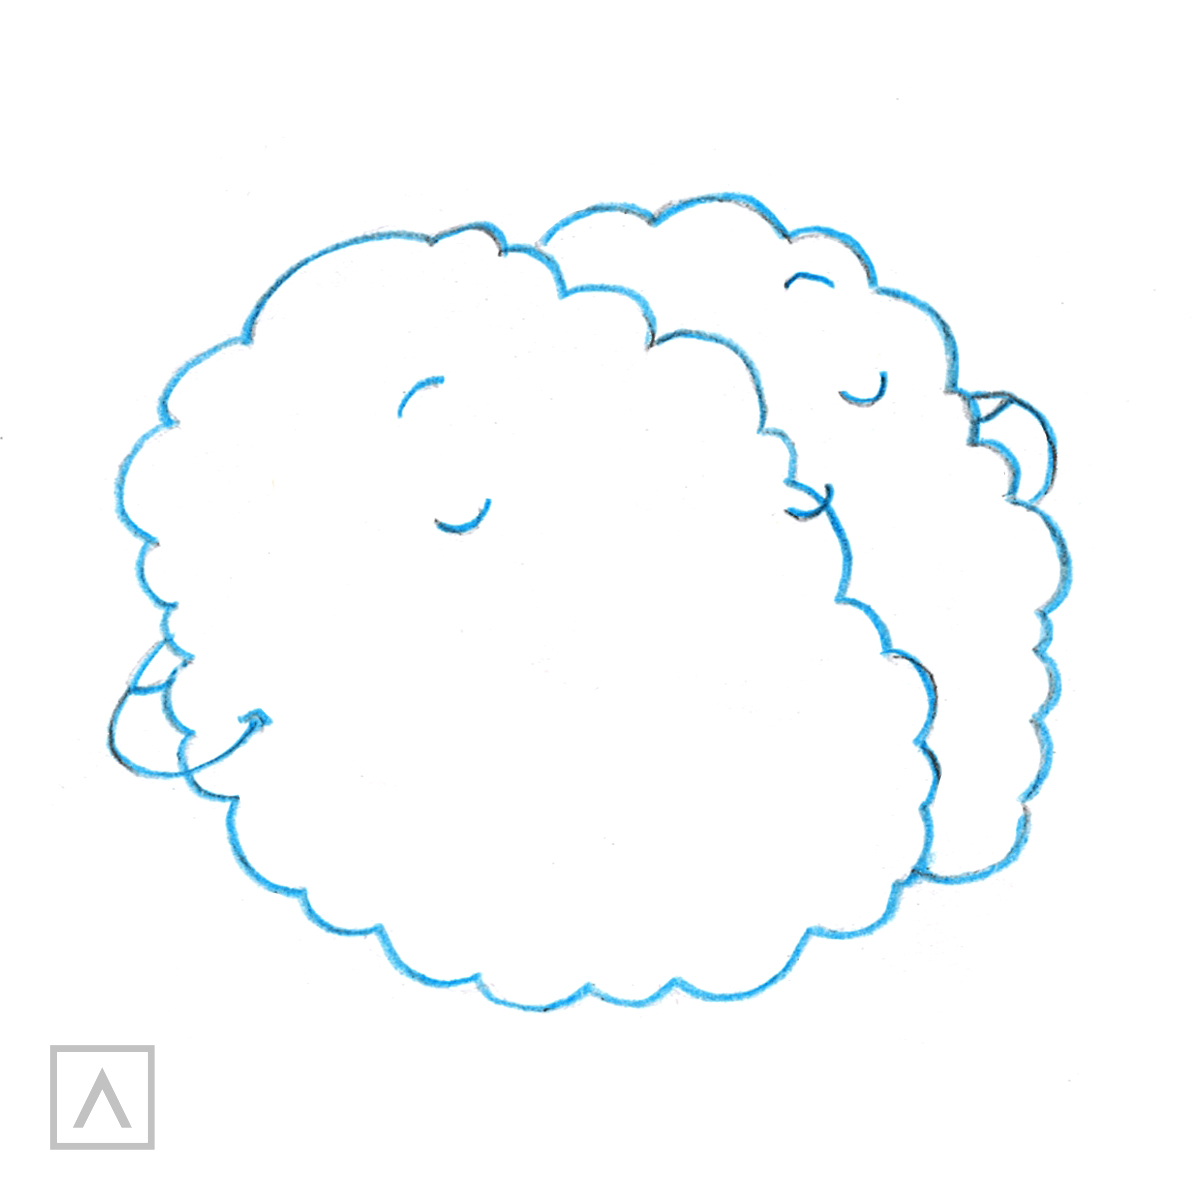
Step 1
The brain has two sides or lobes. First, I draw a larger one in an oval shape with curved lines to represent the convolutions of the brain. Next, I add a half-oval to the right side for a partial view of the second lobe.
Then, I add some small eyes, eyebrows, and little arms to each side and a tiny line for the nose that spans both sides. I also add a couple of tiny legs that will be hanging outside the float.
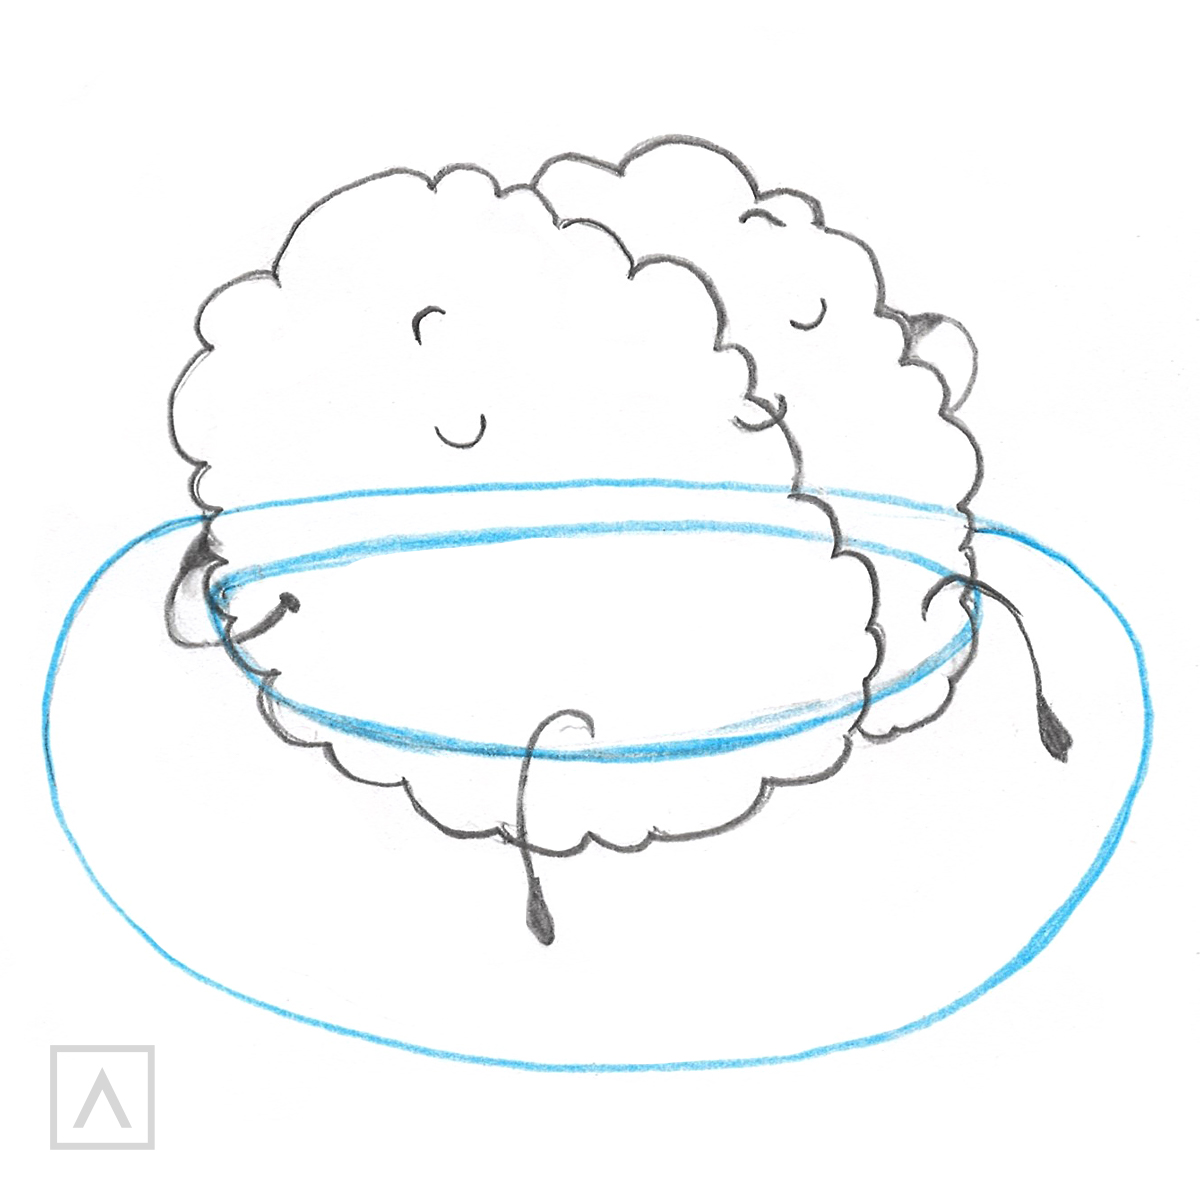
Step 2
To draw the float, I start by sketching an elliptical shape that goes across the middle and lower parts of the brain. This will be where the brain is sitting in the float and holds its shape. I add another larger ellipse that incorporates the smaller one and goes beyond the brain. This represents the side of the float.
Now, I erase the upper lines of the ellipses so that the brain shows. Then I erase the lower part of the brain, so it looks as though it is sitting in the float.
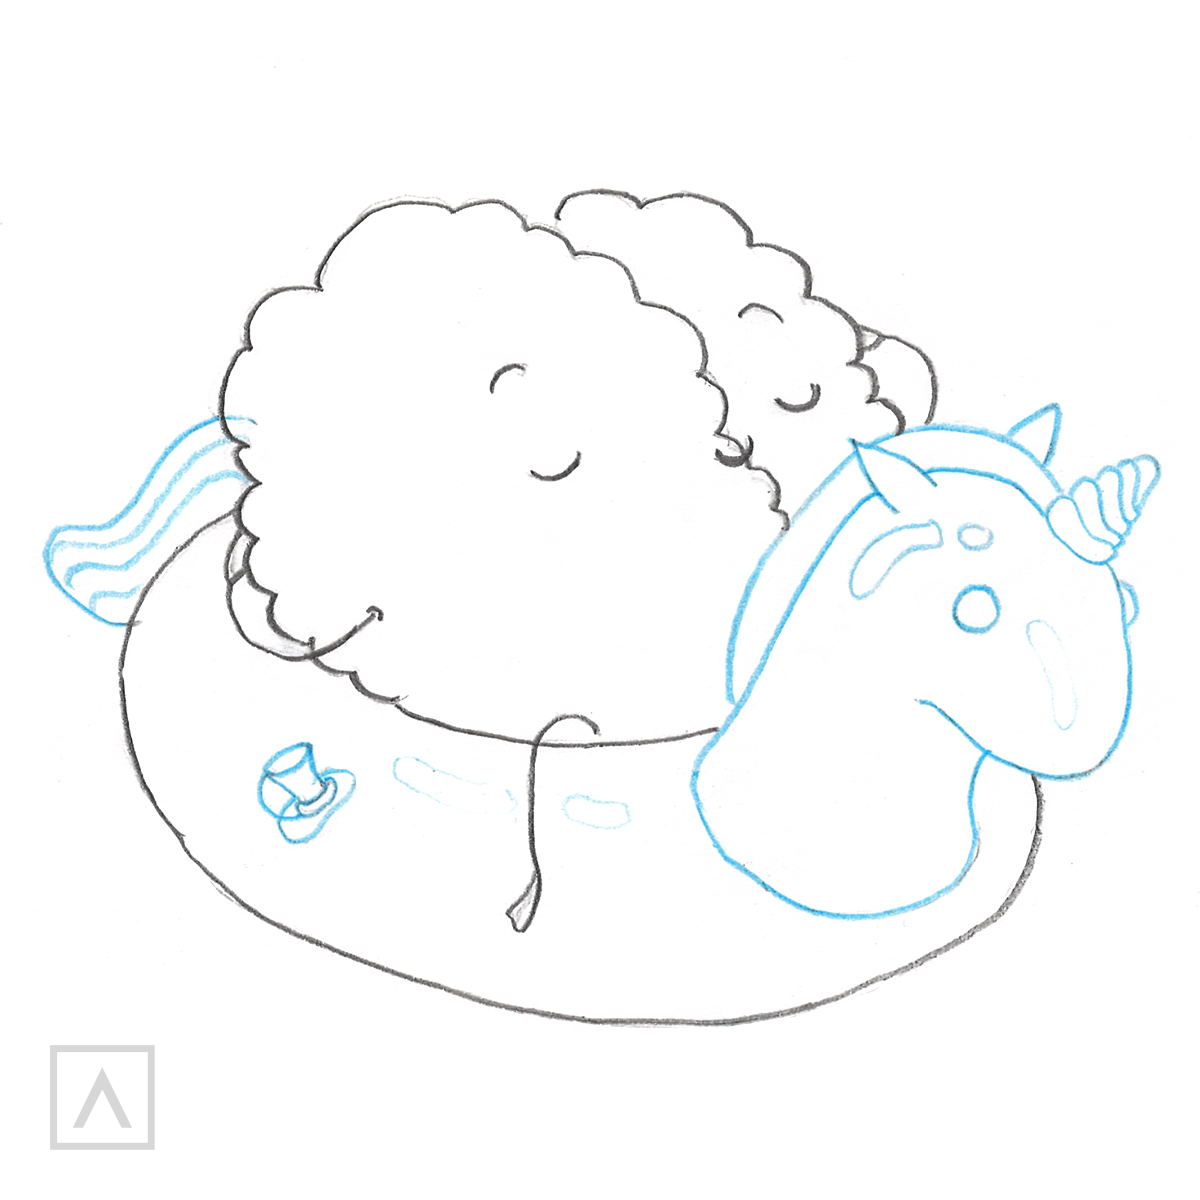
Step 3
Now that the brain is finished, I draw the details of the float. I’ve decided to make this a unicorn float, so I draw in the head and add its ears, mane, horn, and eyes. To make it look like a plastic float, I draw a few small areas that I will leave blank that will look like reflections. I also add the air valve on the side of the float and a tail in the back of the brain.
This brain is starting to look relaxed!
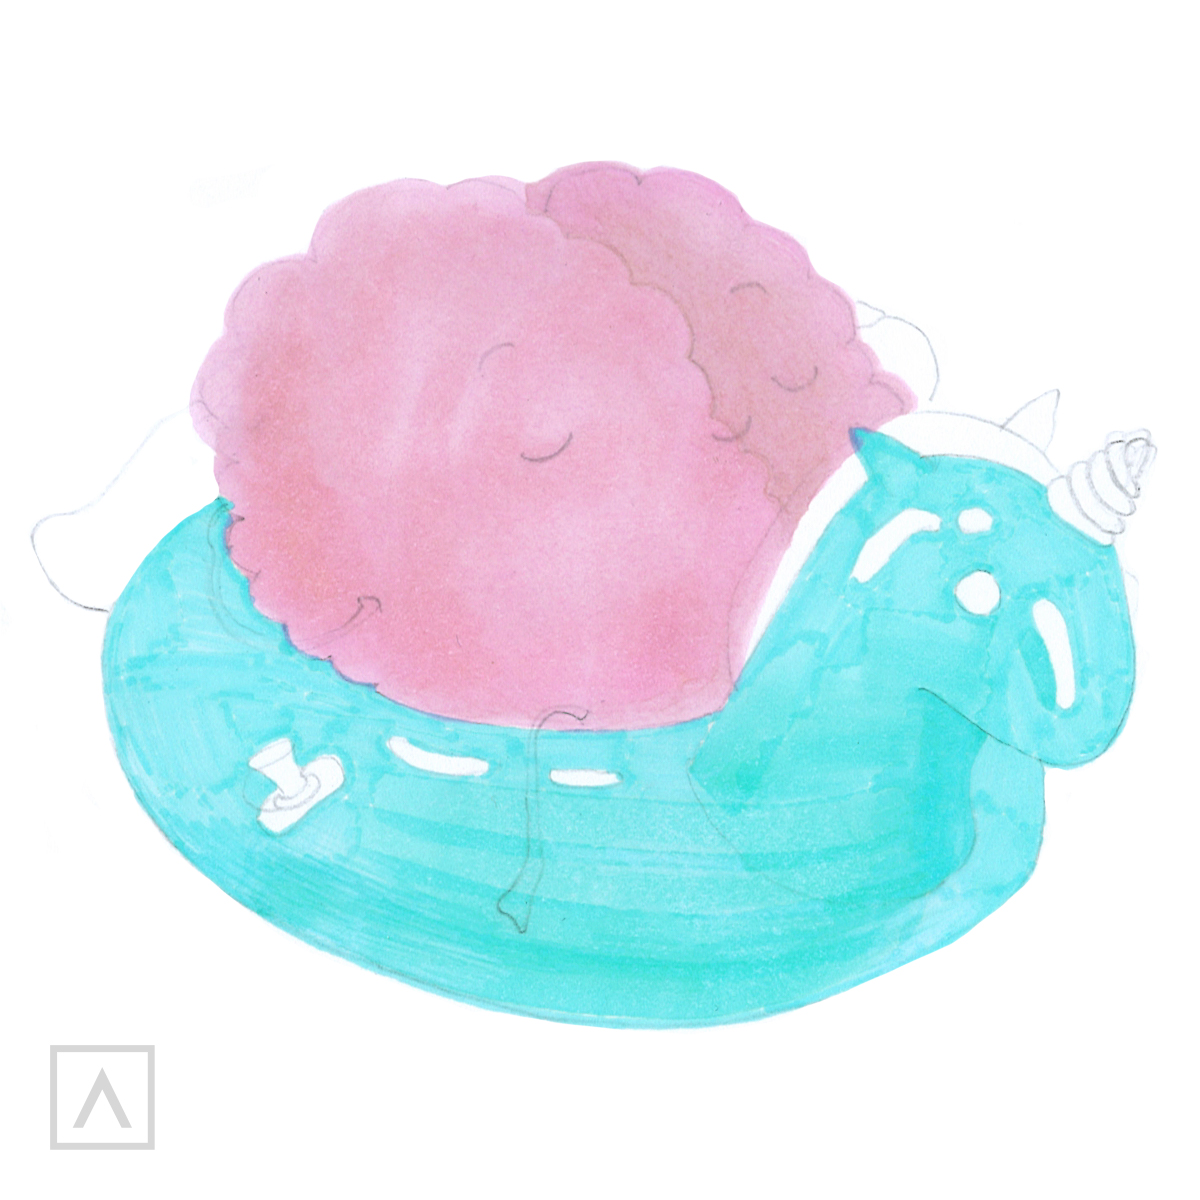
Step 4
Now it’s time to add color! I use A224 to color the entire brain. For the float, I use A245 and color it in being careful not to fill in the areas for the reflections, the mane, the horn, eyes, air valve, and tail.
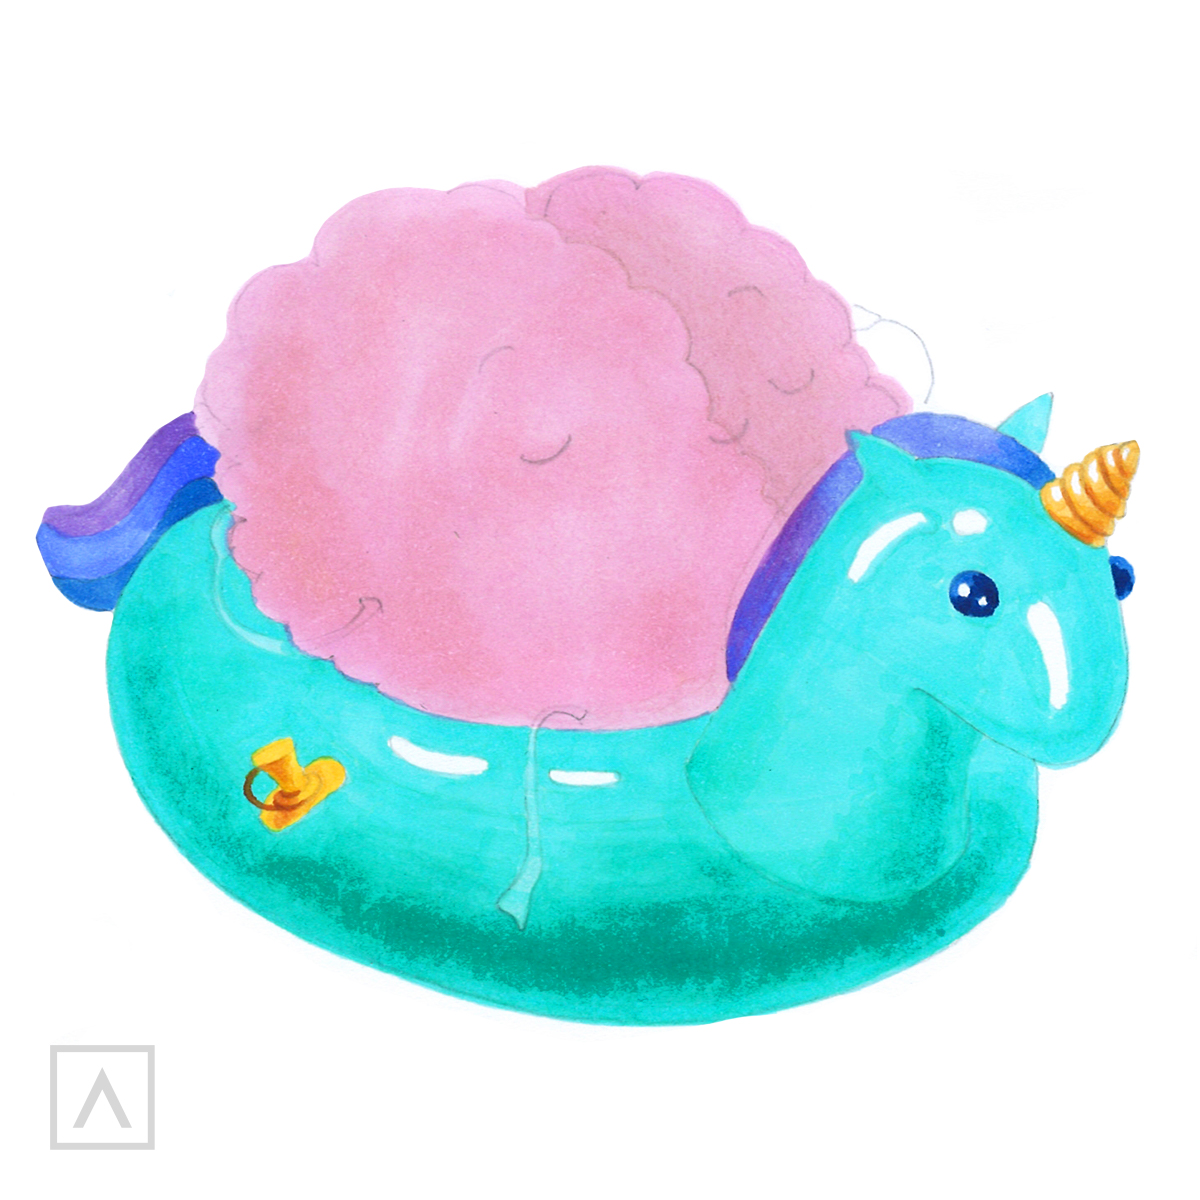
Step 5
To create a three-dimensional look to my drawing, I add another layer of A224 to the smaller lobe of the brain on the right side. This is where the least amount of light is shining on the brain. I also add another layer of A245 along the bottom of the float and under the unicorn’s chin and on its neck. This looks like shadows and gives the float volume.
I use A250 for the mane and tail and A112 for the horn and air valve. I color the eyes with A101, leaving a few specks of white paper showing through to give the eye highlights.
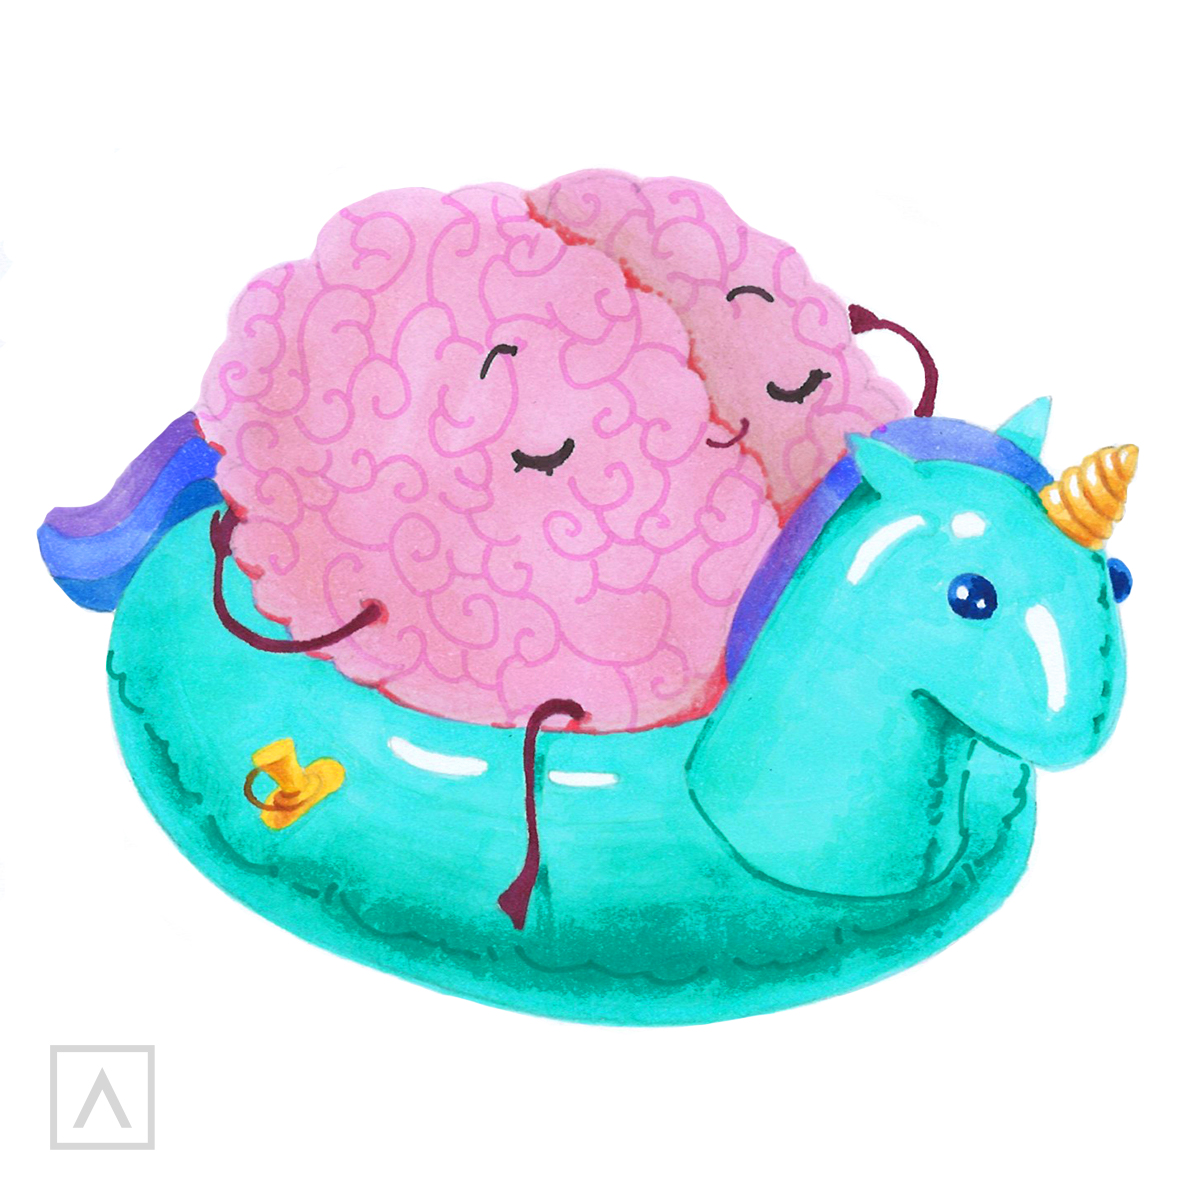
Step 6
Now it’s time for some details. I use the fine tip of the TwiMarkers to create these. To show the wrinkles and folds of the brain, I use A114 to draw curly-Q lines on both lobes. I show the ridges of the horn by using A113. To finish the drawing, I use A101 to go over the eyebrows, eyes, nose, arms, and feet. I also use it to add the seams in the float.
Recommendations
- Try using the wide tip of the TwiMarker to blend your colors to make them darker or to create a soft gradient between two different colors.
- Keep all your drawings safe and protected by using a sketchbook. This way you’ll never lose a drawing.
- Use your TwiMakers for hand lettering, calligraphy, and taking notes, too!
Making art has been shown to reduce stress and help you take your mind off things that are bothering you. I don’t think there’s ever been a time when we needed that more! So, the next time you feel like your brain has had enough and needs a break, open your sketchbook, and look at your relaxing floating brain drawing. Better yet, start a new drawing, there are lots more how-tos on the Arteza website under the Blog tab. I’d love to hear from you in the comments section below.


