
Table of Contents:
- Draw & Color This Adorable Little Unicorn
- How to Draw a Unicorn Step-By-Step with Pictures
- Recommendations
Draw & Color This Adorable Little Unicorn
Who doesn’t love unicorns? They are so magical and one of my all-time favorite things to draw. You might think they’re complicated, but they’re not. I’m going to show you my go-to steps for drawing the cutest cartoon unicorn you’ve ever seen. Once the drawing is in place, I’ll show you how to add the real magic—color!
For this step-by-step guide, I’ll be using Arteza TwiMarkers. I completely love these double-tip markers. First of all, they come in so many brilliant colors that I’m never at a loss for the perfect shade. Second, they have a fine tip on one end and a brush tip on the other. This is like having a two-for-one pen that lets me draw my subject and then paint my shapes. No more stopping after using a pen for drawing to search for the right brush for painting. Plus, they are super-convenient to take with me when I want to draw and paint on the go. I highly recommend them.
How to Draw a Unicorn Step-By-Step with Pictures
Every unicorn drawing I make starts with simple shapes. You’ll see that by breaking your subject down into just a few basic forms, you’ll be able to adjust and refine them until they become the finished product you want.
Let’s get started.
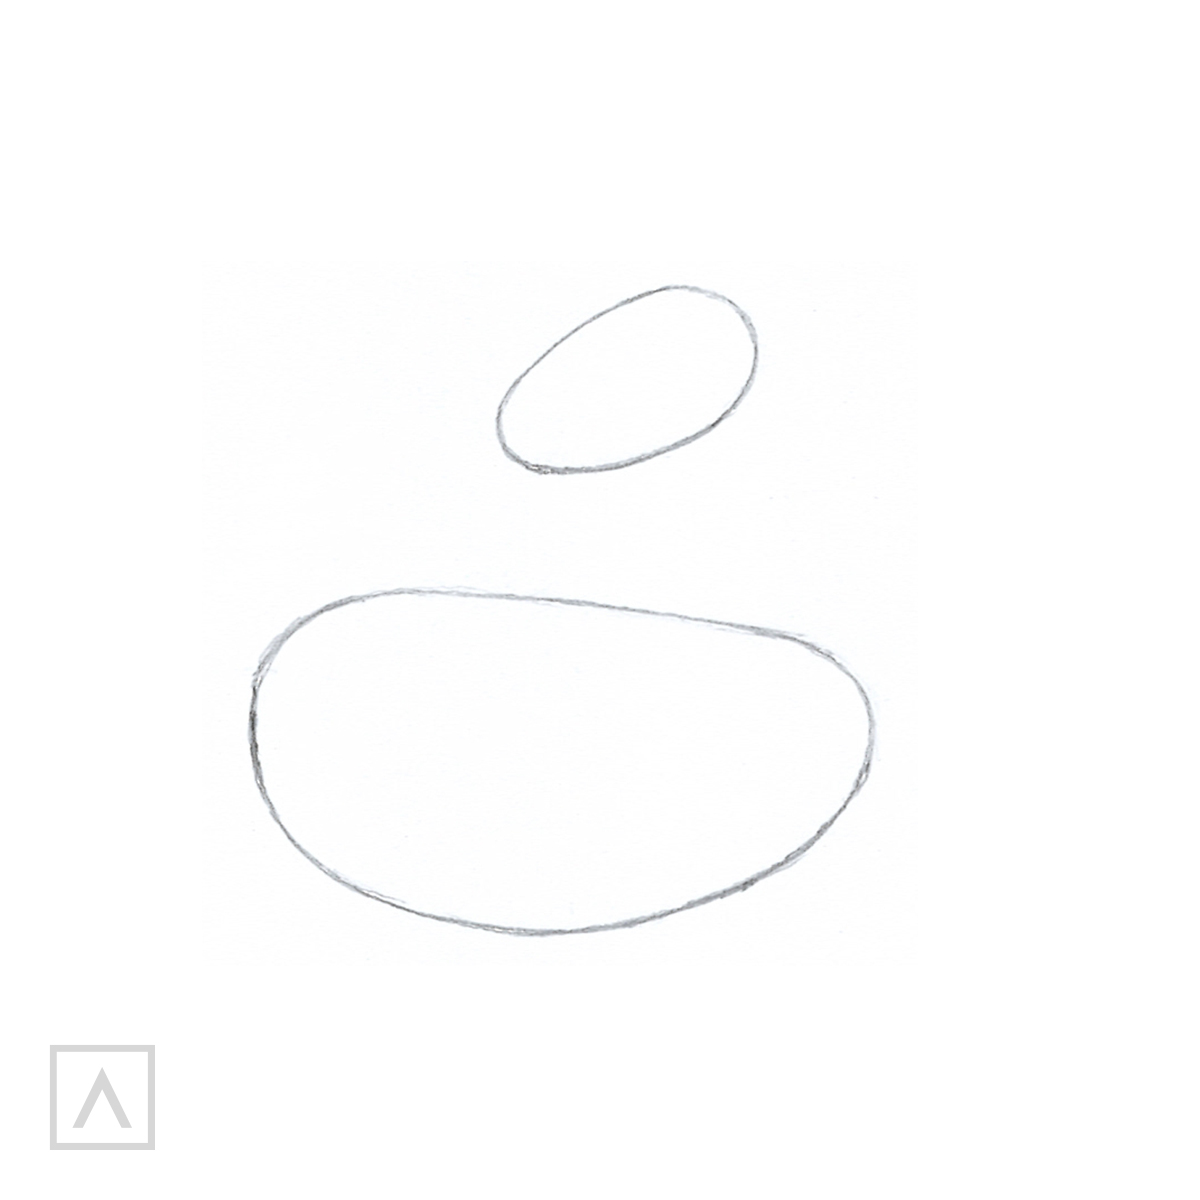
Step 1
The shape I start with when forming my unicorn is a small oval or ellipse. Since this will be the unicorn’s head, I angle it slightly. Next, I place a larger oval underneath it for the body.
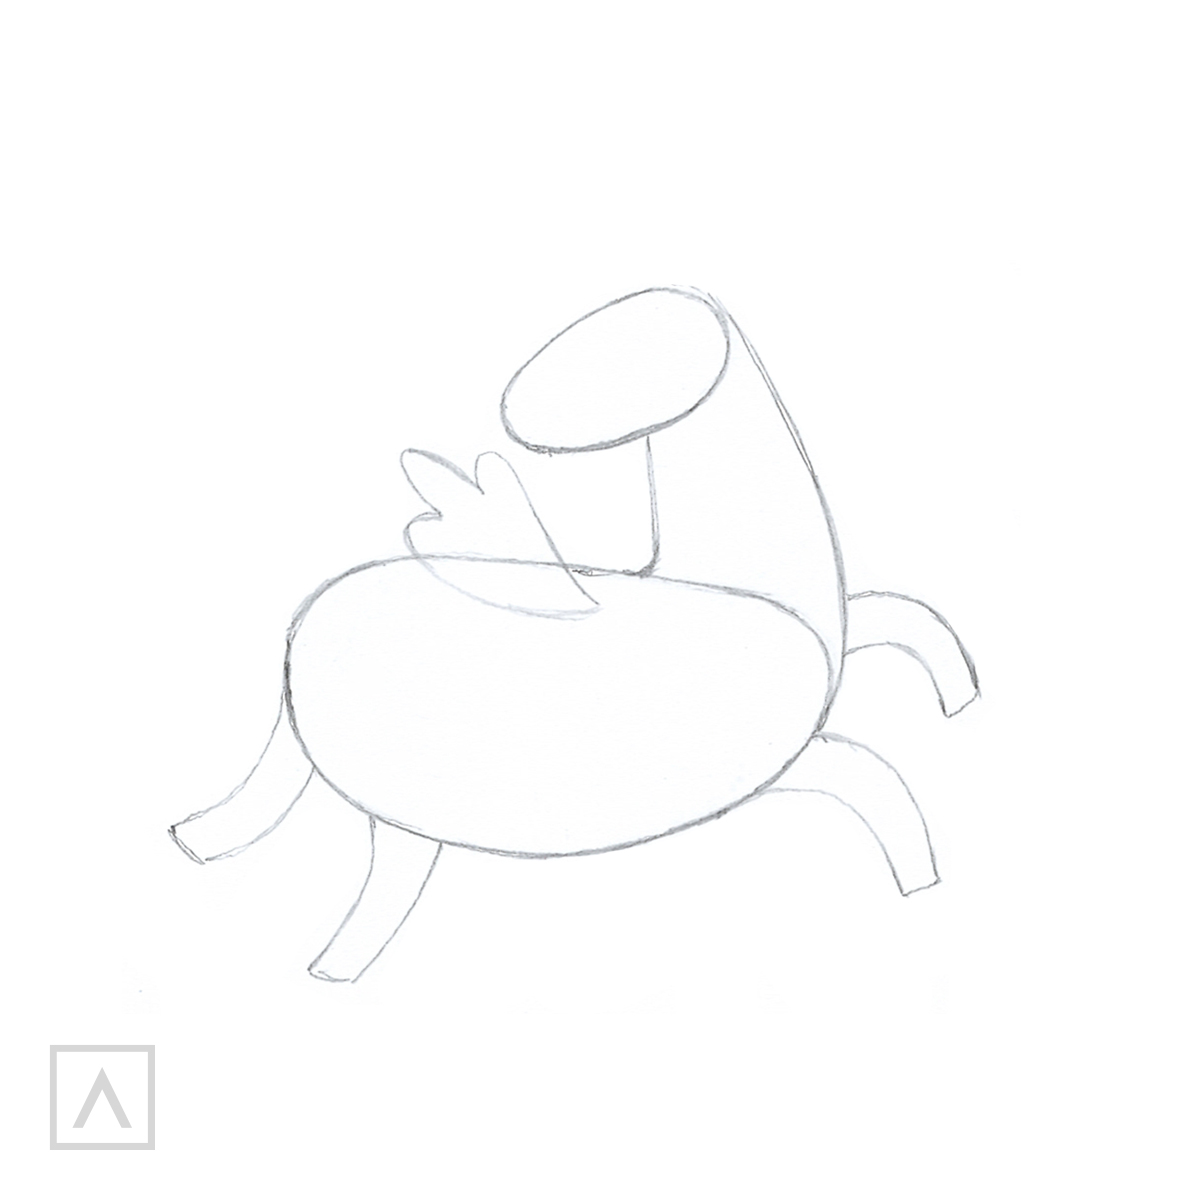
Step 2
By connecting the small oval to the large one with two curved lines, I create the neck. I draw her front and back legs and add her tiny wing.
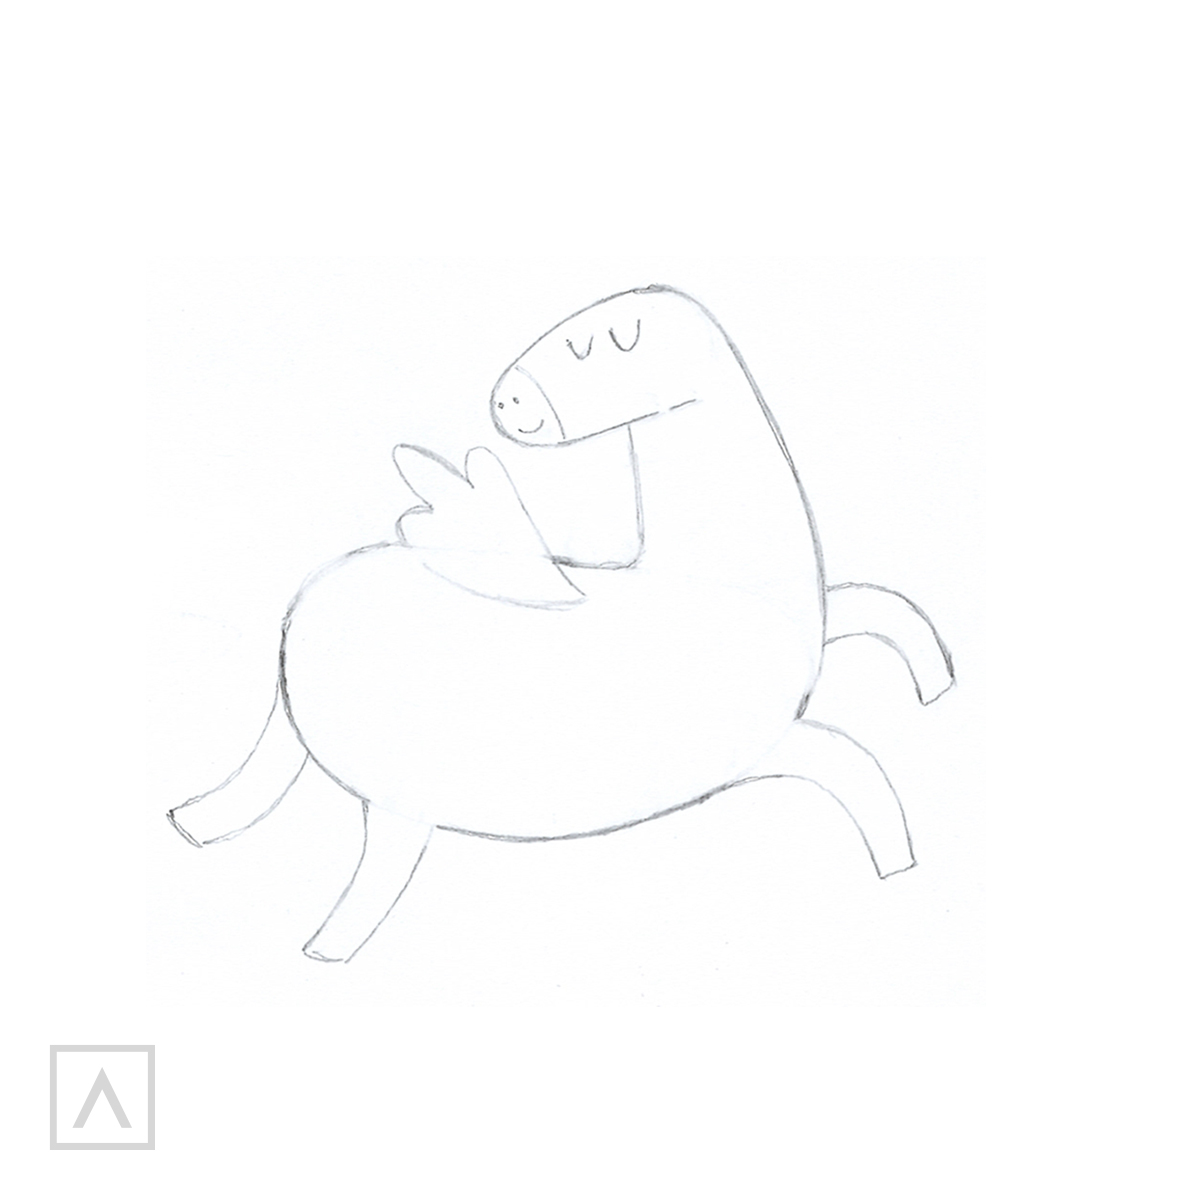
Step 3
Next, I start to refine her face by outlining the nose and giving her a mouth and some eyes.
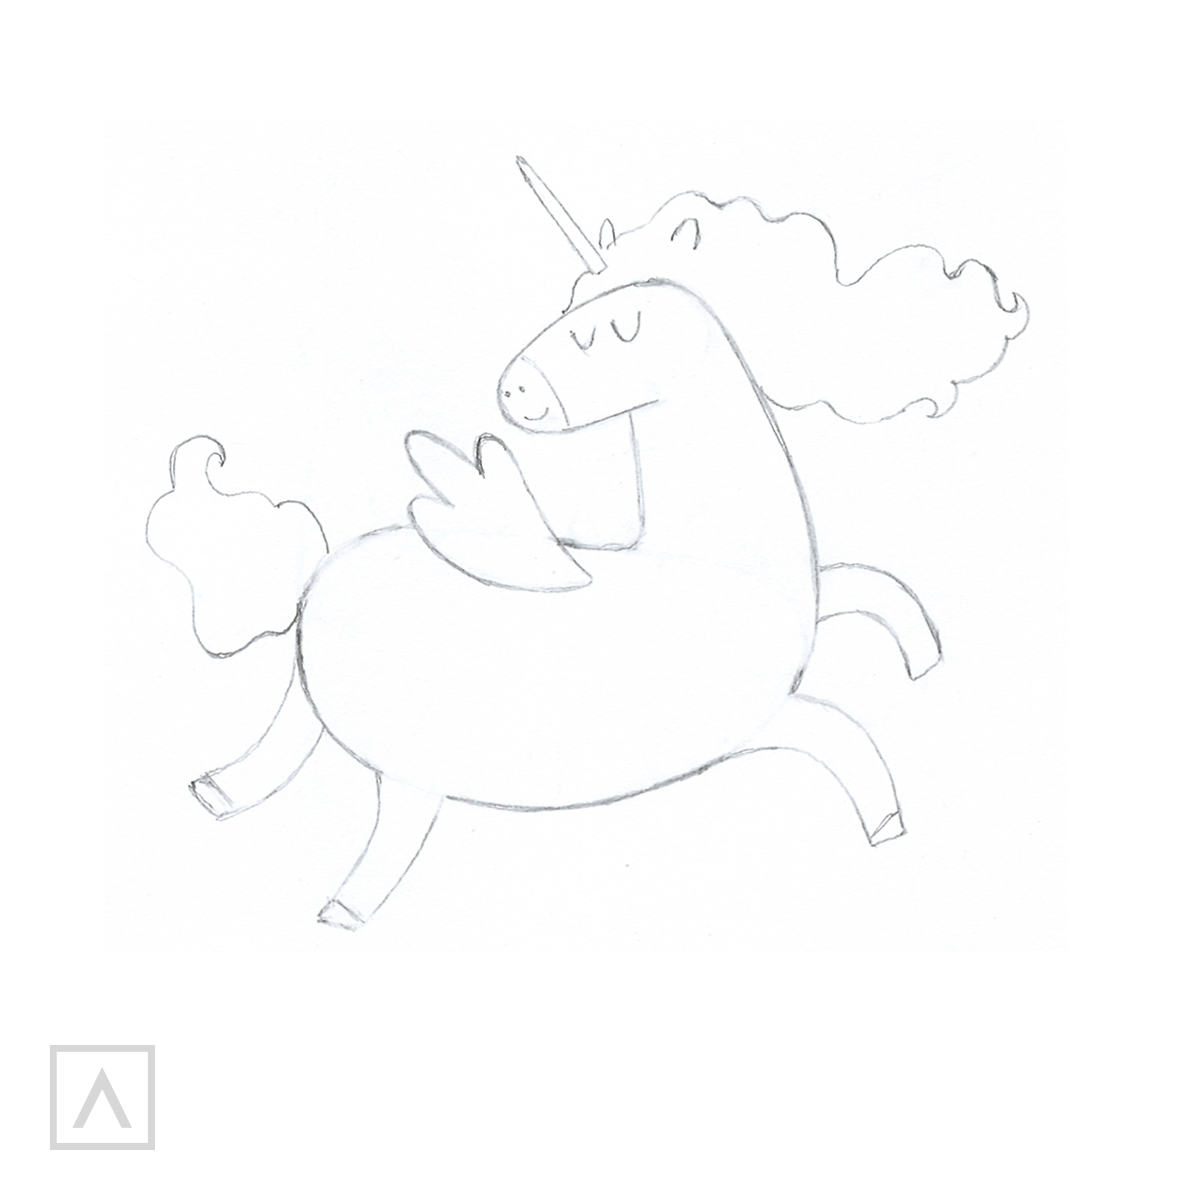
Step 4
Now it’s time to add her mane and tail, which I draw as if they are flowing in the wind as she gallops through the sky. I want the viewer to see her in action! I draw the ears and horn sticking out of the unicorn’s forelock and mane.
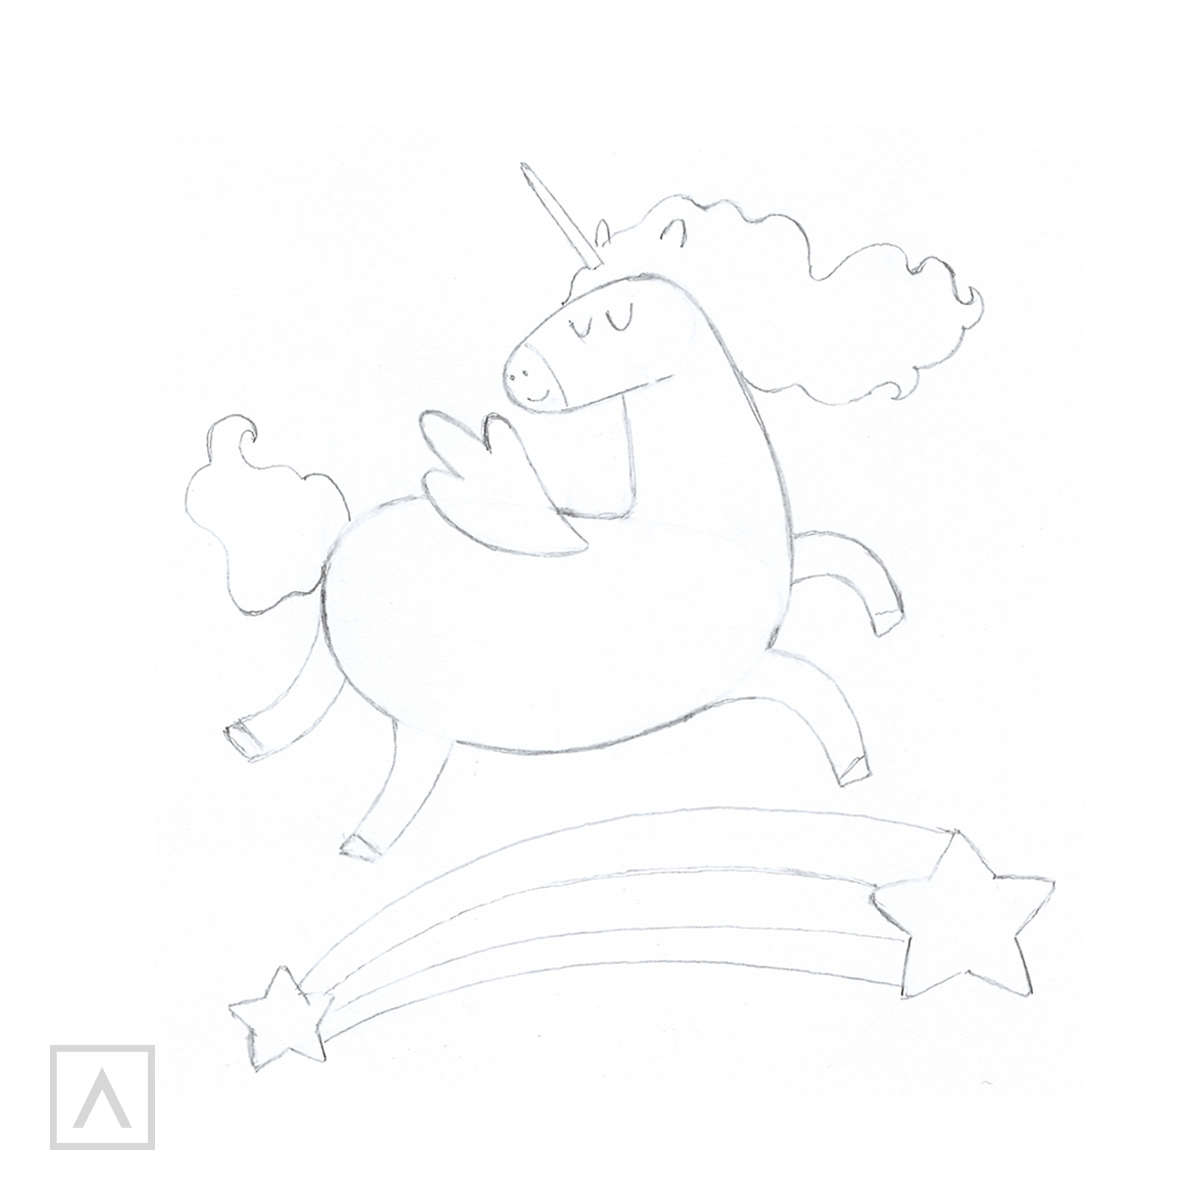
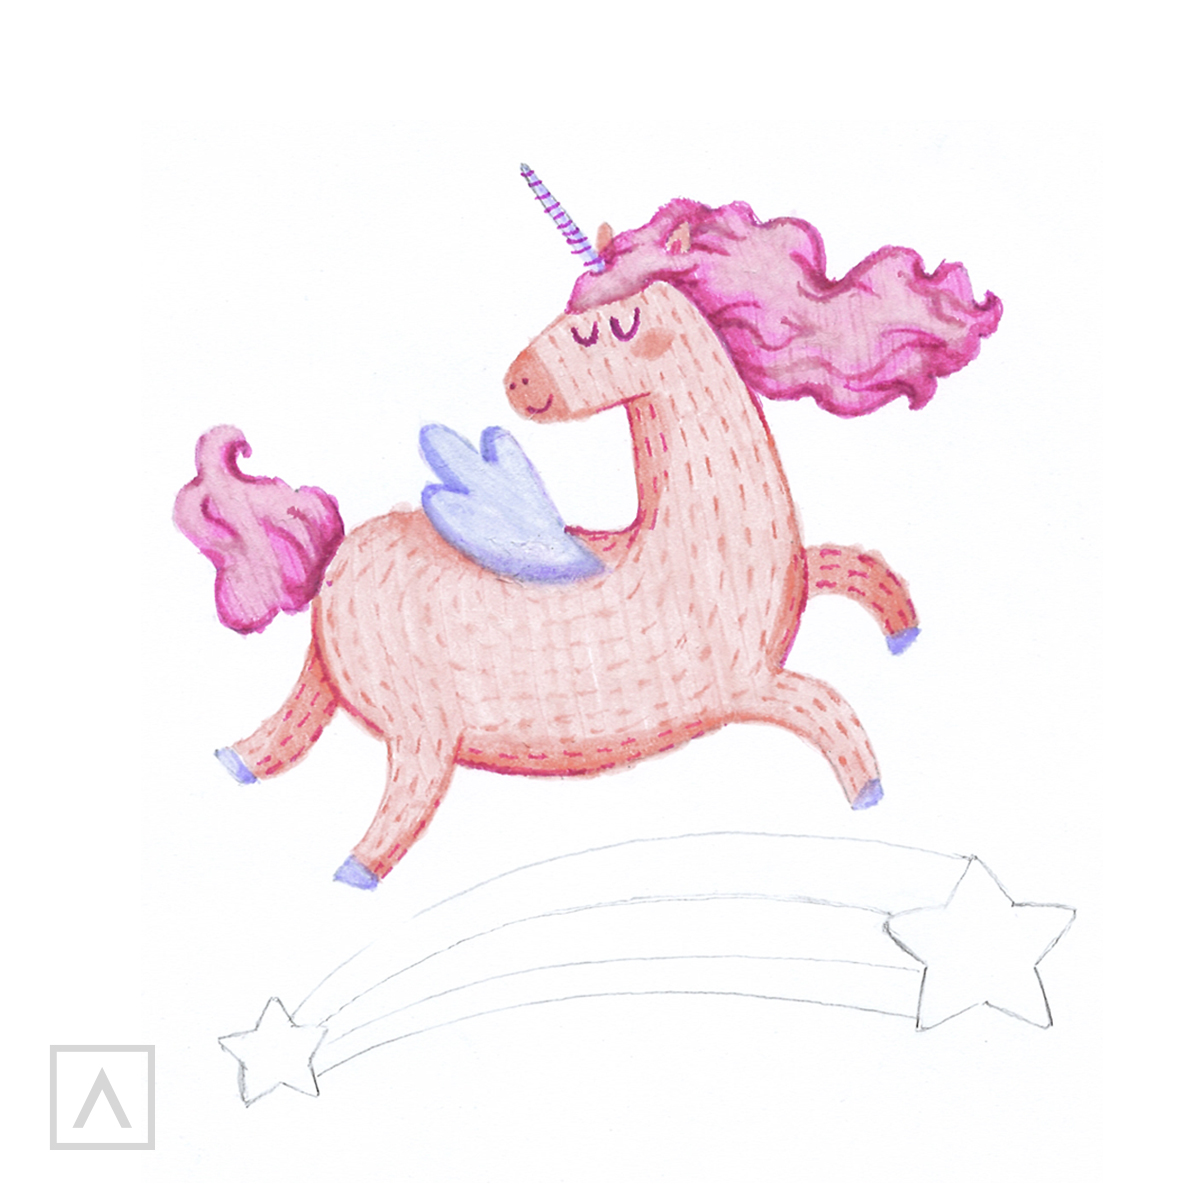
Step 5
My unicorn will be flying above a bright rainbow and stars, so I draw these under her. I make sure to stretch the rainbow to be the same length as the unicorn’s body.
Step 6
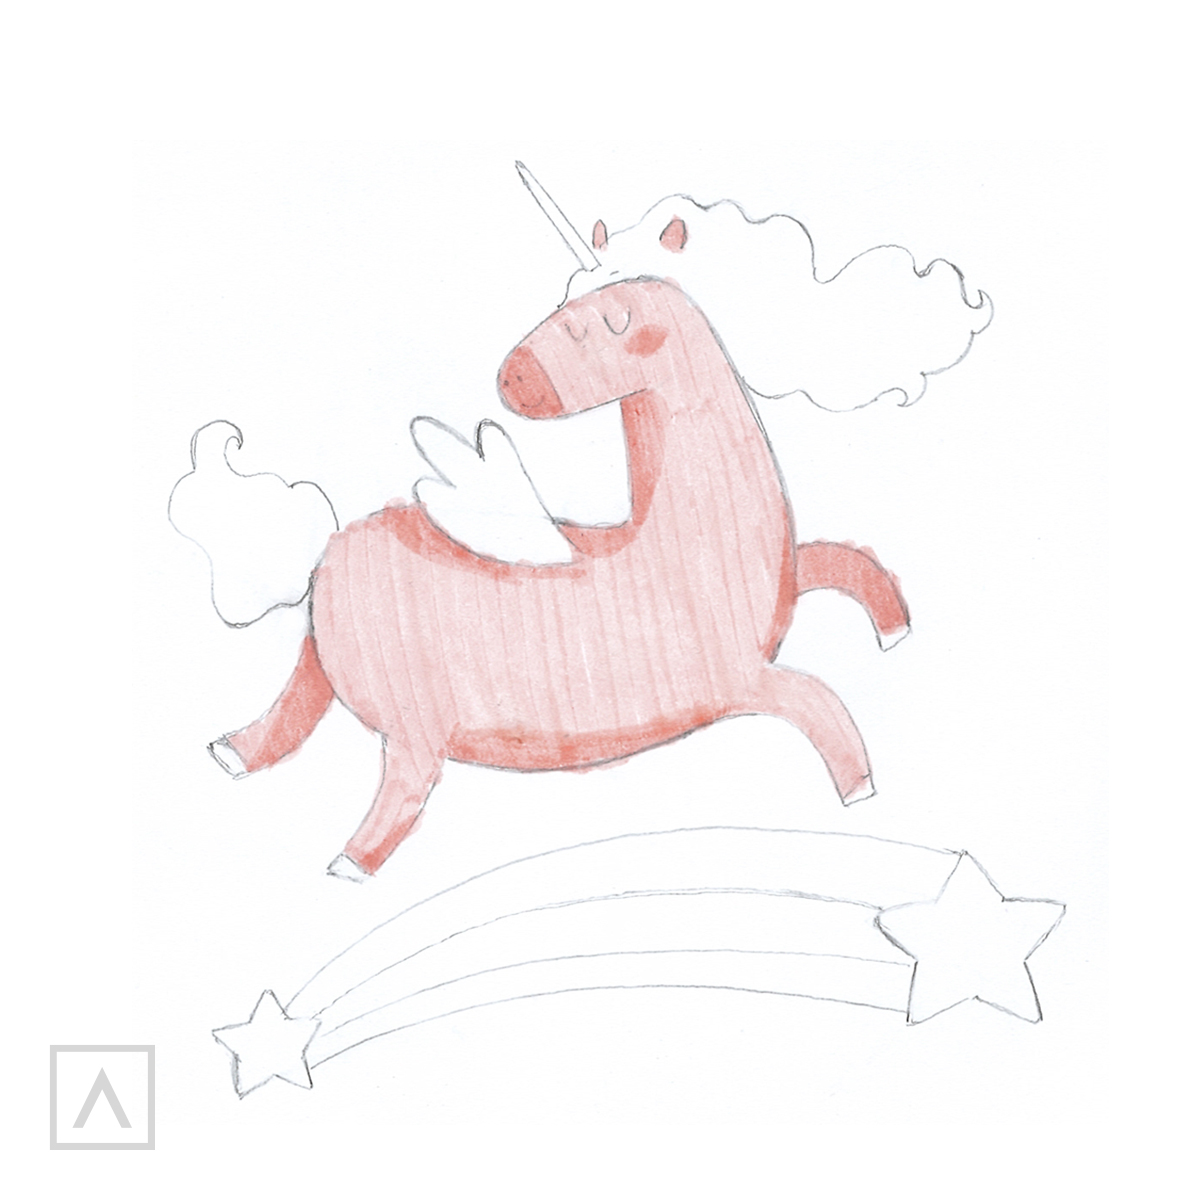
With the drawing complete, it’s time to give her some color. I start with A239 and paint over the unicorn’s body. To give the body volume, I add additional layers of the same color to her stomach, one side of the neck and rump, and on the far legs to make shadowed areas. I also add some additional layers to her nose and cheek.
Step 7
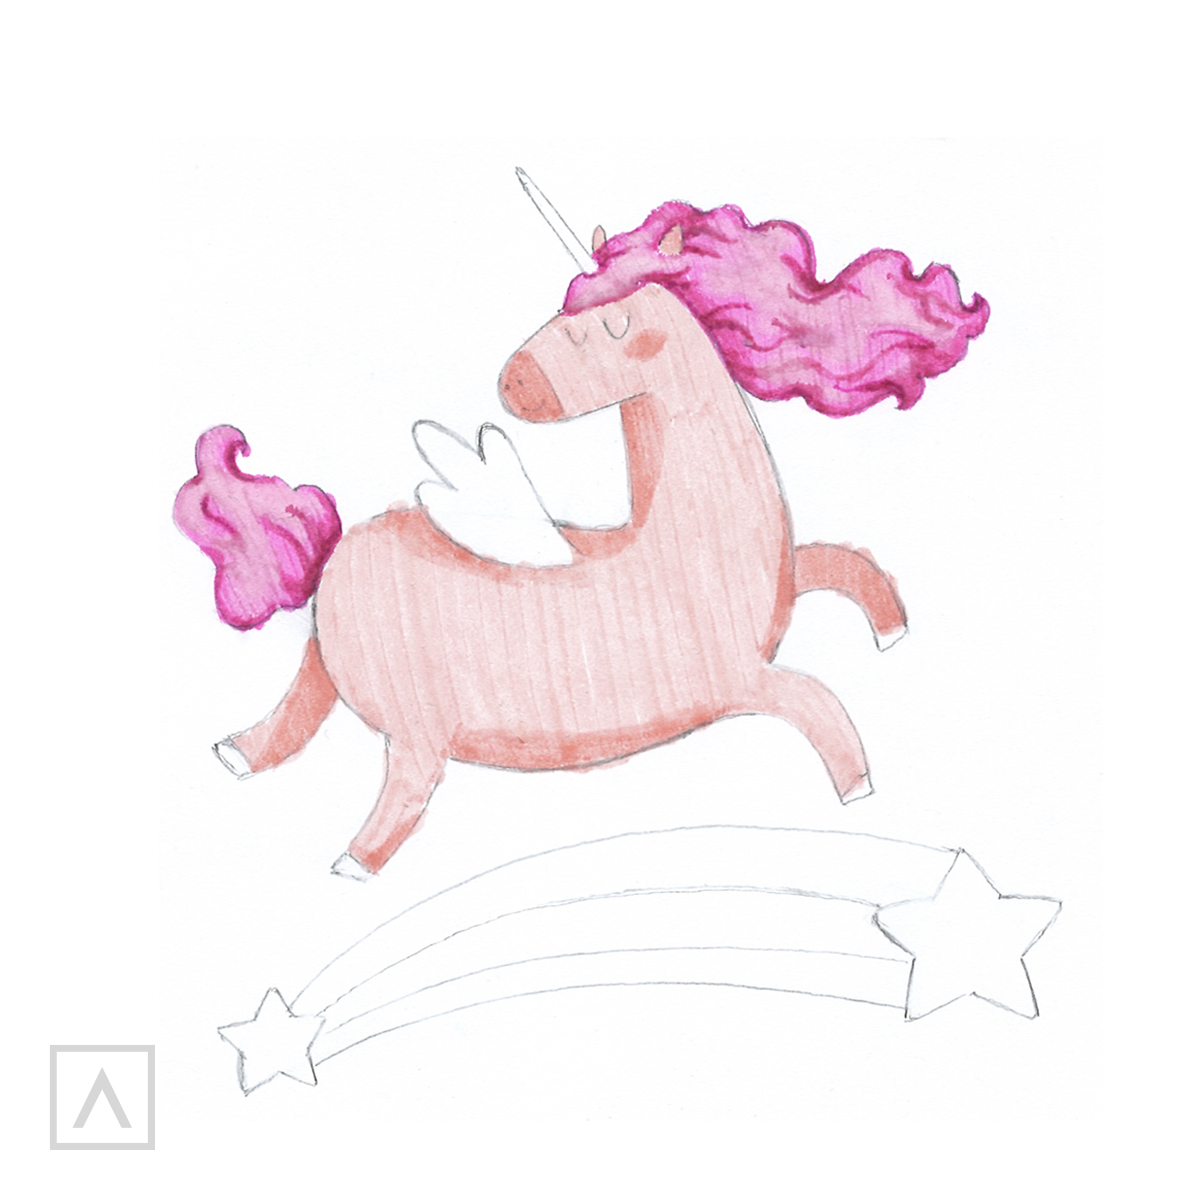
Using A212, I color the mane and tail. With the fine tip of this marker, I add some details to the mane and tail. It looks like it’s flapping in the wind, doesn’t it?
Step 8
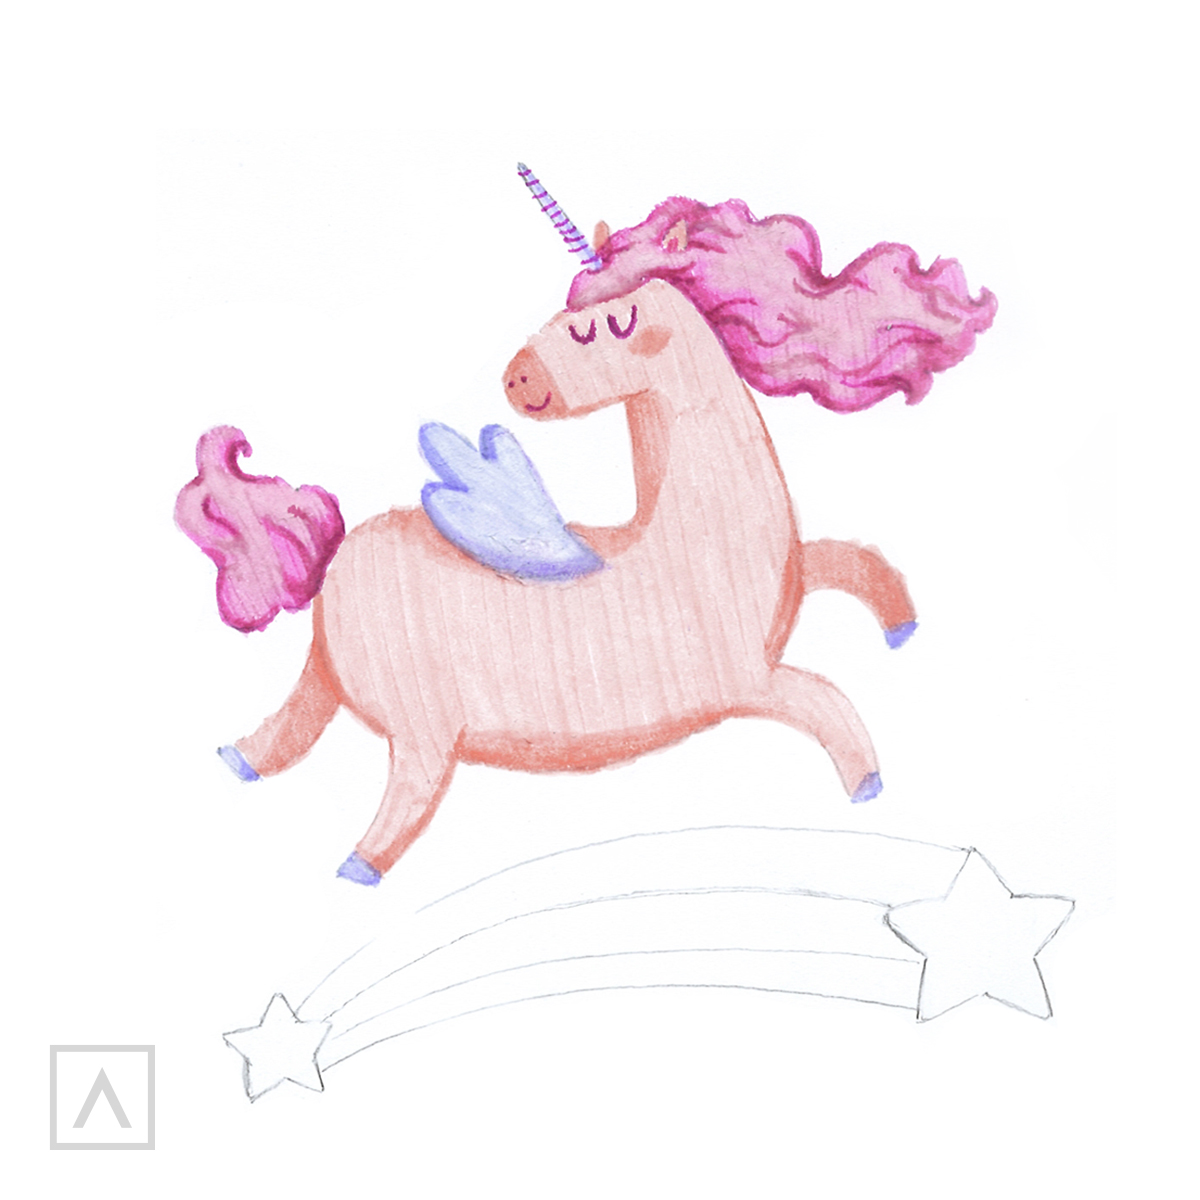
I want a contrasting color for the wing and hooves, so I use A121 to paint these.
Step 9
Once again, I use A239, only this time I use the fine tip end and draw thin lines closely together over the body. This is called hatching and gives the body some texture that looks like hair.
To darken the shadows, I do the same technique using A212 over those areas.

Step 10
Now that the unicorn is finished, I turn my attention to the rainbow. To make it stand out, I use three colors: A121 on the upper stripe, A253 on the middle one and A212 on the lower one. The stars are colored in using A229. I try to make them brighter along the edges.
Yay! The unicorn is complete. Now, wasn’t that easy? You can keep practicing with this one or try out drawing ones in different poses, shapes and colors. You’re only limited by your imagination!
Recommendations
- TwiMarkers are very vibrant so all you need is one layer to get good coverage of color. I recommend only layering colors when you want to make dark shadows.
- If you’d like to make more translucent shades, you can use the brush end to place some of the ink onto a palette and then mix with a dab of water. By dipping the brush tip into this mixture, you can paint thin washes of color.
- For subtle transitions of color, you can lay down one color first and then lay the next one adjacent to it. The ink will spread into the first shade to give you a smooth shift from one hue to the other.
- To ensure your details don’t get lost, paint general areas first and save the details for last.
If you’re a unicorn-lover, like me, I know you’re going to have fun with this project. For anyone who’s never drawn a unicorn, I hope this example inspires you to get started and convinces you of how easy it is to make one of these magical creatures. They make awesome subjects for greeting cards, framed wall art, digital art and playful sketchbook doodles. Let me know how you use your unicorn drawings in the comments below.


2 comments
Hi Sheena,
That’s a great question. We’d recommend using a High-quality Mixed media paper such as the ones we carry or using High-quality Marker paper.
Best wishes!
What paper is good to use for these markers? Because I don’t know if I am doing it correctly or not, but when I use the markers on mix media paper the markers tare at the paper, and I’m not sure what to do at this point. Thanks. I love this picture by the way. Great job.