
Table of Contents:
Add the Richness of Gemstones
When I want to show a character with royal blood or one who’s wealthy, I add precious gemstones to hair ornaments, clothing, or jewelry. These beautiful stones immediately project, like no other accessory, the message that this person is important! When it comes to drawing gemstones, such as rubies, emeralds, and diamonds, it’s a lot easier than it looks. In fact, once you master the stone’s facets, you can design any gemstone you like!
In this guide, I’ll illustrate how to construct parts of a diamond and achieve a real-looking gemstone. To bring out some dazzling reflected colors, I used EverBlend markers and a white gel pen. I encourage you to try other colors besides the ones I’ve used to make your own custom stones.
List of Supplies
- #2HB Pencil
- EverBlend Markers: А428, А949, А8275, А268, А487, A0
- White Gel Pen
Steps to Draw a Diamond
A faceted gem is really a matter of producing and connecting lines and angles. Your measurements don’t have to be perfect, but if you pay careful attention to each step and where I have placed each line, your drawing will be more successful. So, be patient, use a pencil with a hard lead—#2HB is preferred—and sketch the stone delicately. This makes it easier to remove unwanted lines and ensure those you do want don’t show once you begin applying color.
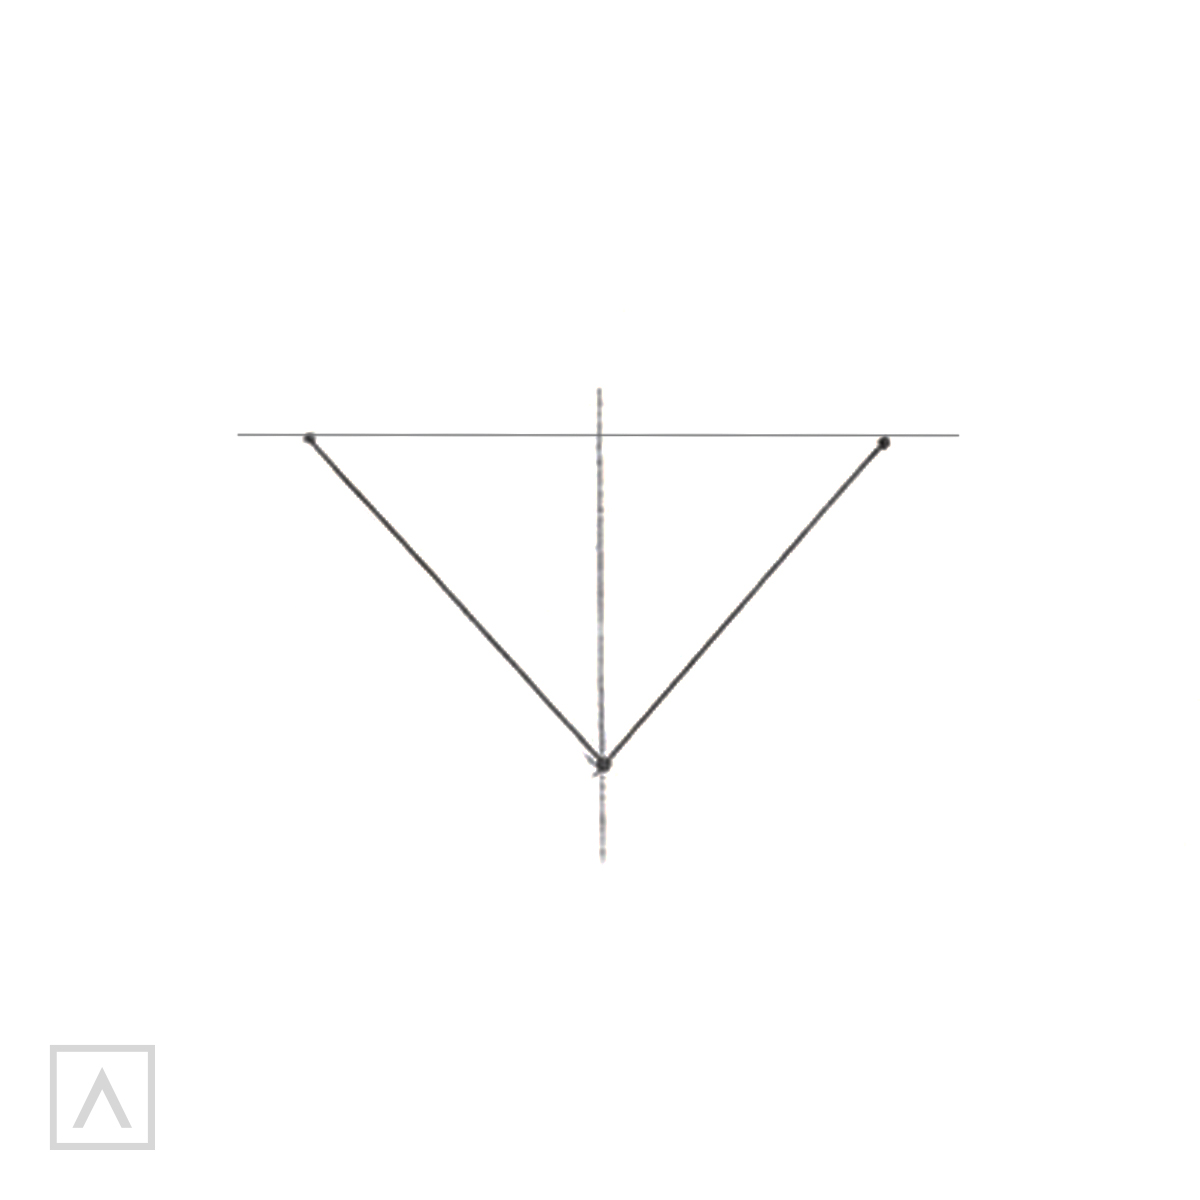
Step 1
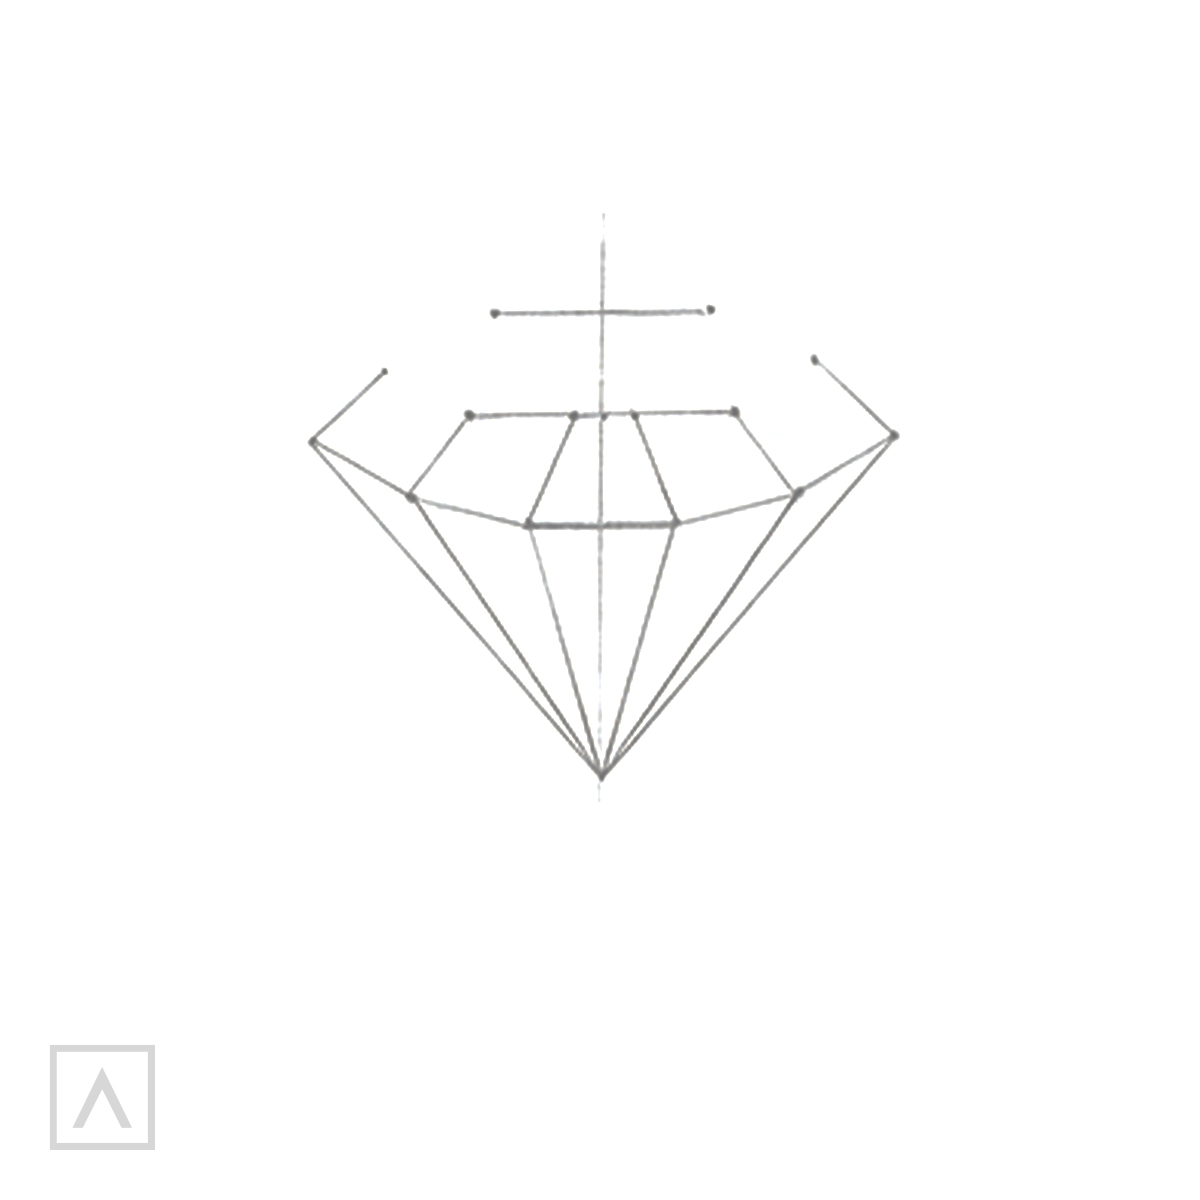
I start by placing a horizontal line first and crossing it with a line drawn vertically down the center to produce a cross. I sketch dual lines diagonally that join and proceed up for an equilateral triangle.
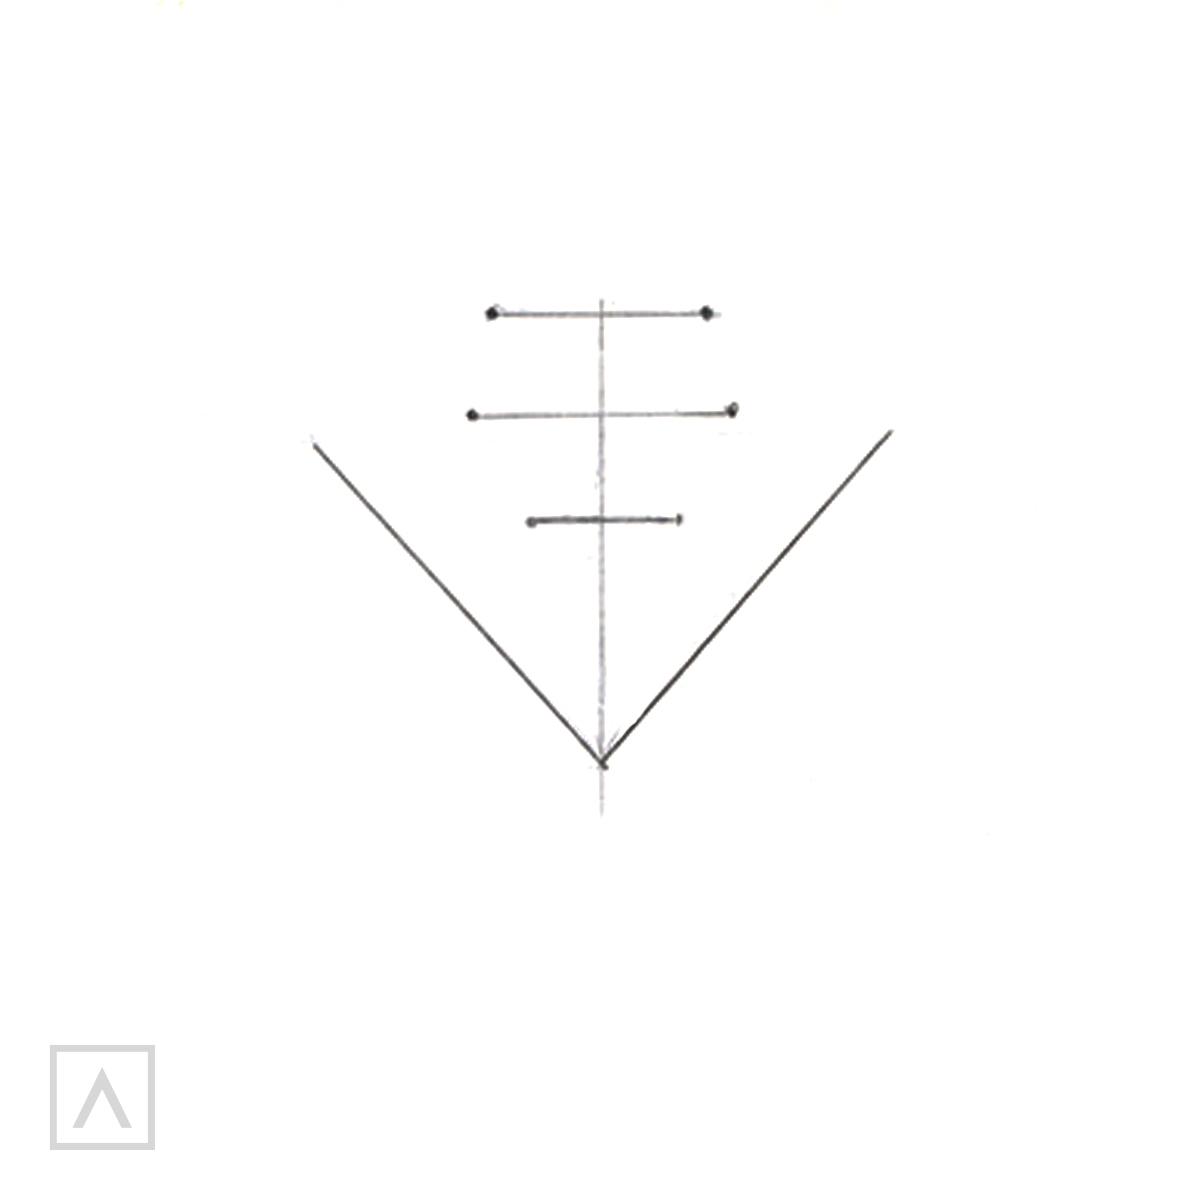
Step 2
Now, I put three parallel lines in the center of the triangle—one above the centerline, one on the line, and one underneath it. The centerline is the longest in length, with the top one slightly shorter and the bottom one shorter still. These are references for the top (table), middle (crown), and base (pavilion) of a gemstone.
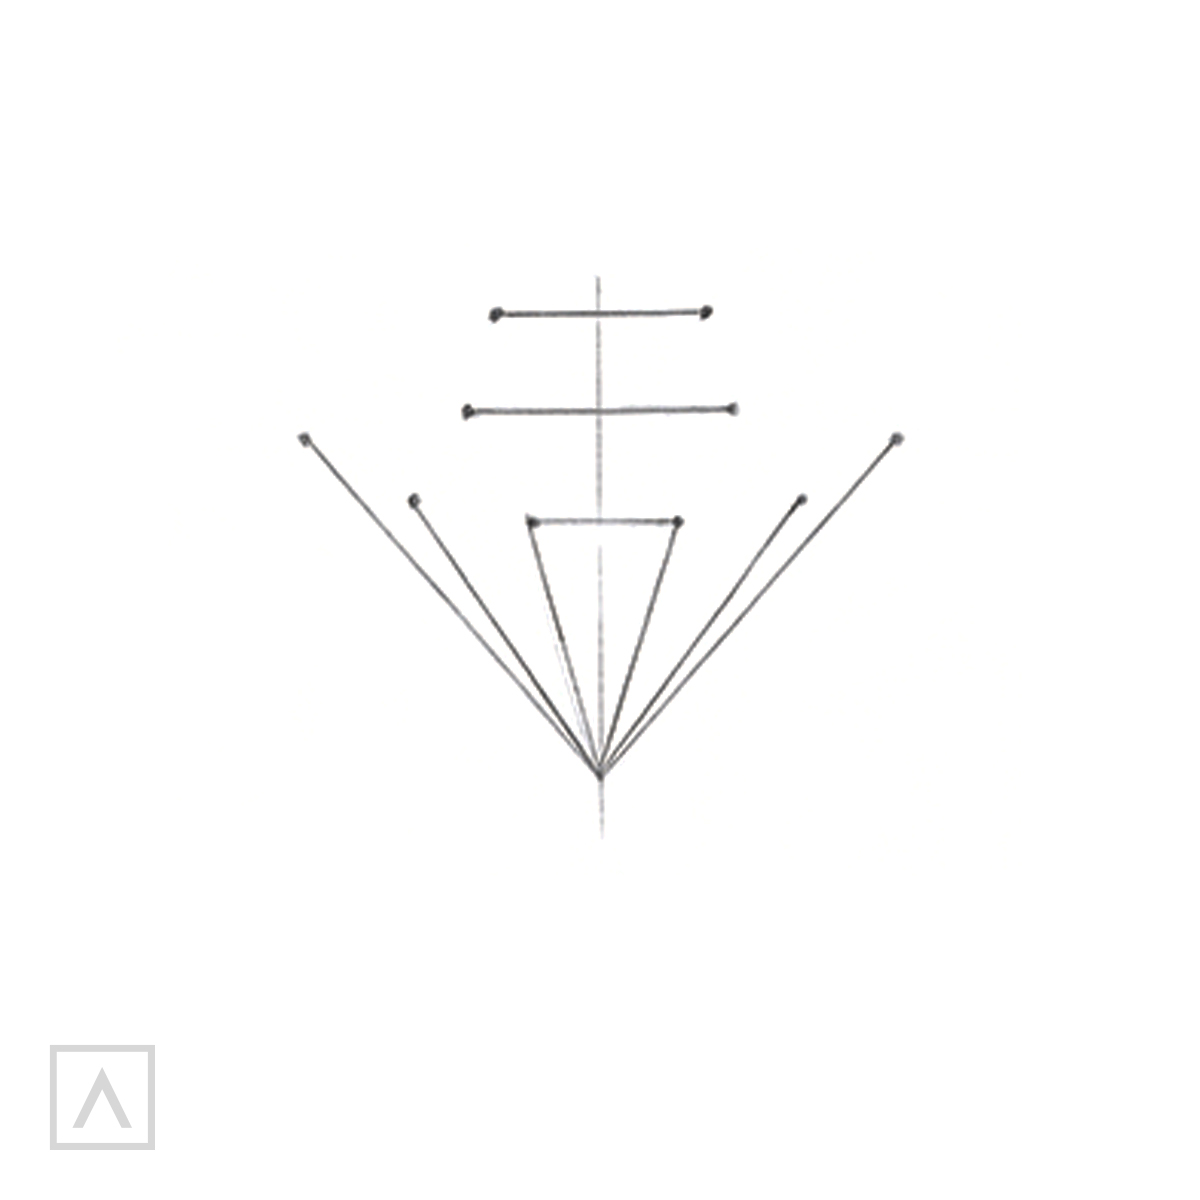
Step 3
I draft two lines beginning at the stone’s tip to show the location of the front pavilion facet. I add two additional lines for the side facets. The diminishing distances between the sections are what give it perspective and create that classic diamond shape.
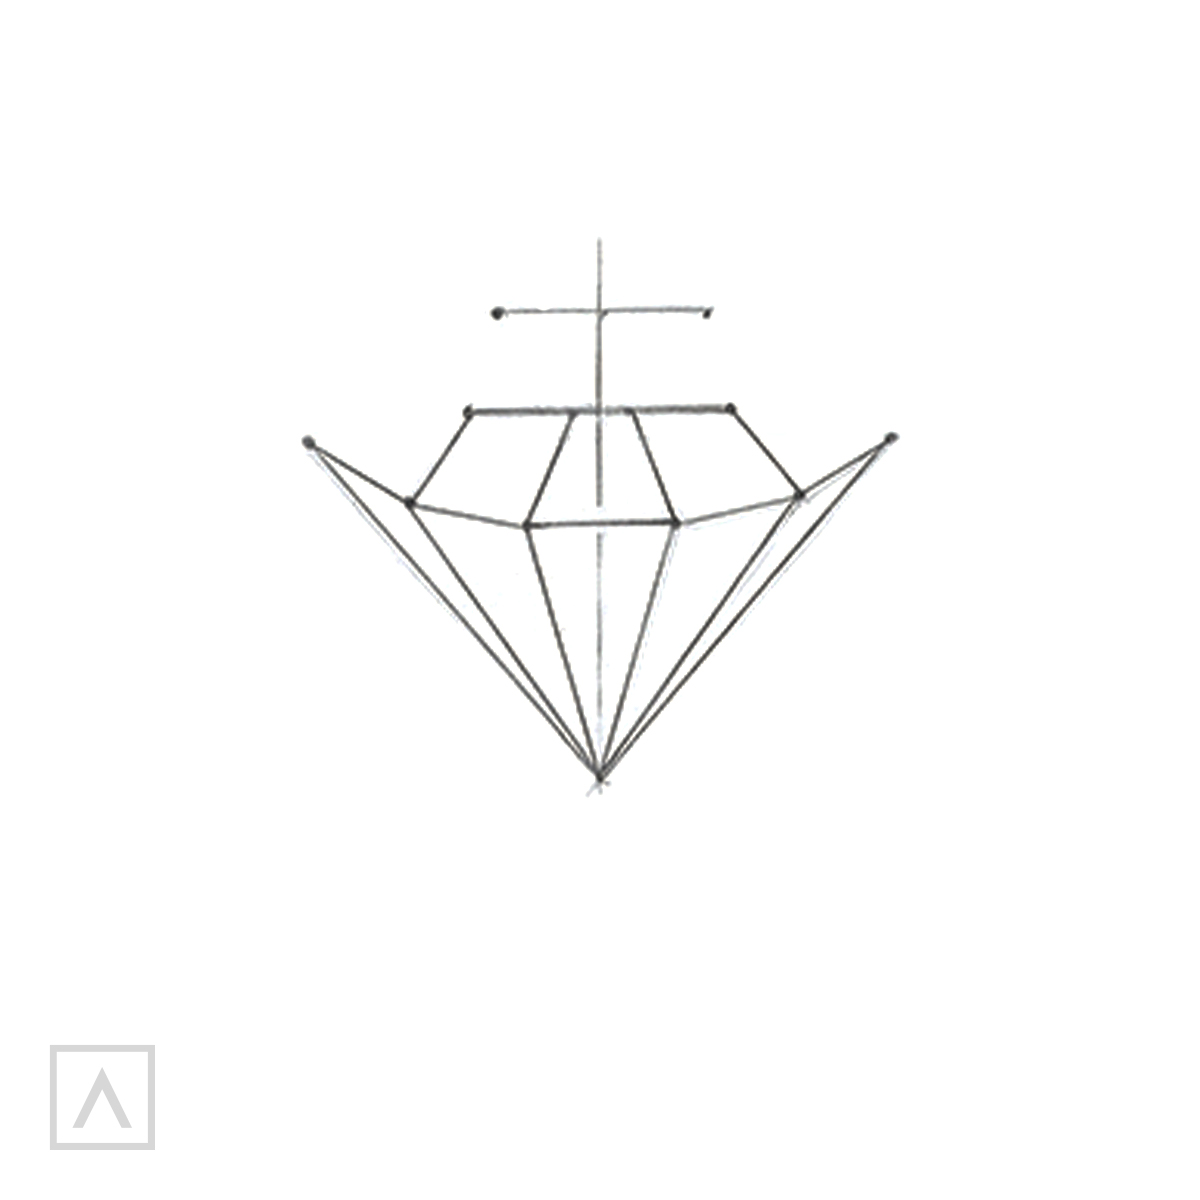
Step 4
Using level lines, I join them to form the pavilion. For the stone’s middle or crown, I place lines leaning toward the center. Can you see the stone coming into shape?
Step 5
Over the centerline, and on either side, I place an angled line that will compose the table.
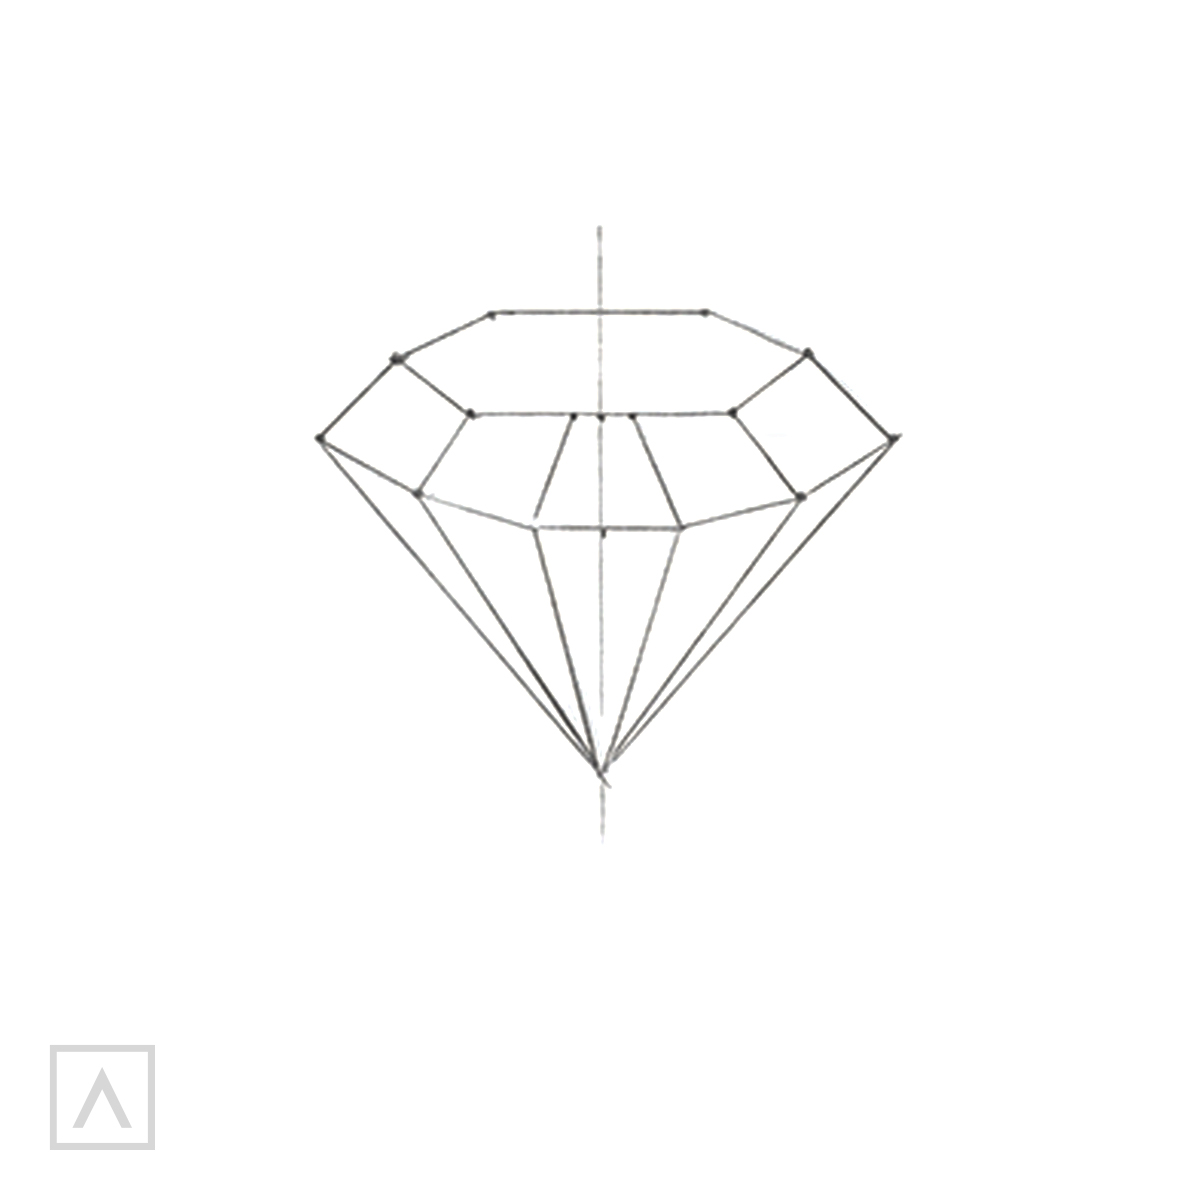
Step 6
Then, by connecting the lines the drawing is complete and it’s time to add color!
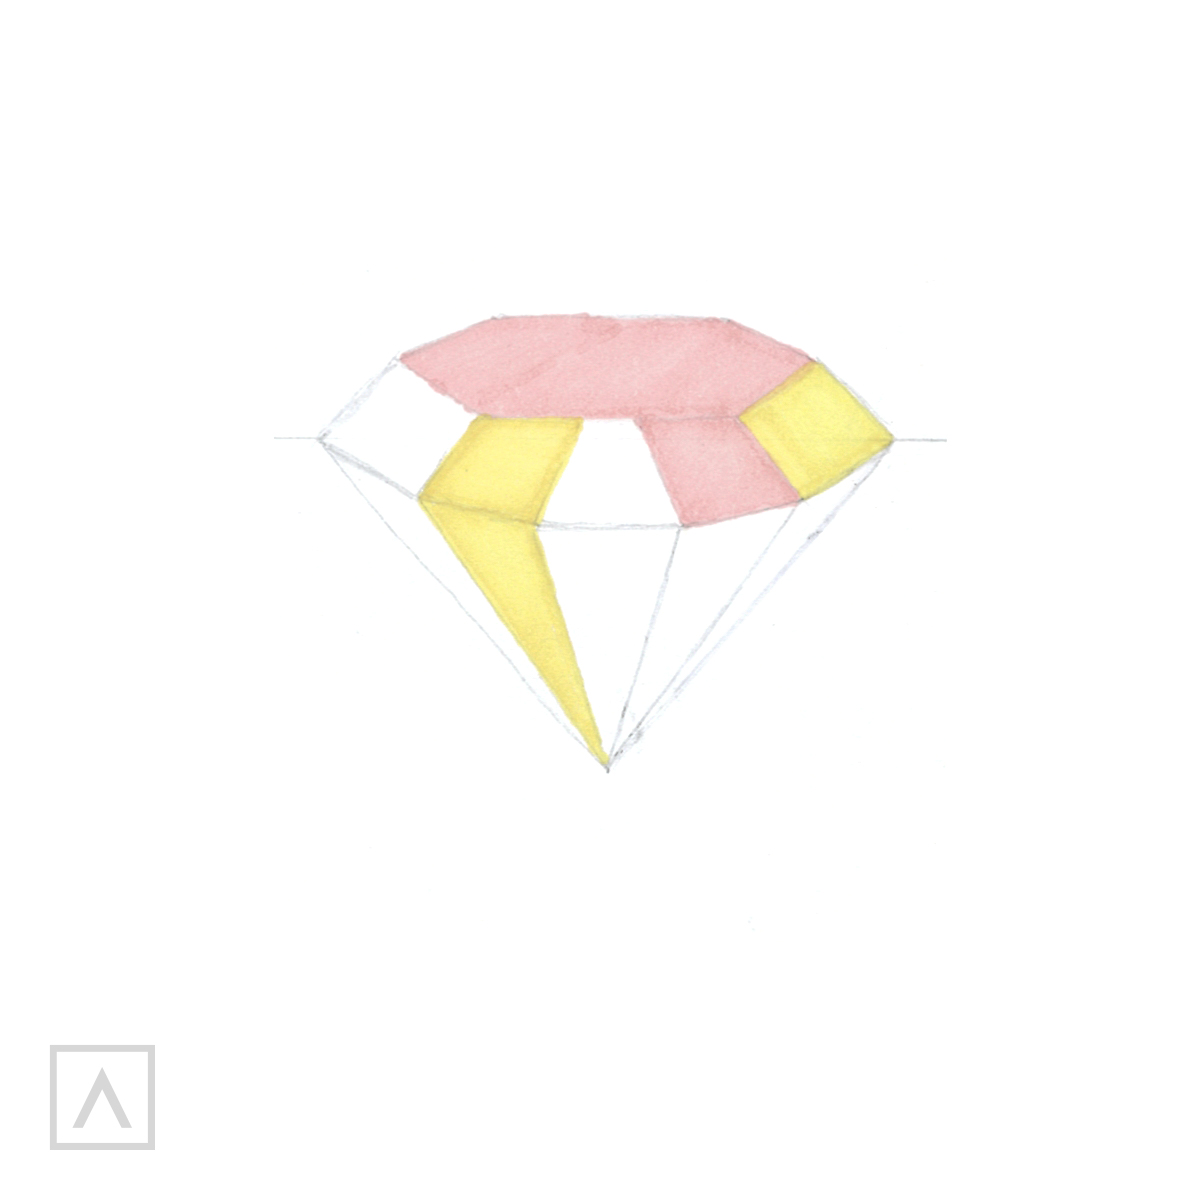
Step 7
Using EverBlend A428, I paint a table facet plus one of the crown facets. Next, I use A949 to fill more of the crown parts and another pavilion section.
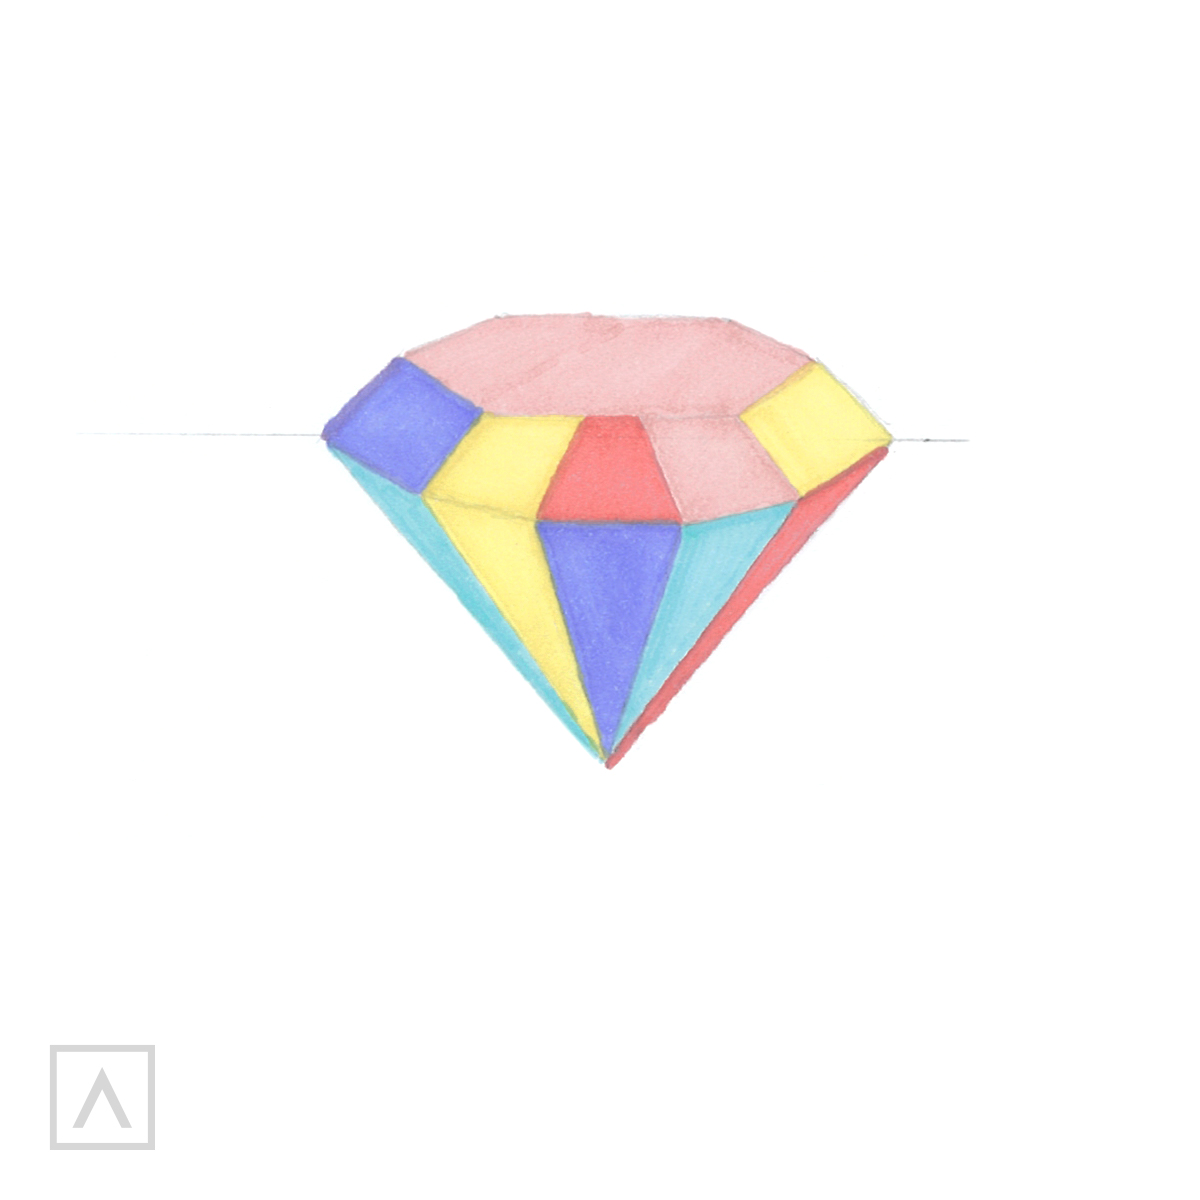
Step 8
I use A8275 to color more parts of the pavilion. I cover the next two with A268 and color the rest with A487. At this stage, I erase the preliminary sketch.
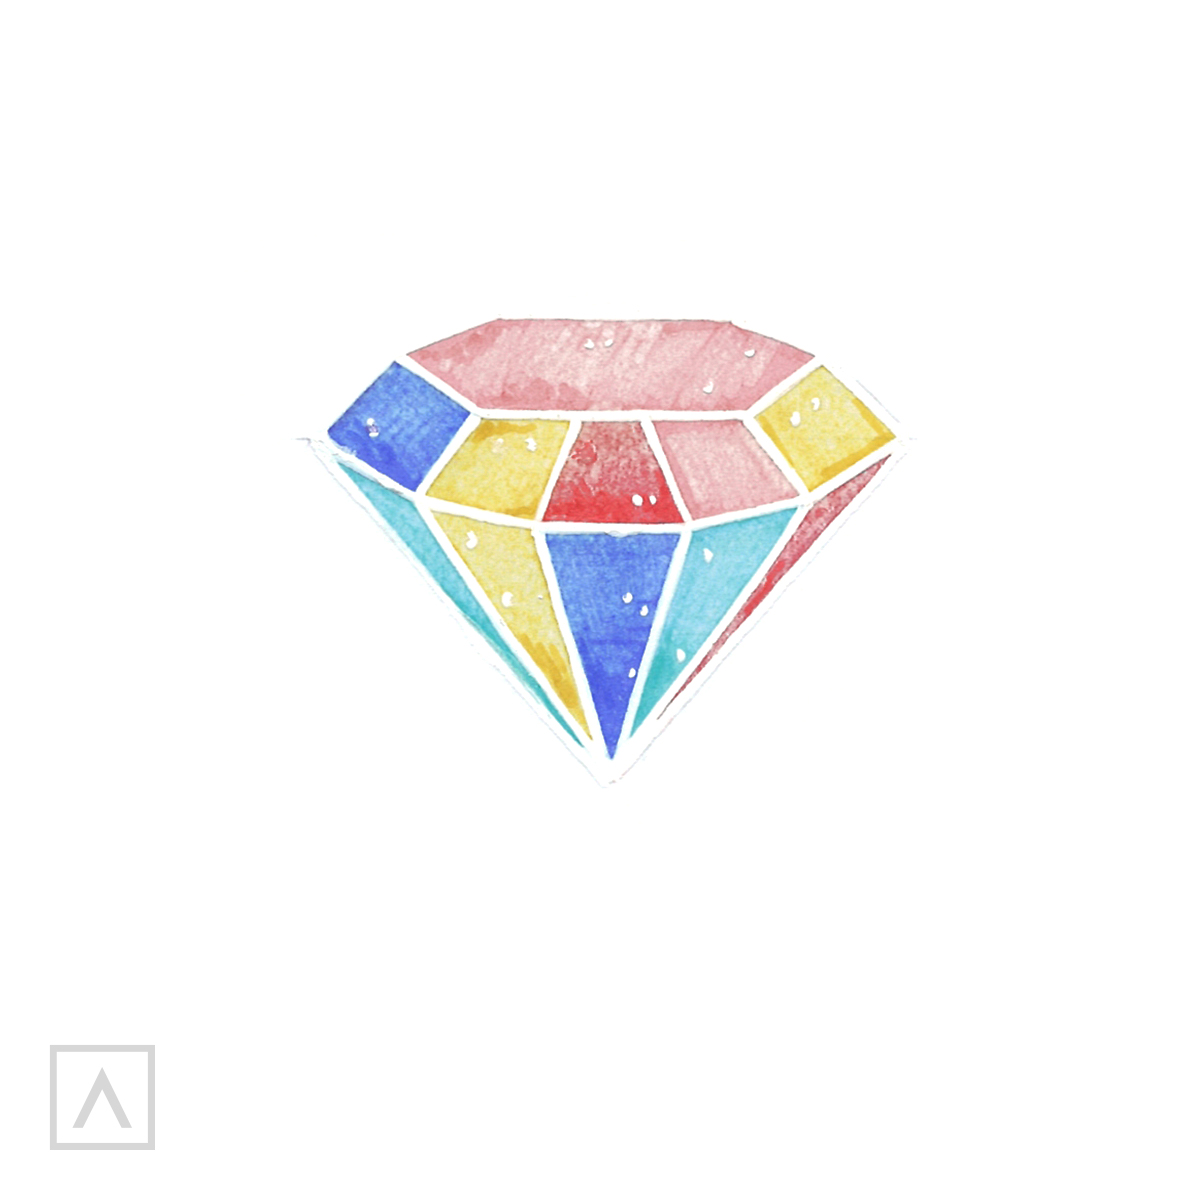
Step 9
To show how the light shines through the stone, I make each shade lighter by going over them using EverBlend A0. By outlining each area with a white gel pen, the reflections of light are emphasized. I finish by adding highlights with the pen as well.
Give yourself a high five! You’ve created a sparkling diamond, full of color and you did it in just a few steps!
Recommendations
- Gemstones are cut into facets to reflect the light and make them sparkle, that’s why I recommend using the A0 marker to diffuse and soften the colors. Otherwise, they are too saturated, making the gemstone look dull and plain.
- Keep in mind that the longer you hold a marker in one place, the more ink will flow and the more saturated the color will be.
- If you want to create a gradient of color in a small space, I suggest going over the two colors with A0 to blend them.
As you saw here, faceted stones are simply the combination of angles. Using these same steps I create stones from different views—from the top, the side, the bottom looking up—to reflect the way my character is standing. To get these views right, I often refer to images on the internet and you can, too. So, have fun adding bejeweled clothing and accessories to your characters and let me hear about it in the comments section below.


3 comments
That’s awesome but I once drew my own diamond with facets like that. I added it to an online design portfolio and it was popular. However some years later the website removed it citing copyright/trademark infringement. I was upset but didn’t fight it. Should I have? It still bothers me a little and despite searching I have found no answer as to whether a simple drawing like that can be copyrighted or trademarked.
Hey there! Thank you for loving our tutorials as much as we love making them. Be sure to check out our YouTube channel (Youtube.com/Arteza) for more video tutorials.
Really like these step by step tutorials. It shows me it’s easier than I thought!
Would also be great in video!