Today we will be creating a gorgeous feminine profile drawing using Arteza’s EverBlend Art Markers, White Gel Pens, Marker Paper Pad, a pencil and a kneaded eraser. We’ve broken this DIY demonstration down into six easy-to-follow steps suitable for artists of all levels. Before we go over the list of supplies needed, let’s first take a moment to pay our respects to the art of portraiture.
Dating back to over 5,000 years ago in ancient Egypt, portraiture is one of the oldest art forms. Before photography was invented, sculpting or drawing a portrait of someone was common practice. Pablo Picasso is known for his many self-portraits, and portraits of others—you can really grasp the evolution of his artistic style by looking through his portfolio of portraits in chronological order. Frida Kahlo is also known for her very vibrant self-portraits. Out of the countless number of influential female portraits created over the past several centuries, the most famous to this day is of course Leonardo da Vinci’s “Mona Lisa” (1503).
Now that we’ve taken a moment to reflect on the art of portraiture, let’s create this chic female portrait using:
List of Supplies
- EverBlend Ultra Art Markers, Set of 72
- White Gel Pens, Set of 3
- Marker Paper Pad, 9” x 12”, 50 Sheets
- Kneaded Eraser
- A Graphite Pencil
6 Steps to Drawing a Feminine Profile
Step 1

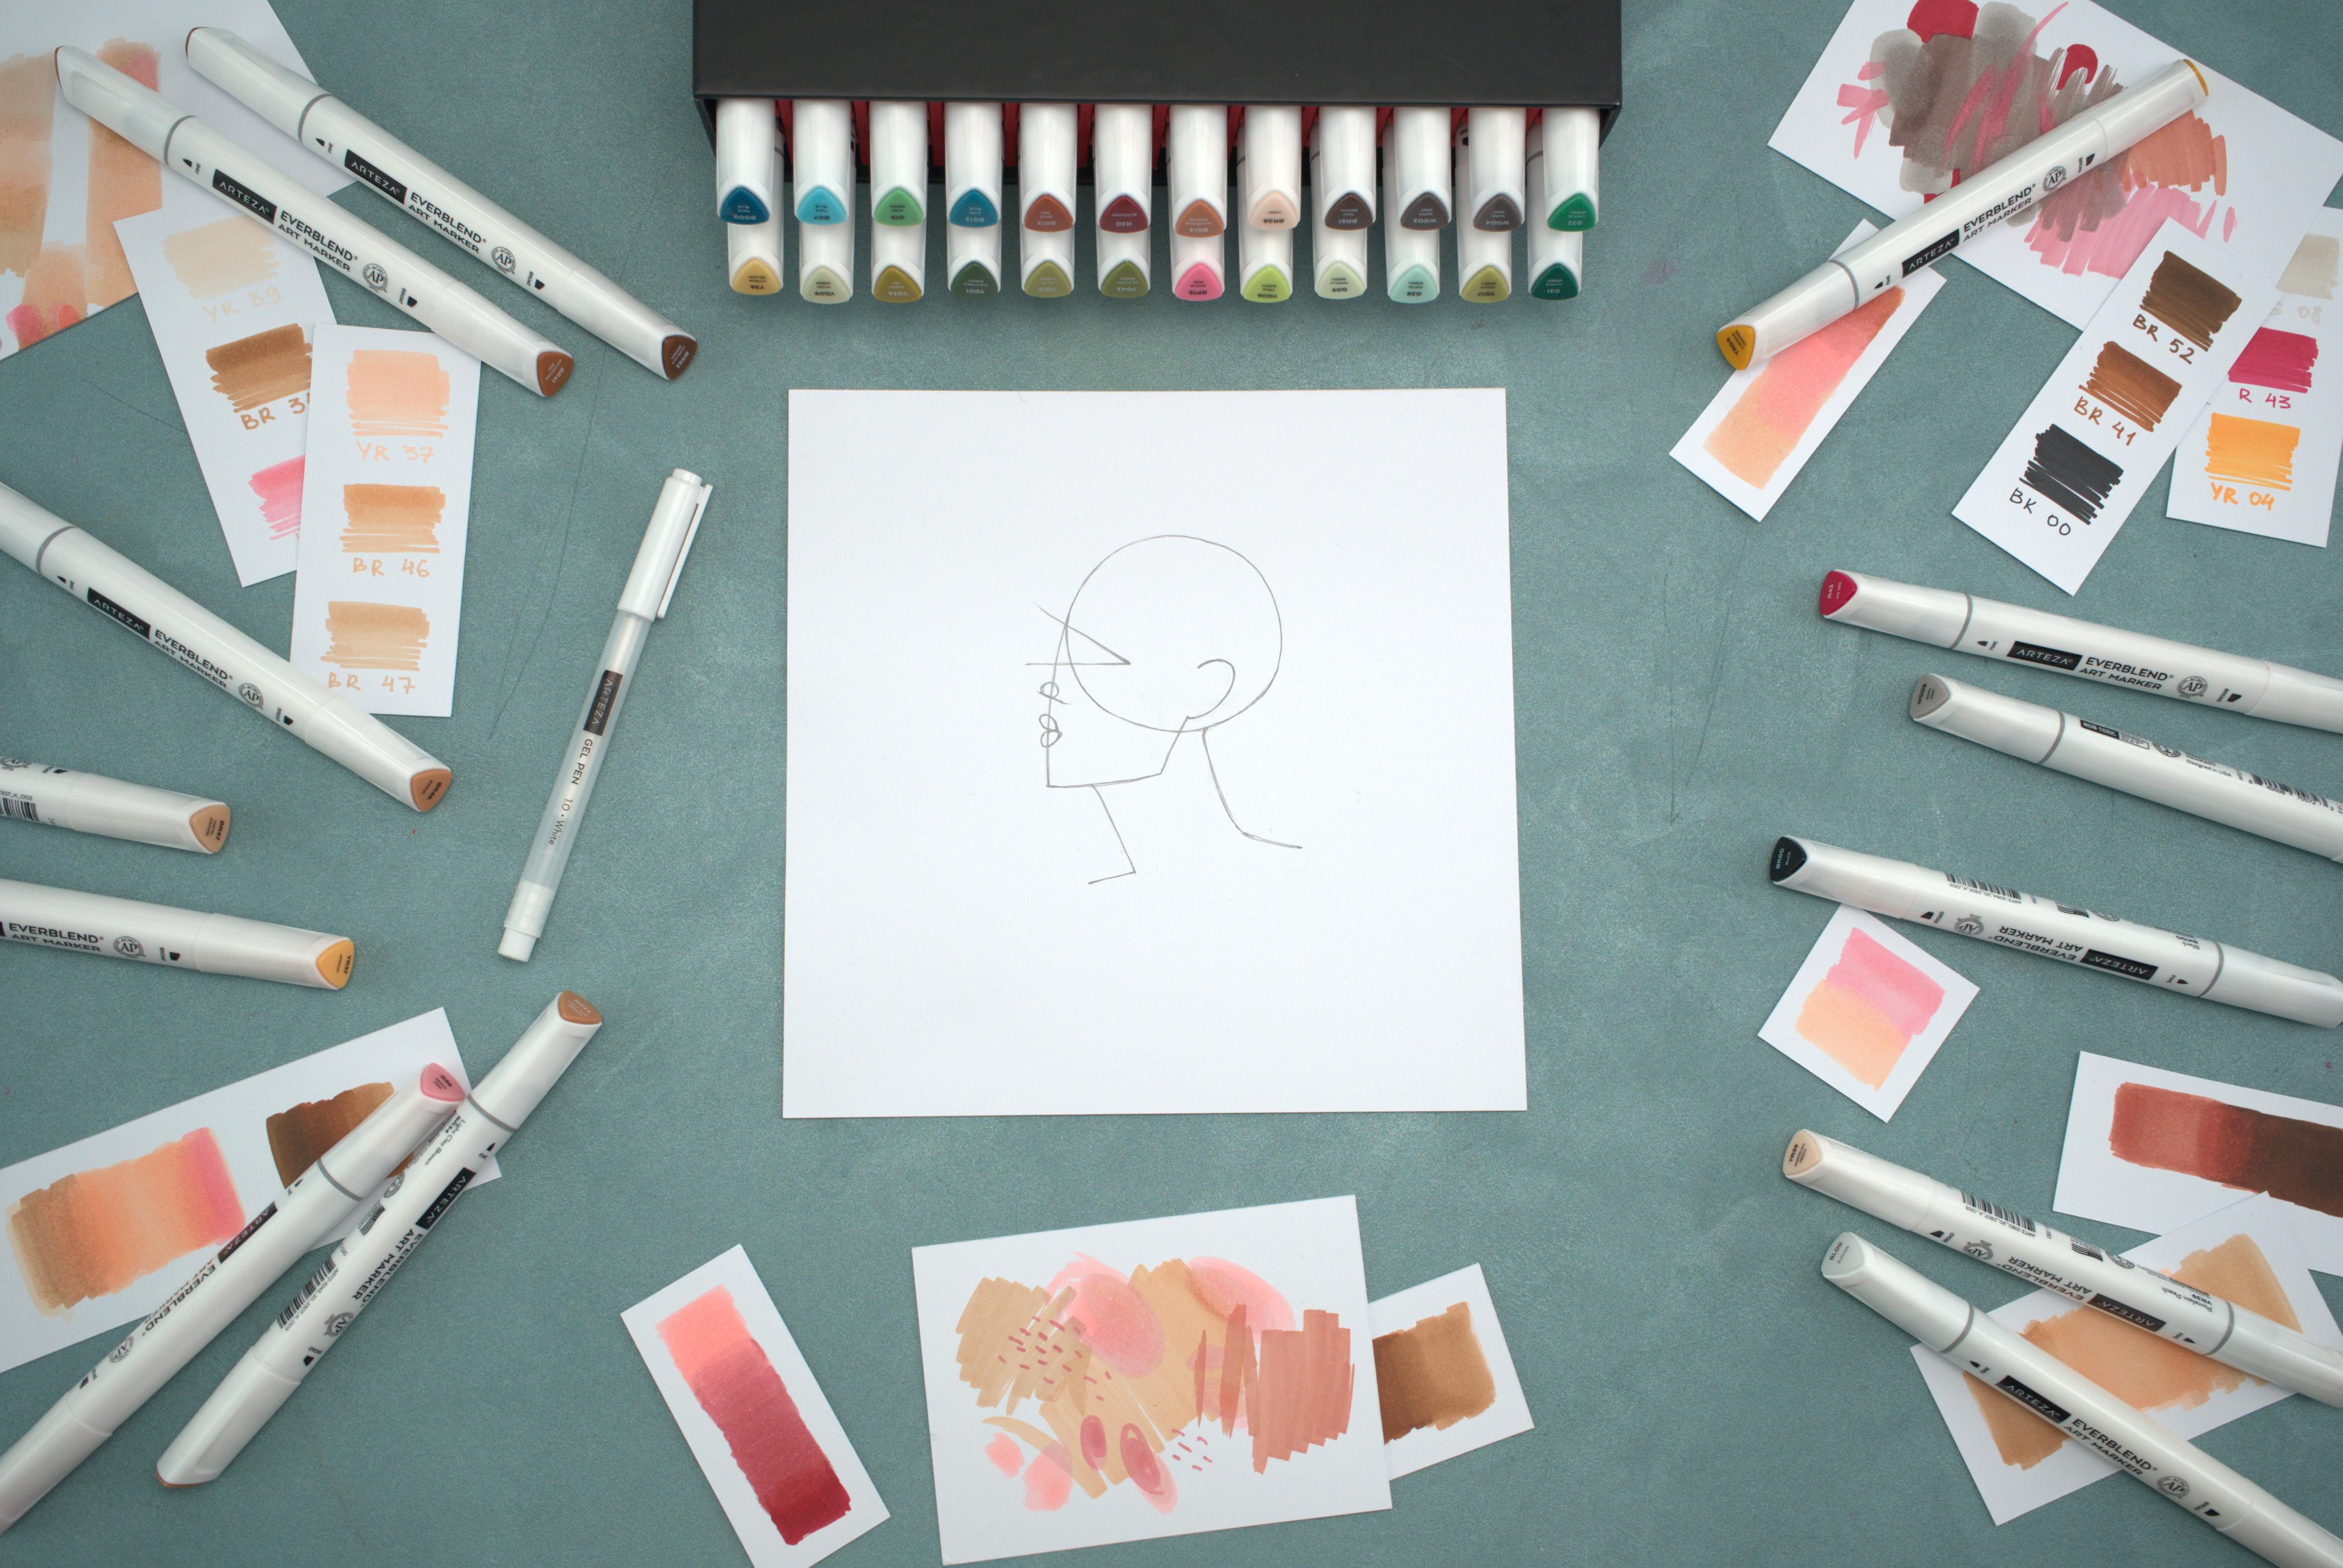
Every successful drawing starts with a thought-out sketch. To start your sketch, draw your directorial lines. Draw a circle, to represent the bulk of the head of your character. Next, add marks to indicate where her lips, nose, and chin sit. From there, develop the shape of your woman’s face. Add lines to indicate her direction of sight. Next, outline her neck and the beginning marks of her shoulders.
Step 2

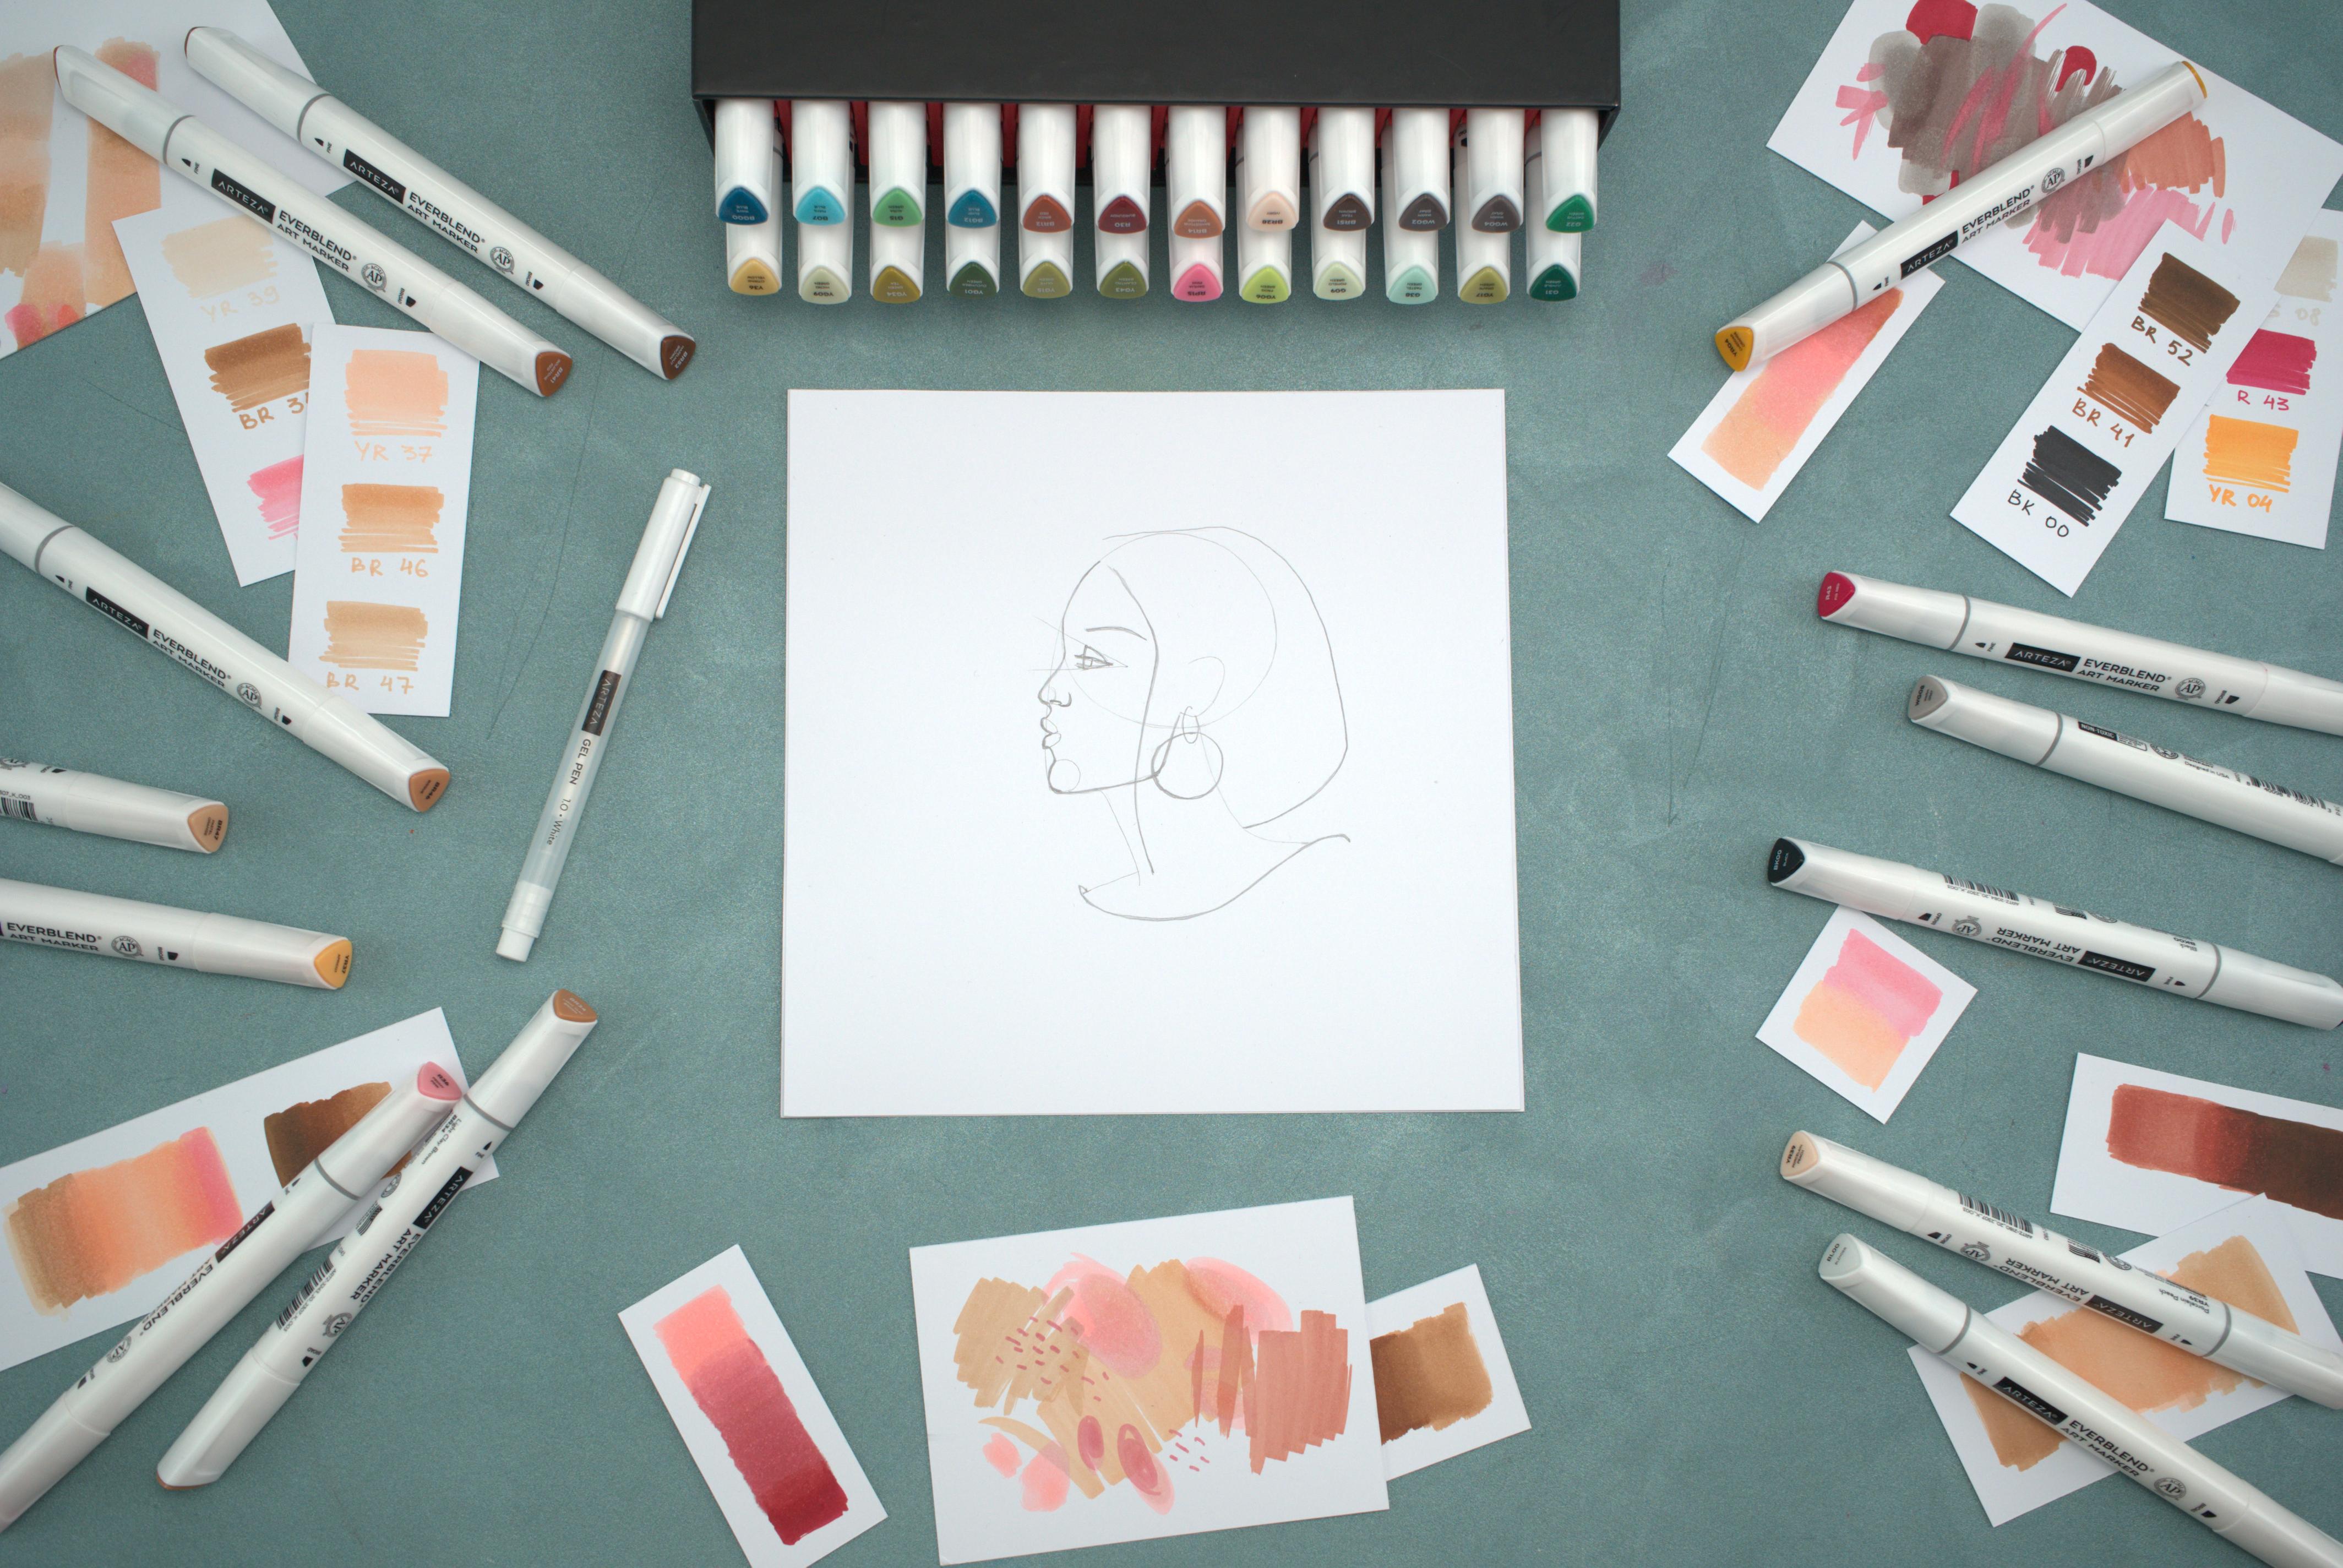
Next, add more personality to your feminine profile drawing by adding more of a definitive outline to her profile and chin. Accentuate her features by outlining her eyebrow, eye area, and the shape of her hairstyle. After your sketch looks cohesive, erase any primary lines, since they no longer serve a purpose. Removing any excess graphite marks is easy when dabbing a kneaded eraser.
Fun Fact: Some historians believe Leonardo da Vinci painted “Mona Lisa” secretly as a self-portrait; since him and Mona Lisa share similar facial bone structure.
Step 3

Elevate your drawing by adding more definition to your character’s hair. Start by adding additional strands and curls to her hairstyle. Accessorize her look with an earring and add definition to the collar on her shirt. Add more detail to her eye and brow area as well.
Fun Fact: No one knows who the woman is in Johannes Vermeer’s 1665 painting “Girl with a Pearl Earring.”
Step 4

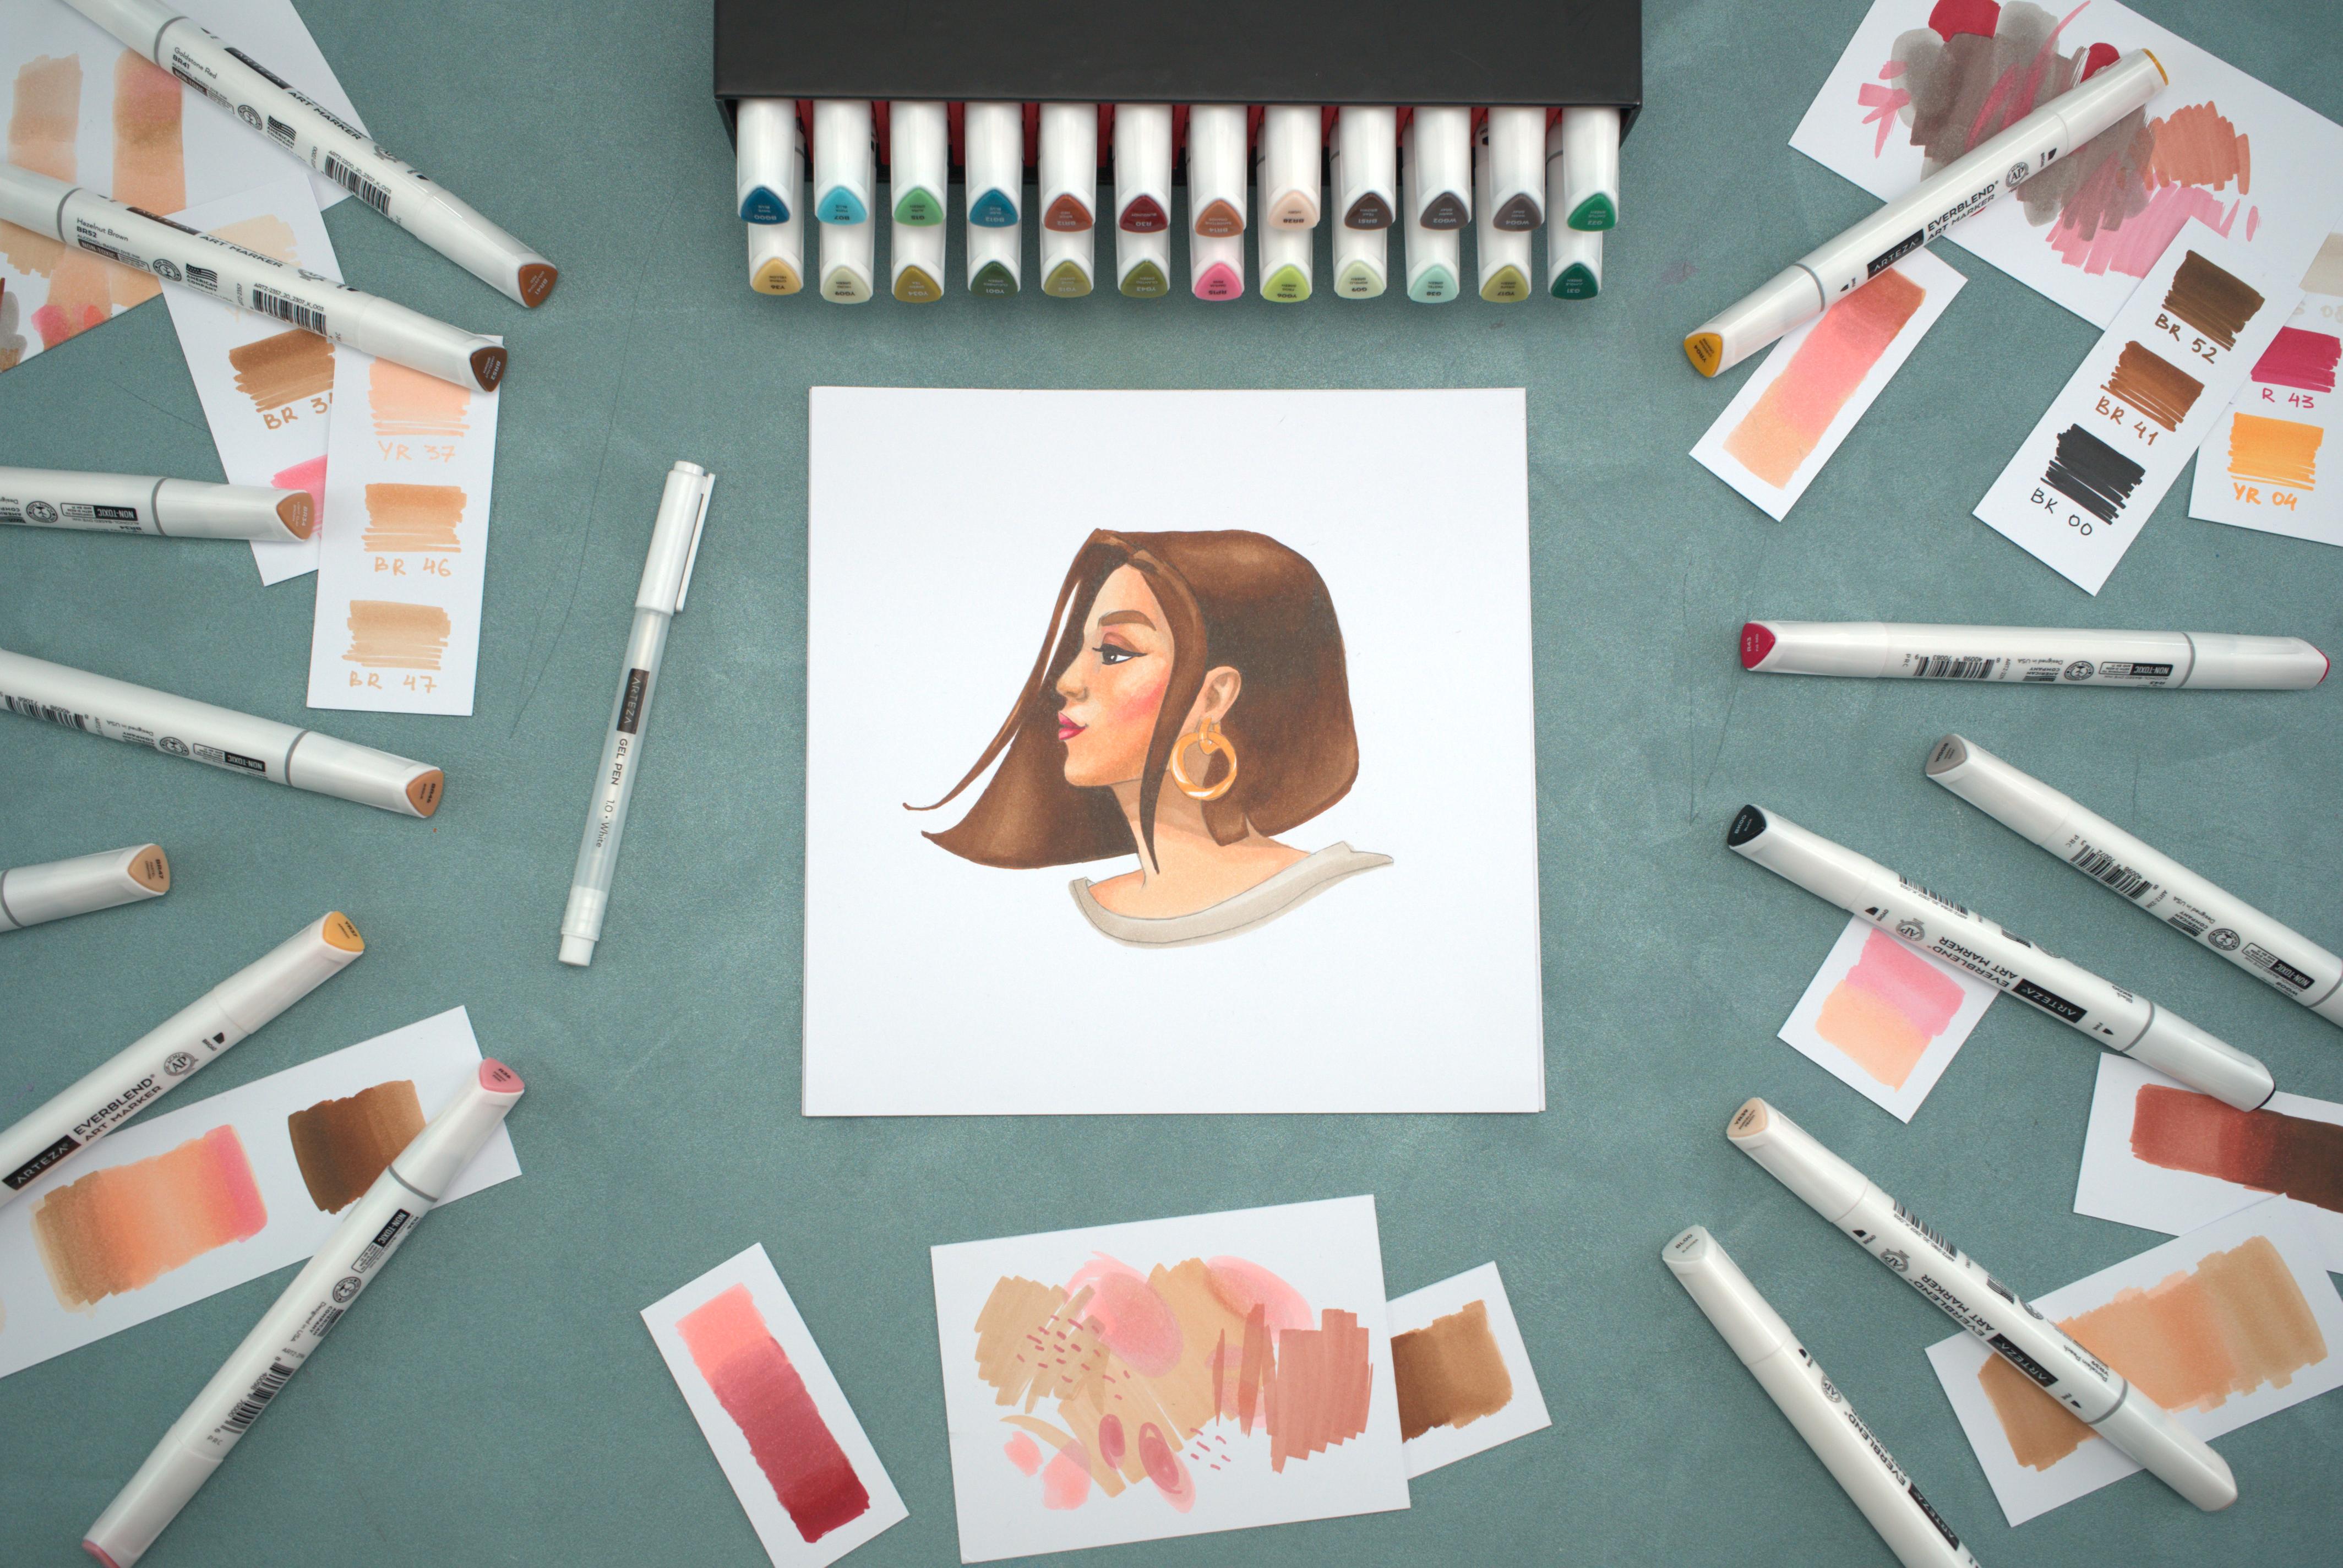
Prepare your drawing by removing any excess marks you do not wish to carry into your finished piece. Now that your drawing looks amazing, it’s time to add color! Use colors YR39, YR37, BR46, BR47, and R36 to create your character’s skin tone. Start with the lightest color first, then gradually work your colors up one layer at a time. We used YR04 to color her earring at this stage, however you can use any color you feel called to!
Step 5

Now it’s time to color her lips, earring, and shirt. Use the shades BR34, BR52, and BR41 to bring her hair to life. Use the lightest shades first and leave a highlight at her roots and tips. Since our EverBlend Ultra Markers blend effortlessly, you’ll easily be able to create marvelous color transitions. Establish your light source, then add shadows to her neck and the contour of her face, using WG08. Color her lips with R34, building up your shadows as you build your colors up, one layer at a time. Add color to the eye using BK00. To create the shadow on her eyelid, use the colors used for creating her skin tone (listed in Step 4).
Fun Fact: It took Gustav Klimt four years to paint the iconic “Portrait of Adele Bloch-Bauer I” (also often referred to as “The Lady in Gold” or “The Woman in Gold”).
Step 6

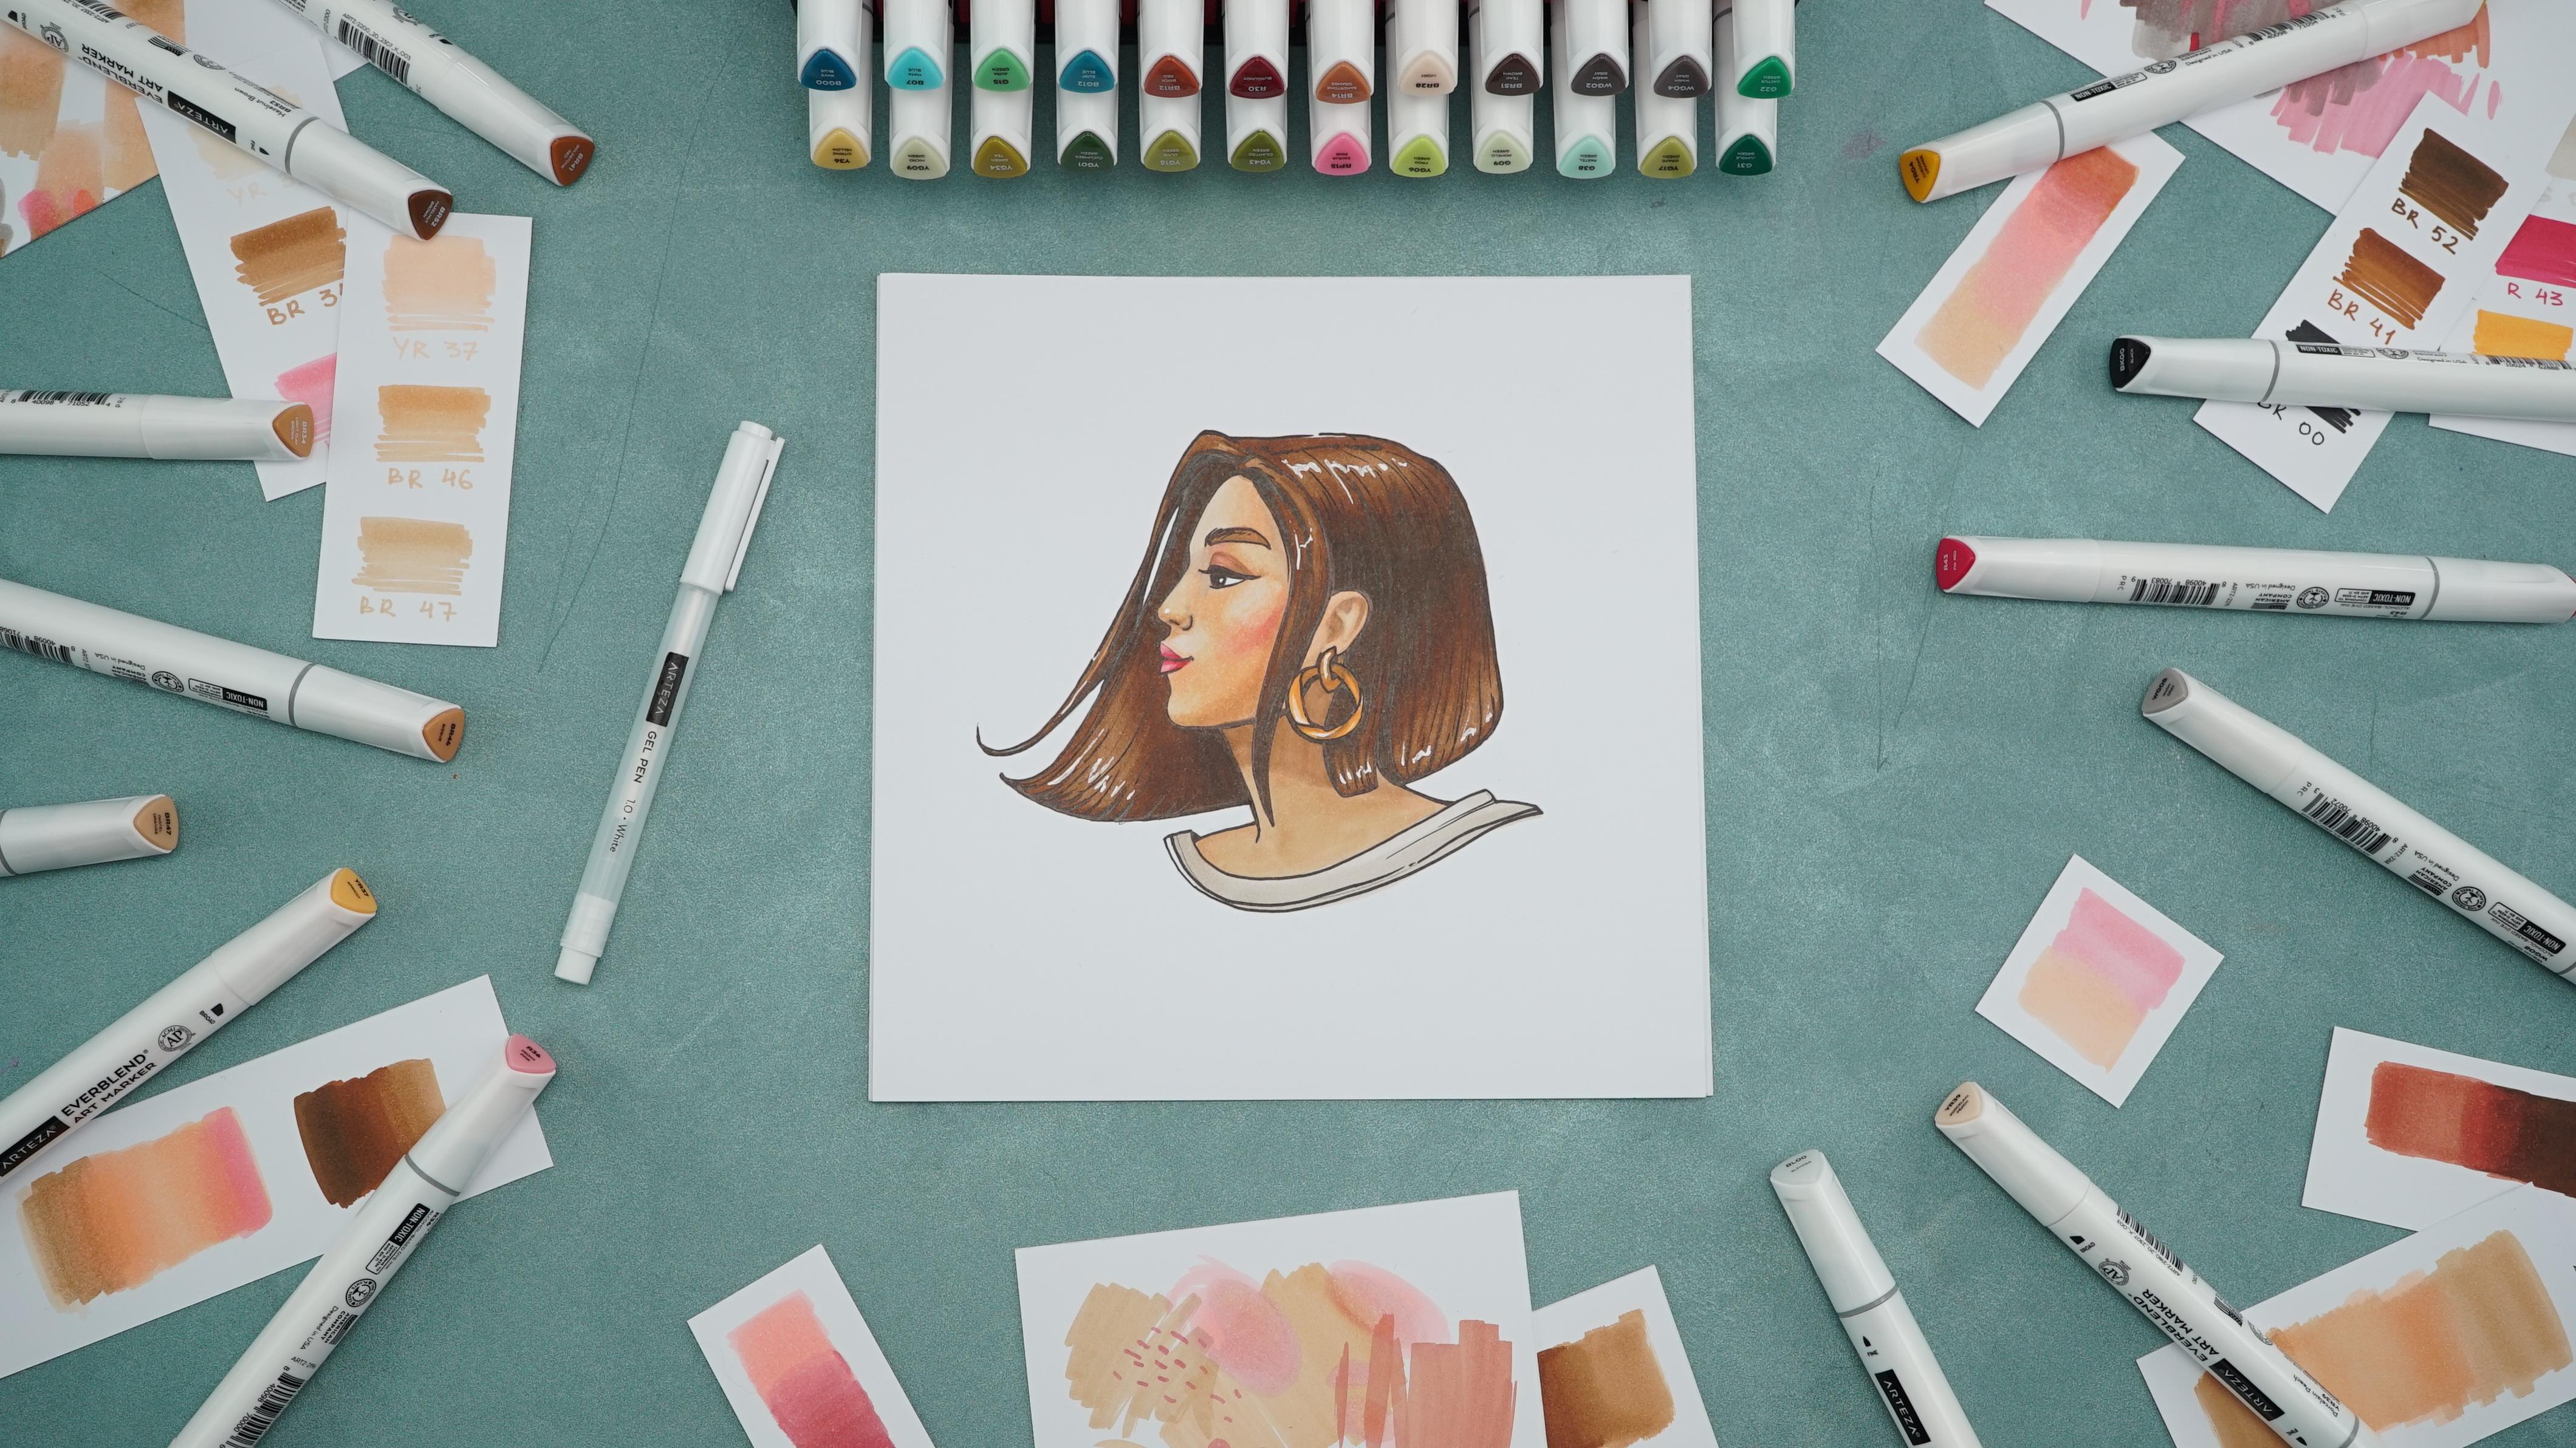
The final step is adding your finishing details. Create outlines for your feminine profile drawing using BK00. Then, add highlights with a white gel pen. Be sure to highlight her hair strands, and add a dot for the reflection in her eye. Incredible! Your female profile picture is complete. Sign your work of art and share it with your circle!
Look at the impressive work you were able to create using only Arteza’s EverBlend Art Markers, White Gel Pens, Marker Paper Pad, a pencil and a kneaded eraser. Our EverBlend Ultra Markers blend effortlessly, so you can create marker drawings with flawless color transitions. The bright white paper that fills our Marker Paper Pad is completely acid-free, so you can create with the comfort of knowing that your creations won’t warp, yellow, fade, or buckle over time. White gel pens are an artist’s best friend, especially if said artist frequently works with alcohol-based markers, watercolors, gouaches, or acrylic paints. Our White Gel Pens Set of 3 is perfect for adding any finishing details to your works of art, including your signature.
How did your drawing turn out? Are you ready to draw a masculine profile? Shop our site for your next creation.


