Table of Contents:
- How to Draw a Delicious Pizza with Watercolors
- List of Supplies
- 5-Step Pizza Drawing
- Recommendations
How to Draw a Delicious Pizza with Watercolors
Pizza is one of my favorite things! It’s also as much fun to draw and paint as it is to eat. That’s why I’m excited to share with you my five-step drawing of pizza. It’s painted with watercolors and captures the vibrant colors of all the ingredients and is sure to make your mouth water for a delicious slice.
For this project, I used the Arteza Expert Watercolor Pad. When learning how to draw a pizza, it’s important to use heavy-duty paper since you’ll be using watercolors and you don’t want the paper to warp or buckle when it gets wet. The paper in this pad is 140lb/300gsm, which means it’s strong enough to withstand the moisture of the paint as well as multiple layers of colors.
I also used the Arteza Premium Artist Paint in the half pans set. This set is really versatile since it contains 36 vibrant colors in a handy metal case. You can easily mix the reds, greens, and browns used in this painting as the lid acts as a palette. Once you’re finished, it stores away nicely and all it takes is a spritz of water to reactivate the paint.
Let’s get started!
List of Supplies
5-Step Pizza Drawing
The best way to begin is to use a photo of a pizza for reference. As you get better at drawing and painting quickly, you’ll be able to sketch an actual pizza before it gets too cold to eat!
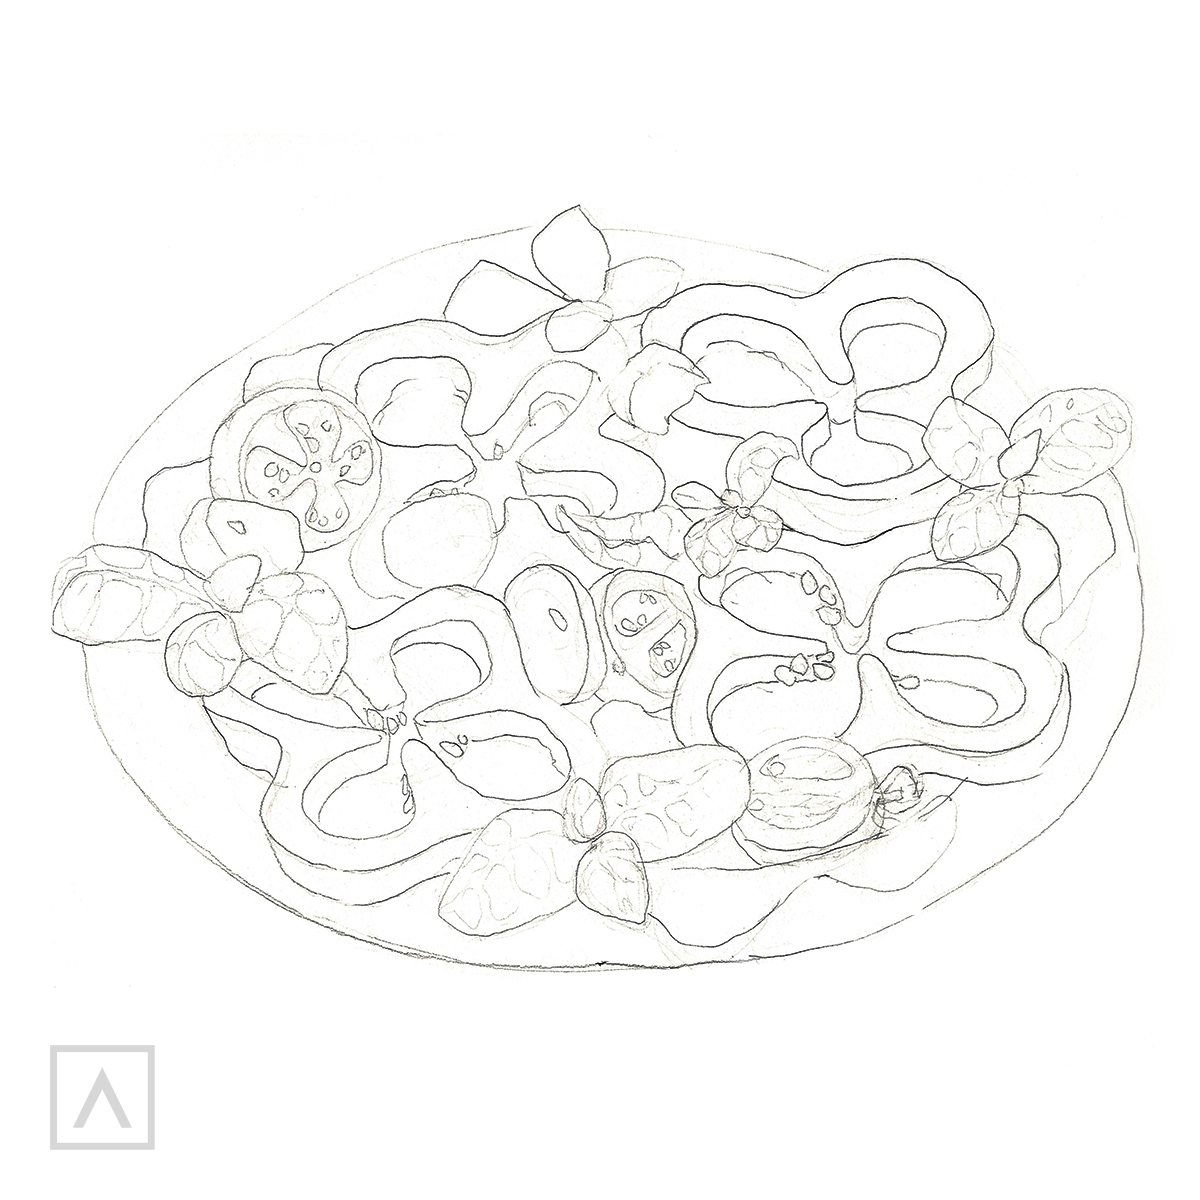
Step 1
I use a pencil with a hard lead, such as an HB, to make a light sketch of the pizza and its toppings. This way the pencil lines don’t show through when the paint is added. I’m drawing a vegetarian pizza but you can do a pepperoni pizza drawing if that’s your favorite.
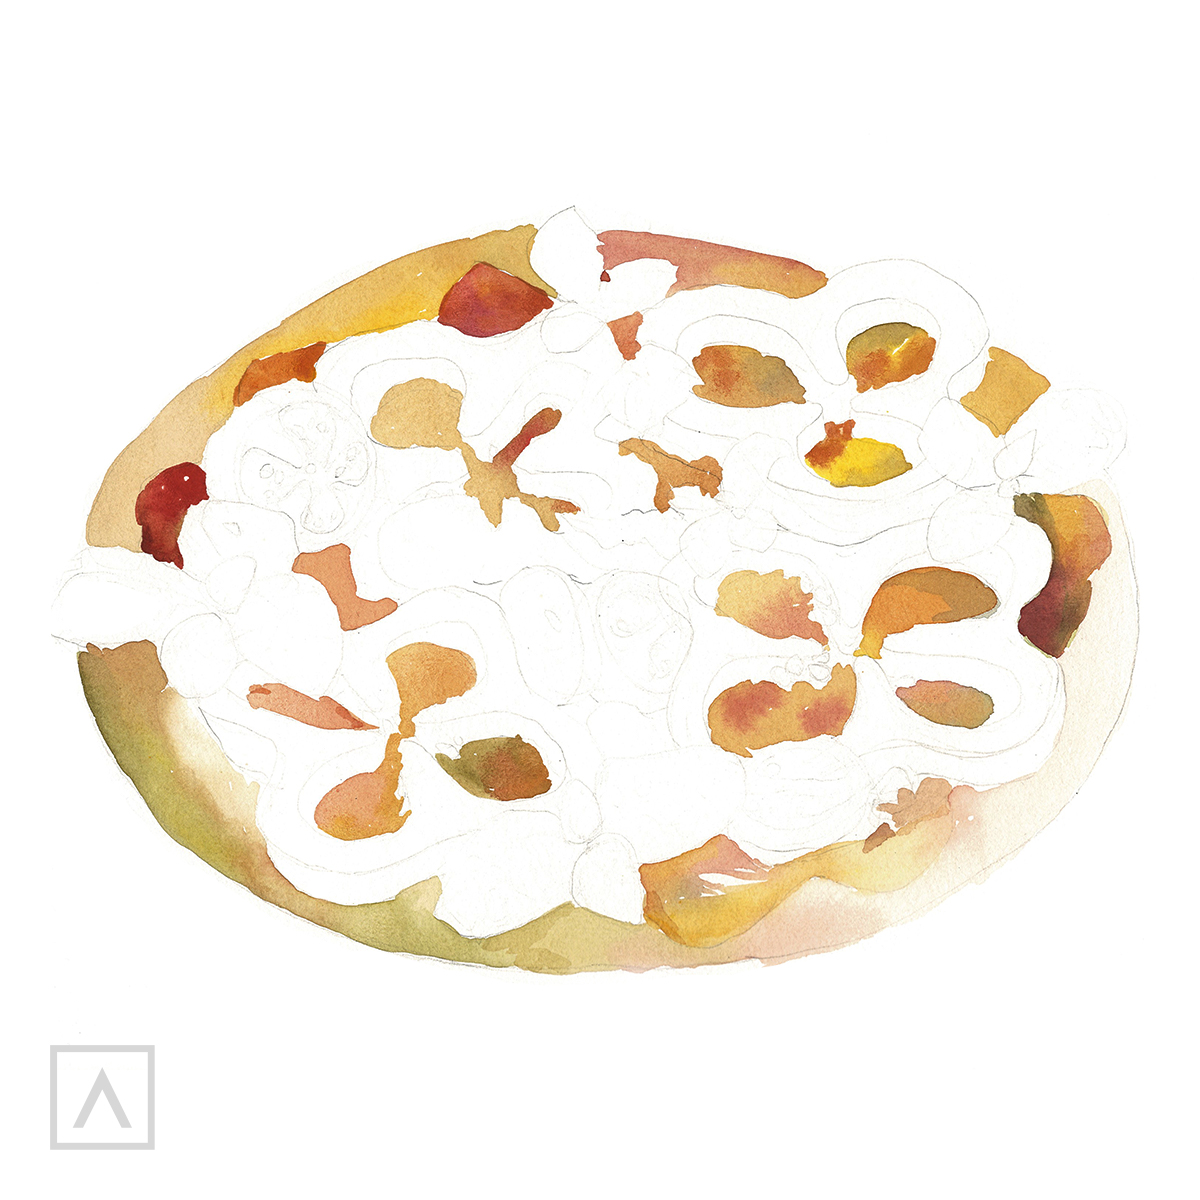
Step 2
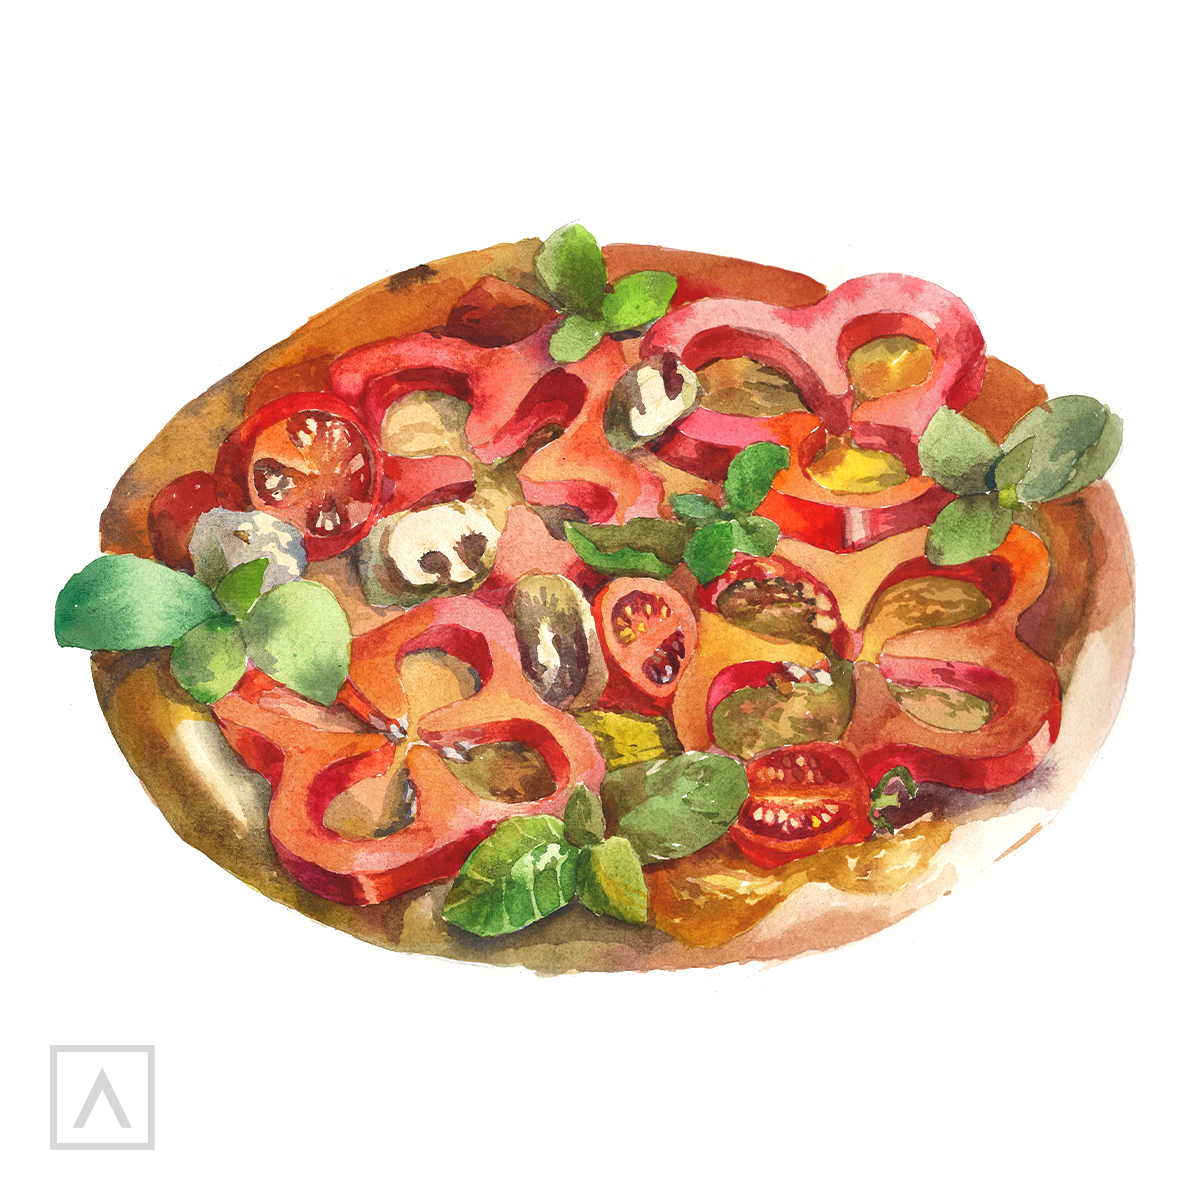
I start with the pizza’s crust, using light yellows and browns. I leave some of the paper showing through as these will be the highlights on the crust. I also paint the insides of the peppers since you can see the bottom crust of the pizza through them.
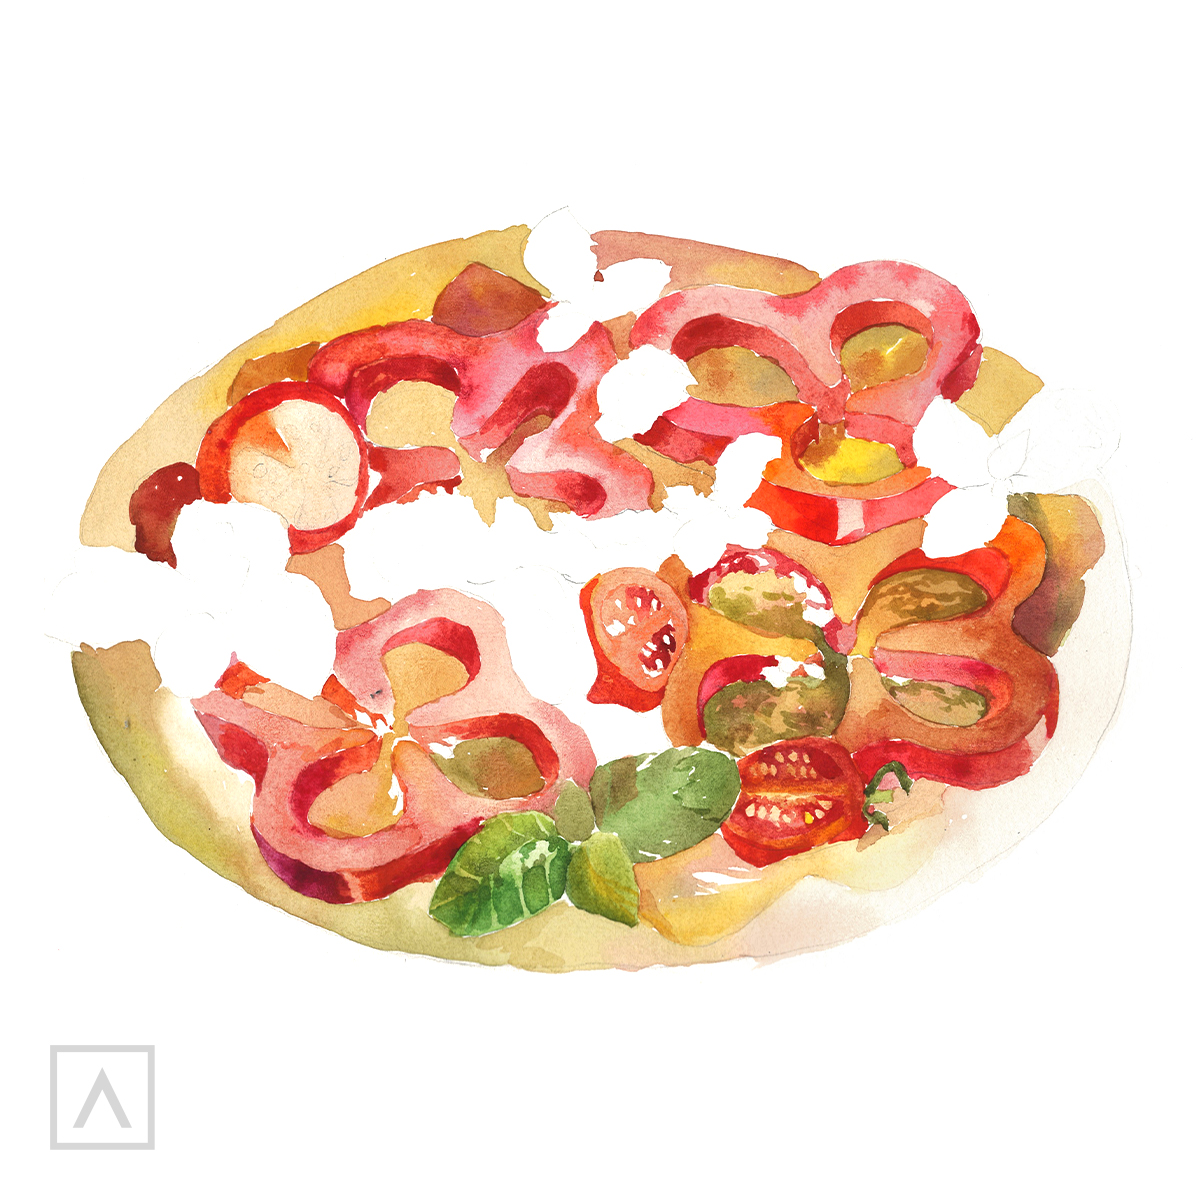
Step 3
Next, I use a light coat of red for the peppers and green for the basil leaves. After they have dried, I come back and add another layer to darken the inside edges of the peppers. This gives them a three-dimensional look.
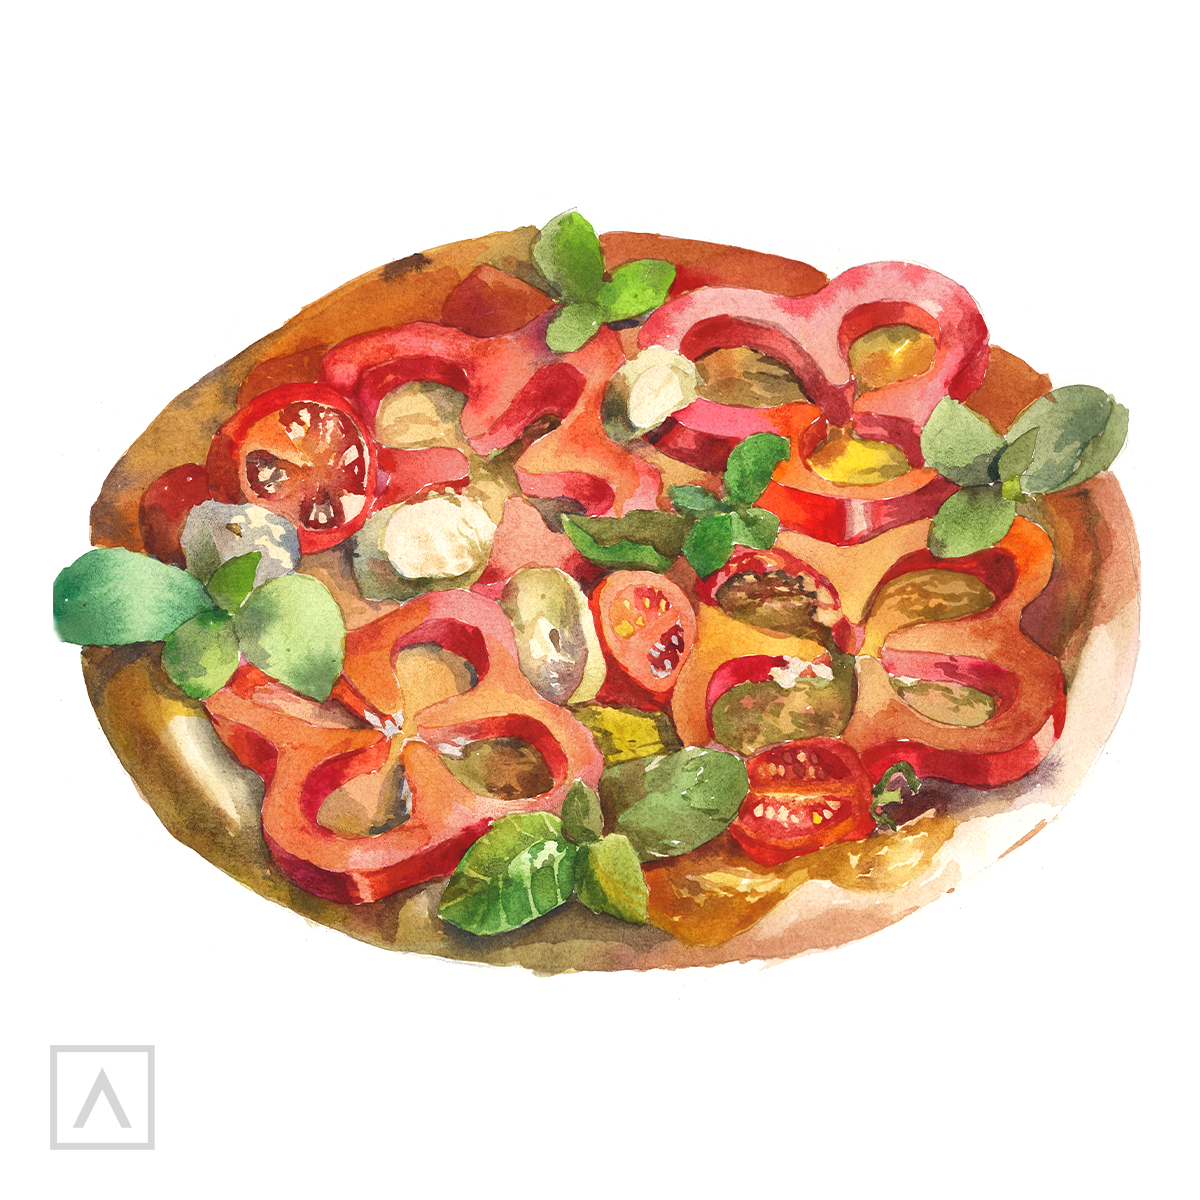
Step 4
As I paint the tomatoes, I leave tiny spots of the white paper showing for the tomato’s seeds. I proceed to paint the outside and inside of the tomatoes and the mushrooms the same way as the peppers and leaves—letting them dry and then adding another layer to darken.
Step 5
Once this layer of paint is dry, I use a small brush to add the inside details to the mushrooms as well the darker areas in the tomatoes and the basil leaves. I also give the outside crust another layer of paint to make it look toasty brown.
Bravo! Bellissima! Now you know how to draw a cute pizza.
Recommendations
- By using cold press watercolor paper, your painting will have a slight texture.
- Always use paper that’s at least 140lb/300gsm to ensure your work doesn’t buckle or warp.
- To get hard edges on objects, allow the paint to dry completely before adding another layer of paint.
- To get soft edges in your work, wet the paper first before adding the paint.
Drawing and painting food is so much fun! One of the best parts is that you always have plenty of subjects right in your pantry or fridge. Try drawing a piece of toast, making sure to get all the nooks and crannies in the bread. Or, how about painting what you had for dinner? The more you draw and paint food the more you build skills essential to your art—observation, perspective, color theory—so give it a try! I’d love to know what your favorite food is to draw, so leave me a comment below.
Are you ready to create more scrumptious treats? Shop set below for your creation, and enjoy making art!


