
Table of Contents:
Improve Your Flower Art
How to draw a rose? From Van Gogh’s sunflowers to O’Keefe’s lilies, flowers have always been a popular subject for both representational and abstract artists. And it’s no wonder, since flowers come in so many shapes, sizes, and colors. Adding a flower painting to a home’s decor instantly livens it up with a permanent bouquet.
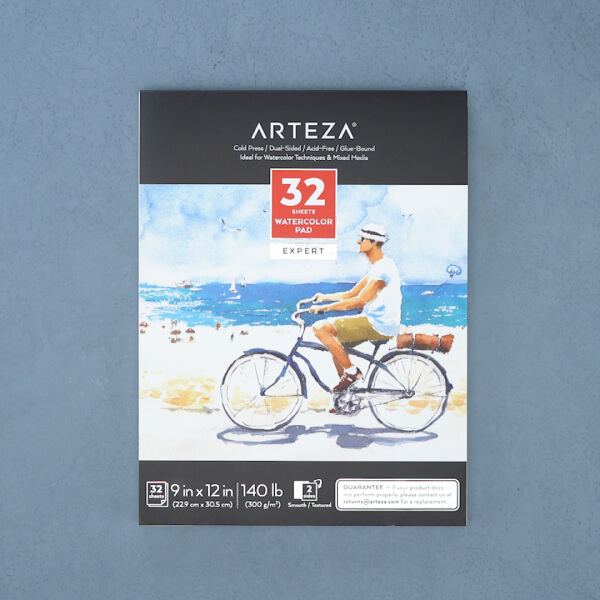
If you’ve always wanted to know how to paint flowers or improve your flower drawing and painting, we’ve got some helpful tips. Our artist has gathered some of her favorites for creating a realistic rose painting. For her 3D rose, she used Arteza Premium Watercolor Paint, which we recommend for their vibrant colors. We also suggest watching the video before starting, to have all the tips beforehand.
Rose Painting Tips

Tip 2
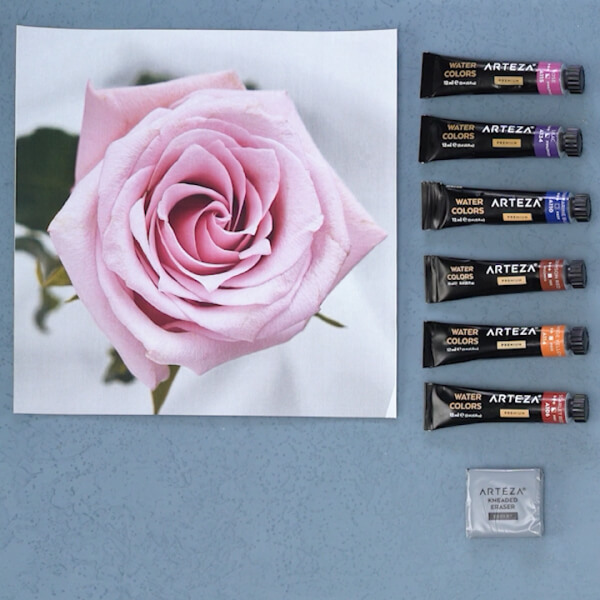
You’ll get the most realistic rendering by using an actual rose instead of a photograph of one. Painting the rose from “life” allows you to see its true colors and shapes, which can significantly change in a photograph. If you don’t have access to a rose garden, purchase a single rose from a florist. Photographing the rose can help as a resource while painting. It’s essential to get a good angle that shows its petals and texture. Our artist took her photo from the top looking down on the rose.
Tip 3
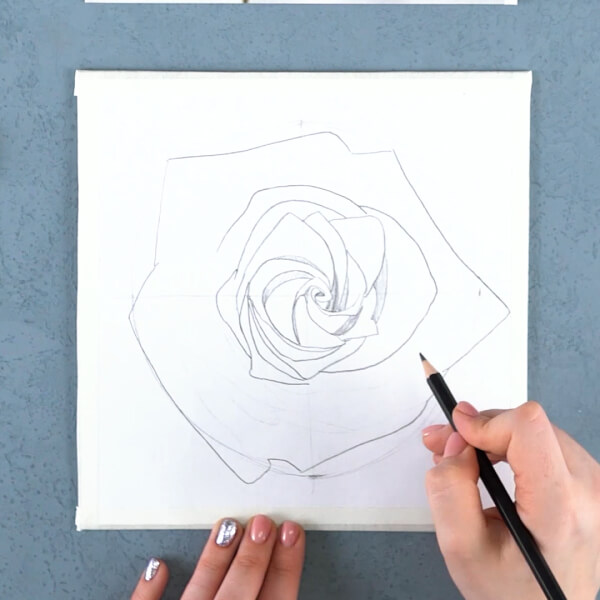
If you prefer, print the image of the rose to use as a reference for your initial drawing or to transfer to your paper. Or, draw it directly onto your paper using the image on your computer’s screen as a guide. Keep the image nearby as a guide for accurately capturing shapes and shadows.
Tip 4
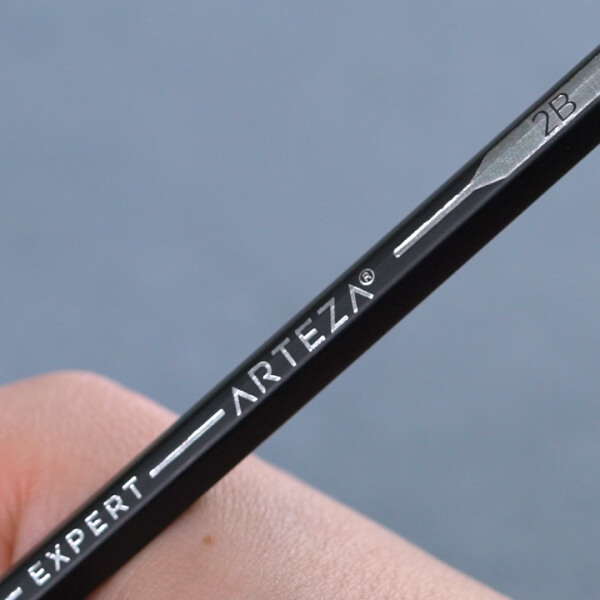
Use a hard pencil , such as an HB or 2B, to make a light sketch. Using a hard pencil will ensure the sketch will be light enough not to be seen through the transparent watercolor. The artist in the video started her drawing from the outer contour of the rose.
Tip 5
To place the flower’s petals, start from its center and draw the petals to the edges, while continuously looking at the reference image to ensure each shape and placement is correct. To help remember which petals will be in shadow, add a few pencil lines on those to darken.
Tip 6
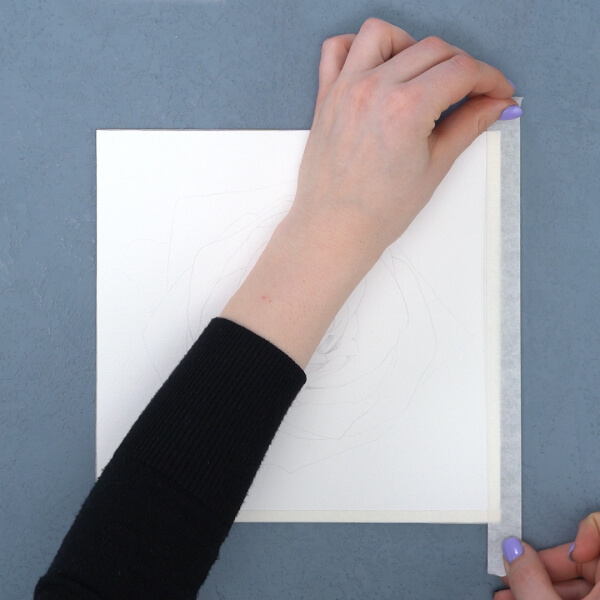
To make sure your paper doesn’t warp or bend once the wet paint is applied, tape it to your work surface or a piece of cardboard with masking tape. Skip this tip if your paper is heavier than 140lb/300 gsm.

Tip 7
For the most realistic rose, choose only the colors you actually see. If you do choose to use more colors, be careful you don’t over mix them or they’ll turn muddy. Don’t rush to use as many colors as you can or you’ll be disappointed in the end result.

Tip 8
It’s always best to use a palette. The palette allows you to add enough water to your paint to get the best consistency, as well as create new hues by mixing different hues together. To see how this works, take a look at this blog. If you don’t have a palette, use a plate or tile instead.

Tip 9
How colors look on the palette can vary from how they will appear on your paper. Making a swatch chart, as our artist did, before you start the painting will help you see how the colors look on paper and help you easily decide at a glance the right one to use.
Tip 10
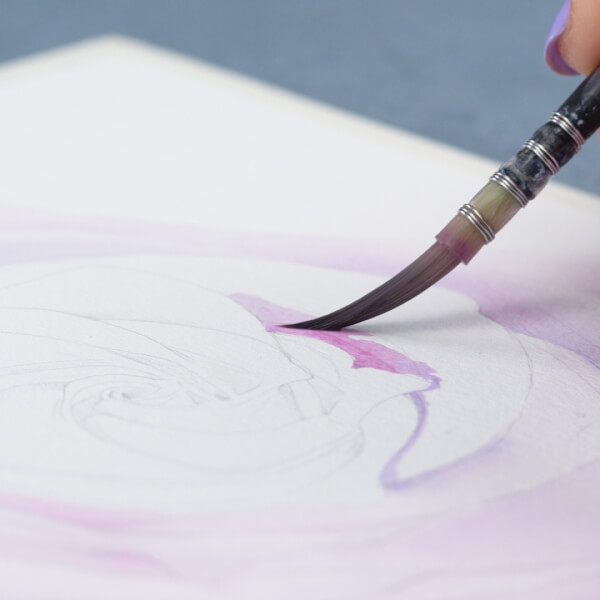
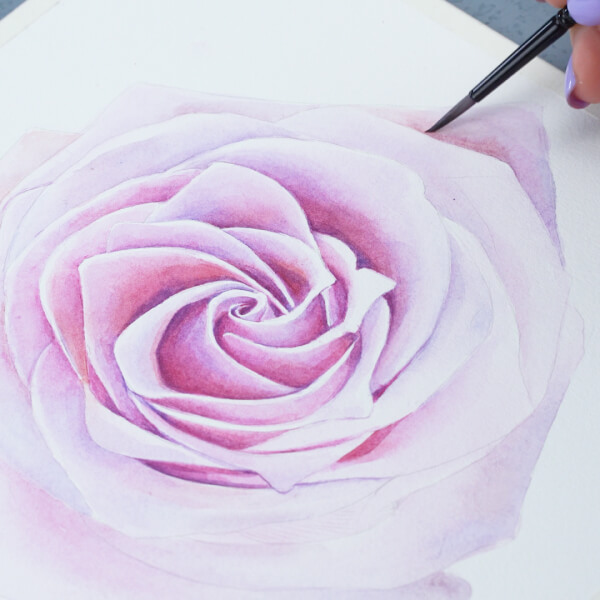
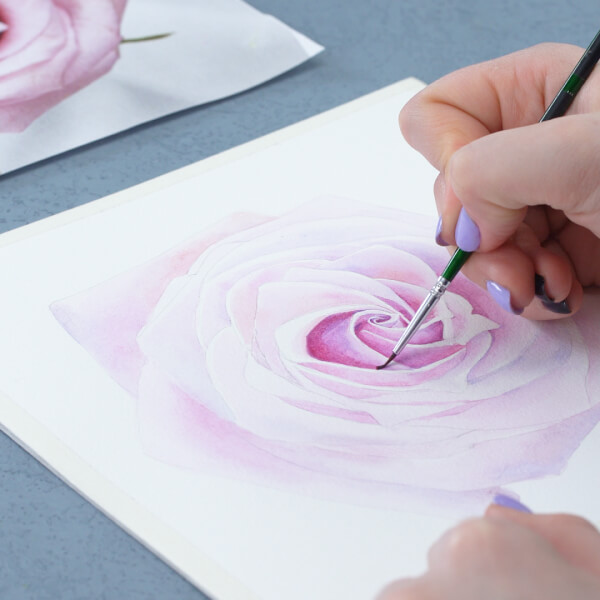
The artist uses the “wet-on-wet” technique, meaning she wets the surface of the rose before applying the paint. This gives the rose a soft texture. She begins at the inner area of the petal with a light layer of pigment, then comes back with a slightly darker shade for the areas in shadow. She blends pale and dark shades to give the most contrast to the petals, which helps separate one from another.
Tip 11
If your subject is painted in cool tones, the shadows should be in warm ones. If the subject is painted in warm tones, such as this rose, then the shadows should be in cool ones. This is why the artist added purple and ultramarine to her shadows.

Tip 12
The background should not be more predominant than your subject. To make this background lighter than the rose, the artist used water to make the paint more transparent and applied it after wetting the paper first.
Tip 13
Try to leave a little space between the petals to make the flower look fuller. If you’re afraid of accidentally combining petals, don’t worry, this can easily be corrected by using a dry brush to “lift” the pigment from the paper. Other ways of hiding mistakes include using white chalk to stop the watercolor from bleeding to the petal’s edge or using white watercolor paint over the area once the previous layer has dried.

Tip 14
Even if you prefer other subjects to paint, keep practicing painting flowers. Achieving a realistic flower is a good challenge for both beginning and experienced artists. It allows you to work on significant elements such as proportion, scale, form, and texture. You’ll find that becoming good at drawing and painting flowers will help you realistically capture other subjects as well.
There you have it—some handy tips that will help create realistic flowers. These tips will work with whatever flower you want to paint. You can find all kinds of flowers to add to your art at your local botanical garden, arboretum, or even your neighbor’s garden. To see how our artist used all these tips, watch this video and get inspired, and don't forget to check out our entire Valentines Day Collection for limitless creativity!


1 comment
Thank-you so much for your kindness and giving spirit. I love watercolours. And I used to paint every day. I admit that I didn’t paint flowers because I was so intimidated by my sketches first. I really appreciate this tutorial and now I would like to attack my fear of failure and try, no,.succeed in painting. again.