Table of Contents:
- How to Draw an Adorable Sloth Catching Some Z’s
- List of Supplies
- Give This Easy Sloth Drawing a Try
- Recommendations
Make an Adorable Sloth Drawing in 6 Steps
I think sloths have gotten a bad rap. They have a reputation as lazy animals that sleep all day, but they’re really very interesting. Did you know that these slow-moving creatures are fast swimmers? They are three times faster in water than on land! Their arms are three times stronger than a human’s, making them better at pull-ups than us. I also think they are one of the cutest animals on the planet, which is why I like to draw them.
In this article, I’ll show you how to draw a sloth step-by-step. This drawing is an illustration and not a realistic drawing of a sloth. I used Arteza’s Watercolors which are bright and come in a handy tin that makes it easy to take them wherever you go.
Let’s get started!
List of Supplies
- Arteza Portable Watercolor - A101 Cadmium Light Yellow, A300 Yellow Ochre, A001 Noir
- HB Pencil
Give This Easy Sloth Drawing a Try
It’s a good idea to use an HB pencil for your initial drawing. This pencil contains hard lead that will give you light enough lines to make your drawing and then paint over it without any of the lines showing.
Step 1
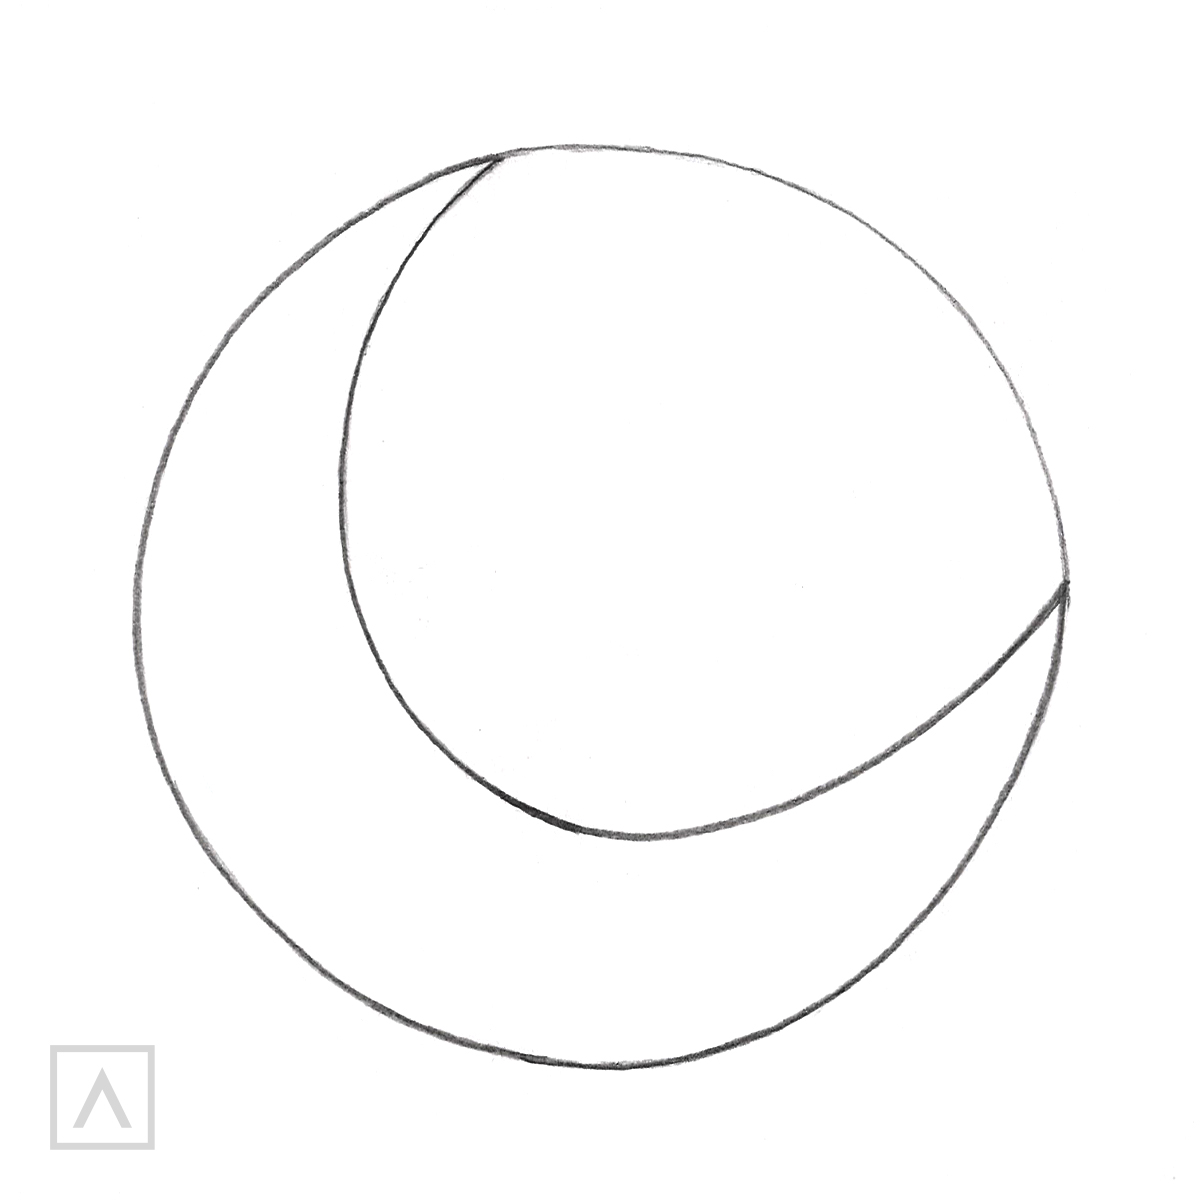
Begin by drawing a circle. Next, add the shape of a crescent moon inside it. Our sleepy sloth will be placed on the moon.
Step 2
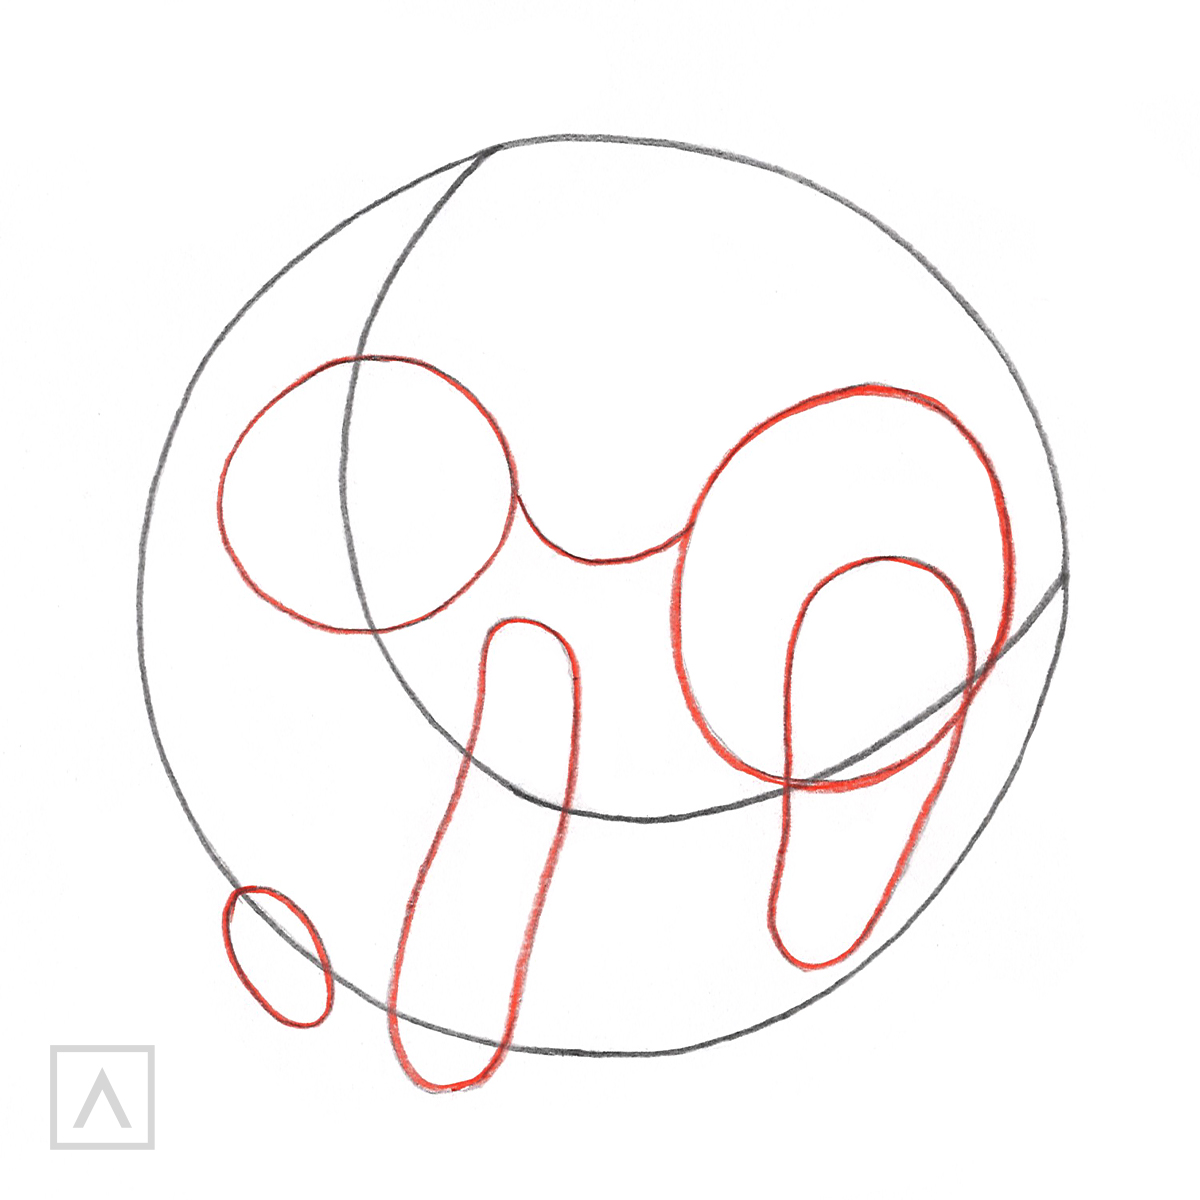
Use general shapes, such as circles and ovals to draw the head, bottom, legs, and paw of the sloth. Then add a curved line from the head to the sloth’s bottom to represent its back.
Step 3
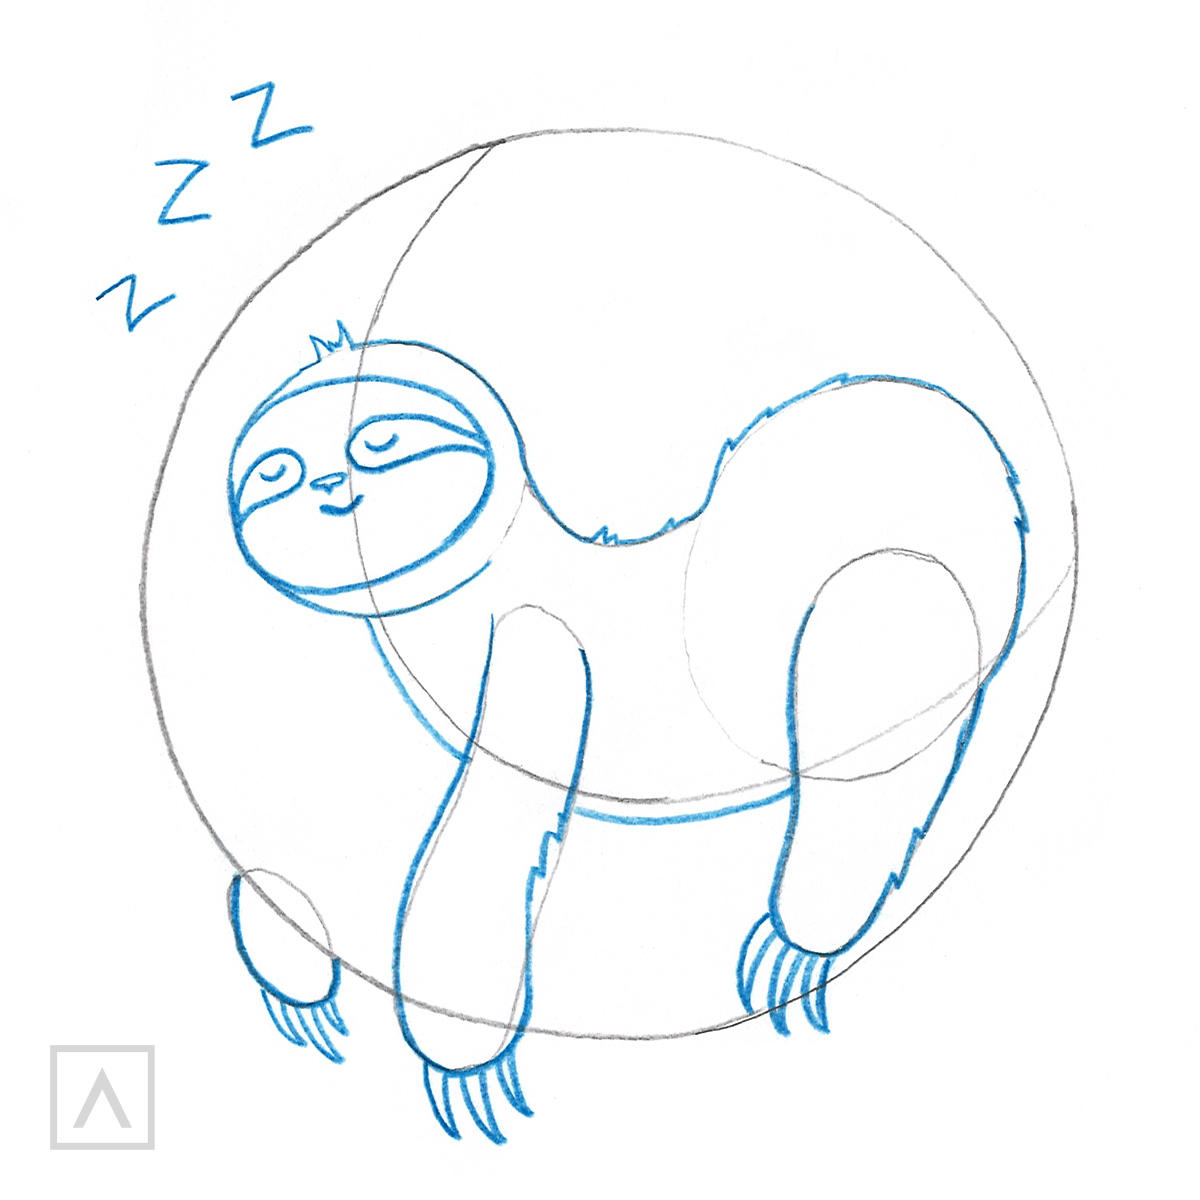
Create the sloth’s face and draw the eye patches and little u-shaped lines for the eyes. This makes the eyes look as though they are shut. Next, add the nose and draw a line under the face for the fold in the sloth’s neck. Finish the sketch by adding a few z’s. He looks like he’s in dreamland, doesn’t he?
Step 4
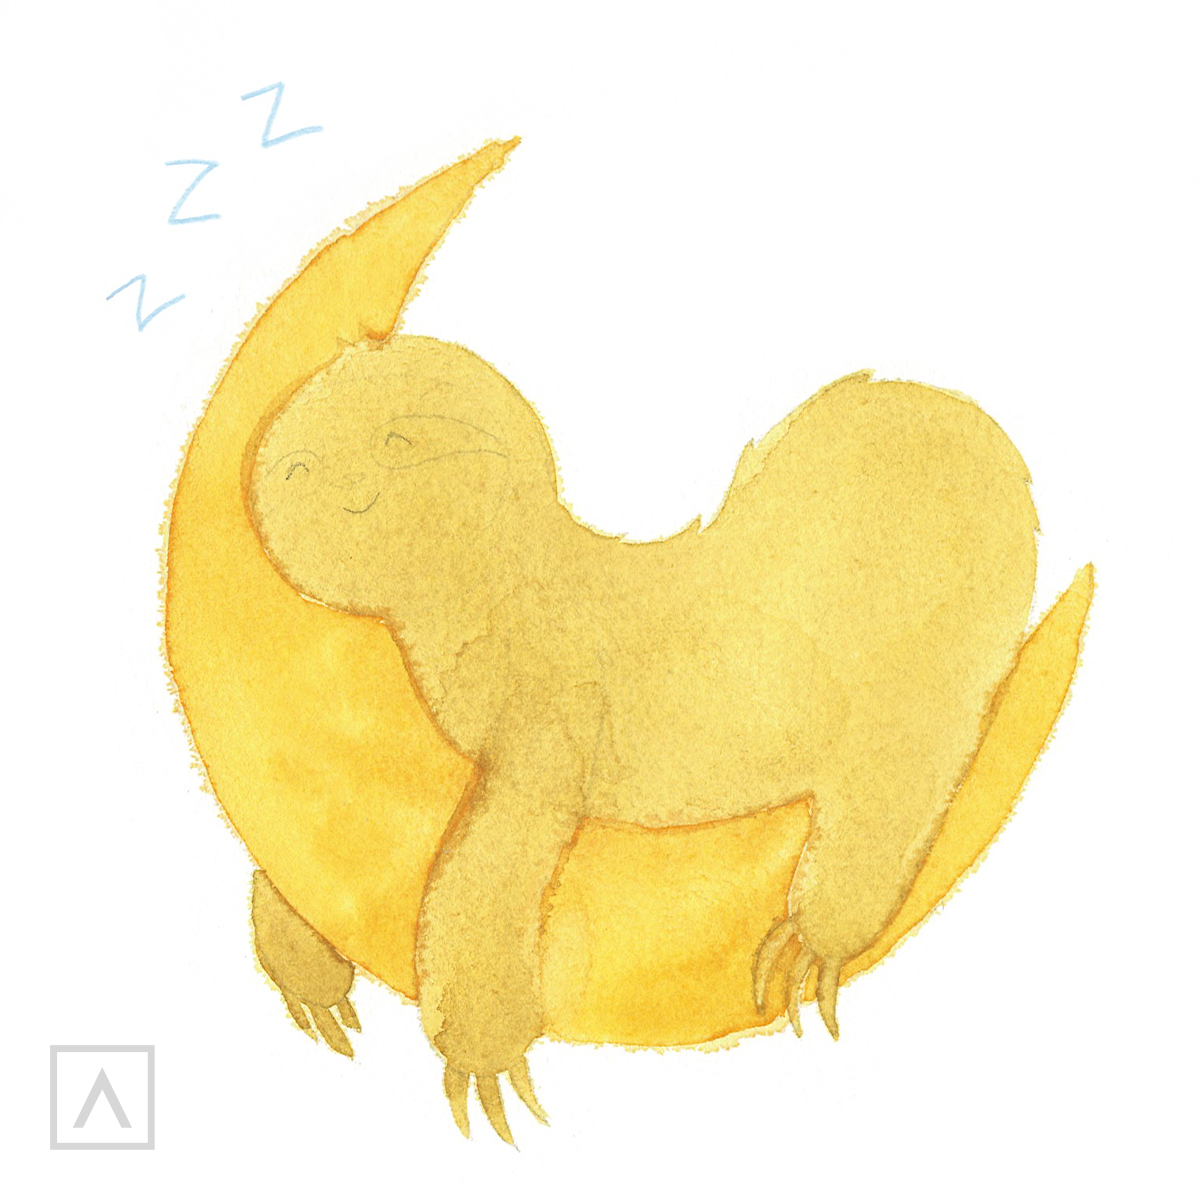
Dilute A101 with water and apply a thin wash over the entire drawing. Once it’s completely dry, add another layer of this color to the sloth’s body to darken it. Let dry completely.
Step 5
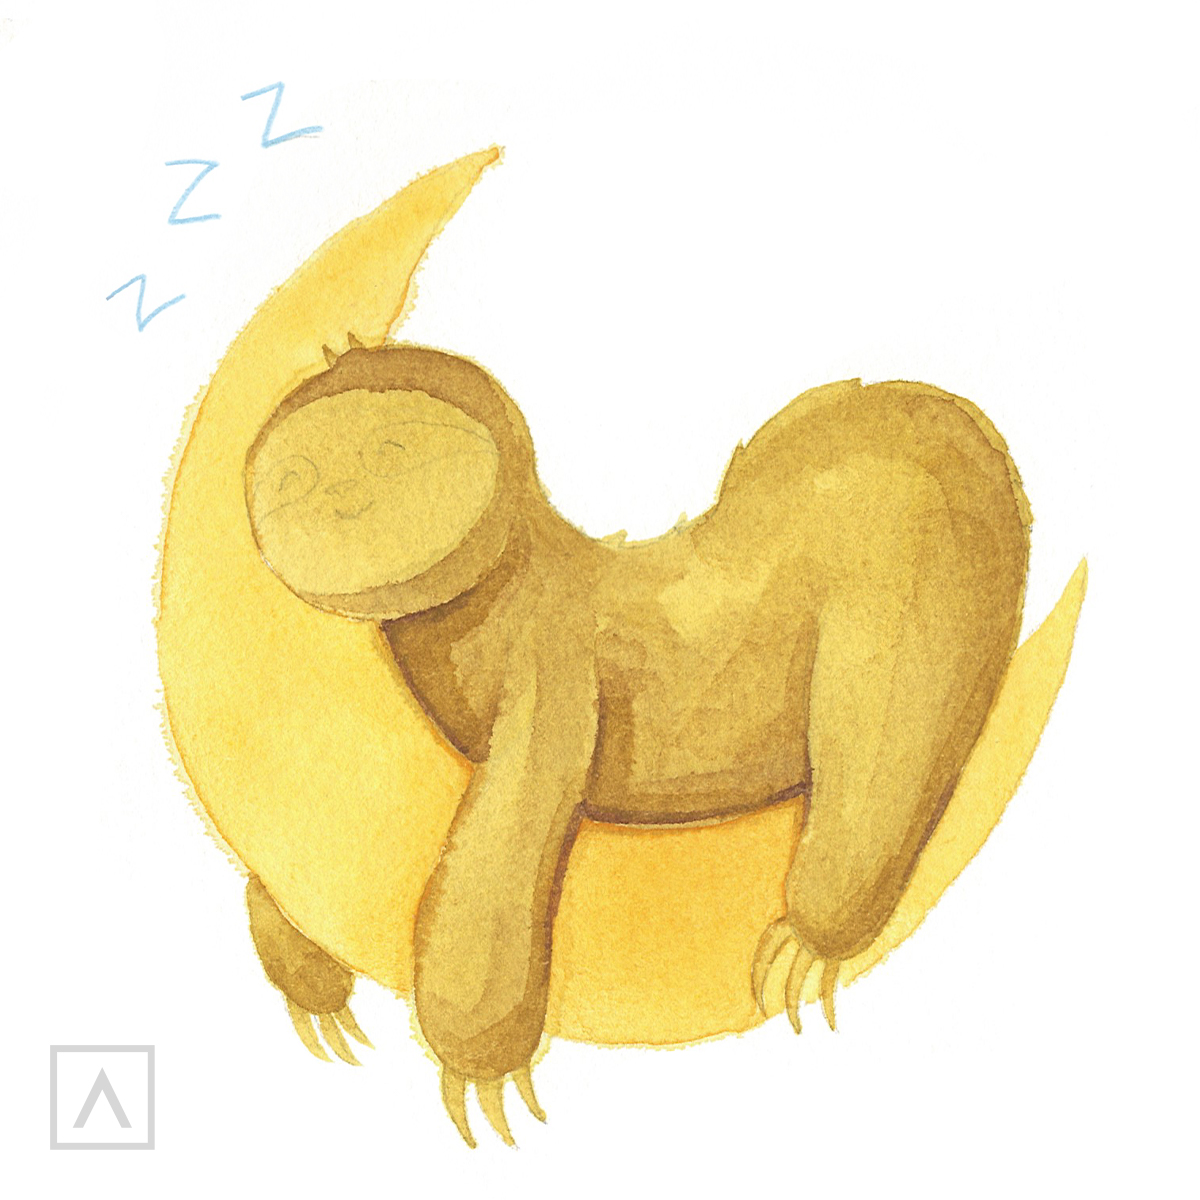
Once dry, add A300 to the areas of the body that would be in shadow—the top of the head, the side of the body against the moon, along the legs beside the moon, and the small paw hanging behind the moon.
Step 6
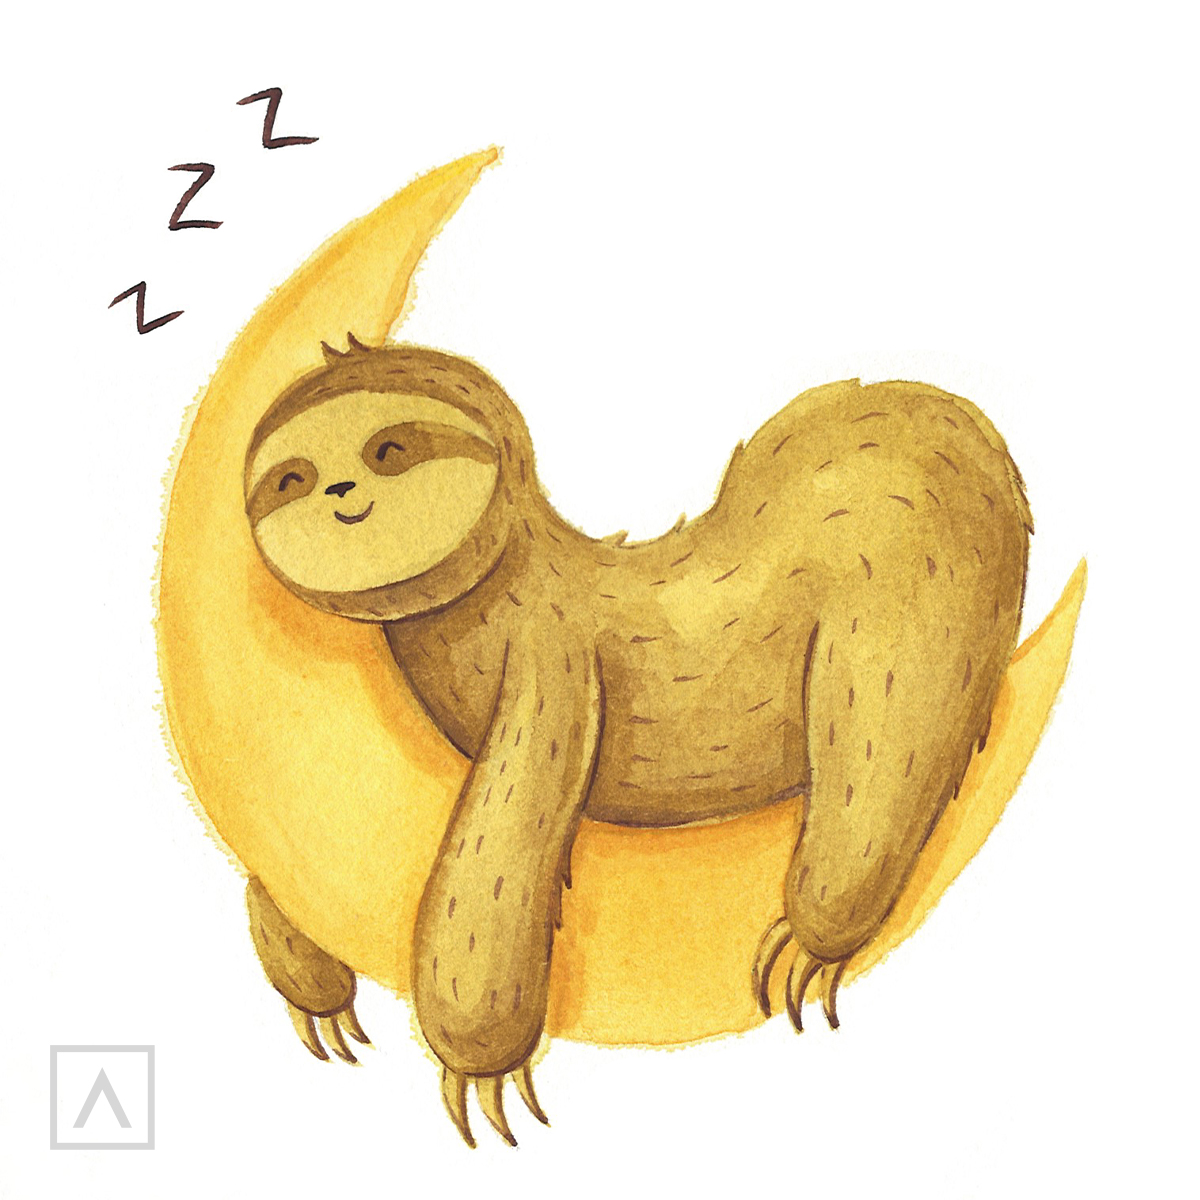
Add A300 to the eye patches and continue to layer it over the previously painted areas to darken them. Finally, using the tip of the brush, add some tiny marks for the fur in A001 as well as over the eyes, nose, mouth, tops of the claws, and the z’s. Sweet dreams, sloth!
You’ve done it! You’ve just drawn and painted a sleepy sloth that’s simply adorable!
Recommendations
- Practice with applying different amounts of pressure to the water brush to see how much water you get. By using a little bit of pressure while dipping it into the paint, you’ll get a stranger shade, while more pressure results in more water being added that will result in a lighter shade.
- By layering your paint over a wet surface, you’ll get a softer, subtler tone. This is called the wet-on-wet technique.
- To get a sharp edge and highly saturated color, apply your paint to a dry surface. This is known as the wet-on-dry technique.
I hope you’ve enjoyed learning how to draw a sloth. These shy, slow-moving creatures are so charming and make great subjects to sketch, draw, and paint. You can get plenty of images from the internet to help you practice and before you know it, you’ll be a sloth-drawing specialist! I’d love to hear about your experiences with sloth drawing, so please leave a comment in the section below.
Are you feeling inspired after seeing this how to? Are you ready to draw more adorable animals? Please view suggested products below for your next creation.


