Want more great inspiration? Check out our other art camp tutorials!
- Art Camp Day 2 - Create a House Drawing & Paint with Gouache
- Art Camp Day 3 - Dive Into Acrylic Art with an Adorable Pool Painting
- Art Camp Day 4 - Seashell Drawing Using Arteza Drawing Pencil Set
- Art Camp Day 5 - How to Draw Ice Cream with Colored Pencils
- Art Camp Day 6 - Learn to Make Polymer Clay Jewelry
- Art Camp Day 7 - The Key to Making Art with Alcohol Based Markers
- Art Camp Bonus Day - 7 Easy to Draw Pictures Kids Will Love!
Table of Contents:
- Try Watercolor Painting This Colorful Tropical Bird
- List of Supplies
- Make This Easy Painting in 7 Steps
- Recommendations
Try Watercolor Painting This Colorful Tropical Bird
Birds are some of my favorite subjects to paint in watercolor, especially tropical birds like the Toucan. These birds are so colorful and with their long bill and expressive eyes, they have so much character! With a picture as a reference, this bird is so easy to replicate; he looks bright and will be an interesting painting once complete.
That’s why I couldn’t wait to show you my step-by-step process to draw and paint one. For this simple painting, I’m using pan paints instead of tubes. This set of 36 colors is perfect for making fun and fast pieces since all I need is in the set. By that I mean I have all the colors I want, plus I don’t need a palette for mixing since I can use the lid for that! I like the Arteza set best because my colors don’t fade once they dry. So, really, the only supplies you need when you use a set is a brush, paper and water—easy, peasy. 👌
List of Supplies
- Arteza Watercolor Premium Artist Paint - Set of 36: A252 Magenta, A555 Yellow Ochre, A115 Lemon Yellow, A424 Spring Green, A381 Cerulean Blue, A374 Violet, A563 Sepia Brown, A263 Scarlet Red, A680 Noir
- Arteza Premium Watercolor Pad, 9" x 12", 32 Sheets
- Paintbrushes - Small, Medium, Large
Make This Easy Painting in 7 Steps
Before I start the toucan painting, I would like to make a couple of suggestions. First, it’s important to use a heavier weight paper for this than you would use to do a drawing. By using paper that’s at least 140lb (300gsm), you’ll get a nice flat finished piece that’s ready to frame. The lighter-weight paper will bump and warp when it comes in contact with water and I’ve been disappointed whenever I’ve used it. Learn from my mistakes! I now always use a pad of paper especially for watercolors that has a micro-perforated edge. This way, I always have a nice clean sheet ready when I am and it tears out of the pad with a straight edge.
Another tip I can give you is to use a pencil with a hard lead, such as an HB or H. The harder the lead, the lighter the line and I don’t want my lines showing through the paint. Professional drawing pencils are the best, but you can buy one-offs of hard-lead pencils if you don’t want to invest in the set.
This being said, here we go!
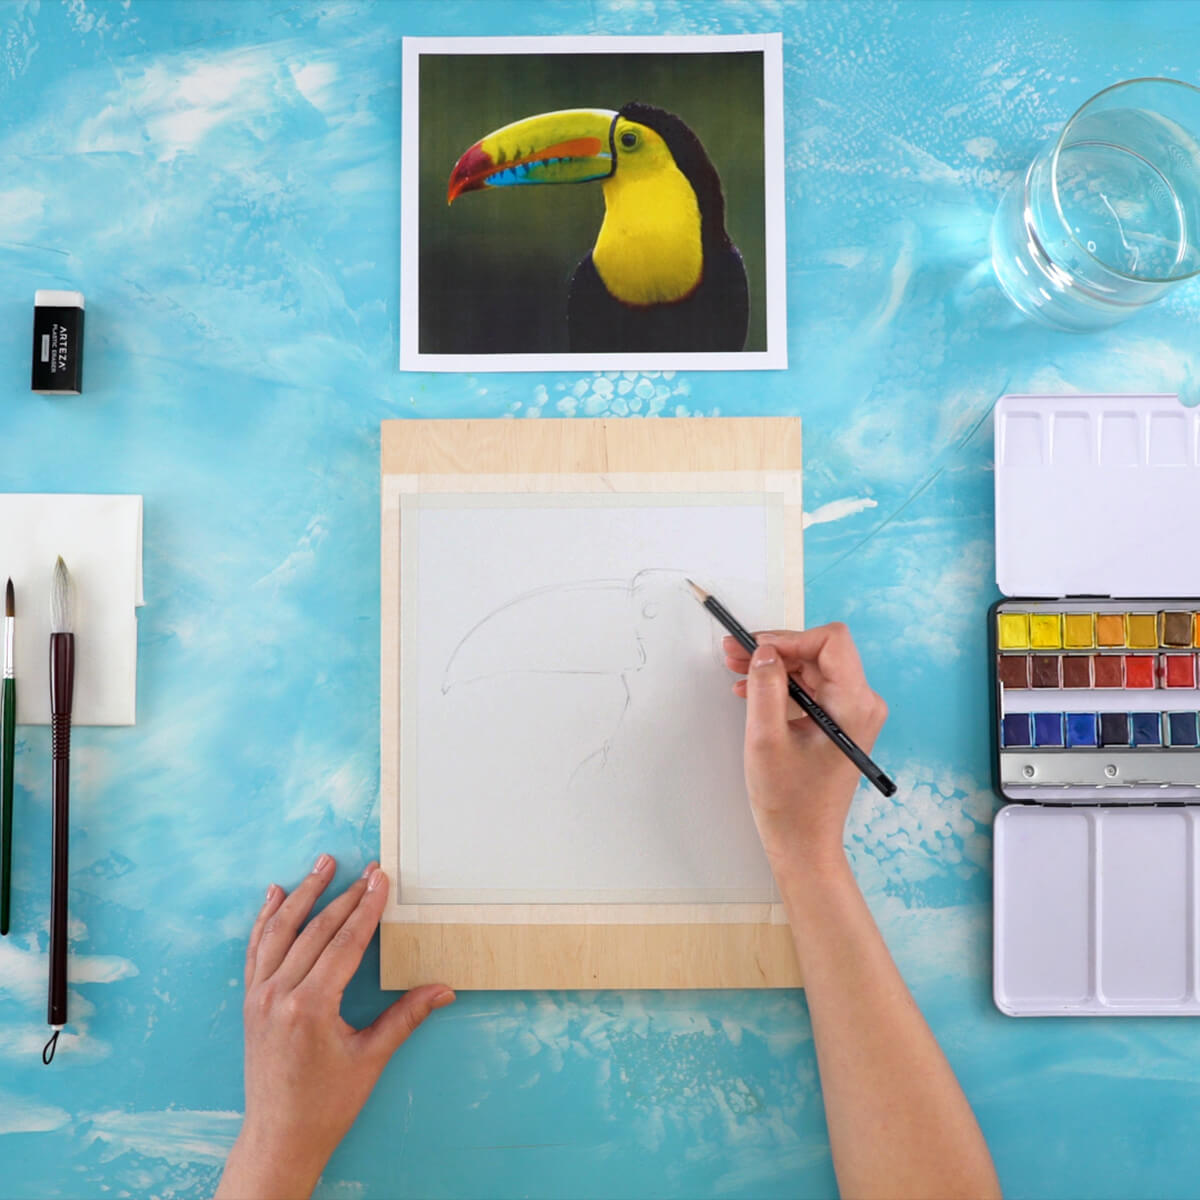
Step 1: Make a light pencil sketch
With my reference image in front of me, I make a light sketch. If there are any hard pencil lines, I go over them with an eraser so I can barely see them. Draw in as many details as you can. Once the paint is applied, there’s no going back!
TIP: Before you start painting, think of a color palette in advance to be able to quickly apply colors while the sheet is wet.
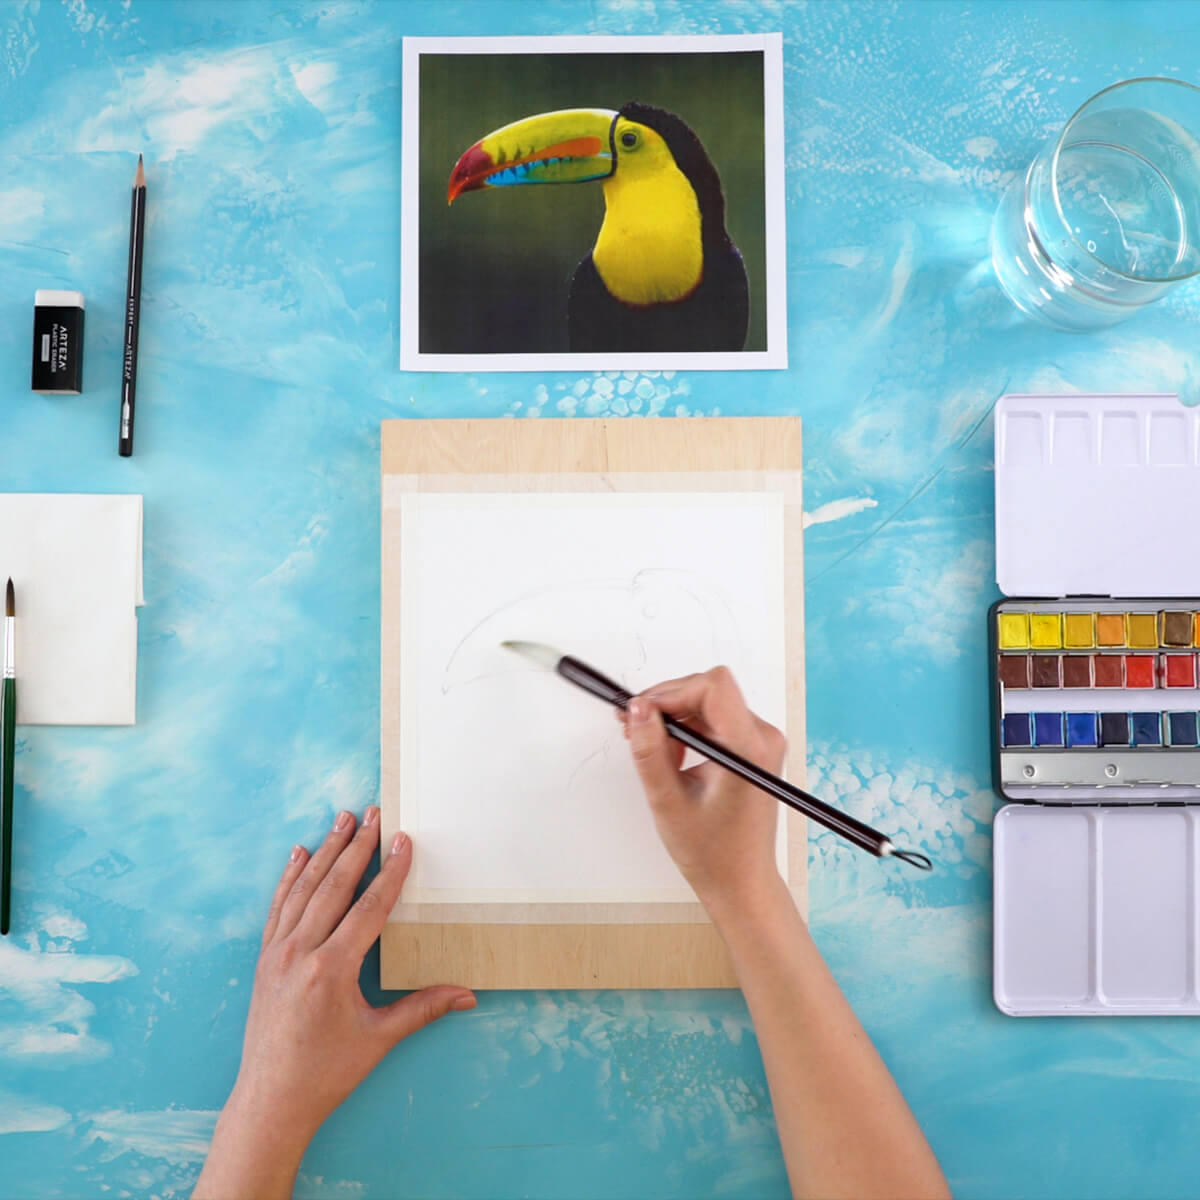
Step 2: Wet the sheet with water
Using my largest brush dipped in water, I wash the entire area of the pencil sketch with water. You want it to be moist, not dripping wet.
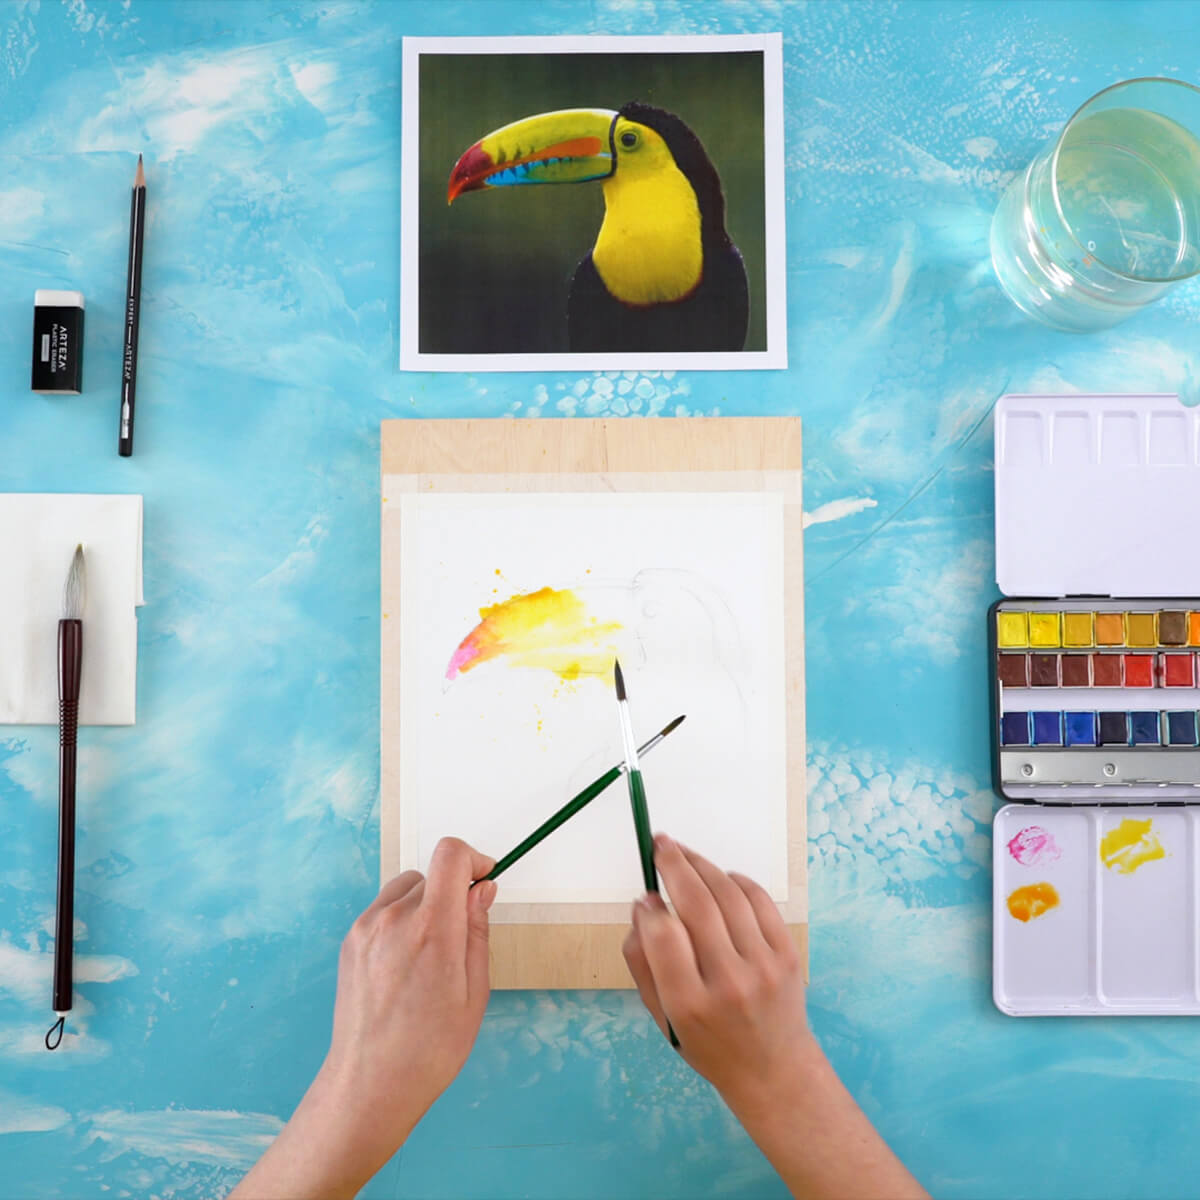
Step 3: Begin to apply color
I start with the bird’s big beak or bill, using the medium-size brush to fill it in as I see it in the picture. To do this, I use Magenta, Yellow Ochre and Lemon Yellow. For his head and body, I apply Lemon Yellow, Spring Green and Cerulean Blue mixed with some Magenta.
TIP: To give some energy to the piece I add beautiful drops and splatters by holding the small dry brush horizontally and tapping it with my wet brush full of color. The harder you tap, the more splattering you get!
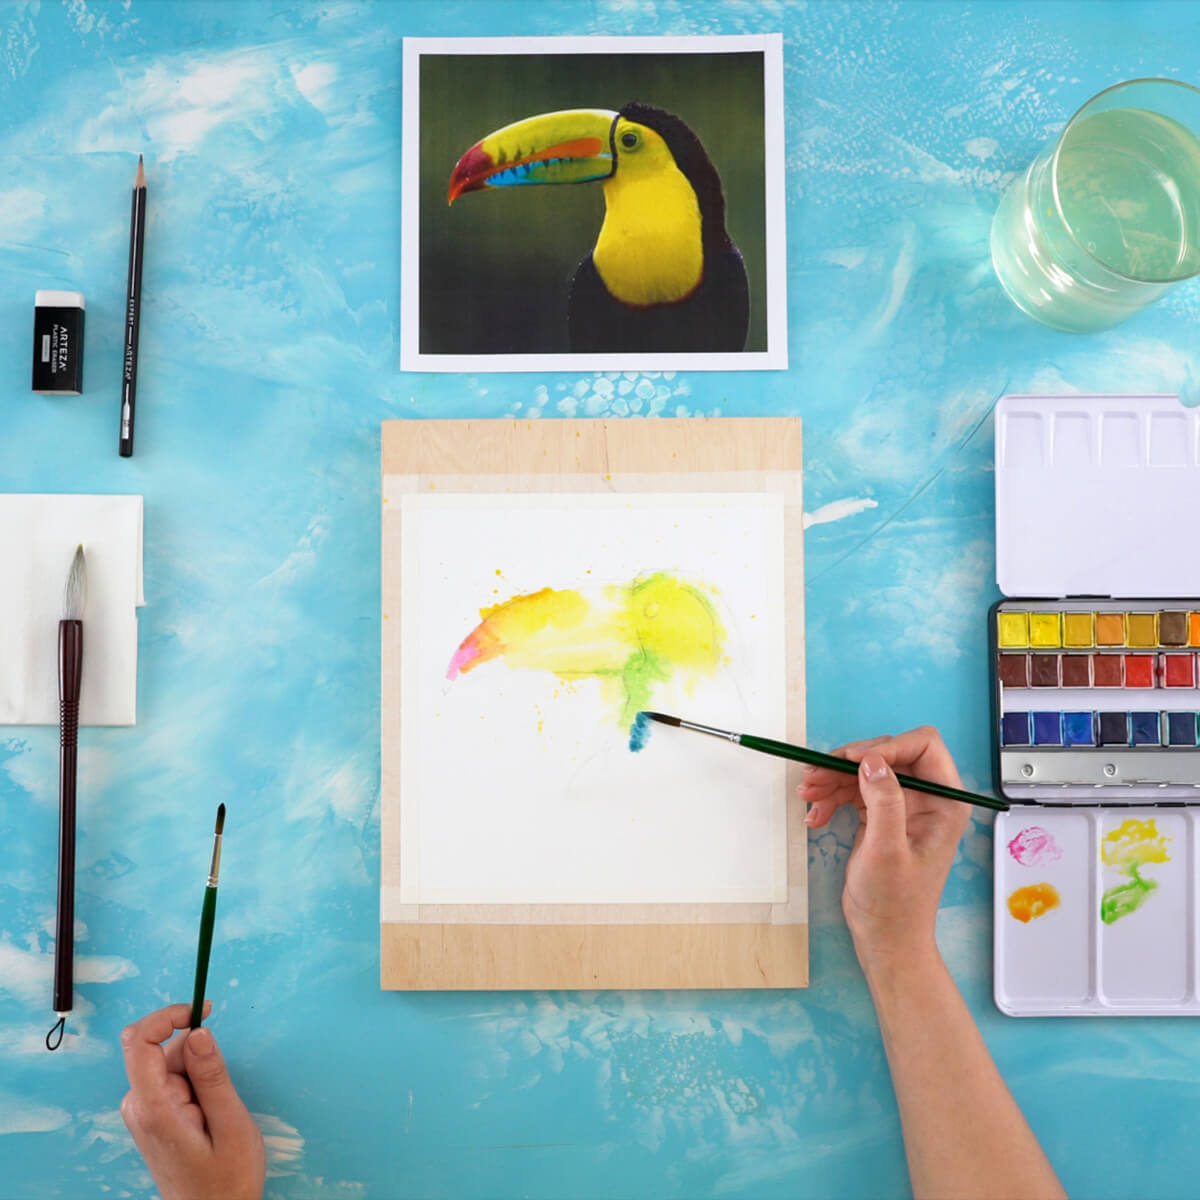
Step 4: Paint the bottom of the bill
When the paper is slightly dry, I begin to work out the drawing in detail. To the lower part of the bill, I apply the following colors: Cerulean Blue, Violet mixed with Sepia Brown and Magenta. I love to watch how the paint spreads over the damp surface, forming more colors!
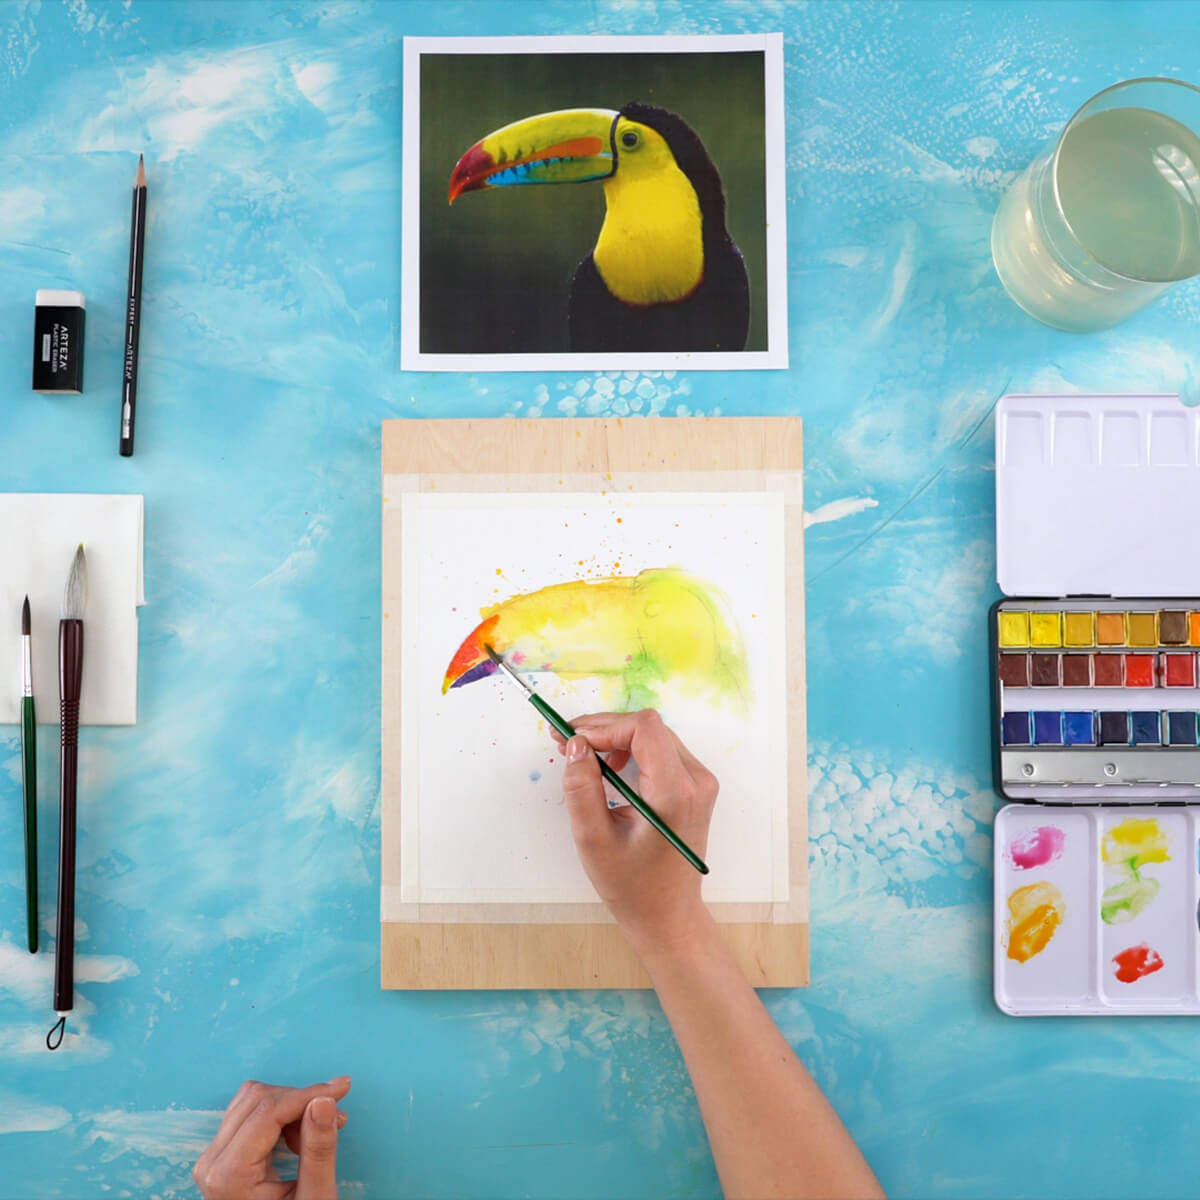
Step 5: Color the top of the bill
Next, I turn my attention to adding color to the top of the bill with Lemon Yellow, Scarlet Red and Yellow Ochre. Since the light is hitting the top, it should be brighter than the bottom.
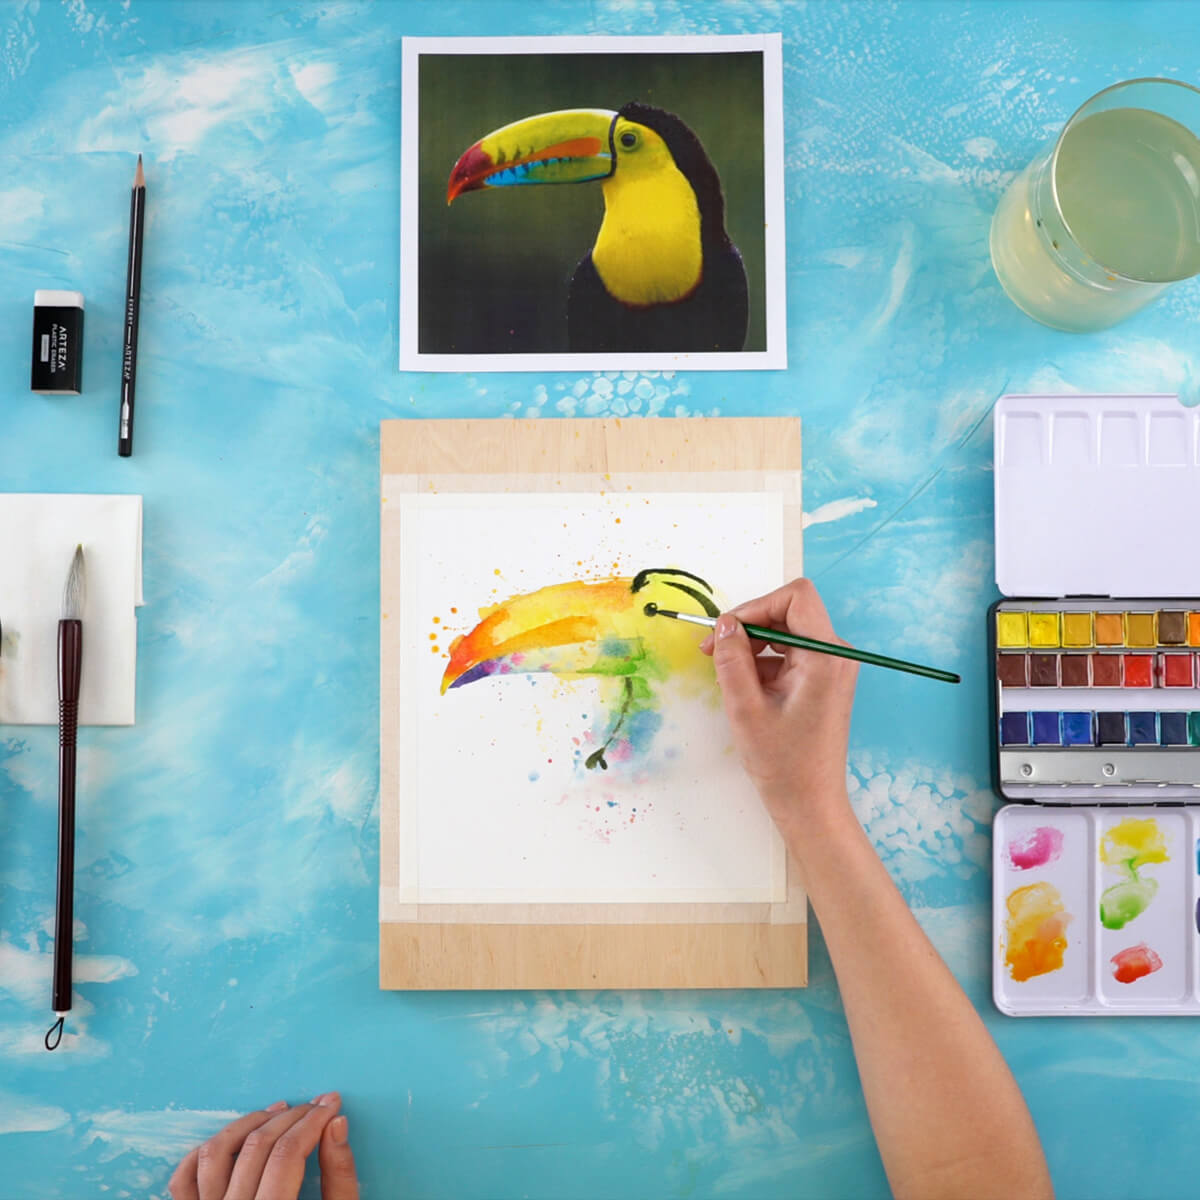
Step 6: Make the colors pop
The best thing about the Toucan is how his colors really stand out. To do that I need to make a strong contrast between his face and the rest of his body. Normally, you might think just adding black would do the trick, but I have found that adding a touch of green to the black adds an additional depth that will really make the yellows, oranges and reds jump off the page. I mix Spring Green with Noir and paint the base of the beak, eye and dark plumage.
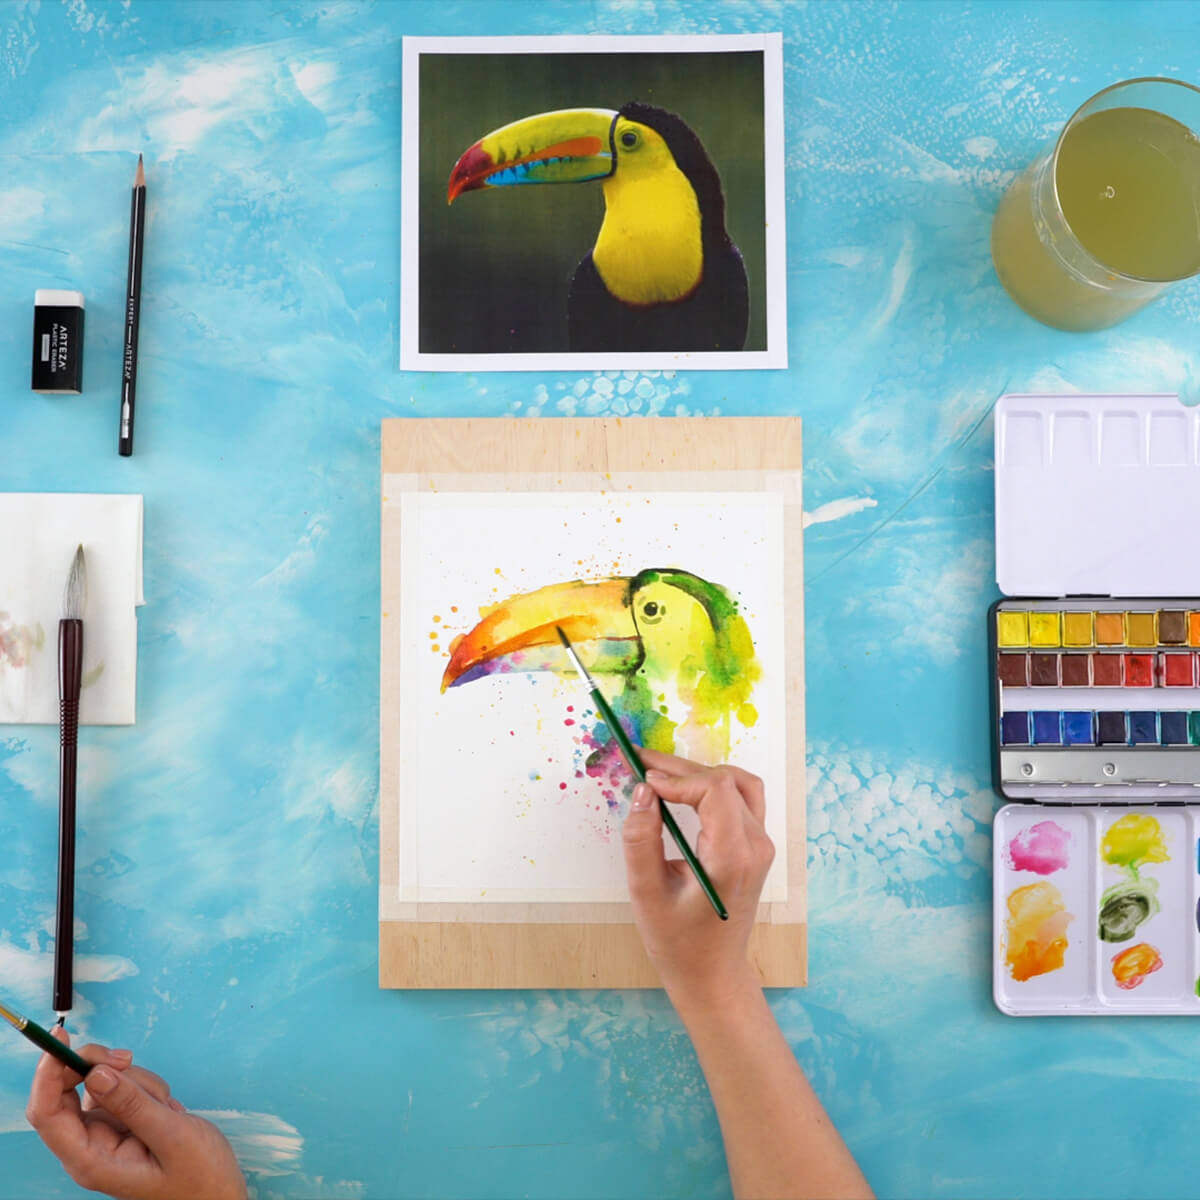
Step 7: Add the finishing touches
At the end of the work, I add more colored spots and splashes to the entire drawing to make it even more colorful.
You’ve done it! See how much fun paintings of birds can be? You should now have a brilliant and energetic rendering of this totally awesome tropical bird.
Recommendations
- The technique I used for most of this painting is the “wet-on-wet” method. I applied my paint to a wet surface to get the luscious blending that happens when wet paint meets wet paper.
- To add distinct and clear details to your painting, you’ll need to wait until the paint is completely dry. Otherwise, your lines will blur as in the wet technique mentioned above.
- If you’re new to watercolor painting, you should know that the more water you use the less saturated your colors will be.
I really hope you’ve enjoyed following along with me as I painted my version of the Toucan and it’s given you some creative inspiration. Now, it’s your turn to create yours! The best advice I can give you is to not worry about your painting being perfect but to have fun and keep trying. There are so many ways to interpret a subject and you’ll find that with time you’ll naturally gravitate to a style that’s all your own.
I’d love to hear about your art journey, so please share how you’re doing in the comments section below. In the meantime, keep on painting!


3 comments
Love your interpretation of the toucan picture, I am novice at watercolor but love how forgiving it is and the ethereal look you can obtain, looking forward to tomorrow’s lesson, thanks for the inspiration!
This wasn’t a live stream as advertised, it was a premiere of a premade video. It would’ve been fine if it were advertised that way. Are the rest of the “livestreams” for the camp going to be this way as well?
Can you provide a link for where you got your reference photo? Thanks in advance! :)