Learn How to Draw a Truck
Since cars and trucks have so many parts, it can be intimidating for a new artist to draw them. If you’ve been trying without success to do a car or truck drawing, then you’ve come to the right place. This article will show you how it’s done by thinking about the vehicle as a series of basic shapes. Once you have these shapes, it’s just a matter of refining them and using the rule of perspective to get a realistic drawing. We’ve broken down this easy truck drawing into nine steps that you can use to draw any kind of vehicle in the future!
For this drawing, we recommend using the H or HB pencil in the Arteza Professional Drawing Pencils set. This set has 12 pencils in varying degrees of lead hardness. The H or HB pencil will give you a light line that will be easy to erase and won’t show through once you start to fill the truck drawing with color. The softer pencils in the set will let you create those important shadows that will make your truck look realistic.
Let’s get started!
List of Supplies
Here’s How to Draw a Truck
Step 1
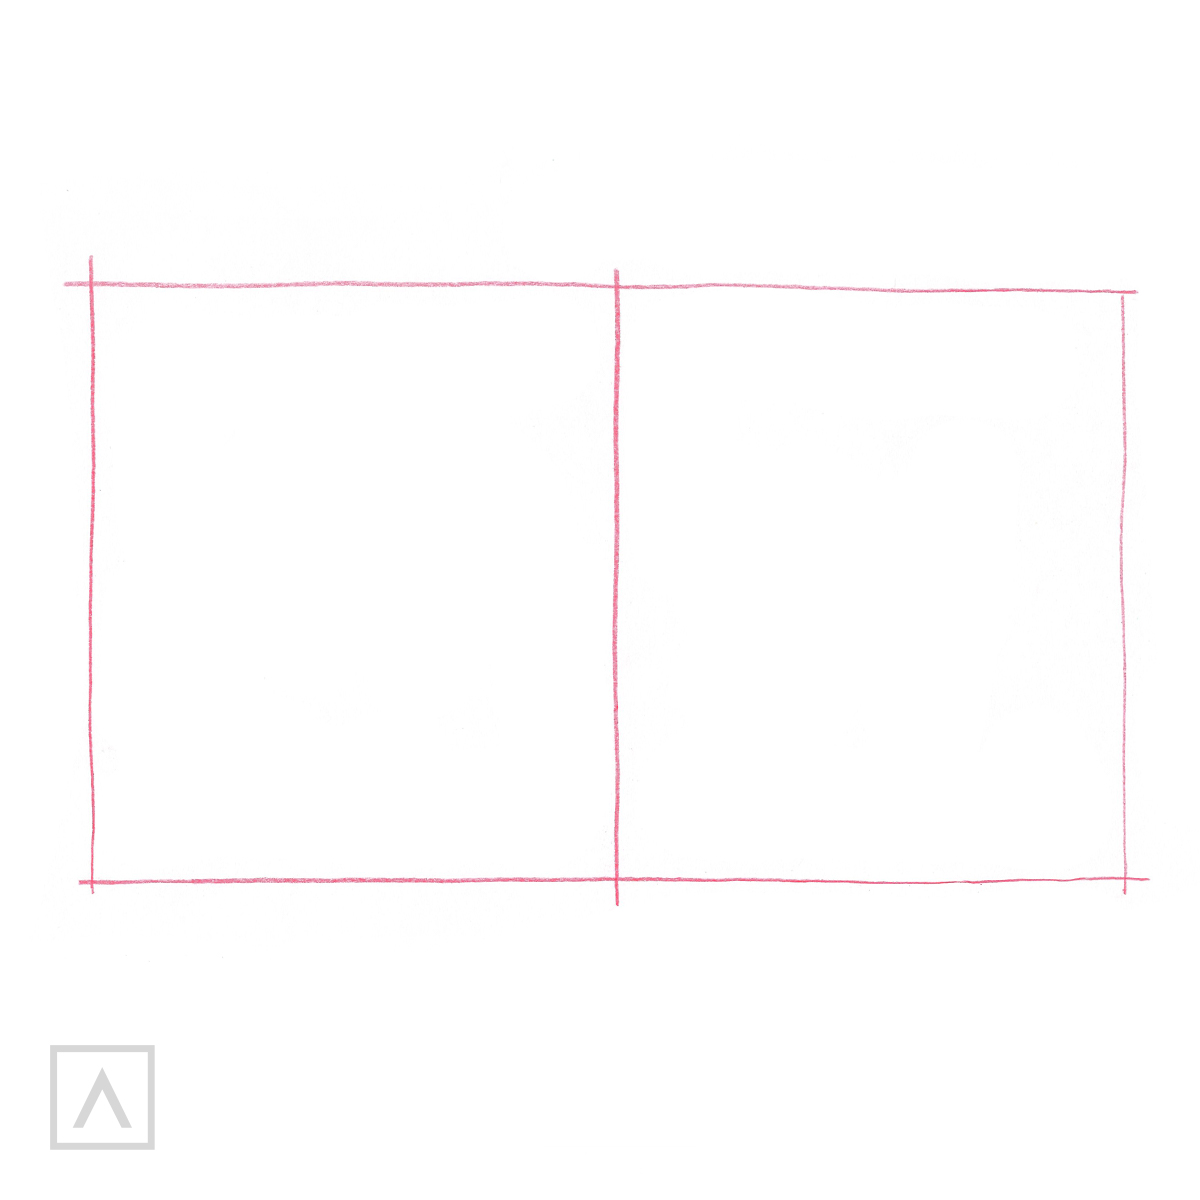
Begin by drawing a rectangle. Then, add a vertical line down the center.
Step 2
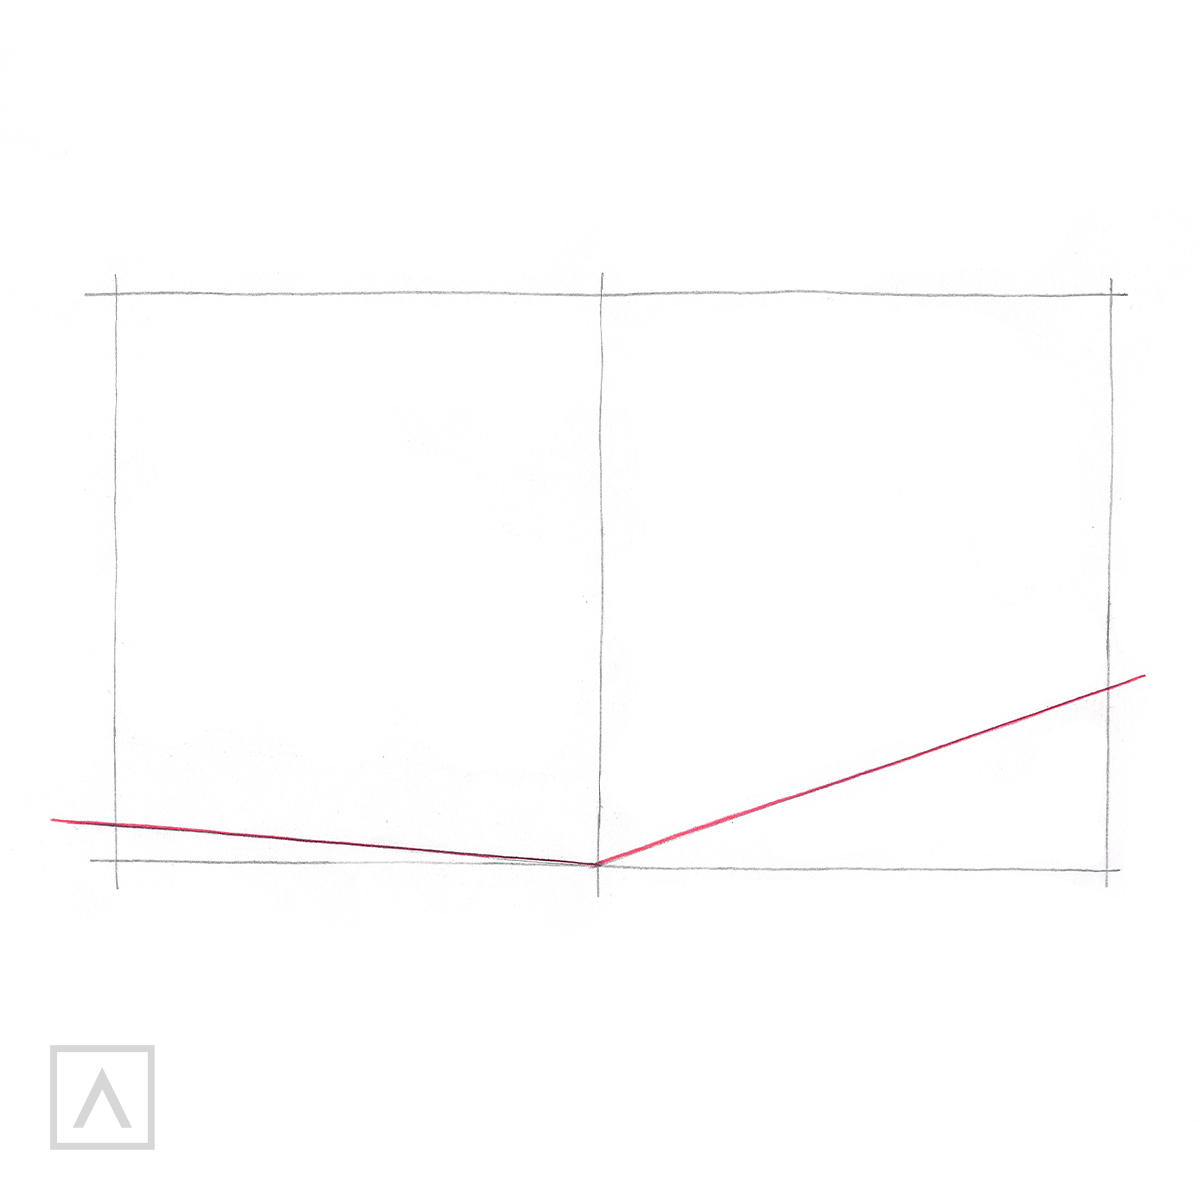
This is going to be a partial side view of the truck, so to give that perspective draw two angled lines starting from the centerline.
Step 3
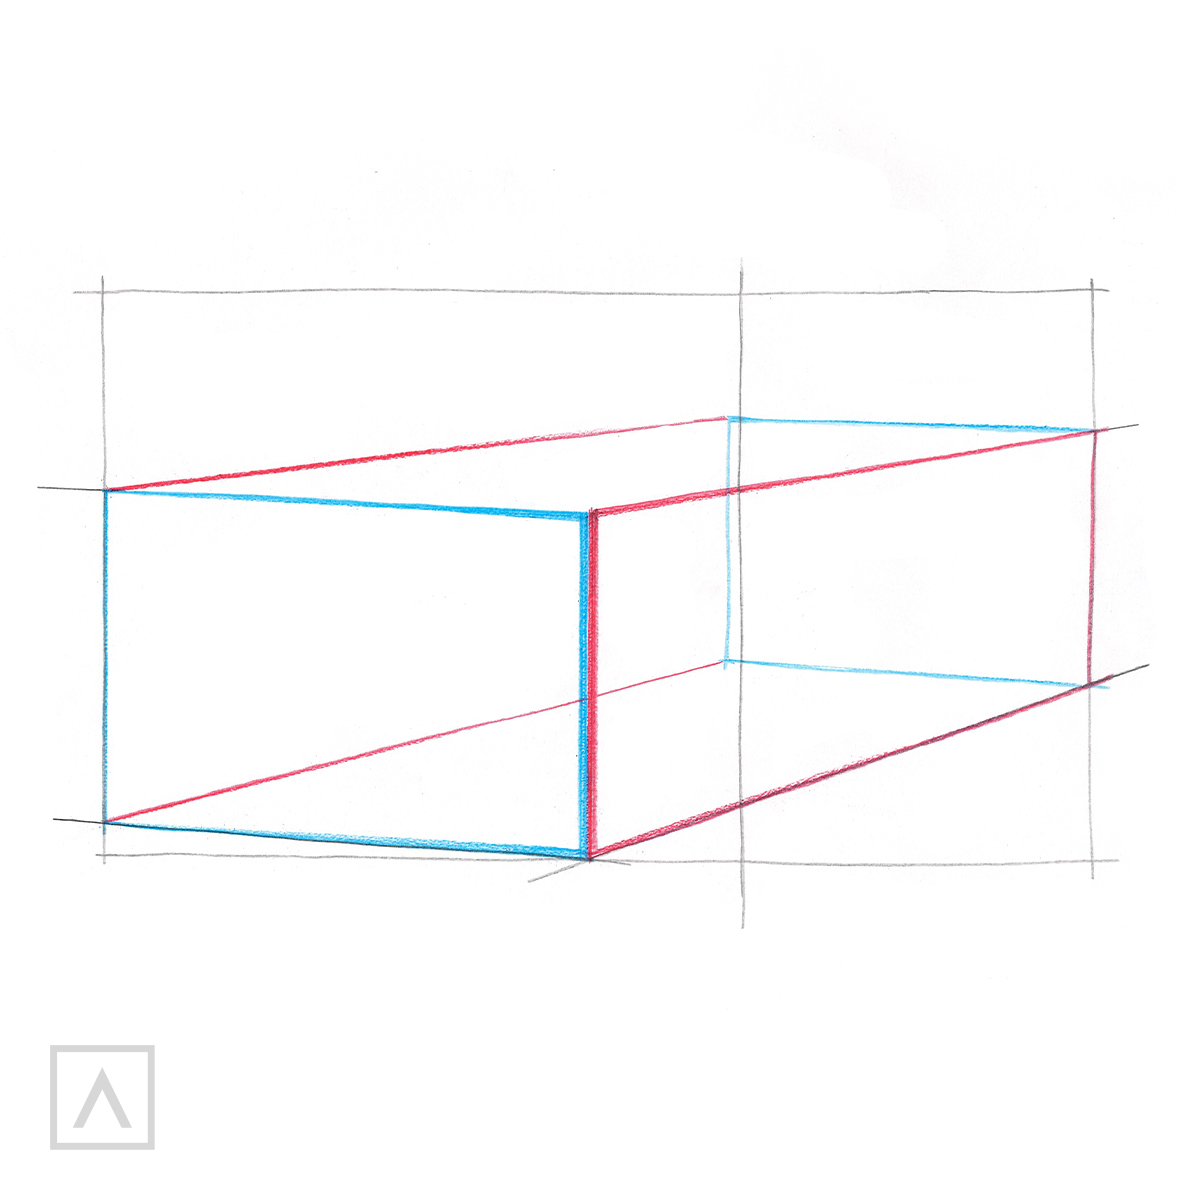
The rule of perspective means that all the angled lines will be the same and if they were to continue off the page, then they would eventually meet at a point in the distance. Add lines to create a rectangular prism inside the box you drew, making sure all your angled lines are the same and all your horizontal lines are as well. This rectangular shape now has a three-dimensional feel and will be the body of the truck.
Step 4
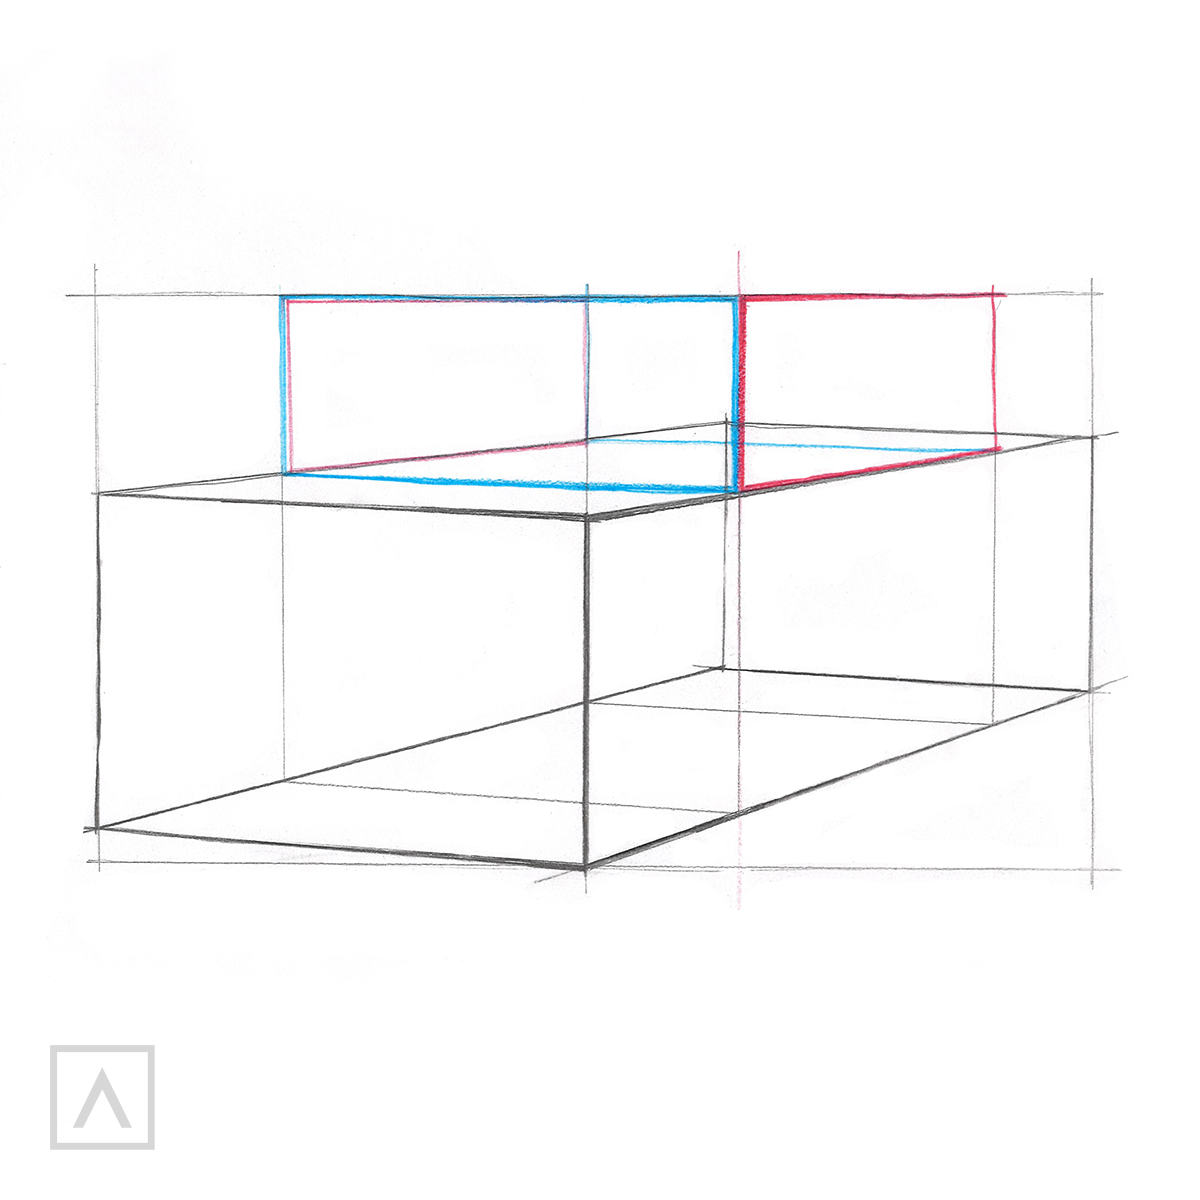
Now, we want to draw the cab. To do this create another smaller rectangular box on top of the one you just drew. Remember to match all your angled lines.
Step 5
It’s time to start rounding the edges of your two boxes. On the top box, add the angled lines that will be the truck’s windshield. Add the tires by placing an oval within an oval. Make sure the front tire is larger than the back one since the viewer is closer to that tire. This also follows the rule of perspective that says that objects closer to us are larger while those farther away appear smaller.
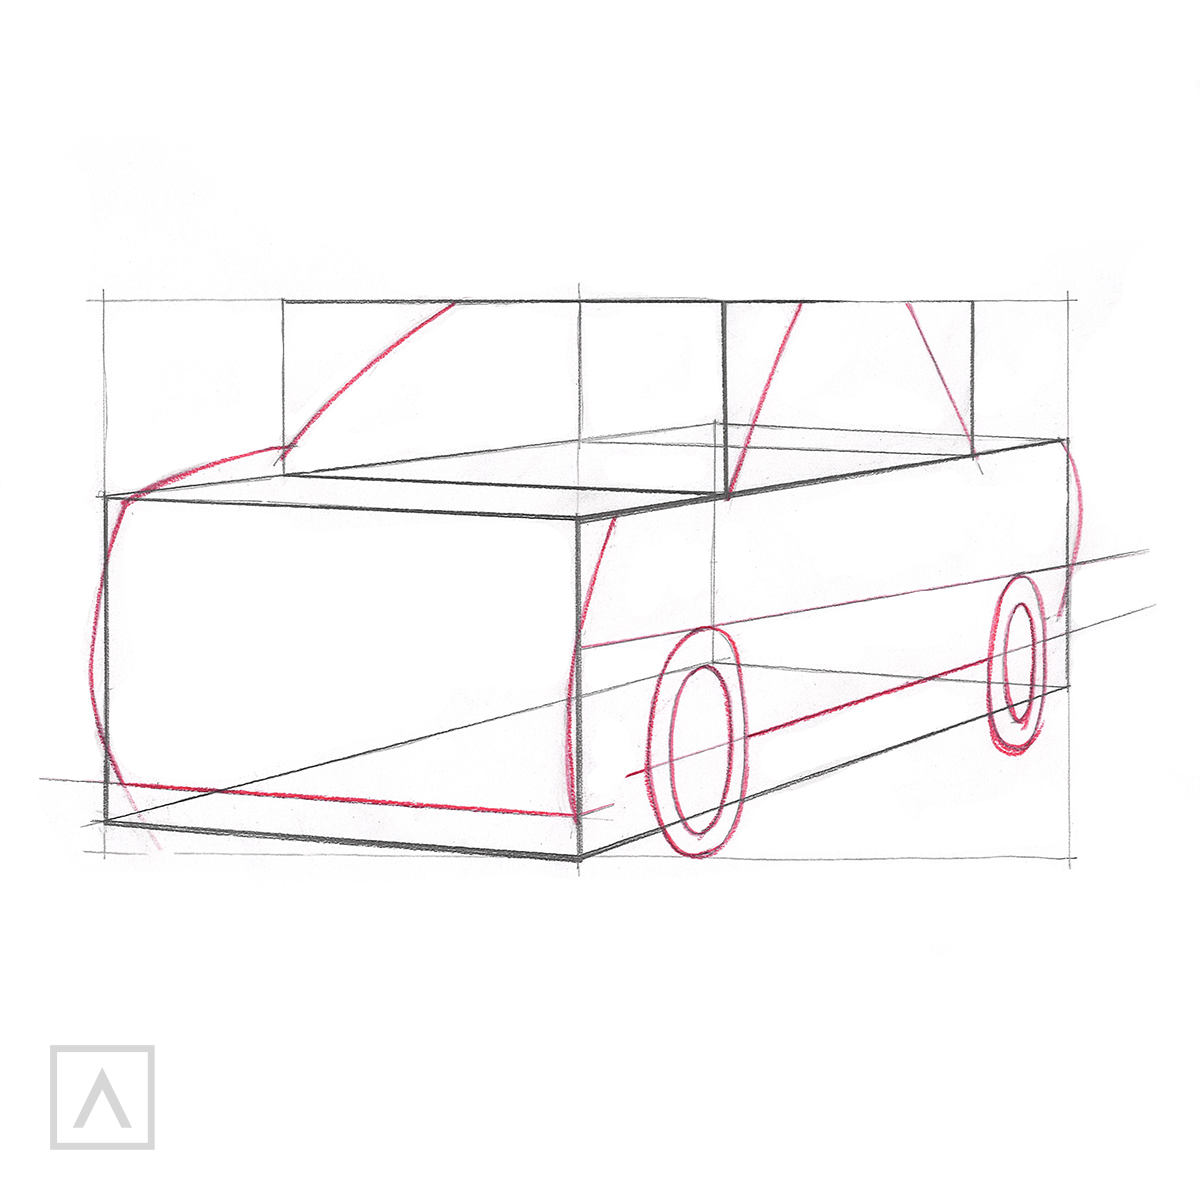
Step 6
As you begin adding lines to represent the bumpers and side mirrors, the truck begins to really take shape!
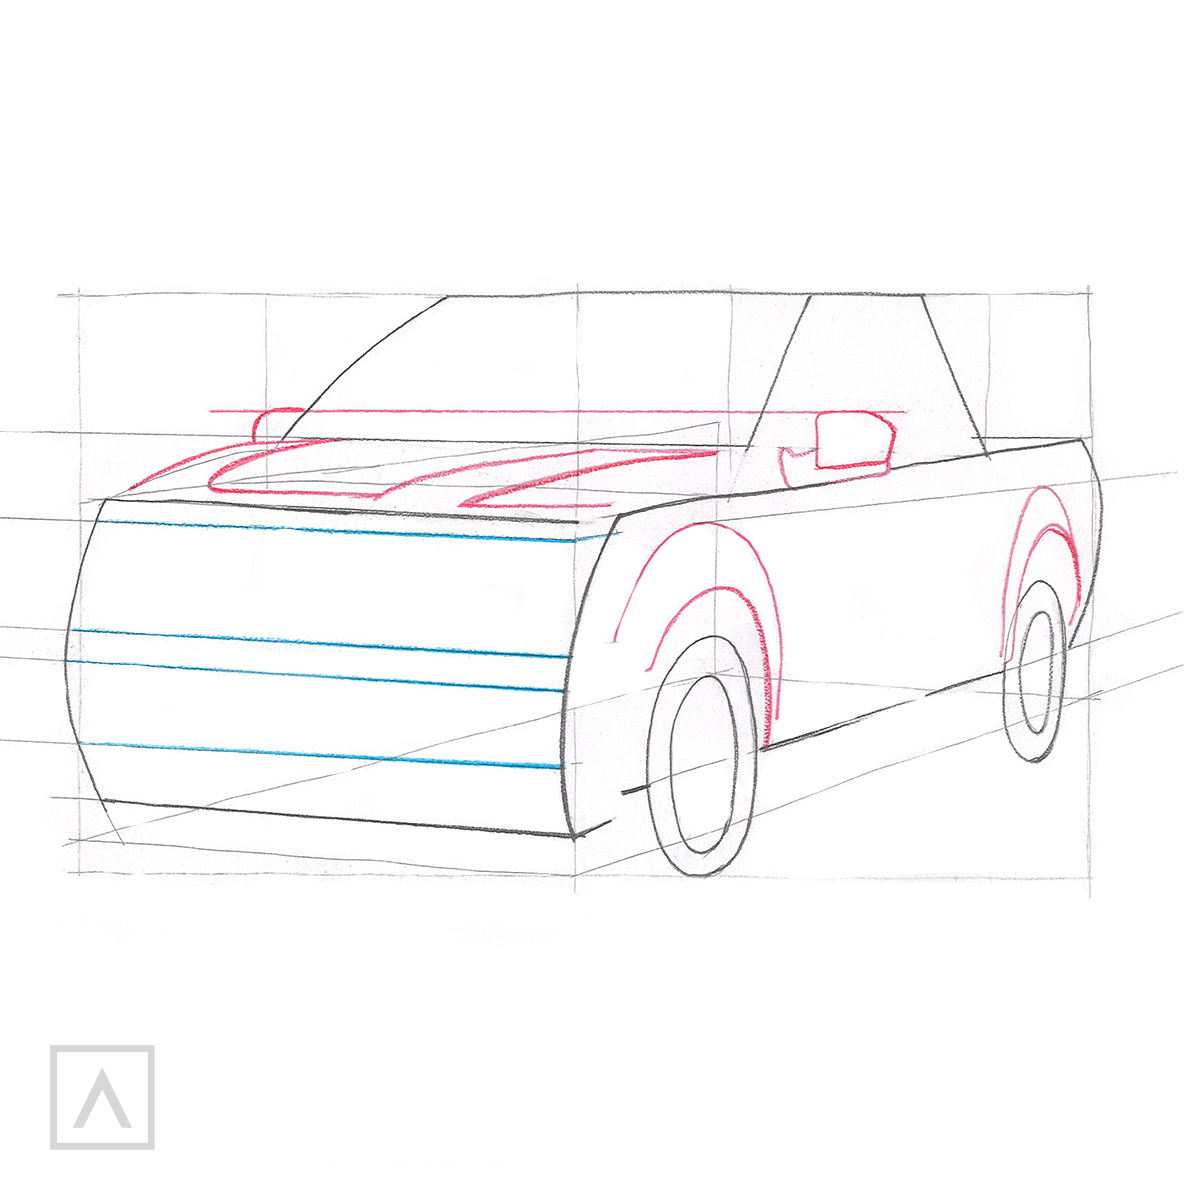
Step 7
Using a photo as a reference will help you place all the additional details correctly.
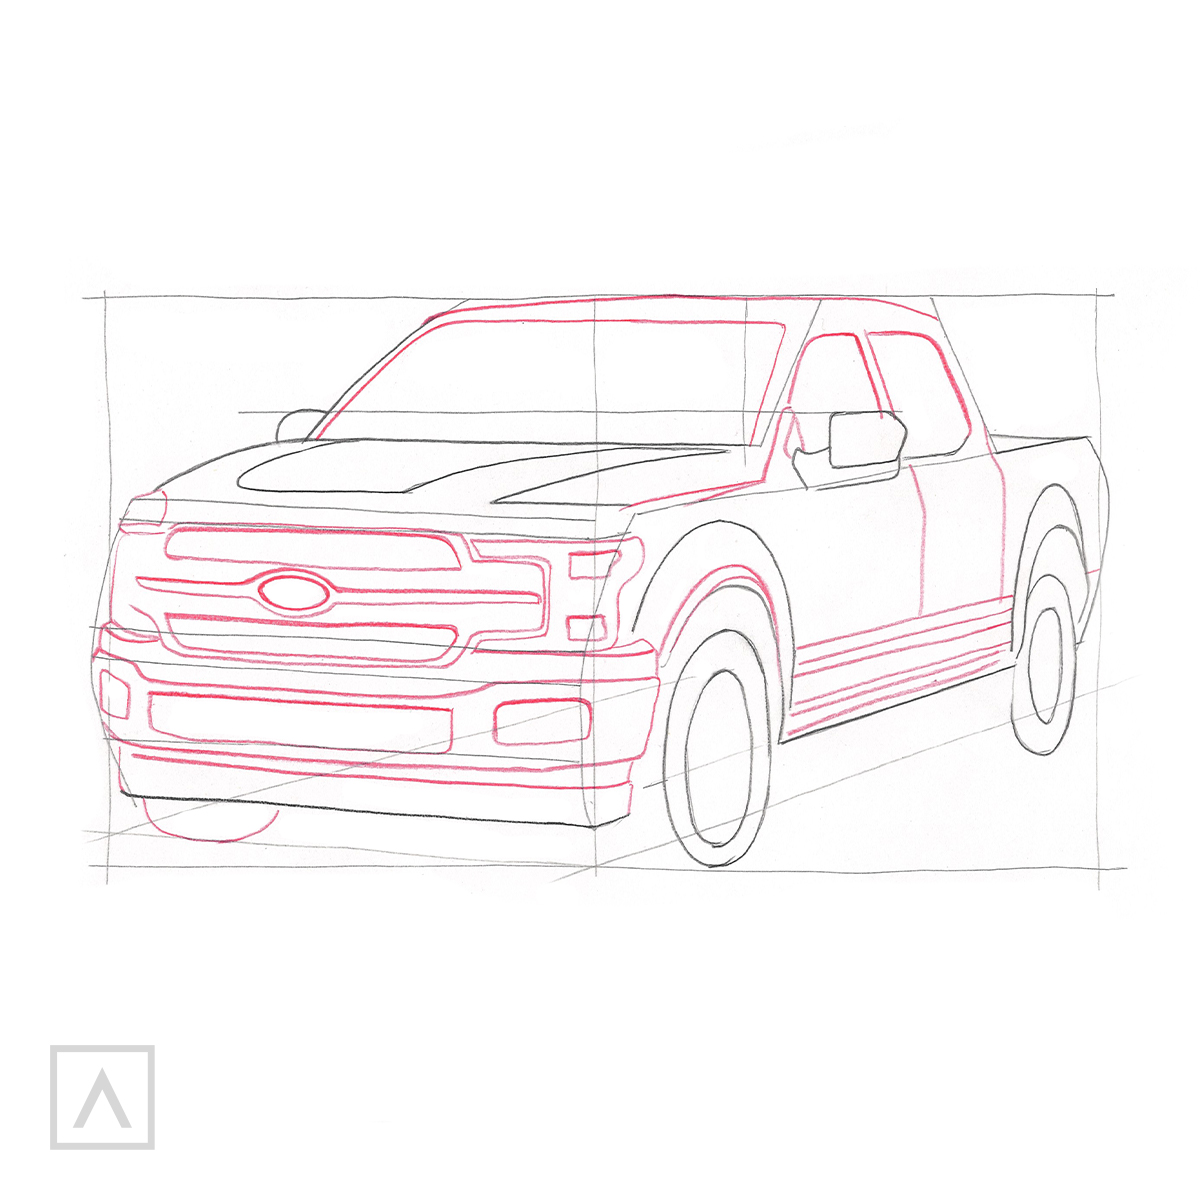
Step 8
Now that you have all the details done, erase any lines that are not part of the truck. Wow! This truck looks amazing!
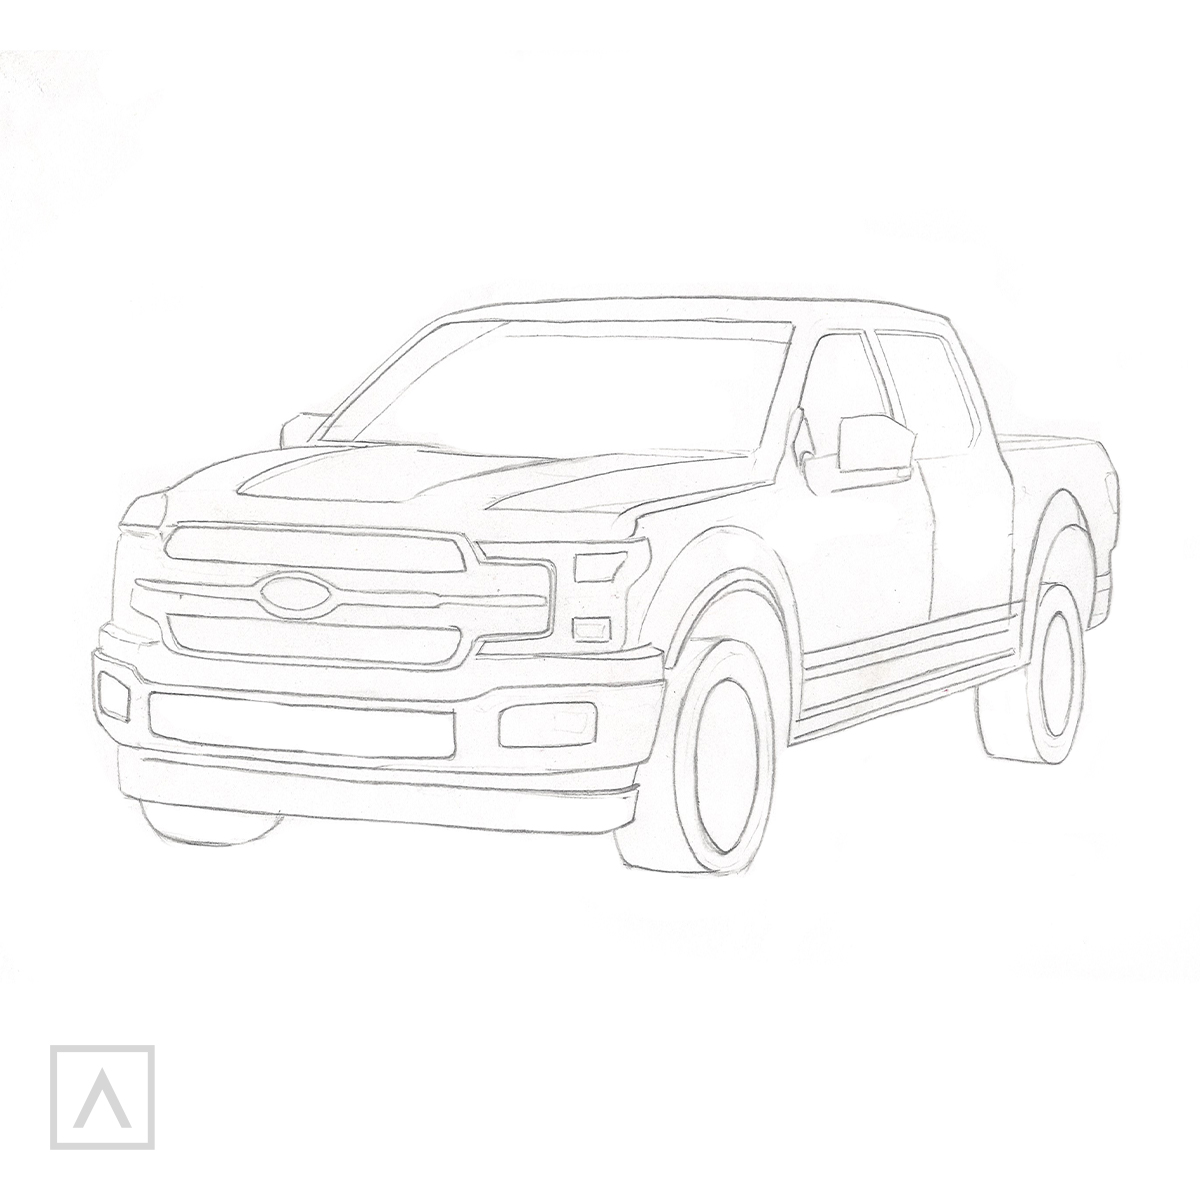
Step 9
Now that your drawing is complete, you can add color with the medium of your choice, such as colored pencils, watercolor paint, or markers.
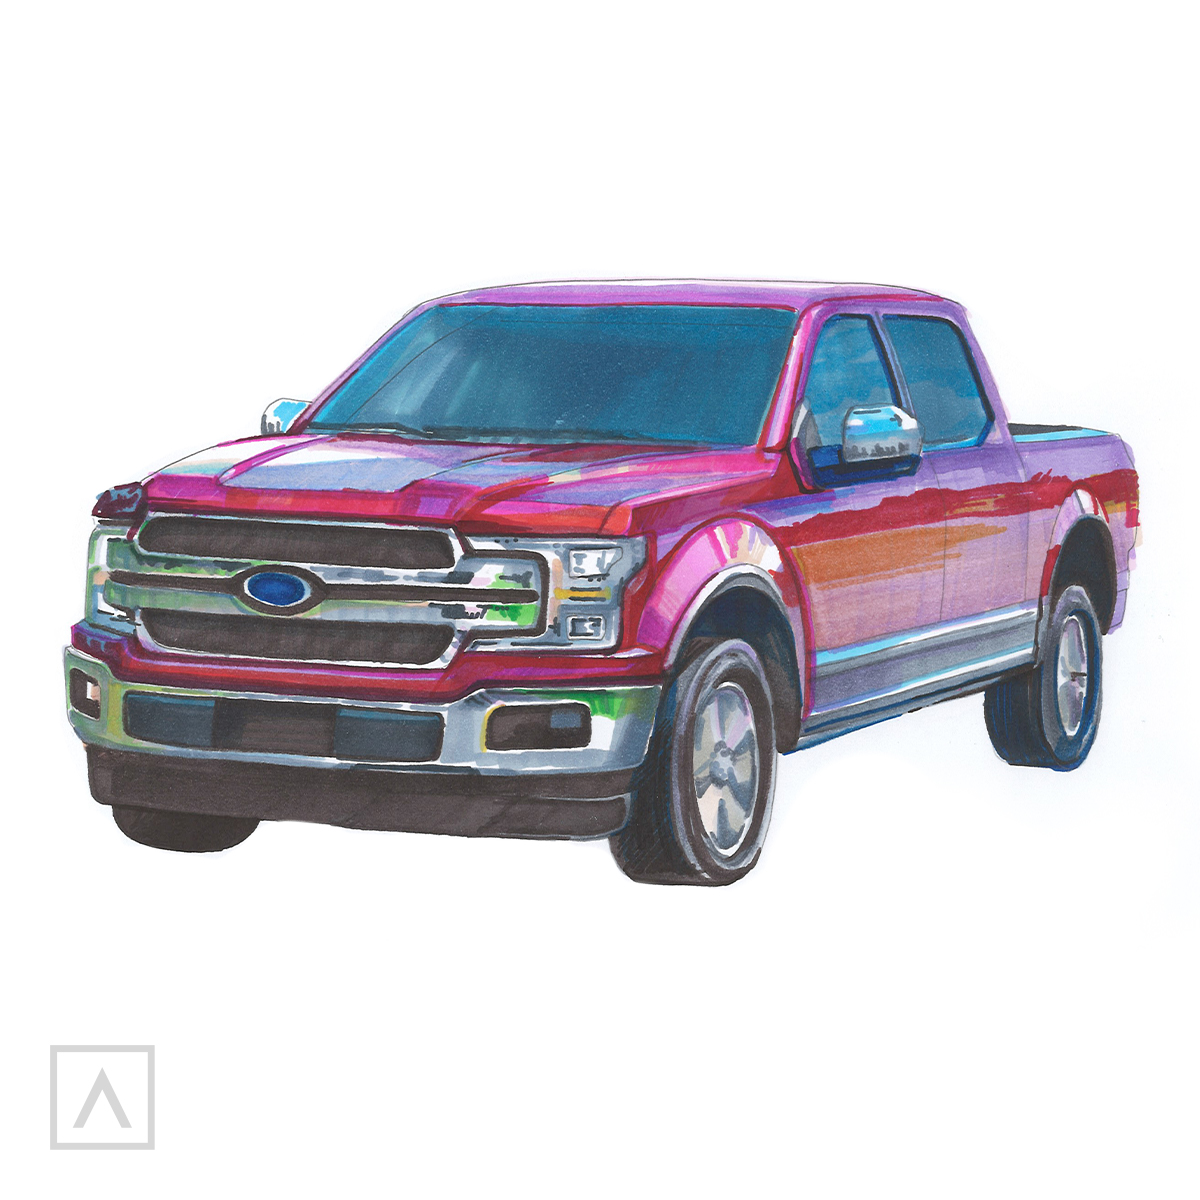
You did it! You just completed a realistic truck drawing.
Recommendations
- You can draw more makes and models of trucks and cars by using photos from magazines or the internet.
- Practice drawing square and rectangular cubes so that you get used to making all your angled lines correctly.
- Make photocopies of your drawings so that you can try lots of different media to add color.
It’s always easier to draw things if you break them down into their basic shapes. This takes lots of patience and observation before you even put the pencil to paper, but it’s well worth it. Once you have those in place, you can refine them and soon you’ll have a drawing that looks just like your subject! We encourage you to keep trying and let us know how it’s going in the comments section below.
Are you ready to move on to drawing a motorcycle or a yacht? Please view suggested products below for your next creation.


