
Orchid Drawing in 6 Easy Steps
Orchids are some of the most exotic plants on earth. They come in a variety of shapes and colors and have been a favorite subject for artists throughout the ages. In fact, there are over 25,000 different species of orchids! In the 1800s botanical collectors paid over-the-top prices for these highly sought-after tropical plants. It was not uncommon for them to pay thousands of dollars for a single plant. Today, these same species can be bought for much less and can be found at nurseries, hardware stores, grocery markets and florist shops, so everyone can enjoy them.
One of the many reasons artists love orchids is because the blooms last for several months, making them the perfect subject for drawing studies and paintings. They also need very little care and can brighten up a small space in the studio. These fantastical plants come in every color you can imagine and have single, multiple, large, and small blooms.
If you’ve always wanted to draw or paint an orchid, this little mini tutorial is for you. Follow these six easy steps and you’ll have an orchid blooming on your wall in no time.
Let’s get started!
Create This Colorful Orchid
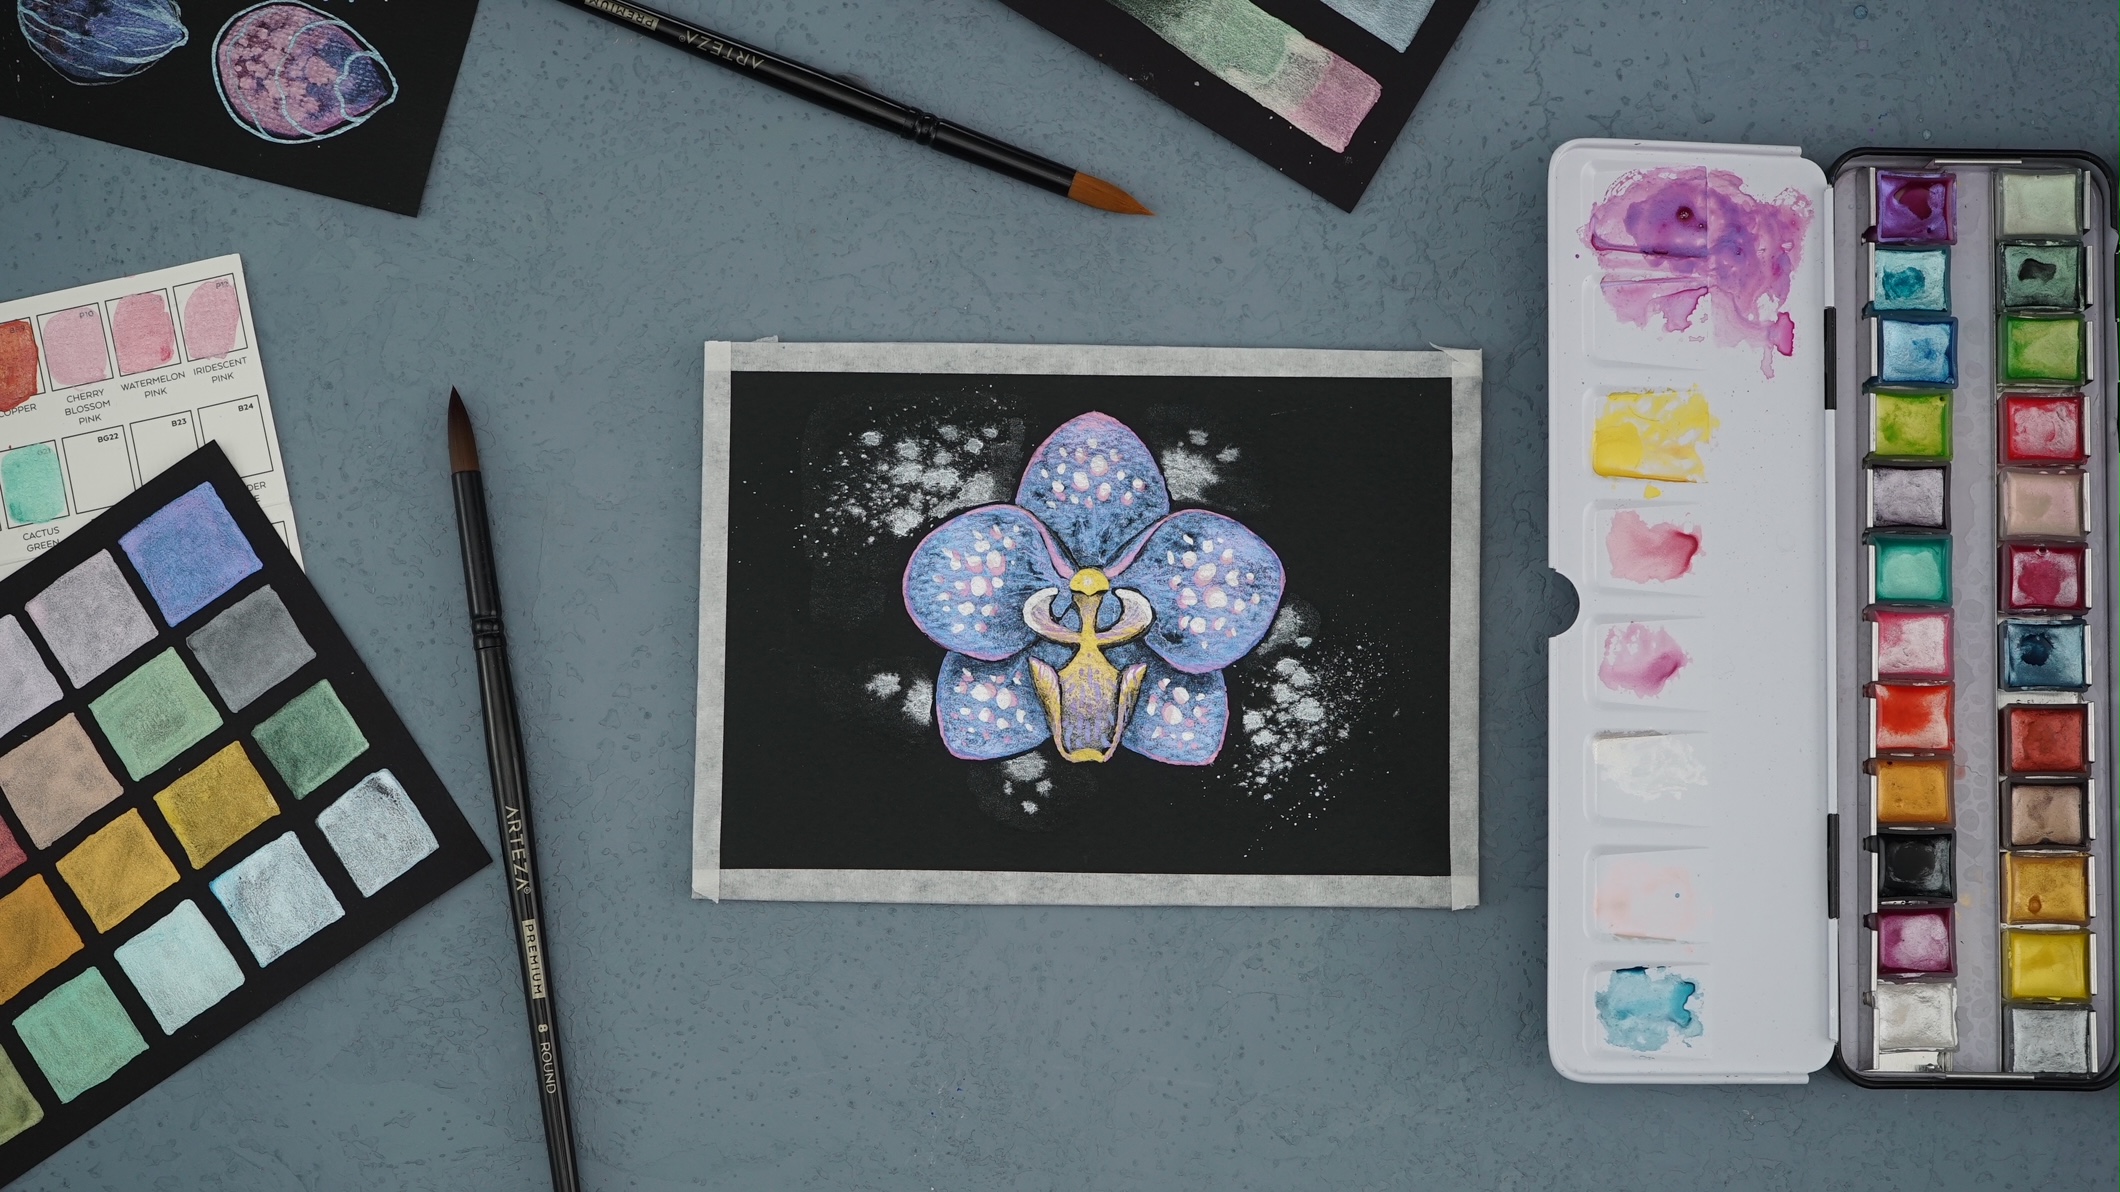
In this guide, you’ll learn how to draw the Moth Orchid (Phalaenopsis), one of the most popular orchids grown. The artist uses Arteza’s Black Paper Sketch Pad, 9” x 12”, to create a dramatic backdrop that makes the flower really pop off the page. Before beginning, he tapes the edges of the paper to the work table so it doesn’t move while he’s working.
Step 1
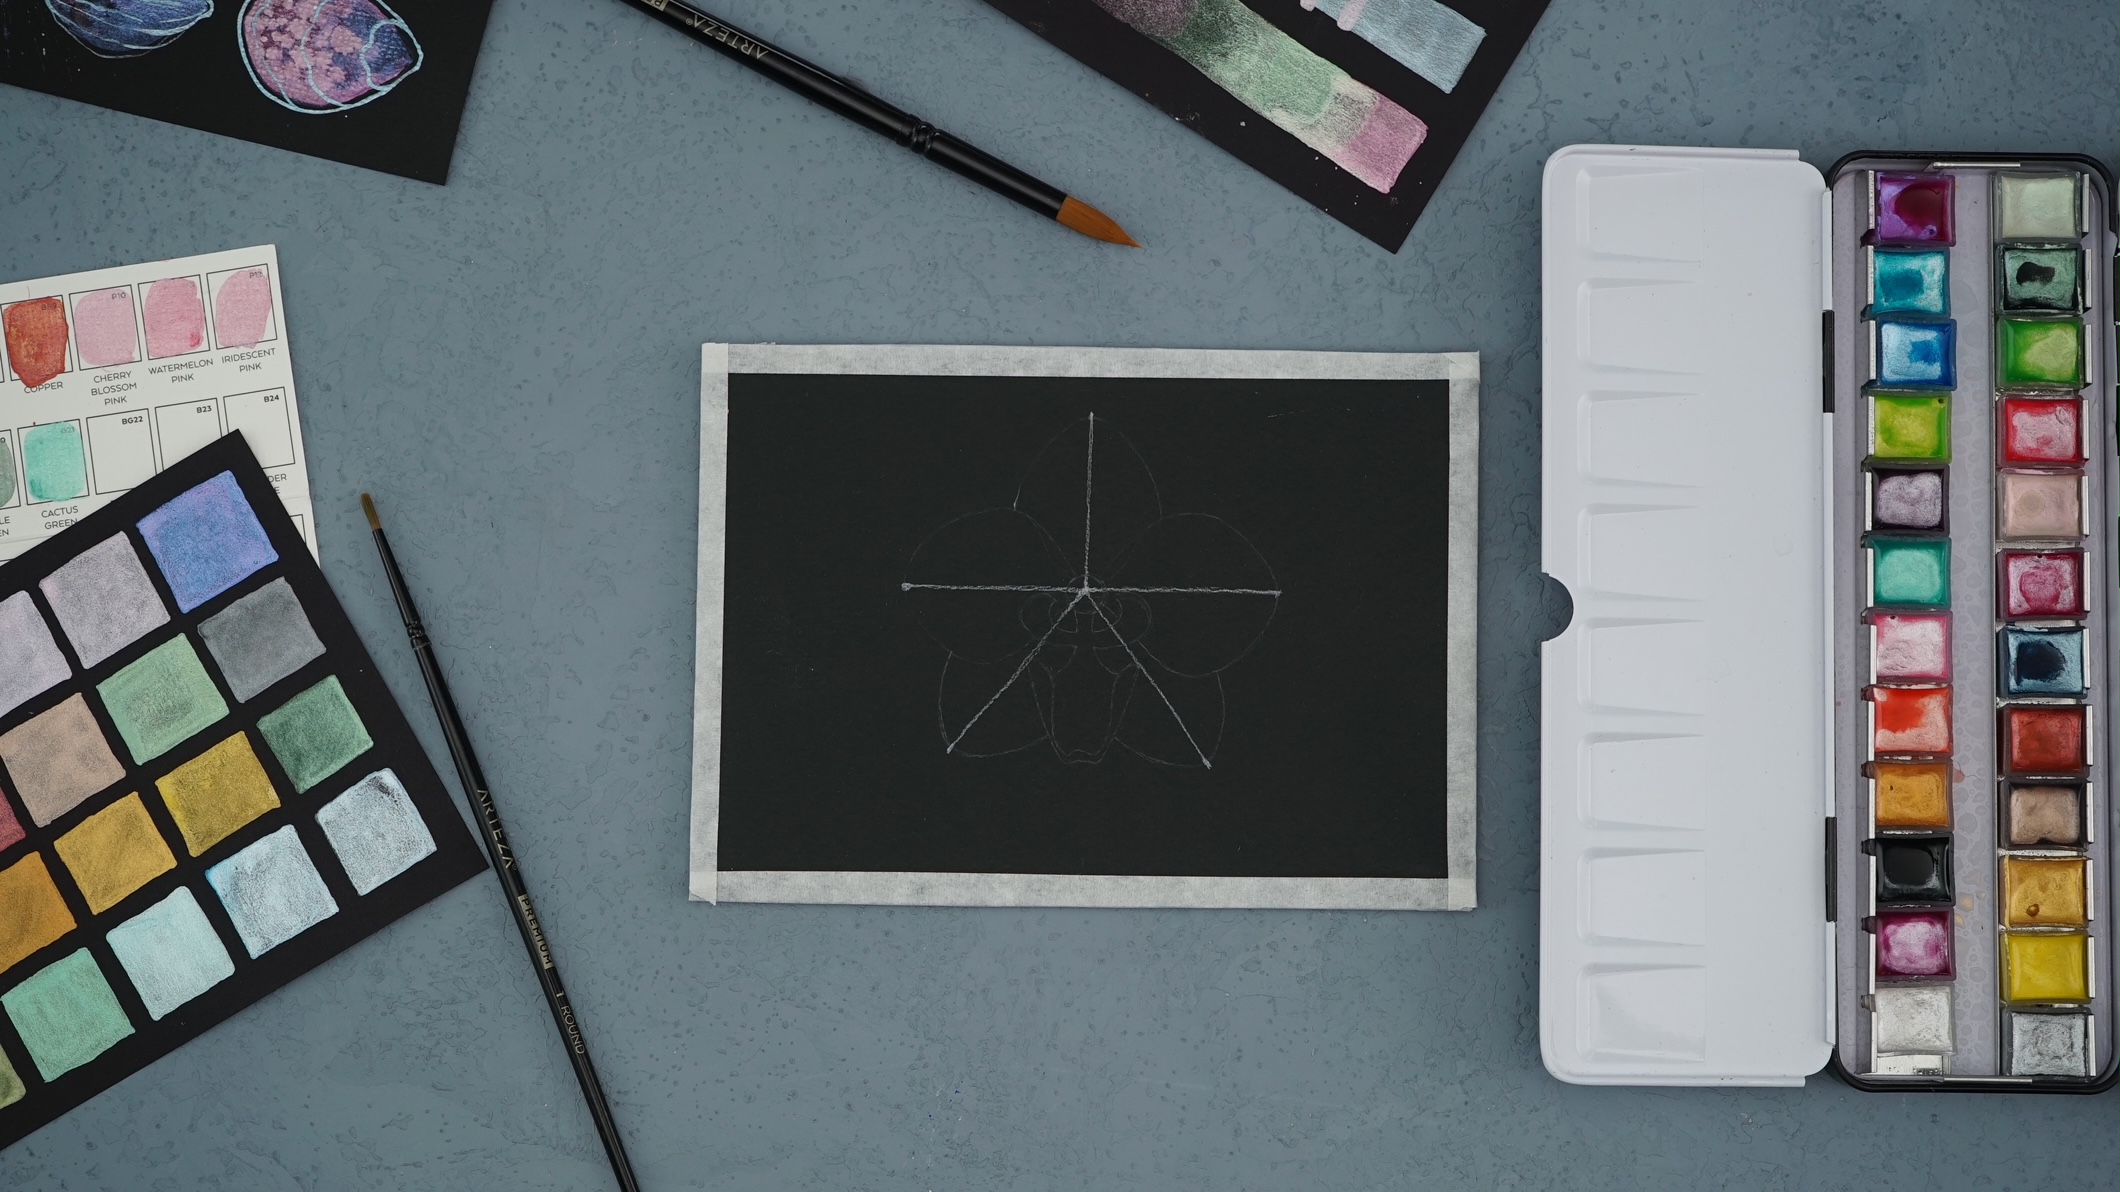
First, use a white pencil to make a light outline of the basic shape of the orchid. You can use a reference photo from the internet or a magazine to do this.
Next, draw a horizontal line across the flower from the farthest point of the left petal to the farthest point on the right petal. Then, draw a vertical line from the center of the horizontal line that extends to the farthest point of the middle petal. Finally, add two diagonal lines below the horizontal line from the center to the farthest points on the two lower petals.
Step 2

Continuing with the white pencil darken the outline of the flower and the lines you just drew. To add the inner details, start by drawing a small circle in the center. Next, draw a small oval at the bottom of the circle and then another larger oval surrounding it. As you can see the larger oval begins and ends at the center of the horizontal line.
Step 3
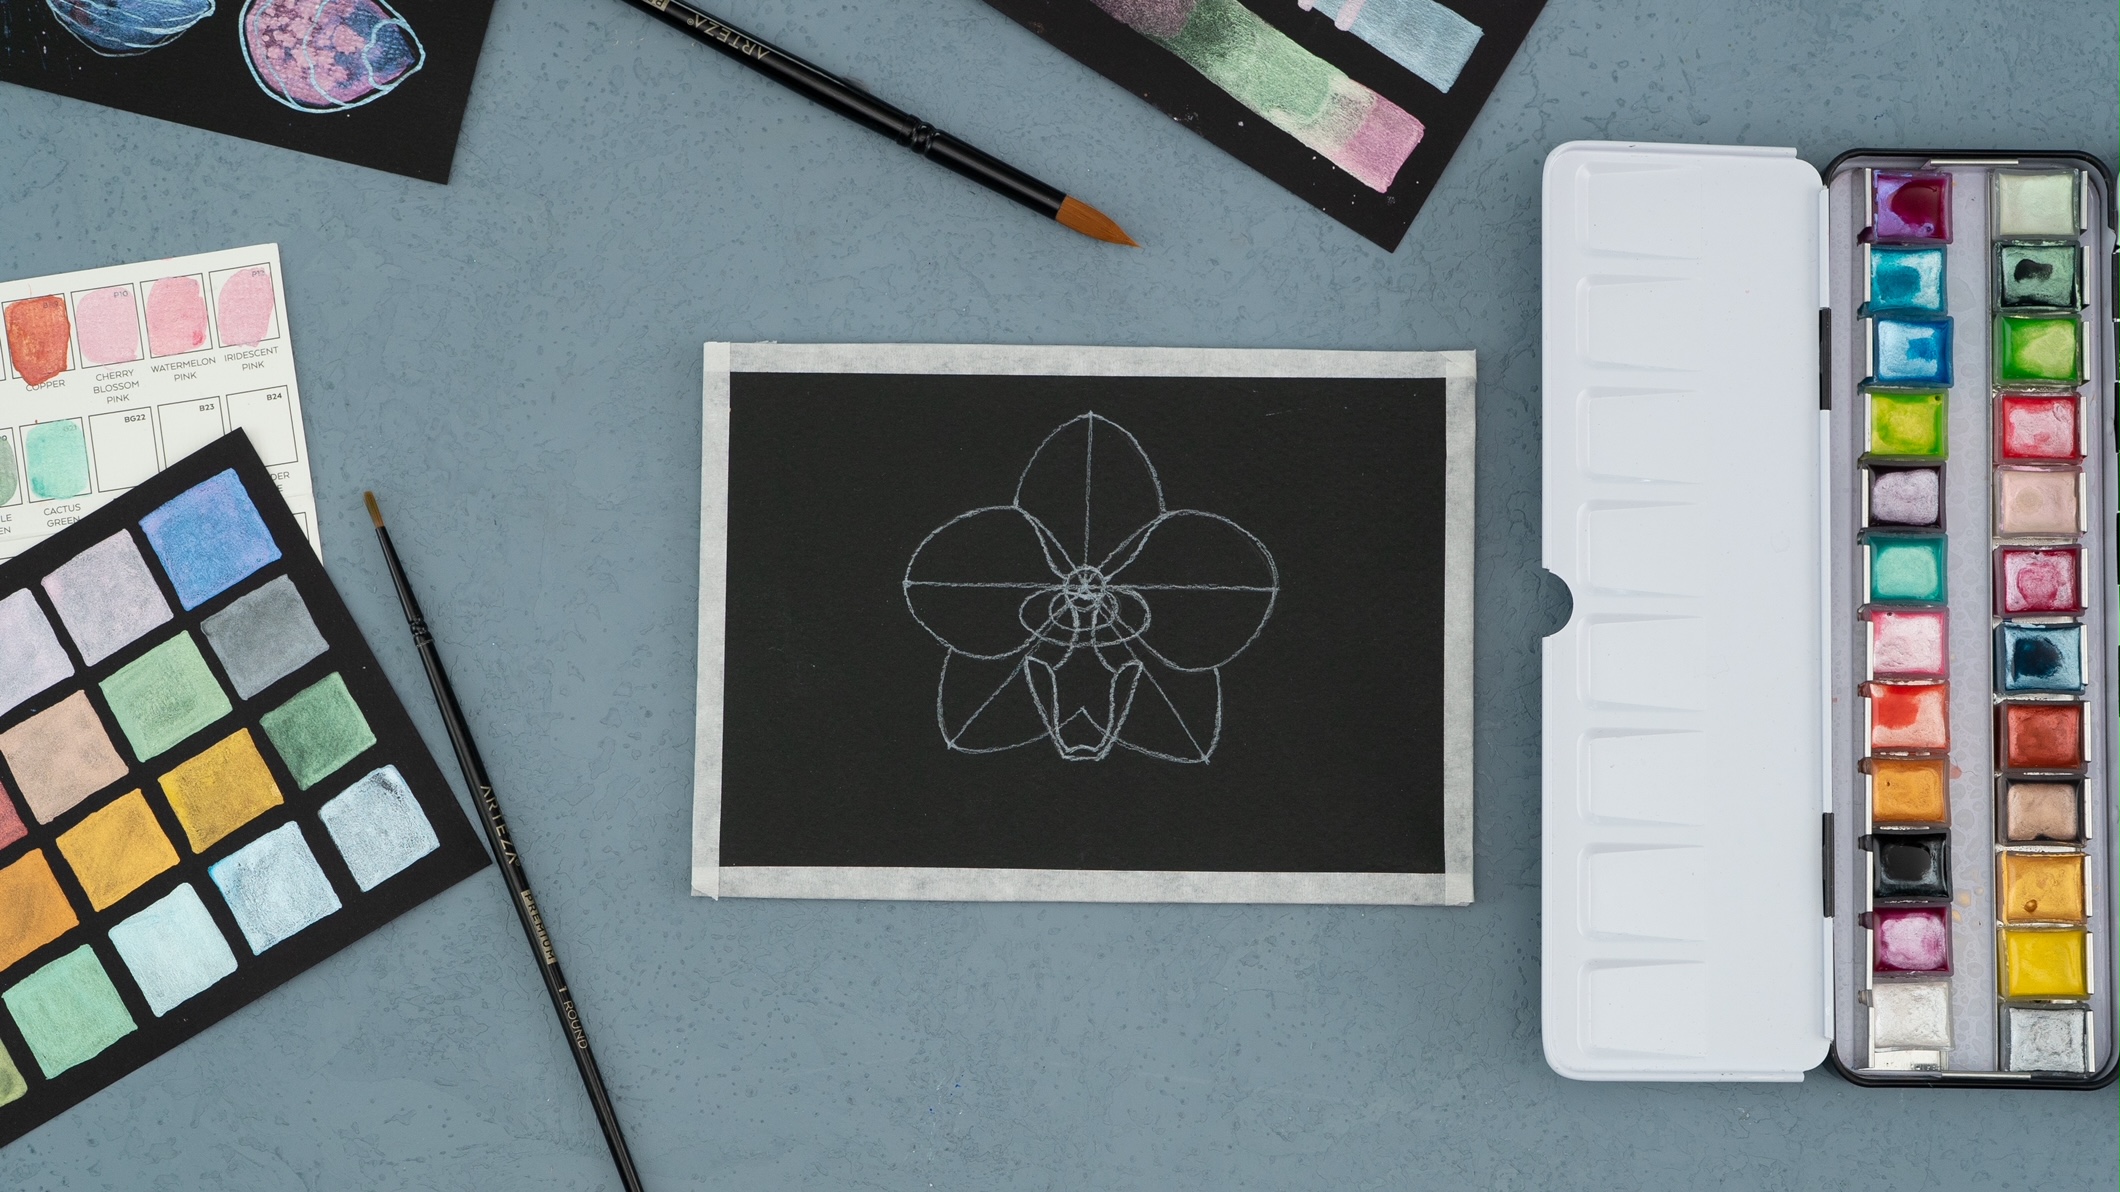
The Moth Orchid has a lower petal-like structure known as the “lip.” It is a triangle-shaped area that looks like a sixth petal. To add its details, draw a curved line above the outer edges of the lip and then add two curved lines from the upper sides that extend and attach at the center circle.
Step 4
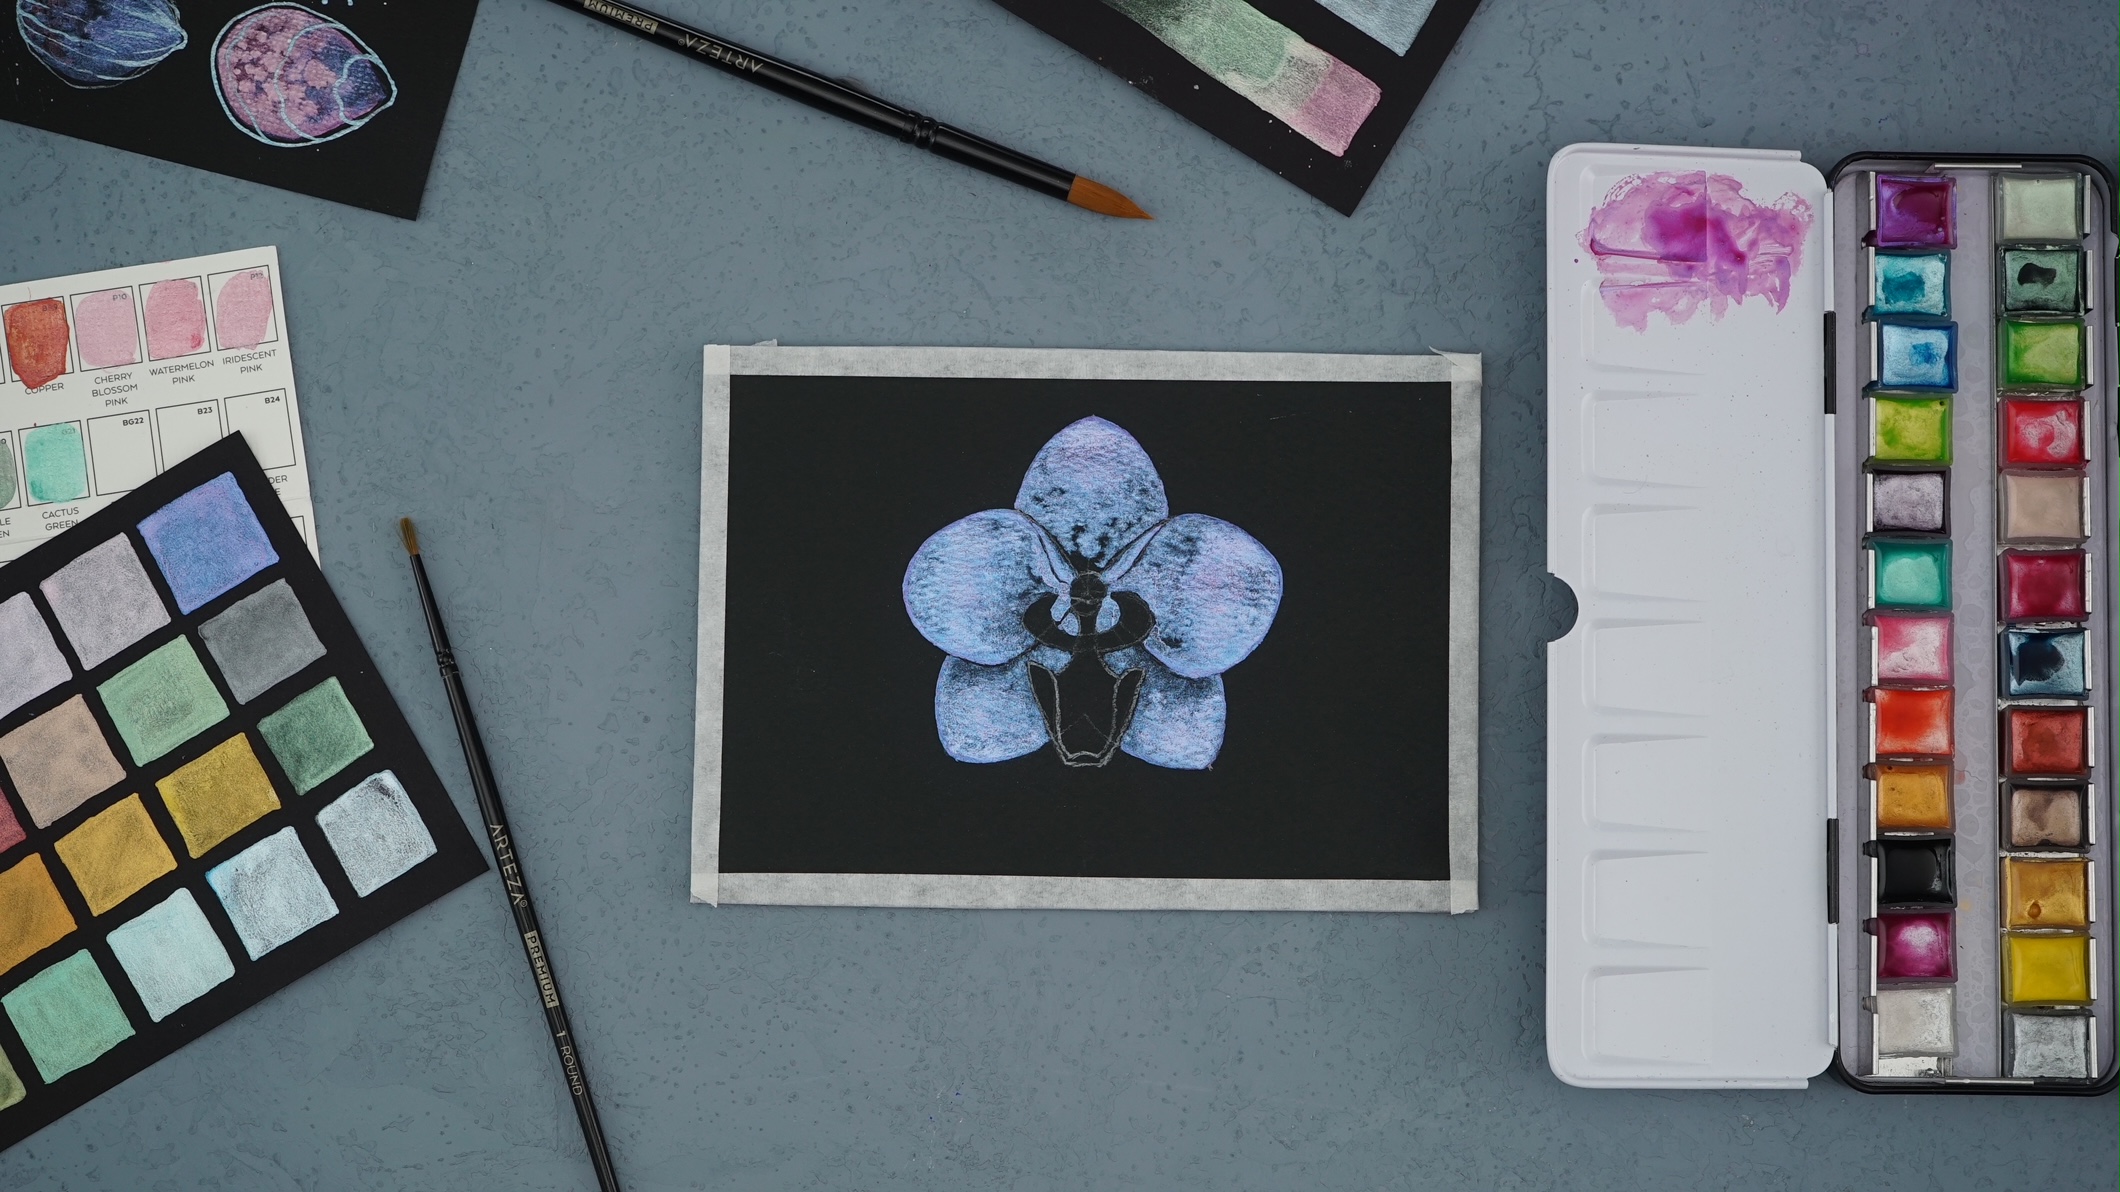
It’s time to add paint! The artist used Arteza’s Metallic Watercolor Premium Artist Paint, Half Pans - Set of 24 to really make this orchid dazzle. Use it to begin painting the entire orchid in blue, adding purple to the tips of the petals. Don’t paint the inner details or the lip, as these will be a different color. Note how the artist left some of the black paper showing through around some of the edges of the petals. He also gave the orchid a three-dimensional look by placing dark shadows under the center petals.
Once the first layer of paint dries, you can add spots of white or a lighter shade to add the texture to the petals.
Step 5
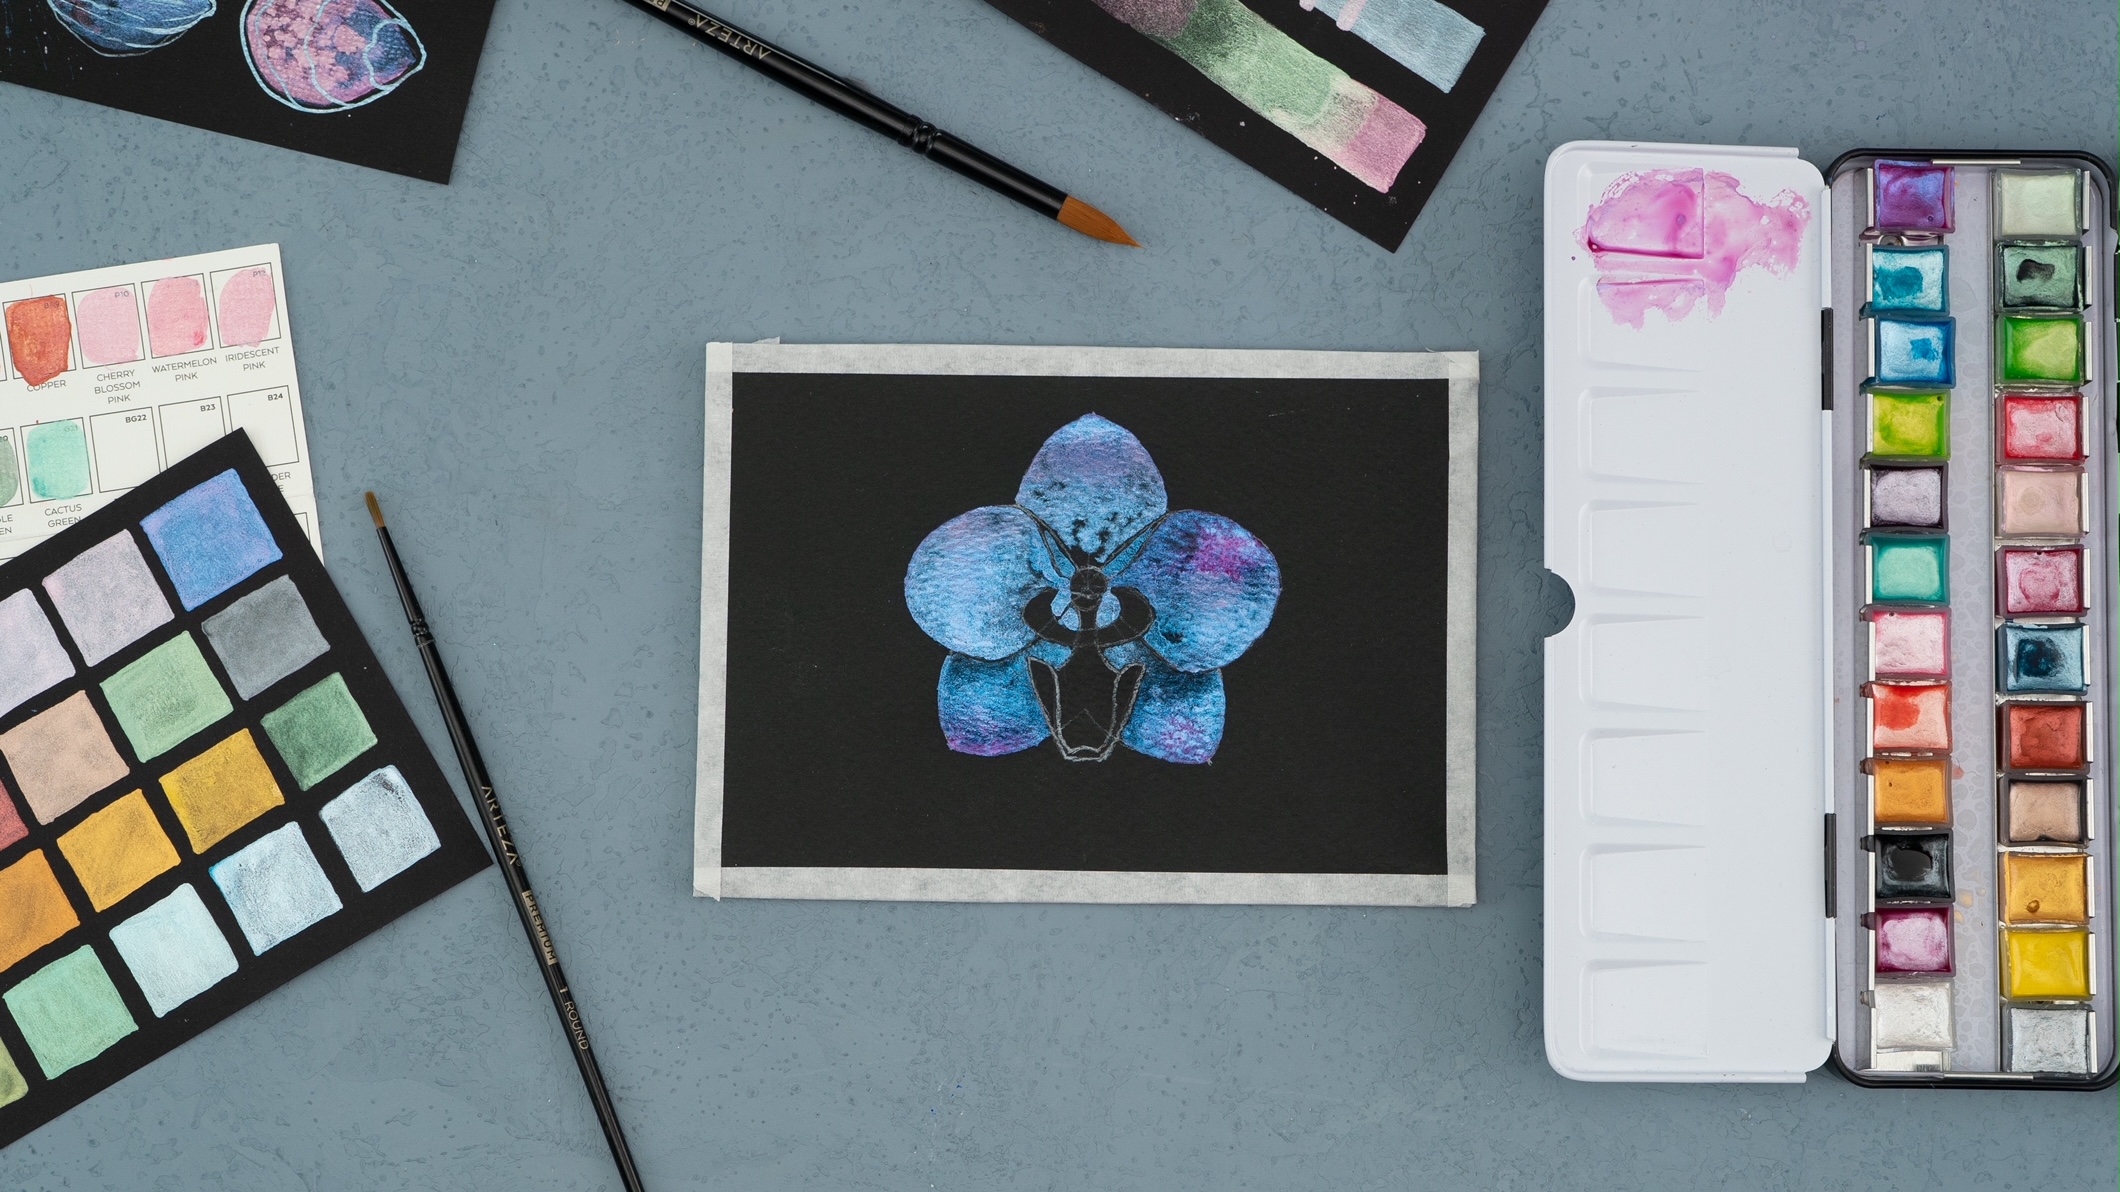
Continue adding lighter shades to the petals leaving some dark spots showing through.
Step 6
Using yellow and lighter shades of purple and pink, paint inside the lip and center details. Define the light spots on the petals by adding more paint to them.
To create more interest in your painting, add small and large splashes of silver around the outside of the orchid.
Now that you’ve seen how easy it is to draw and paint the Moth Orchid, you might want to give other varieties a try. We hope this how-to gets you inspired to try floral drawing and painting. We’d love to hear how it’s going, so please leave a comment below.


