Table of Contents:
- Cute Valentine’s Day Cards that are ‘Handmade with Love’
- List of Supplies
- How to Make Homemade Valentine’s Cards
- Signed and Sealed with a Kiss
Cute Valentine’s Day Cards that are ‘Handmade with Love’
Hearts, chocolate, flowers—they’re everywhere during this time of year because of Valentine’s Day. Whether you’re celebrating with your significant other, gal pals, or your family, you can come up with some creative ways to show them that you care. Conveying that you put thought and time into creating something special for your beloved is the most important aspect of any good Valentine’s gift. One iconic Valentine’s Day gift idea is a homemade card. What makes a DIY Valentine’s Day card a unique gift is the fact that you can customize the entire card to what your special someone likes.
Use their favorite colors or draw their favorite things inside the card—it’s an opportunity to show your love through art. We’ve come up with two Valentine’s Day card ideas you can use to make unforgettable gifts for your loved ones. View these instructions as a helpful guide, and feel free to add your own twist.
Drum roll please...now it’s time to gather your art supplies and get your crafting space ready—love is in the air, so let’s start crafting!
List of Supplies
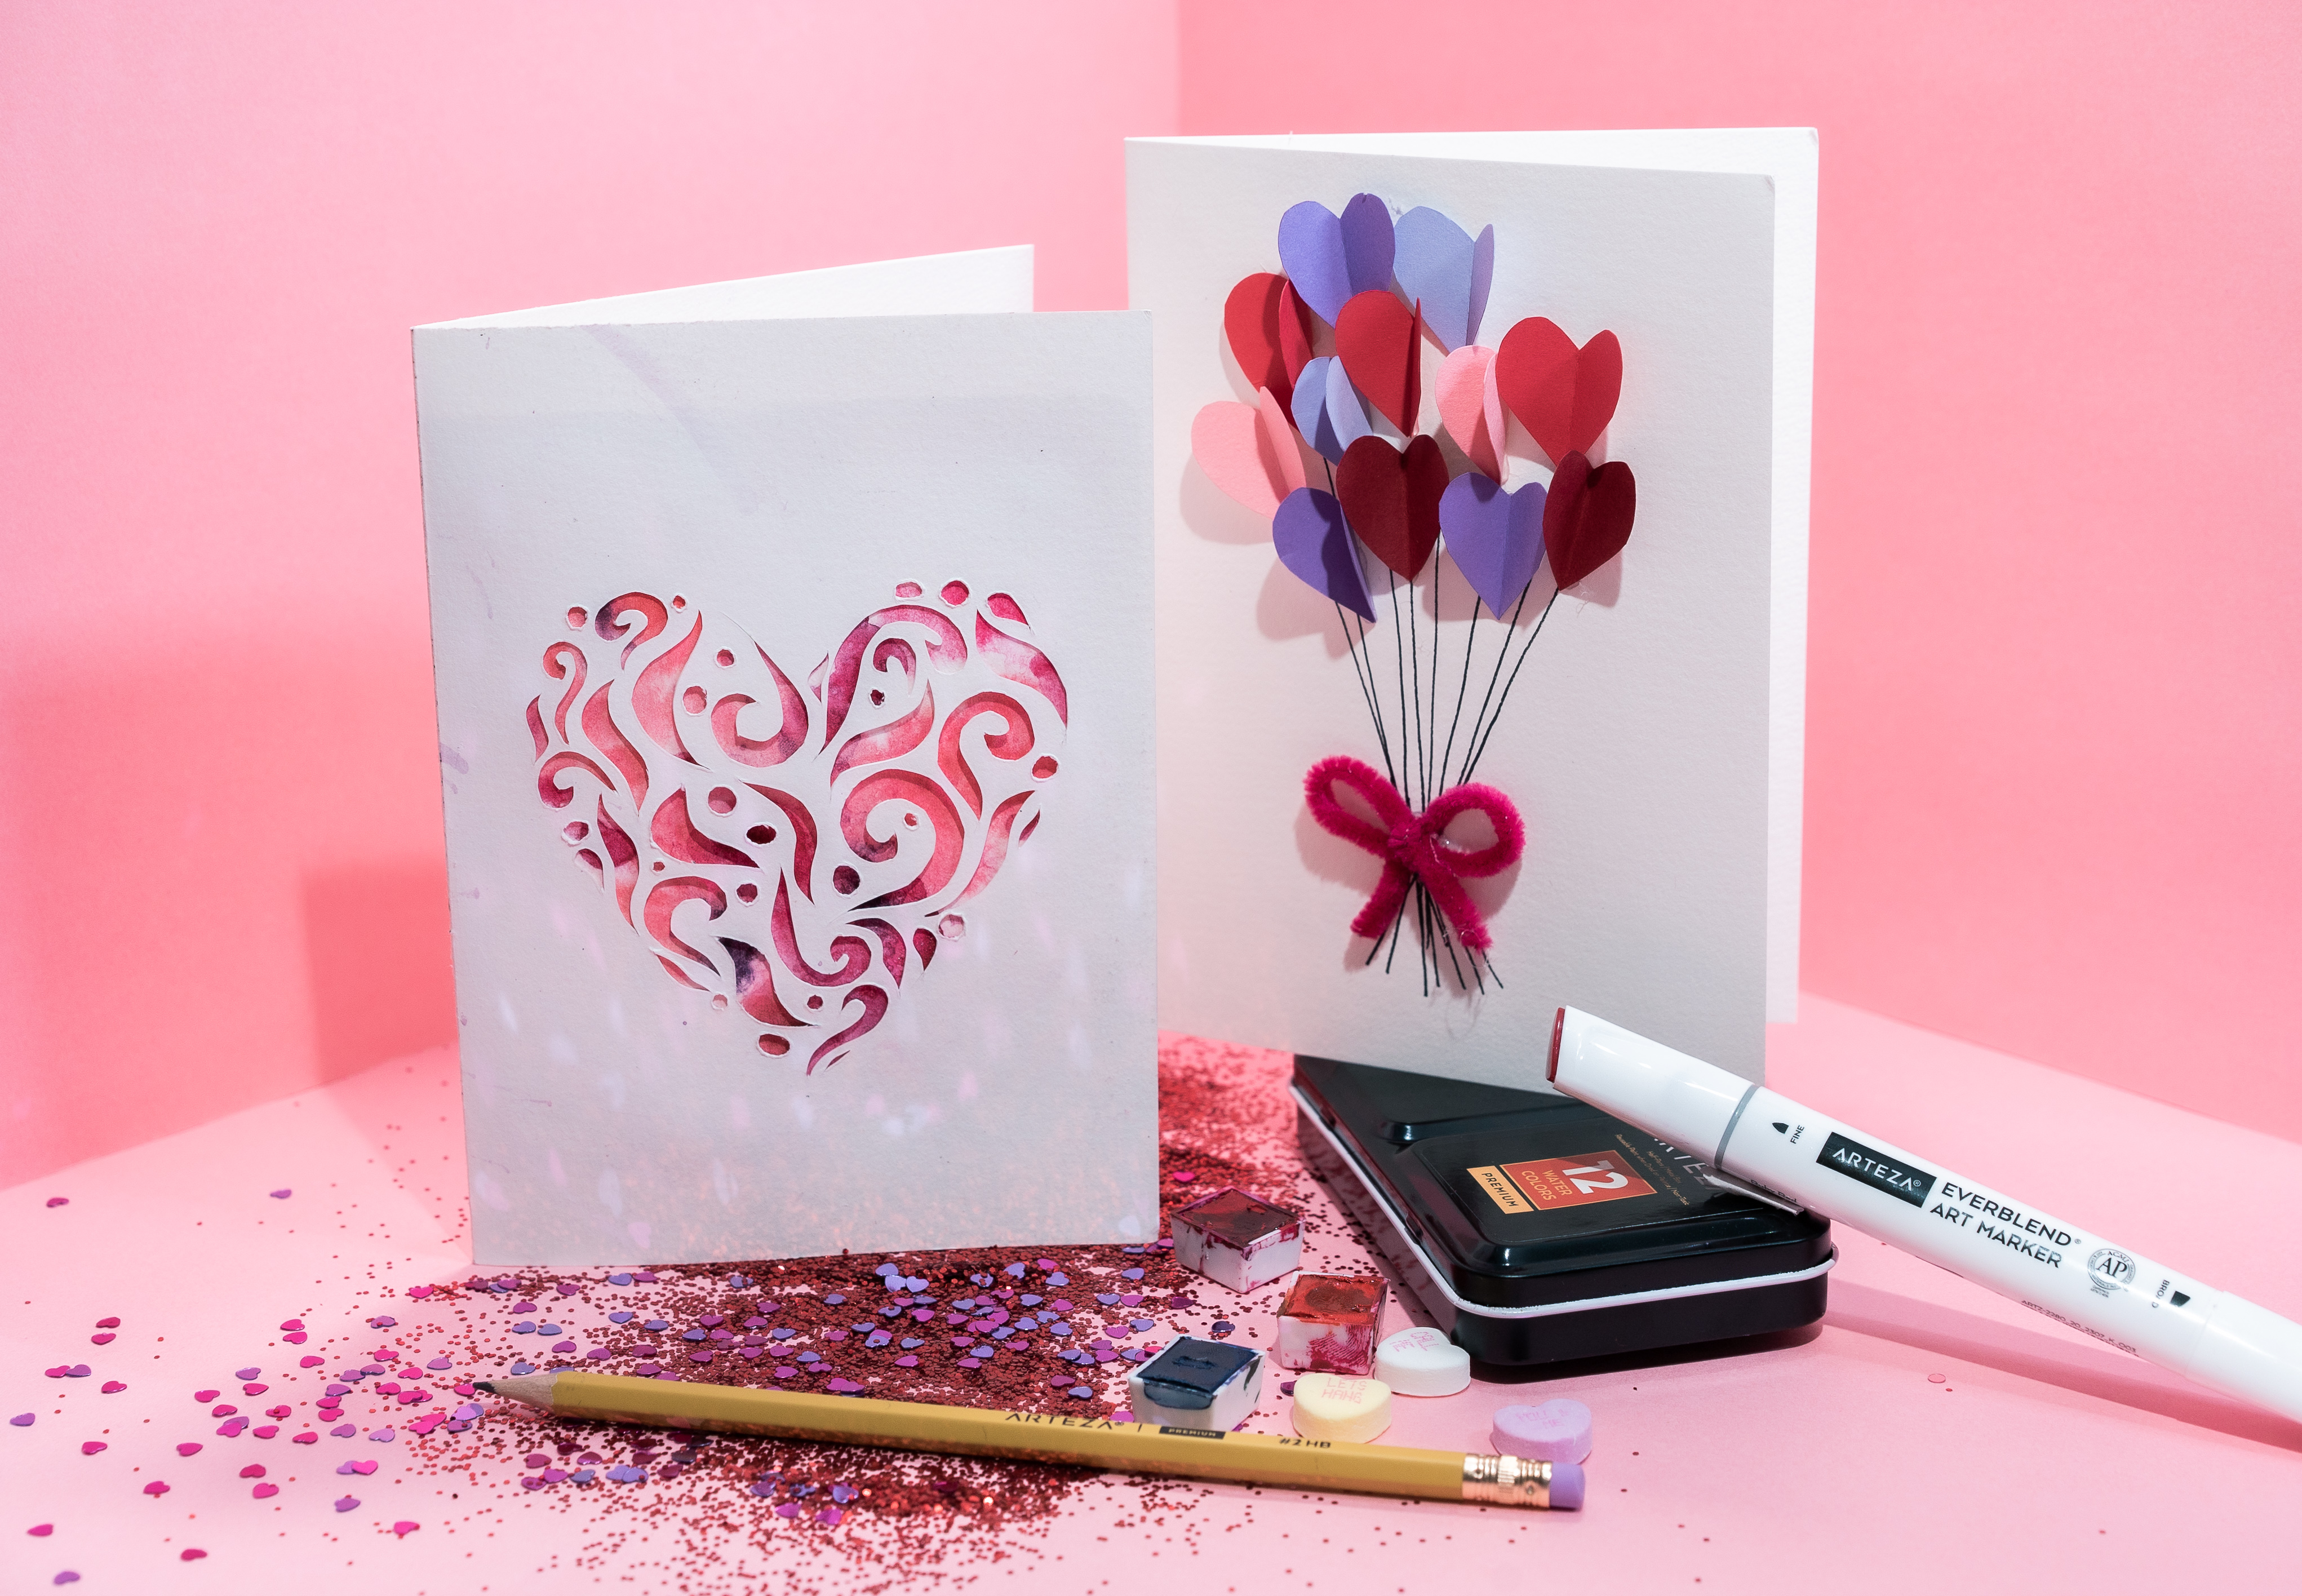
Cut-out Heart Card
- Arteza Watercolor Cards
- Arteza Real Brush Pens
- Arteza EverBlend Ultra Markers
- Arteza Watercolors (half-pans or tubes)
- Arteza Pencils
- Arteza Cutting Mat
- Arteza Hobby Knife
- Arteza Marker Paper
- Arteza Hot Glue Gun, or Arteza All-Purpose Glue
- Paintbrushes
- Table Salt
- Rubbing Alcohol
- Computer paper/spare paper
Heart Balloon Card
- Arteza Watercolor cards
- Colored Cardstock
- Arteza Scissors
- Arteza Hot Glue Gun
- Arteza All-Purpose Glue
- Arteza EverBlend Ultra Art Markers
- Arteza Chenille Stems
- Arteza Pencils
- Computer paper/spare paper
How to Make Homemade Valentine’s Cards
Cut-out Heart Card
Step 1: Start by sketching out a heart on a piece of spare paper with a pencil. To do this, fold the paper in half and draw half of a heart shape (make sure the heart will be able to fit on the card).

Step 2: Cut out the heart shape with scissors. If it happens to be too big for the card, simply trim the edges until you have a heart that will fit. Keep in mind you’ll want a little bit of space on all sides of the heart.
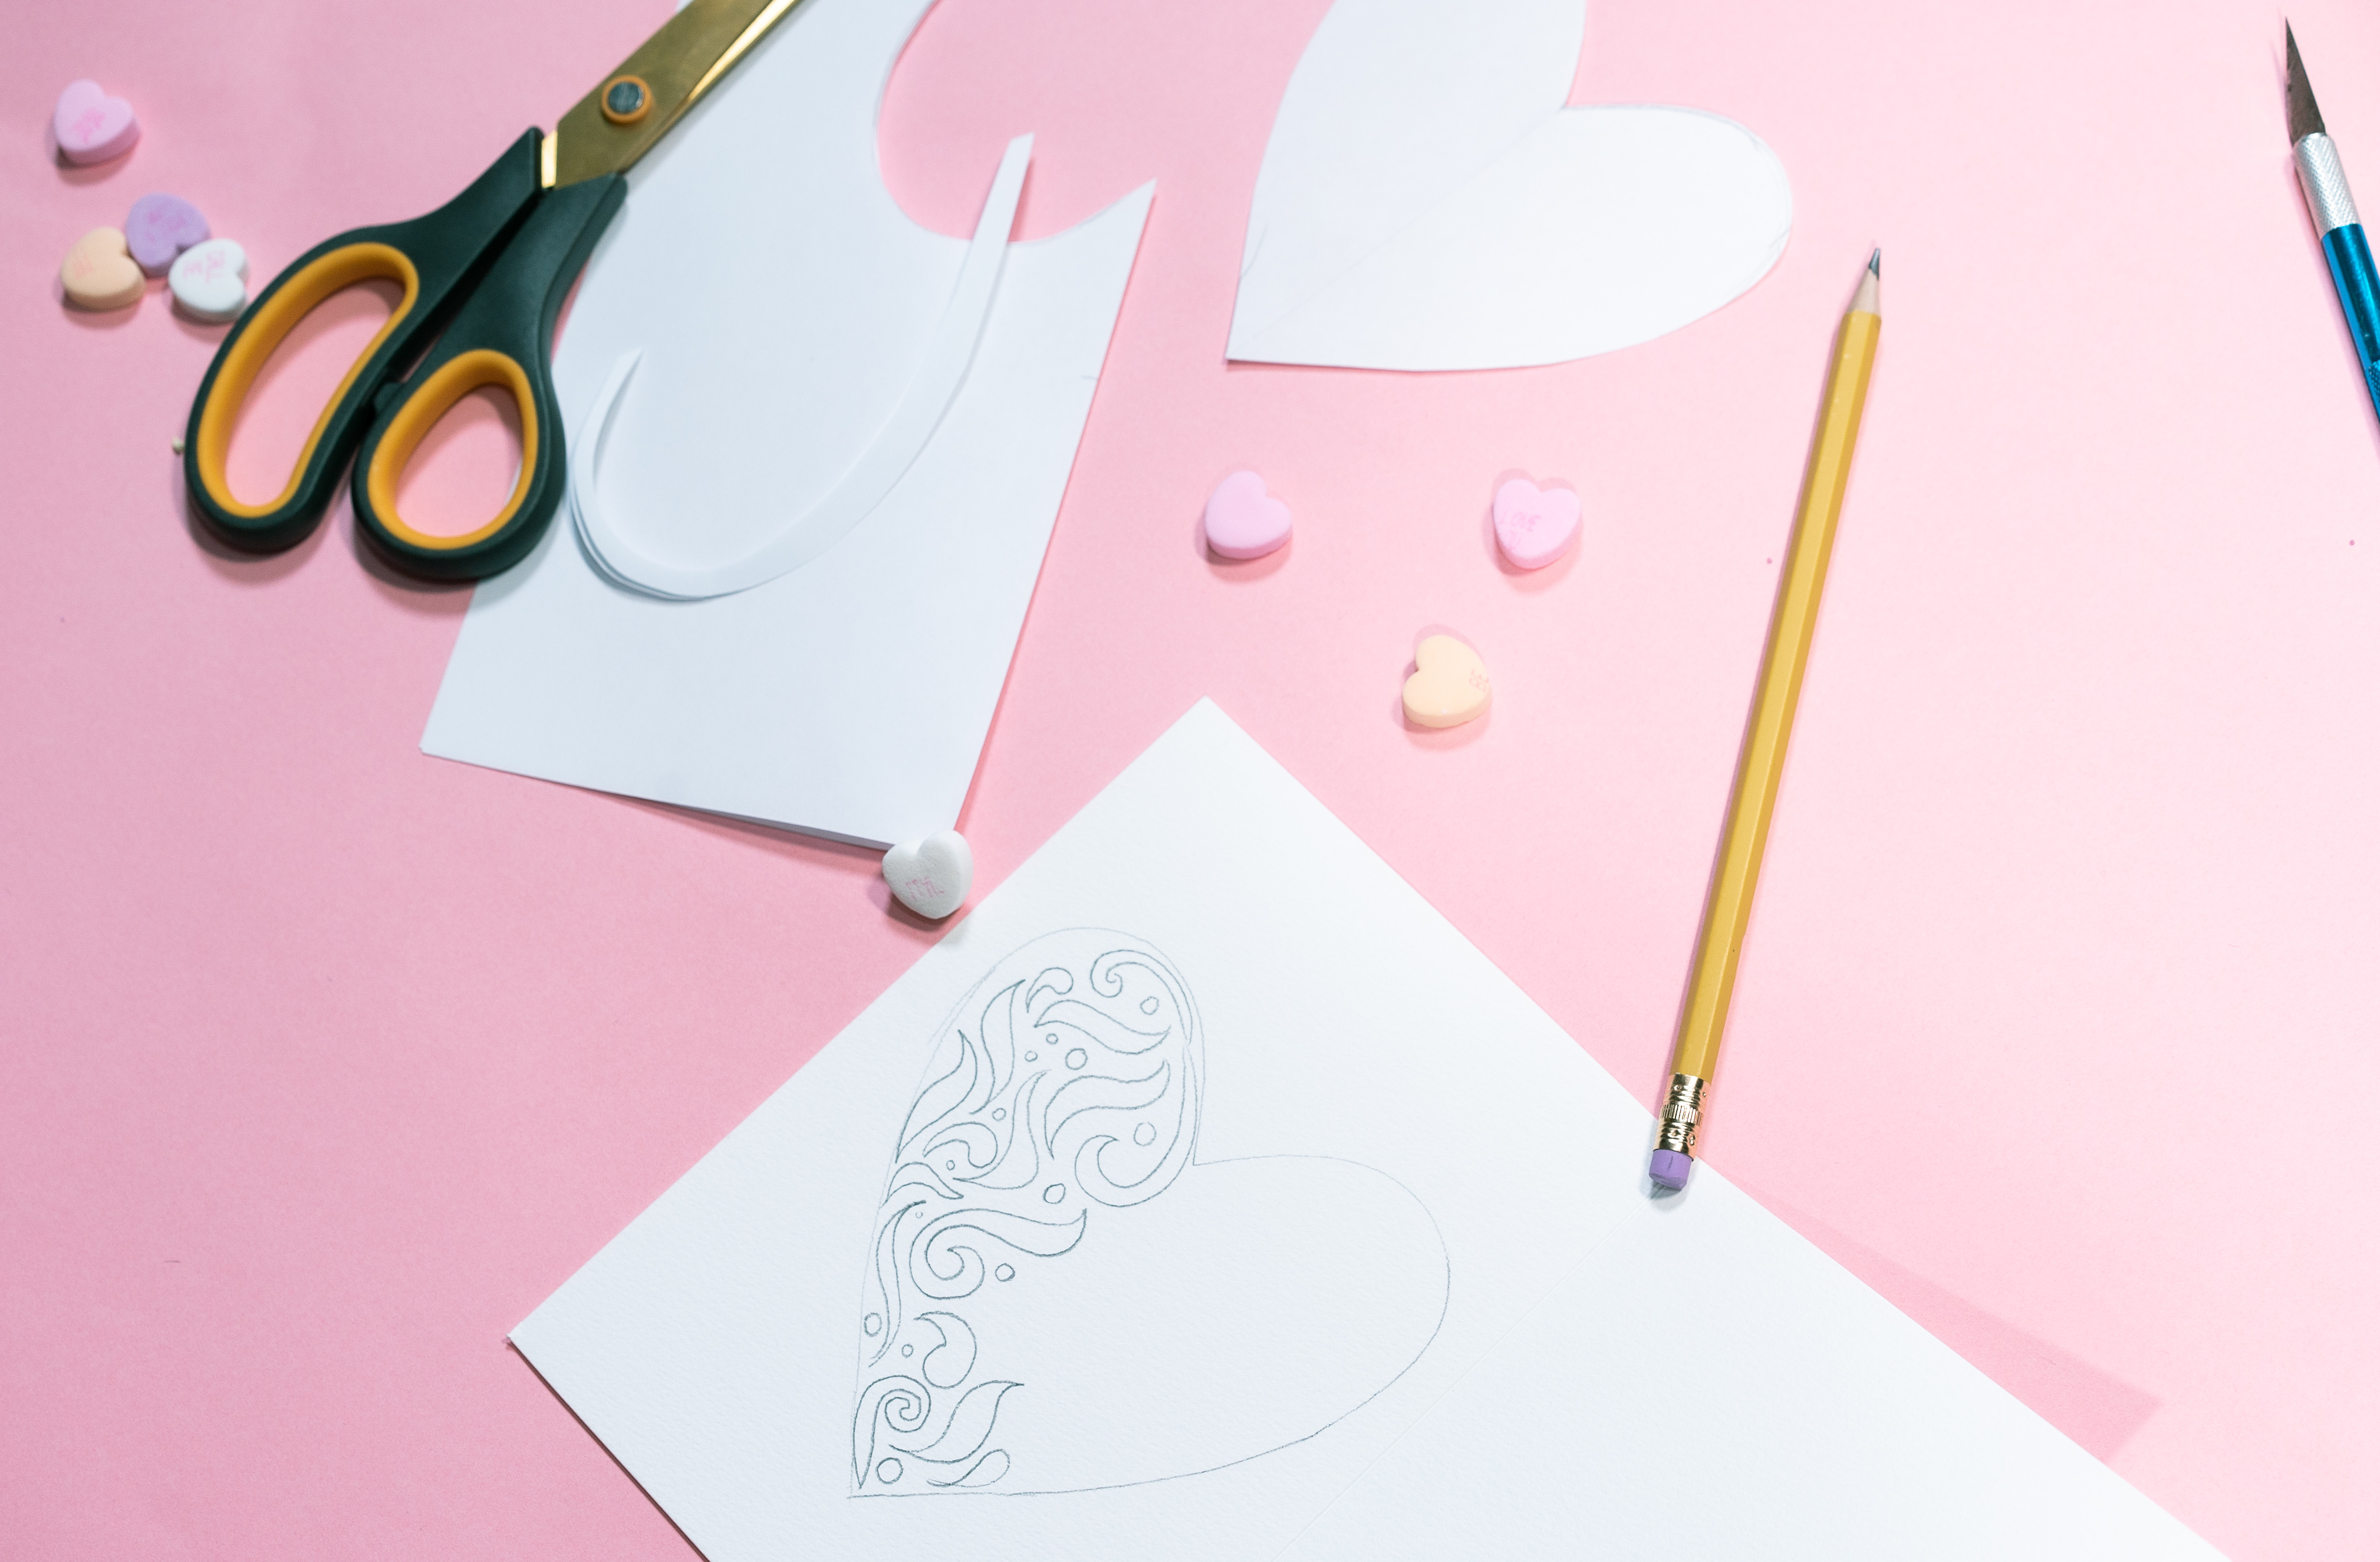
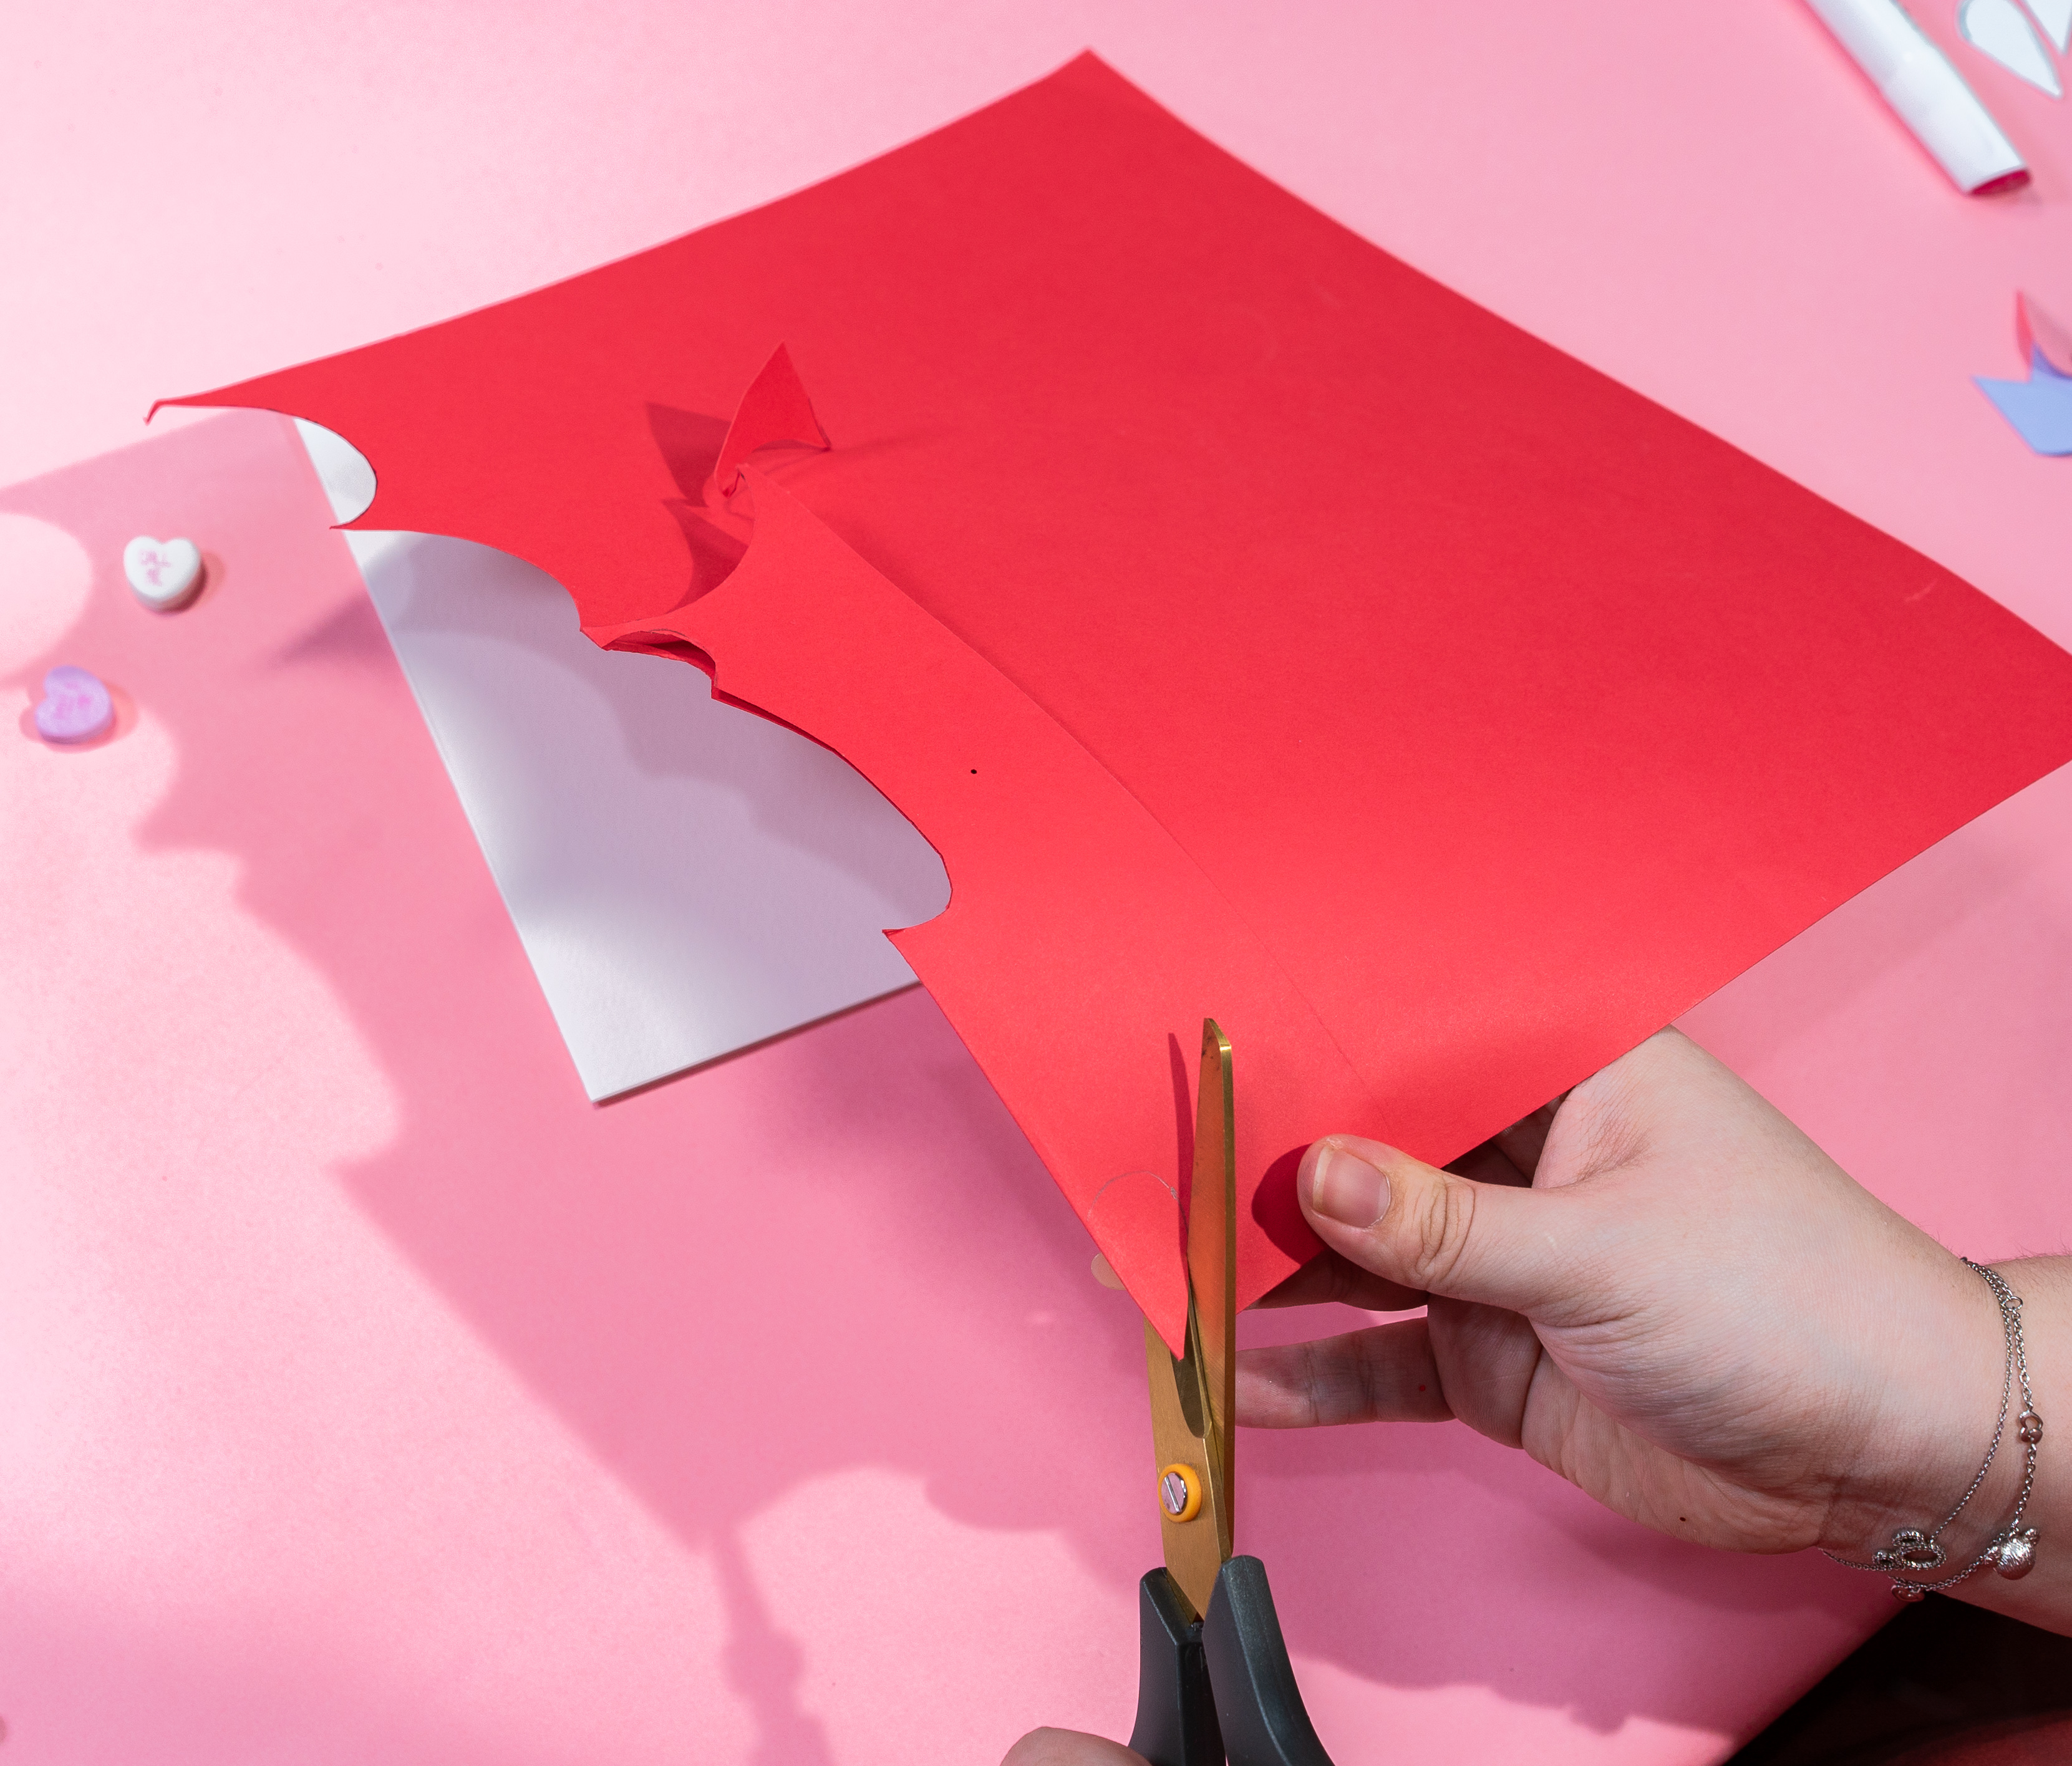
Step 3: Trace the heart shape onto the back of the front of the card. Next, take your pencil and sketch some random shapes and swirls inside the heart. Place your card onto the cutting mat, then use a sharp craft knife to carefully cut out the designs you sketched.
Note: Cutting out the designs on the mat will protect your surface from cuts or scratches.

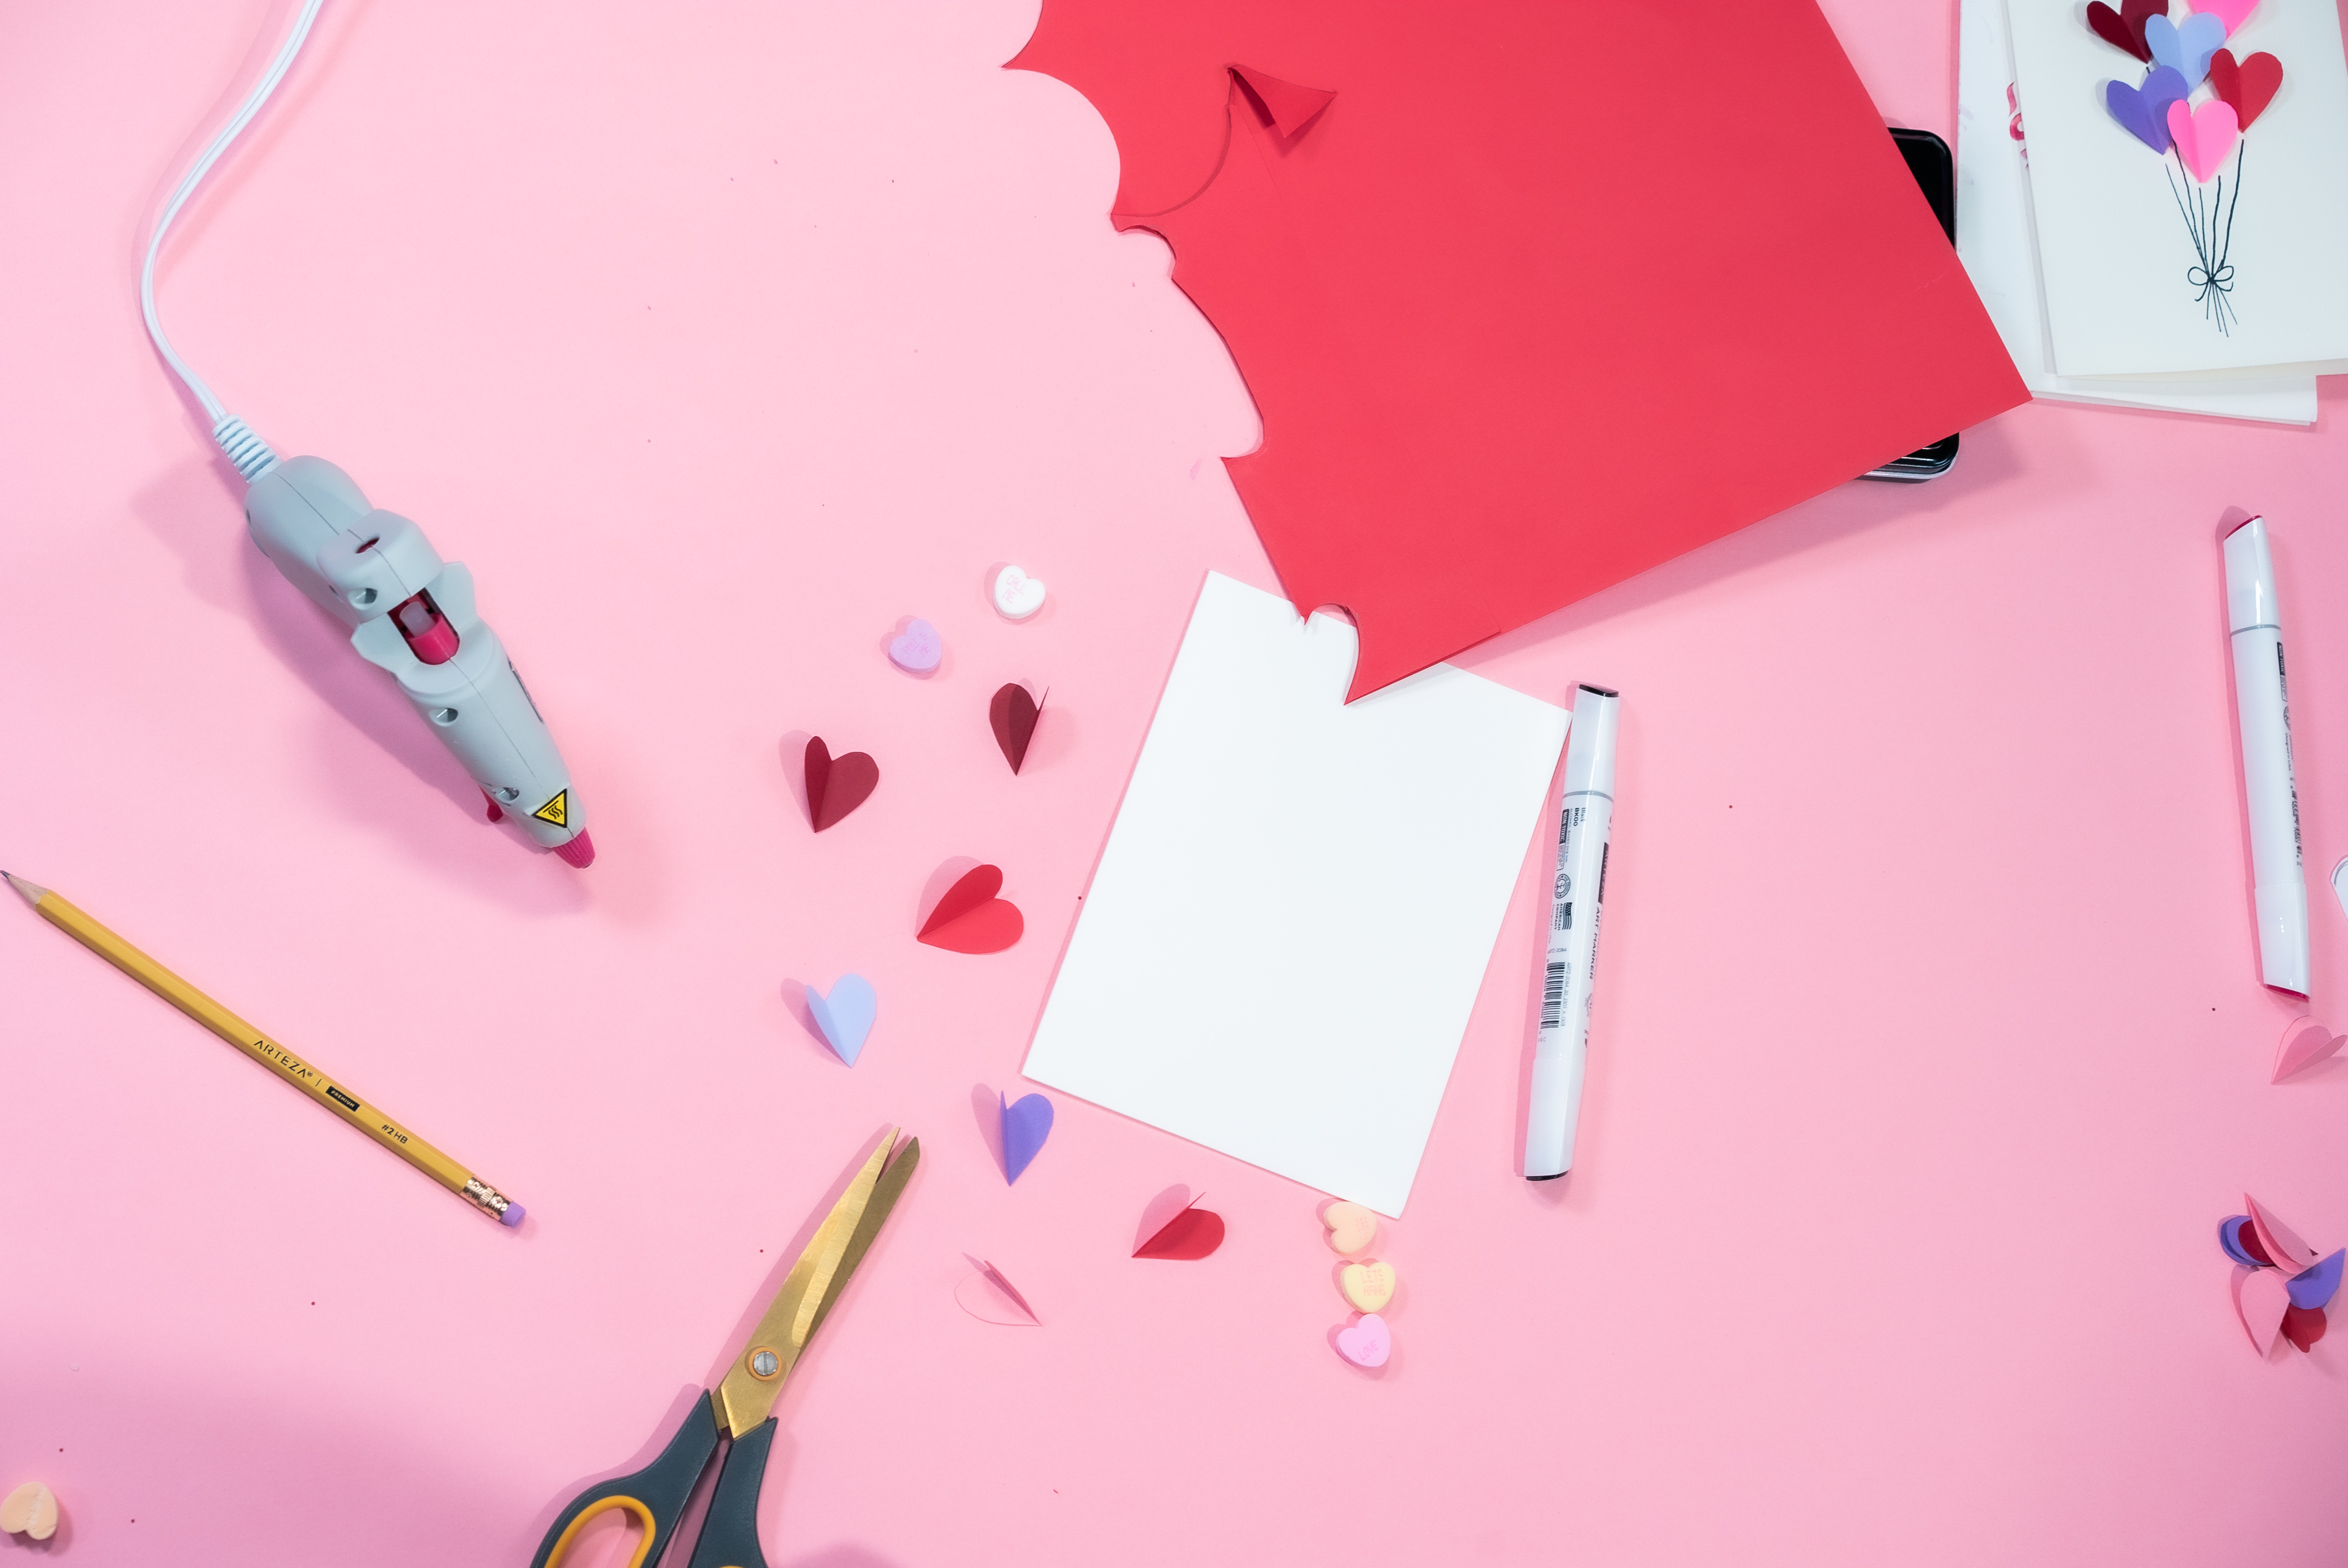
Step 4: Once your design is cut, set it aside. Don’t worry if certain parts of the design are not perfect, you’ll be gluing a backing piece to the delicate design to hold everything together. To create the backing piece, cut out a separate piece of paper that covers the whole heart (this can be watercolor paper, marker paper, or whatever paper you like).
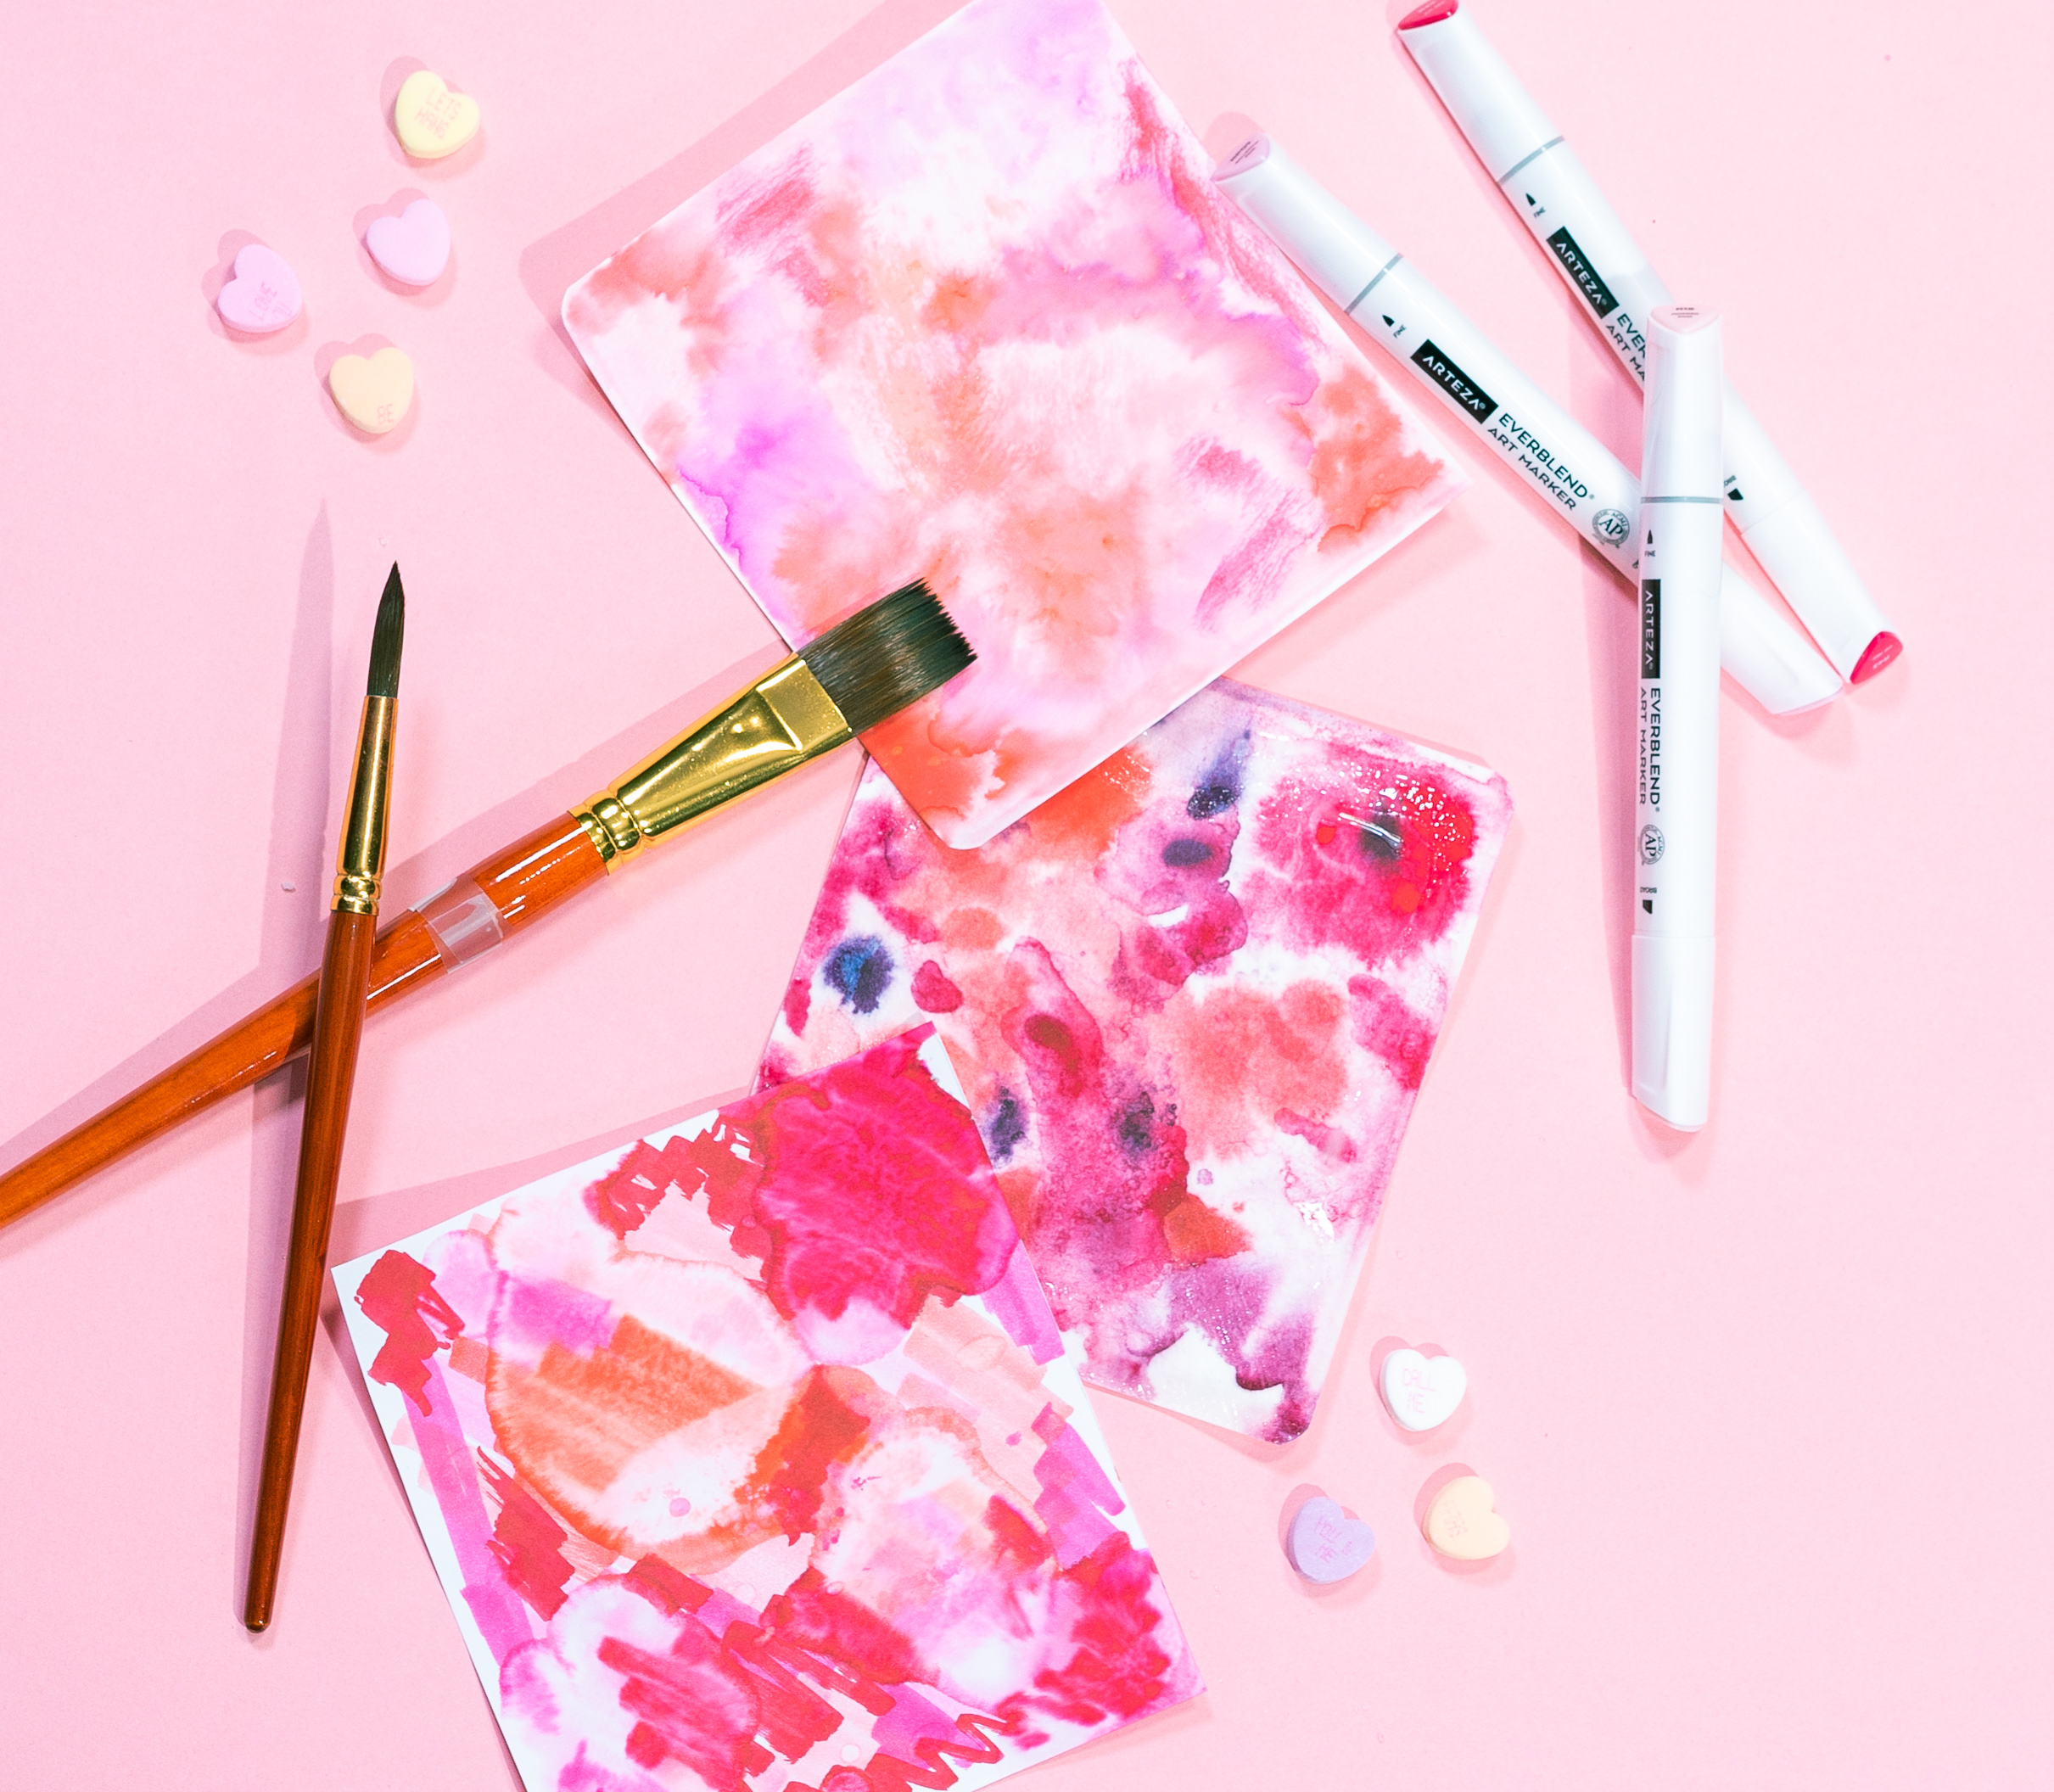
Step 5: Create a colorful design on this separate sheet of paper with the medium of your choice. We used Real Brush Pens, Watercolor Half-Pans, and EverBlend Ultra Markers to create three different backing papers. To create cool designs, we used water and salt when painting with the Real Brush Pens and Watercolor Half-Pans. In order to create the same tie-dye effect with the EverBlends, we colored the sheet, then dabbed on different spots on the sheet using a cotton swab soaked in rubbing alcohol.
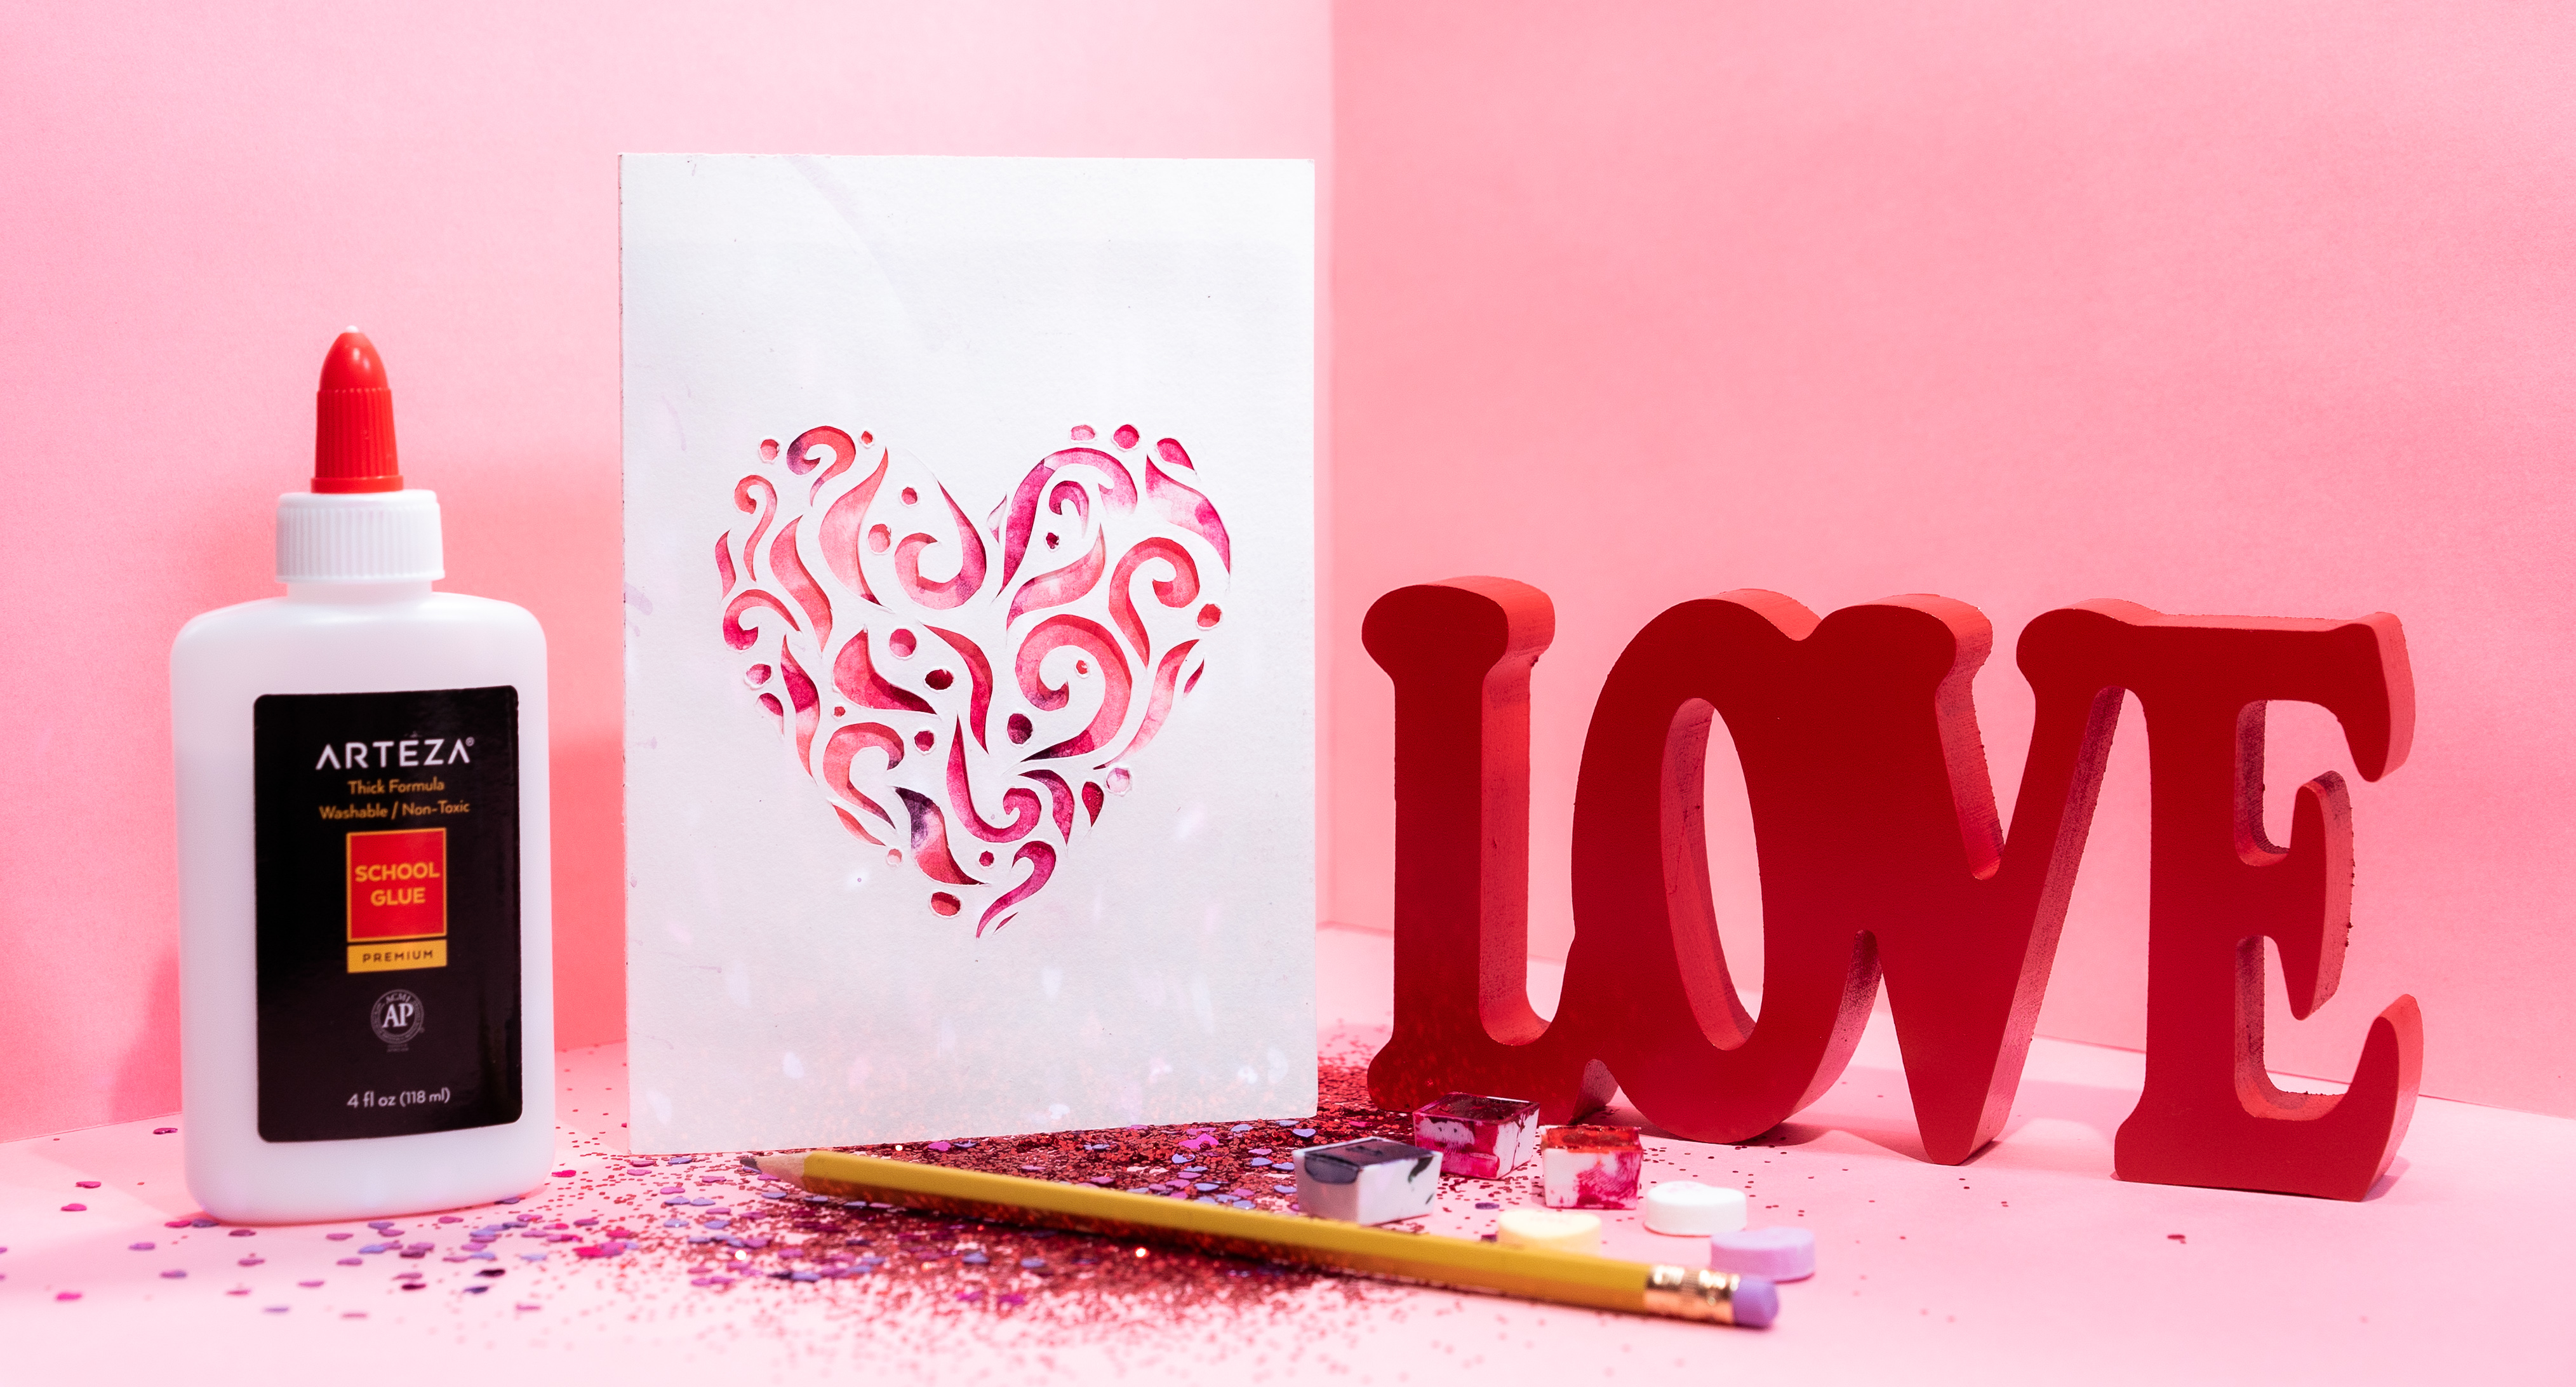
Step 6: Let the colorful design dry completely, then apply glue around the edges of your design. Glue the design to the back of the front of the card, then let the glue completely dry. Once everything is dry, close the card and admire the colorful patterns peeking out from behind your cut-out design.
Heart Balloon Card
Step 1: Draw a small heart onto a separate sheet of paper (you can fold the piece of paper in half to help). Cut out the small heart and unfold it.
Step 2: Next, fold your cardstock. You’ll want to fold about a quarter of the page “hot dog” style and you can use a bone folder to help make a crisp crease. Only folding a quarter of the page will make sure you don’t waste a whole sheet of cardstock. This way you can use it for another project in the future!
Step 3: Trace your heart onto various colors of cardstock and cut them out. Gently unfold the paper to reveal the heart (don’t completely flatten them, we want them to have this 3-D effect).
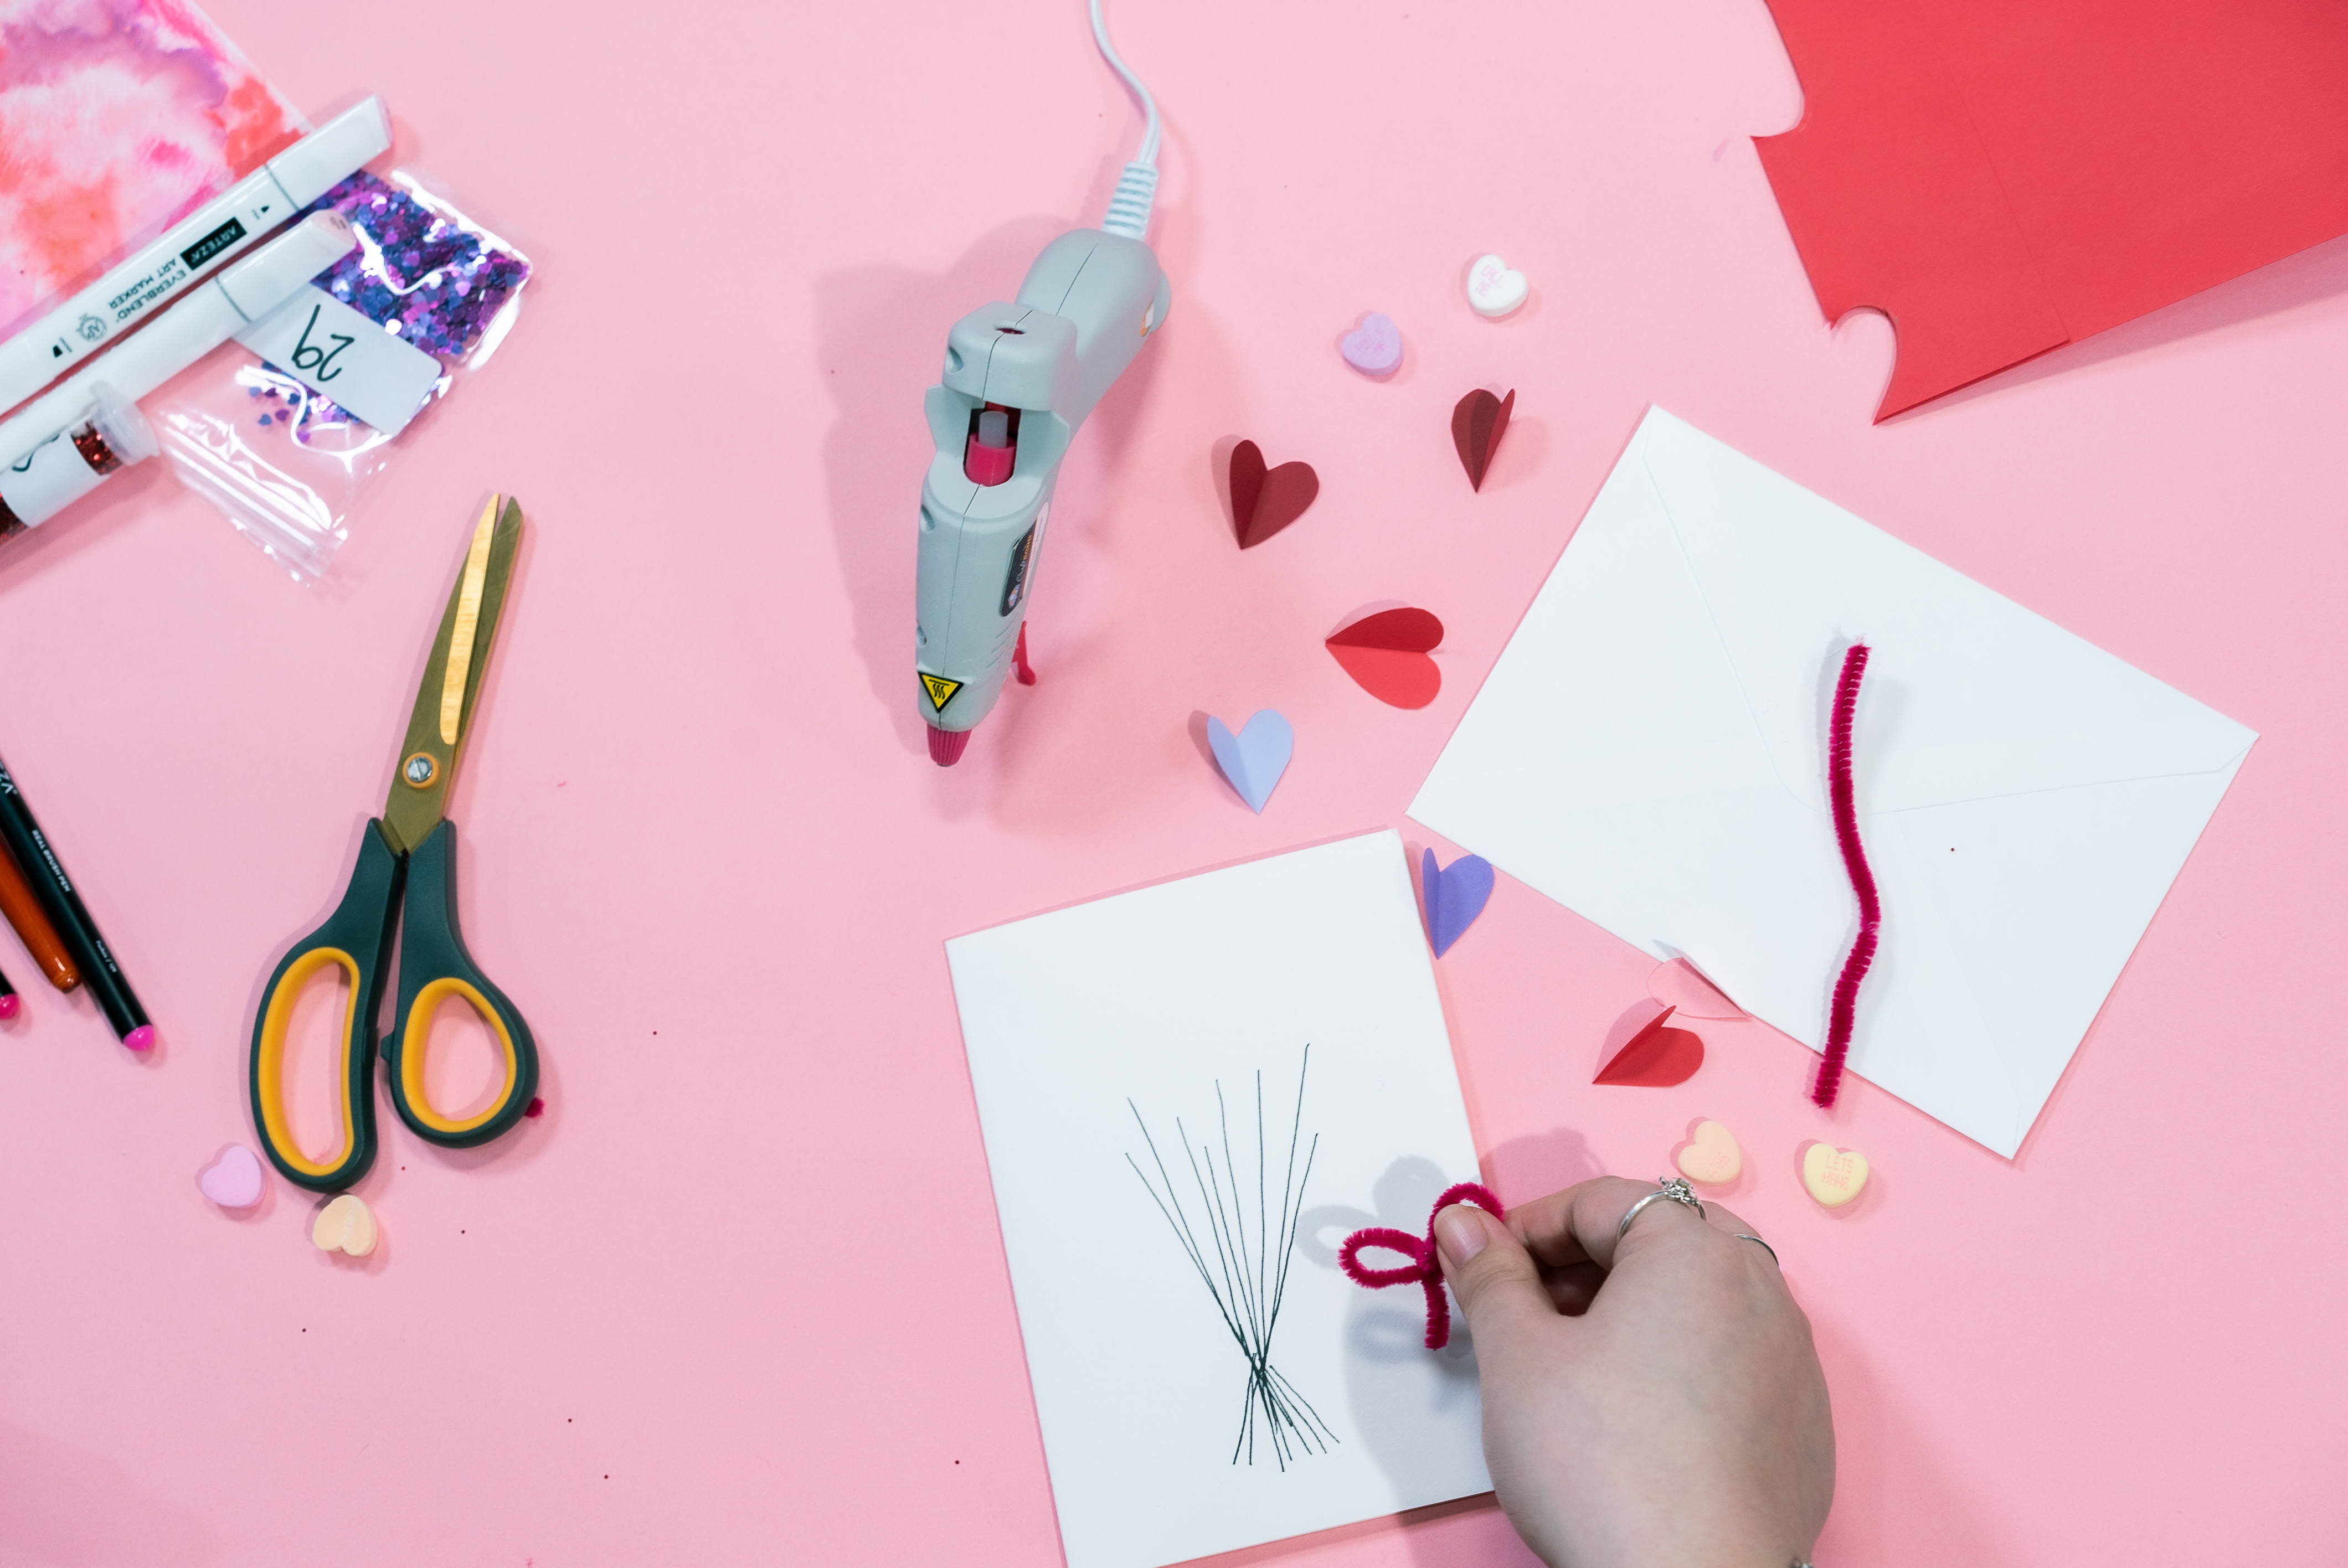
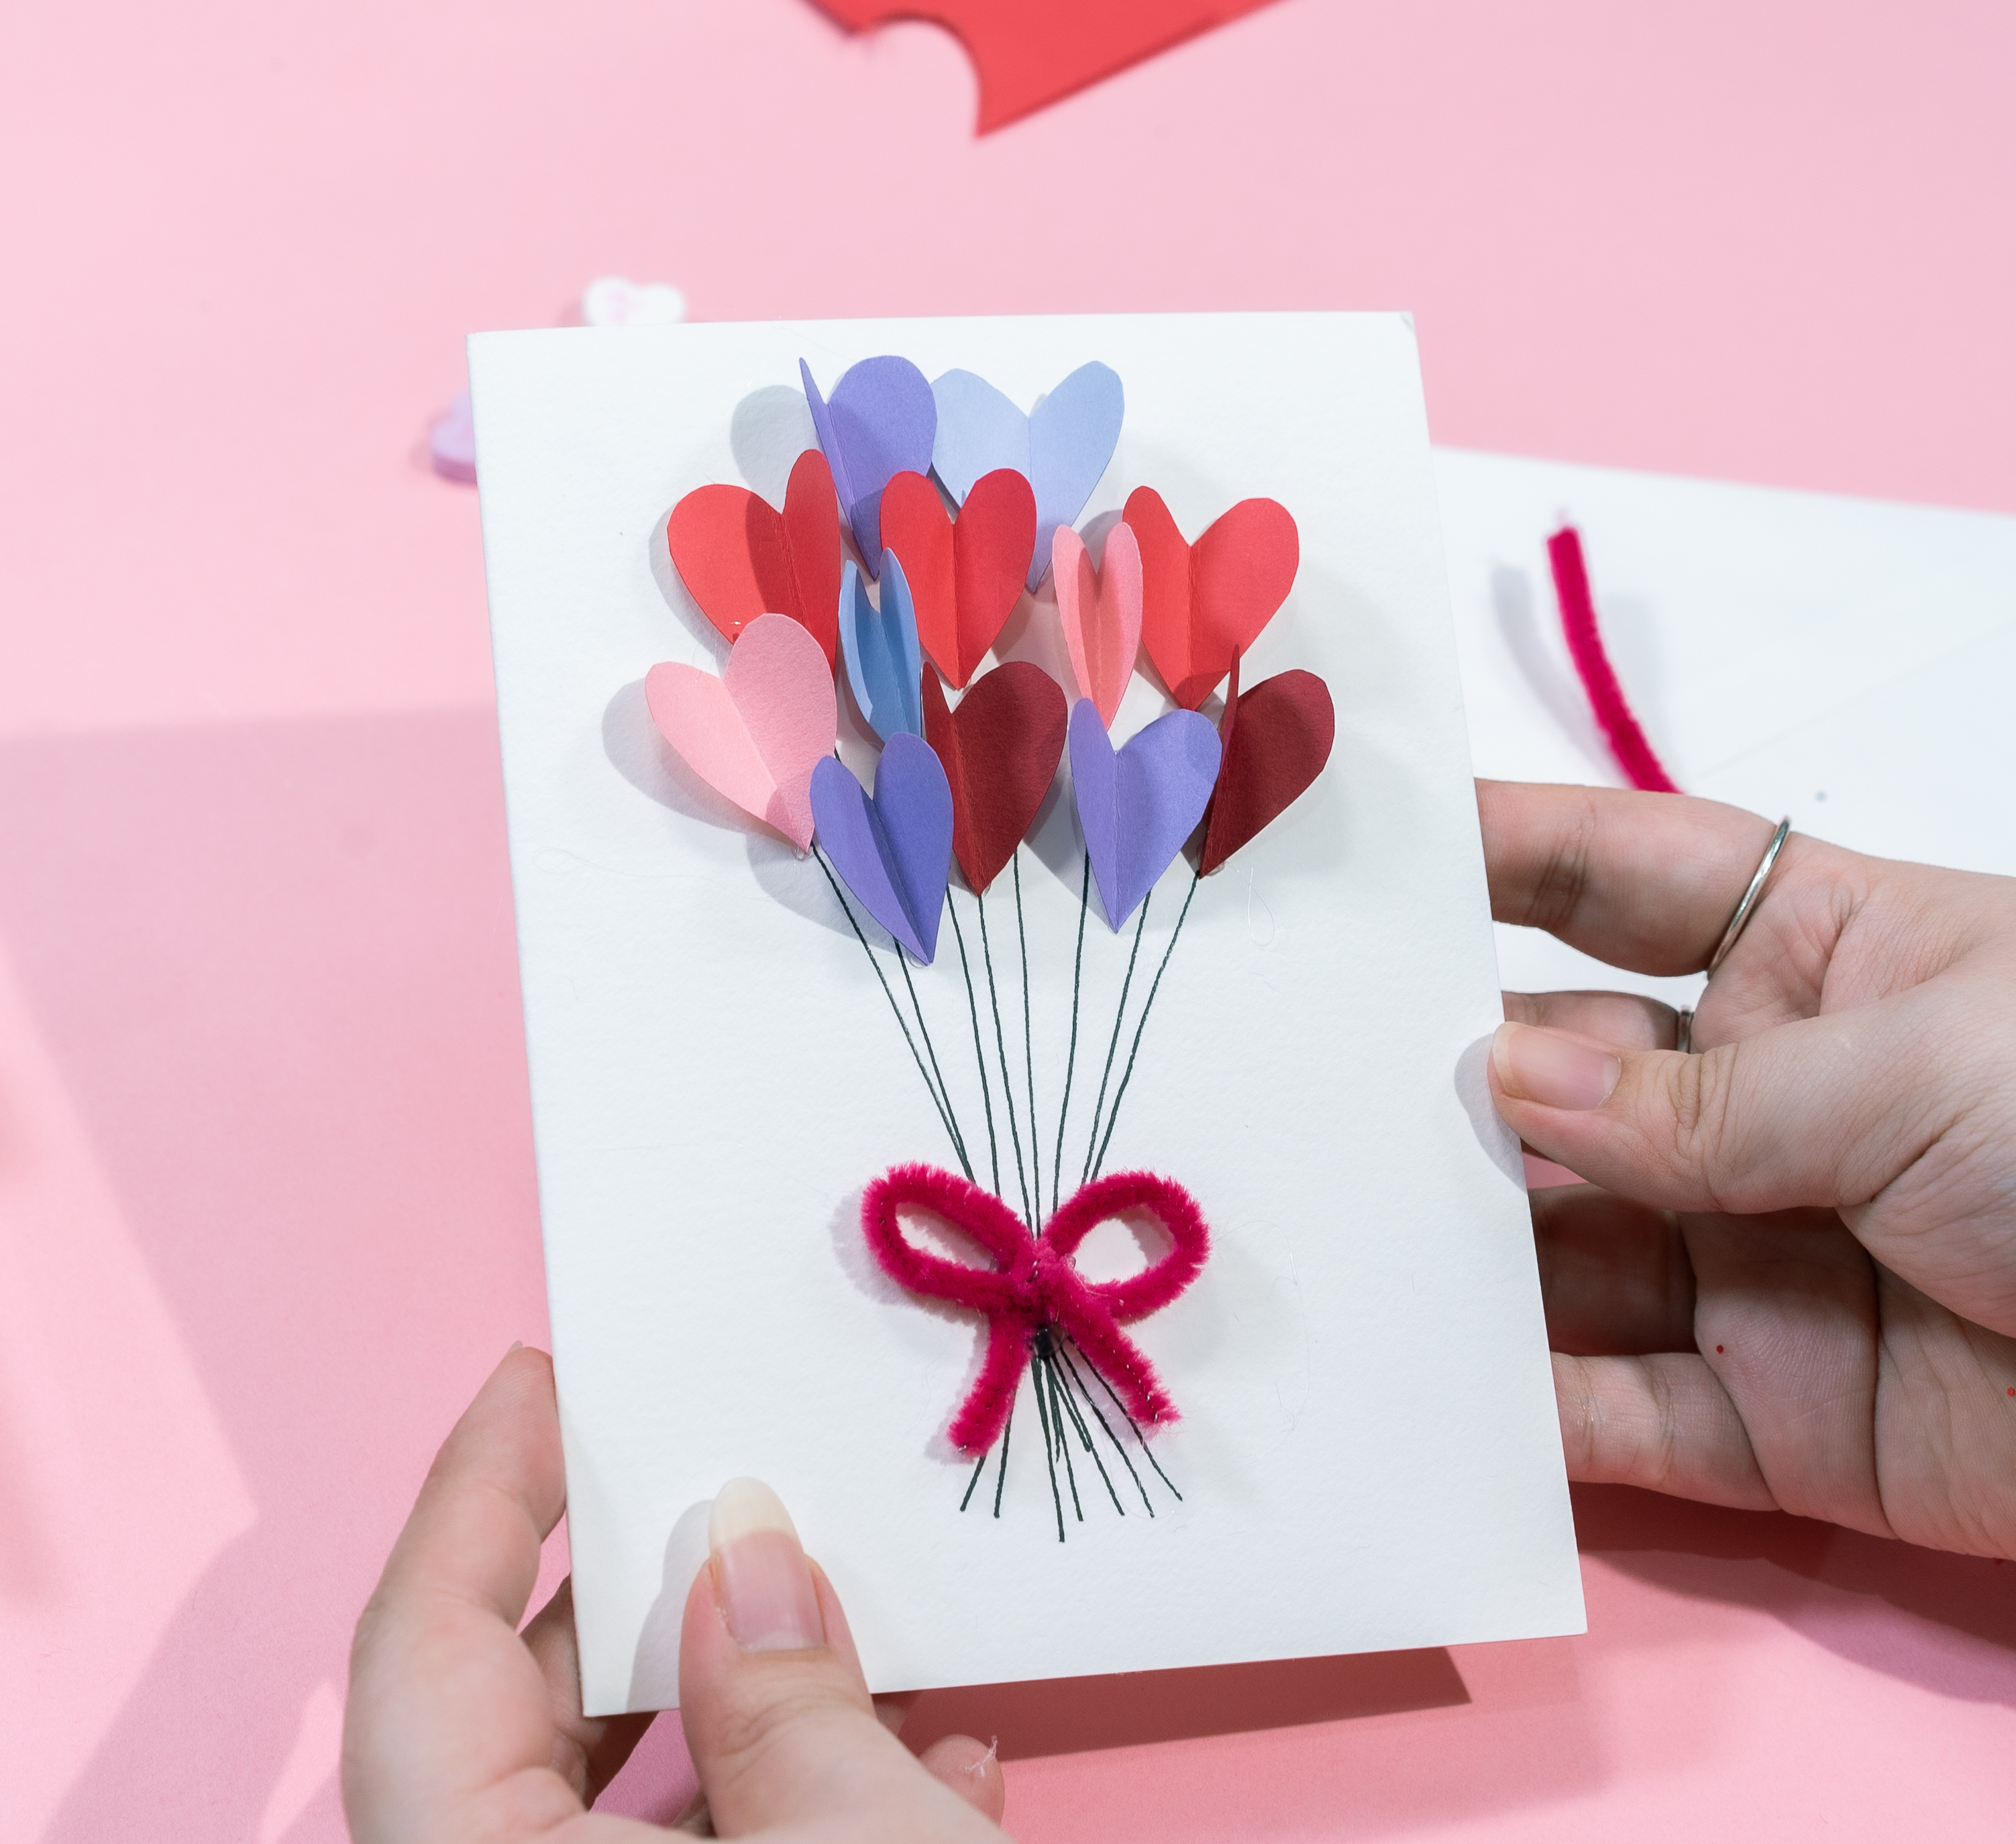
Step 4: Decide what kind of design you’d like to use with your folded hearts. You can do a cascade of them, a bouquet of flowers, or just place them randomly like polka dots. We made them into a little balloon bouquet. You can do this by drawing a few lines that come together towards the bottom using a black EverBlend. Make sure to leave room at the top for your heart balloons.
Step 5: If you’re doing the balloon bouquet like us, take a chenille stem and tie it into a little bow. Glue the bow to where all your lines meet so it looks like they’re tied together.
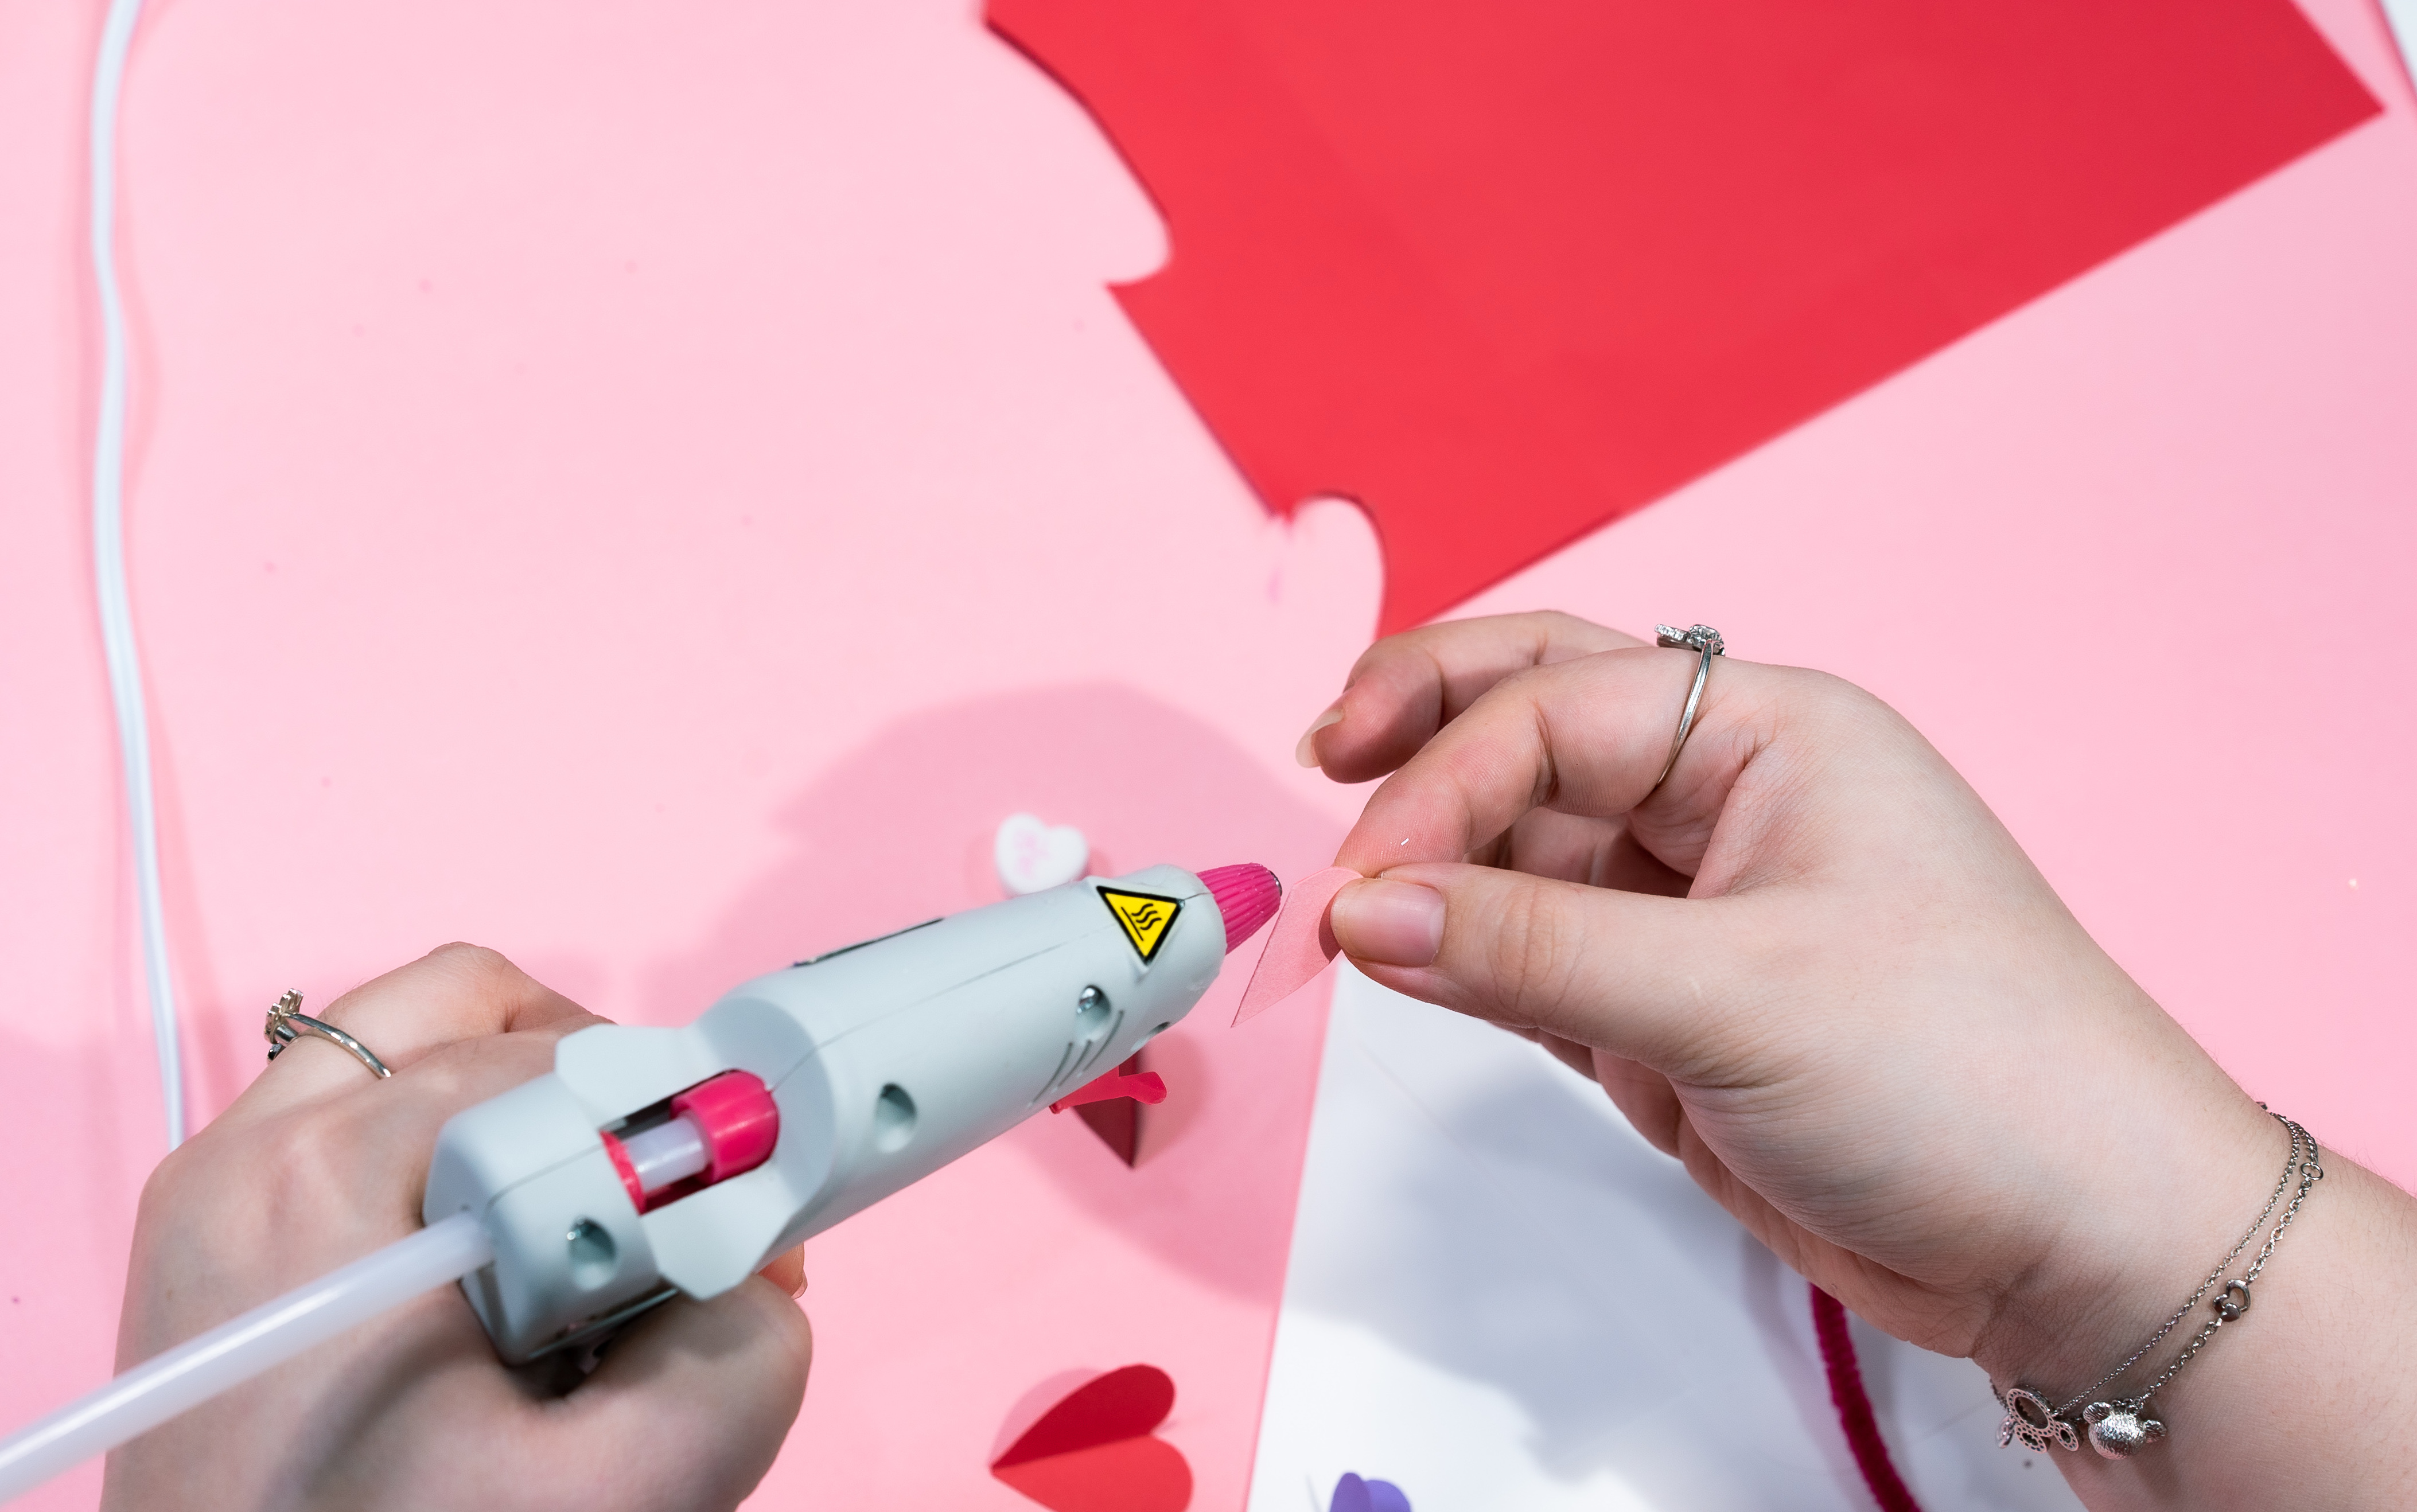
Step 6: To attach your little heart “balloons” to the card, place hot glue along the fold of the heart. Quickly place the folded edge onto the card (the whole heart shouldn’t be glued down). Attach as many hearts as you like.

Step 7: Finish by writing a sweet message inside, then step back and enjoy your beautiful finished card.
Signed and Sealed with a Kiss
For the special note inside the card, you can write as little or as much as you want. Also, don’t be afraid to get really creative with it. Feel free to add glitter, sequins, or any other fancy decorations that are speaking to you. Cards can be a great way to give someone something special that is a forever keepsake. Don't forget to check out our entire Valentines Day Collection for limitless creativity!


