
Table of Contents:
- Use Real Brush Pens for This Eye-Popping Poppies Drawing
- List of Supplies
- How to Draw Poppies Step-By-Step for Beginners
- Recommendations
Use Real Brush Pens for This Eye-Popping Poppies Drawing
If you’ve ever seen a field of poppies, you can understand why so many artists have tried to capture their intense color and abstract shapes, including both Van Gogh and Monet. Its blood-red color and contrasting black center make it one of the most eye-catching flowers to paint, whether it’s depicted in a field or in a vase. I particularly like to draw these flowers and enjoy using my Real Brush Pens (RBP) to add a painterly effect. Through the years, I’ve devised a simple step-by-step approach to poppies art that I’d like to share with you. You’ll see how easy it is to capture the personality and beauty of a poppy and I know you’ll be addicted to drawing them as much as I am!
List of Supplies
- HB pencil
- Arteza Real Brush Pens - A104 Noir, A101 Red, A152 Acid Green, A146 Olive Green
- Arteza Expert Watercolor Pad
How to Draw Poppies Step-By-Step for Beginners
RBPs are a dual-purpose tool. They give you the control of a pen while also allowing you to paint like you would with a brush. Since they are a watery medium, it’s important to use a sturdy paper, such as a sheet from the Arteza Expert Watercolor Pad. It’s a thick and strong paper that when wet won’t buckle or warp.
Also, it’s a good idea to use a pencil with a hard lead so you get a light sketch. This allows you to be able to cover your sketched lines with the RBP without them showing through. Light lines are also easier to erase without leaving behind rough spots on the paper that could absorb the ink and appear darker than you’d like.
Let’s get started!
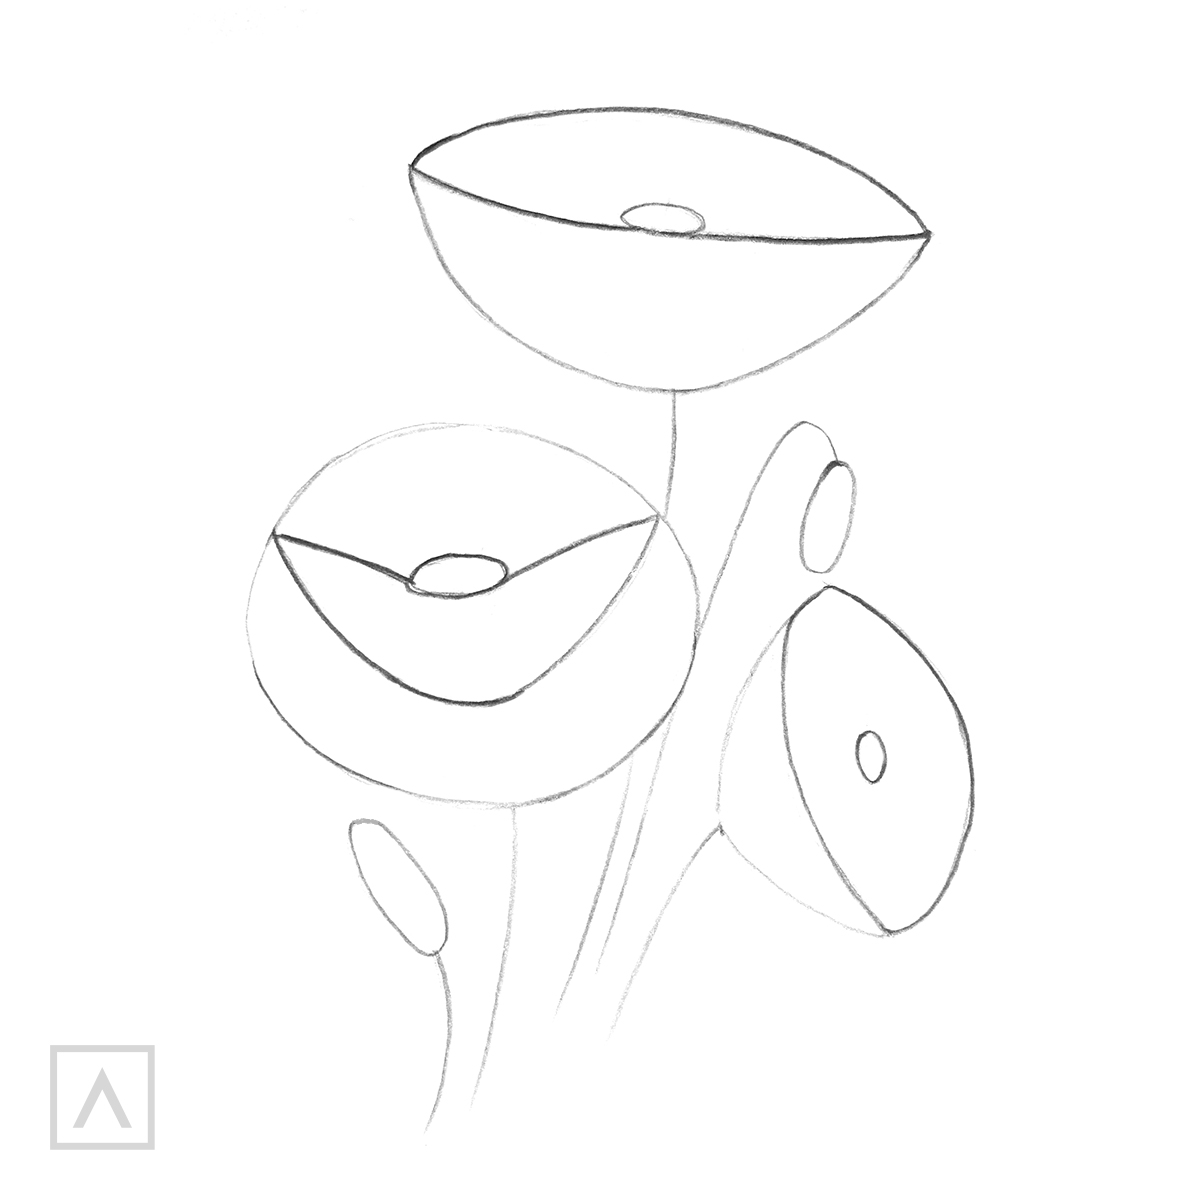
Step 1
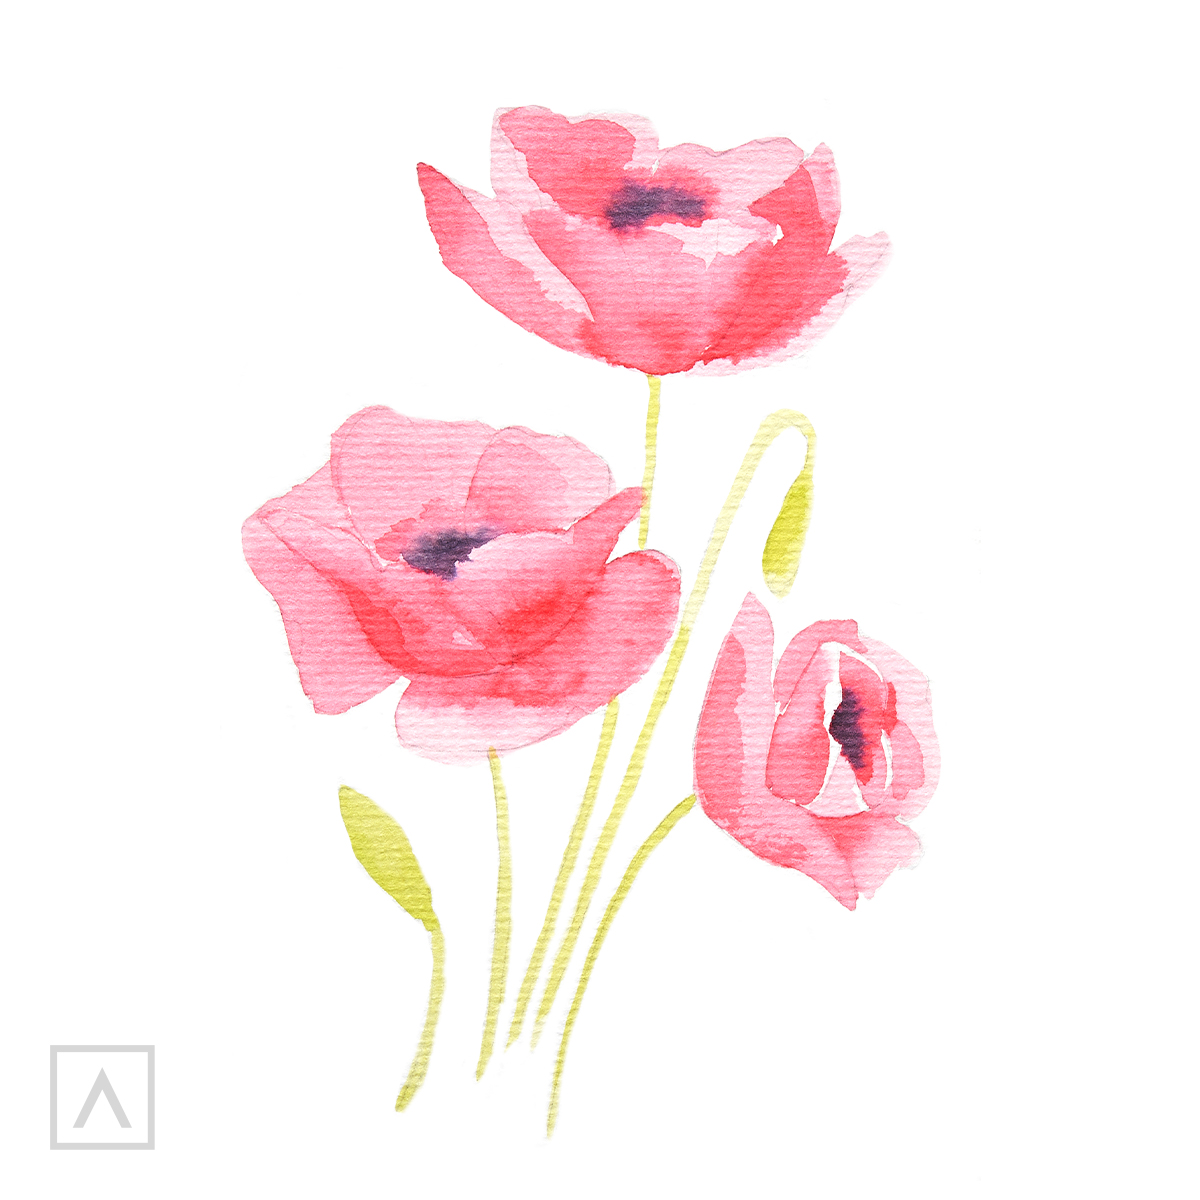
Make a poppies line drawing by using simple geometric shapes to sketch a composition of three poppies.
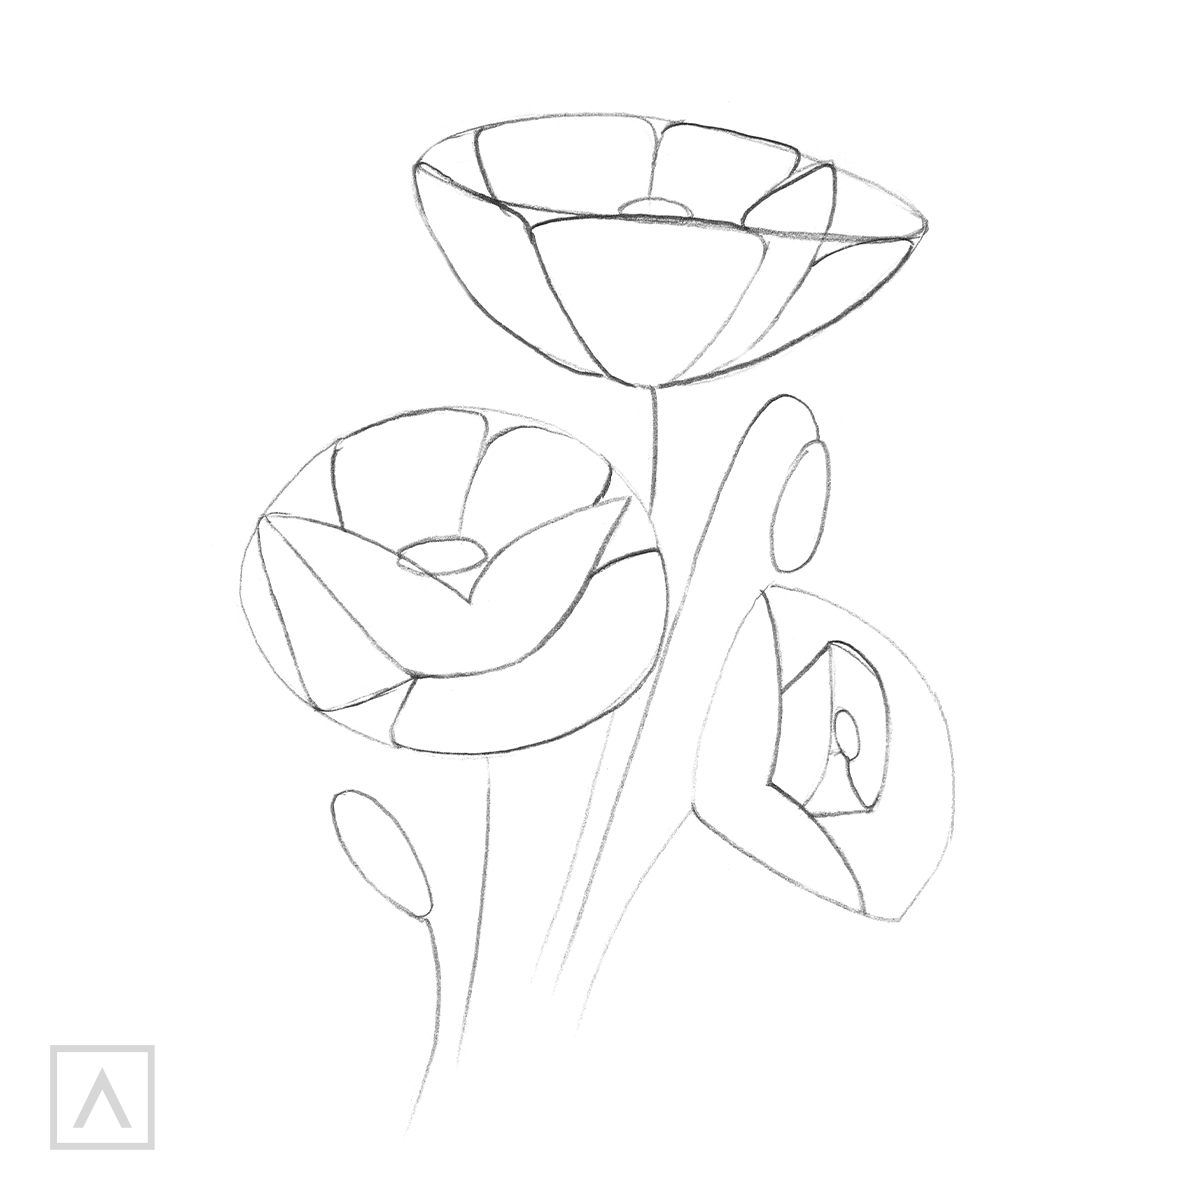
Step 2
Look carefully at a reference photo or draw from your imagination the general shapes of the petals. To do this, draw lines within the simple geometric shapes.
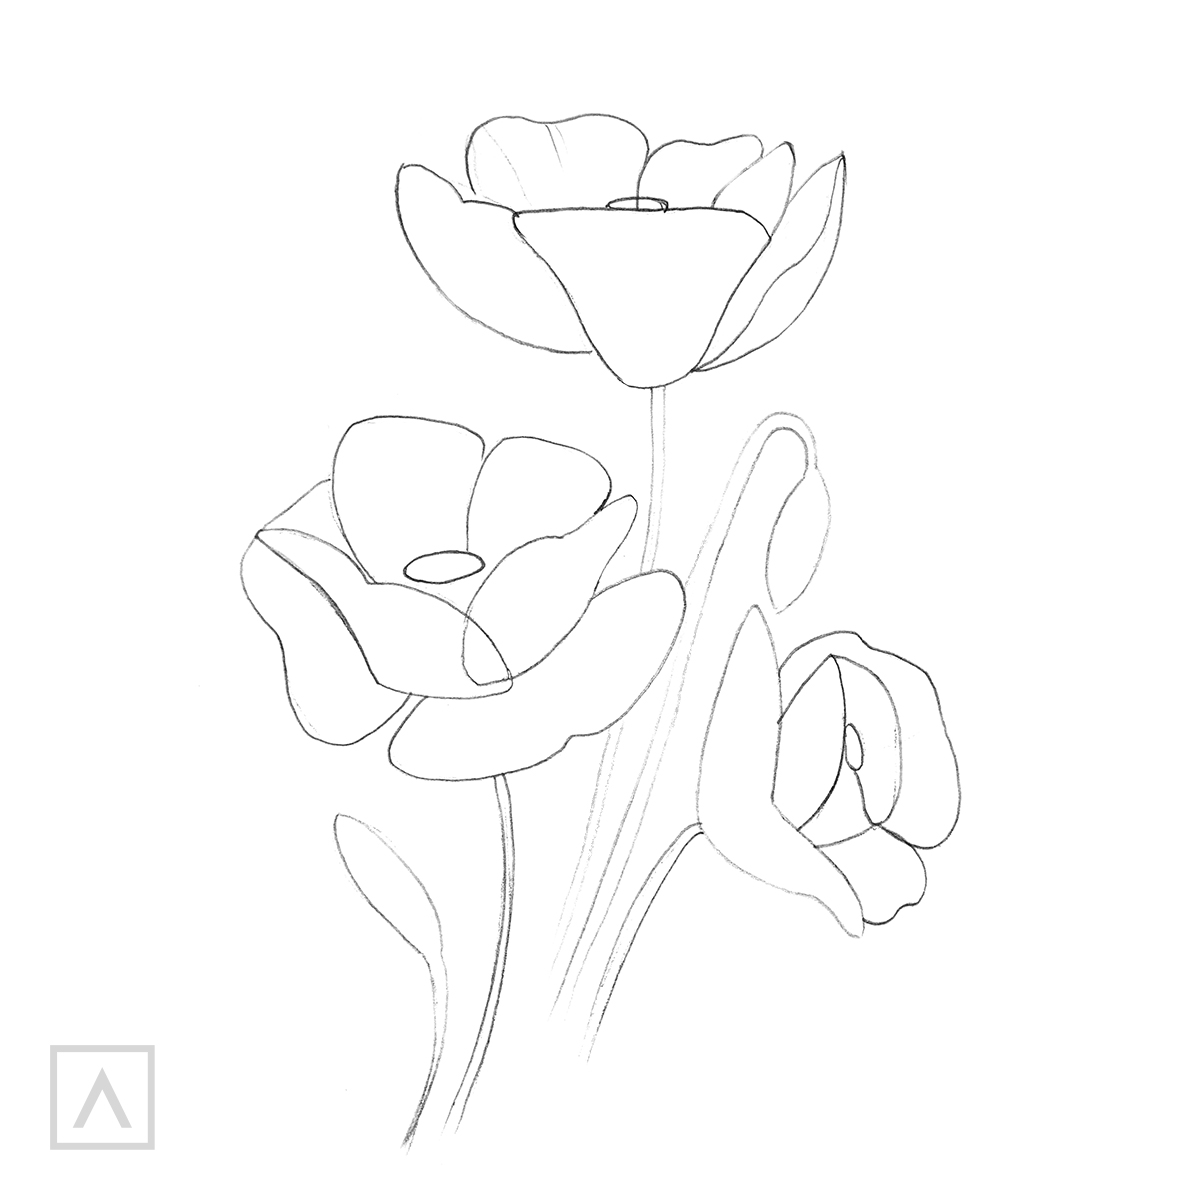
Step 3
Next, add additional lines to form thicker stems and smooth the edges of the petals to make them look more realistic. Once you have the petal shapes you like, erase the initial construction lines.
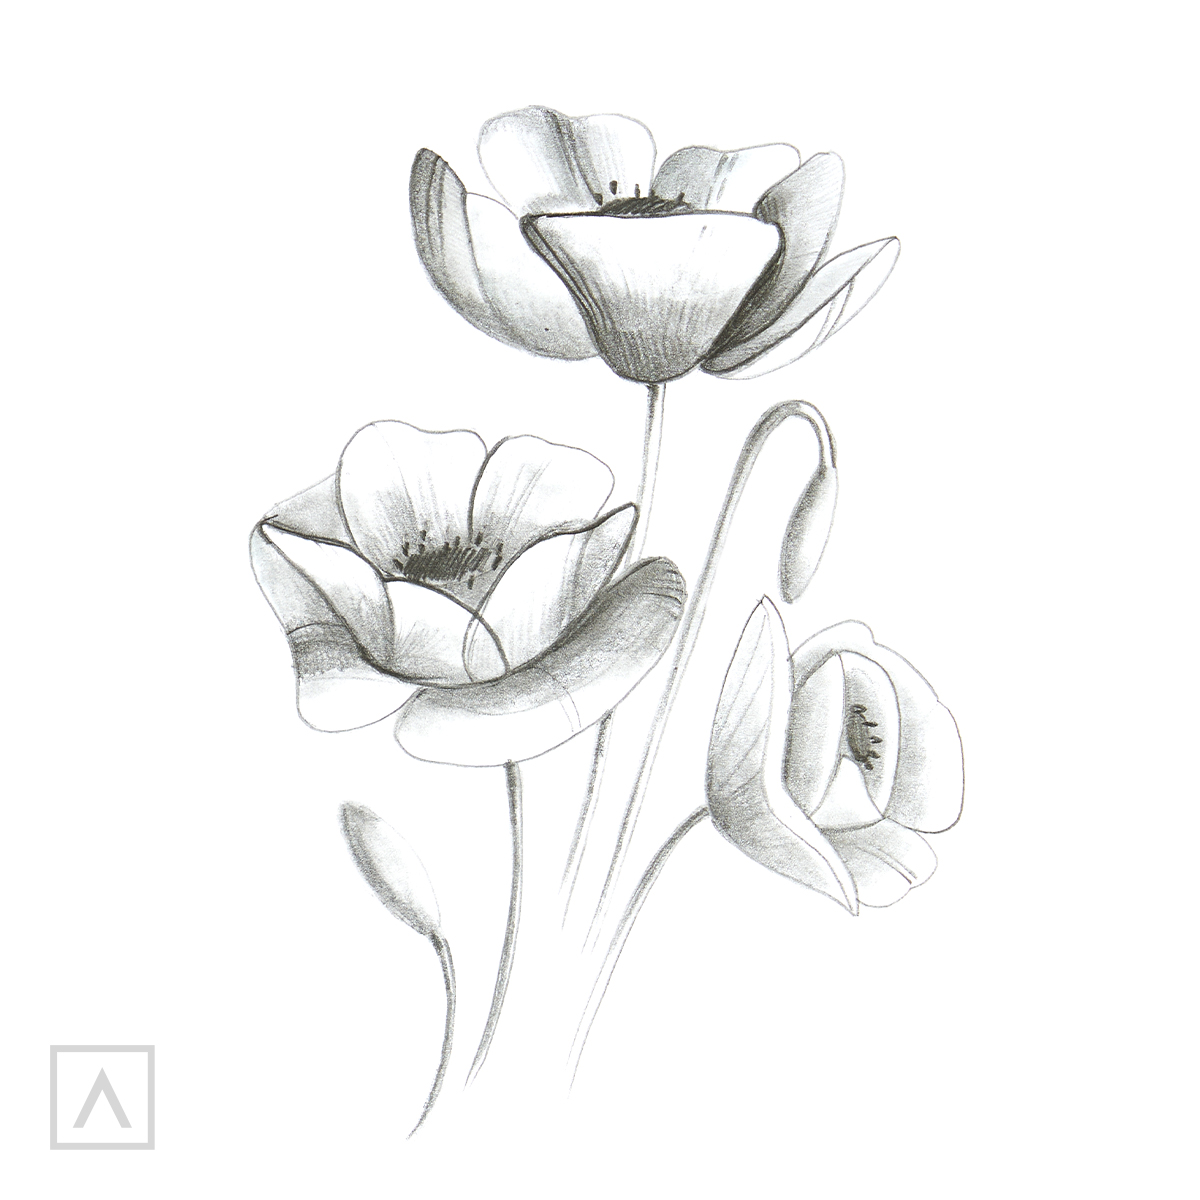
Step 4
Then, use your pencil to help you determine where the shadows fall on your petals and where you will add shading. You can do this by actually shading these areas with the pencil or use light hatching to help you remember the areas you want to darken later.
Step 5
Now it’s time to add color! Start by coloring the middle of each flower using A104. Use A101 for the poppies’ petals and two shades of green for the stem—A152 for filling and A146 to add dark green shading for volume.
Step 6
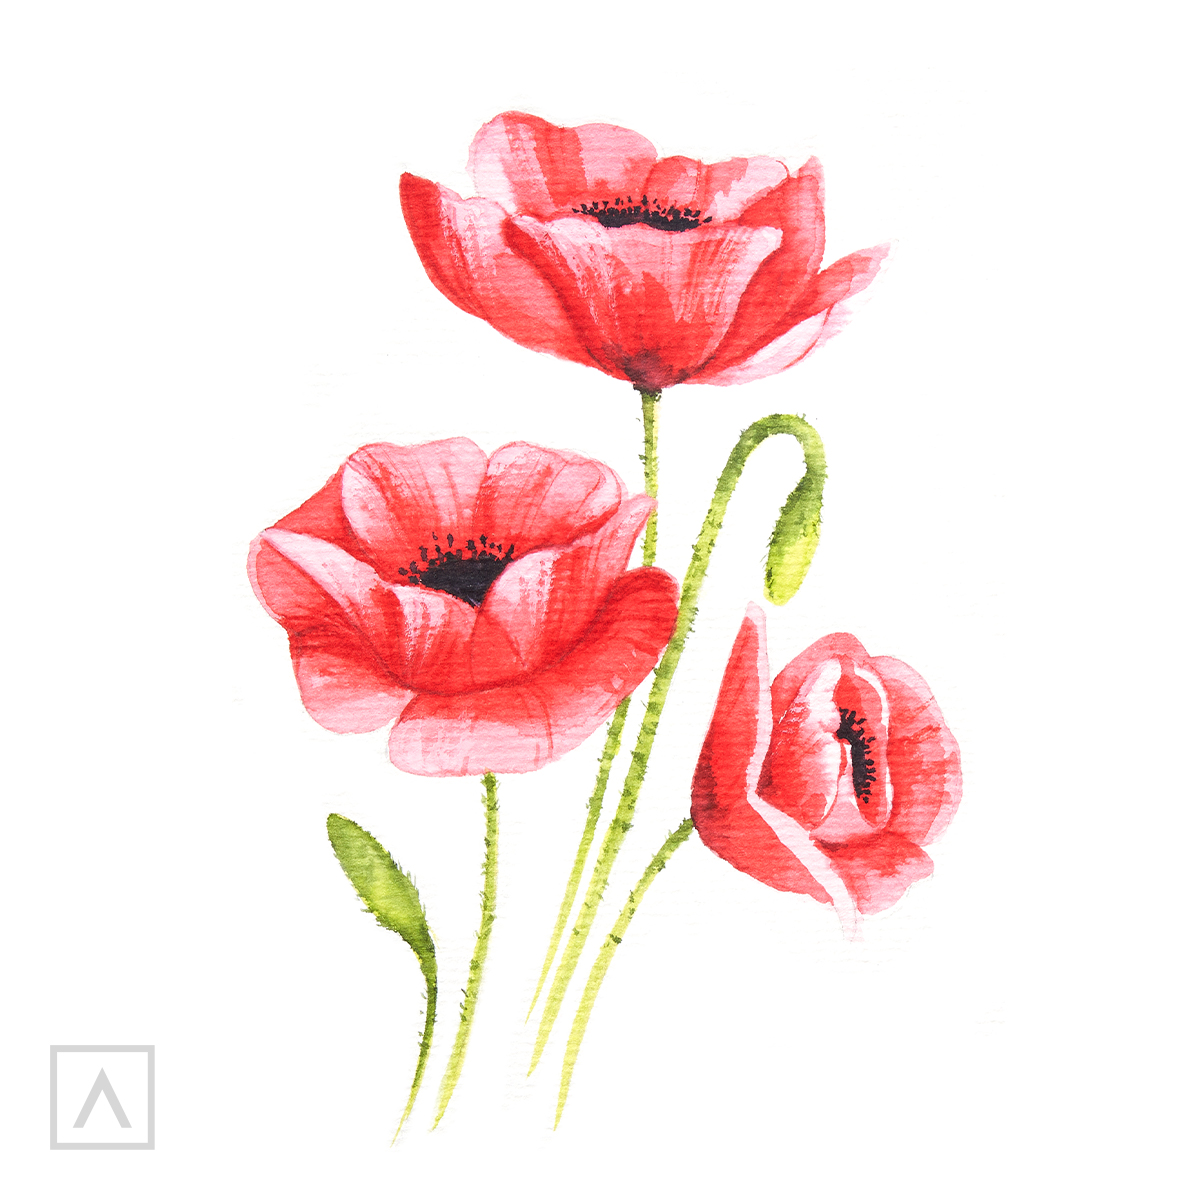
Poppies are deeply saturated. To show this, continue to add more and more color to the folds of the petals. This indicates where less light is shining on the petal and will give it more dimension and volume. Darken the black center of the flower, then add some stamens. Use A146 to darken one side of the poppy buds and stems. Finish by adding some thin fibers on the stems using the same shade.
There you go! You’ve just created some pretty poppies!
Recommendations
- Always choose at least 140lb paper when using fluid mediums such as RBPs to avoid buckling and warping.
- A swatch chart is a good way to see how each color looks from its lightest to darkest shades.
- By dipping the pen into a drop of water on a palette, you can use the pen as you would watercolor paint to make gradients and layers.
- Always keep the lids tightly secured when the pens are not in use to ensure they stay fresh and ready to use.
Drawings like this one are a great way to practice using RBPs. The more you use them, the more techniques you’ll be able to apply so that your drawings will be as realistic and brilliantly colored as you like. I know you’ll soon make RBPs your go-to art tool. I’d love to hear how it’s going, so please leave a comment in the section below.


6 comments
I think this is a fabulous way to learn how to paint and this is also highly accessible – I have art supplies I have never used precisely because I know there is a learning curve that I am too busy to cope with.
I am delighted to find a lesson that is easy along with the pens supplied because mixing colors when you haven’t got a clue and need to learn how only takes more time to practice and blocks my way.
Thank you so much Arteza for the help,