Table of Contents:
- Discover the Flexibility of Acrylic Paints
- Here’s What You’ll Need
- Paint “Happy Girl” with Arteza Acrylic Paints
- Your Step-by-Step Guide
Discover the Flexibility of Acrylic Paints
Whether you want the soft, blurring images of the impressionists or the clean-edge geometrics of contemporary art, acrylic paint will become a favorite medium of yours in no time. Acrylics offer the creaminess and saturation of oil paint without the need for toxic solvents. They offer the water-solubility that watercolor has, making them fast-drying with easy clean up. They are the perfect medium for beginning painters because they are easy to control and there are a variety of styles you can achieve.
Here’s What You’ll Need
Arteza offers premium acrylics that work well for all levels of ability. The Arteza Acrylic Premium Artist Paint Set of 60 Colors features a high pigment concentration for colors that really pop. You’ll enjoy painting just about any surface with these and you’ll never need to worry about your designs fading as they are fade-resistant.
For the beginner, the Arteza Acrylic Premium Artist Paint Set of 60 Colors, is also a good set to start with. The 60 (22 ml/0.74 oz) tubes are organized in trays by hue, you’ll have at the shades you need ready to use at any time and easy to find in no time. This versatile set is appreciated by students and other artists alike for their ability to use them thin when painting an underpainting or as a glaze or to use thicker for techniques such as impasto.
Once you have chosen your paints, the substrate you use is the next important decision you’ll need to make. To save time and money, Arteza offers a convenient 6x6" Stretched Canvas Pack of 12. Buying supplies in bulk, such as these canvases, will ensure you always have a canvas when you’re ready to start a new project. These canvases have three coats of animal-friendly, acid-free titanium acrylic gesso over 100% cotton for a smooth, yet lightly textured, surface. Sturdy and reliable, they are made with durable pinewood stretcher bars to hold your canvas firmly and prevent warping.
Add some stiff bristle paintbrushes in small, medium, and large sizes and a jar of water and it is time to start learning how to use acrylic paint as you create your version of the “Happy Girl” you see in the video. We suggest you read the step-by-step instructions first to help you prepare. Let’s start!
Paint “Happy Girl” with Arteza Acrylic Paints
Let's Start Painting
Step 1:


Step 2:

After making your pencil sketch, mix up a medium tone for the skin–do not make it too dark– using Yellow Ochre, Mars Brown, Magenta Light, and White.
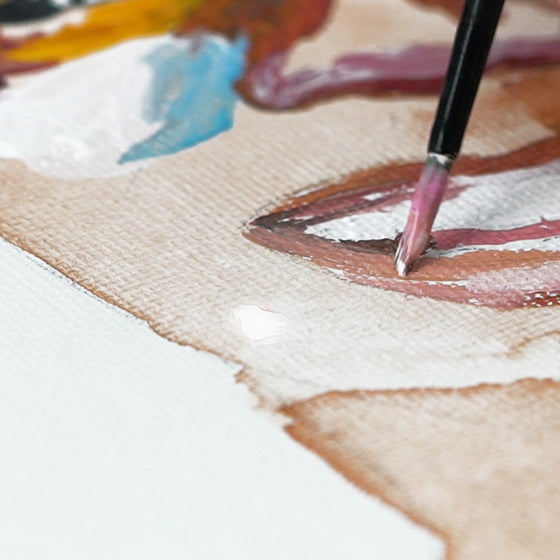
Use a little water to thin out the paint. Create a base for the painting by covering all parts of the face, except the eyes and mouth. Do the same to the bouquet of flowers on the head by painting each flower with thin coats of either Magenta, Scarlet Red, Brilliant Red, or White. Fill in the foliage with thin layers of Olive Green and Burnt Umber.


Step 3:

Use Mars Black, Prussian Blue, Burnt Sienna, Magenta Light, Sky Blue, and Yellow Ochre, go gradually into the shadow on the nose and the forehead. Darken the area around the hair. Then go back to the nose and work on it with large strokes.
Tip: When painting the eyes, nose, and lips, use a small thin round brush; when working on the cheeks, use a bigger brush, and for the neck, a flat big brush works best.

Step 4:

Start at the cheeks and work down to the lips and chin. Do not draw teeth as separate units–instead, cover the area where the teeth go with white paint and then darken the tongue. Also, notice that the lower lip is lighter than the upper one.

Step 5:

Once the face is dry, add bright spots of Sky Blue on the cheeks to emphasize the dark skin tone. Use Magenta and Scarlet Red with Mars Brown in the lighter areas. Using a big brush, proceed gradually to the neck.
Tip: Don’t forget to use Magenta Pink. It creates a vibrant skin tone and adds highlights to the headband wreath and chin.

Step 6:

Add white highlights to the eyes and watch your subject come alive! To add eyelashes and eyebrows, thin Mars Black with water and use a thin brush with quick, sharp movements to draw them in.

Step 7:

While the face dries, paint the background with Neapolitan Yellow and Deep Yellow, blending them with Scarlet Red and using a generous amount of paint applied with a large brush.

Step 8:

Use a large, flat brush and palette knife to create the flowers and foliage. To make the flowers and foliage appear lush, thickly layer on the paint so it stands off from the canvas in a technique known as impasto. You can also use a palette knife to add paint in the background and on the neck and shoulders.

All finished. Now, stand back and admire your work!
Now that you’ve started, we encourage you to begin experimenting with this versatile medium. You might try mixing colors to achieve as many hues in various shades as you can. Try using different kinds of brushes–flat, round, bright, fan, etc.–in differing sizes, to see how many unique strokes you can make. Thin the paint with water for a transparent effect, don’t use any water at all for a more sculptural image. As you spend hours creating, you’ll soon find that this is your new favorite paint.


11 comments
The blog is very much net worth. Acrylic paint is well described in the process which will be helpful. Thanks for bringing this wonderful website