
Want more great inspiration? Check out our other art camp tutorials!
- Art Camp Day 1 - How to Draw a Toucan in 7 Steps
- Art Camp Day 2 - Create a House Drawing & Paint with Gouache
- Art Camp Day 3 - Dive Into Acrylic Art with an Adorable Pool Painting
- Art Camp Day 4 - Seashell Drawing Using Arteza Drawing Pencil Set
- Art Camp Day 5 - How to Draw Ice Cream with Colored Pencils
- Art Camp Day 7 - The Key to Making Art with Alcohol Based Markers
- Art Camp Bonus Day - 7 Easy to Draw Pictures Kids Will Love!
Table of Contents:
Make Fun Flower Brooches with Polymer Clay
How much fun would it be to design and make your own jewelry? If you’ve always wanted to do this but didn’t know how to get started, then you’re going to love Day 6 of art camp! Today, I’m going to show you how to make a cute flower pin using polymer clay. It’s an easy project that will teach you the basics. Once you’ve completed the lesson, I know you’ll want to keep going. Polymer clay ideas are the perfect crafts to do at home. They’re simple and fun, and the only limit is your imagination!
I have to give a shout-out to Arteza Polymer Clay, which is what I’ll be using to create this brooch. This clay is so smooth and pliable. Even after baking, it retains its brilliant color. I personally like the polymer clay set. Not only do I get lots of colors, but it also comes with a few sculpting tools and accessories for everything I need to make fabulous jewelry. I highly recommend using it for this and all your future projects!
Let’s have some fun!
List of Supplies
- Polymer Clay, Set of 42 Colors + Tools & Accessories
- Cutting Tool or Craft Knife
Step-By-Step Flower Pin
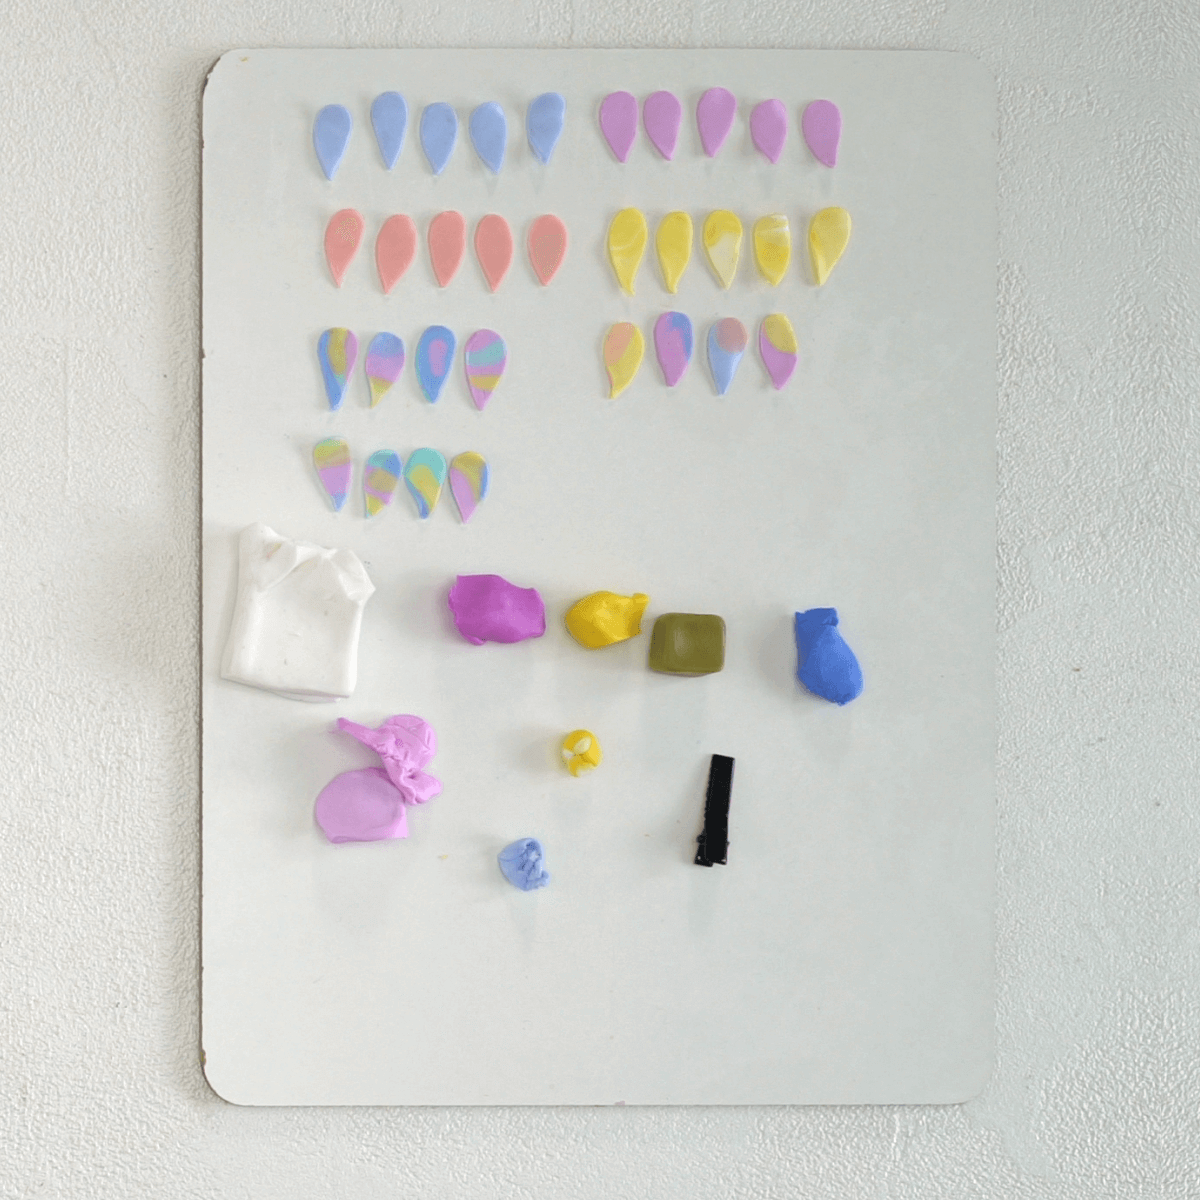
I like to set up everything I need on the table before I get started. This makes it easier and faster to find what I need. The colors I’ll be using are:
- A001 Titanium White
- A405 Fuchsia
- A400 Bubble Bath Pink
- A101 Bumblebee Yellow
- A503 Royal Blue
- A603 Olive Green
Step 1. Make the first petal
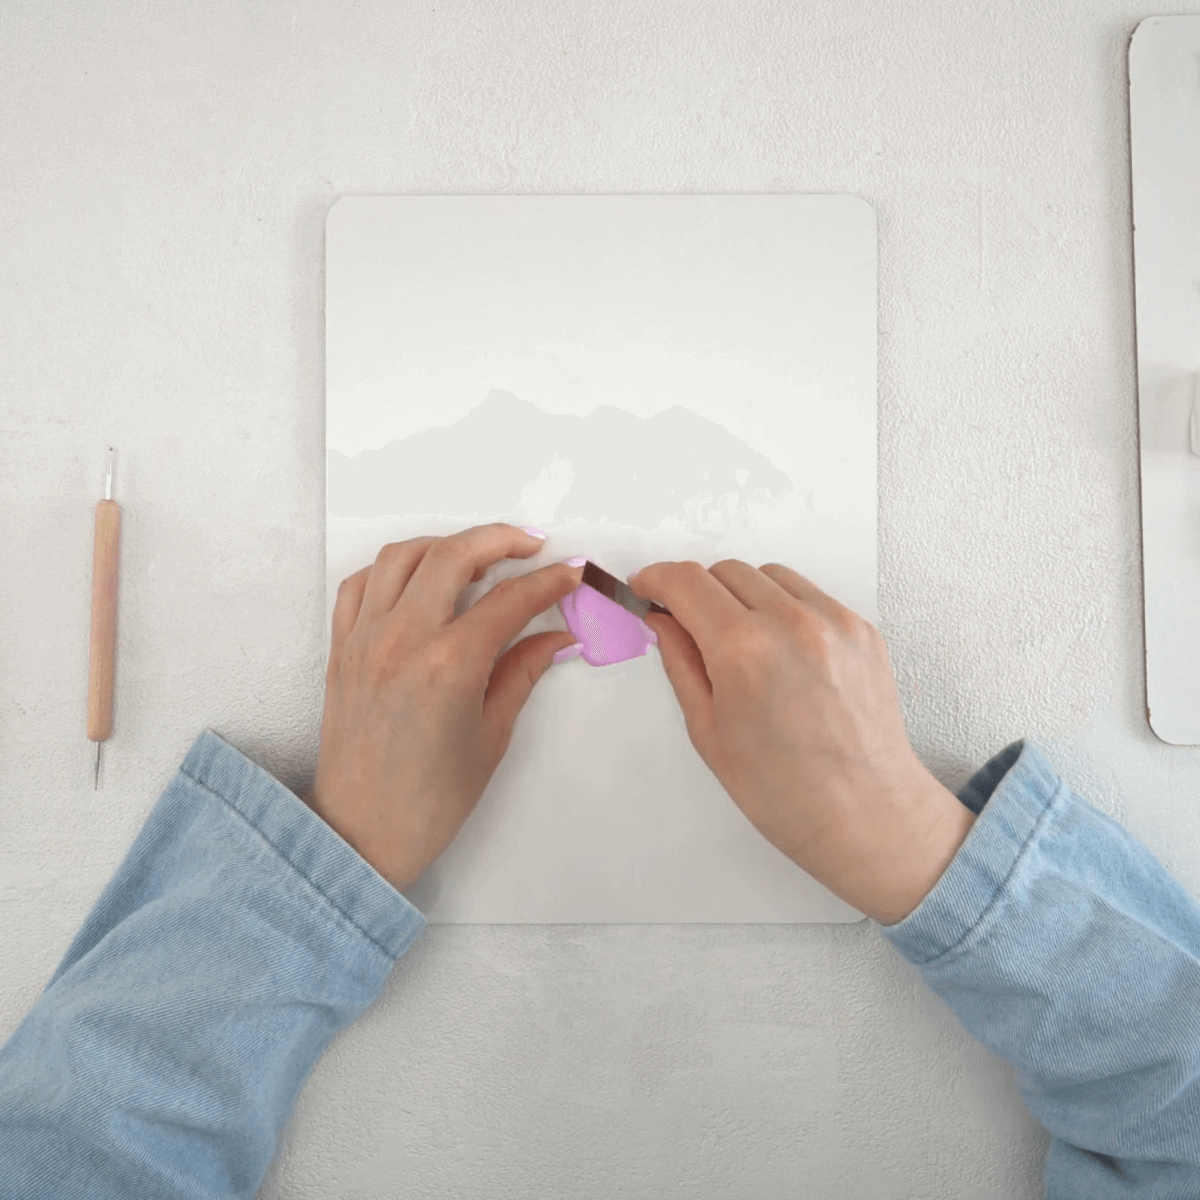
As you hold the clay, you’ll see that the warmth of your hands will soften it. To make the first petal, I use a pinch of Fuchsia and White and mix them together by smooshing and folding the clay with my fingertips until I get a beautiful lavender color. Then I roll it out and make sure it’s very thin and flat. Next, I use my blade to cut a petal shape and peel away the excess clay. After lifting the petal from the table, I mold it a little more until I get the shape I want. I place it to the side.
Step 2. Make the rest of the petals
For this pin, I will need to make at least three more colors of petals. I have decided to make some using light yellow (Bumblebee Yellow and White), light pink (Bubble Bath Pink and White) and light blue (Royal Blue and White). I want my flower to be really full so I’m going to make enough petals to do two layers of six petals each. When all the petals are made, it’s time to start turning them into the flower.
TIP: To get a marbled appearance, simply stop mixing before the clay is completely mixed together.
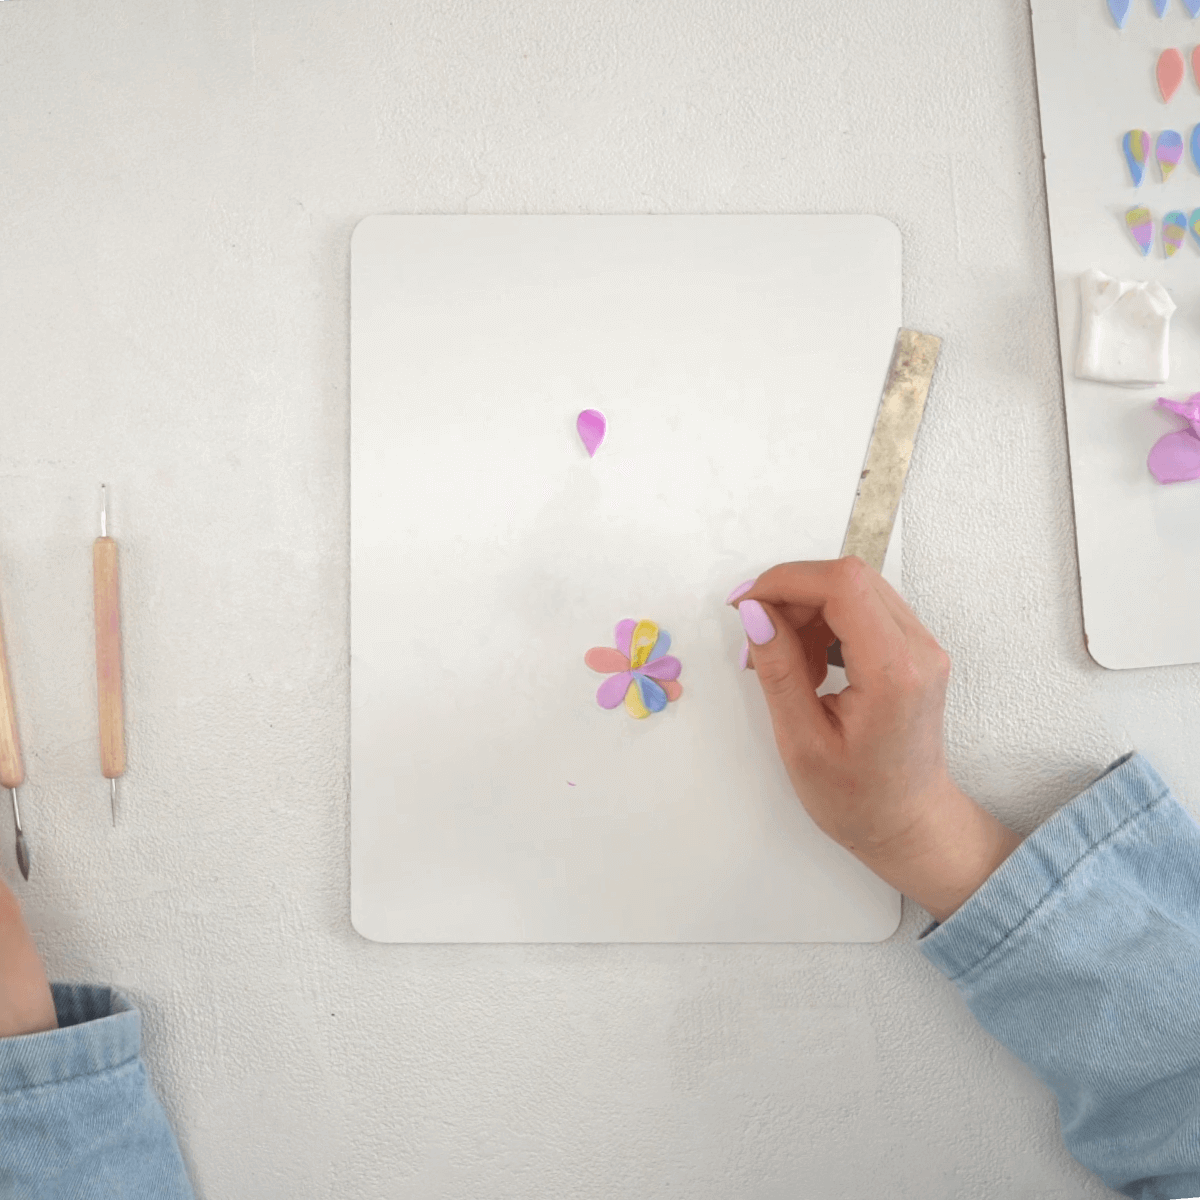
Step 3. Create the flower
My final flower will consist of two layers of petals, a center and two leaves. I create the first layer of petals by taking a light purple petal and attaching a different color petal to its pointed end. I keep adding petals, alternating colors until I have a ring of six all attached at their pointed ends. I repeat this process for the second layer, laying them on top so that these petals sit in between the first ones. To make the petals look more natural, I use one of the tools to lift them up and curl the edges slightly.
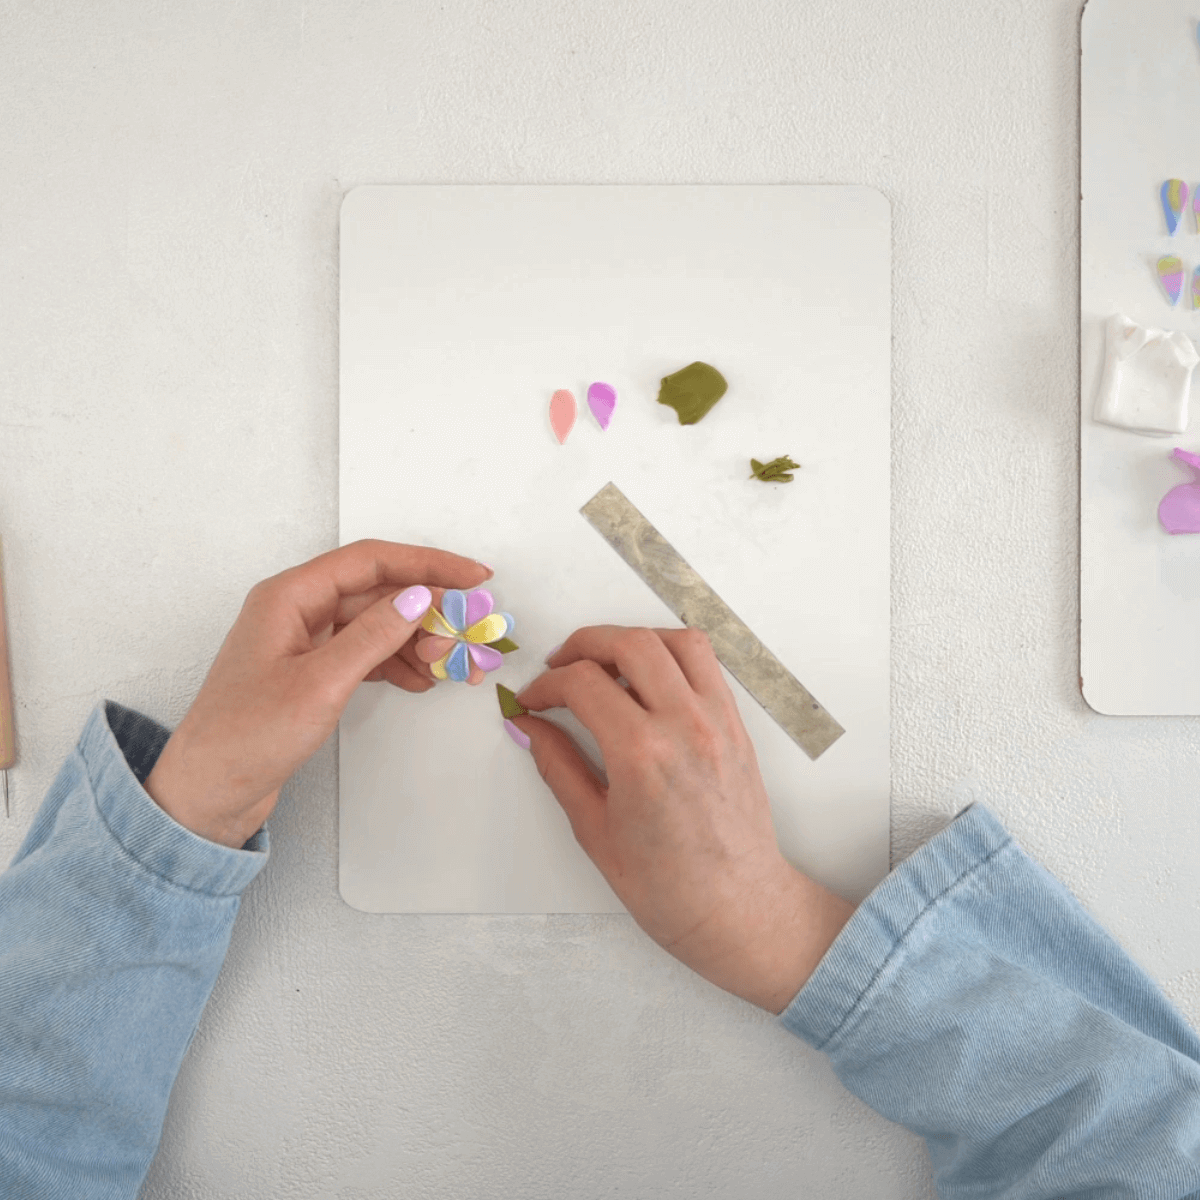
Step 4. Add the leaves
I use the same technique I used for making the petals to make the leaves, using the Olive Green. I create two leaves and carefully lift the petals to insert them underneath. Instead of attaching them at the pointed edge, I use the rounded side so that the pointed edge is sticking out and looks like an actual leaf.
Step 5. Add the flower’s center
I use the round-tip tool to put a tiny divot or dip in the middle of the petals. I roll a small ball out of the Bumblebee Yellow and press it into that little dip, making sure it’s secure. Next, I take my pointed tool and push it through the middle of the ball. This makes it more real-looking.
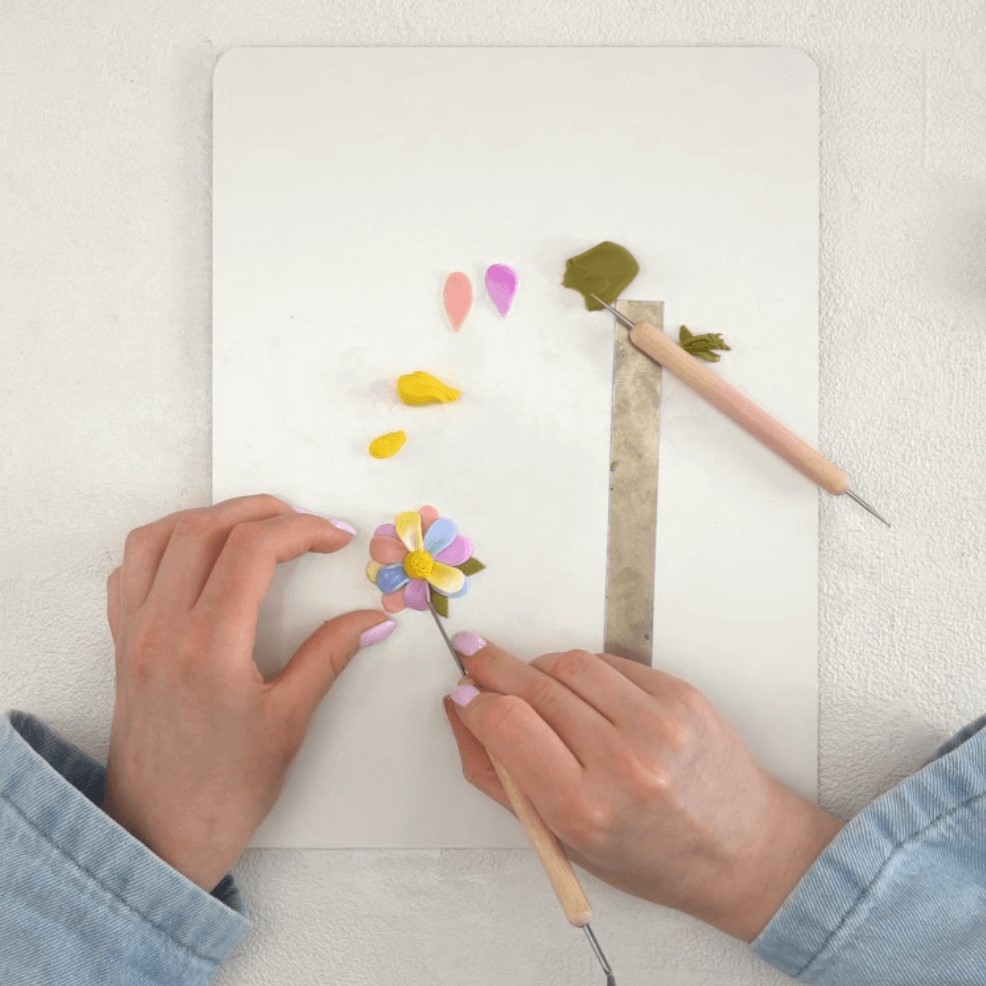
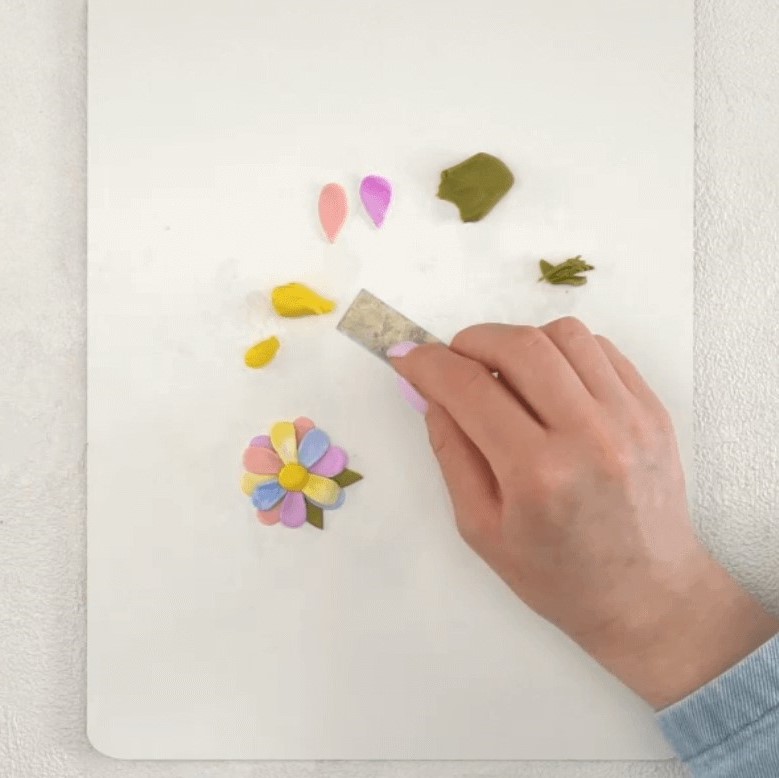
Step 6. Add Details
Next, I use my craft knife to add more details to the leaves and the center of the flower. This also adds texture and makes the flower more interesting to look at. I like my petals to stand out, so I use the tip of the knife to carefully lift them up. Now it looks like a real flower from my garden!
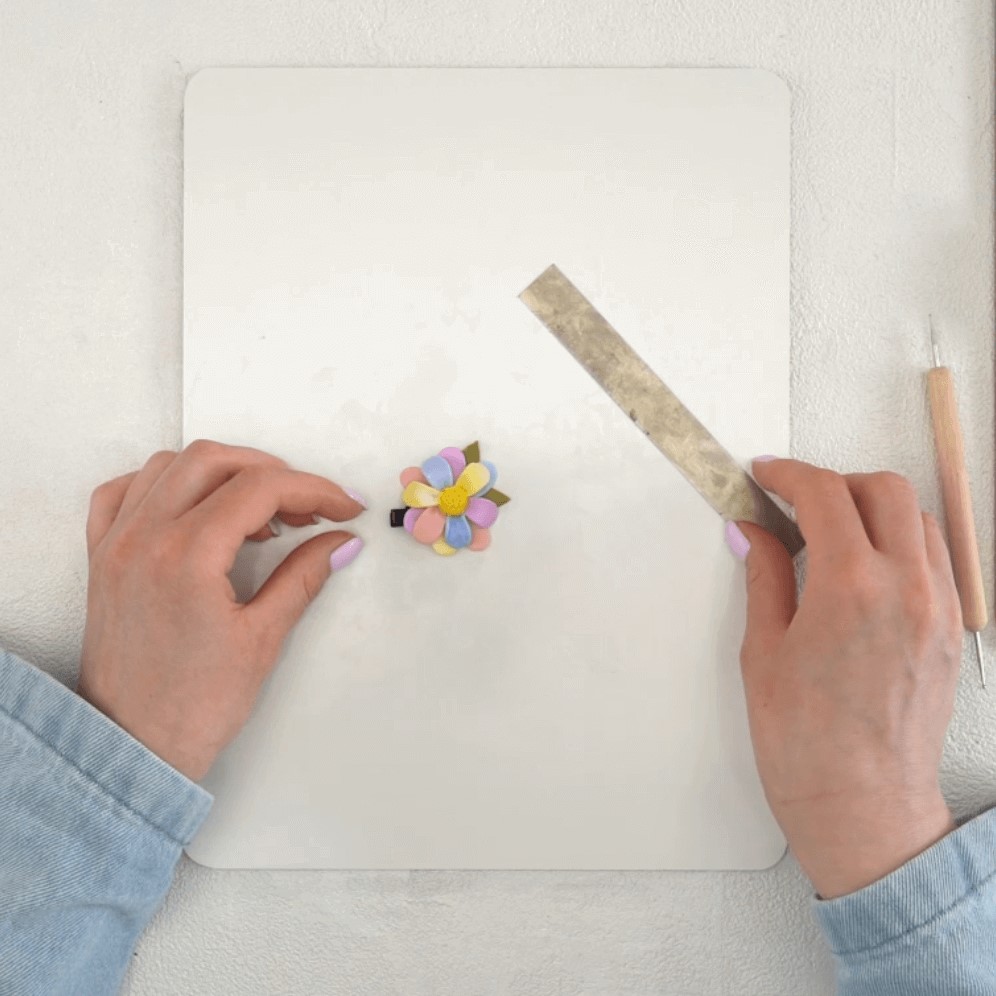
Step 7. Attaching the clasp
Now that my flower is finished, it’s time to bake it so that it will be hard enough for me to glue the clasp on. I follow the package instructions for baking. After it’s completely cool, I glue the clasp on the back, let it dry and it’s ready to wear!
Well done! You just created an awesome piece of custom jewelry!
Recommendations
- Keep in mind that the baking clay is very soft and you can lose your shape quickly. It’s best to work fast.
- Try not to warm the clay in your hands for too long, because it will begin to get sticky and will not retain the shape you want. If the clay gets too soft, place it in the refrigerator for a few minutes until it gets a little stiffer and becomes easier to work with.
- To get the color you want, mix it in very tiny increments, working it until you achieve your desired hue.
There’s nothing quite like having an idea for a piece of jewelry in your mind and seeing it come into being with polymer clay. It’s so exciting to see what comes out of the oven! I hope you’ll use this little tutorial as the motivation to find more things to make out of clay. The possibilities are endless—besides DIY earrings, pendants and necklaces, there are home decor, figurines and office items. And did I mention you can make some awesome gifts for your friends and family with clay, too? Whatever you decide to make, I hope you’ll keep on creating! Check out our other courses, videos and blogs during art camp week!


