
Table of Contents:
- Go Deep Into Space with a Black Paper Moon
- List of Supplies
- Step-By-Step Moon Drawing
- Recommendations
Go Deep Into Space with a Black Paper Moon
A full moon is so romantic and mystical. I used to look up into the night sky and think what a beautiful subject it would make for my next drawing, until one day I decided to give it a try. With all its craters and shadows, I decided that colored pencils in shades of black and gray would give the most dramatic effect, especially against black paper. I was so thrilled at how this black paper drawing turned out, I decided I had to share with you how to make it.
Since the moon is an easy shape and I am using a limited selection of colors, it is an especially good drawing for anyone who’s new to this medium. I recommend the Arteza Professional Colored Pencil sets, as each pencil has a dense core that is highly pigmented. This allows for making light and dark layers to build the color to just the right shade.
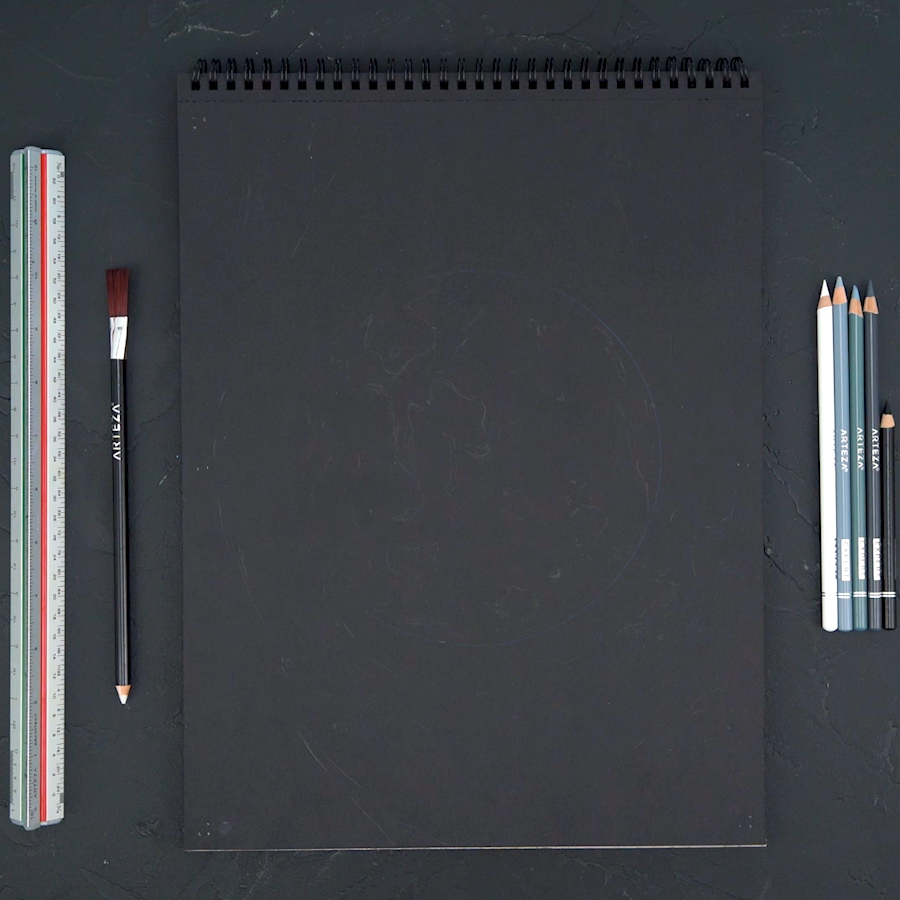
List of Supplies
Step-By-Step Moon Drawing
Step 1
In the center of the page, I made a light sketch of a moon and of its craters.
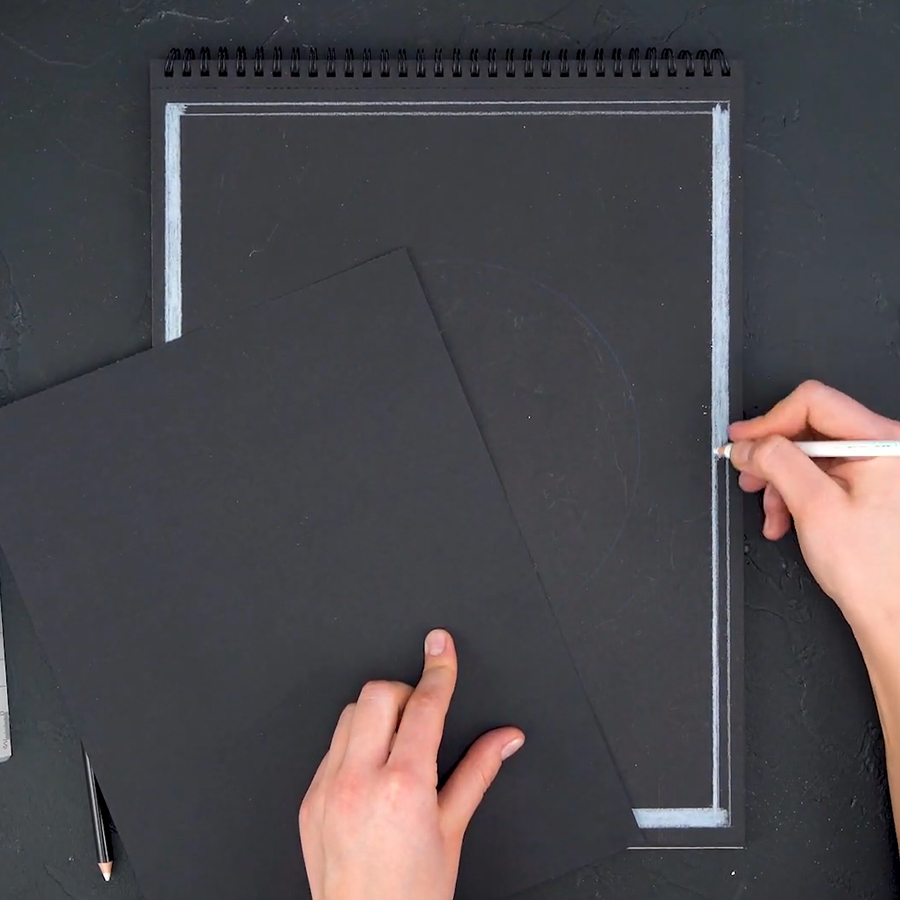
Step 2
Using a ruler and a white pencil, I drew a frame along the edges of the paper, then filled it in with white.
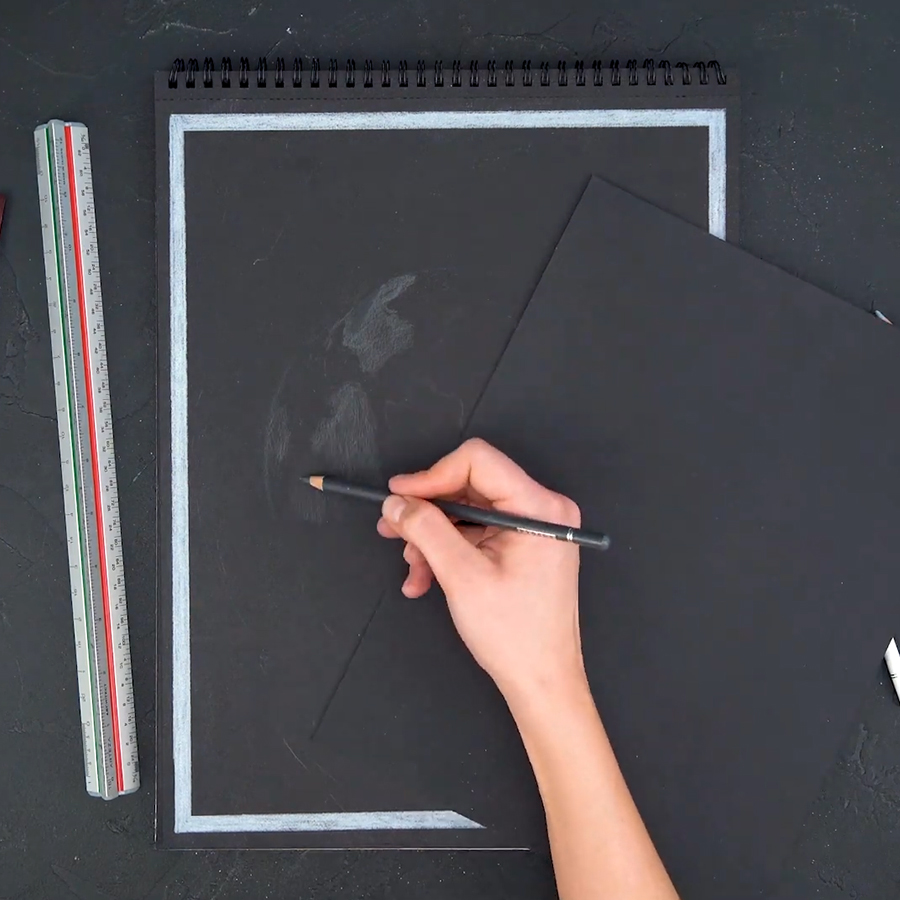
Step 3
The moon is divided into parts according to which side the light is shining on. By changing the tones of the colors, you’ll be able to place your shadows correctly. I started by using a dark gray pencil to indicate the moon’s dark side, then layered a grayish-green over the middle
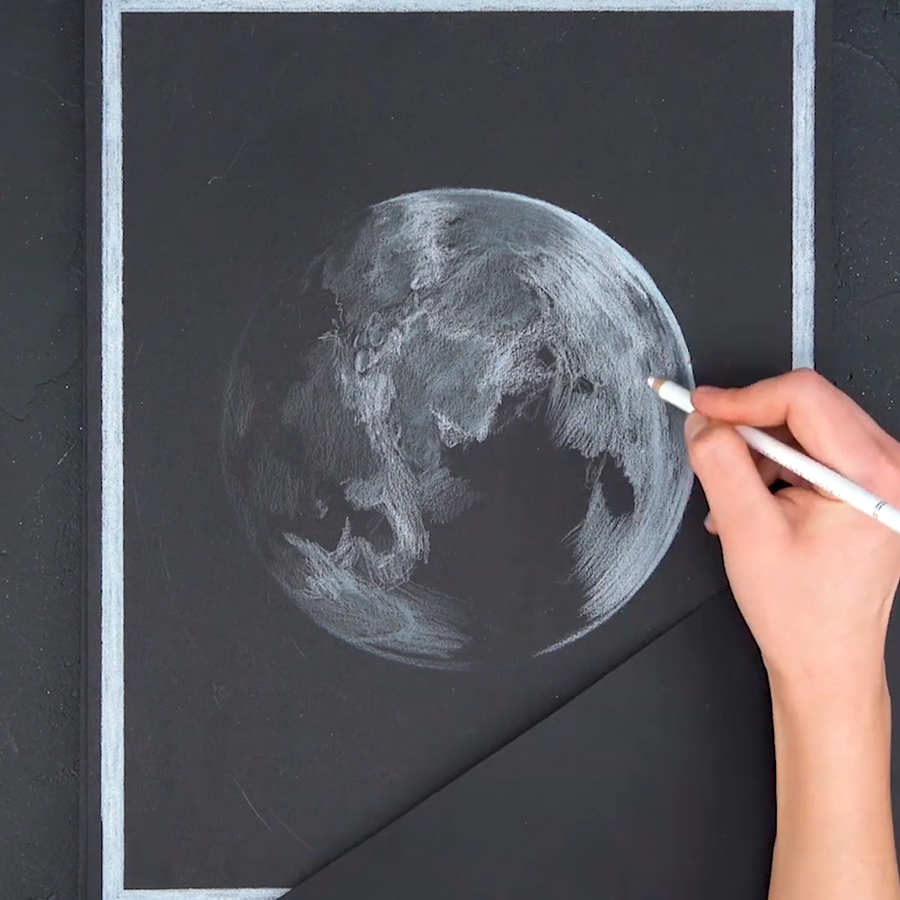
Step 4
To show the moon’s bright side, I marked its outline in order to make a smooth transition from dark to light. Using a white pencil, I marked the lightest parts of the picture. To create volume, I went over the white area with gray for the craters and gave an uneven appearance to its surface.
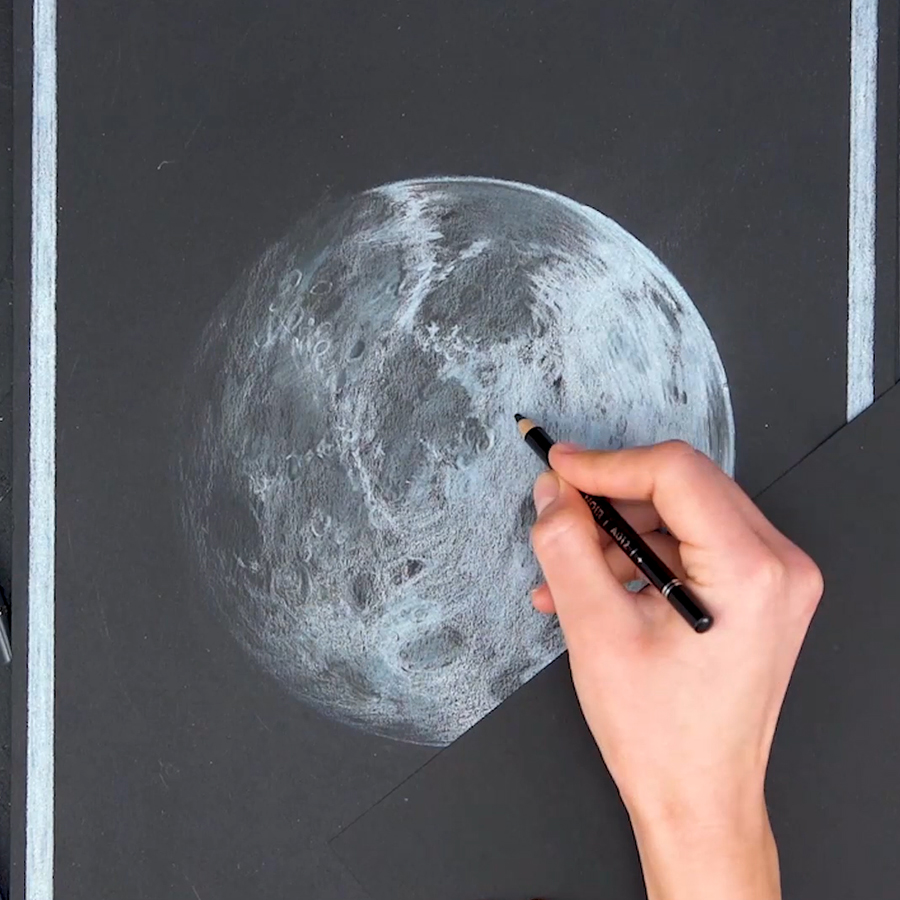
Step 5
Now the fun part! I started drawing craters. Since craters are indentations in the lunar landscape, there will be quite a bit of tonal variations. To create them, I kept in mind the principle of chiaroscuro. Chiaroscuro is the technique used to create the contrast between light and shadow. This contrast goes from extremely light (white) to extraordinarily dark (black), giving that subtle shading of light falling from a certain direction onto a surface.
To get this effect I used light gray first and created the craters on the bright side. Next, I drew its darker side with dark gray, adding light pencil strokes around the craters to create a contrast. Since they are not smooth, I drew black dots on top of a white pencil to add texture.

Step 6
Now it was time to go over the entire moon. I did this by careful hatching according to its shape. By coloring in layers, I gave the moon even more contrast. Using the brush on the end of the eraser, I made more variations on the dark side.
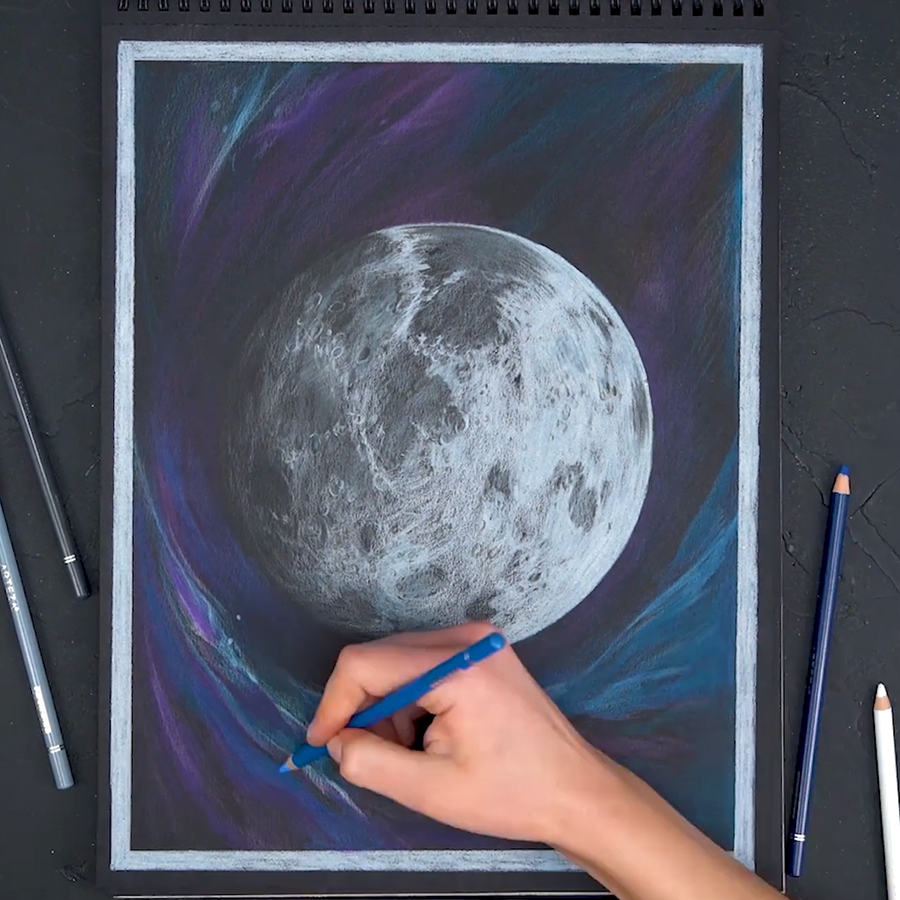
Step 7
I wanted this moon to really stand out against the black space behind it, so I used lilac, blue, purple, white, and pink for the colors of outer space. I drew the nebula as if it were wrapping around the moon. To make the nebula smoother, I blended the pencils and gave it additional volume with a white pencil. I outlined where the light fell. This made the nebula in front of the moon brighter and richer than the one behind it.
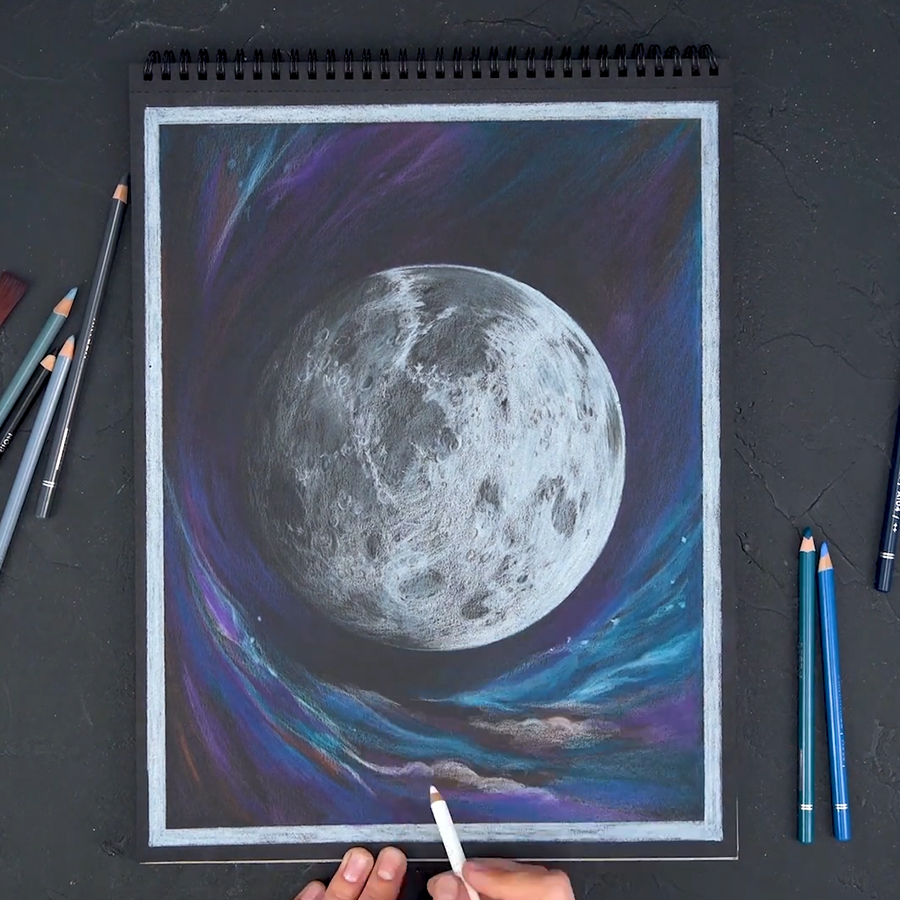
Step 8
To make this drawing more realistic, I placed clouds and stars in the nebula throughout the picture. I purposely didn’t make them pure white but tried to make them in the shades of the picture.
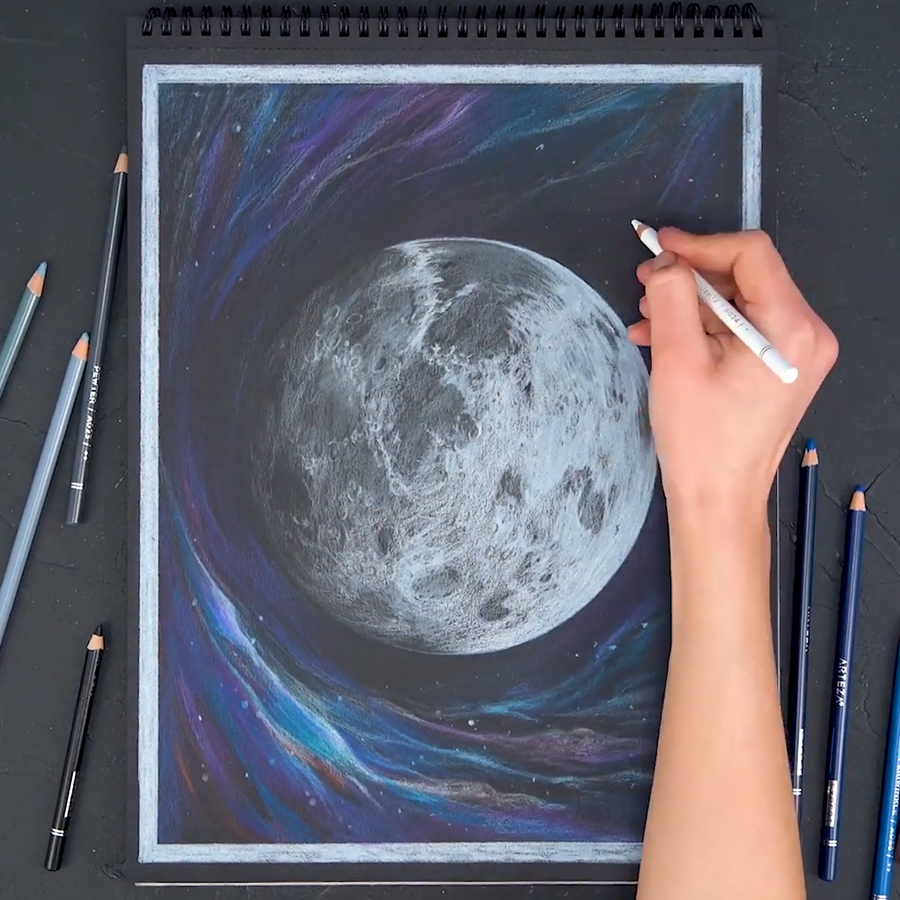
Step 9
Before I could call this drawing complete, I stood back to see where else I needed contrast and extra details.
I think it turned out quite striking and true to the moon I see in the sky through my telescope!
Recommendations
- An eraser with a brush on one end is quite handy when making this drawing. It allowed me to blend colors as well as lighten those that seemed too dark. I also used it to brush away the color remnants of the pencil, which can smear.
- Using black paper makes it easy to brush away the drawn line with an eraser brush and have the pigment almost disappear.
- When drawing on a dark surface, you can create a light, medium-shade color by drawing in a darker color than you would use on light paper.
- It’s important not to rub the paper too hard but work in light layers instead.
- It’s a good idea to color from dark to light.
- Put a sheet of paper under your hand to prevent smudges.
Now that you’ve drawn a moon using colored pencils and black paper, what do you think? Does this drawing make you want to create more using these pencils? I hope so. I find that drawing and coloring is a fun and meditative art practice. Let me know your thoughts in the comments below.
Watch this fun timelapse video of how the moon drawing was made.


