
Add Beautiful Clouds to Your Paintings
When I was a child, I would look up at the sky and try to pick out shapes created by the big, puffy clouds. Sometimes I’d see a cute rabbit or a turtle, other times it would be a horse rearing up or a dragon with a long spiky tail. Now that I’m grown up and a full-time artist, I’m still mesmerized by them. I often add them to paintings to help create the essence of a scene. I also like to use them as the main subject, as I’ve done in this demonstration.
My favorite medium to create clouds is acrylic paint. Acrylic paint layers and blends well and dries quickly. Although I’m using just two colors in this demonstration, I highly recommend you try the Arteza Premium Artist Paint, 60-tube set. This set of creamy acrylics has so many colors, you get exact shades ready to use or you can mix tons of more colors. It really has all you need to paint whatever you want.

List of Supplies
- Canvas Panel, 12x12 classic
- Acrylic Premium Artist Paint - Titanium White A101, Cobalt Blue A124
Realistic Clouds Step-By-Step
Clouds are some of the easiest subjects to paint from your imagination, but if you’re having trouble envisioning them in your mind, you can go online and see lots of examples to use as a reference. If you’re like me, you might do that at first but soon you’ll be creating your own imaginary ones in different shapes and colors!
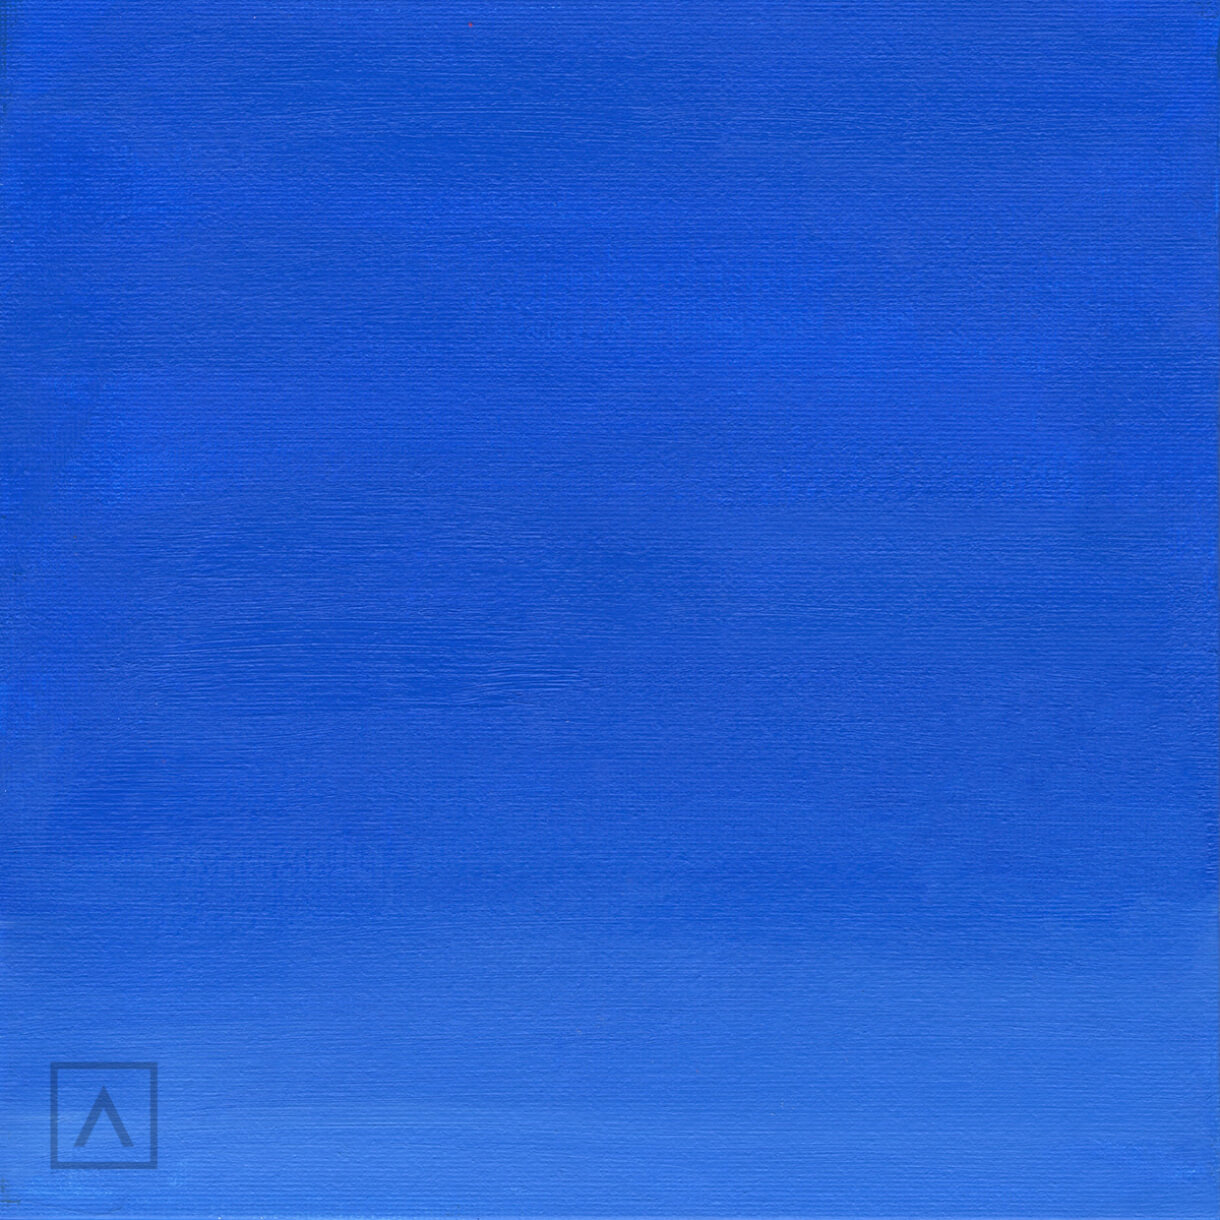
Step 1
I dip a large brush into Cobalt Blue A124 and cover the whole canvas with it. For the best results, I use a synthetic brush. Oh, what a beautiful sky!
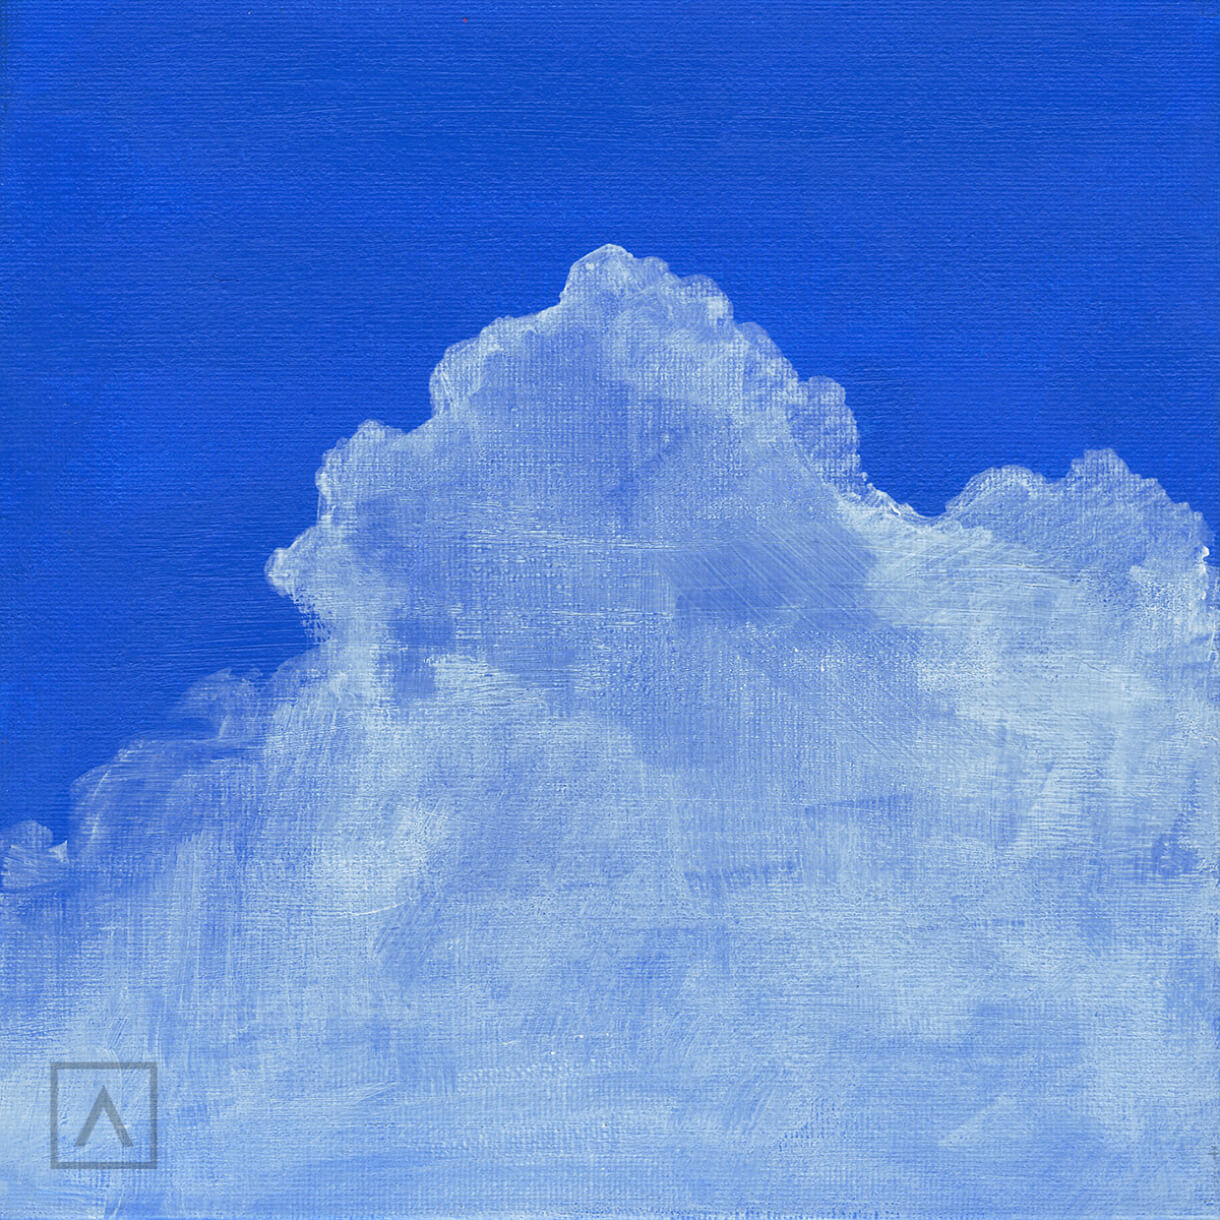
Step 2
Next, I mix Titanium White A101 with water to create a thin wash and make an outline of the arrangement of the clouds. This makes the perfect halftone. Also, I make the top more transparent, so you can see the sky through it while filling in the bottom to make it appear more solid.
Step 3
Real clouds are made up of smaller ones bunched together. To make that happen, I use lightly thinned white paint for these. At the top, I still want some blue sky showing through, so I’m not too heavy-handed there.
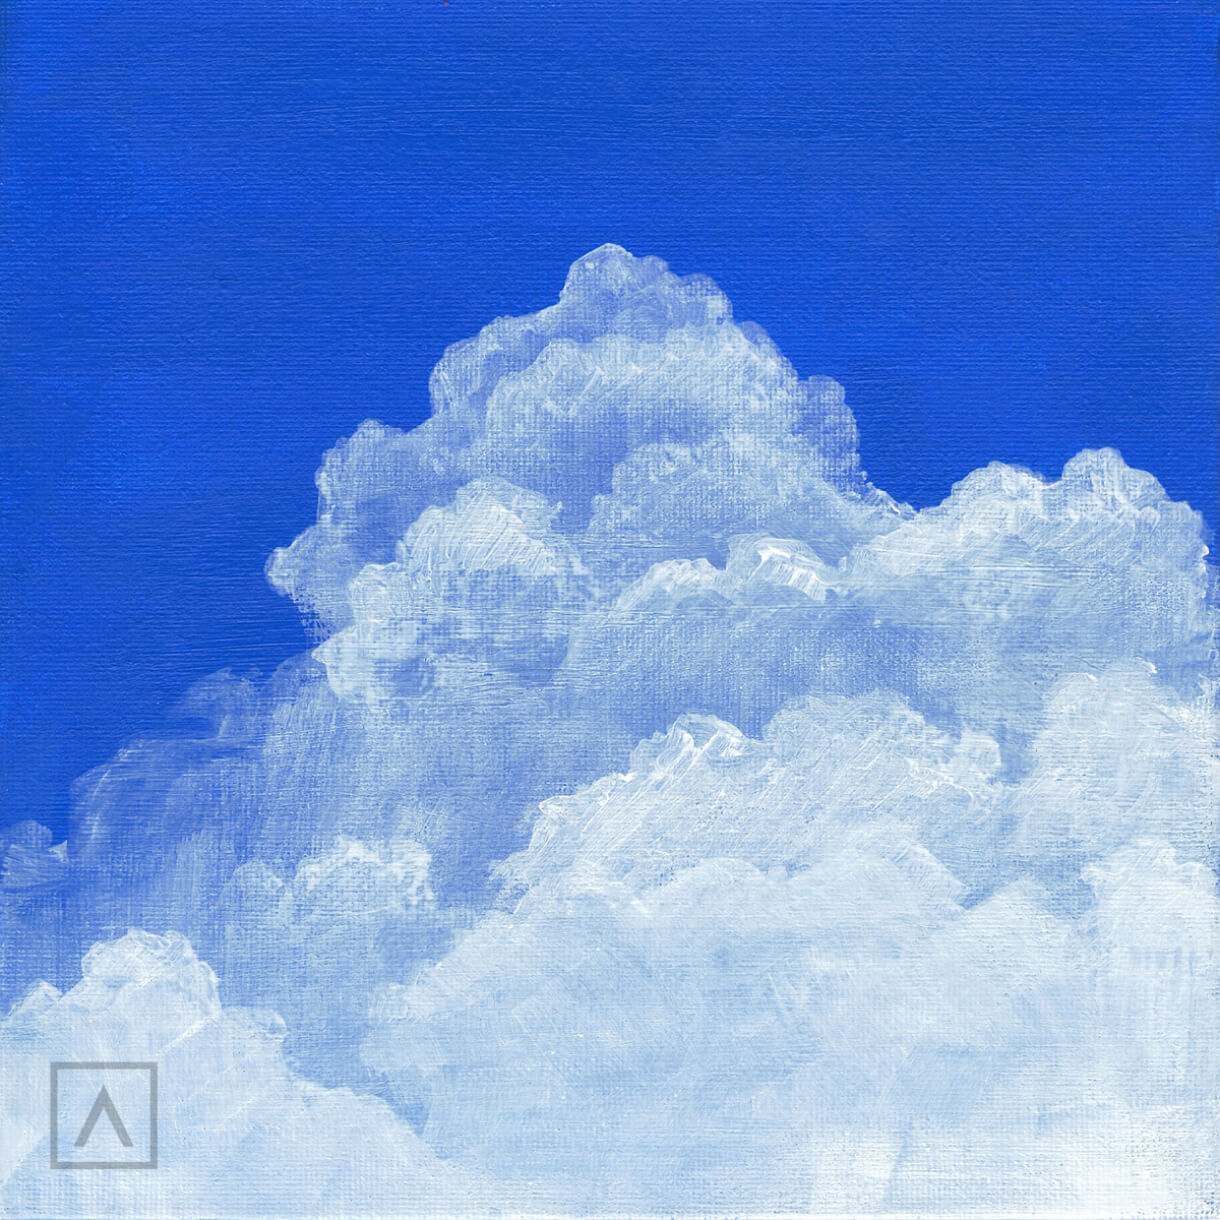
What’s really important is to paint the ones at the bottom, which are in the foreground and closer to us, brighter white. For this part, I get daring and use white paint straight from the tube!
Step 4
For this painting, I imagine sunlight coming from the top left. This helps me place the highlights in the right place. I use a small brush with white to add a light area on the top of each small cloud. I love how this makes each cloud stand out.
Throughout this process, don’t forget that the closer the cloud is to the viewer, the thicker the layer of paint you should use. The highlights at the top won’t be as thick as the ones at the bottom.
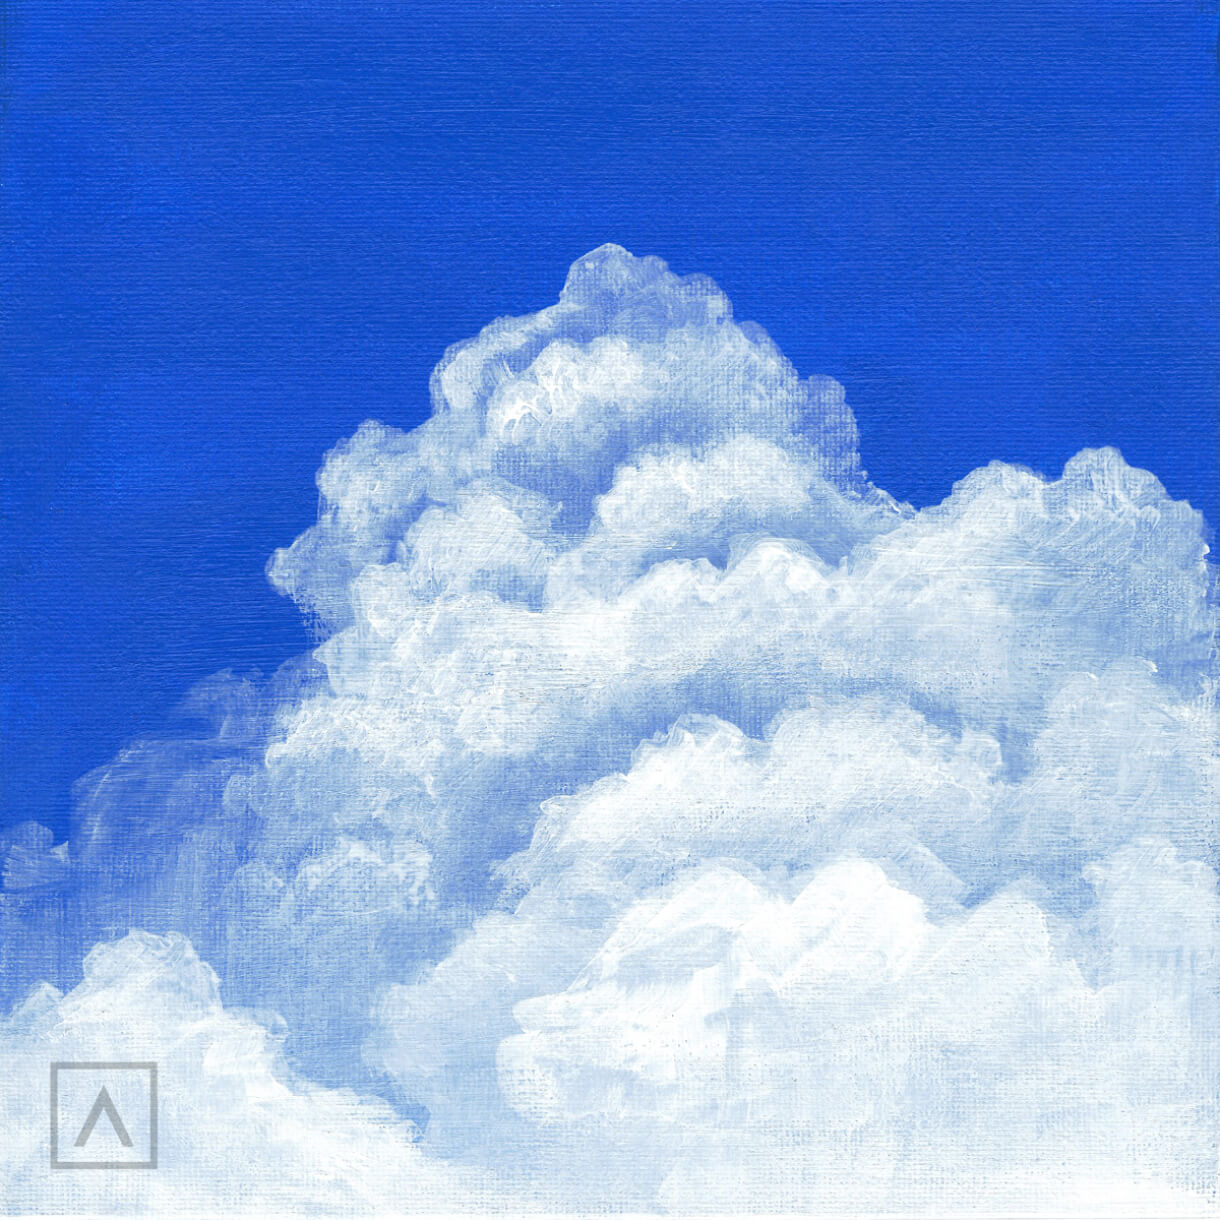
Step 5
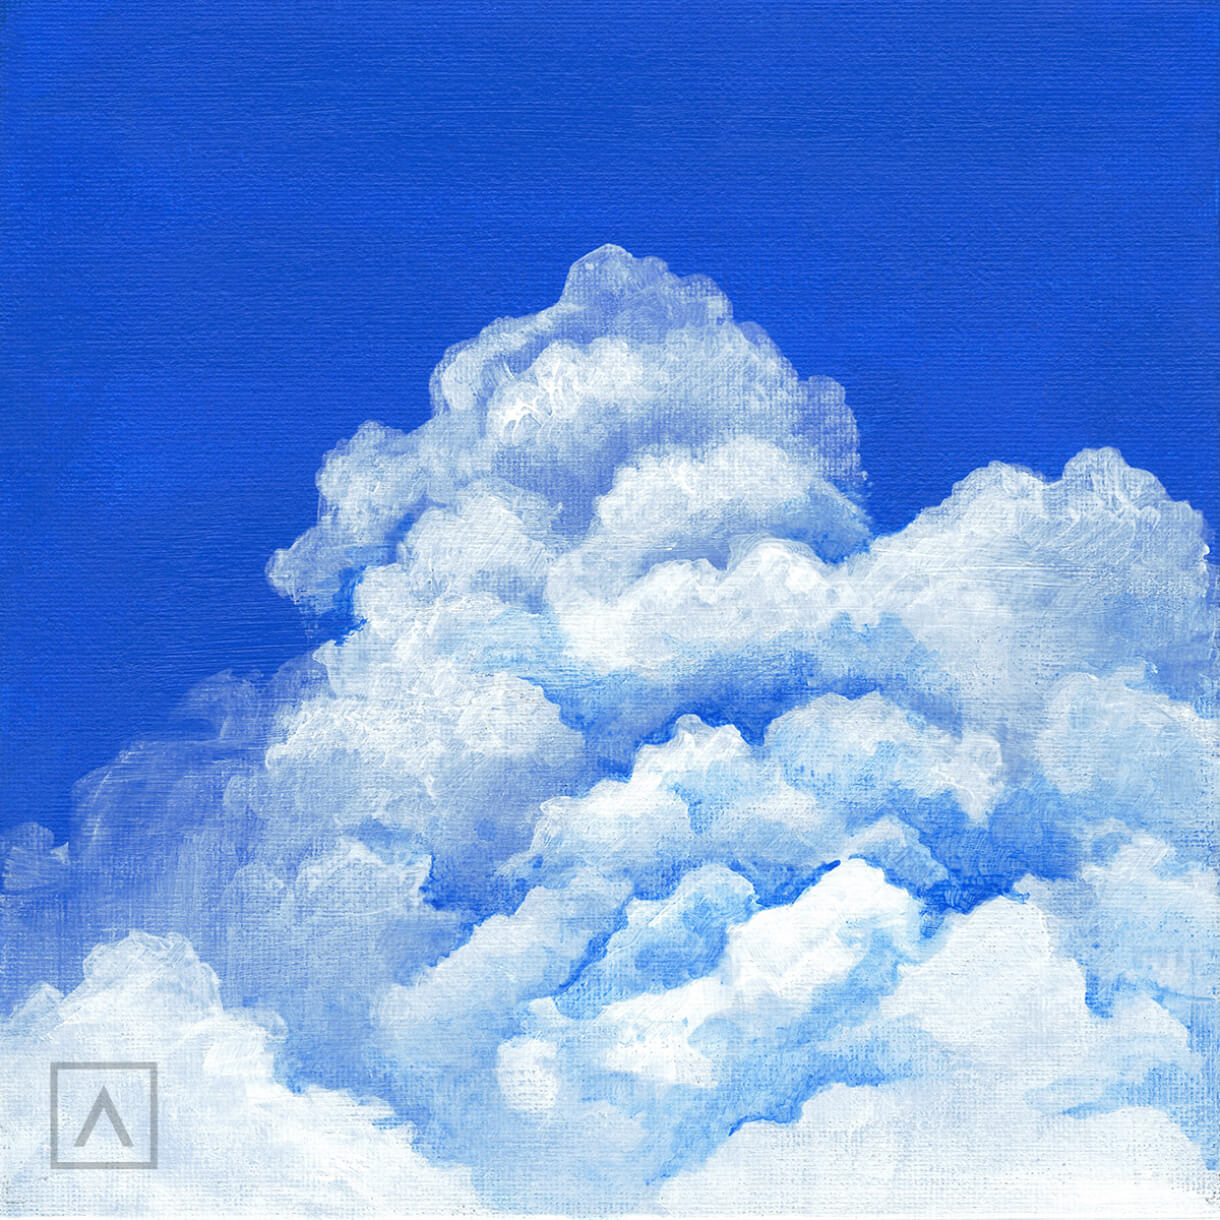
To pump up the volume of these puffy clouds, I need to create contrast in the foreground. So, I apply Cobalt Blue A124 under them to make shadows. To create the strongest contrast I can, I place dark shades next to lighter ones with a clear edge between the two.
These may be some of my best yet! They look so puffy and remind me of a beautiful summer day. What do you think?
Recommendations
- To get the most out of this demonstration, do not skip any of the steps. It might be tempting to jump from the first step to the last, but each step builds on the one before. If you follow each one you’ll get that realistic look you’re going for.
- Don’t worry about making mistakes. The best thing about acrylic paints is that they are thick and opaque enough to cover any changes you want to make. So, go ahead and be brave! If you don’t like something, just paint over it!
- Always wash your brushes really well with soap and water after you’re finished using them. If you allow the paint to dry on your brushes they will never come clean and will be ruined forever.
Now that you’ve got the steps for making cloud paintings, it’s time to try it on your own. They come in so many sizes, shapes, and colors, you really can’t make a mistake. Try painting those pink and lavender ones you see when the sun rises in the morning or the red and orange clouds at sunset. Or, better yet, create your own custom colors and add a new atmosphere to your art! I hope you’ll leave me a comment about your experiences painting clouds. I’d love to hear about your adventures in cloud painting.


6 comments
Thanks for the kind words! We’re so glad this has been helpful. Can’t wait to see your cloud creations! :)
Thank you for the cloud painting suggestions. I was an oil painter for a number of years and learned to finally make a fluffy cloud. Recently I’ve converted to acrylic due to my wife’s sensitive nose.. Lol. Been having a hard time with clouds but I think your advice will work and am excited to try it out on the current night scene I’ve started. Thanks!
Hey Connie! We don’t have the exact dimensions of the brushes that were used, but for step 1 you can use a large, synthetic brush for the best results. For step 4, you’ll want to use a smaller brush for the light details on the clouds.
In your list of supplies, you suggested Level 1 brush, but you didn’t provide the size and shape of the brush. That’s what I need to know. Thanks!
We’re so glad to hear you enjoyed the tutorial. These are great suggestions that we’ve passed along to our team for further consideration on future tutorials.