Table of Contents:
Cloud Painting Using Gouache
Painting clouds, and especially with gouache, is probably one of my favorite things to do when I need a little break from “more difficult” artworks. It’s also one of the coolest things to paint since clouds come in different shapes and shades, and they are constantly changing! You can also find clouds everywhere. All you need to do is look up at the sky. It’s wonderful to capture the beauty in clouds whether it’s in a sketchbook or just on a piece of paper. That’s why I’m sharing with you my process on how I paint clouds with only three colors and hope it will be helpful.
List of Supplies
- Arteza sketchbook A5
- Premium Gouache Paint Set, 12ml Tubes - Set of 24 - A163 White, A154 Sky Blue, A132 Gray
Get Started Painting Clouds
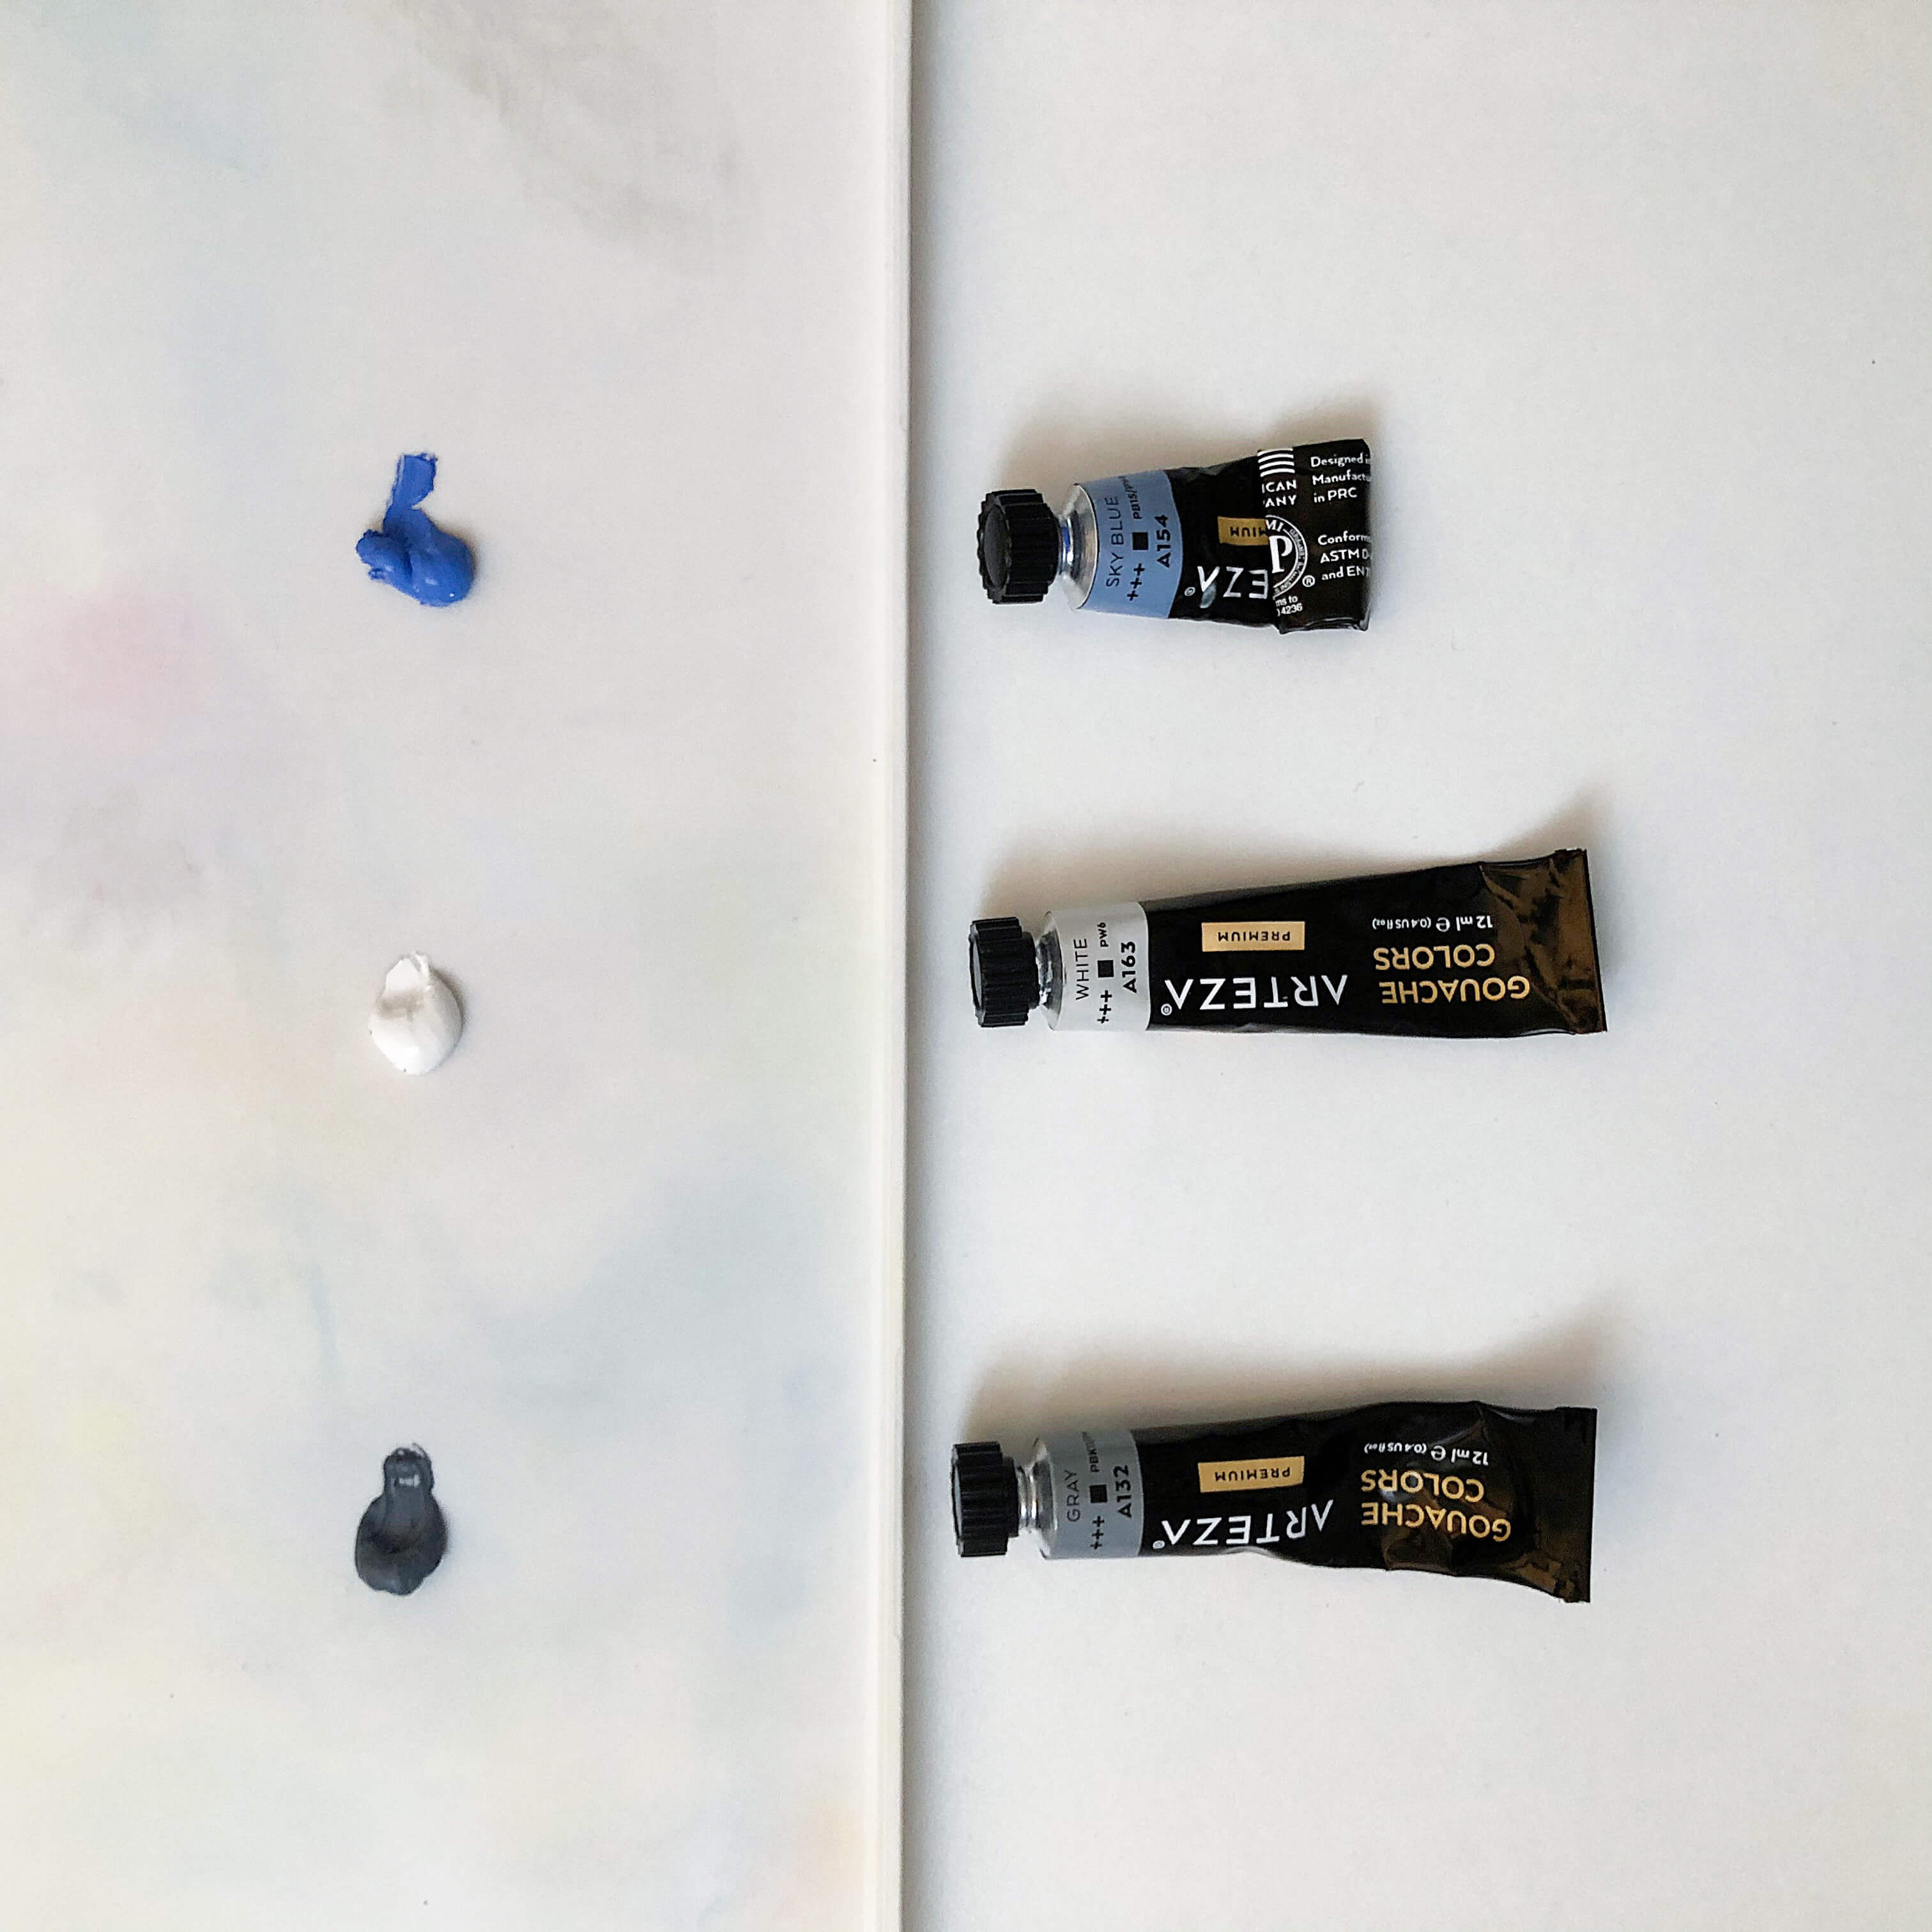
The colors I will be using for this painting are A163 White, A154 Sky Blue and A132 Gray.
Sometimes using only a few colors makes it a lot easier and less complicated to paint a specific scene and adds more fun to the process. That’s why I chose to paint this painting with only 3 colors.
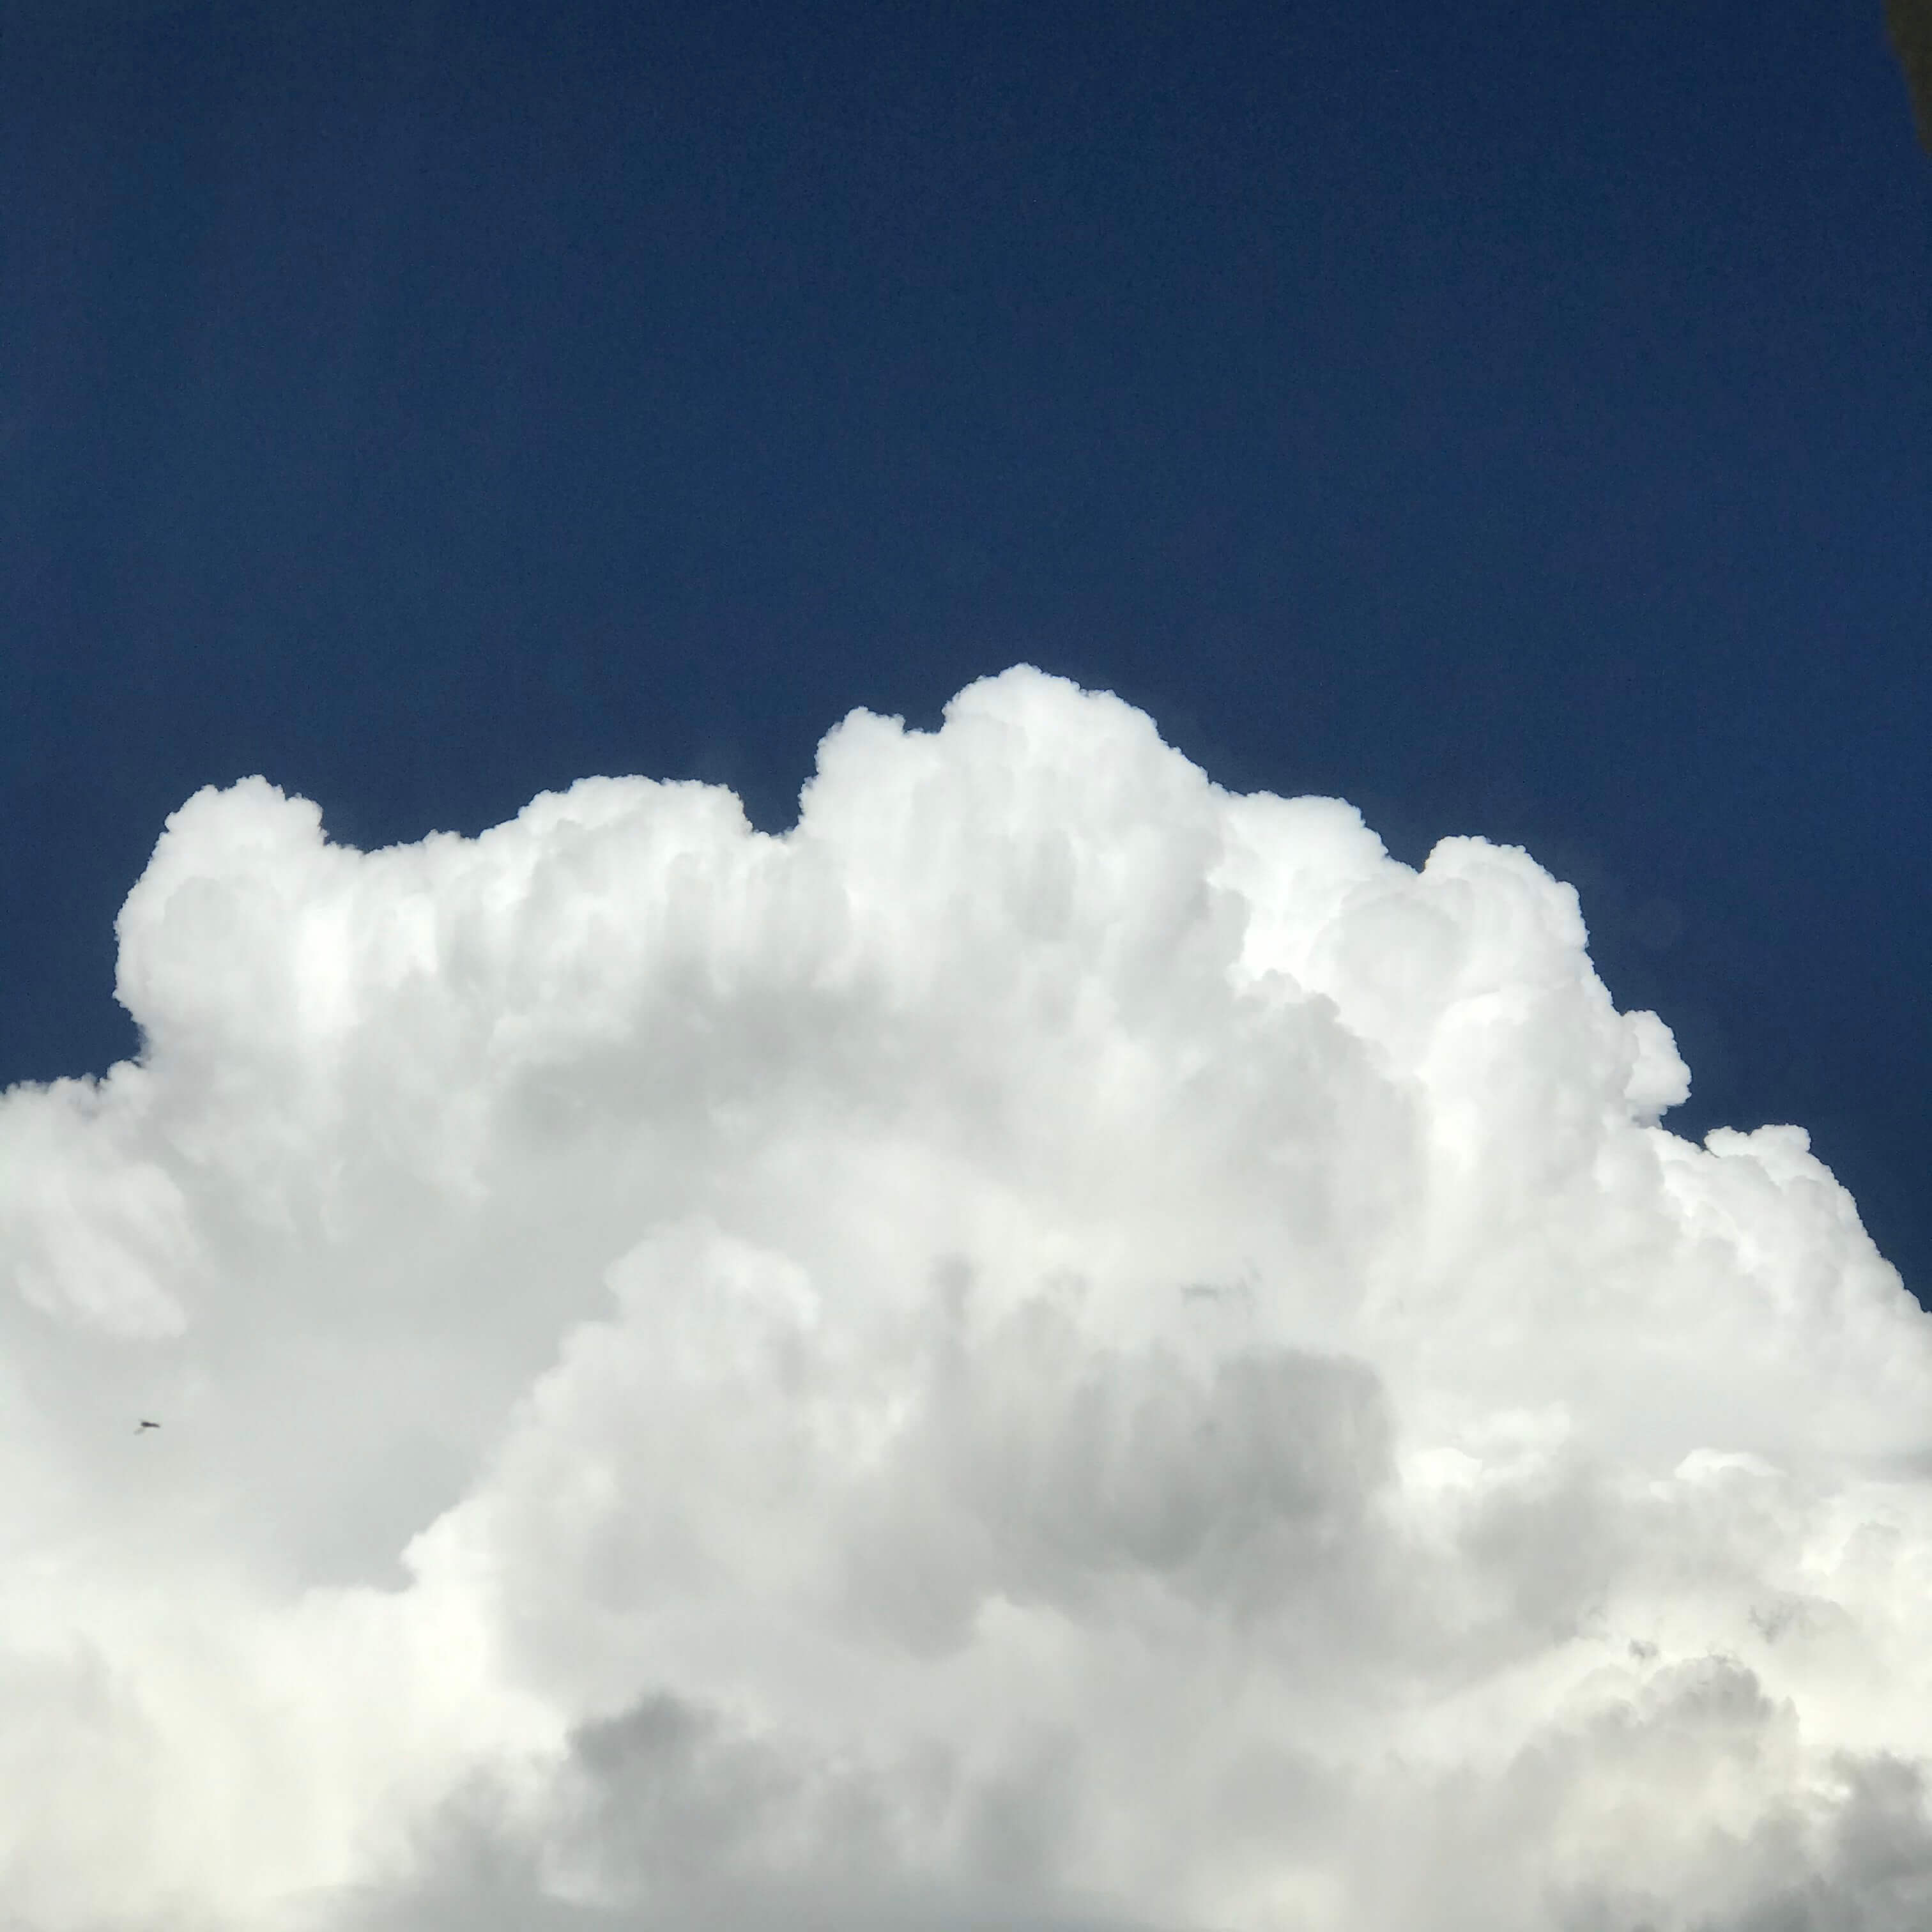
I take a picture of the clouds that I'll use as a reference.
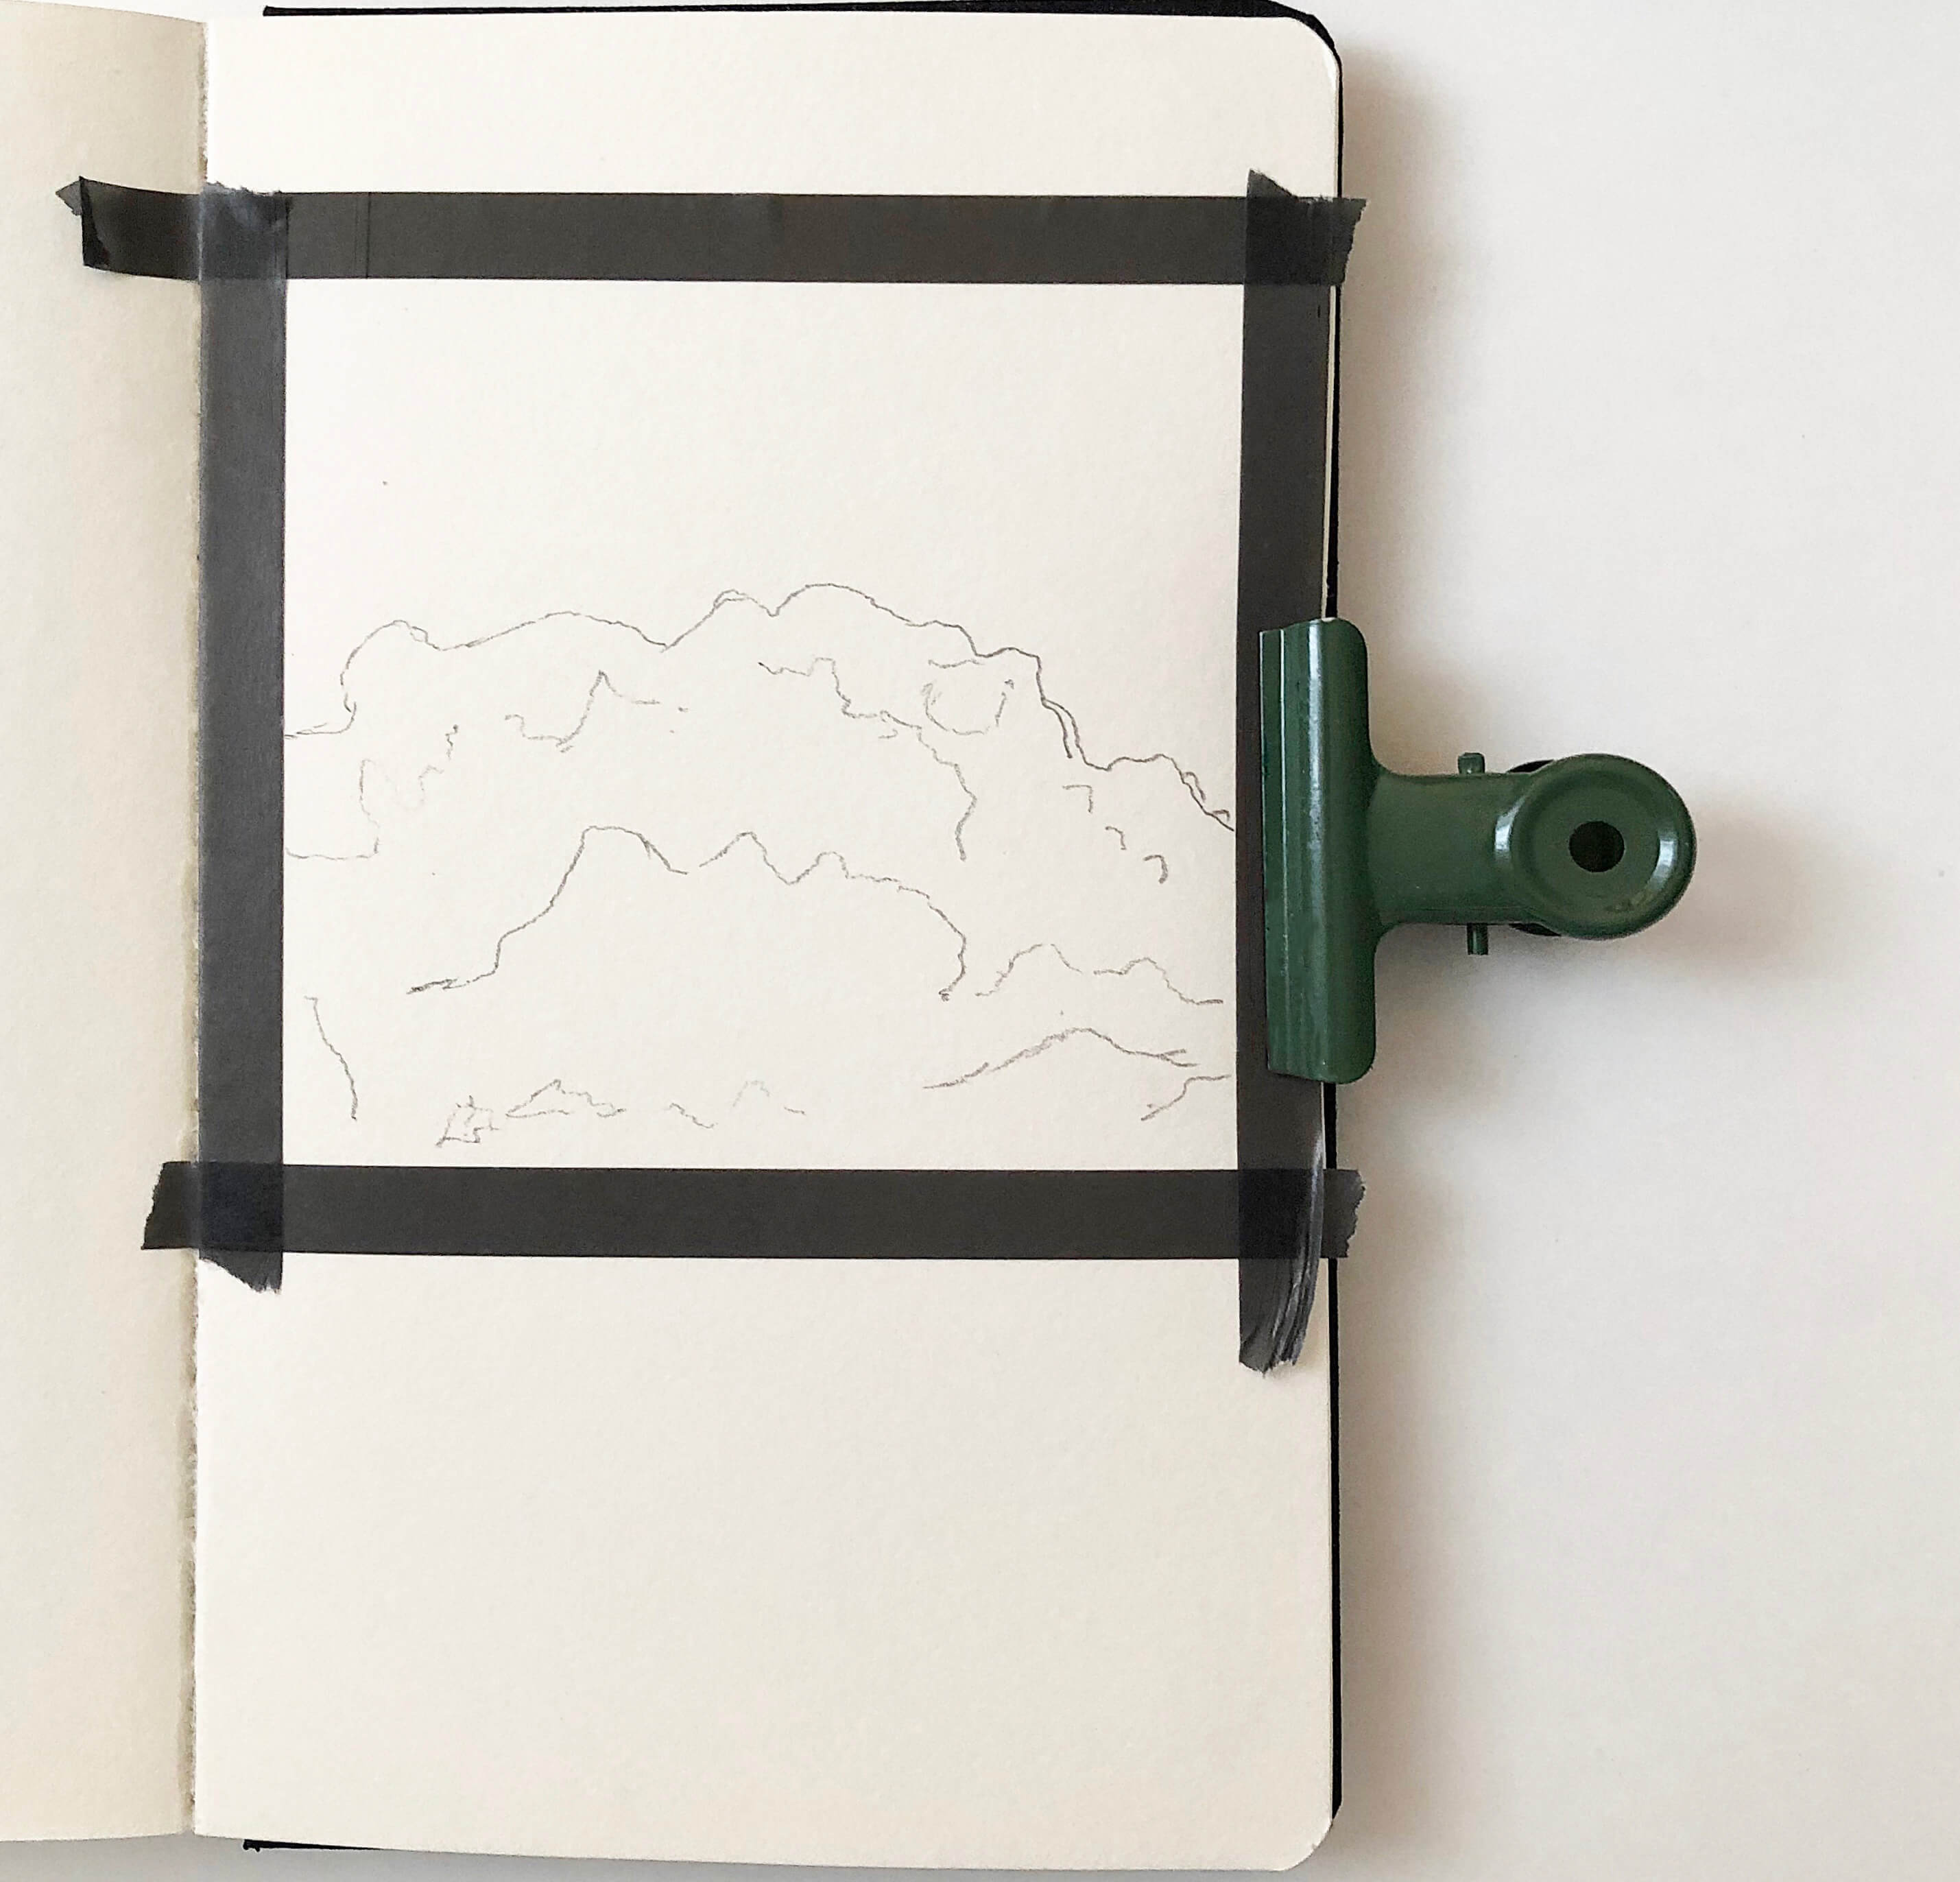
Step 1: Sketch the Clouds
Looking at this reference picture I lightly sketch the outline of the clouds with a pencil. I put more care where the shadows are and how the shape of the cloud should look. This will make it easier to paint in the upcoming steps.
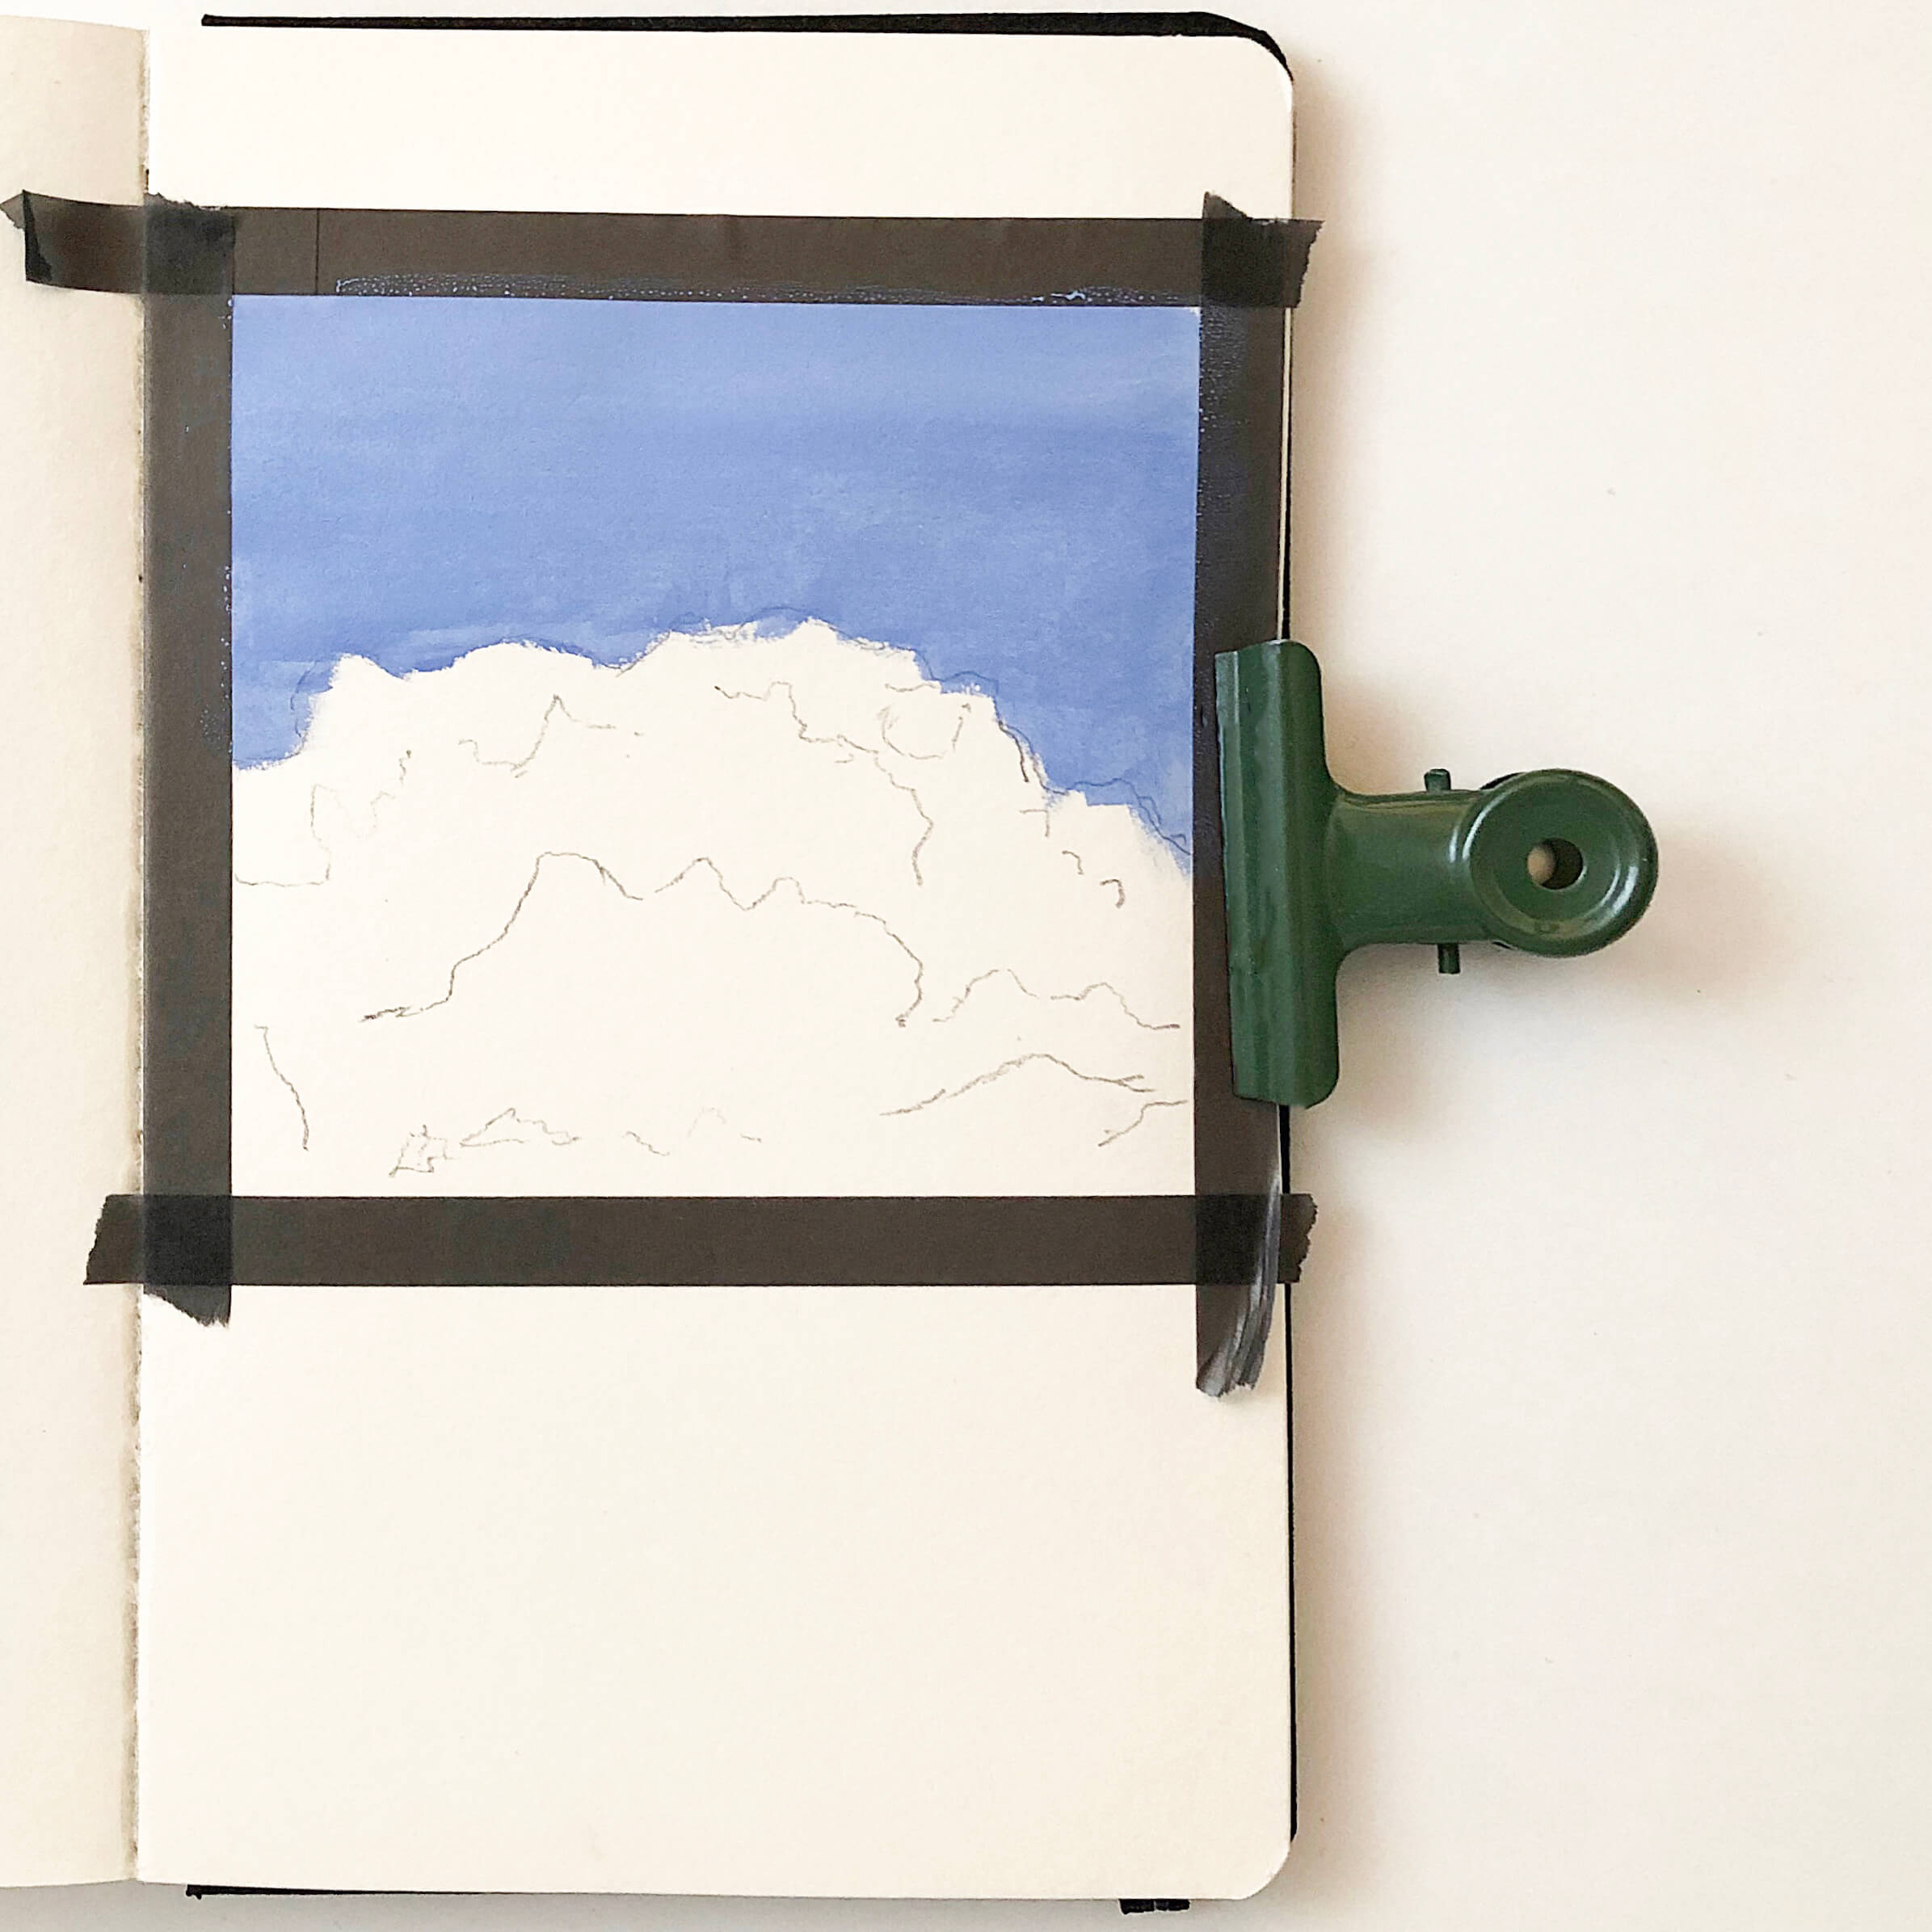
Step 2: Paint the Sky
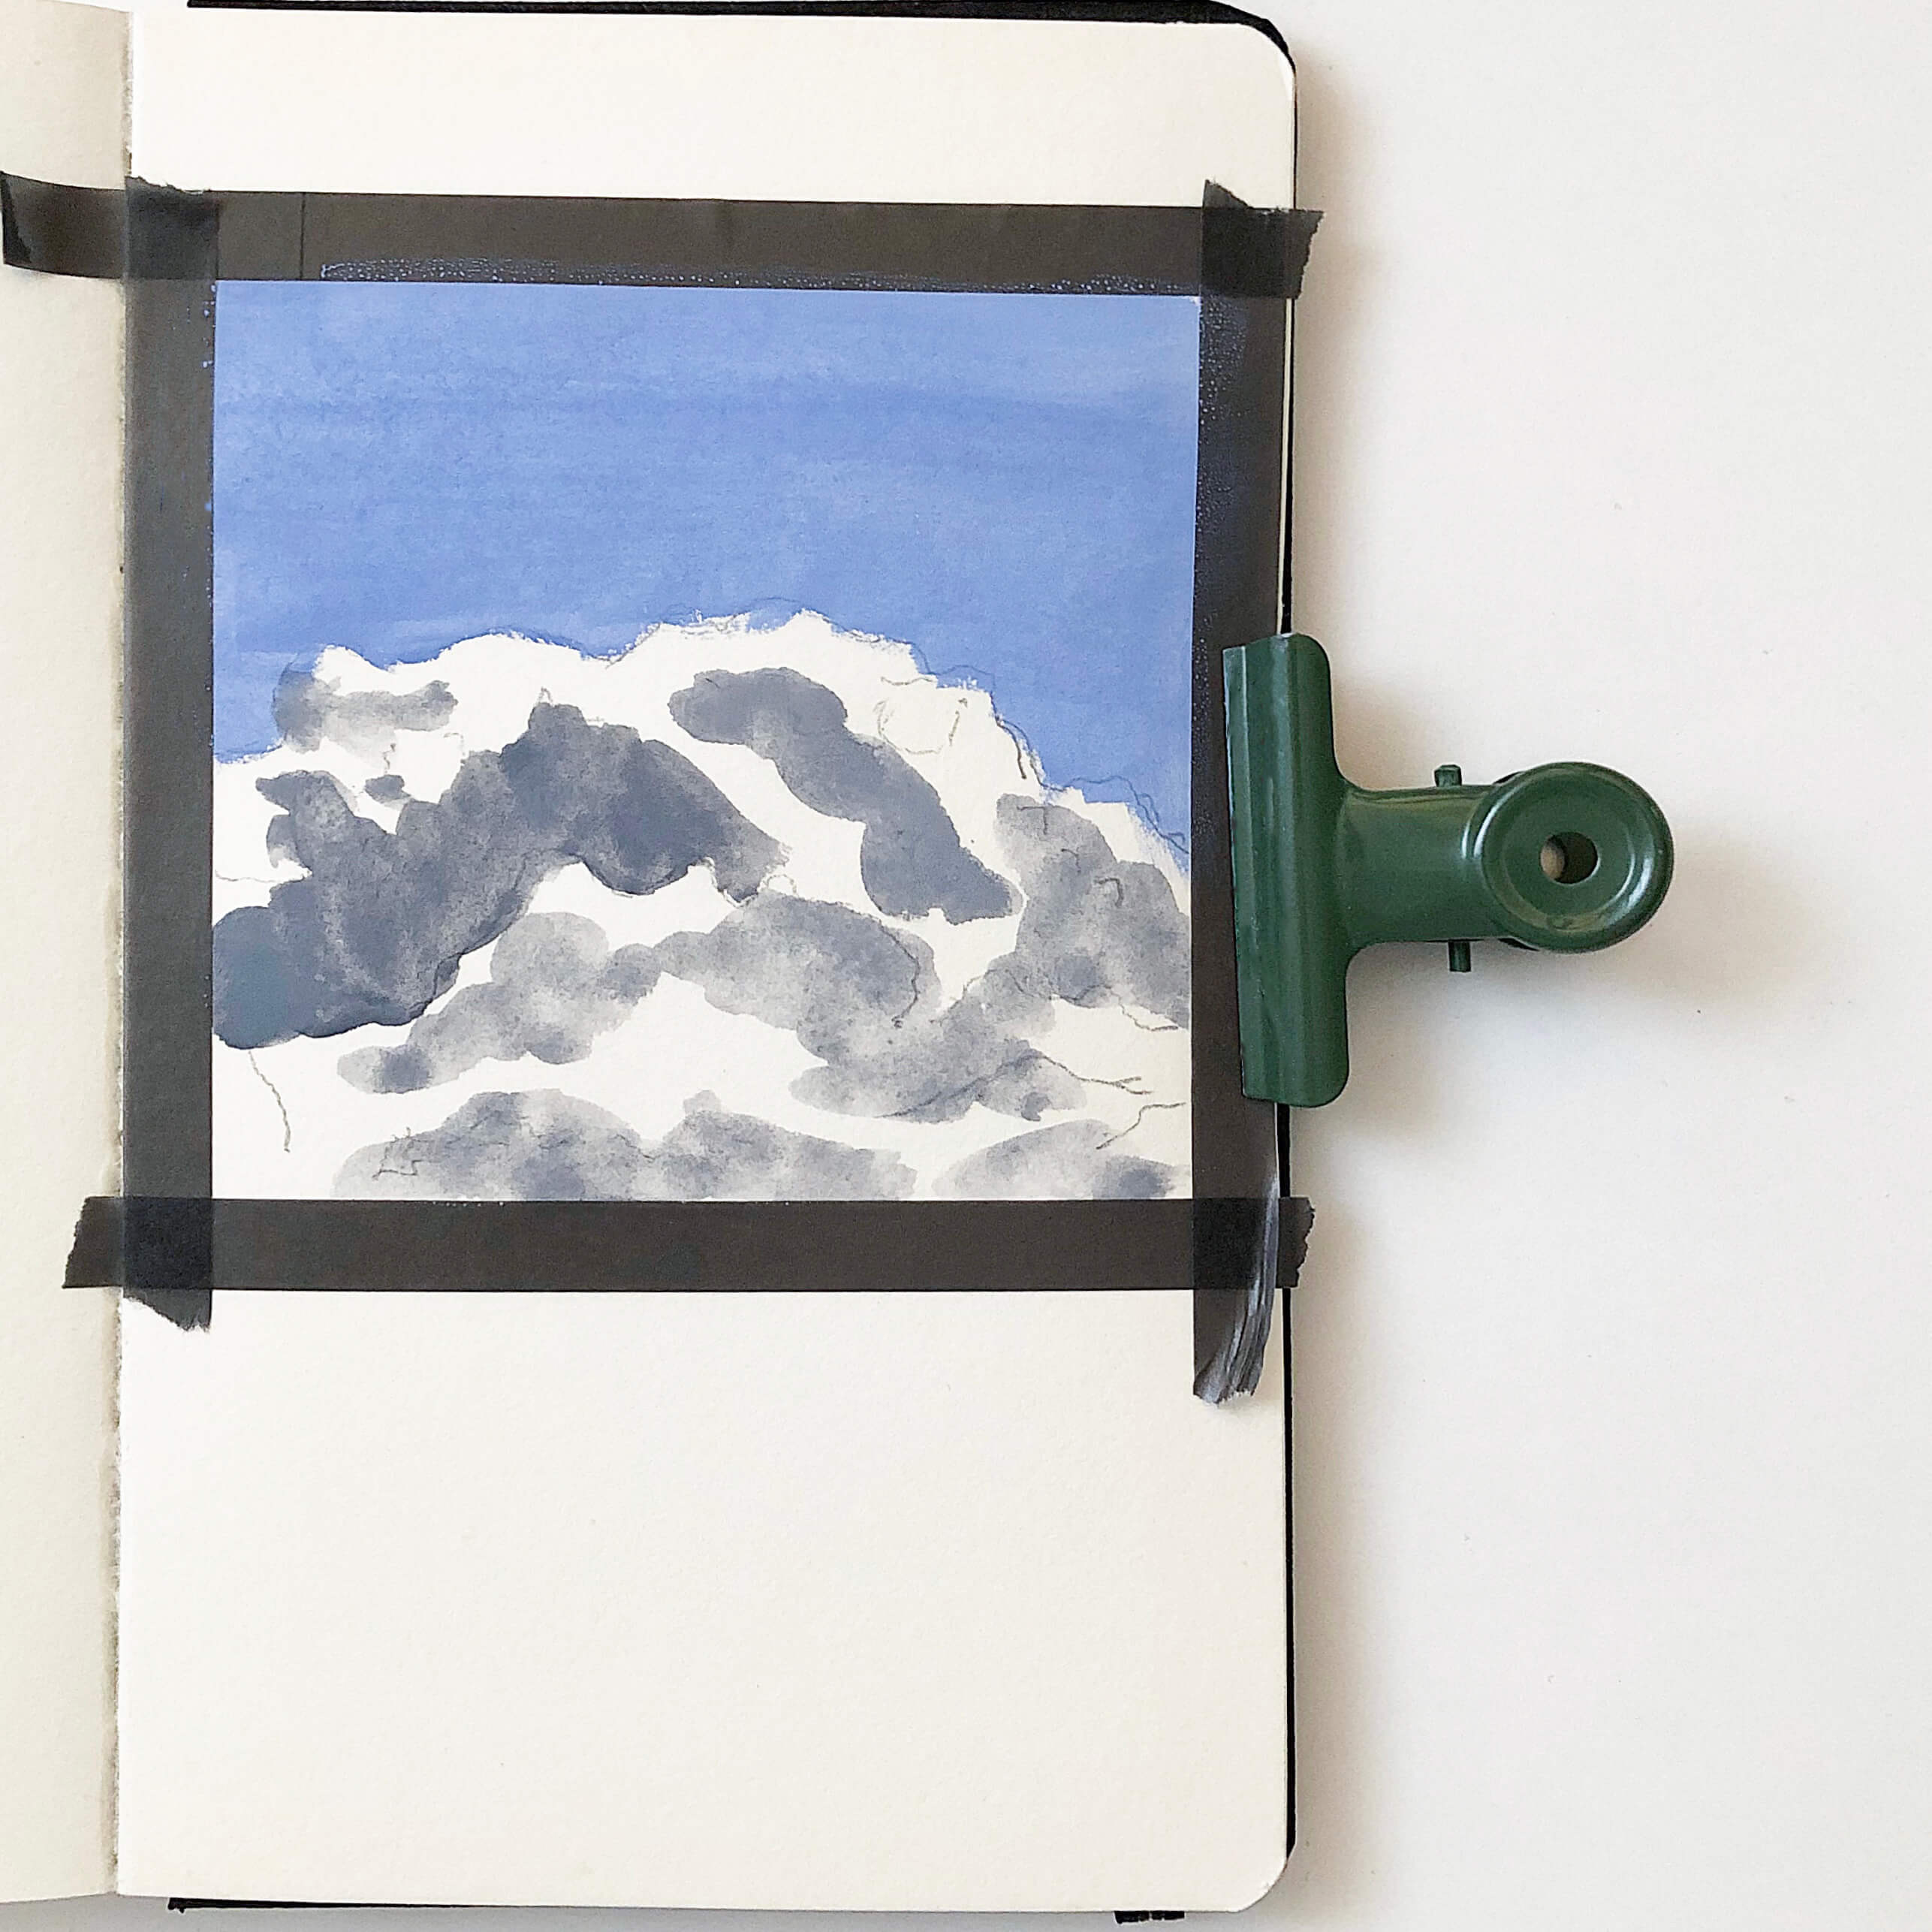
For the background, I mix White and Sky Blue into a light sky-blue color. The sky makes up half of the painting so the mixed color should be enough to cover up the background. I carefully paint the sky with a large brush using the mixed color and keep the brush a little wet for a nicer flow. Painting the sky in one go with a larger brush is very helpful to make the background look well blended.
Step 3: Place the Shadows
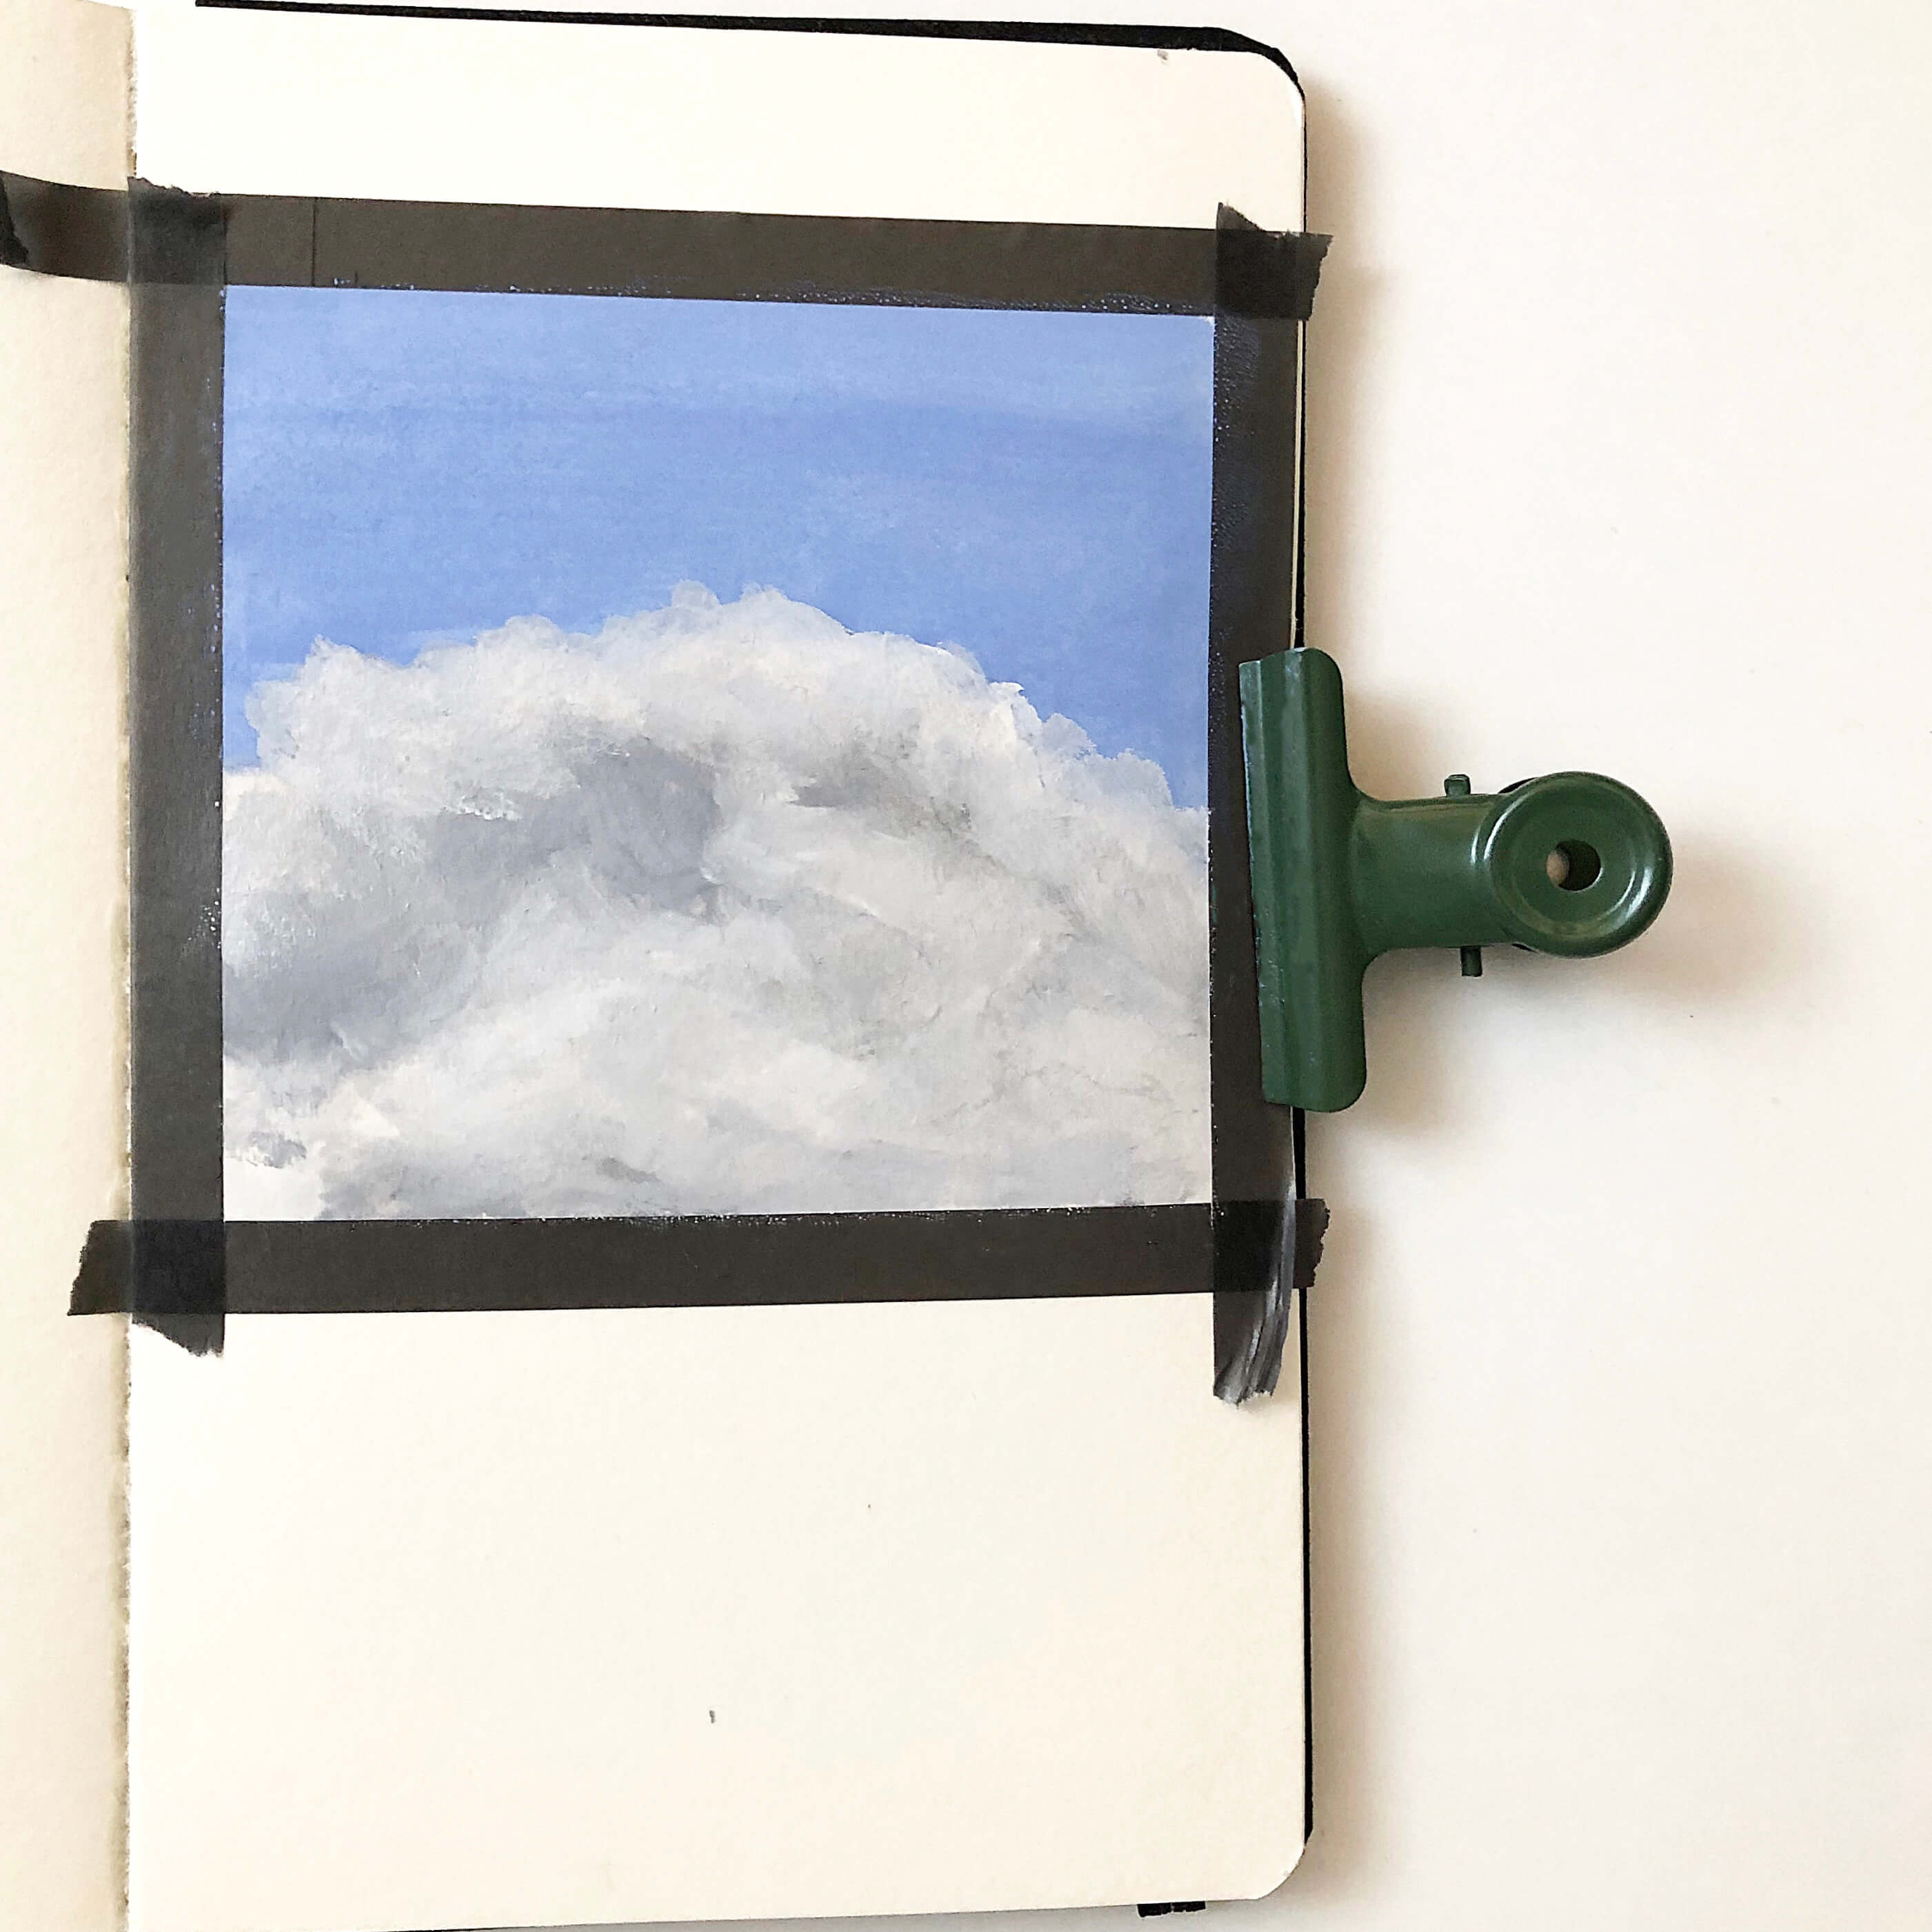
Now using the Gray, I paint the parts where the shadows will be. I'm using a wet brush so that blending the paint for the next step will be easier. This also prevents the paint from drying too fast. For the dark shadowy parts I use more Gray, and for the lighter parts I use more water to get a lighter gray tone. Sketching the outlines first makes it faster and easier to paint the shadows.
Step 4: Blend the Colors
Before the Gray I added dries, I quickly use White to blend all of the colors into each other. The wet-on-wet technique is really helpful for this part, but instead of water, I use wet paint over wet paint. This is a really good way to blend the colors and achieve a softer look.
Step 5: Add Depth & Volume
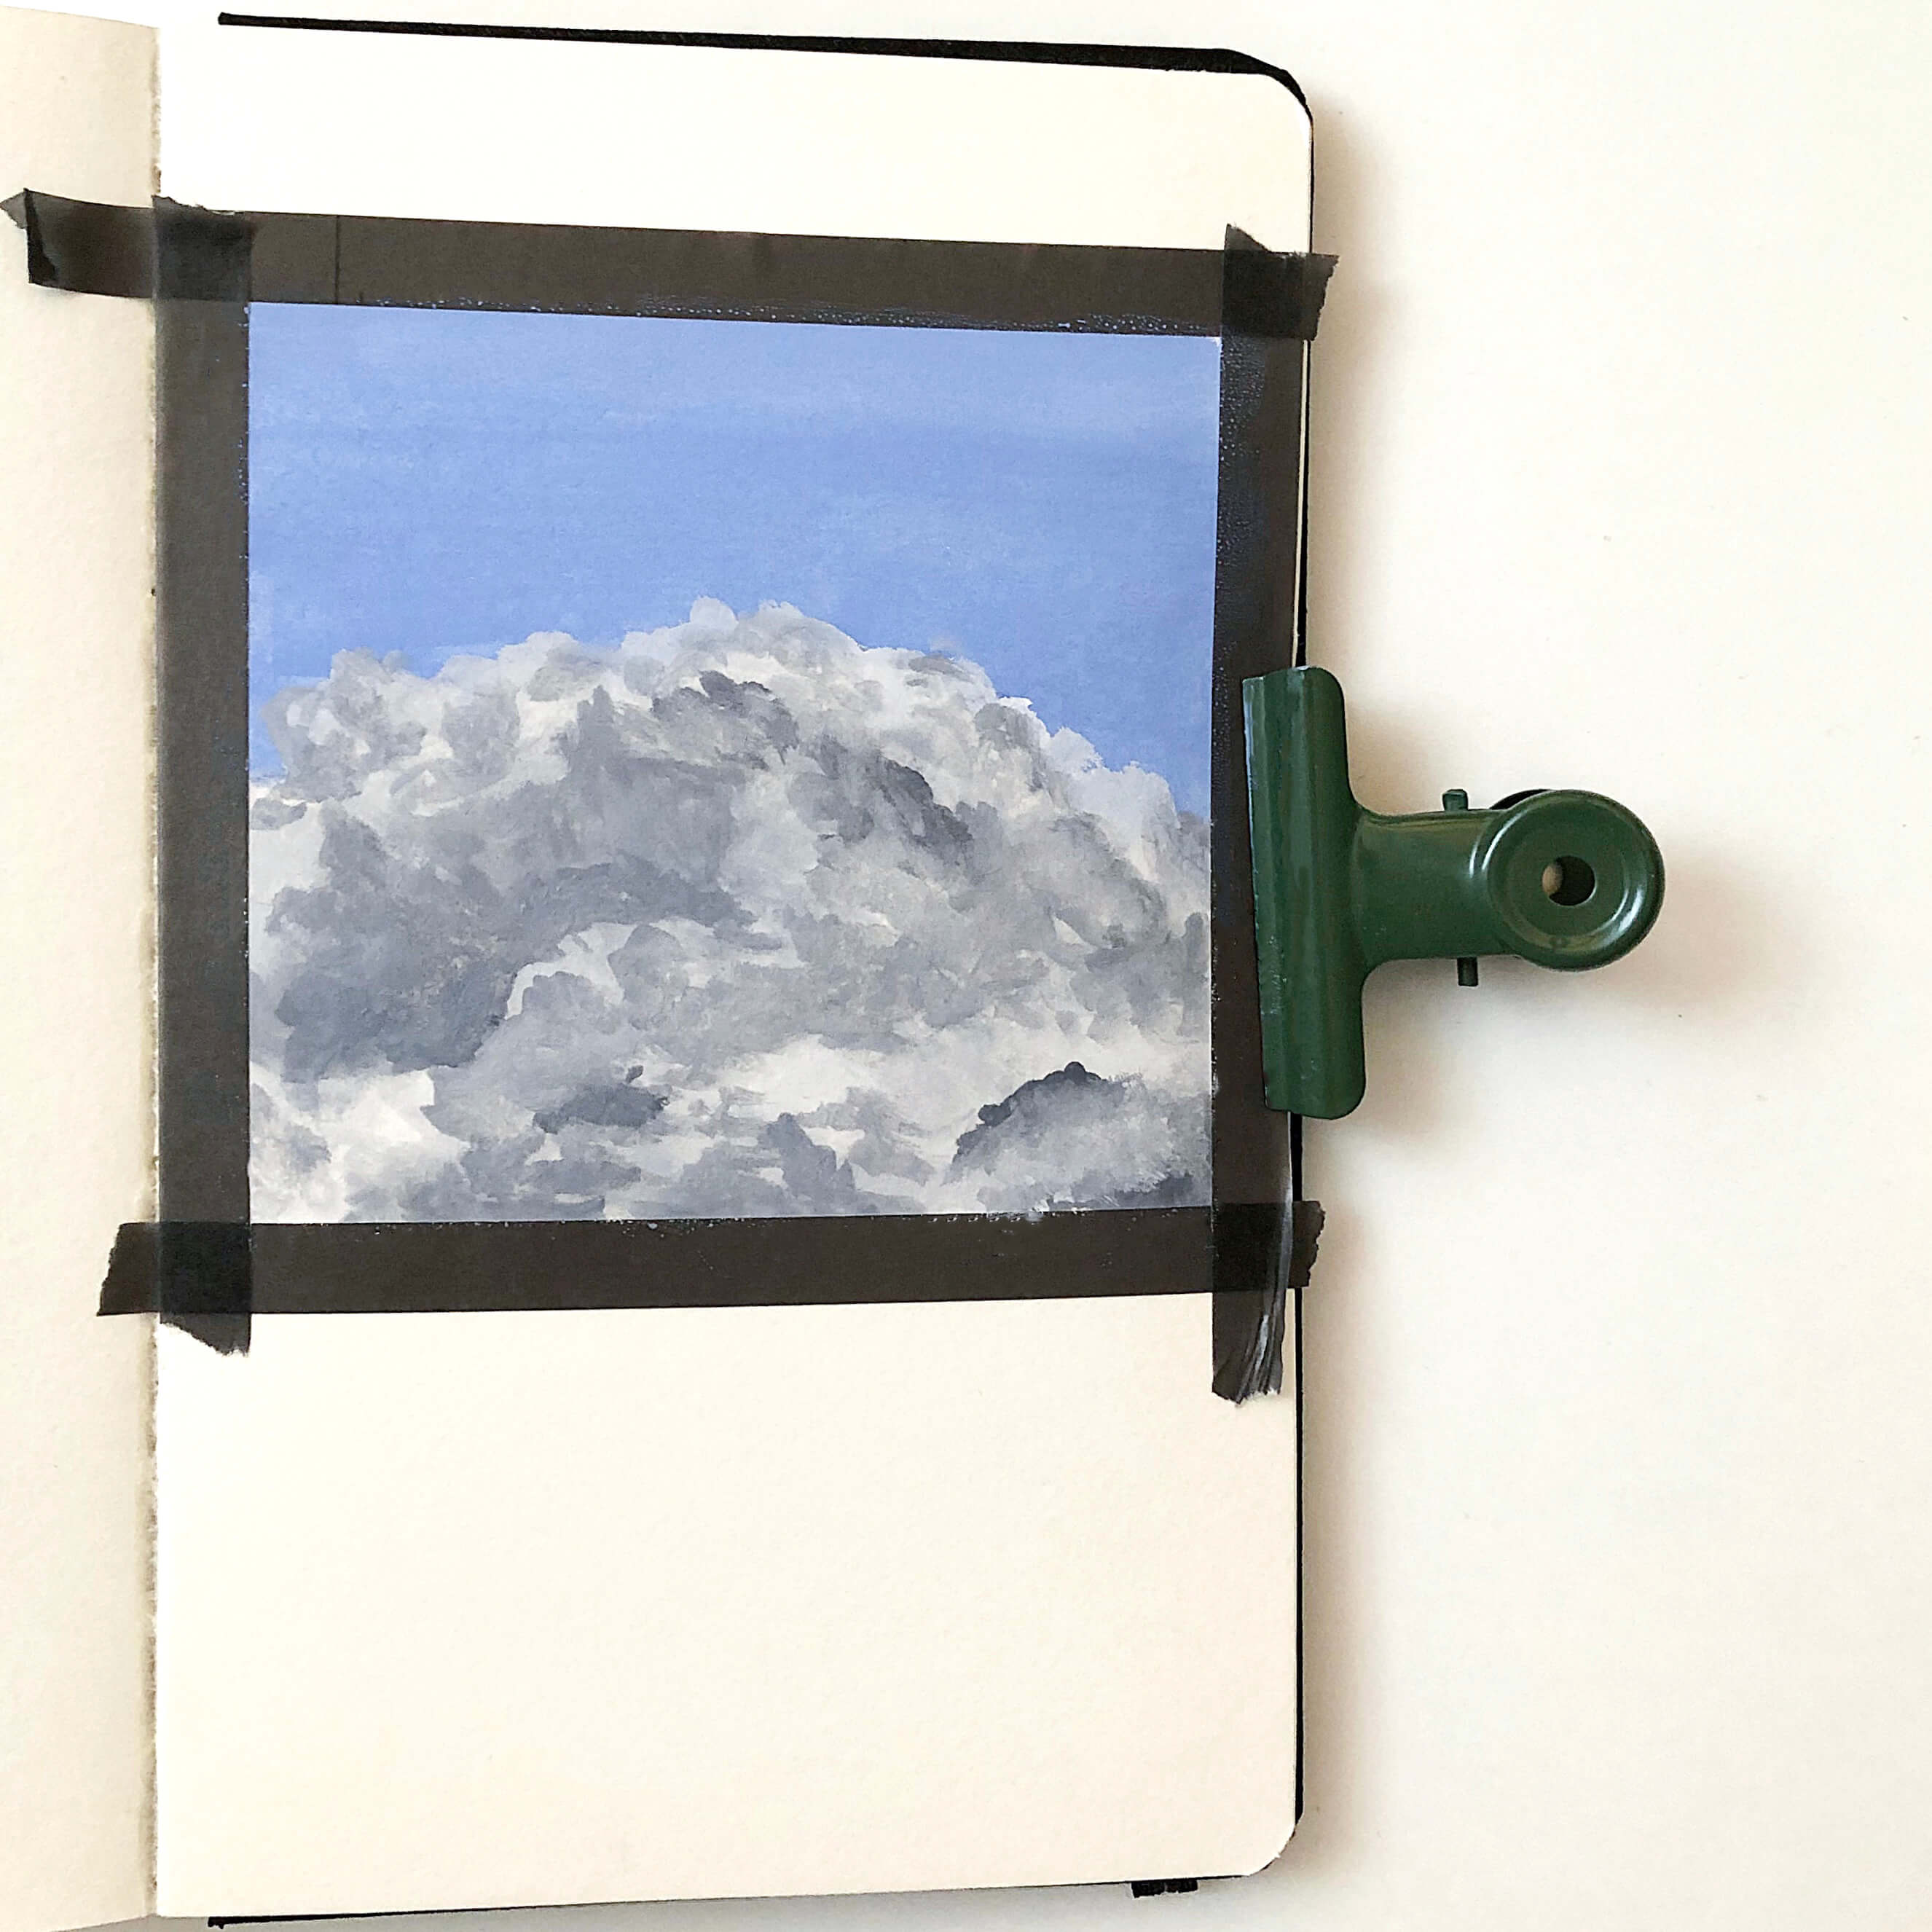
Now I add more shadows using Gray. This gives the clouds more depth and adds some volume. While I add more of the gray color to my painting, I try my best to blend it with the white paint so that the cloud won’t look too flat. The shape I sketched at the beginning might have changed a lot but it doesn’t matter since we’re not trying to recreate the picture but make our own version of it. Don’t let this discourage you, just keep on going with the painting.
Step 6: Add Highlights
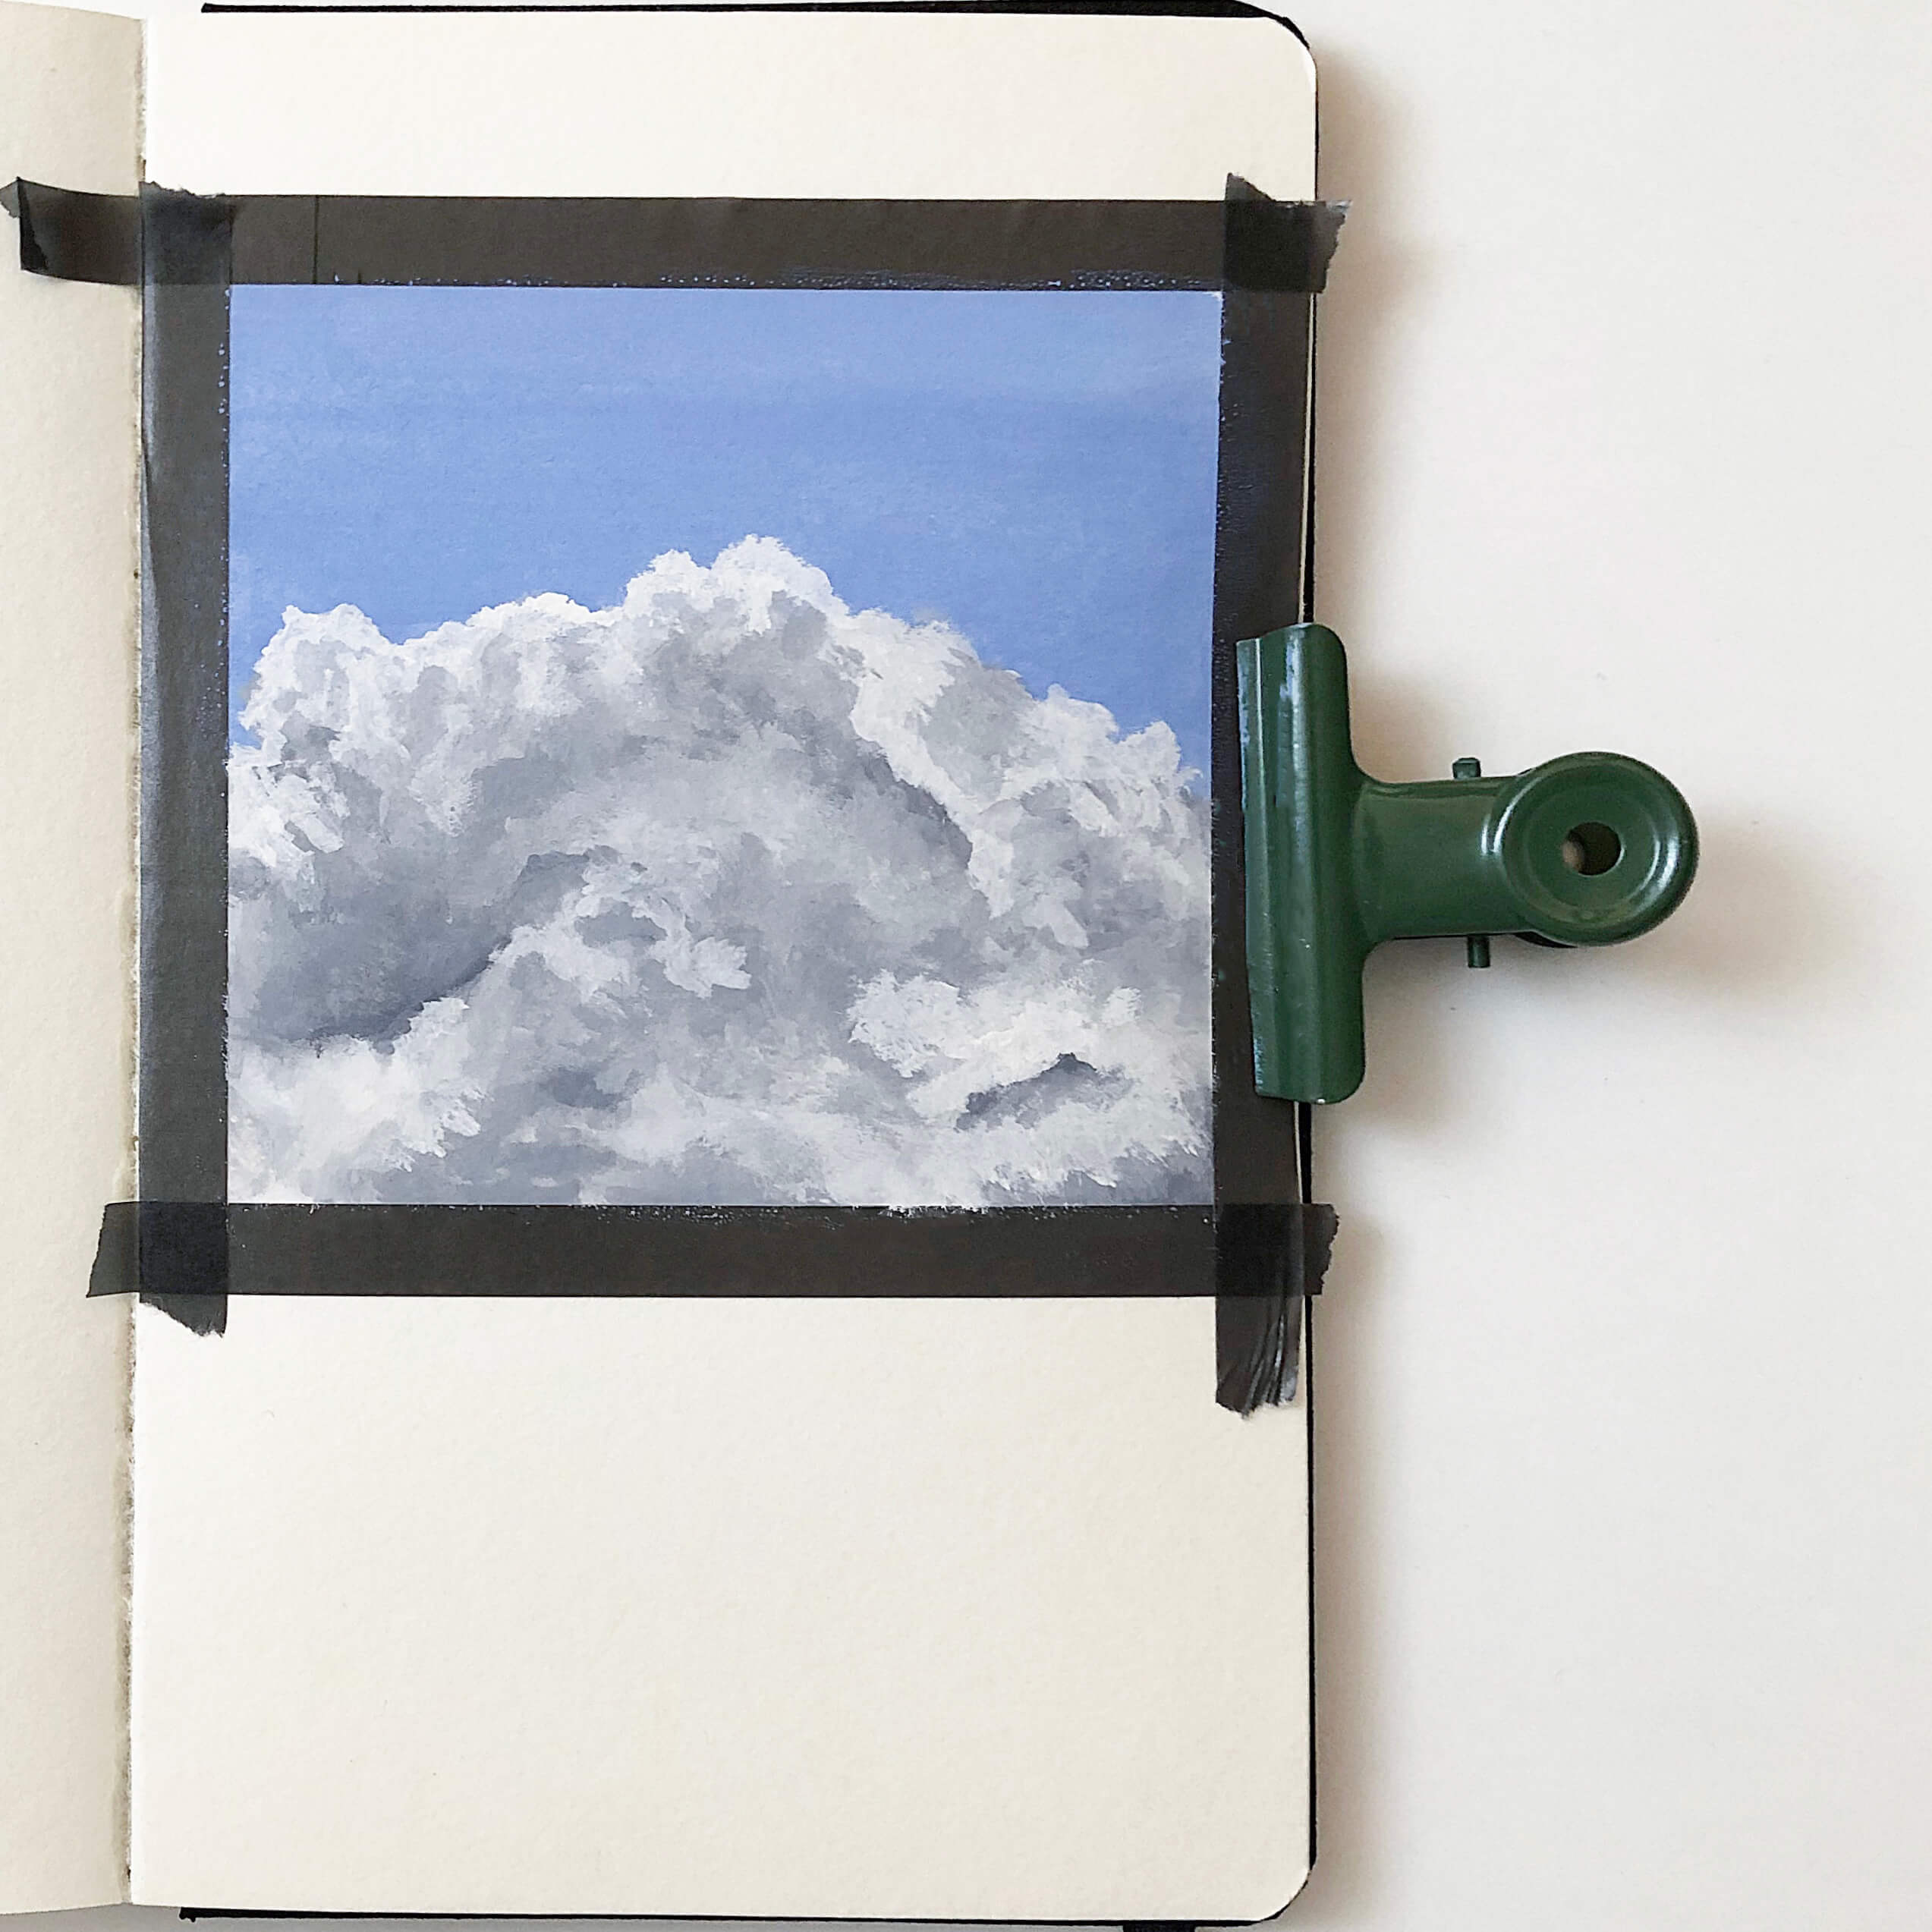
Lastly, I use White to add some highlights. This way the cloud stands out and looks a lot more realistic. I love using the dry brush method here! After adding White to the parts, I go over it with a slightly dry brush to blend it in. This helps the cloud to look fluffier than it already is. If you’re not satisfied with how your cloud looks you can always go over the parts you don’t like. Since gouache is easy to reactivate with water, making changes to your cloud won’t affect the “bigger picture.” You can always add more colors and change things up without damaging the painting.
TIP: You can repeat Steps 5 and 6 until you are satisfied with your cloud!
Recommendations
- If you want the painting to look neat at the end, try taping the edges of your paper with masking or washi tape for a crisp border.
- Making an outline of the clouds at first is also a big help for the later process of painting. It makes it a lot easier to see where the shadows will be and how the shape of the cloud is going to look.
- Using the wet-on-wet technique with paint instead of water makes it easier to blend the colors and gives a very soft look to your artwork. If you haven’t tried out this technique yet, I’d say give it a go!
- The dry brush technique is also one of the most helpful things for me to make the clouds look more put together and realistic. For this, I use a slightly wet brush with the preferred paint and go over the parts I want to make softer or more blended.
- Using a reference picture at first also helps you get to know how to paint specific subjects. I definitely recommend reference pictures instead of using your imagination until you get the hang of it, since it’s very convenient.
Now check out the video and watch how I do it!


