Table of Contents:
Here’s How to Make a Beautiful Butterfly
With spring upon us, the butterflies are out and I, for one, can’t wait to use them as subjects for my art! Whenever I see a butterfly it reminds me of transformation, new beginnings, and renewed life. There’s something so uplifting about them, I guess that’s why I love adding them to my artwork. Plus, they’re easy and fun to draw and come in so many colors! I’ve created my own way of drawing these special creatures and with this little tutorial, I’d like to show you how I do it.
After making the drawing, I’m going to add some color with gouache. For those who’ve never used it, you’re going to really appreciate how versatile it is. Gouache is a watercolor paint with an additive that makes it thicker and more opaque. You can water it down for thin washes or use it straight from the tube for paint that’s similar to acrylics. Its opacity lets you cover over other layers, hiding the color underneath. For this step-by-step guide, I’ve used the Arteza Gouache Premium Artist Paint for its exceptional quality and smooth application. I highly recommend giving these paints a try!
6 Easy Steps
This is a simple pose of a butterfly in flight, but you can also place it on a flower or any other object. To get the proportions and wing placement right, I suggest you look at a real butterfly or images on the internet. This is especially helpful when you’re creating the patterns on the wings.
Step 1
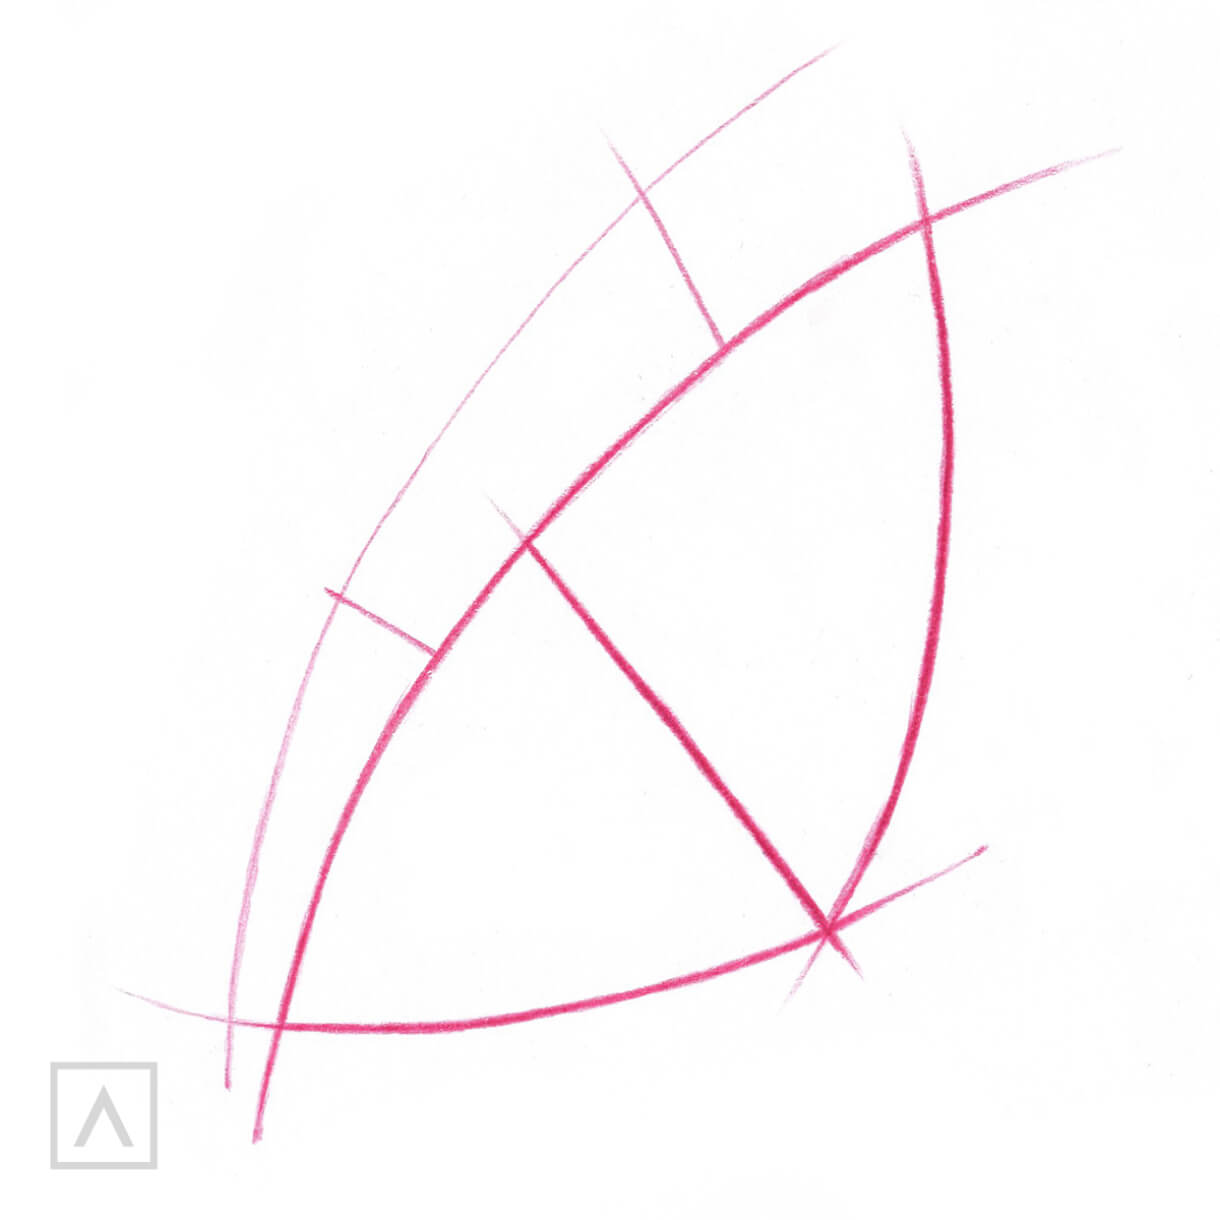
I use a 2HB pencil to make a very faint line. I draw a reuleaux triangle, which is a curved triangular shape. Then I place a line in the center to divide it into two parts (the one on the right is a little bigger than the one on the left). Next, I duplicate those lines slightly behind it to make the second set of wings, which peeks out behind the front ones.
TIP: Real butterfly wings are not completely straight, so I draw by hand and not with a compass for the most realistic result.
Step 2
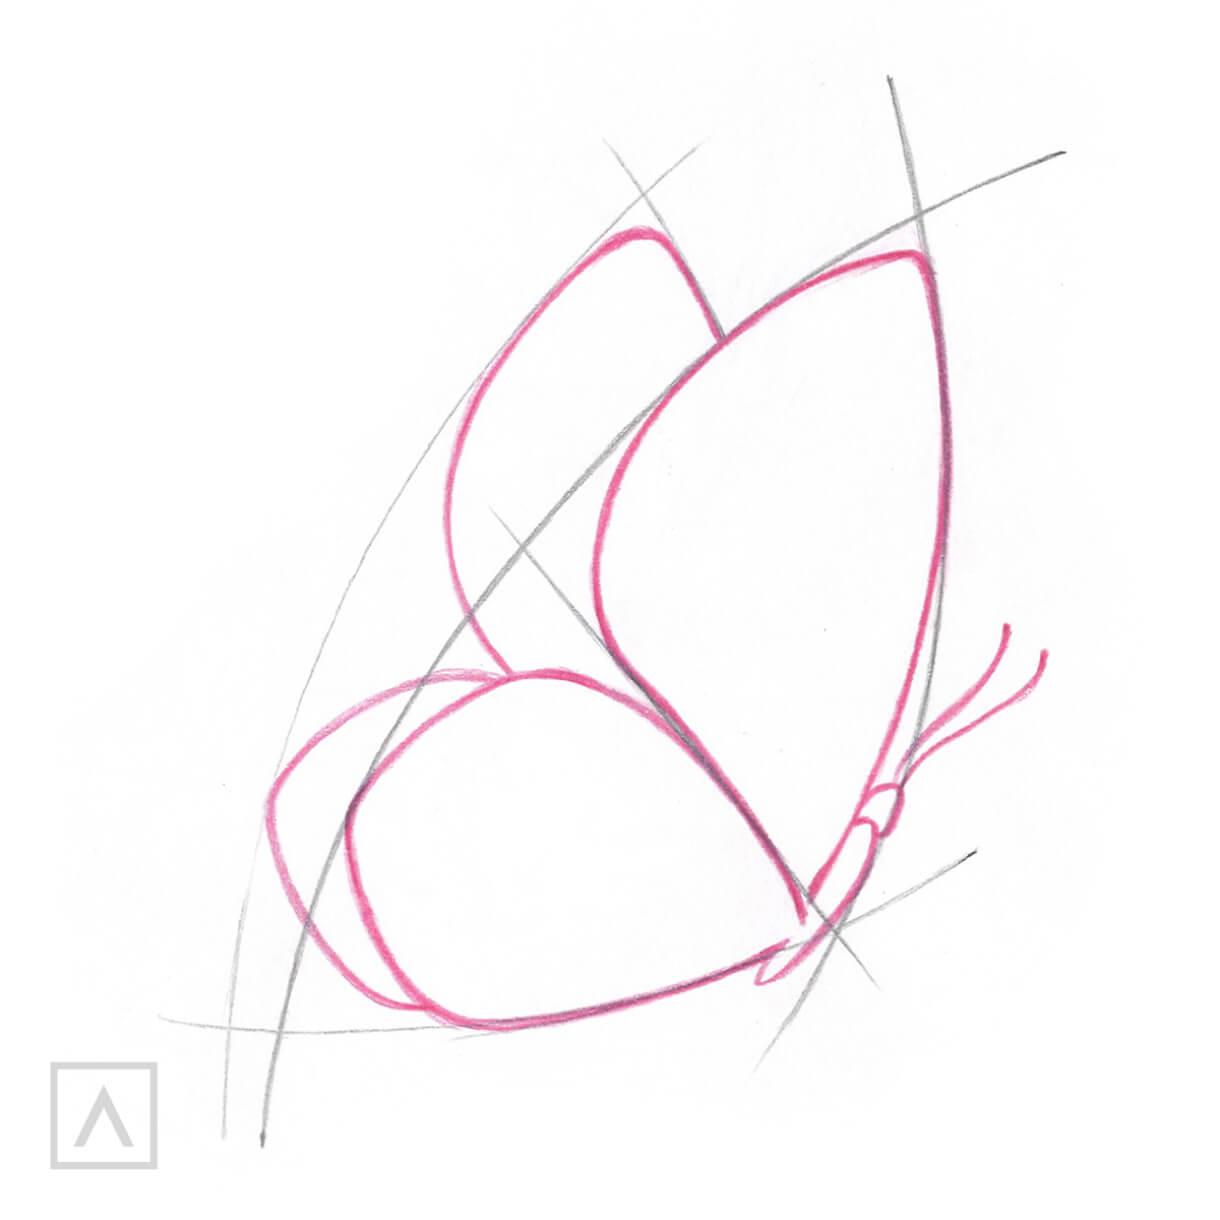
Now that I have the basic shape, I round the corners of the triangles, forming the upper and lower wings. Note that the upper wings are larger and pointed at the top, while the lower ones are smaller and more rounded. Next, I make an outline of the butterfly’s body. Don’t forget his tiny antennae!
Step 3
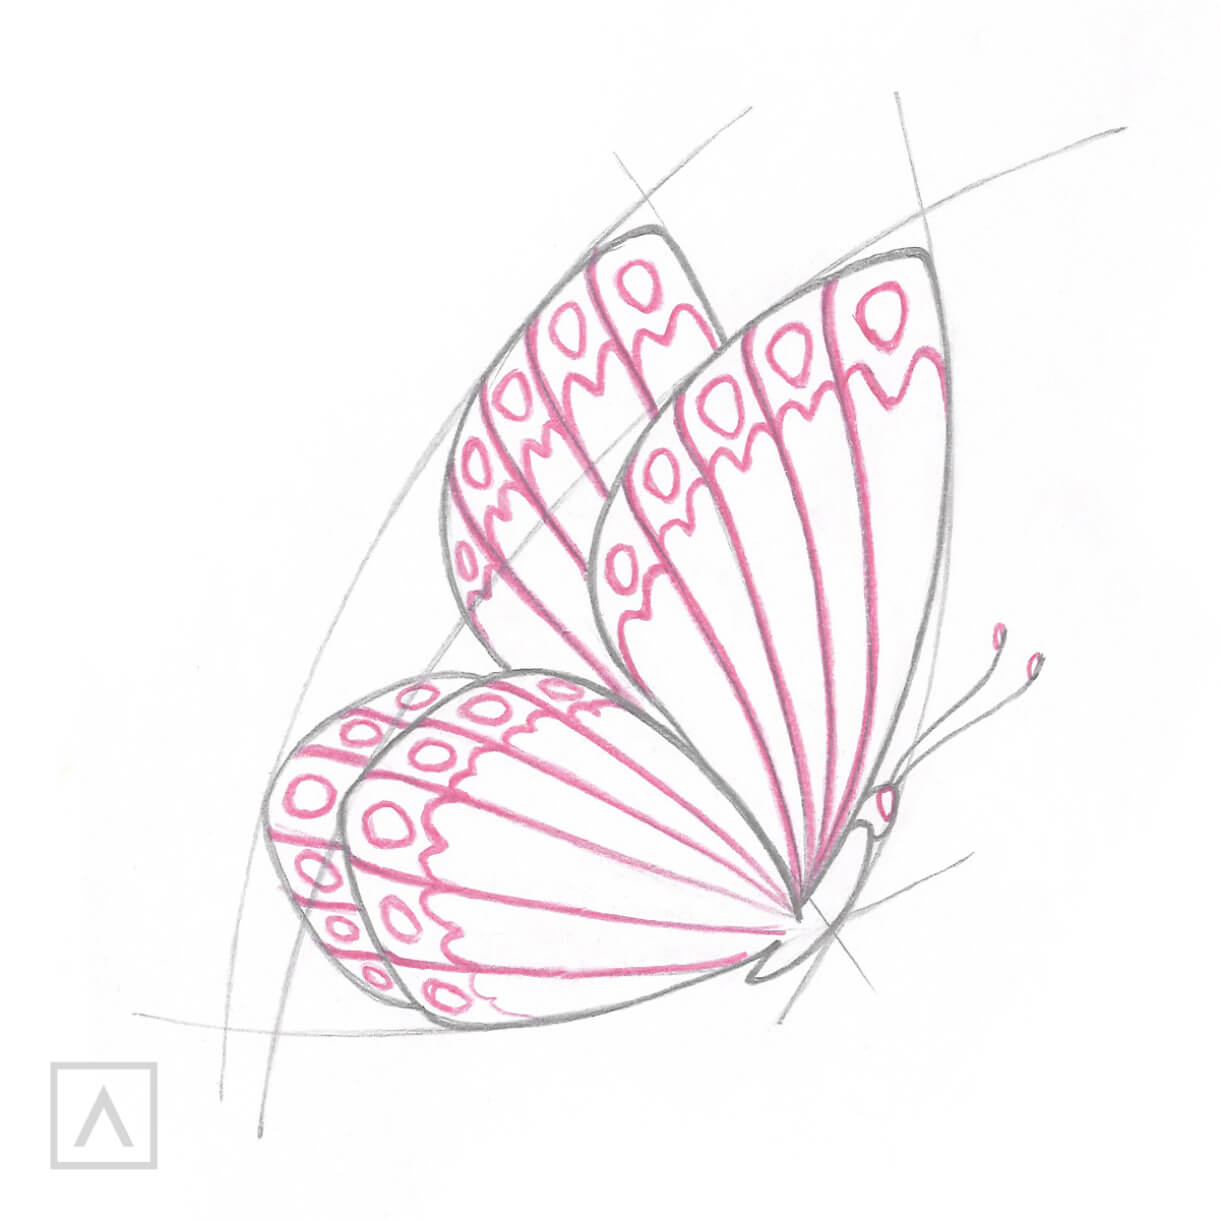
Now it’s time for some details, and for me, this is the most fun part!. The wings have veining, so I draw lines up their sides, keeping them spaced closer together at the body and expanding outward to the wings’ edges. I curve these lines to imitate the shape and to emphasize the flexibility of the wing.
Then, I add a jagged horizontal line across the upper area of each wing which creates small sections. In each section, I add a tear-drop shaped circle.
Step 4
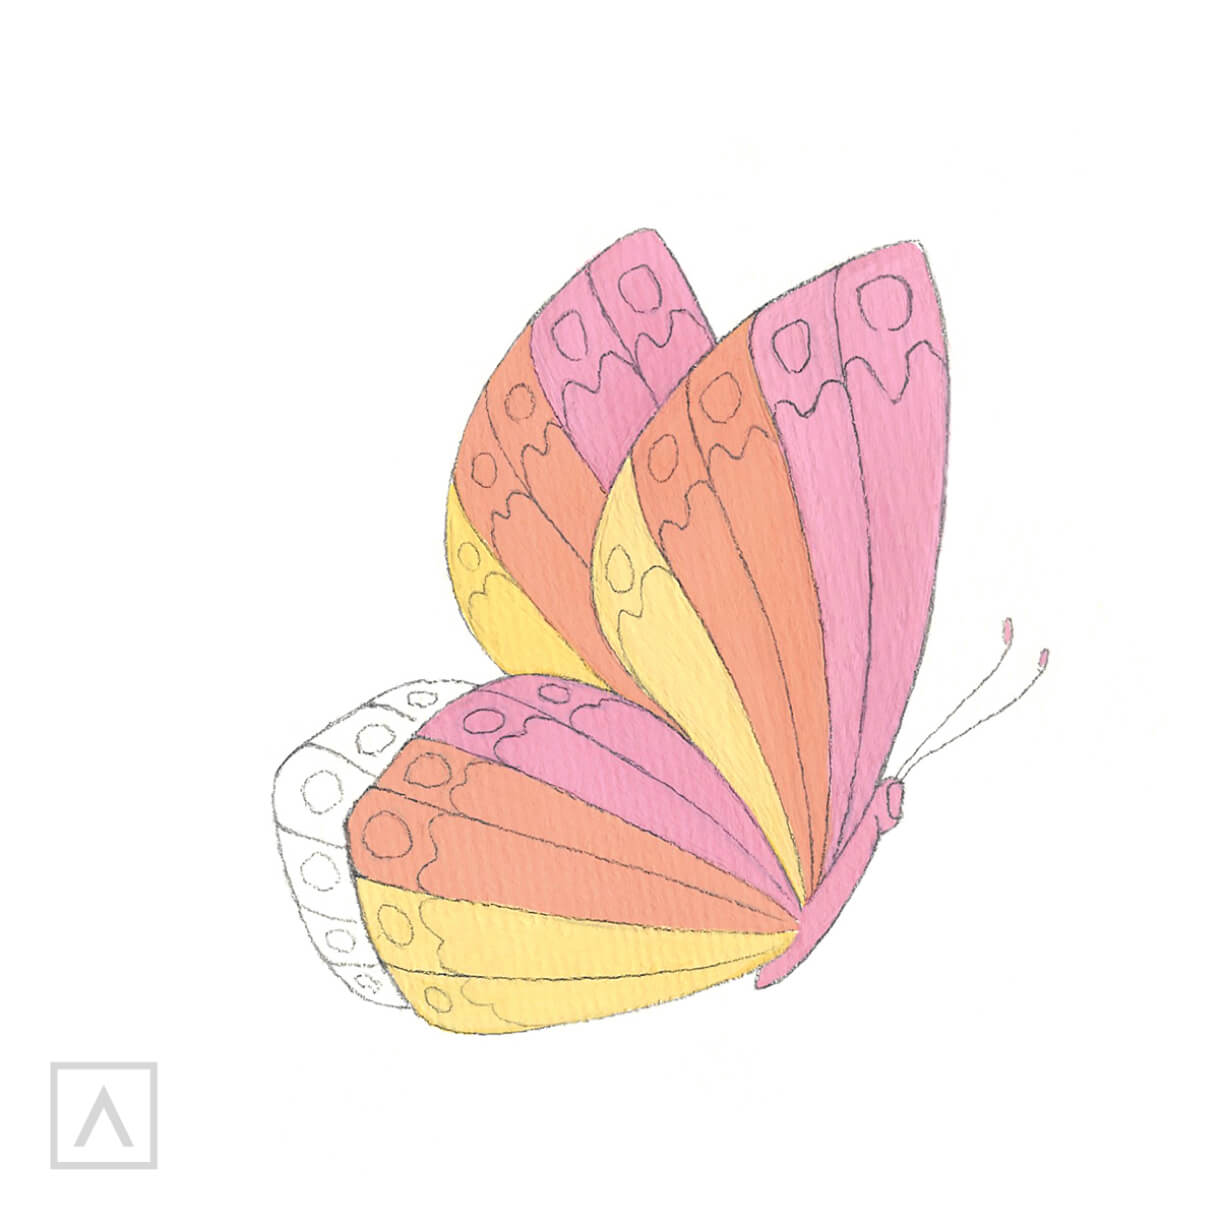
Now the drawing is done, so it’s time to add color. But before doing that, I erase all my preliminary lines.
After mixing Blush Pink A125 with Titanium White A101, I paint the first two sections of the two front wings and the larger back wing. I move to the next two strips of these wings, which are colored with a mix of Light Apricot A135 and Titanium White A101. The last strip is filled in with a combination of Bumblebee Yellow A170 and Titanium White A101. Try to keep your colors even and inside the lines.
TIP: Don’t lock yourself into using only authentic colorations. Be brave! Try out as many color combinations as you can and create your own butterfly species!
Step 5
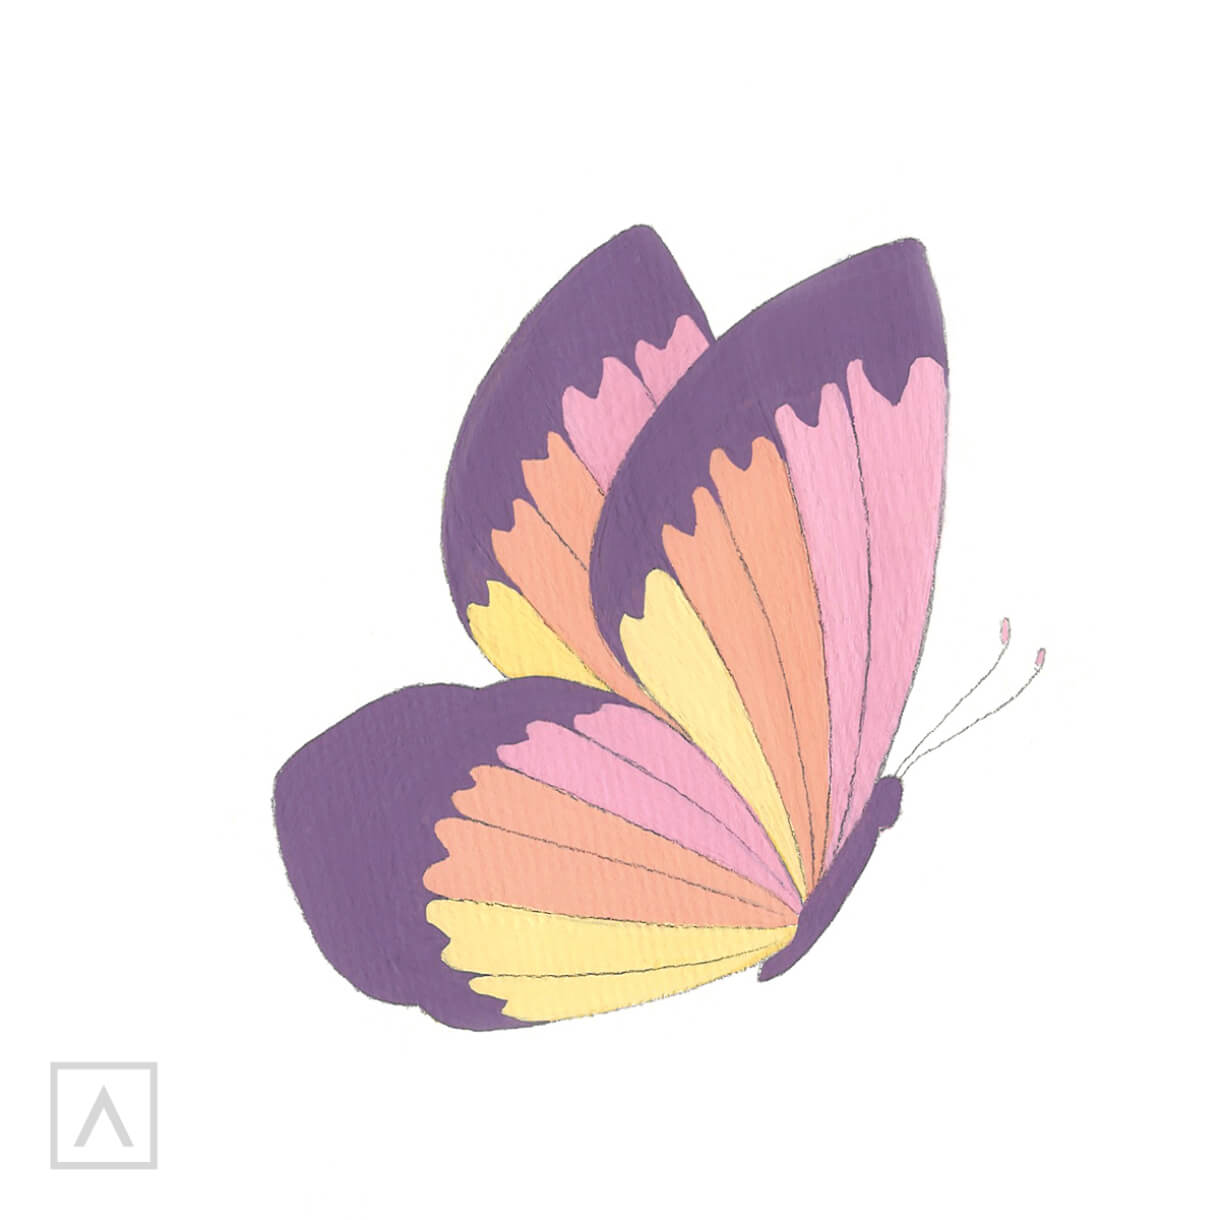
I use Mauve A137 to complete the horizontal section at the top of each wing. I also use this color on the insect’s body and on the entire small back wing, since this is all of it that shows. I’m really loving this color combination!
Step 6
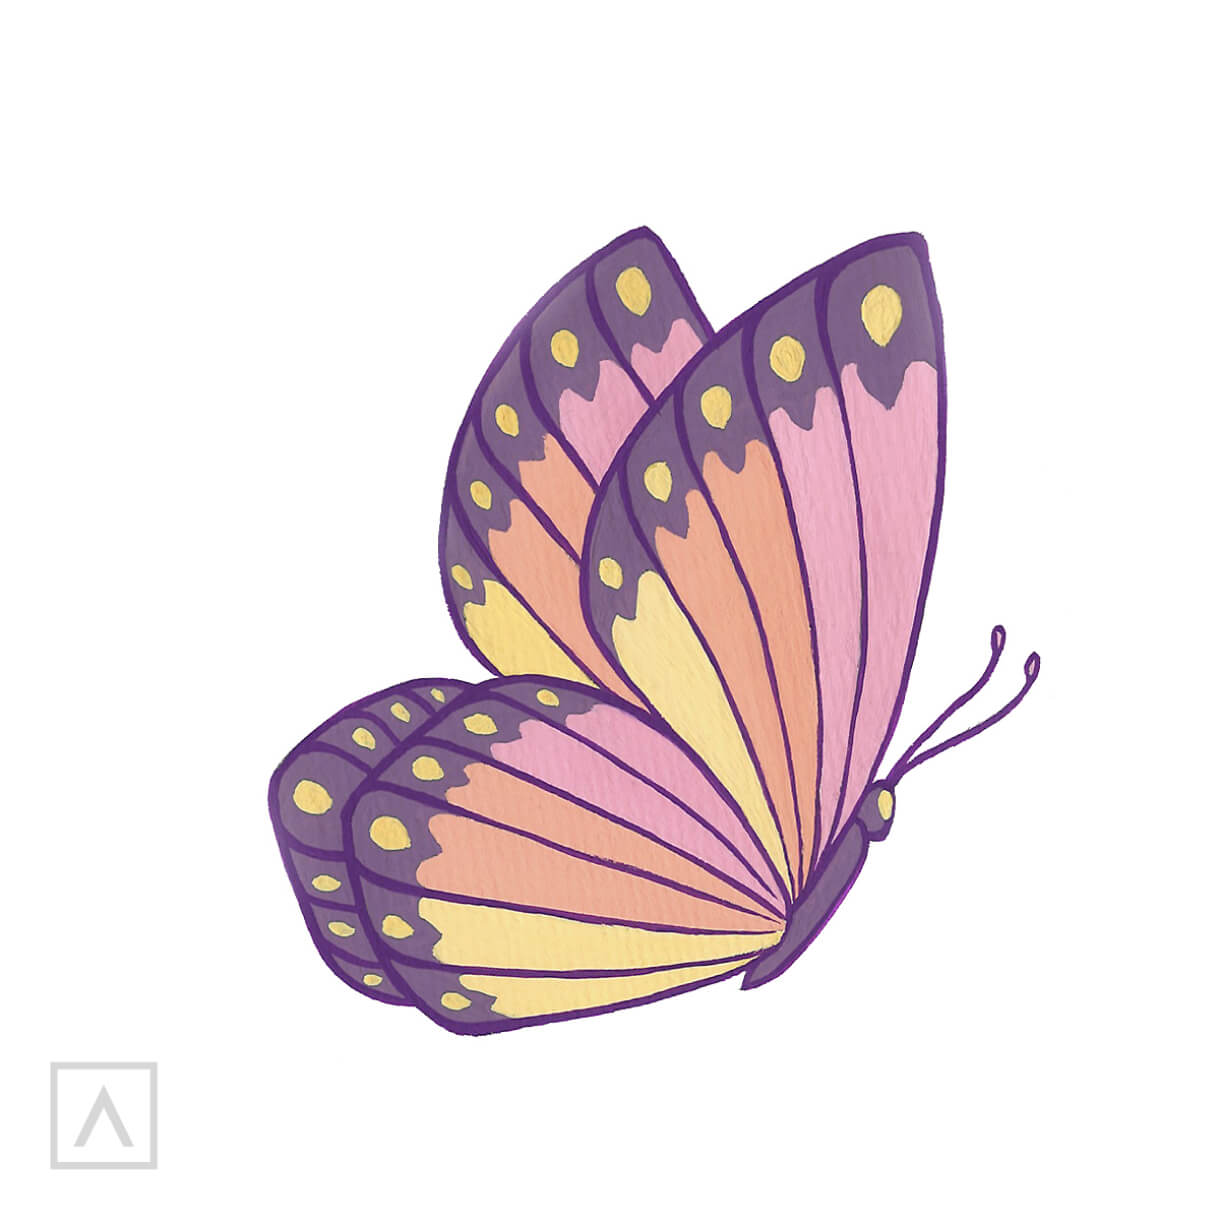
For the finishing details, I use my smallest brush with Lilac A134 to neatly and carefully outline the entire creature. Once that’s completed, I add the spots on the wings with a mixture of Bumblebee Yellow A170 with Titanium White A101.
There it is! A colorful butterfly that’s ready to stand alone in a frame or adorn your artwork.
Recommendations
- Butterflies don’t stay still for very long, making it a challenge to draw them from life. To create their different poses, I use images from books and the internet as a guide. There are so many species, so this is really important to get the shapes of the wings and their specific wing patterns correct.
- Keep in mind that gouache dries a little lighter than when it’s first put on the canvas. You may want to use it directly from the tube as opposed to adding white, which may cause your finished work to be too light.
- Don’t be afraid to try new things. Gouache paint is very opaque, which means you can easily cover your mistakes with another layer of paint.
- When putting in the outlines and little details, use a small, thin brush. You can get a very thin line by dipping the brush into the paint and then painting several lines on a scrap piece of paper. This will remove enough of the paint to render a thinner line.
- To get the clearest colors, always mix them on the palette, instead of the canvas.
Spring is a time for fresh air and flowers. I hope this guide inspires you to go outside, enjoy the season, and draw the butterflies in your neighborhood or your imagination. I’d love to hear what you think, so please share your ideas and thoughts in the comments.


