
Table of Contents:
- Introduction to Drawing an Eye
- List of Supplies
- Step-by-Step Drawing
- Your Finished Realistic Eye Drawing
Introduction to Drawing an Eye
Although the proportions of an eye drawing may take a few tries to get right, it can be fairly simple when you have a reference photo and the right colors. Realism is the kind of art I love doing and I’ll help you create a drawing that looks almost exactly like a photo that you can be proud of!
In this tutorial, I’ll show you how to draw a realistic eye using easy step-by-step instructions. I’ll be using colored pencils as well as an alcohol-based marker for the first layer. Enjoy!
List of Supplies
-
Arteza Colored Pencils (Expert, Set of 120)
-
A light blue Arteza EverBlend Marker
- Drawing Paper
Step-by-Step Drawing
STEP 1: Starting with a Grid
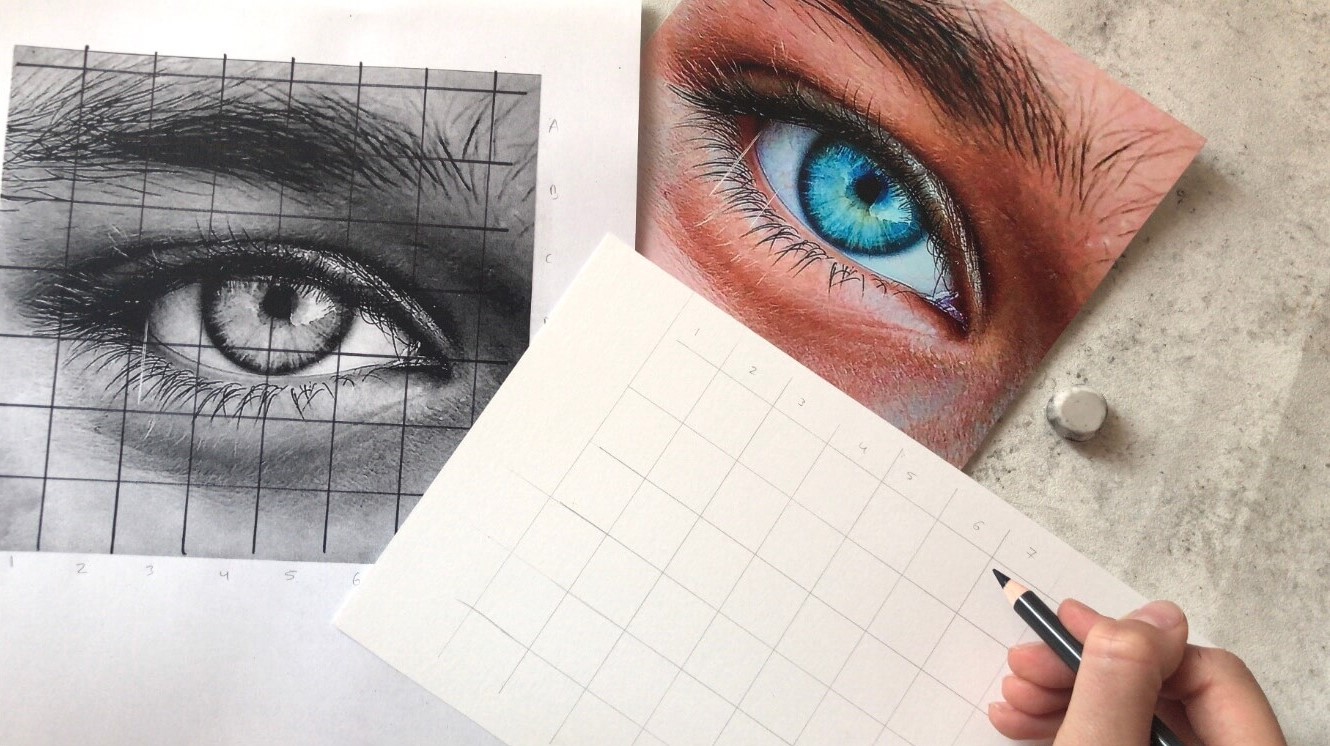
The first thing I do is draw a grid, because they help to maintain the proportions! I print out my reference photo—one in color and one in black and white. On the black and white one, I draw a grid (you can do this with a pencil or a black pen). Here I drew 2 cm x 2 cm squares. Then I transfer the whole thing onto my actual drawing paper—be careful not to press too hard, as you still need to be able to erase it later. What I also do is add numbers & letters to each row, so that I know which square is which in my drawing.
STEP 2: A Slight Outline
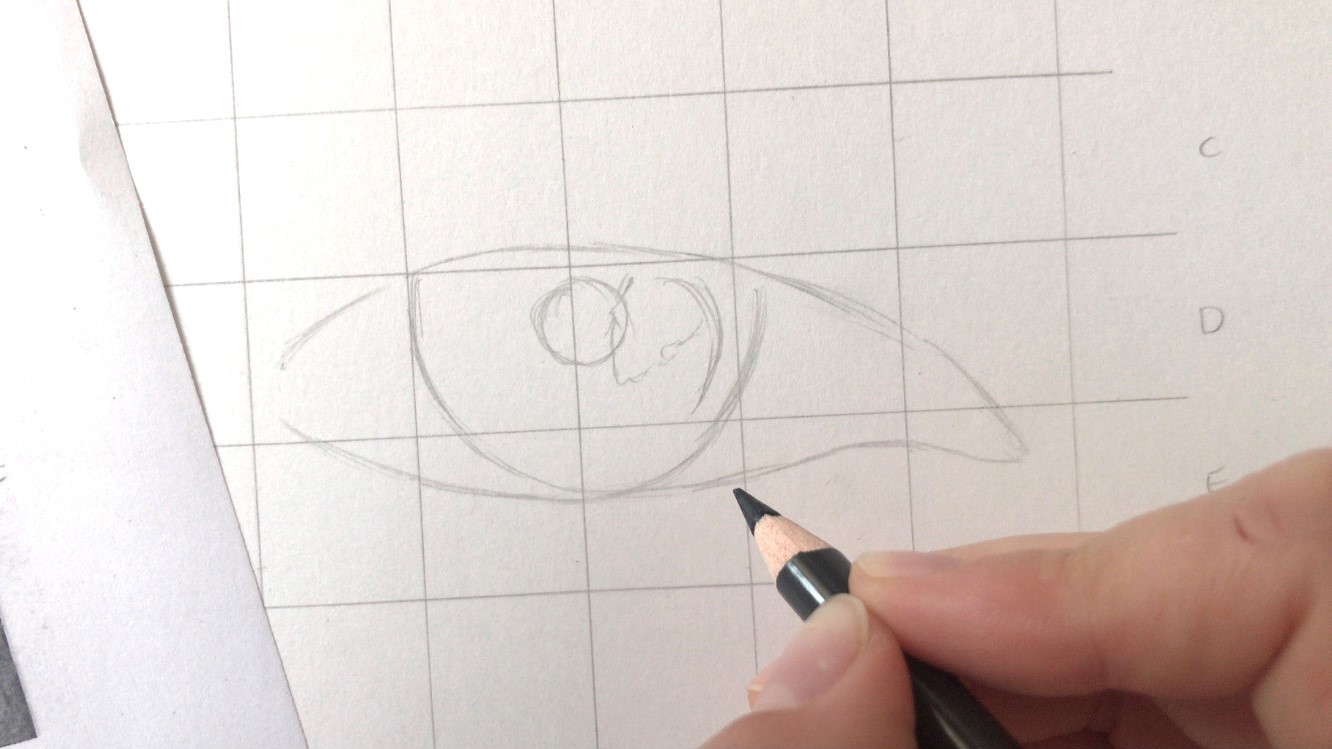
Now I will draw the most important outlines of the eye in the grid with a pencil. Use the grid to help you copy each square, one by one. Don’t be too exact, as we’re only looking for the correct proportions right now. You should use a sharpened pencil.
STEP 3: Finishing Off the Sketch
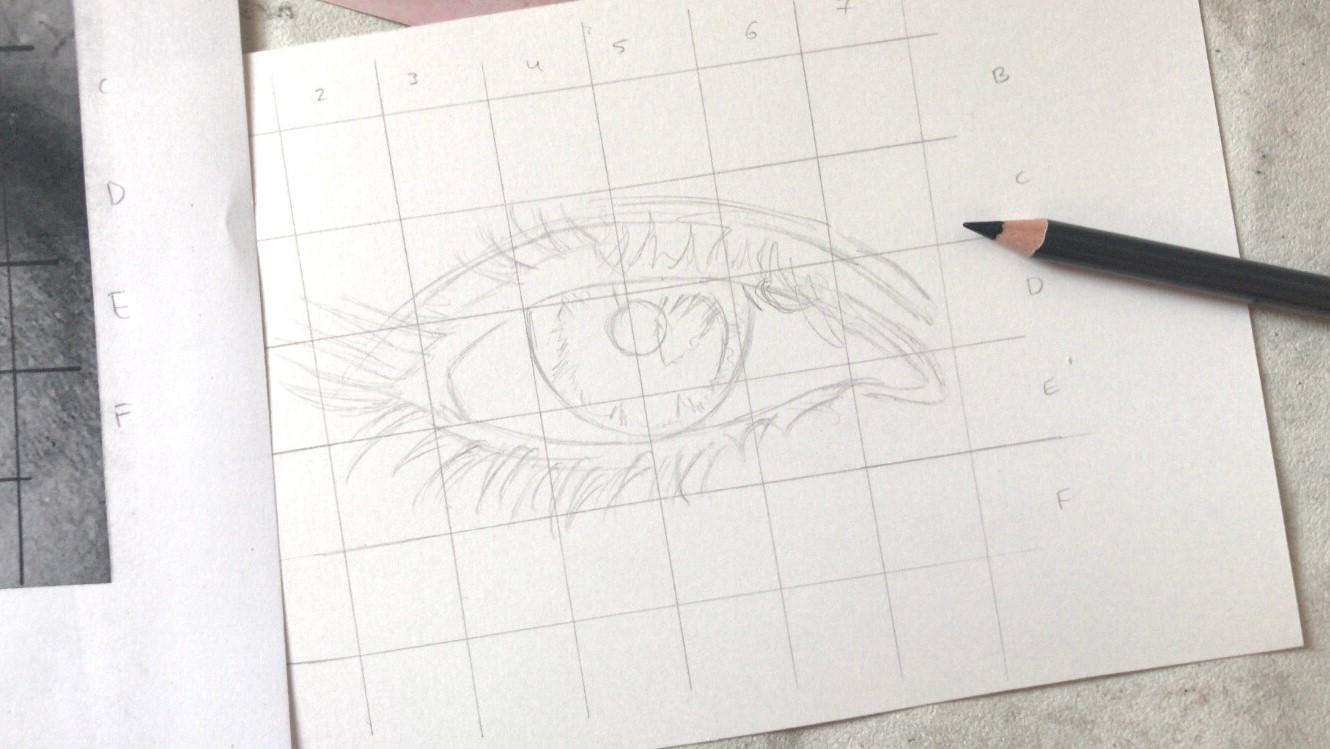
Finish the sketch! You can now add some details, if you want.
STEP 4: Erase the Grid
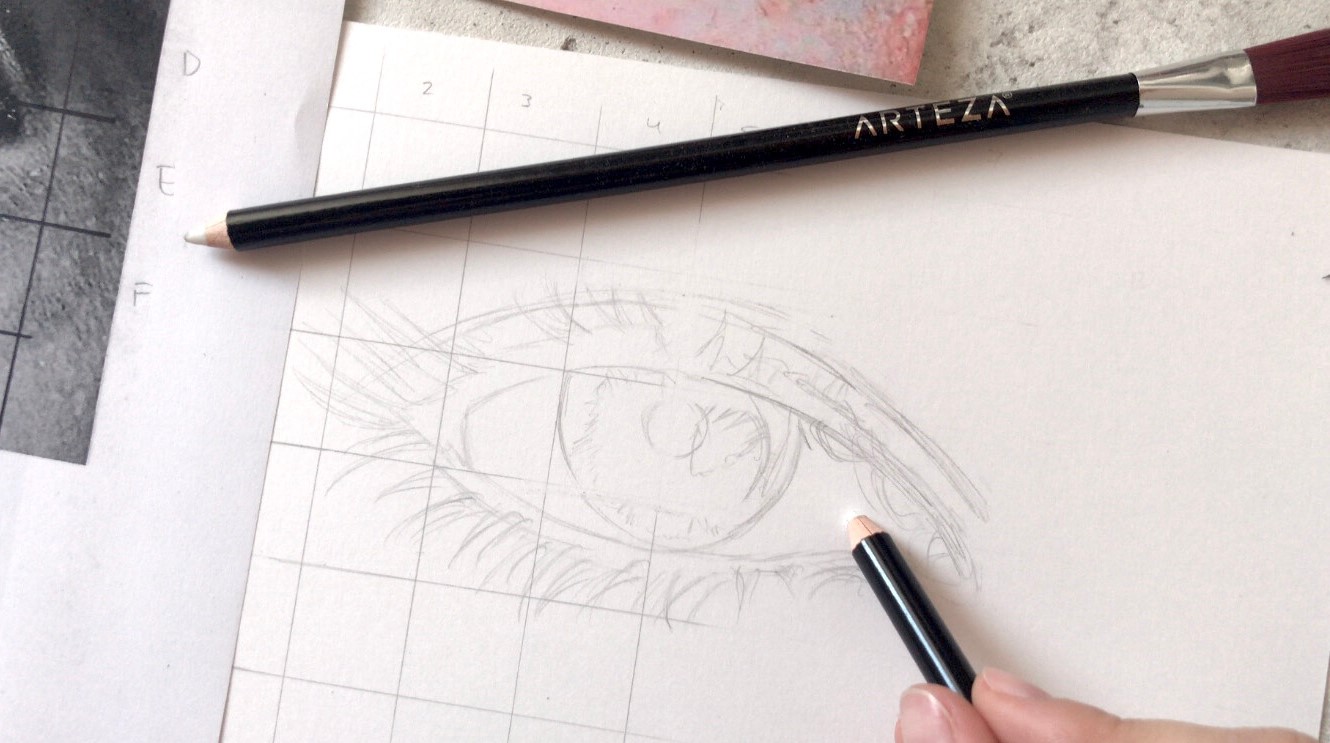
Before I start coloring the eye, I erase the grid. For the lines in between I use an eraser pencil, so that I don’t accidentally erase the eye drawing.
STEP 5: Selecting the Right Colors
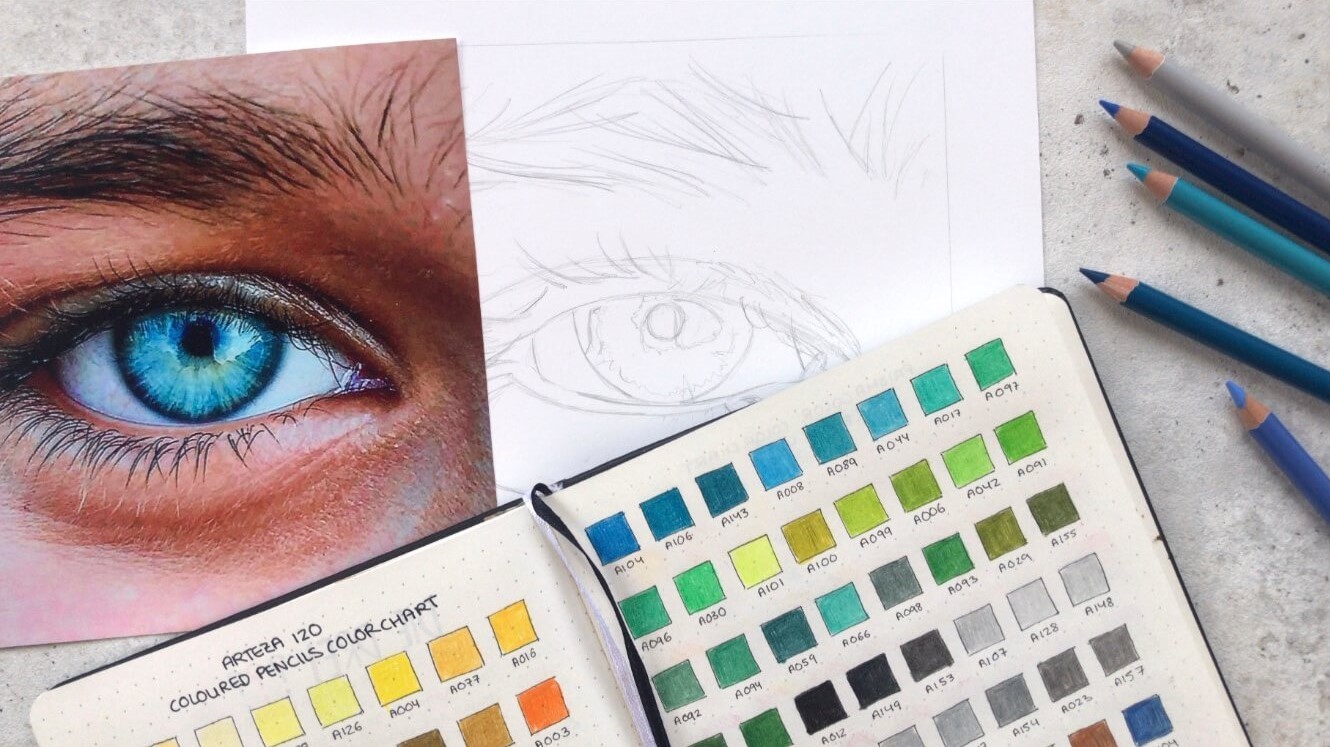
As you want your eye to be as realistic as possible, you’ll need to try using the same colors. A thing I always do before I start coloring: I look closely at the reference photo and use my color chart to select the right shades and set them aside. This will make things a lot easier later.
STEP 6: The Dark Parts
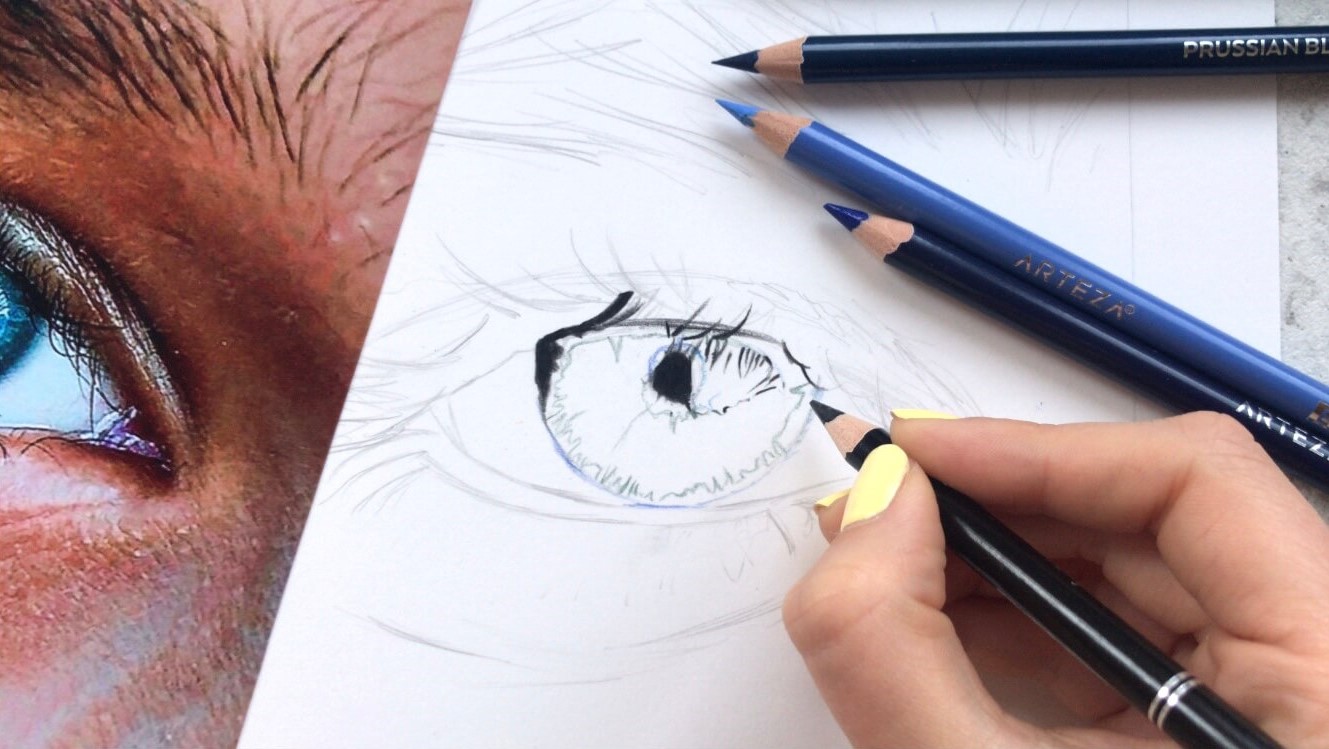
I start with the darkest parts of the pupil. With a black colored pencil, I try to draw the iris as well as some of the lashes. You should make sure your pencil is sharpened so that you can draw precisely. Then I slightly outline the pupil with a dark blue pencil—but only slightly, as there is no sharp border between the iris and the white part of the eye.
STEP 7: Coloring the Pupil (base color)
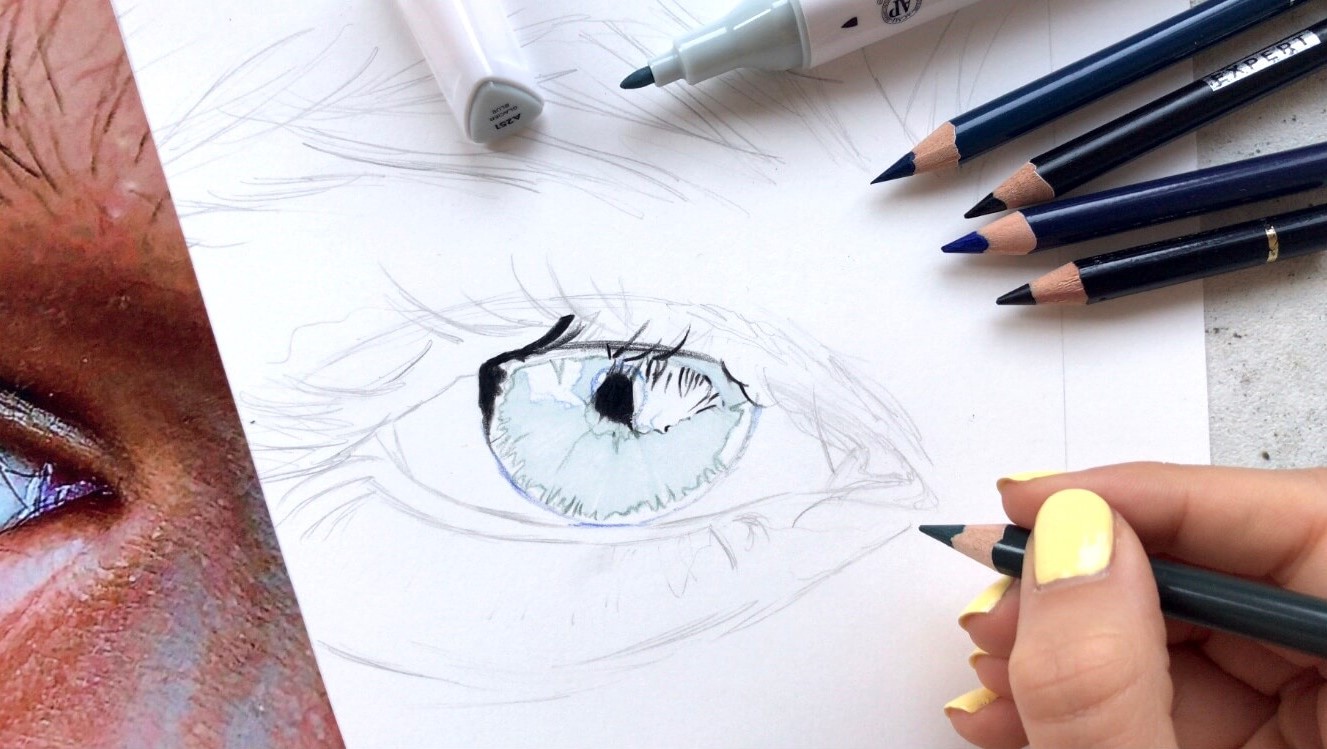
Now I use a light blue colored marker to create an even base layer for the pupil. This will help to make the eye look more brilliant.
STEP 8: Coloring the Pupil
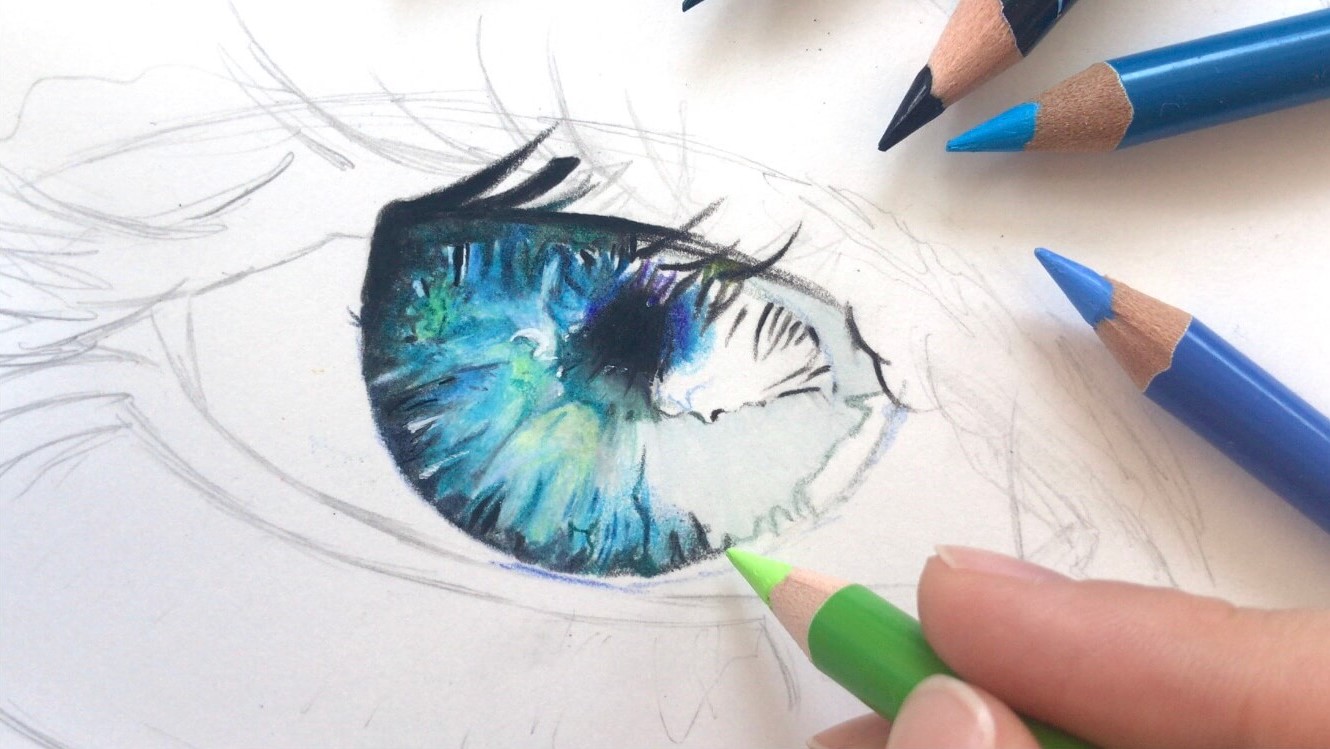
Now let’s color the pupil. Here I used some blue, grey, as well as a few green tones for the middle. The parts at the edge of the pupil are the darkest. I always draw the lines from the outside to the inside. As these lines are not visible in the middle part, start each line by pressing hard, then letting the line fade out by pressing only very slightly. I try to blend the tones of blue by slightly drawing in circles, beginning with a very dark, almost greyish blue. Then I take the next color in the row of blues and slightly draw over it with the same “circle technique.” I repeat this with many blue tones until I have the lightest color for the middle. With this color, I go over the whole area again, because it “seals” the blending and lets the pencil lines disappear.
Don’t forget to leave out the white reflections. You can use a white gel pen to enhance them, by making small dots in the right areas.
STEP 9: The White of the Eyes and the Lashes
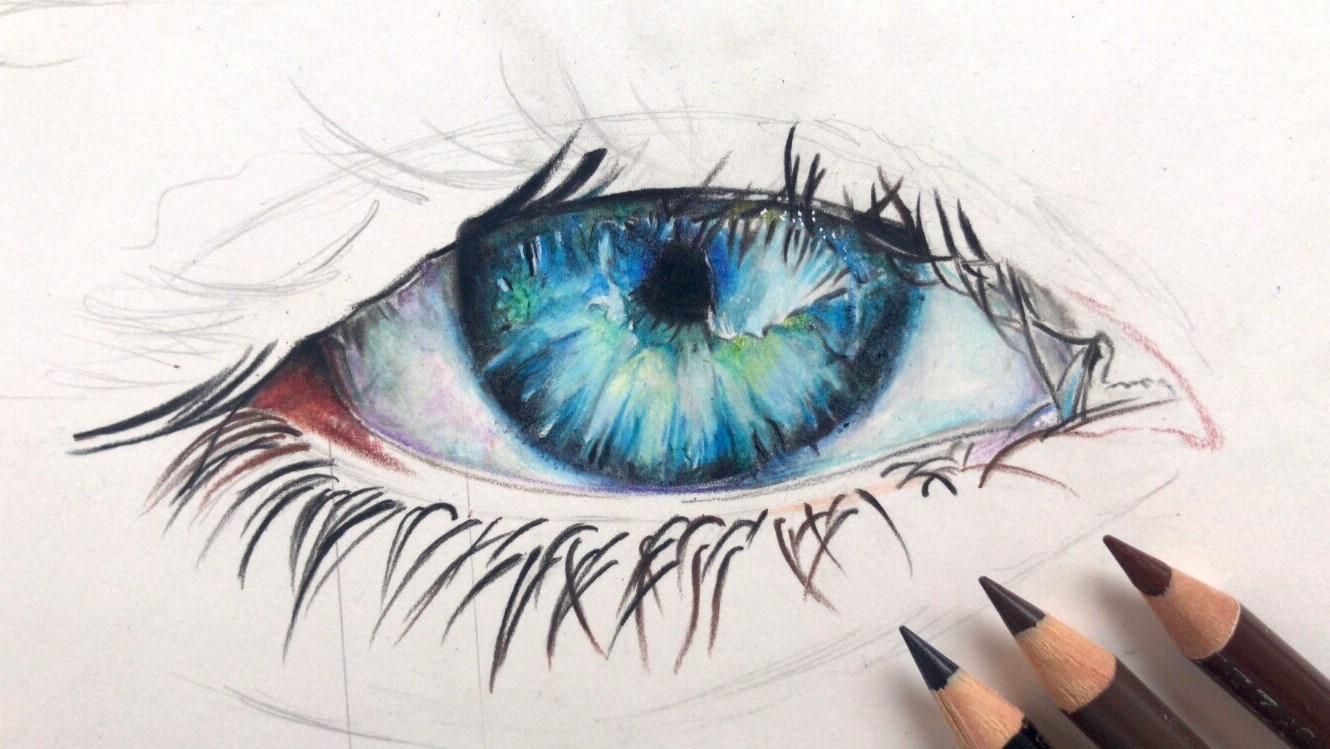
For the parts around the pupil, I used some white and light grey tones. First, I create a soft transition from the pupil to the white part by making a small layer of light blue tones right at the black edge of the pupil. The other edges—the top and the sides, for example—I color with a grey pencil because the white part of the eye is actually a round ball! Then, I blend it all with a white pencil, but add some tones of light grey to create a 3-D surface. It’s important that there are shadows under the eyelid and in the white parts, as well as in the pupil.
After filling in the white parts, I use a black pencil for the lashes. There are two options: you can draw the skin first, or the lashes. I chose to start with the lashes. Here it is important that your pencil is sharpened. Draw the lines as precisely as possible. I draw them in one stroke, so don’t try to be exact by using many small lines for one lash!
STEP 10: The Skin Under the Eye
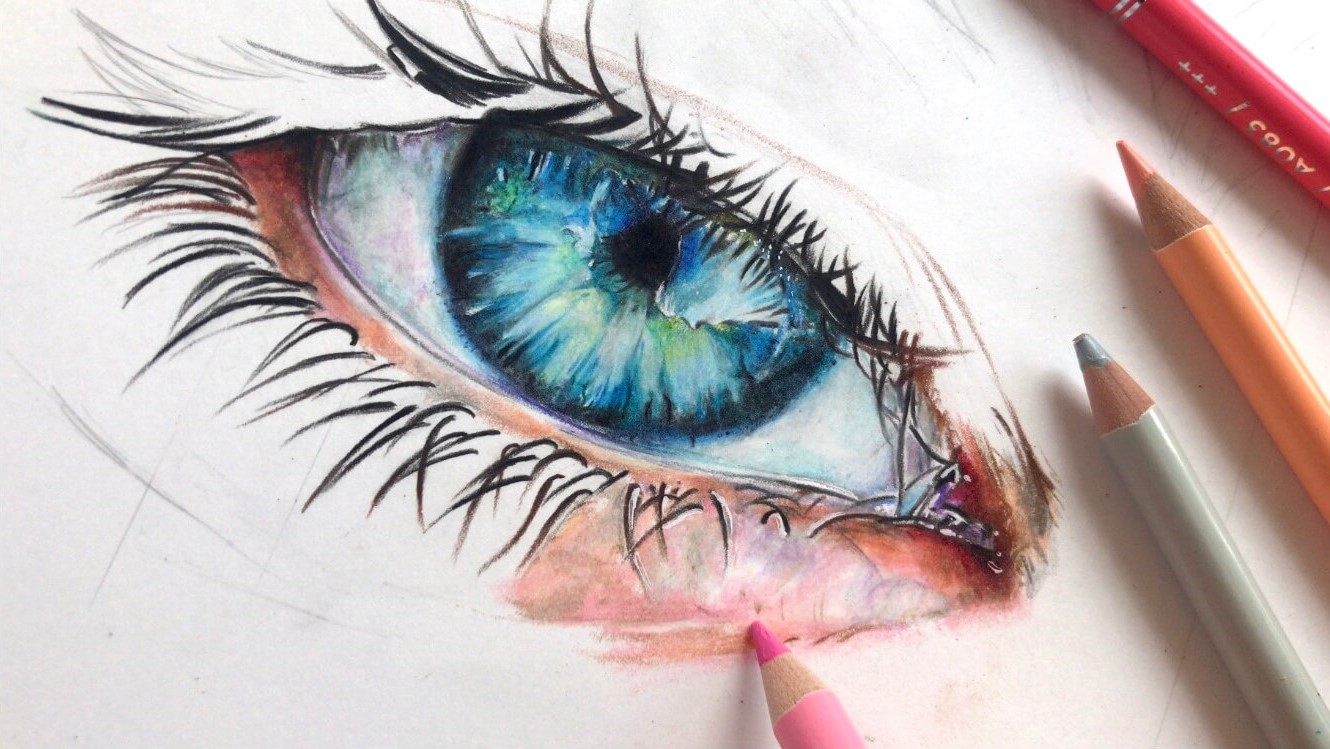
Now I start to color the skin around the eye using skin tones and some grey and pink tones. In comparison to drawing the lashes, I like it if my pencils are not too sharp so that I can fill in areas smoothly without visible pencil lines. I blend the colors of the same color groups by doing several layers. Make sure not to press too hard when drawing the wrinkles. Draw the skin darker directly under the eye, then start to get brighter on the way to the horizontal wrinkles, where you should get darker again. This helps to enhance the lashes but also to create the three-dimensionality we want to achieve. You can also see some white areas in this part; there I colored only lightly and used a white pencil on top of it, or used a white gel pen to create these vertical lines.
Another thing I am careful about is not to draw over the black lashes to prevent them from blurring. If I accidently do, I use a black fineliner to enhance them.
STEP 11: The Skin Above the Eye
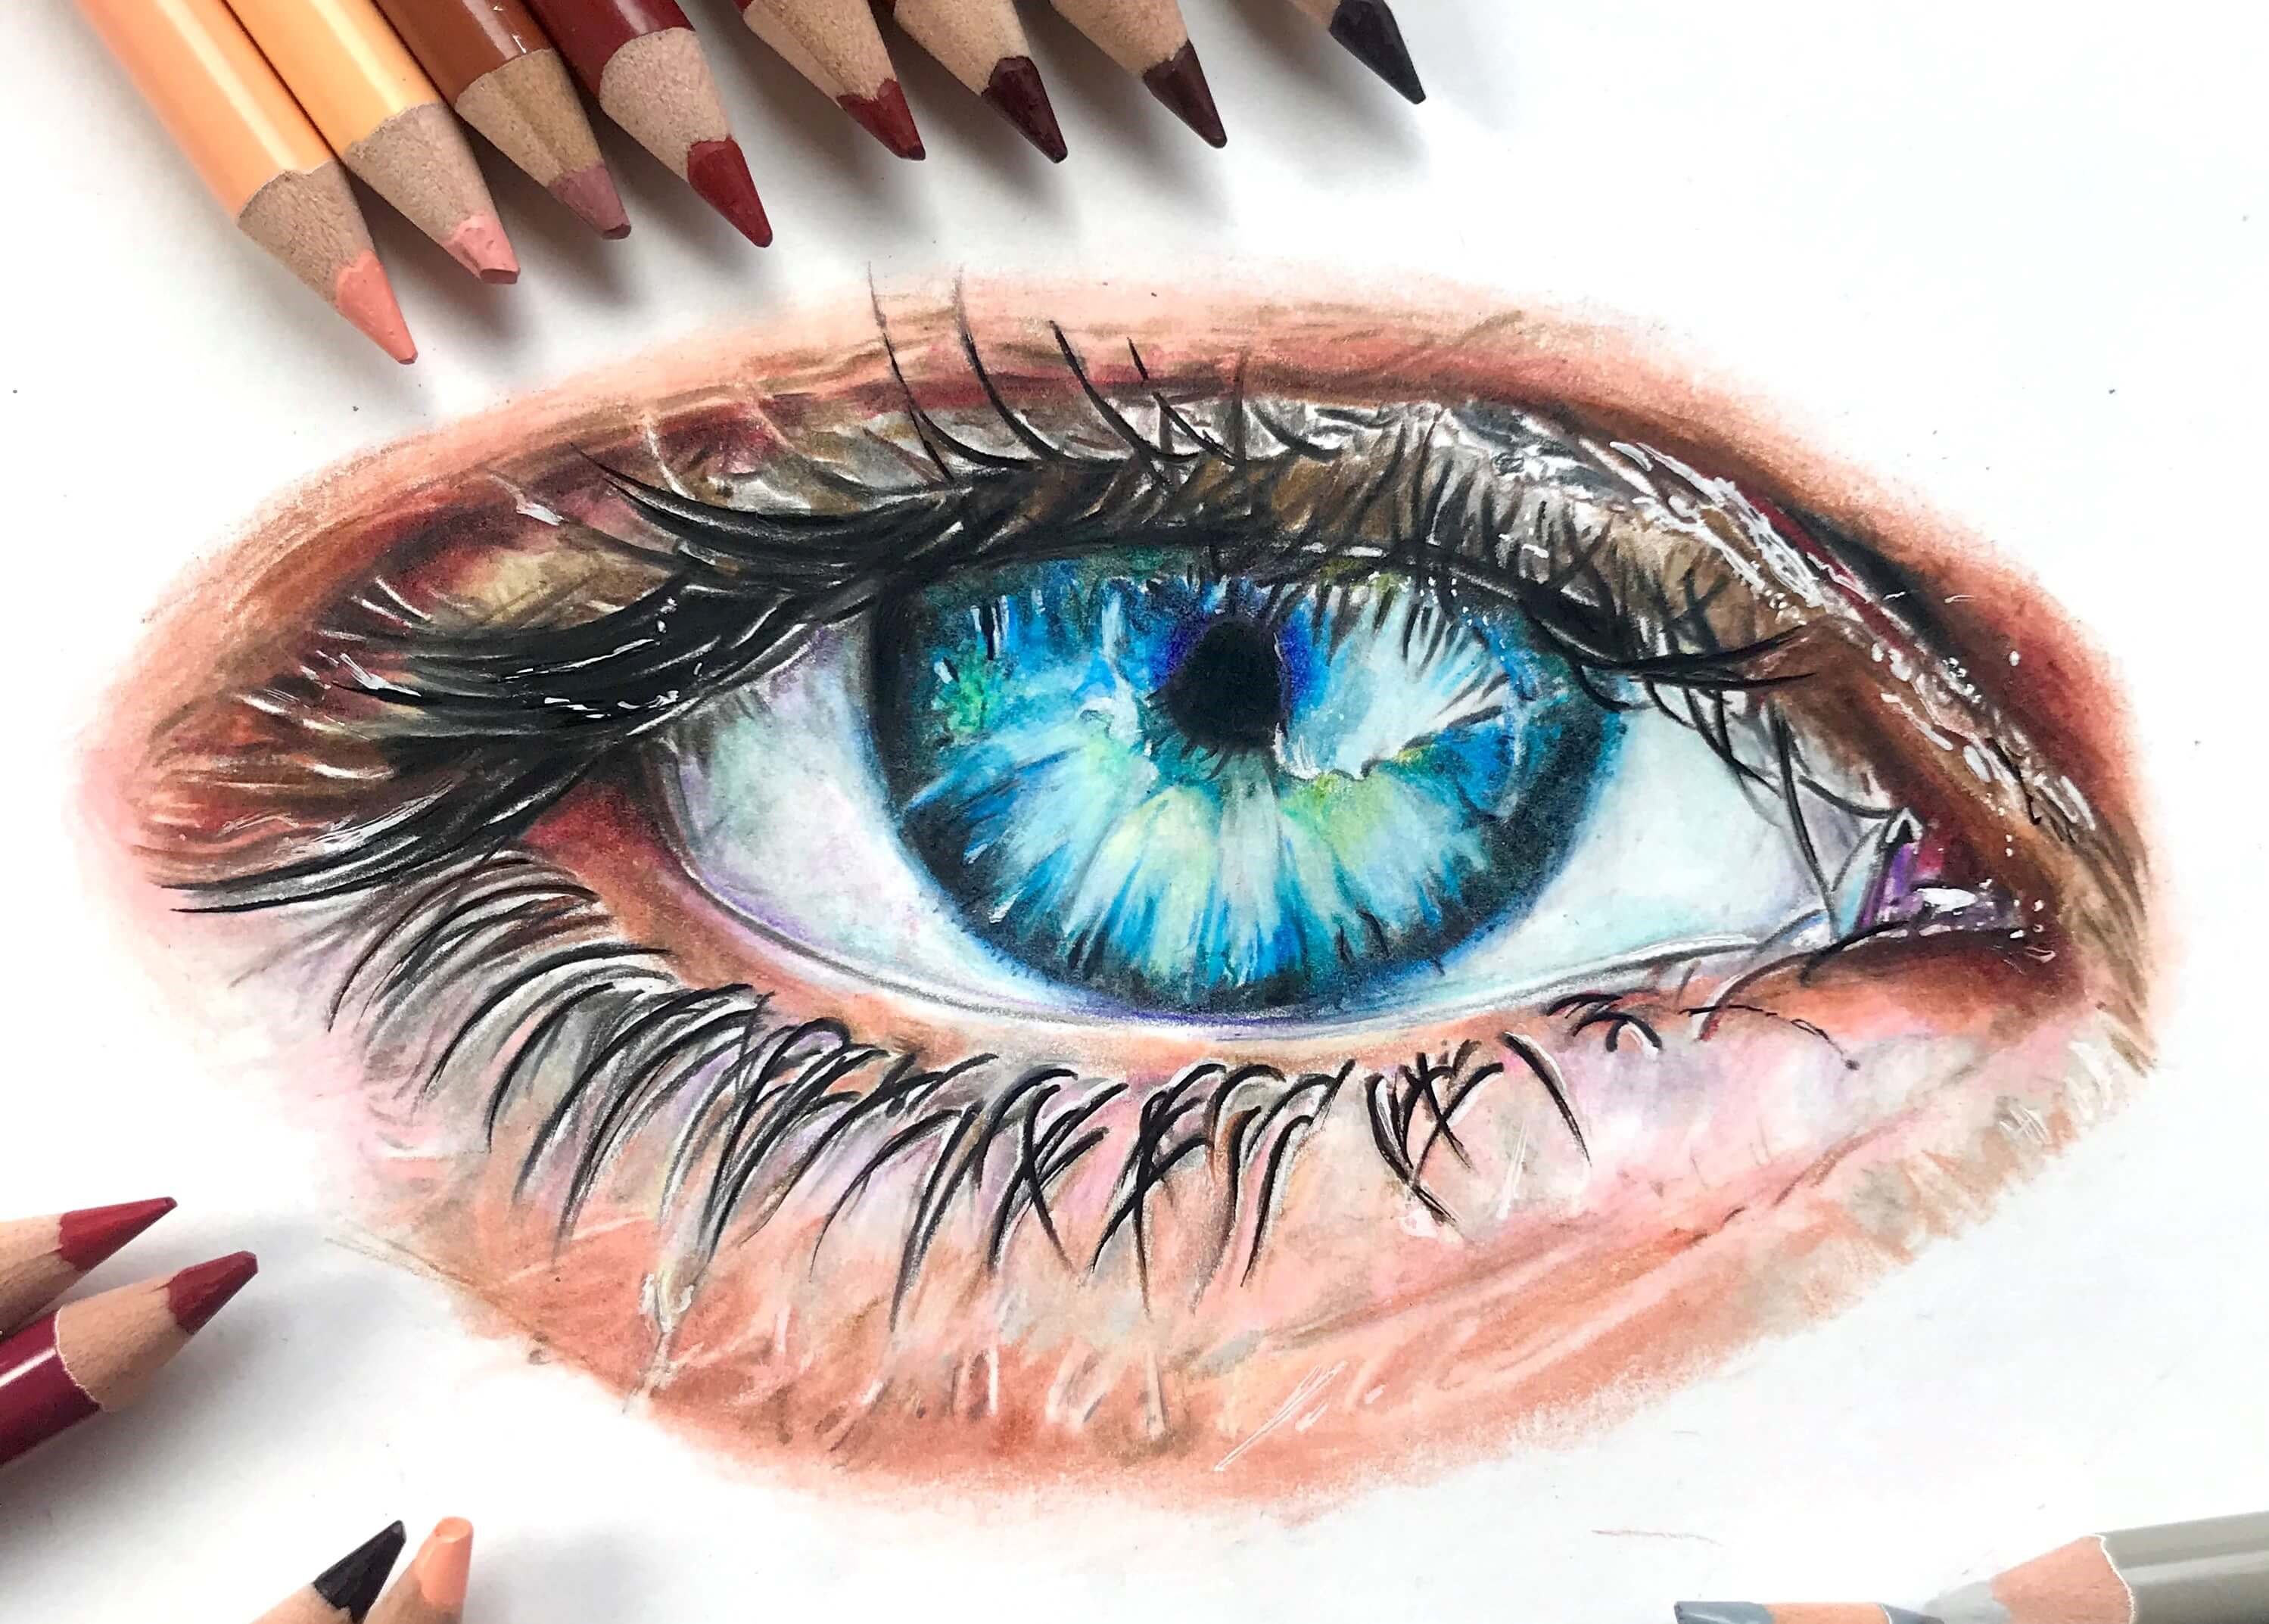
For the skin above the eye, I basically do the same technique as in Step 6. At the right side, I use my white gel pen again to create the shiny effect. If you look closely at your reference picture, you’ll see that the wrinkles are stronger than below. Therefore, I use a dark tone of brown and try to blend the edges by using the next brightest color, and so on, until you reach skin tones. Then your eye is done!
Your Finished Realistic Eye Drawing
So that’s how you can draw a realistic eye, from a blank piece of paper to a photo-realistic drawing in the end. I hope you will try it out one day. I would love to see some results! For more drawings and tutorials you can follow me on Instagram (@fiona_aarts), or just send me a message when you have any questions!


