
Table of Contents:
- Urban Sketching with Liza
- What You’ll Need to Get Started
- Step-by-Step Architecture Sketch Tutorial
- Your Finished City Sketch
Urban Sketching with Liza
Hey again! In the first part of this cityscape drawing tutorial, we got acquainted with sketching. We’ll be practicing and using our new drawing skills to create a new urban sketch and we’ll be adding a splash of color with watercolors.
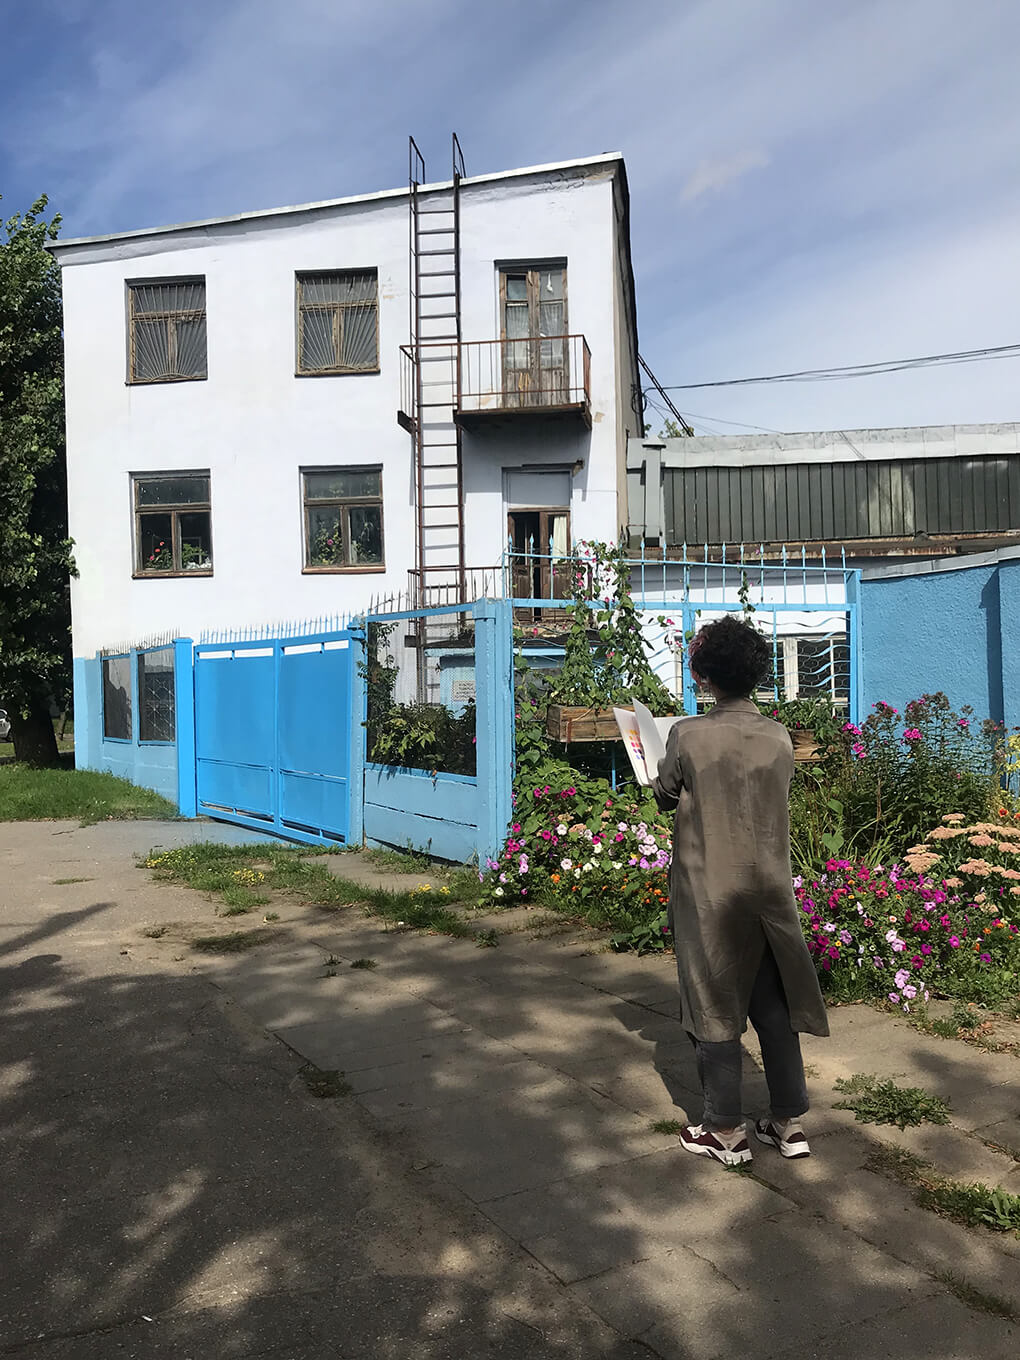
As I mentioned in the previous blog post, urban sketching involves drawing from life. First and foremost, you’ll want to find the object or subject you want to draw. It can be either a street, one building or just a fragment of it. I chose a wonderful house with a blue fence. I like to do urban landscapes with little shabby buildings that have character. I see their texture and generally love the architecture and history behind the structure.
Think about what exactly attracted you to this specific building or space. This will determine your composition and what techniques you can use. The first step is to analyze its nature, which is extremely important. Do not try to rush "straight into battle,” otherwise at some point, you will feel that you do not know where to go next. An experienced artist thinks first, then picks up a pencil second.
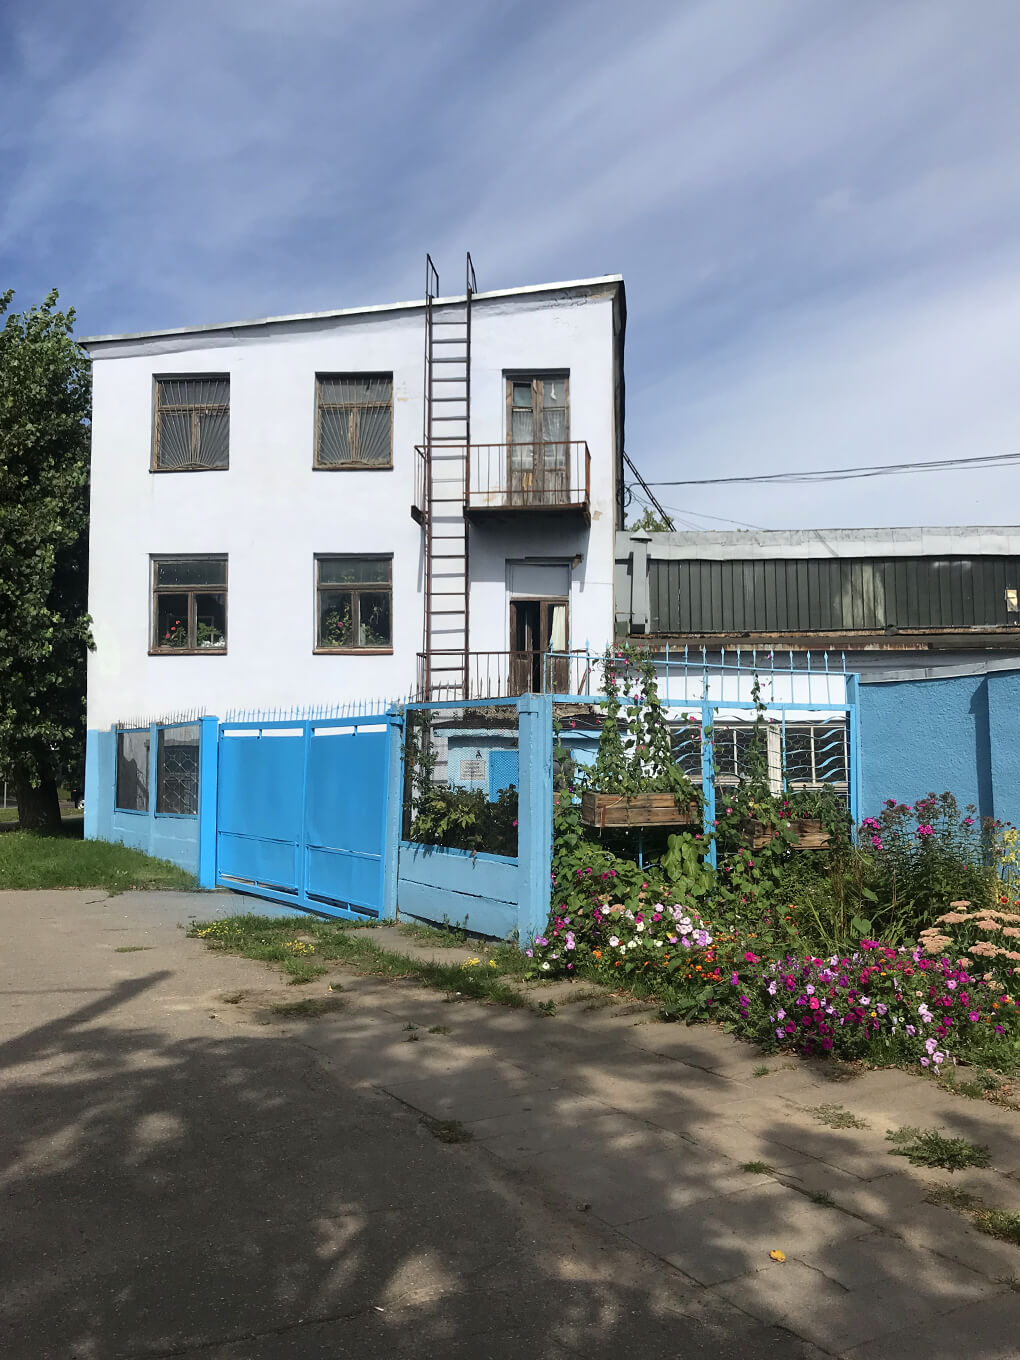
I chose this building for several reasons; I like its relative simplicity and number of details. It has just enough to make an interesting sketch, but not too many so I won’t be stuck drawing for half a day. I plan to draw it in 40 minutes. I also like the delicate shadow that falls from the tree behind my back. We can't see the tree itself, but the shadow creates a nice spot in the foreground.
What You’ll Need to Get Started
- #2 HB Mechanical Pencils
- Hardcover Watercolor Book
- Black Roller Ball Pens
- Half Pans Watercolor Paints
- Water Brush Pens
I like to combine graphic art with watercolor techniques. Today, I decided not to focus on the watercolor, but used a bit to add a touch of color.
Step-by-Step Architecture Sketch Tutorial
Now, you know what materials you're going to use when. Next let’s consider the composition. Since I chose this house and want to capture part of the fence, I should place them on my page in such a way that they are not too large (to leave space around them) and not too small (since I want to be able to add some details). I also want to draw a shadow coming from the tree. I’ll be arranging the objects in such a way that everything I have in mind will fit.
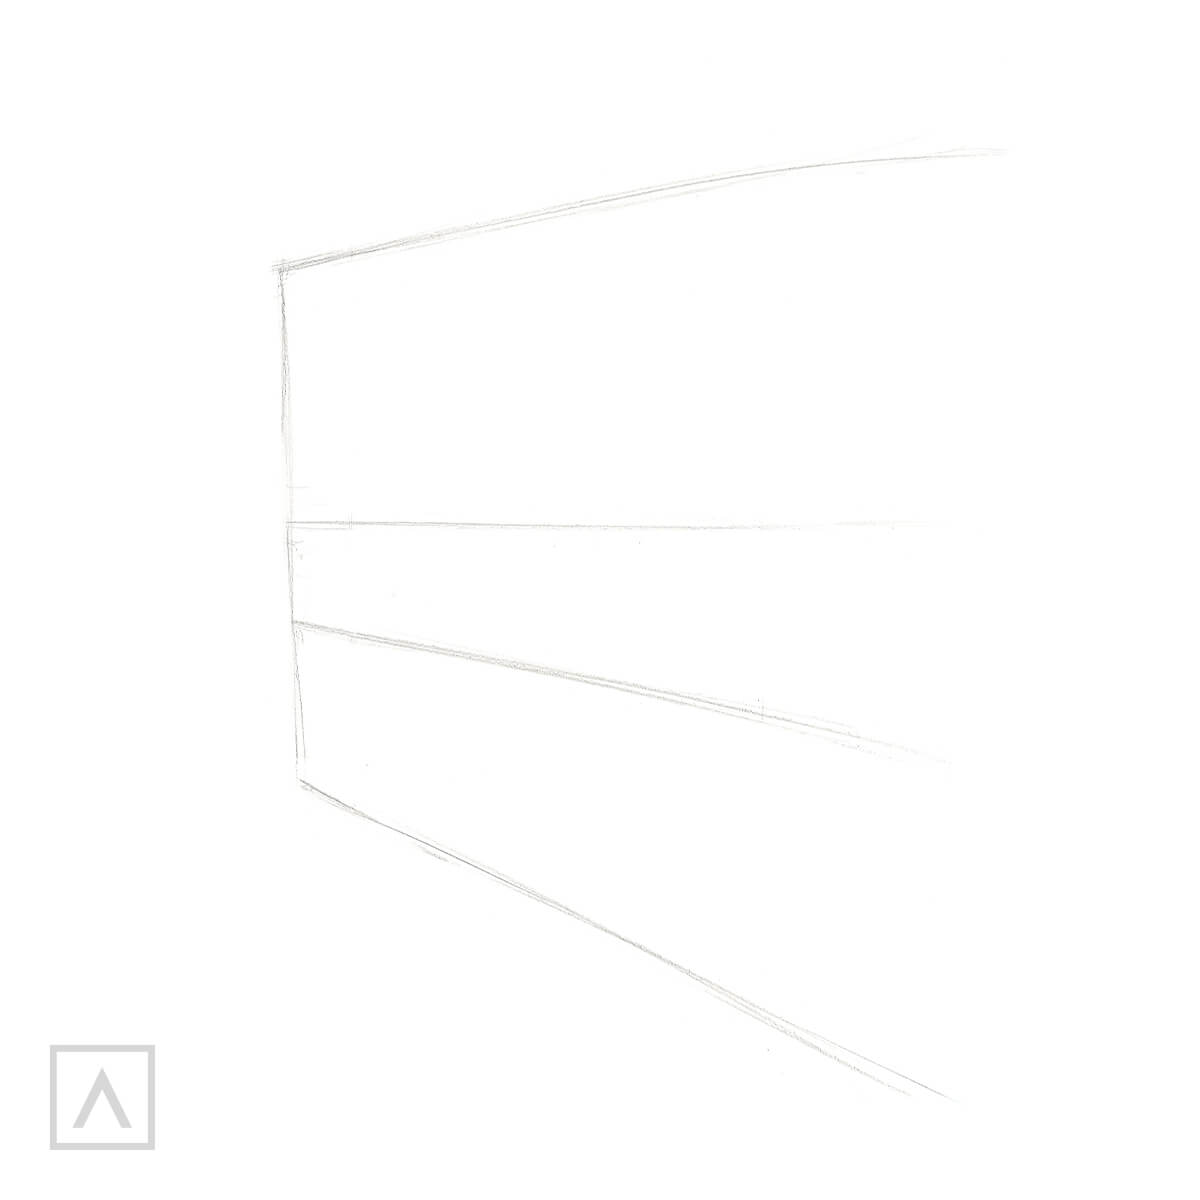
Step 1
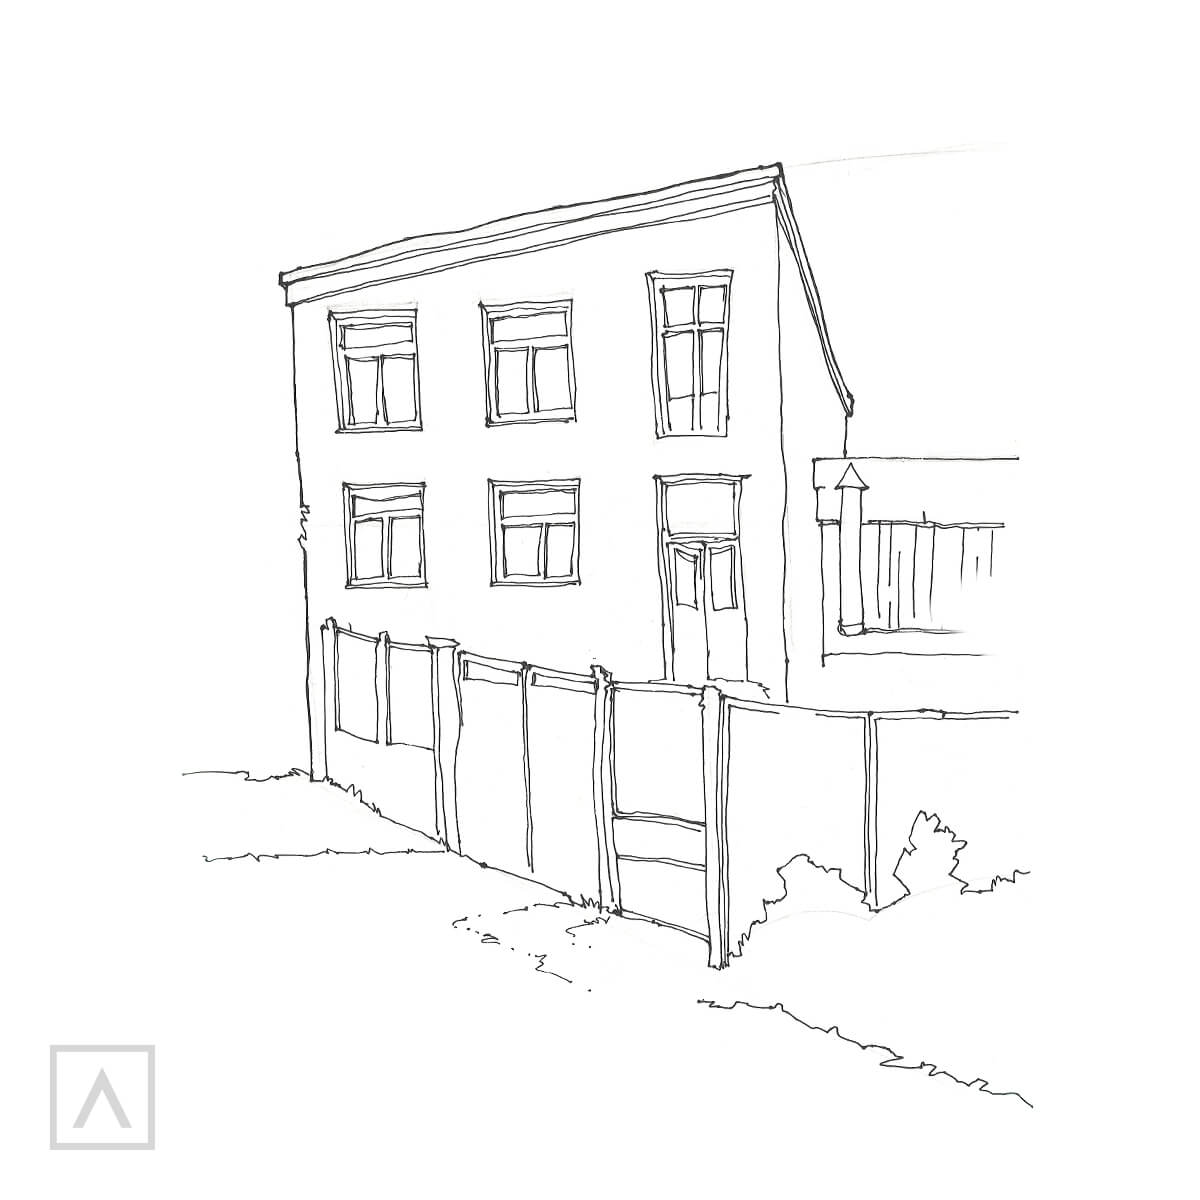
As a general rule, I don't sketch first with a pencil, but start drawing immediately with a pen. But if you are afraid of "irreparable" lines, you can sketch out the main outline before moving on. I drew lines for the top edge of the building, the bottom line of the fence and the top edge of the fence. I also sketched a line for the eye line. I won't go into detail about perspective in this tutorial, but you can read about it here.
Step 2
Next, I drew the outer outline of the building and the grass lines. Don't try to make the lines too straight. The beauty of the sketches is in their liveliness and imperfections.
Lifehack: If it seems like your lines are not lively enough, try to draw faster. You will notice how much lighter and carefree your drawings will become.
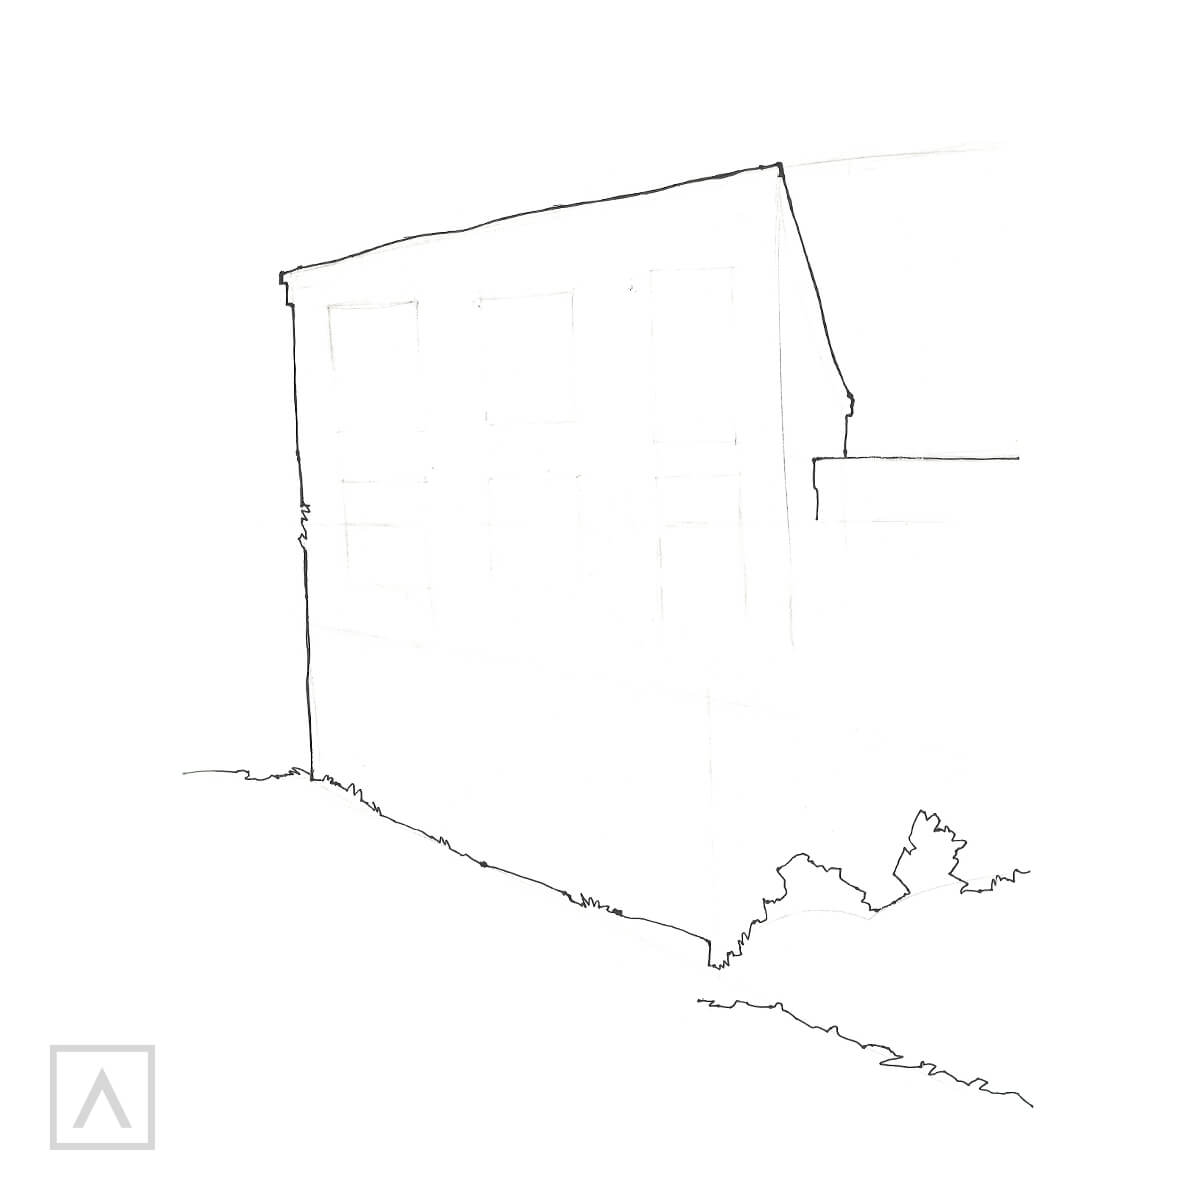
Step 3
Now add the outline of the windows, fence and the corner of the building.
Step 4
Gradually, I started adding details to the drawing. I added the window frames, chimney and all the visible thicknesses. The thicknesses of objects are very important—they add realism to the drawing.
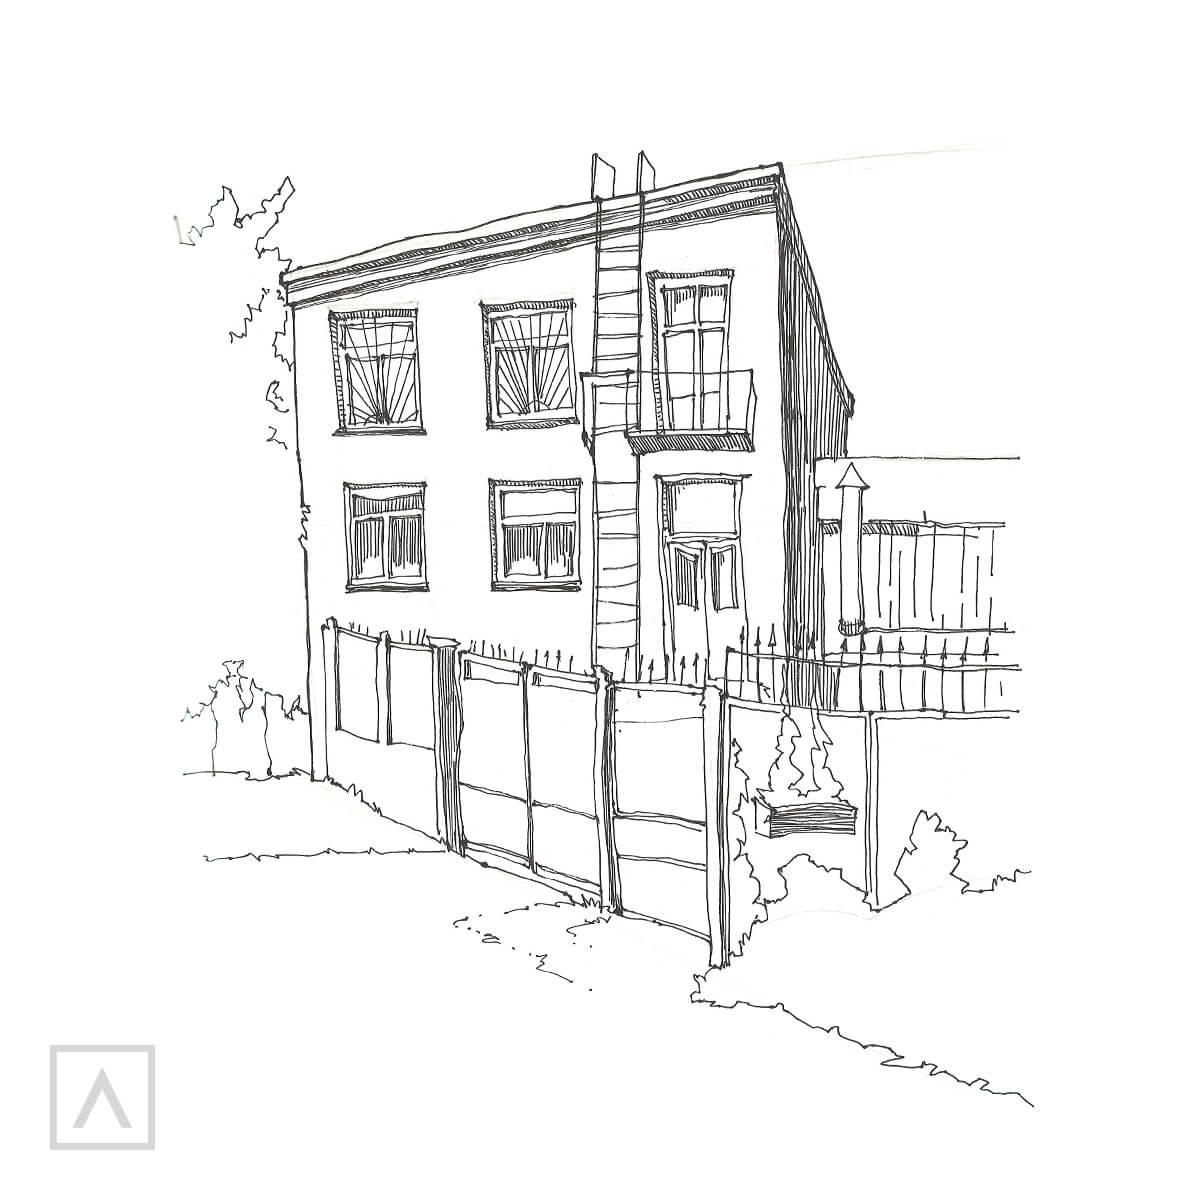
Step 5
I added a tree on the left side, a balcony and a staircase.
Next, I start to create dense shading. In my drawing, the light is on the left, so all the objects' shadows will be on the right side. Add shadows at the stage when you start to have many lines. Large masses of shadows will help you to "collect" the drawing.
Tip: Please note that the nature of the lines reflects the objects you are drawing. For a flat building, you’ll want to use straight lines whereas if you’re drawing a curly tree you’ll want a curved outline imitating the foliage. Pay attention to the nature of the lines whenever you draw different objects.
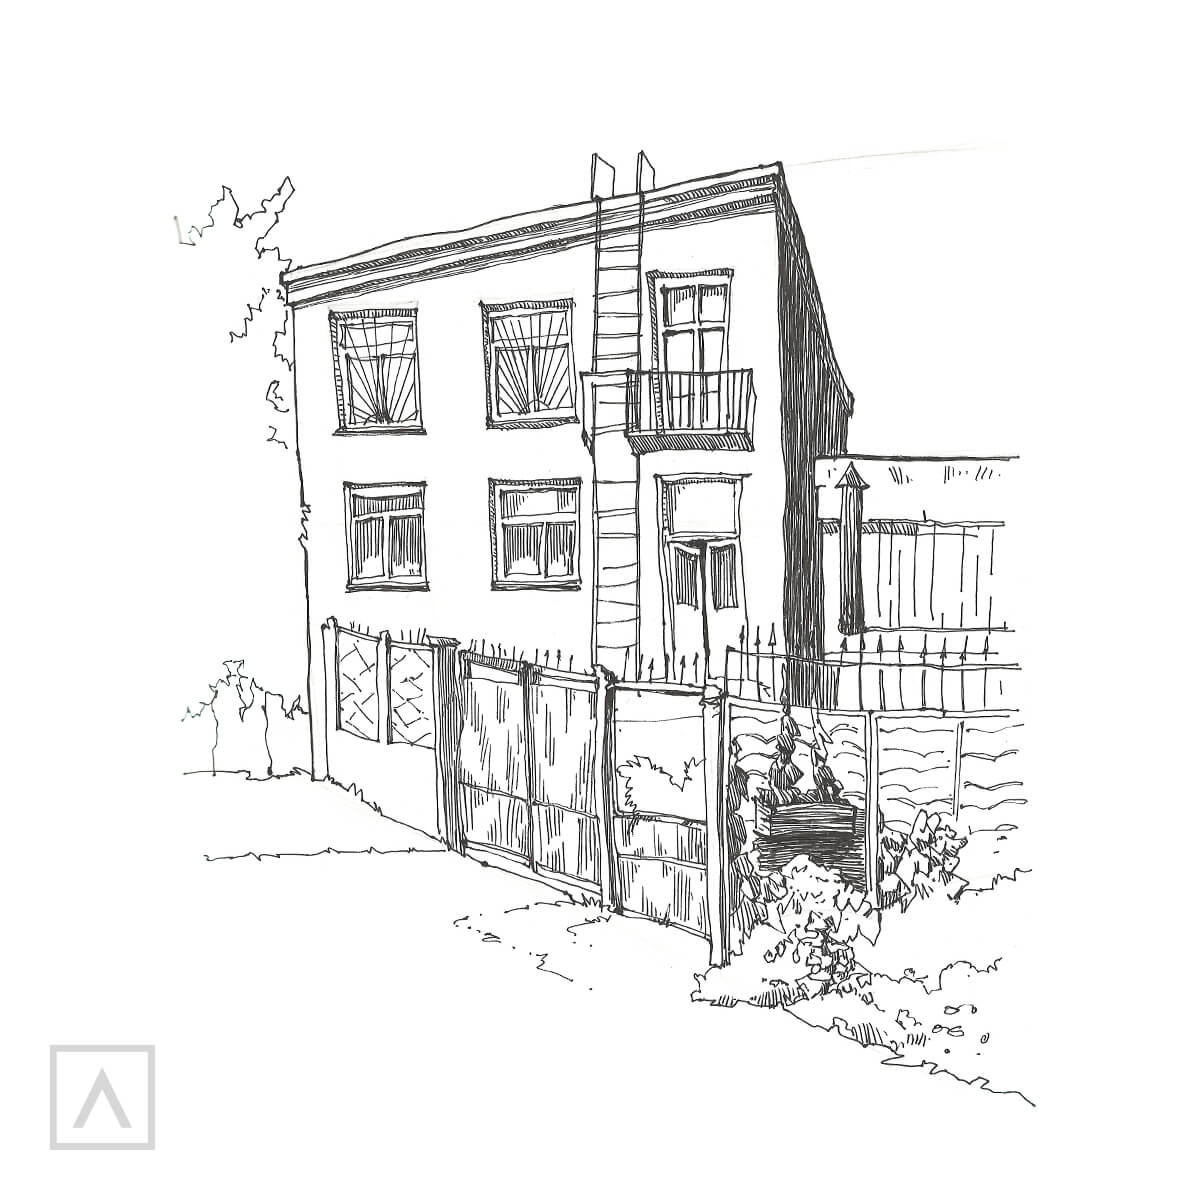
Step 6
Let’s start adding detail to the foreground by drawing the fence and bushes. I also add depth to the shadow of the building and darken the chimney.
Step 7
Now, add all the falling shadows from the house, the balcony, the fence (onto the ground) and the bush. I also added some details on the tree and bush.
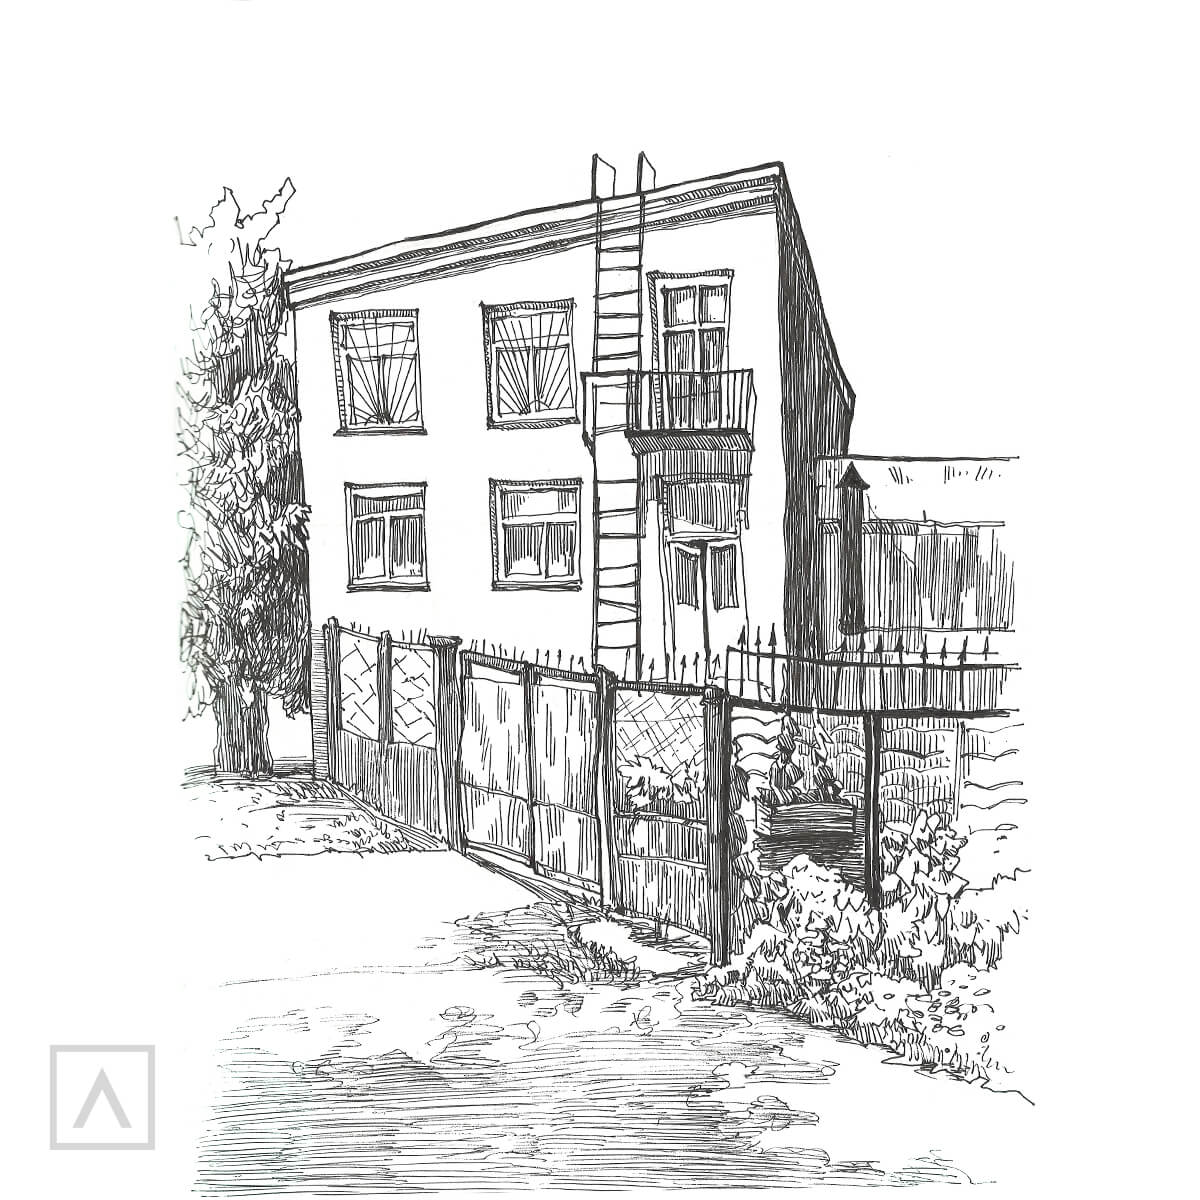
Step 8
I condensed the shadows and filled in the shadow on the ground with some lines. Notice how the darkened tree on the right creates a great backdrop for the house.
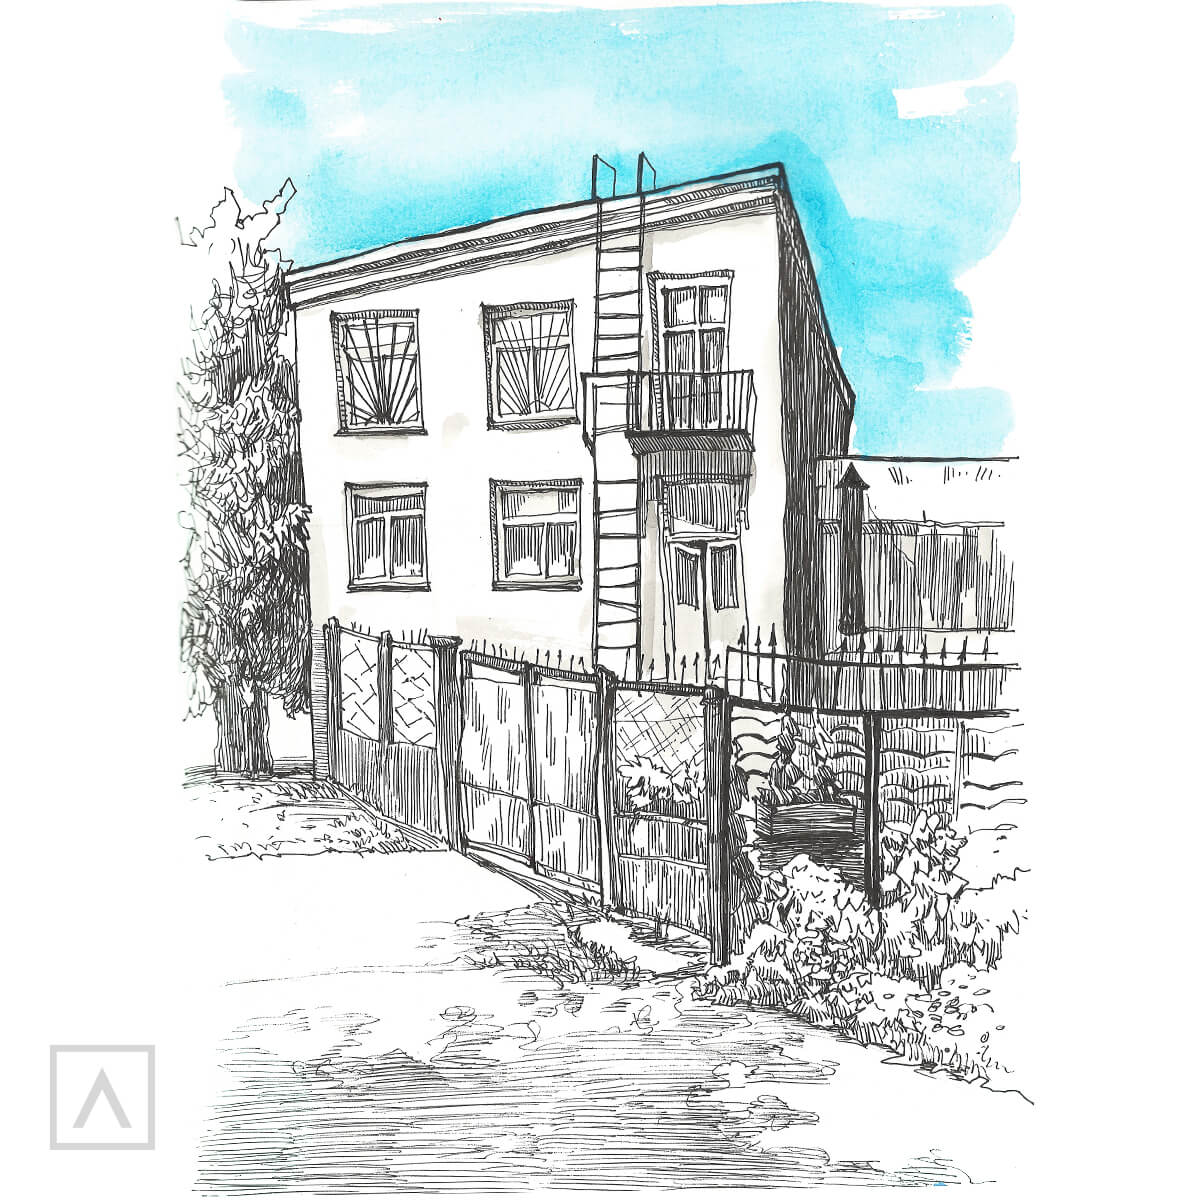
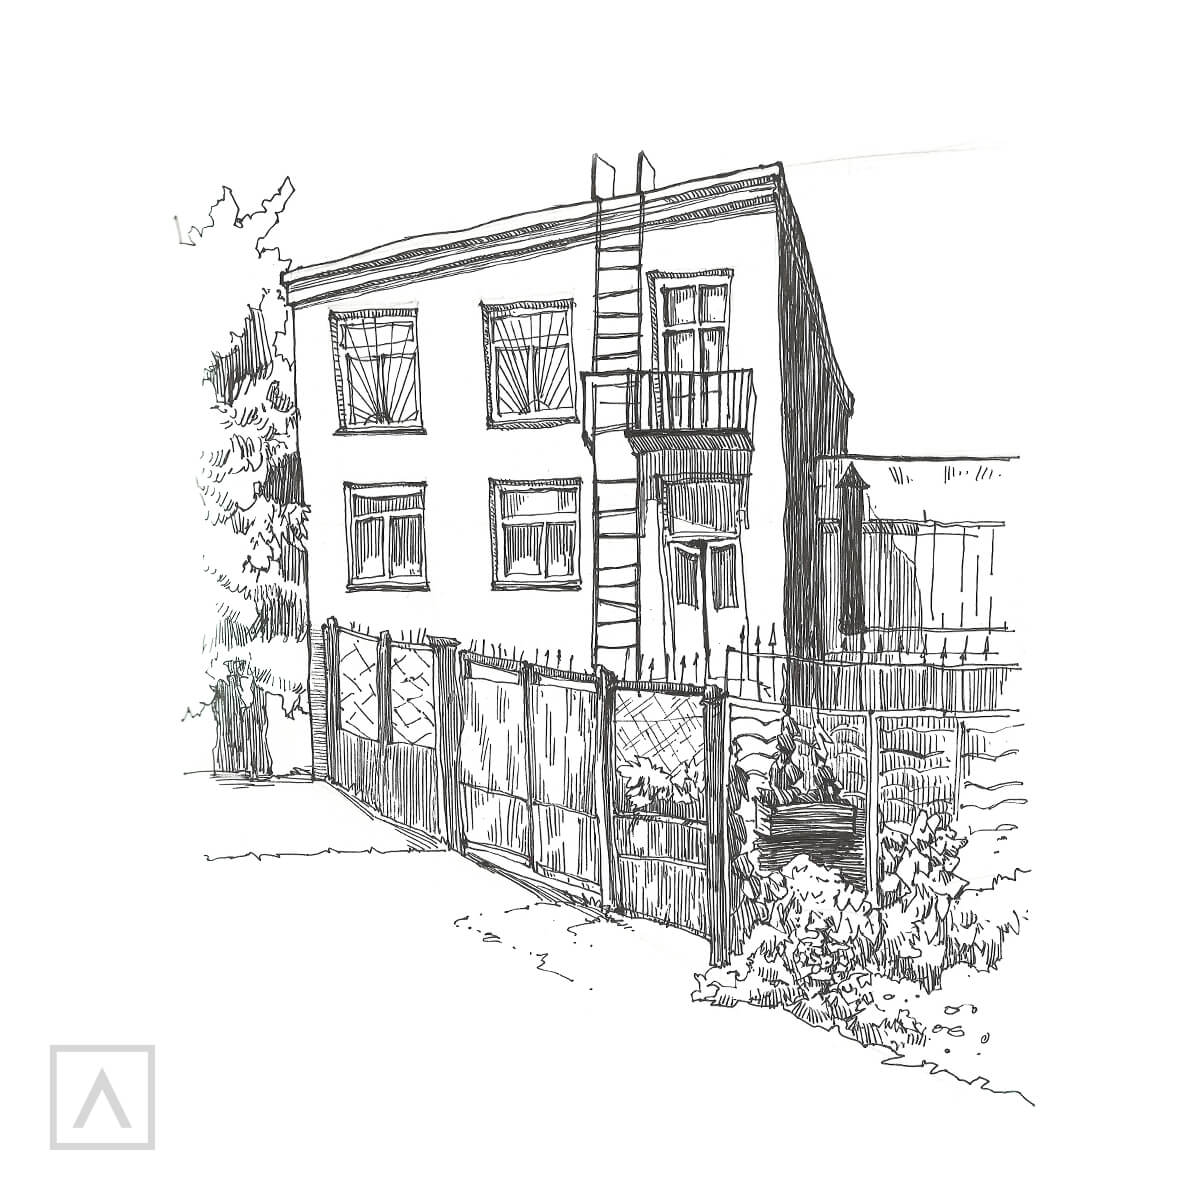
Step 9
Add a color spot for the sky using Turquoise A602, and a little diluted Sepia Brown A307 in the shade of the house.
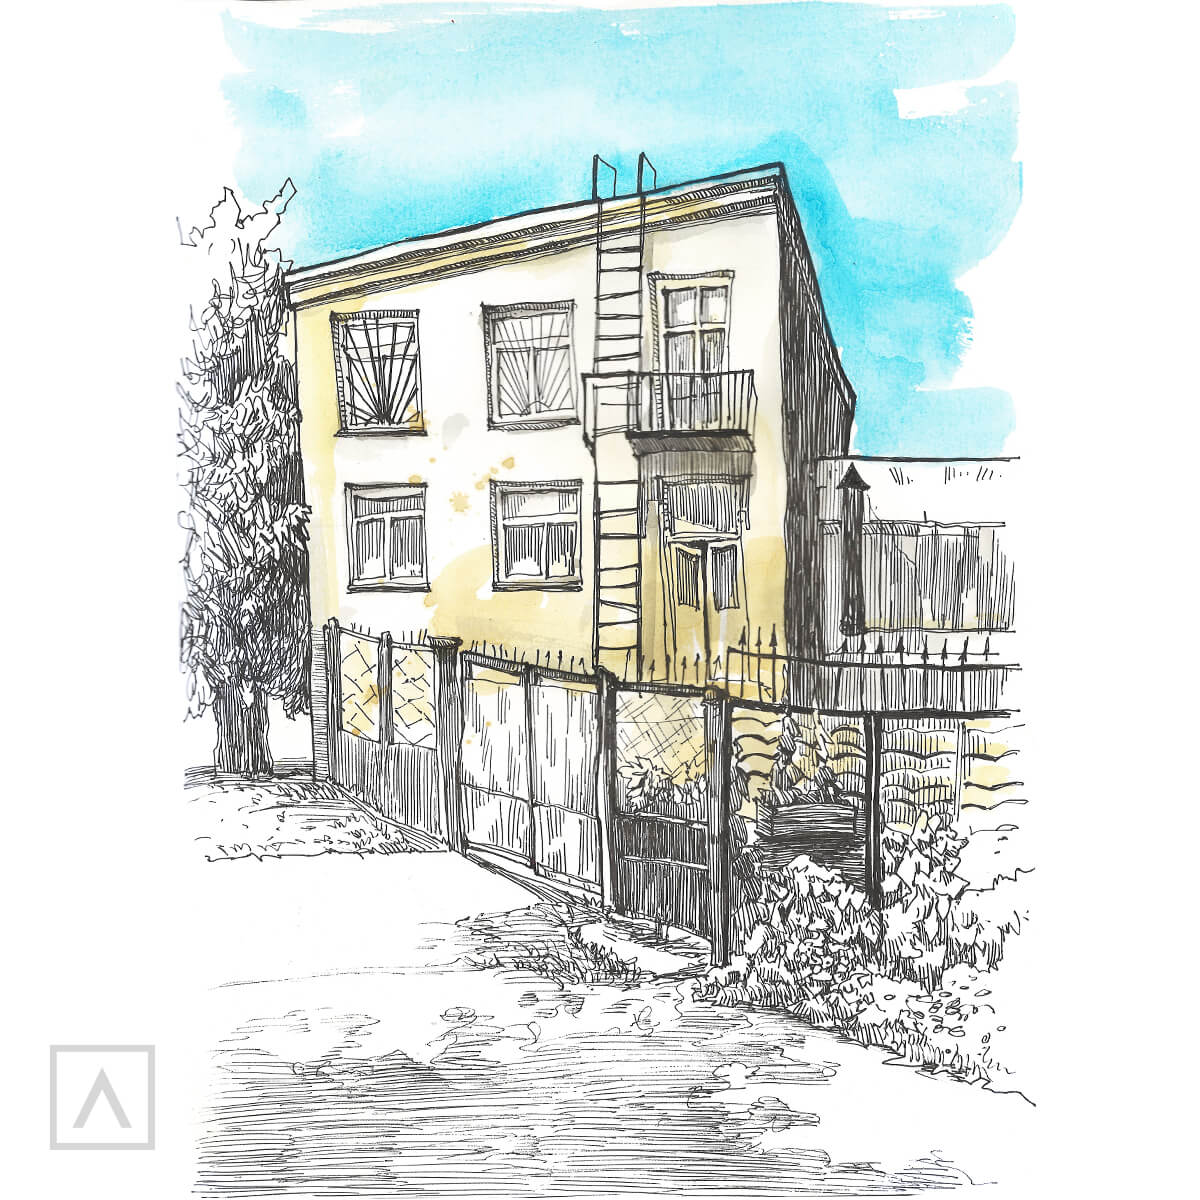
Step 10
Use Yellow Ochre A300 to paint the building and the gate.
Tip: Don't try to evenly paint your surface. The more relaxed your brushstrokes look, the more interesting and lively the sketch looks. Add splashes, drops and light strokes. All these will make your drawing more interesting.
Your Finished City Sketch
Your drawing is done! Our finished sketch looks lively and has an organic look to it. Don't worry if you think something is going wrong. It may not work at first, but sketching takes practice. No one needs to know if you’ve made a mistake or that your composition didn’t come out as planned! Don't be afraid to paint, just go for it and see what your finished artwork looks like.


1 comment
Hi, this is a great tutorial, you say at the top that Liza has a sketching course, any more details?