
Table of Contents:
Add Personality with Expressive Hand Poses
How to draw a hand? You can tell a lot about a person by the way they use their hands when they’re talking or contemplating something. That’s why I believe the quickest way to give my portraits or character illustrations personality and emotions is by using interesting hand poses and gestures. And, even though there are so many components of hands, I’m here to demonstrate an easy process of making natural-looking hands.
I have always found that by taking a complex task and narrowing it down into separate segments, I’m able to draw even the most complicated things, including hands. If you’ve struggled with hands that end up looking like claws, like I did, this tutorial should assist you with creating more real-looking ones. In this guide, I use the Arteza Professional Drawing Set. With this set, I achieve a wide range of lead hardness, which means I can go from the lightest pencil marks to the darkest with ease. I really recommend investing in true artist-grade pencils, because they can make a large range of values, which is important for a realistic result.
TIP: Snap a picture of your hand positioned the same as the one in the tutorial to see how the fingers are shaped as well as the joint sizes.
Step-By-Step Hand Drawing
Step 1
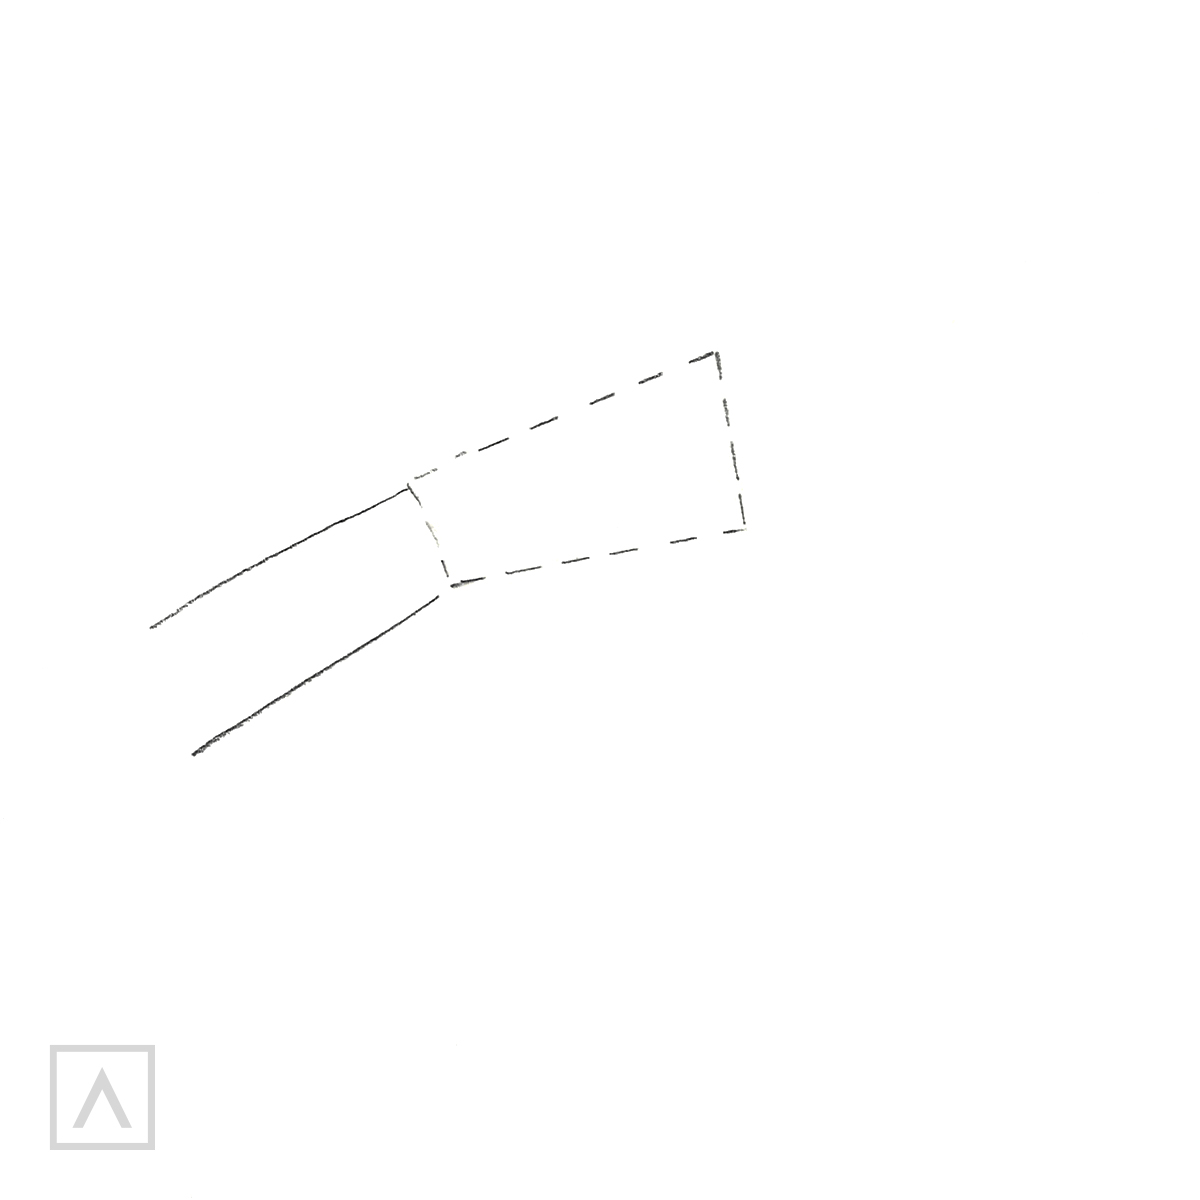
I begin by placing two lines, representing the arm center and wrist. A broken line forms the shape of a “mitten” to give me an initial hand shape.
Step 2
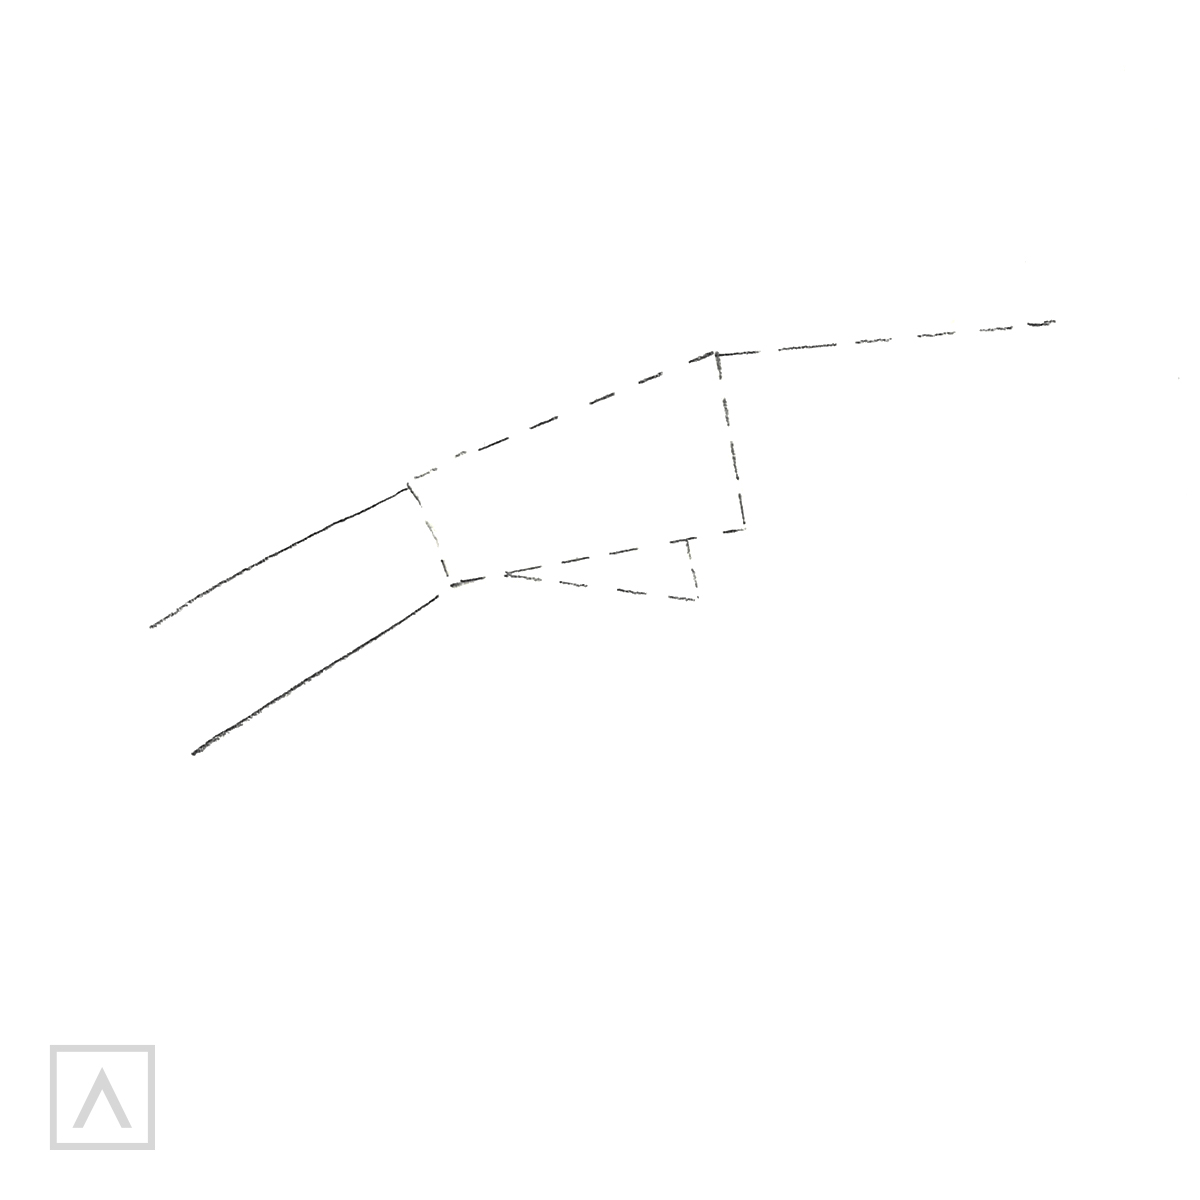
Next, I place another spotted horizontal line for the pointer finger and a dotted triangle on the opposite side.
Step 3
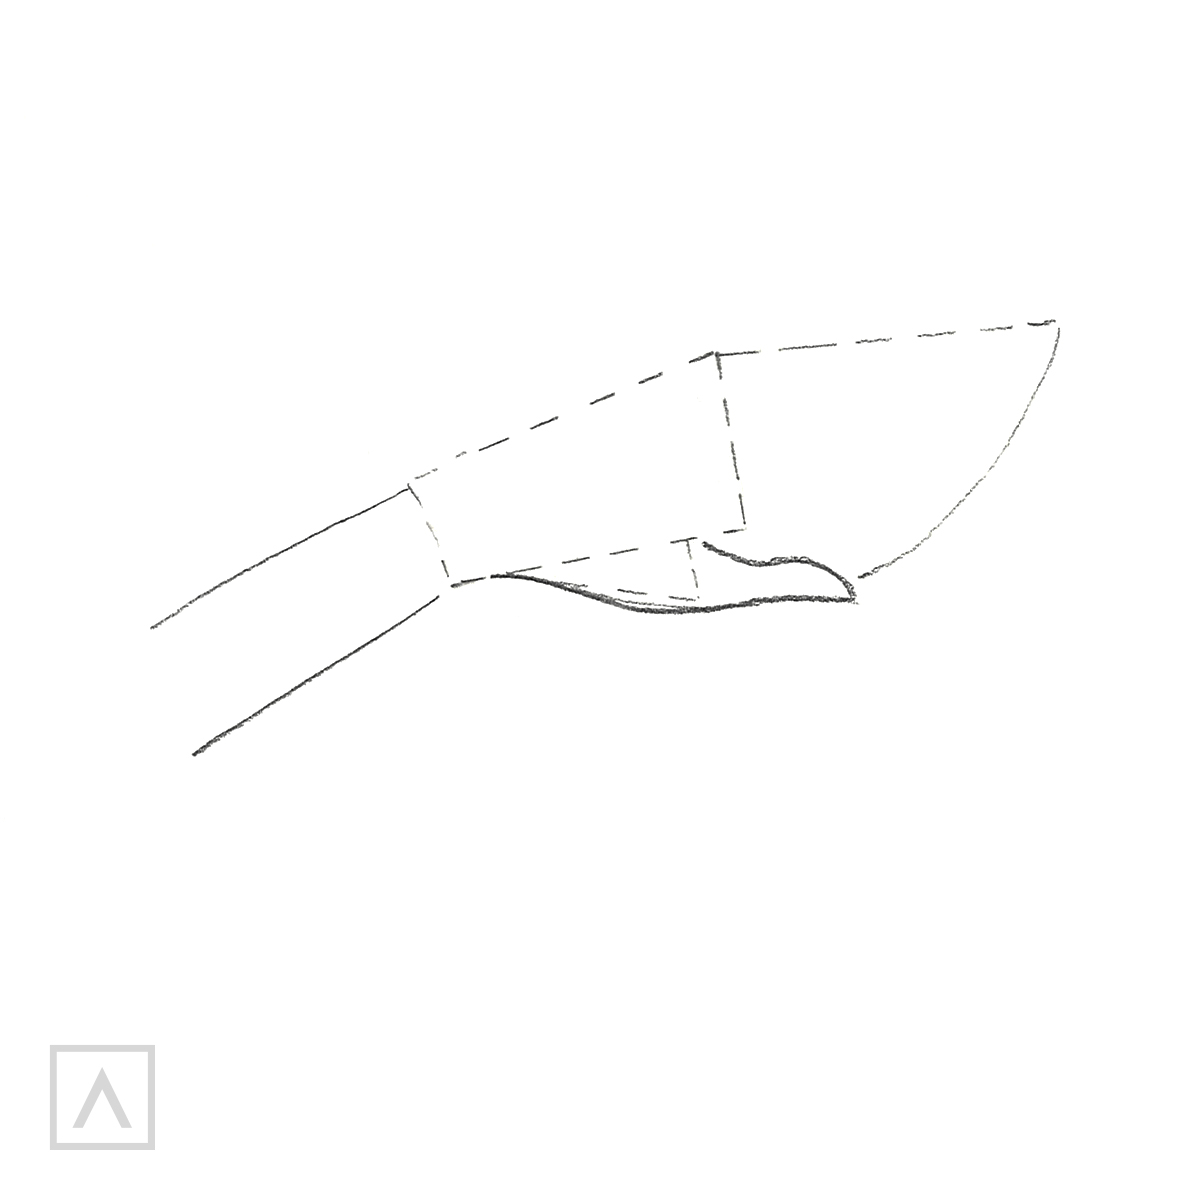
On top of the dotted line, I lay a smooth line, starting at the wrist, outlining the joint and thumb, then drawing an arc from the thumb’s tip to the end of the index finger, which will set the fingers’ lengths.
Step 4
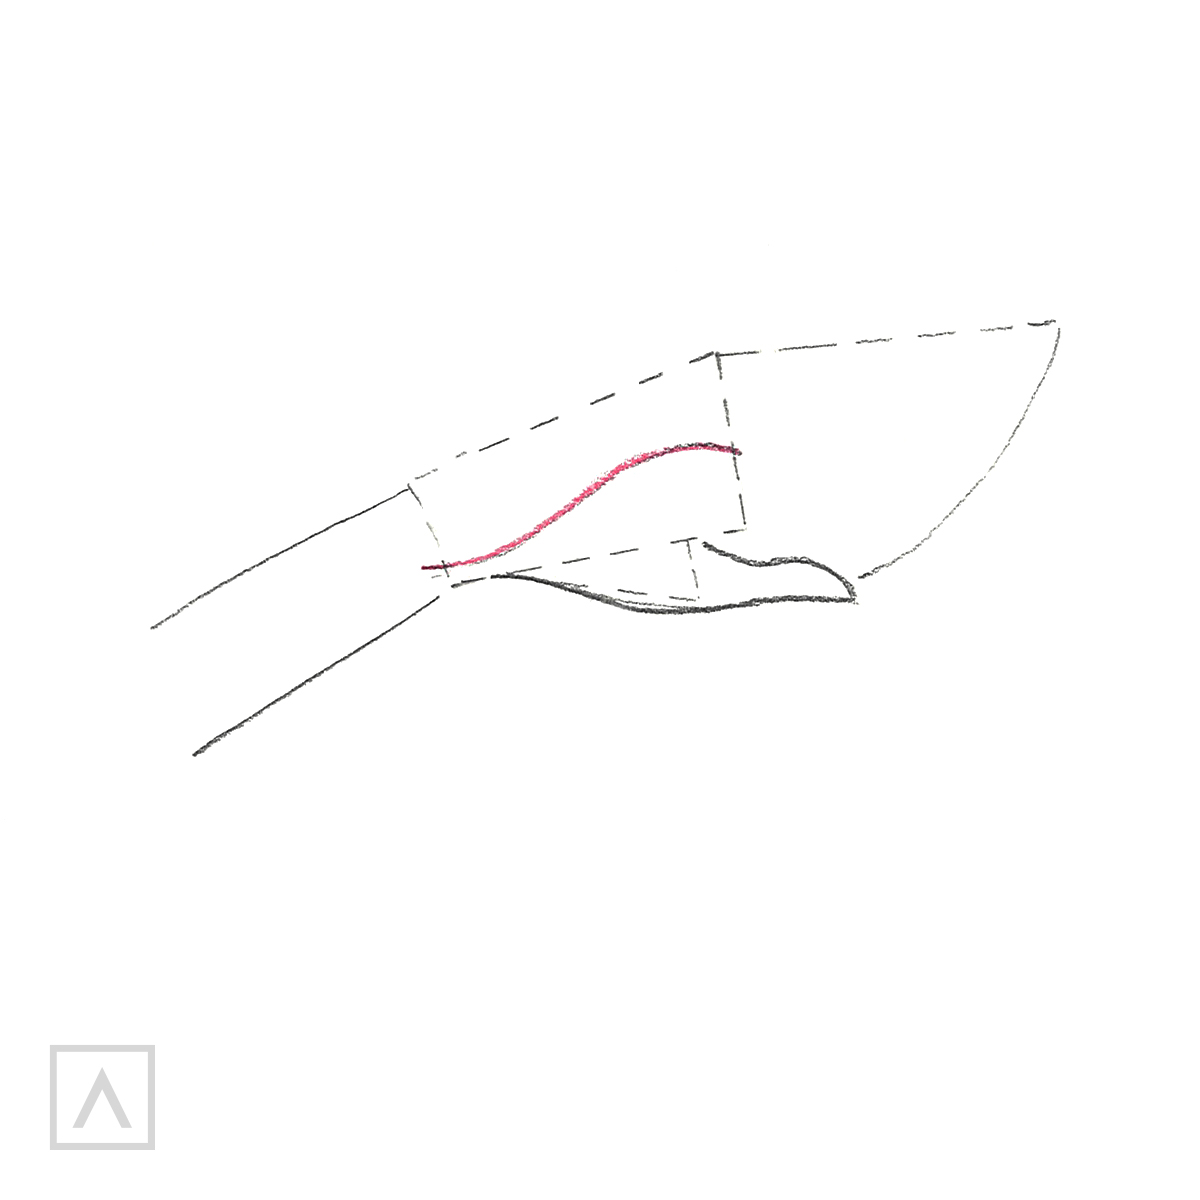
I draw a rounded line from the wrist’s edge to the “mitten’s” middle for the bend in the hand and the place where the little finger will be.
Step 5
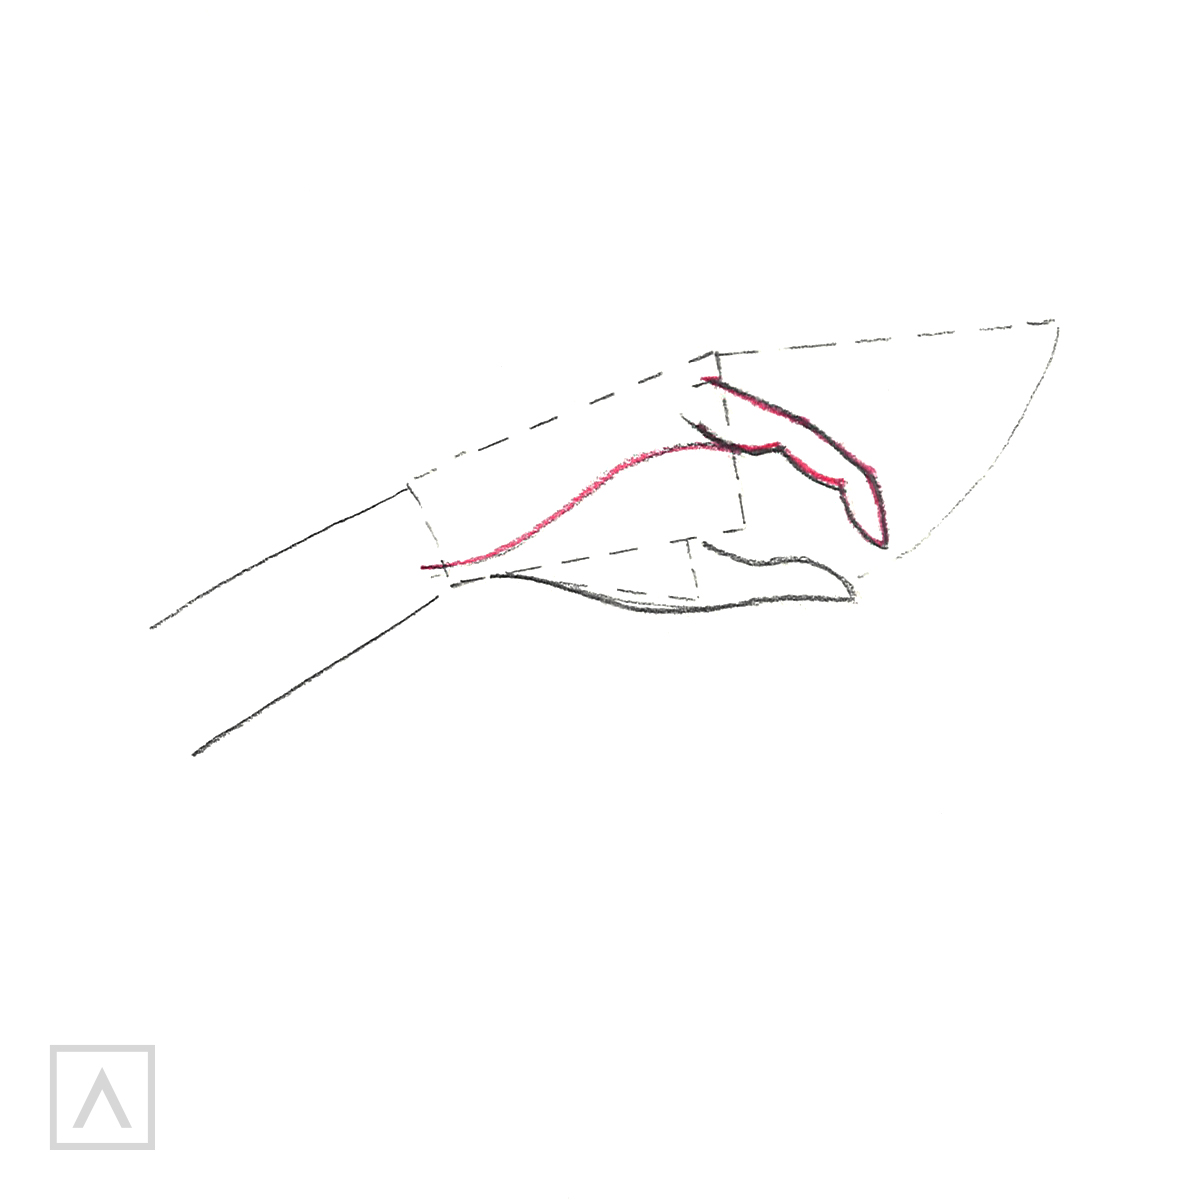
Notice that the pinky is bent. There are three separate joints of different sizes, therefore, the tip will be smaller and the size of each joint thereafter increases until the largest is at the base. The best way to get this right is to examine your own little finger in this position.
TIP: It’s best to make your fingers thin than thick. Bear in mind that fingers are divided into three sections: the bottom, middle, and end, where the nail is.
Step 6
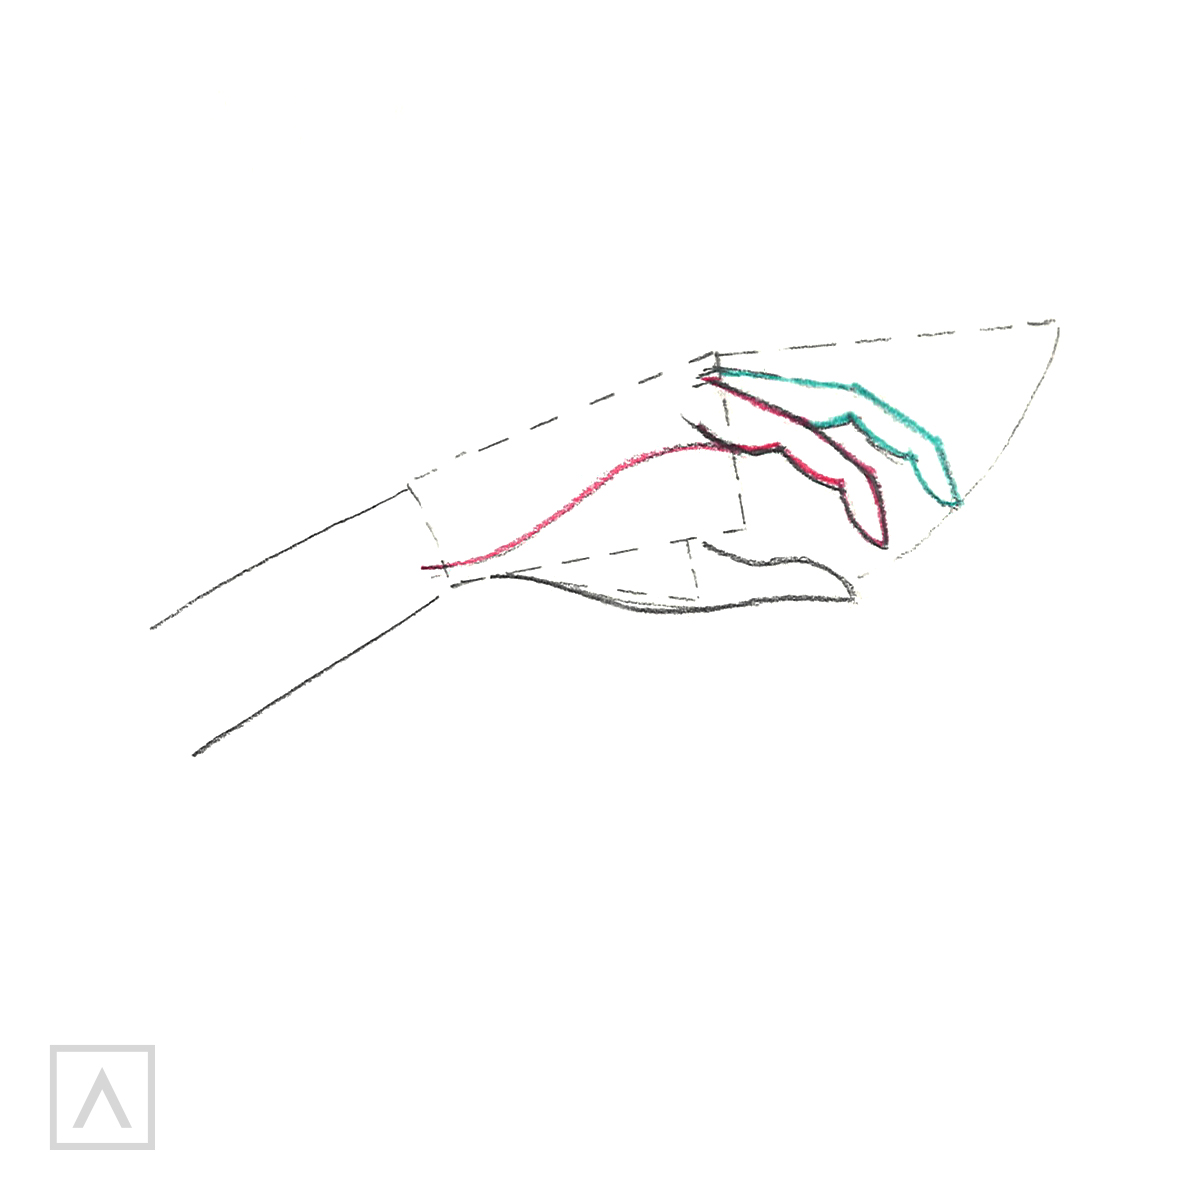
Here, the ring finger peeks out from behind my pinky. I study the arc’s distance, as this will determine the finger’s length, and I draw it to where I want it to meet that line. Notice that the lower joint is concealed behind the little finger.
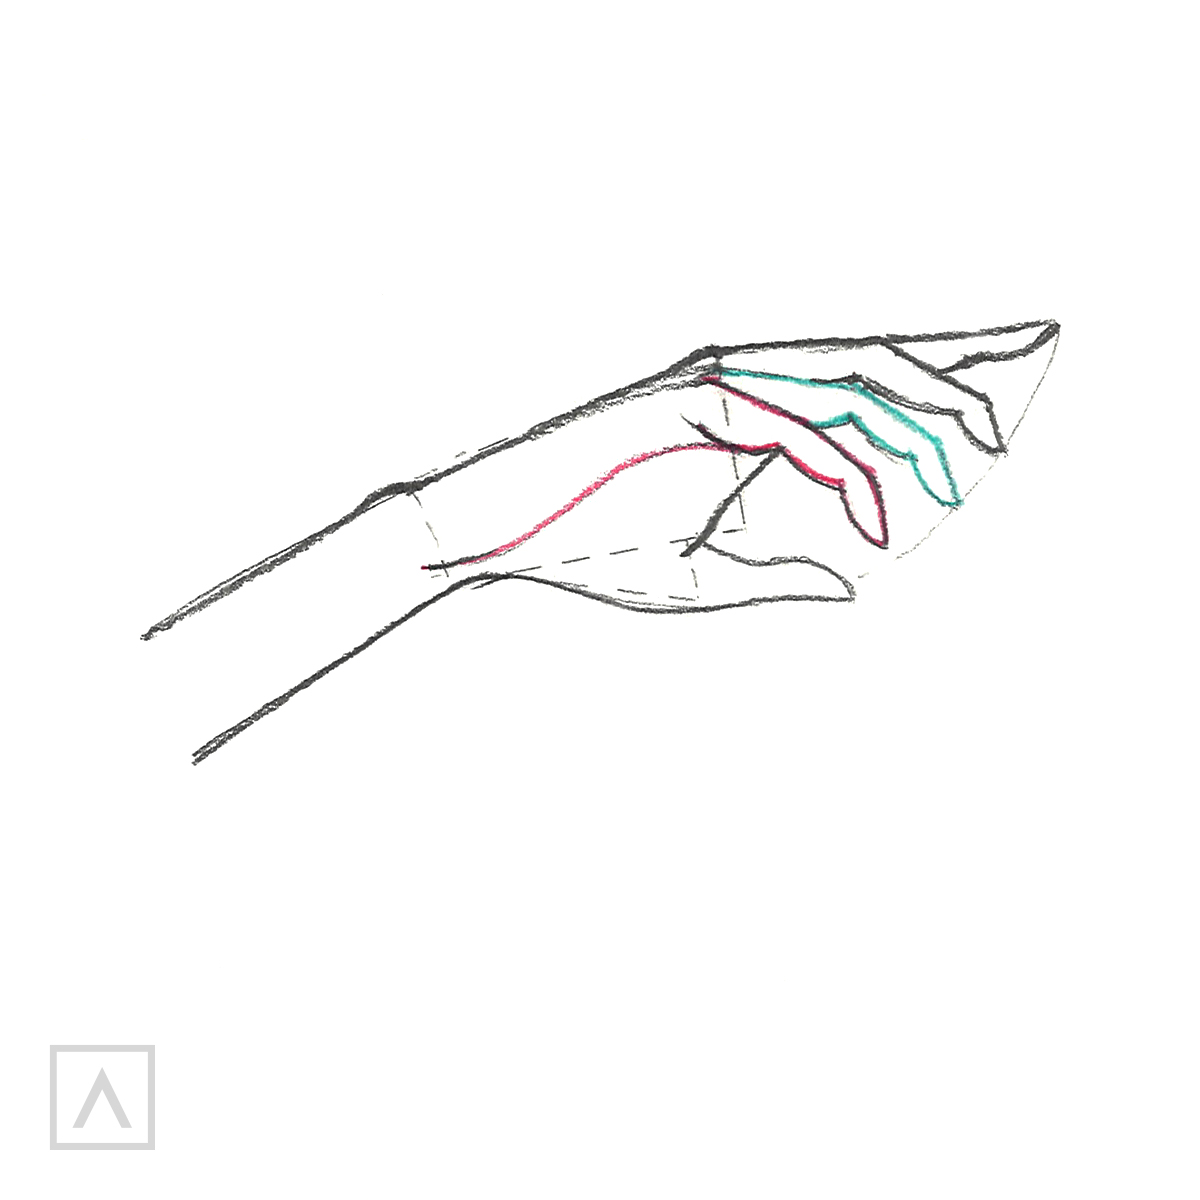
Step 7
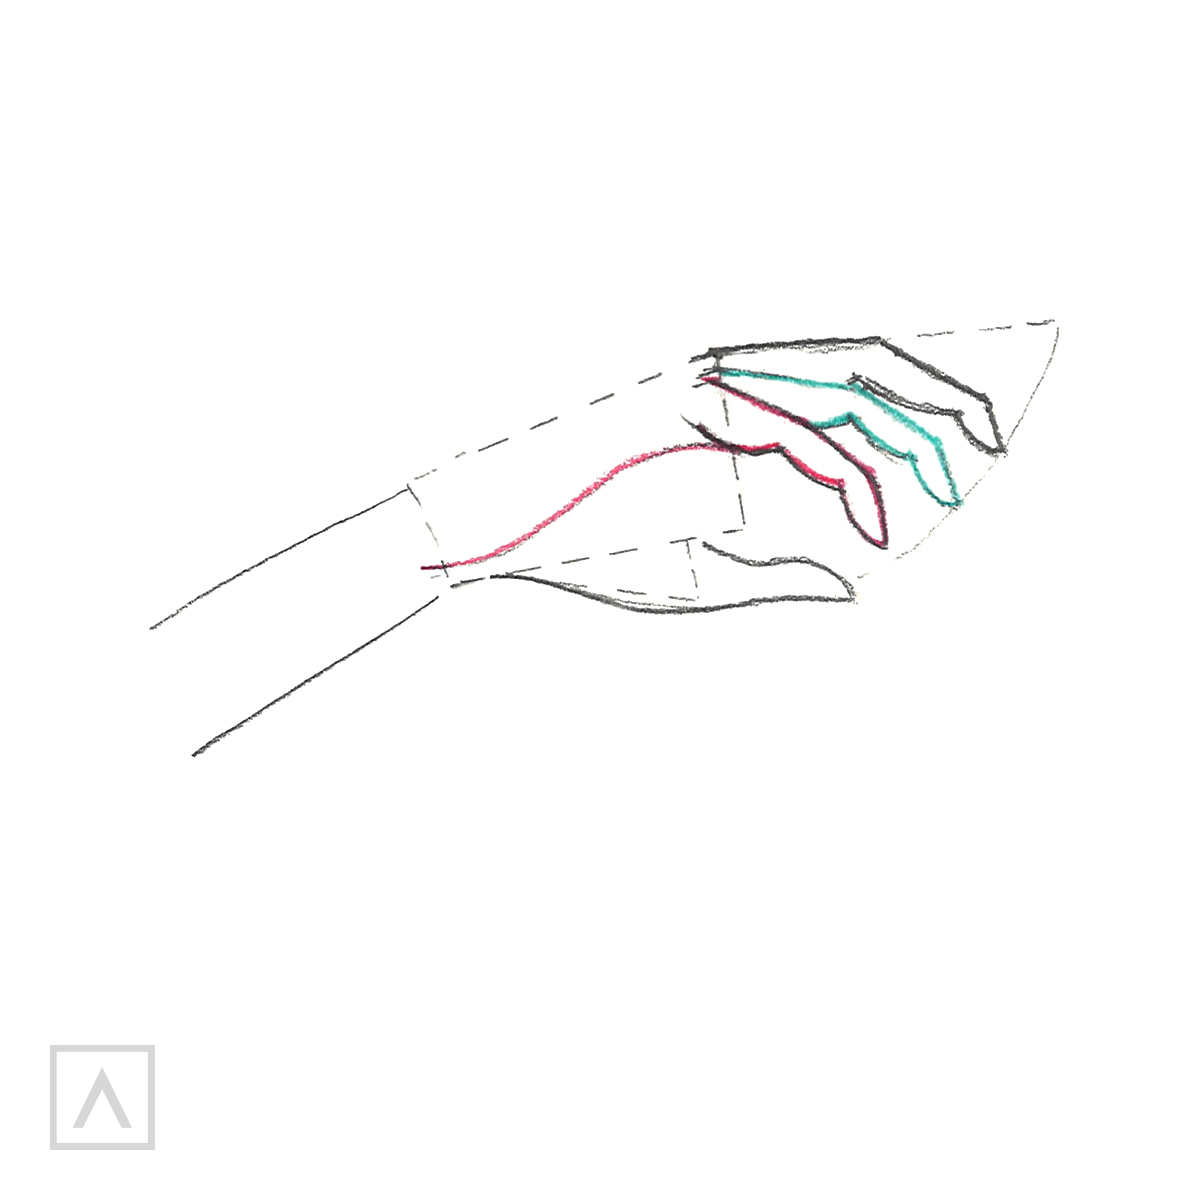
I draw the middle finger beginning at the “mitten’s” upper corner. According to the arc, its lower joint is not visible at all.
Step 8
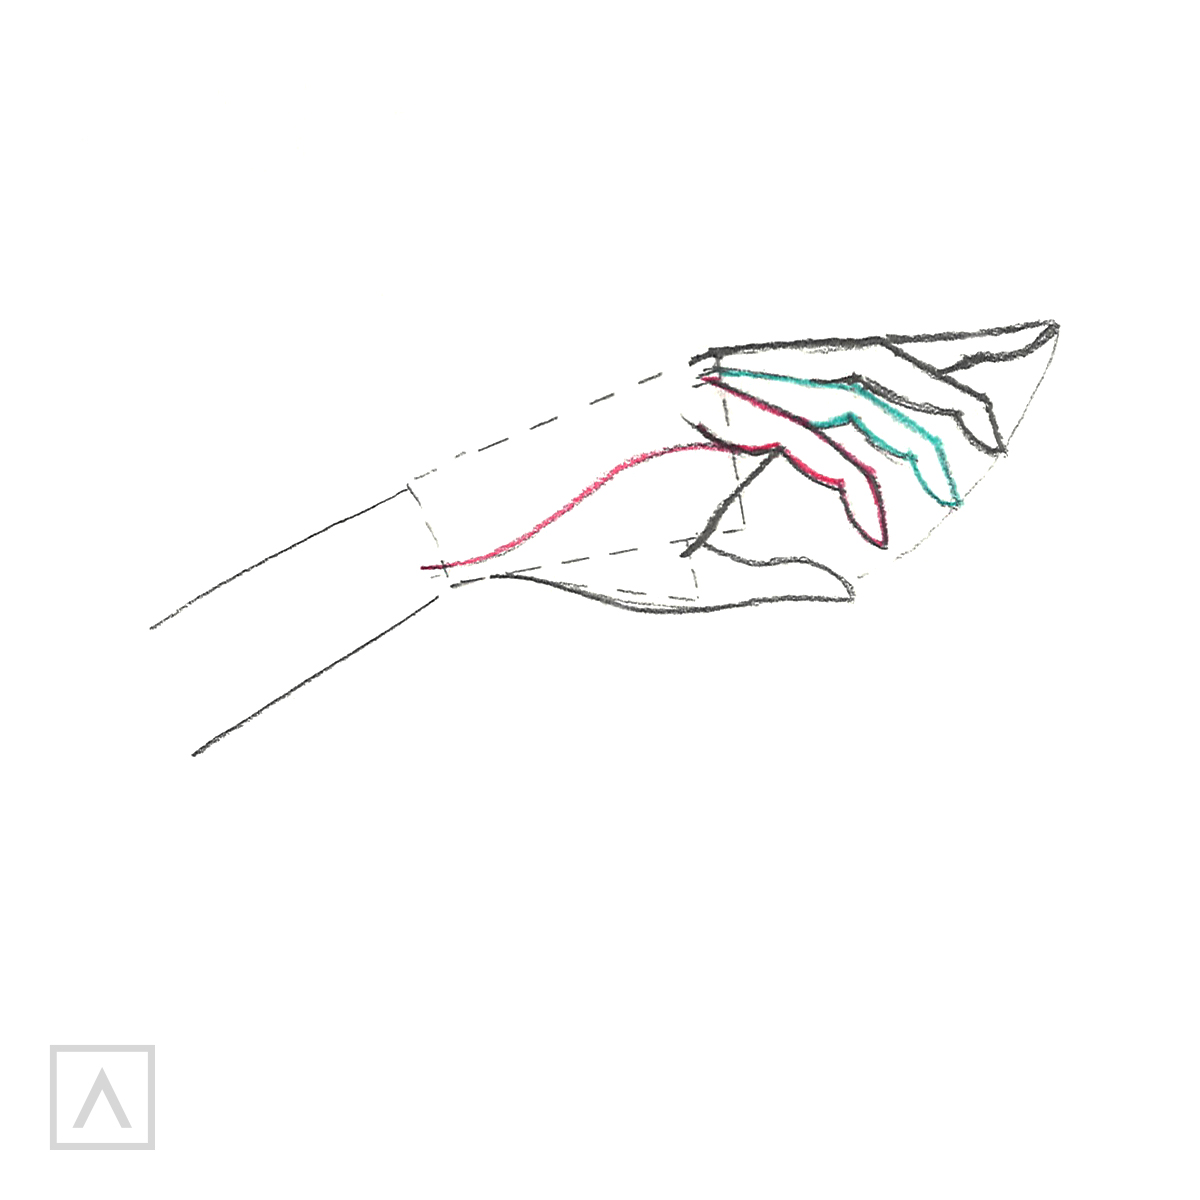
I draw the pointing finger along its dotted line. Half of the middle and the tip are visible. I join the “mitten’s” lower portion, representing the back of the hand, from the little finger to the thumb.
Step 9
I finish outlining the “mitten,” then add a wrist bone and go over the arm’s two initial lines.
There it is! Now you have these easy-to-follow steps for creating a hand.
Recommendations
- Practice, practice, practice. The way to get good at drawing hands is to draw lots of them. Before you get into drawing realistic, academic hand drawings, start with stylized ones that you can find in illustrations.
- The softer lead pencils are easier to smear, so to avoid rubbing your hand across your drawing, use a scrap sheet of paper and put it over the areas already drawn.
- If you want to add shading to your hand, use a paper stump blender to smudge the graphite for soft shadowing.
Now that you’ve learned how to easily draw a hand, you can start giving your characters and people even more personality. For more inspiration, search the internet or flip through fashion magazines for hands you can use for a reference. With plenty of practice, you’ll be able to draw hands without even thinking twice! Let me hear from you and how you’re doing with this tutorial.


5 comments
Hi there, that’s a great idea. We’ll be sure to pass this over to our media team as a suggestion. Thank you so much!
This walkthrough was super helpful! I was wondering if it’s possible to do a walkthrough of other perspectives you could find hands in, like holding an object or in other casual motions? Thank you :)
Thank you so mch for the kind words! Don’t hesitate to let us know if you have any Guide suggestions.
Thank you so mch for the kind words! Don’t hesitate to let us know if you have any How-To suggestions.
Awesome stuff. Thanks for sharing!