
Before we dive into how to draw clouds, let’s take a second to reflect on the influence clouds have on artists. Regardless of your location (for the most part) clouds are always available to influence artists of all disciplines. Clouds instill a sense of child-like wonder—whether you’re interpreting what you see or simply losing yourself as you take in all of their magnificence, one thing is for sure, clouds are undeniably thought-provoking.
Nature unifies artists all across the globe, you can find clouds in paintings from countless impressionist and contemporary artists. Clouds appear in many of Claude Monet’s paintings, as the artist was known for his landscape paintings; clouds are featured in his rather popular pieces: “The Cliff Walk at Pourville” (1882) and “Woman with a Parasol - Madame Monet and Her Son” (1875). While far more abstract, we can’t discuss clouds in famous works of art without mentioning Vincent van Gogh’s 1889 oil painting, “The Starry Night”.
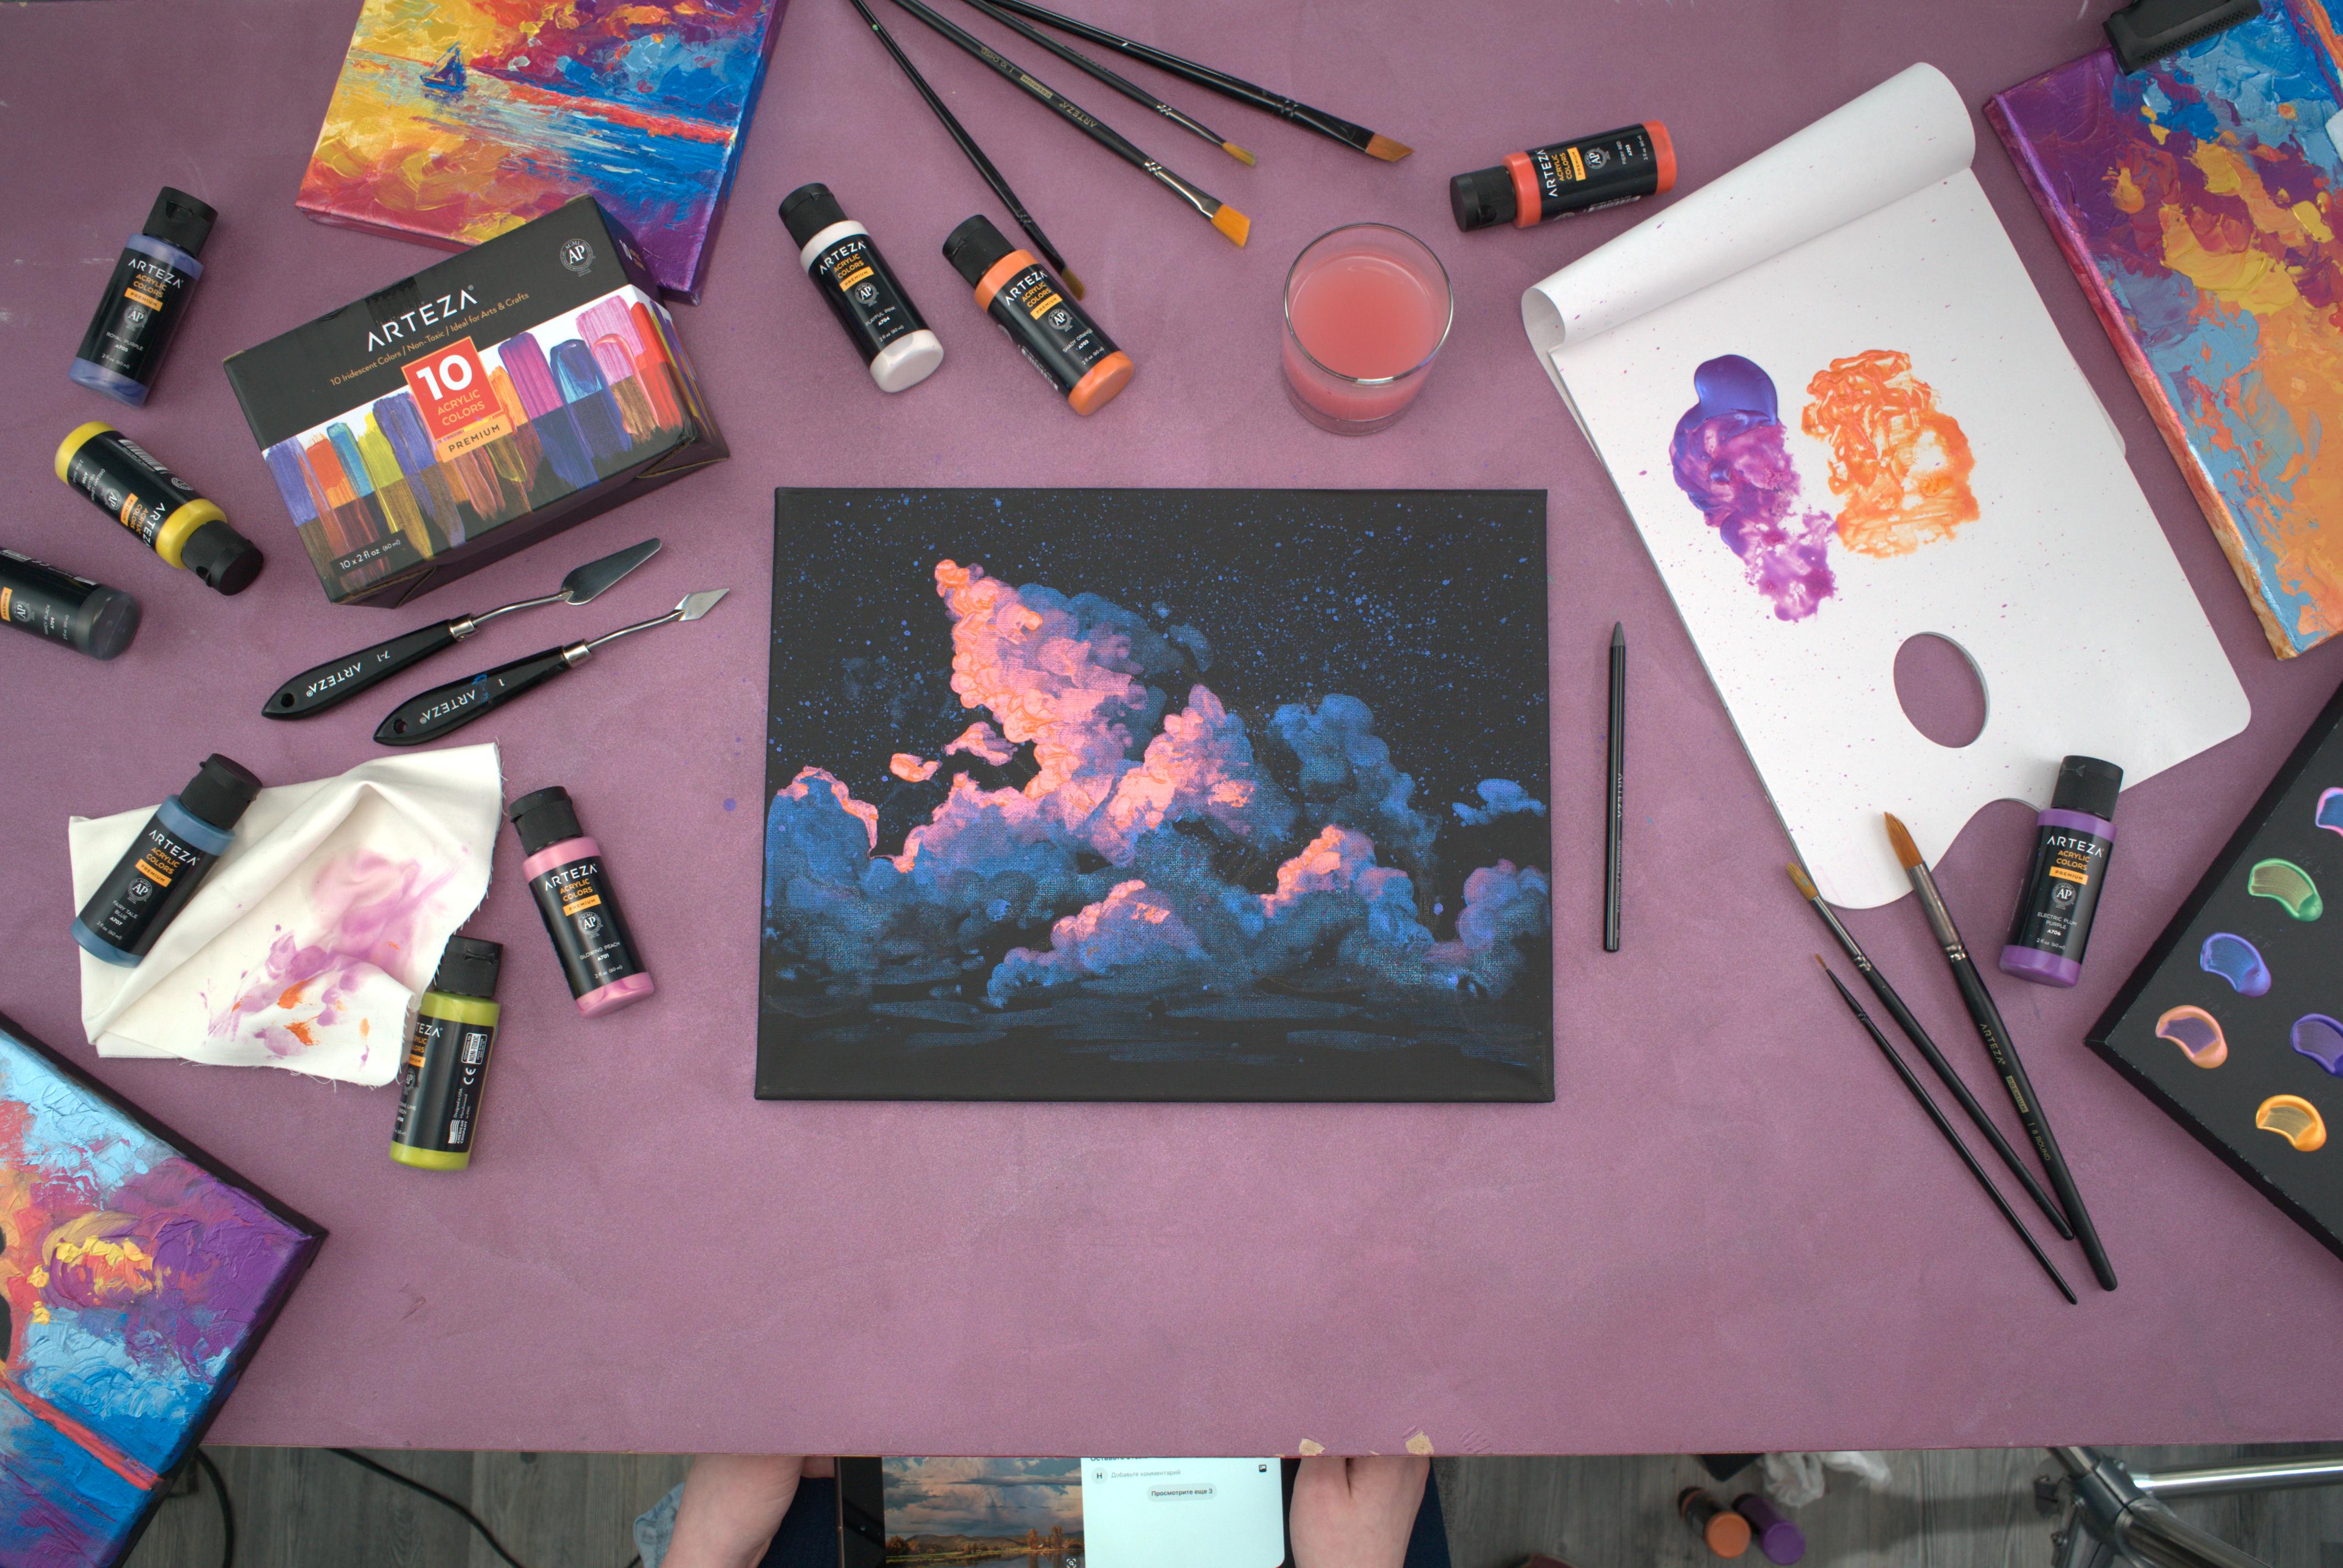
Today we present you with five steps towards creating a sunset cloud painting! Our Black Stretched Canvas provides you with a beautiful black backdrop for this star-covered cloud masterpiece. To truly capture the iridescent charm of this drawing, we recommend you work with the following supplies:
List of Supplies
- Iridescent Acrylic Paint, 60ml Bottles, Set of 10
- Black Stretched Canvas, 11” x 14”
- Acrylic & Oil Paint Brushes, Set of 12 (or any Round #8 Synthetic Paint Brush)
- Disposable Palette Pad, 9” x 12”, 40 Sheets
- A Graphite Pencil
5 Steps to Painting Clouds
Step 1
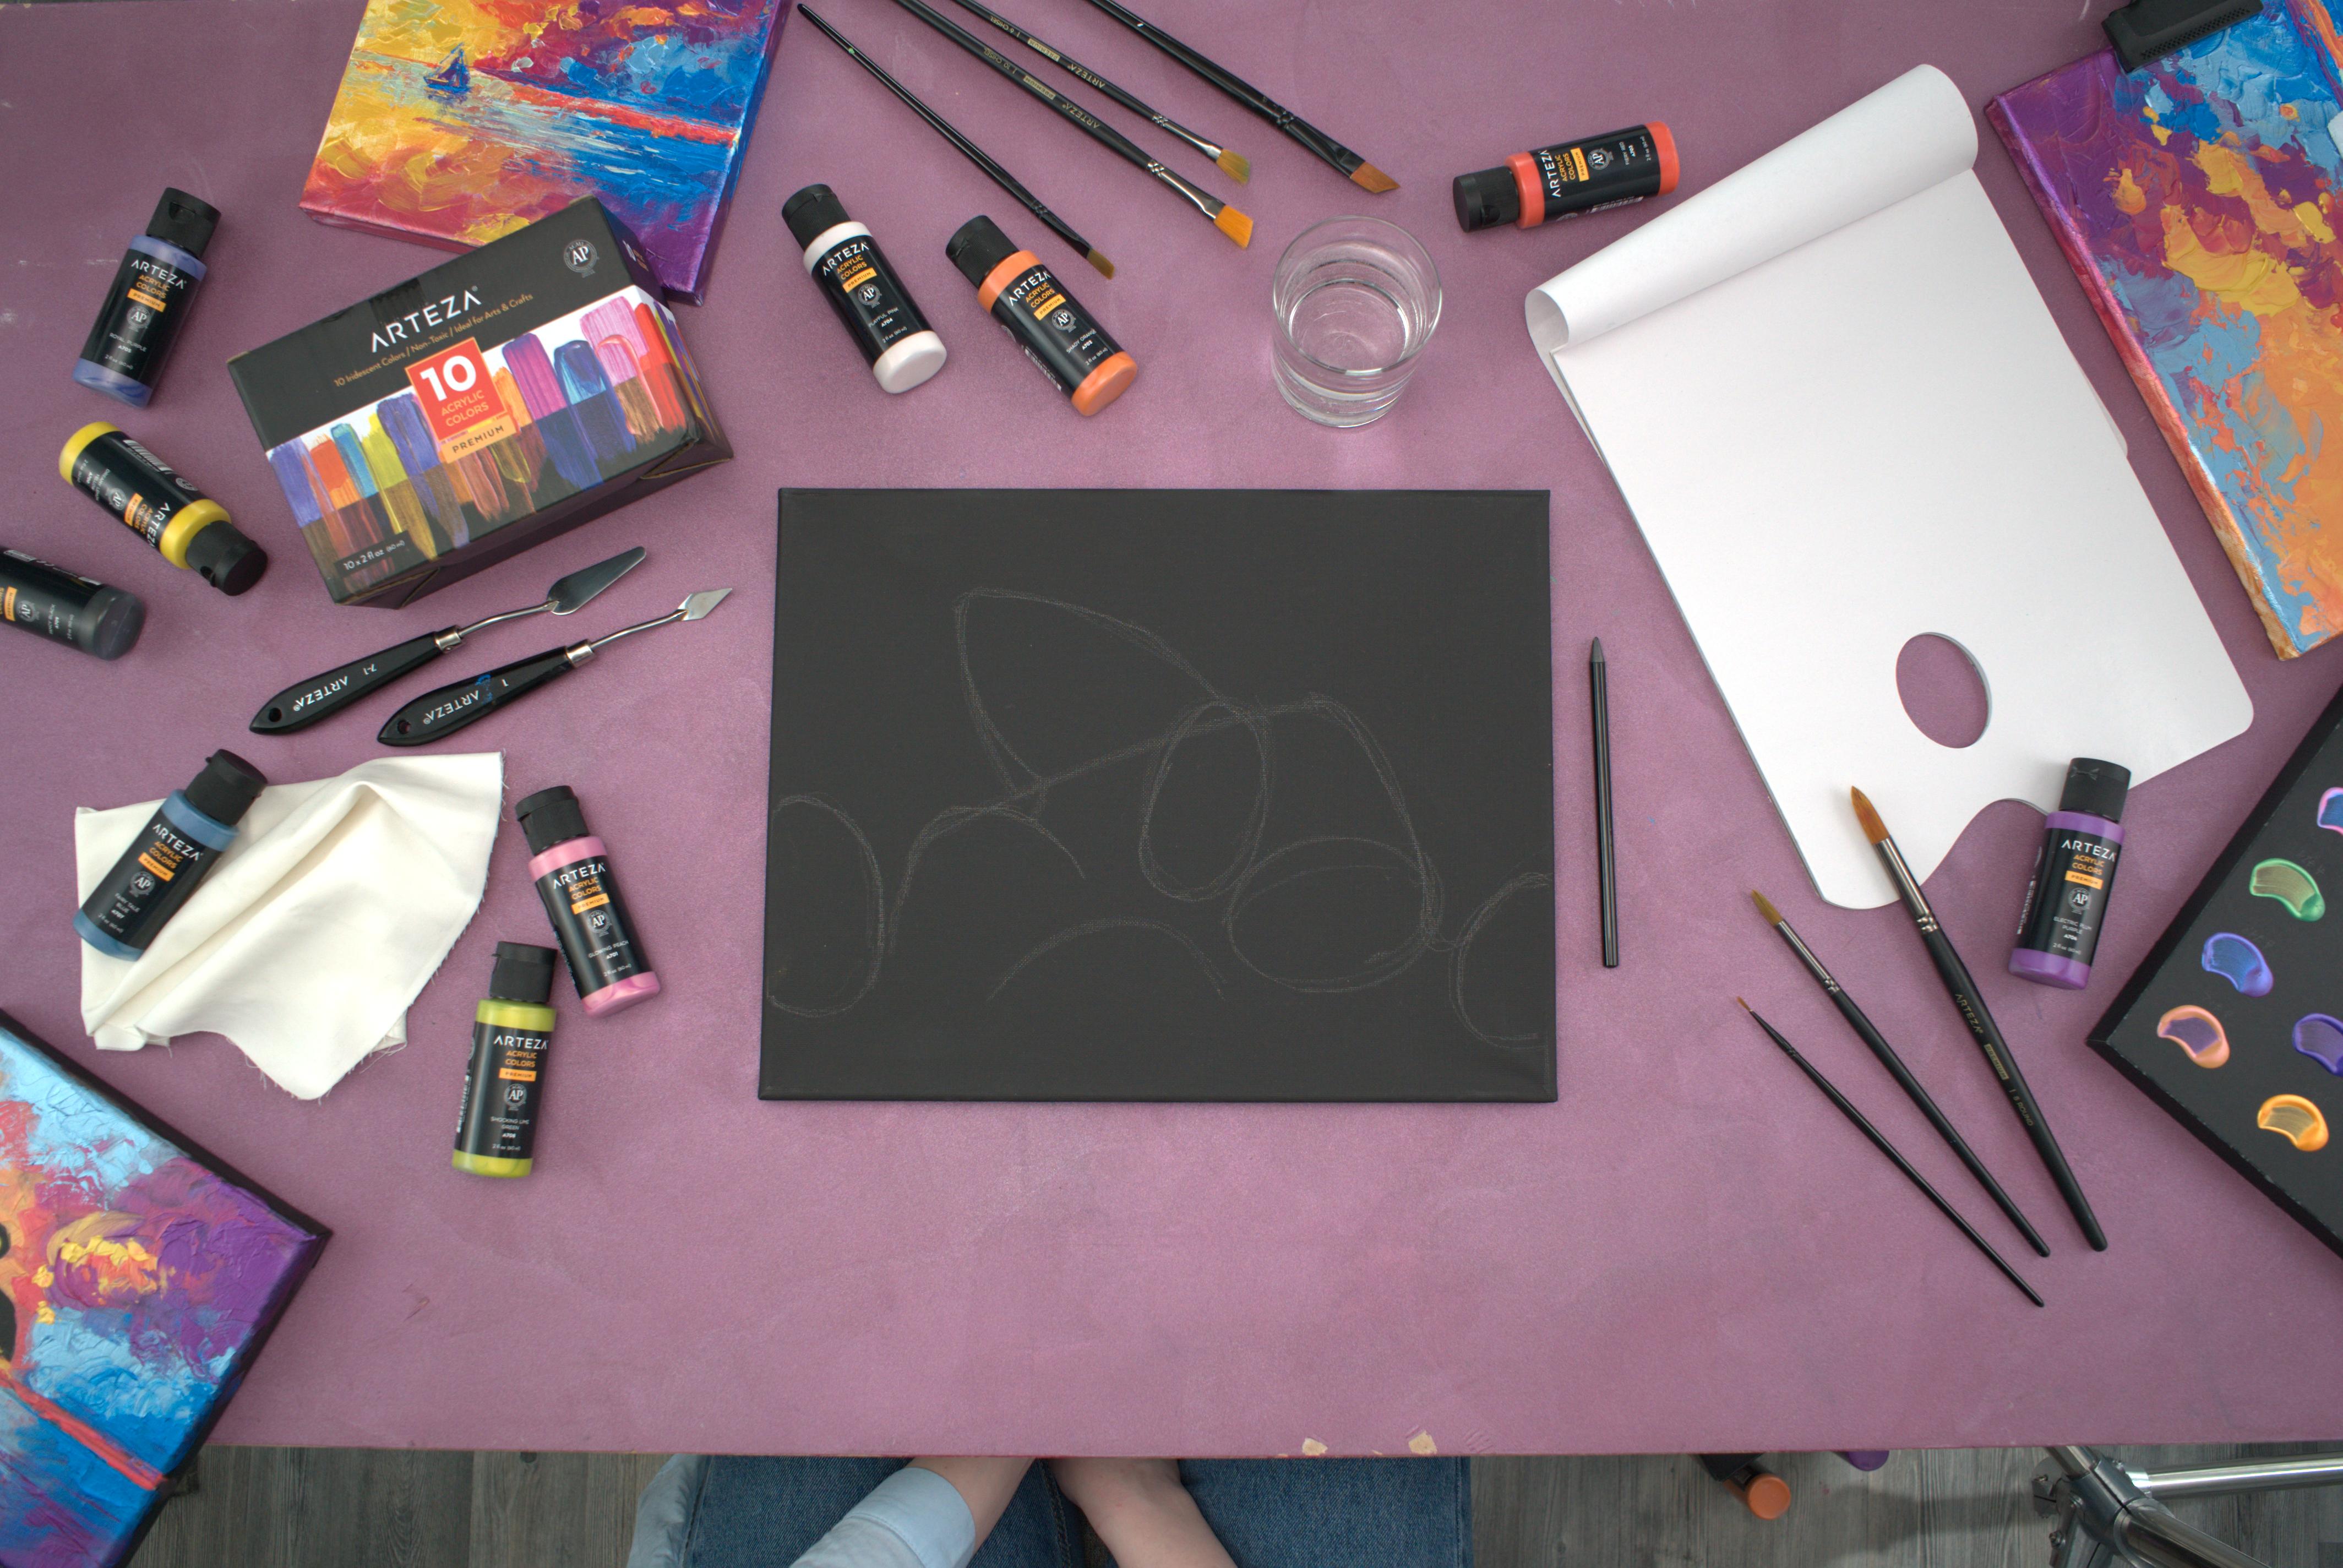
Start by sketching your clouds. We used a woodless pencil from Arteza’s Professional Drawing Pencils Set of 33, the graphite lead shows up clearly on black backgrounds. At this stage, you should be focusing on creating your general cloud formation; avoid any details for now. Once you feel confident with your sketch, outline it to create a simplistic drawing to follow. Next, work section by section to create a complete cloud composition to color.
Fun Fact: Clouds are just large, visible groups of tiny water droplets.
Step 2
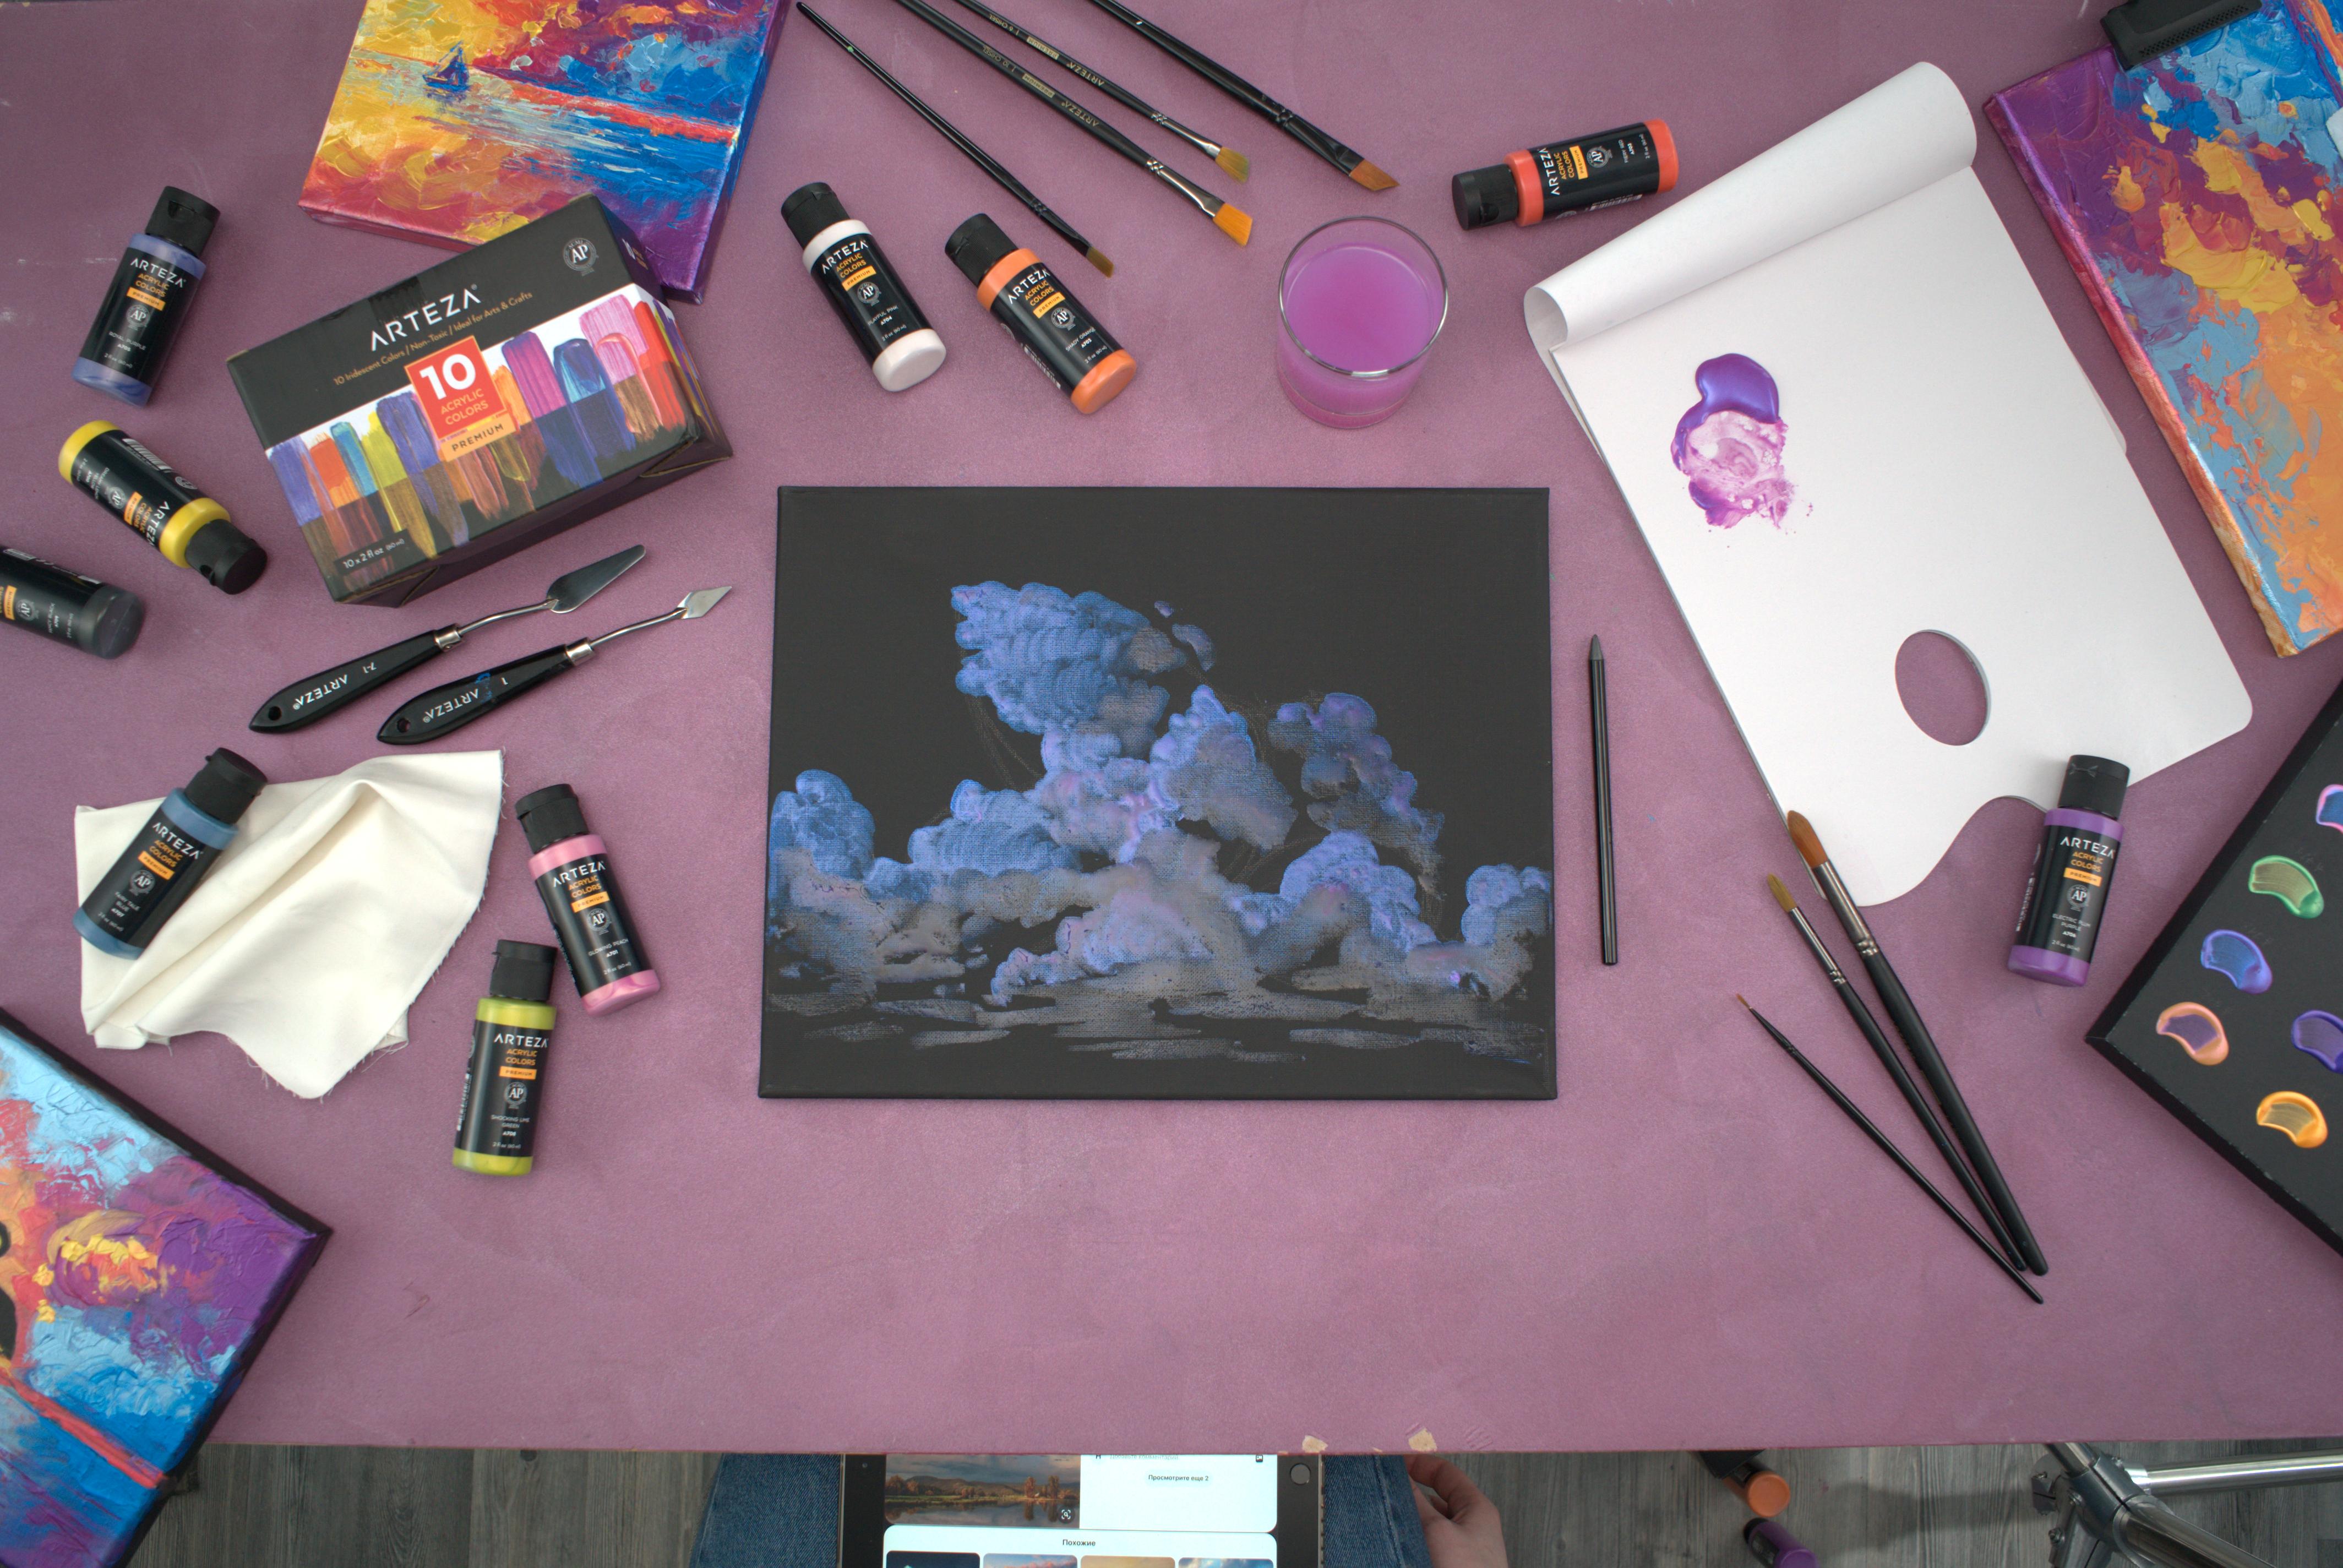
Time to add color! On your disposable palette pad, start with color A706 Electric Plum Purple, on a large/size 8 round brush. Mix this color with water to create a more translucent medium. When working with acrylic paints, it is best to work your way up, starting with a watered-down color and ending with paint straight from the bottle (or palette).
Next, choose a light source for your cloud painting. In our painting, we have a clear light source on the left side of our cloud formations. Using circular motions, to create a cloud like texture, form the silhouette of your clouds. In some areas of your paintings, leave negative space between your clouds—this will add dimension to your work! Towards the bottom of your clouds, create wavy horizontal lines that fade away. After filling all of your cloud formations with this color, and allowing it time to dry, you’re ready to move onto the next step.
Fun Fact: During sunset, clouds closest to the horizon reflect light first.
Step 3
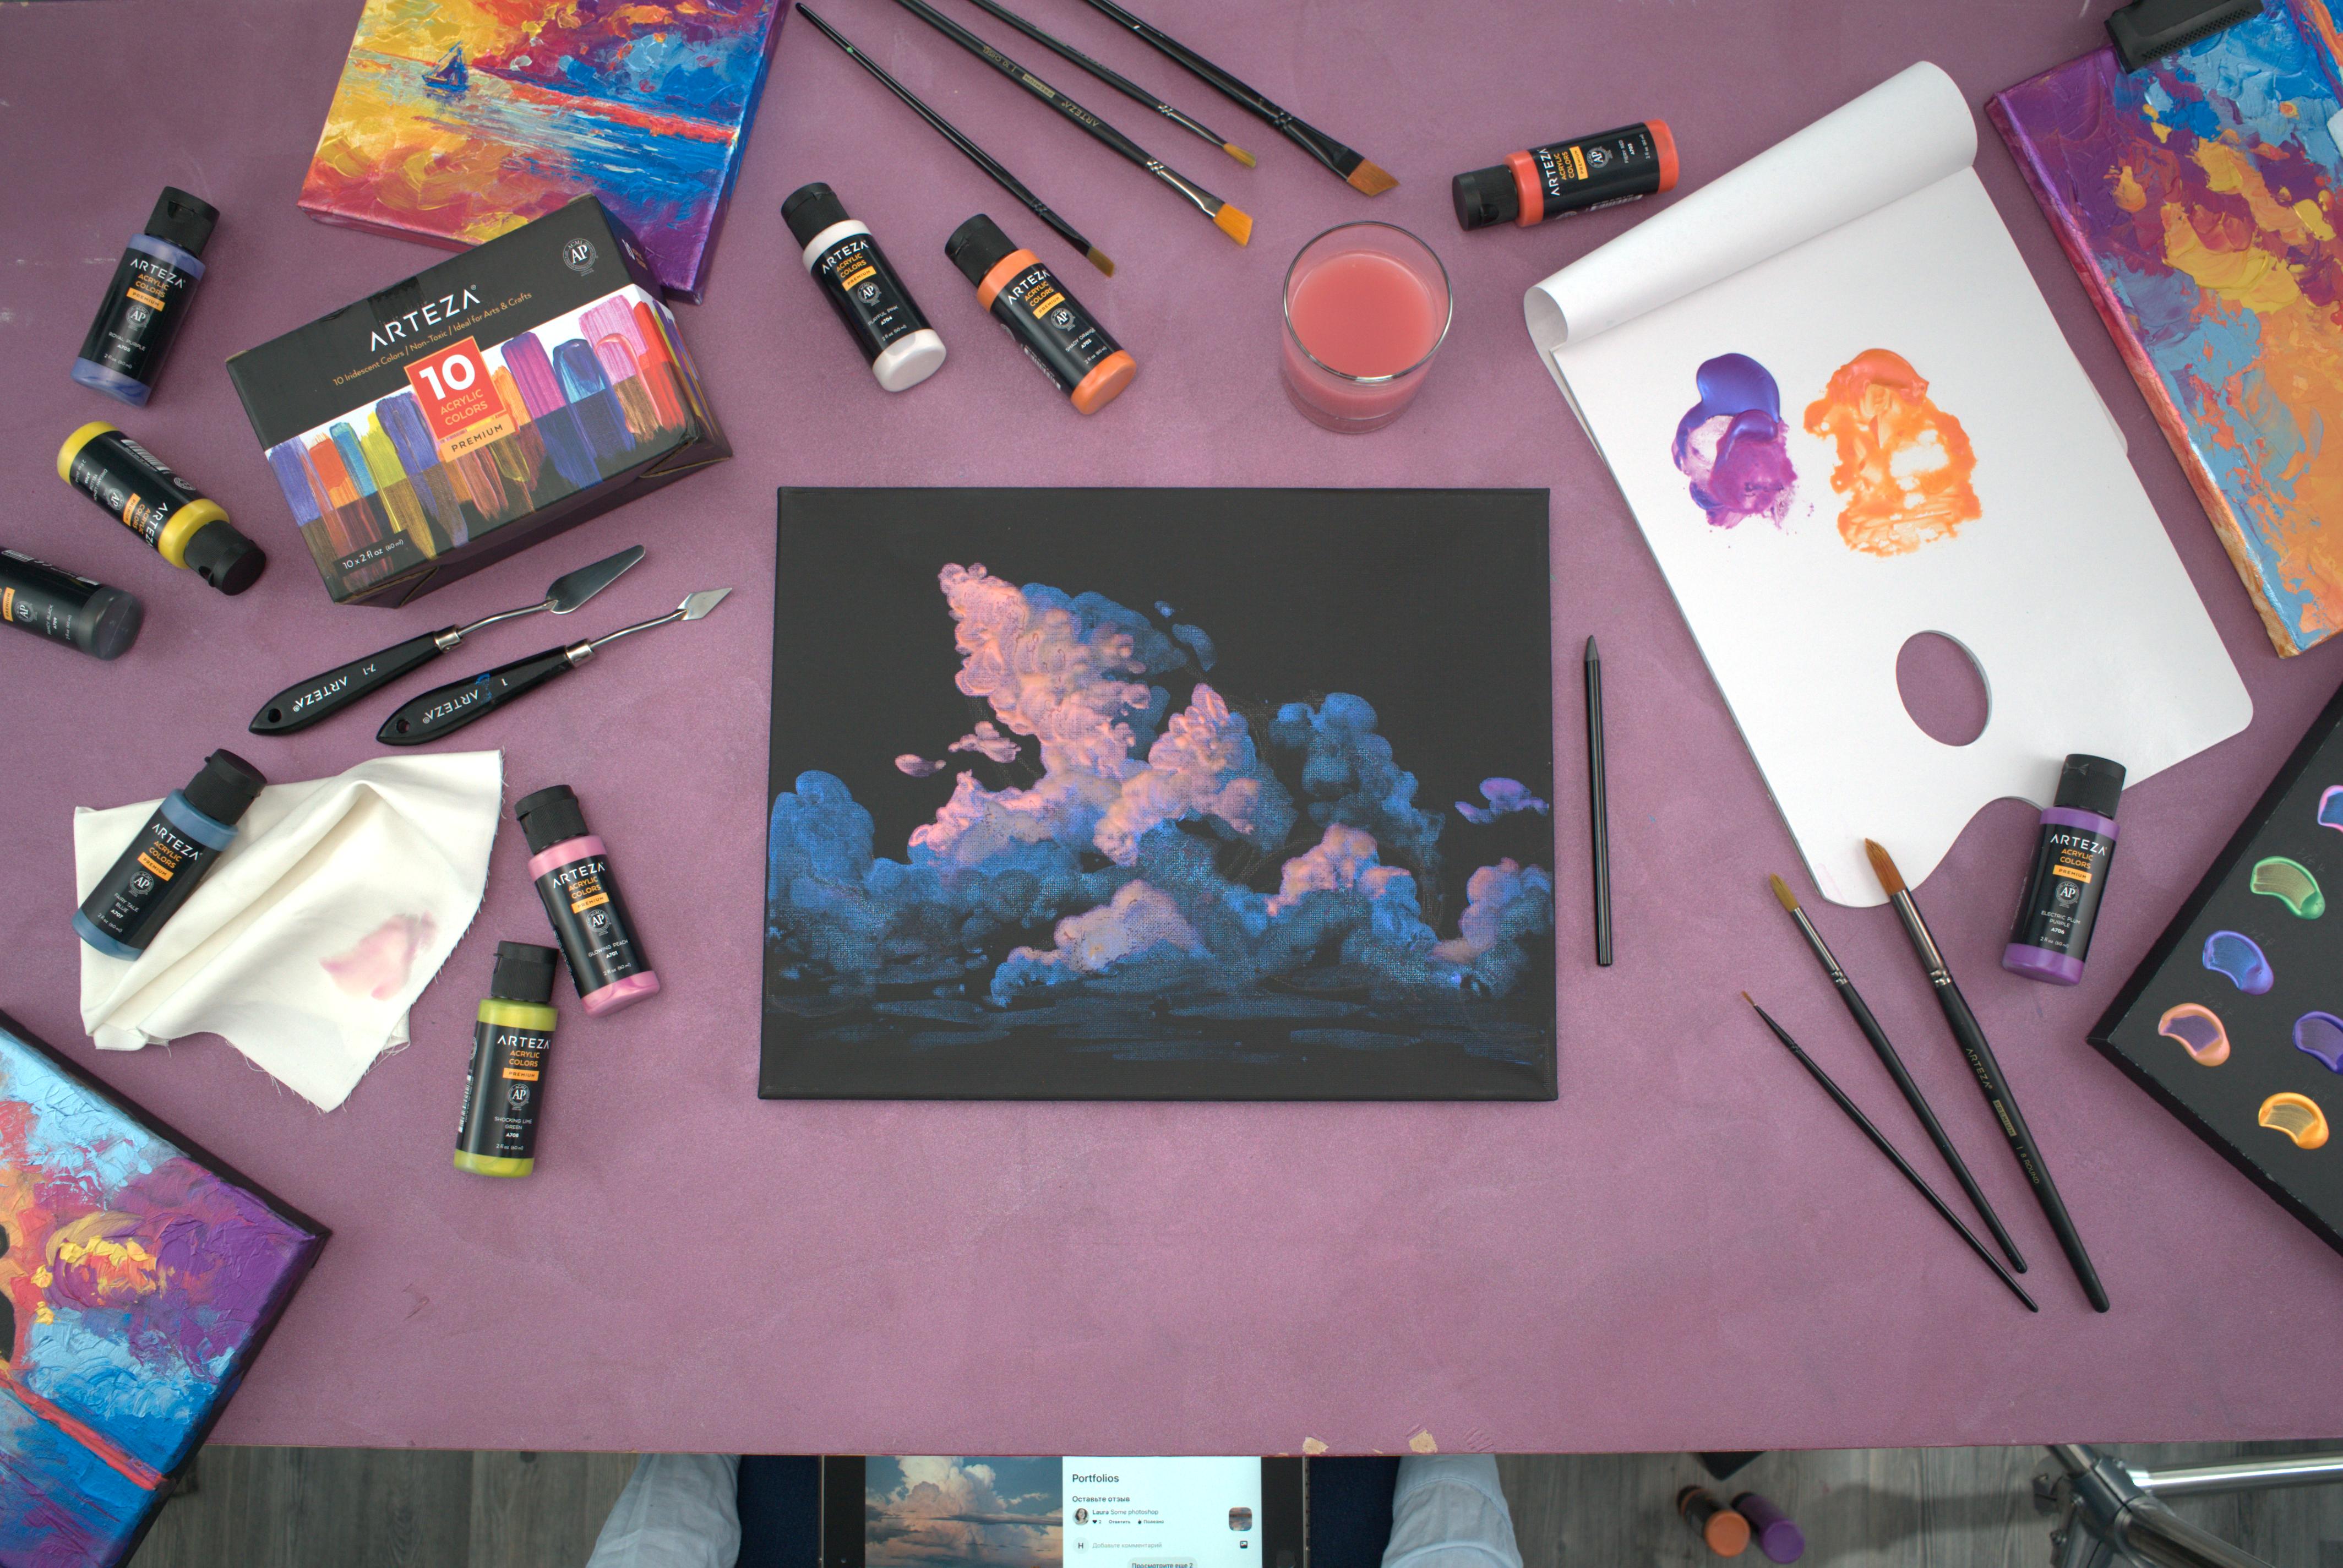
Next you’ll be tackling the sun’s rays shining through your clouds. Using A702 Shady Orange, watered down slightly, apply more circular brush strokes to your painting in places where the light hits. The farther your clouds are from the light source, the less saturated that area should be. Wherever you first touch your brush to the canvas is where the most product will go, therefore we suggest starting with your light source then working your way out from there. Allow time for this layer to dry before moving onto Step 4.
Fun Fact: Green colored clouds often indicate a tornado is coming.
Step 4
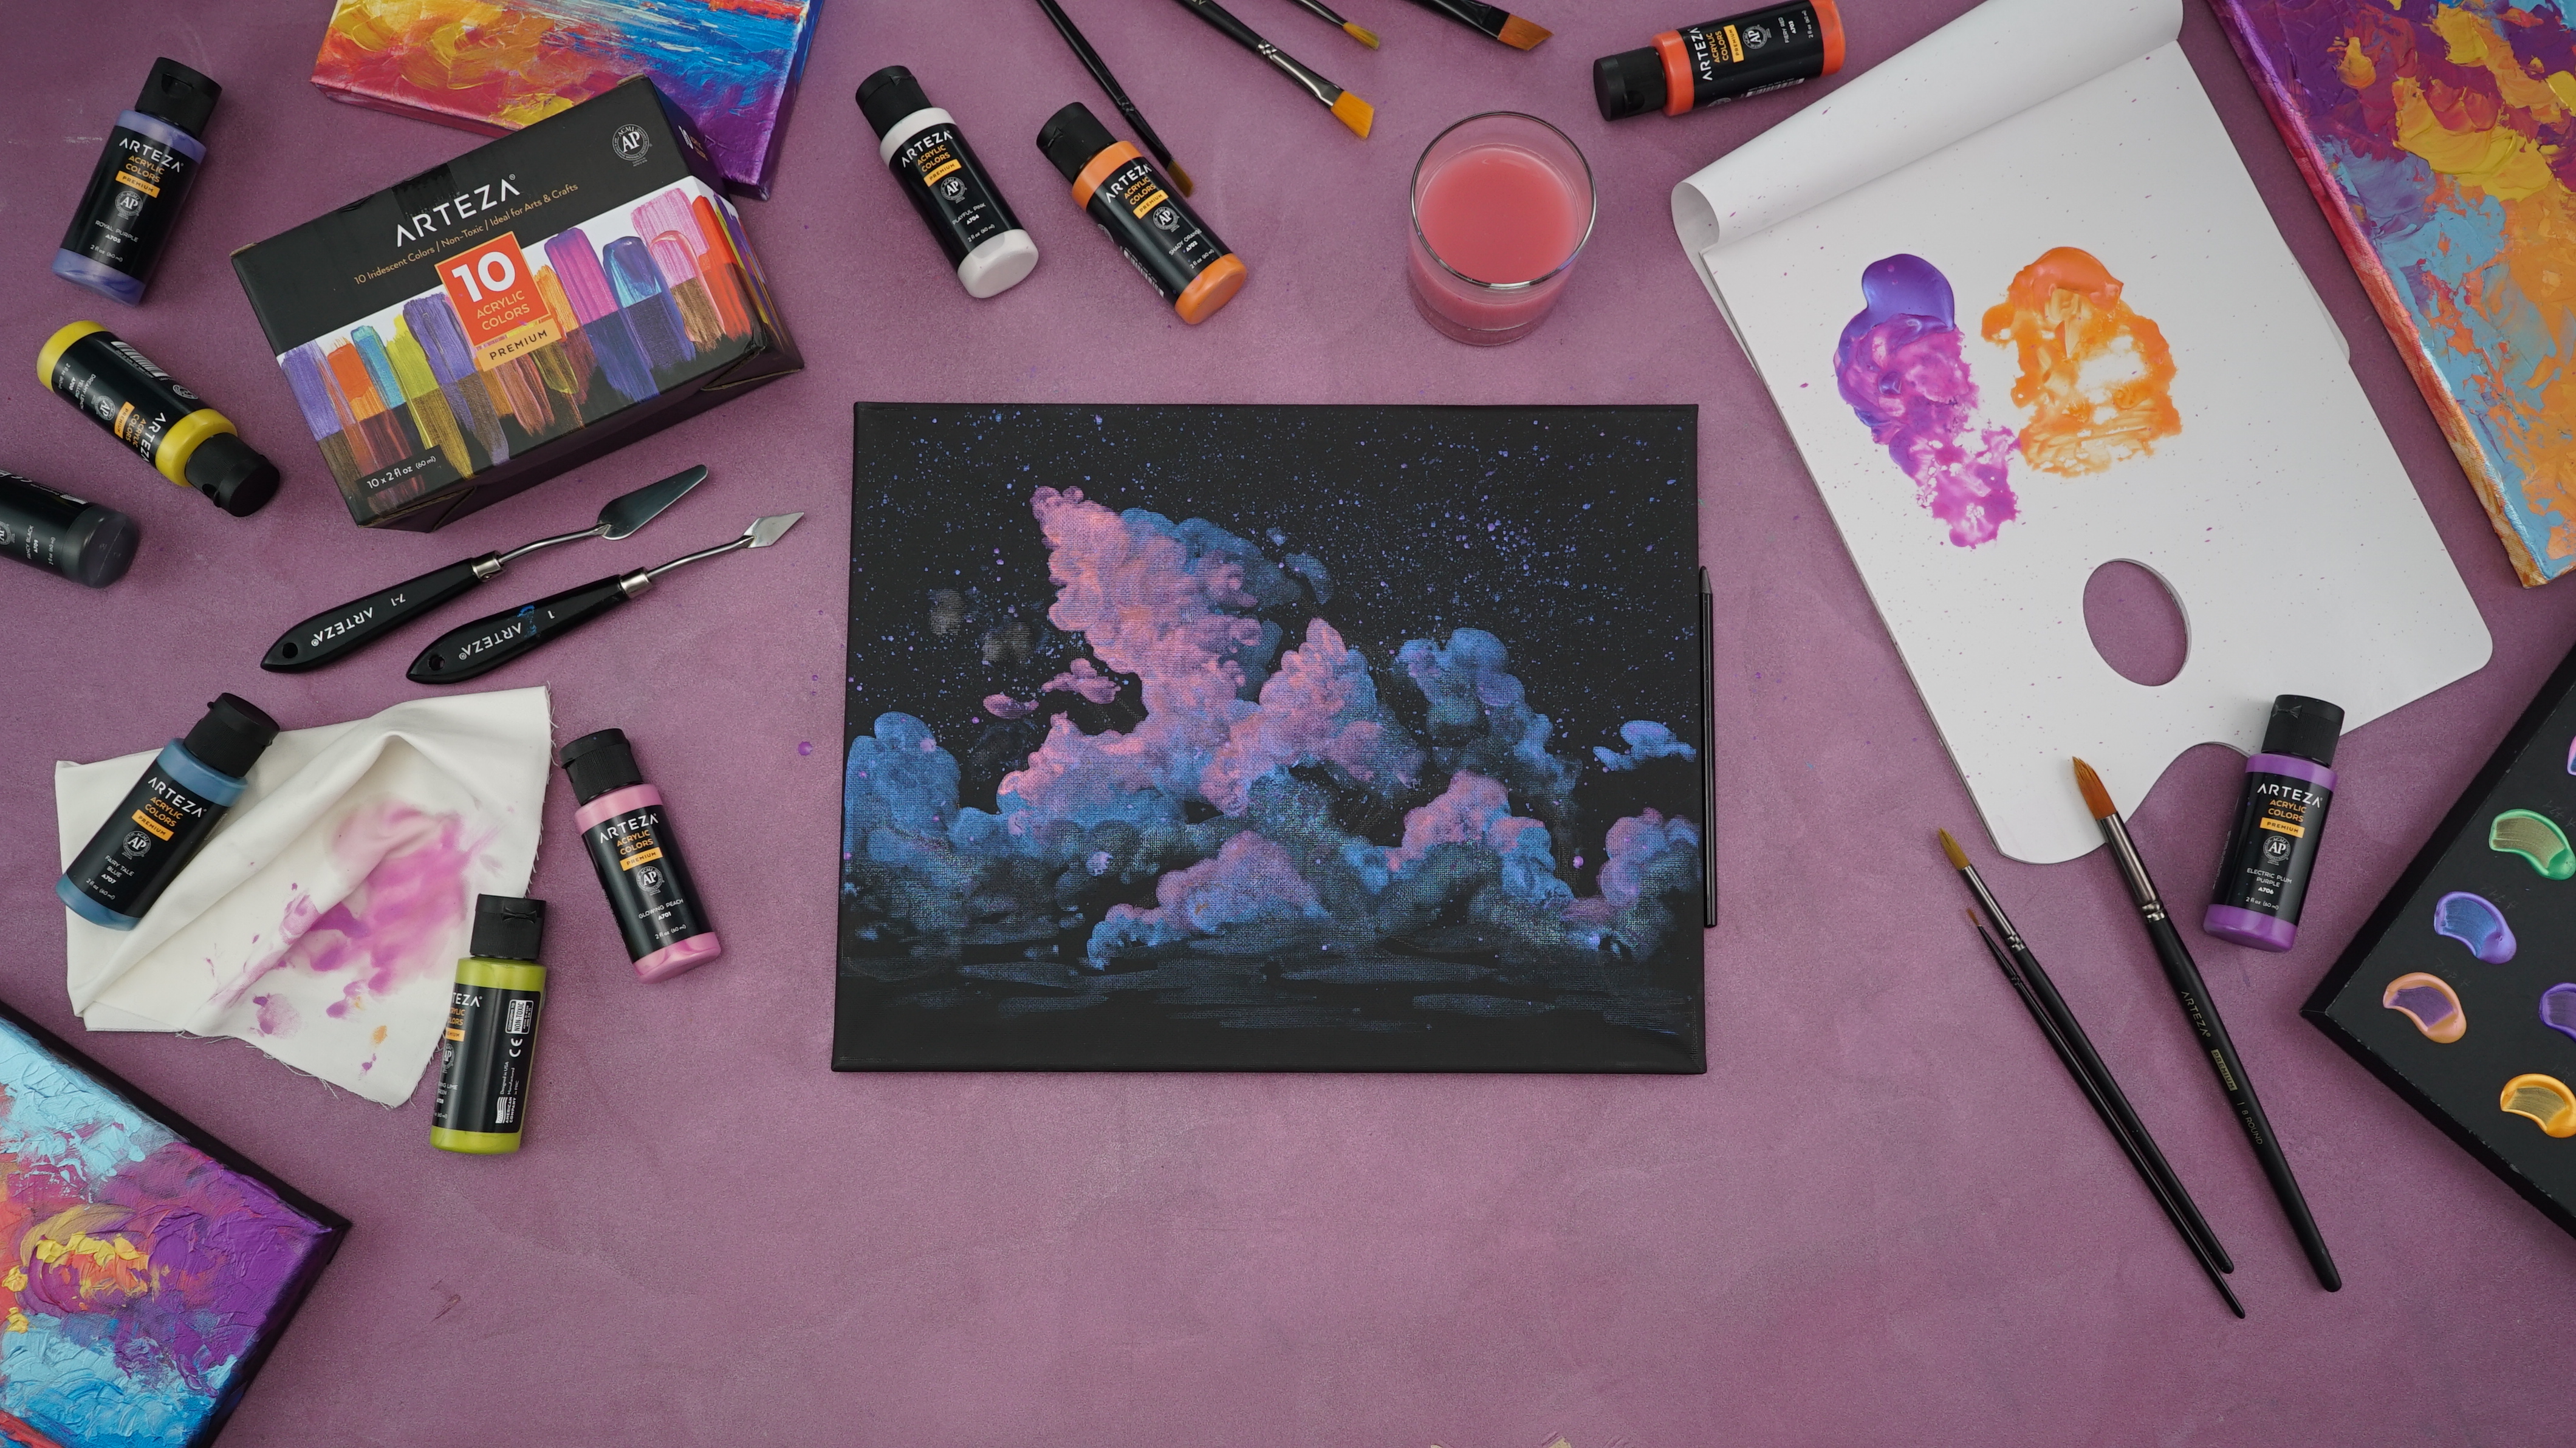
In this step, we will be adding a beautiful array of stars to complement your sunset clouds. Start by diluting A706 Electric Plum Purple with some water, then use your fingers to flick the paint from your paintbrush over your painting. If you’re nervous about this step, simply do a test-trial on a scrap piece of painting paper, or on a spare canvas. This painting technique adds dimension to your cloud painting instantly. If you drip too much water on your canvas, gently dab it with a dry paper towel.
Step 5
Time to add the finishing touches! Use a palette knife size 7-1 with A702 Shady Orange, very gently create texture. Continue to apply your paint in a circular motion. Add as many layers needed until you feel your painting is complete. Wow! Look at the stunning cloud painting you were easily able to achieve using Arteza’s Iridescent Acrylic Paints (Set of 10), Stretched Black Canvas, Acrylic & Oil Paint Brushes (Set of 12), and Disposable Palette Pad. Let us know in the comments of this article how your sunset cloud painting turned out!
Now that you have the clouds down, are you ready to draw the sun, or perhaps stars? For more amazing Arteza products, shop our site for your next creation.


