
Table of Contents:
- Getting Ready for Your Water Sketch
- Supplies Needed
- Step-by-Step Guide to the Water Droplet Drawing
- Helpful Hints
- Finishing Your Water Sketch
Getting Ready for Your Water Sketch
We’ll be showing you how to transform a simple circle into a water droplet sketch so realistic, you’ll think you got water on your paper! Water can be a complex thing to draw because it is transparent and will adapt to highlights and shadows in a unique way. You’ll find that with the right shadows and light areas, you can make it seem like your drawing is jumping right off the page. We’ll be breaking down how to draw water droplets into easy steps so you can follow along. All you’ll need is some sketching supplies and some quality paper to get started.
A good set you could use for this drawing is the Expert Drawing Pencil Set, 33 Pieces. It includes drawing pencils in varying hardnesses, woodless graphite pencils, sharpeners, erasers, blenders and more. You can use all these tools to add lots of values to your artwork and create beautiful graphite pieces of art.
Supplies Needed
- Gray Toned Paper
- 8B Pencil
- White Charcoal Pencil
- Medium Paper Blender
All these materials can be found in the 33 piece Professional Drawing Set.
Step-by-Step Guide to the Water Droplet Drawing
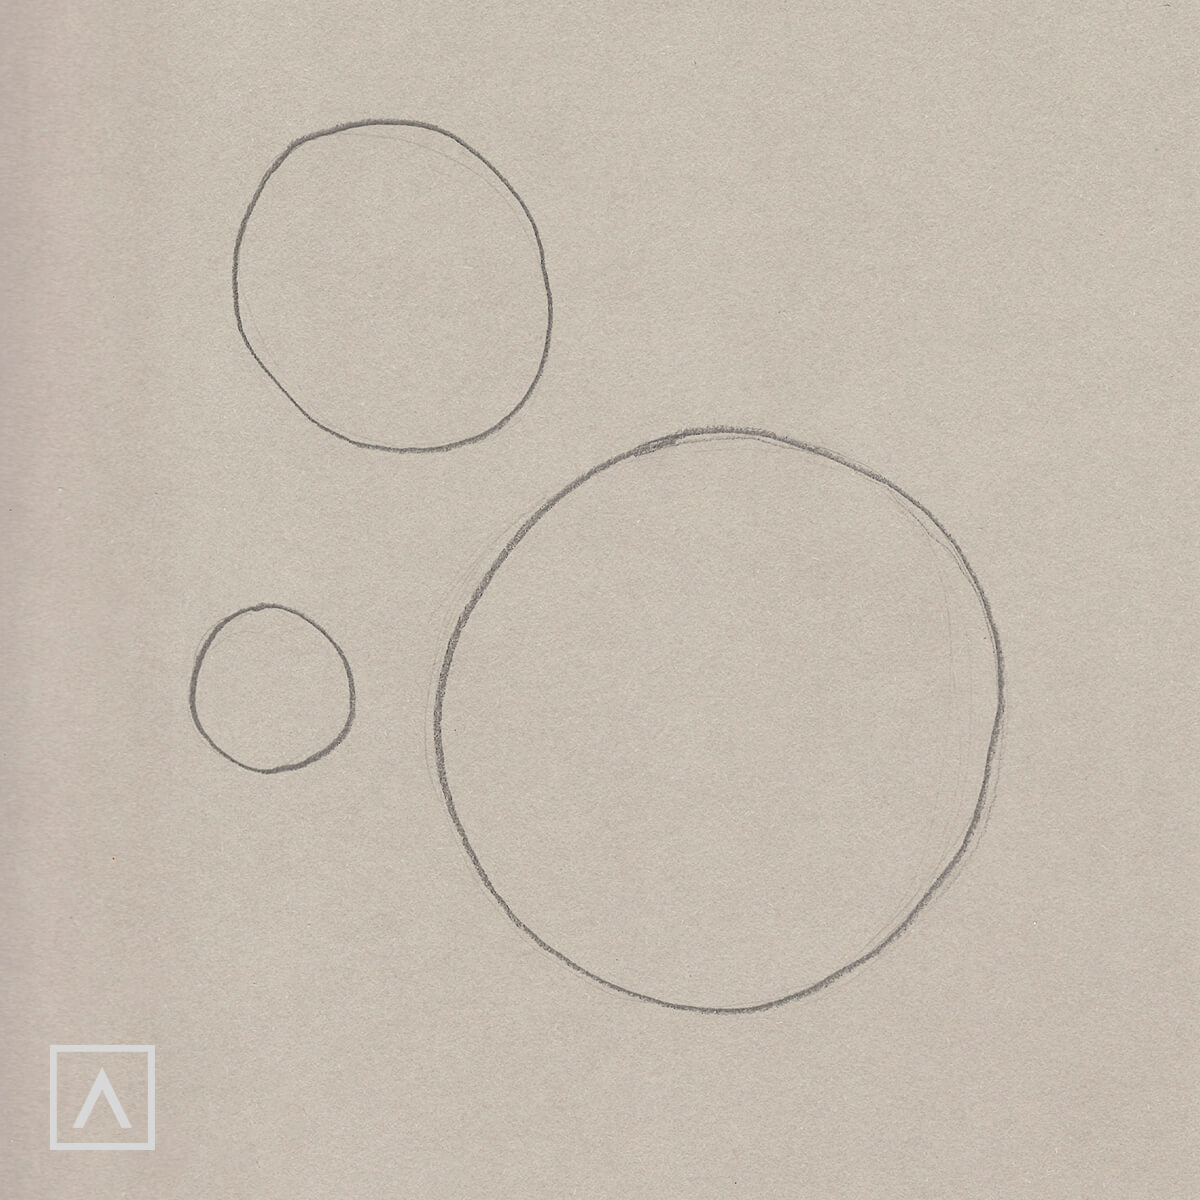
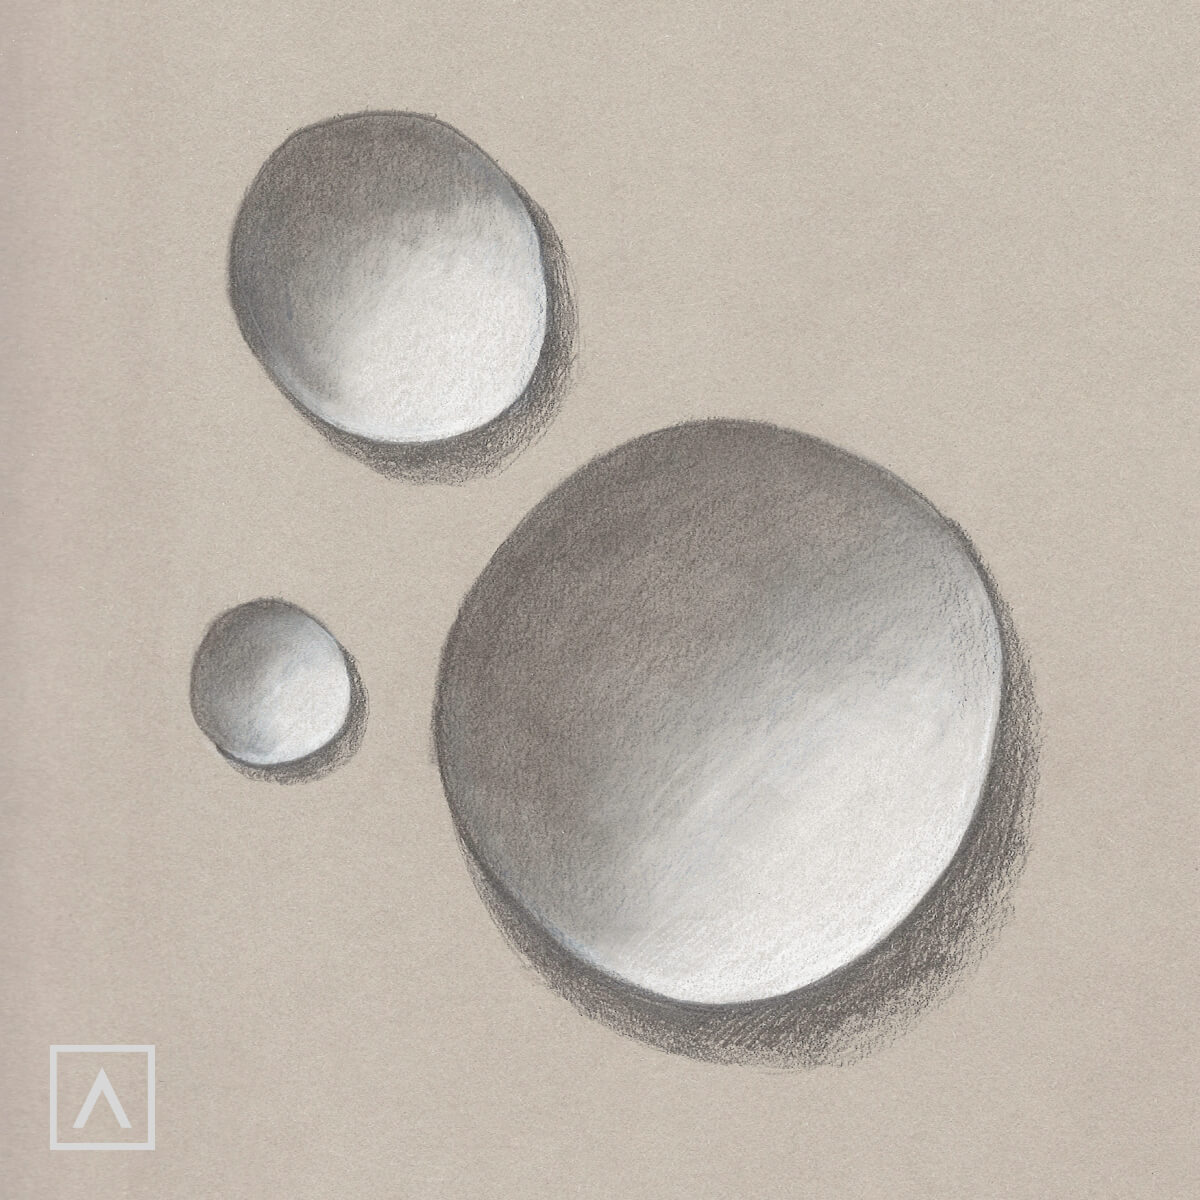
Step 1
Sketch three circles of different sizes. We decided to draw three water droplets because we can arrange them into an interesting and balanced composition. If you just want to practice or try it out, you can start by drawing only one droplet. You’ll want to draw a medium-sized droplet in order to see what you’re doing clearly and allow you to repeat the next steps successfully. Before we start drawing or shading any realistic object, we’ll want to ask ourselves the following questions:
- Where does the light come from?
- Where is the light source?
- Where will a glare appear?
- Where does the shadow appear & where does it fall?
- What highlights appear from the environment and from where?
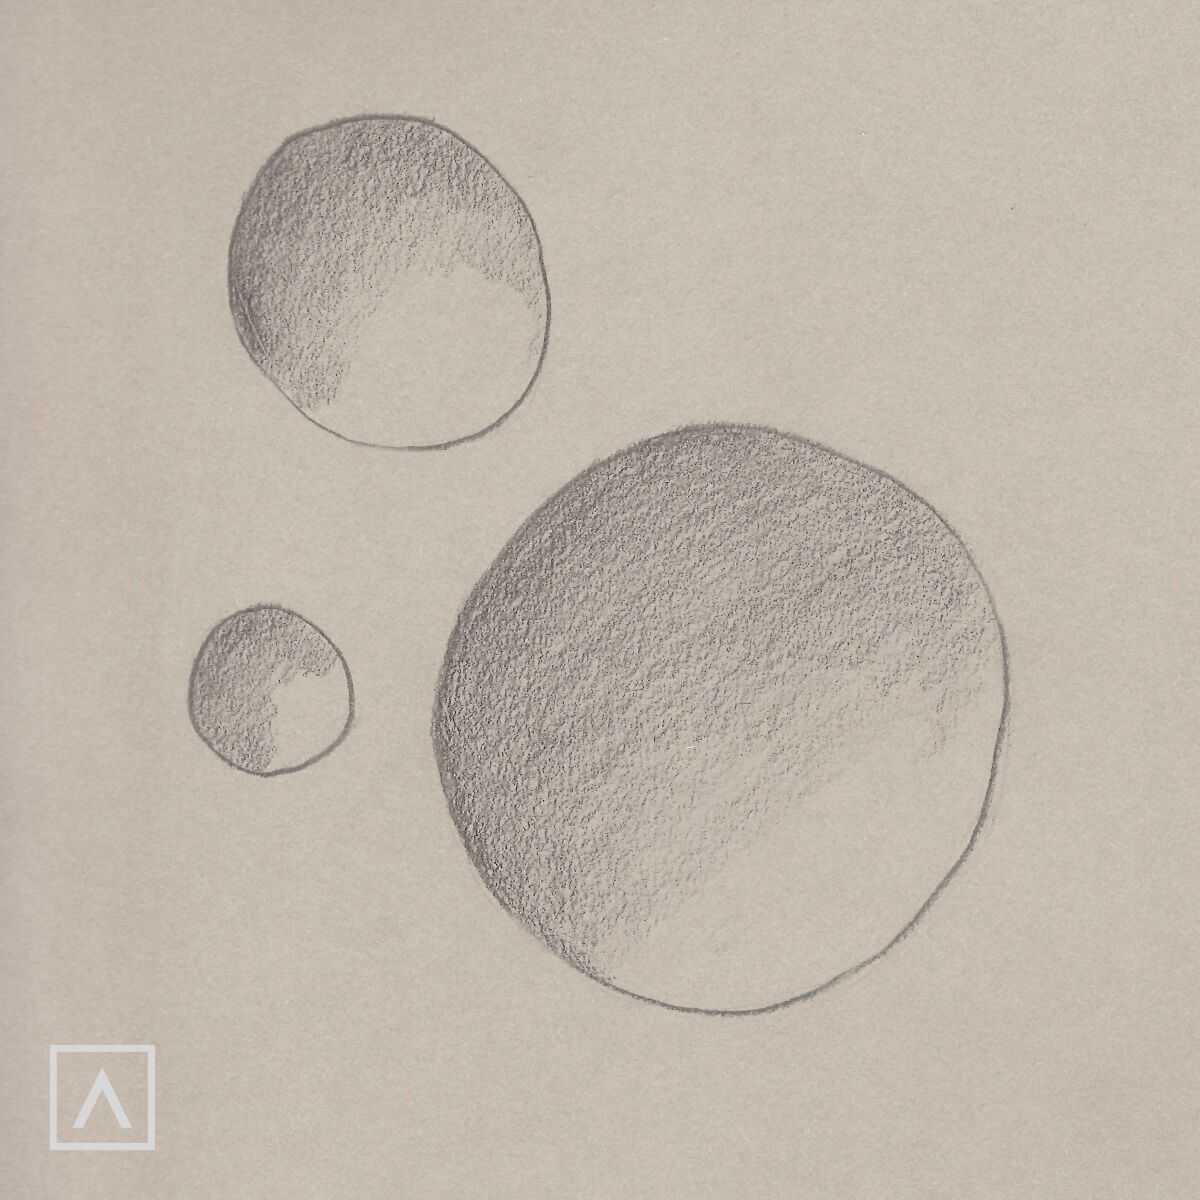
Step 2
Now that we’ve observed our water droplets, let’s start to add shading. Water is transparent, which means that it will be the color of the environment around it. When sketching the droplets on a gray background, they will be slightly darker than the tone of the gray paper.
Start coloring and adding volume to the droplets. You need to decide where the light will fall on the drop. In our drawing, the light falls from the top, on the left side. This means we will shade over this part of the droplets using a pencil that will be the main tone. Shade over half of the drops.
Tips:
- Make sure not to press too hard on the pencil and shade with light, even movements. You’ll want to create a gradient starting from the edges, then lessen the pressure as you move towards the center. It'll be easy to mix the light and dark parts of the droplets because we aren’t pressing too hard on the pencil. This will give us a smooth and uniform gradient.
- In order to start filling the drop with shading, hold your pencil at about a 45-degree angle. You’ll want to hold your hand over the pencil, unlike how we would hold a ballpoint pen. This way you won't draw using the tip of the pencil, but with the side of the graphite tip. You can easily create loose layers and cover a large area of the object being drawn.
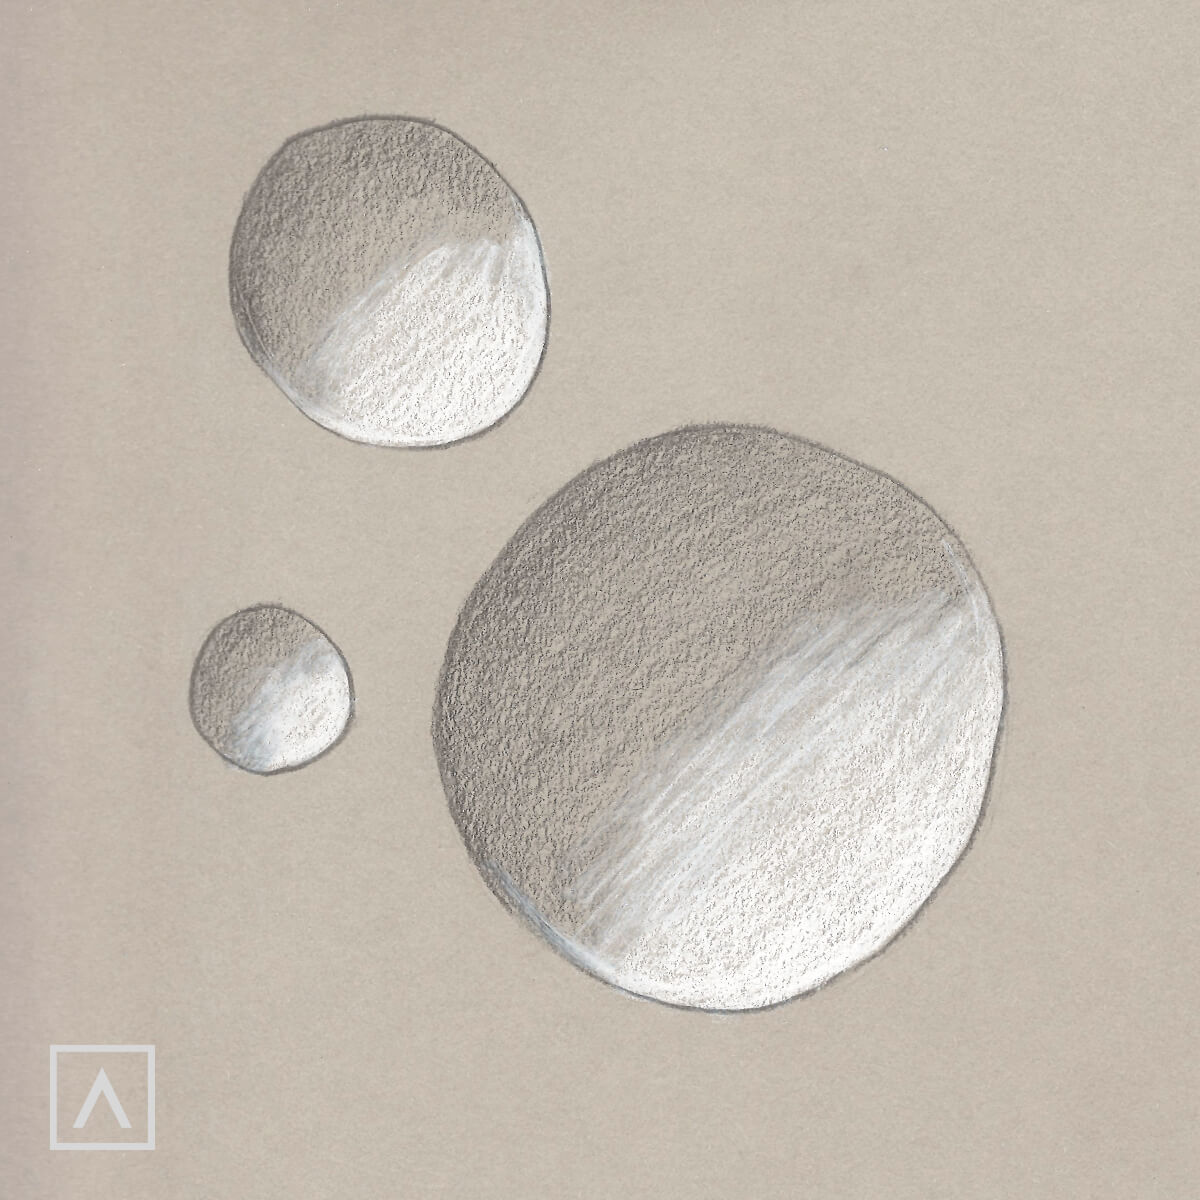
Step 3
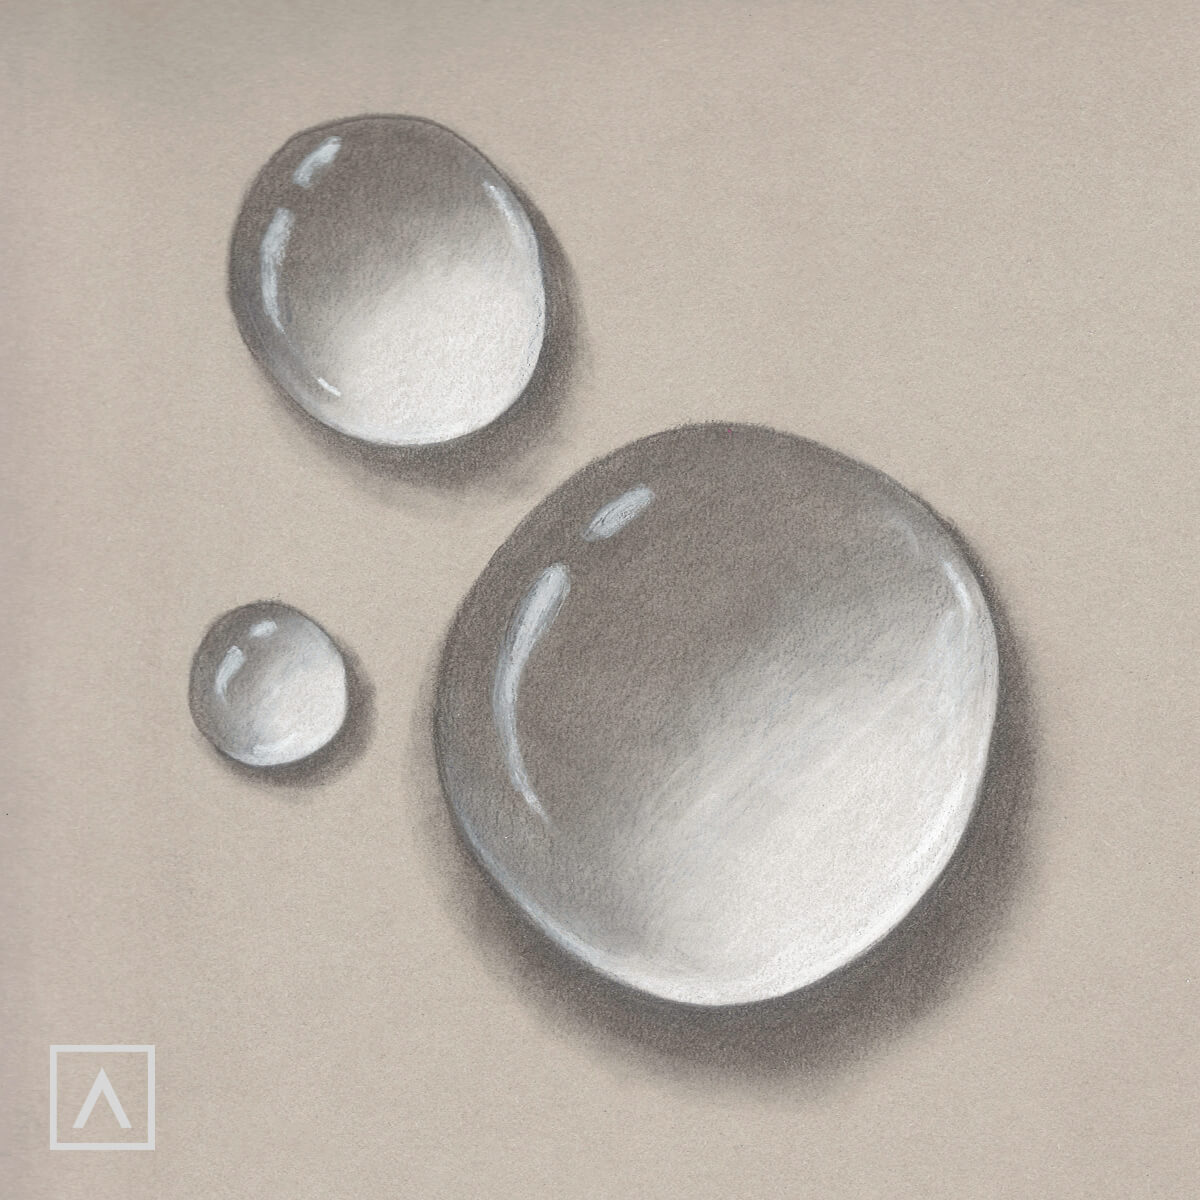
We already know that our ray of light falls on the drop from the top left corner. Where the light touches the drop, a highlight will appear. A highlight is a bright area of the object. We will create this effect using a white charcoal pencil and the same techniques that we used to fill the droplets with other tones.
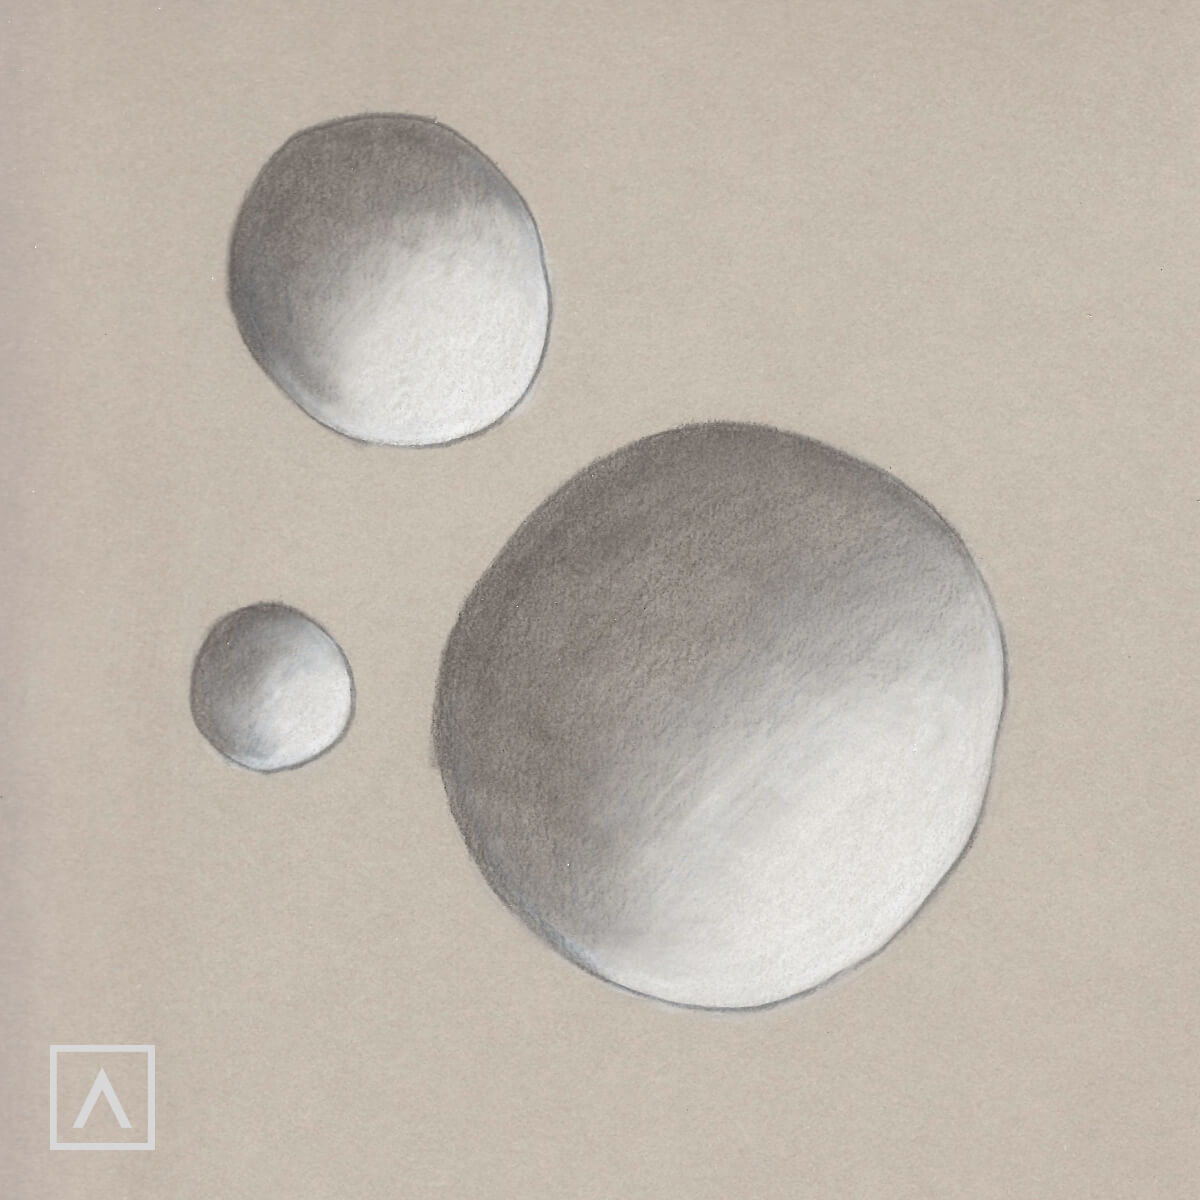
Step 4
Use the medium paper blender from the set to give the drop a more transparent look and smooth out our shading. Use the paper blender to blend the gray and white parts, making a smooth gradient from gray to white.
Tips:
- Do not press too hard on the paper blender to get a smooth gradient. First, shade the light area gradually, then move on to the dark area.
- You always want to work from light to dark when you’re building up shading and tones. If your drawing happens to be too light, we can easily darken tones. However, if the tone is too dark, it will be much more difficult to lighten the area.
- If you use an eraser, this may disrupt the layers of shading you’ve developed. You may have a slightly more difficult time getting a very smooth transition from light to dark.
Step 5
If there is light, then there must be a shadow. It will typically form on the opposite side of the light source. Draw small dark arcs under each drop to represent the shadows they’re casting.
Step 6
Blend the shadows coming from the droplets to make them look softer and more diffused.
There is always at least one light source in any environment. When we know where the light is coming from, we can direct the rays of light onto our droplets. In the place where the rays hit the water drops, a bright glare will appear. The glare will be small, but very clear and bright. It is often represented by a pure white dot on the droplet surface.
We will also add more highlights on the drops to show their volume.
Helpful Hints
- The Expert Drawing Pencil Set, 33 Pieces set has everything you need to complete a variety of sketches, including the water droplets we taught you to draw today. It includes everything from paper blenders to pencils in a wide range of hardnesses.
- The white charcoal pencil works beautifully on paper and will be able to leave a bright white highlight wherever you need. You can also blend it into your other tones to brighten tones or even darken highlights.
- In the set, you’ll find three different sizes of paper blenders. This allows you to shade details of different sizes with precision. Paper blenders are made of very soft paper so they will only blend the areas you need without disrupting the background or surrounding areas.
Finishing Your Water Sketch
Don't worry if your drawing isn’t perfect the first time around, just keep trying! Shading can be difficult and definitely takes a bit of time to truly observe and understand your subject. Remember to go slow and keep practicing so you can see improvement over time. Once you get the hang of shading, all your simple drawings will turn into beautiful realistic masterpieces. Feel free to take pictures of your finished sketches and share them with us on social media and leave a comment with any other helpful tips or tricks you might have!


1 comment
That’s great!….Really very helpful😀😁…
Also, please make how to draw skin textures…..😊😊