
Table of Contents:
Painted Cats Are Fun & Easy
I love painting cats for a lot of reasons. First, there are so many breeds that I can paint cats for days and never paint the same type twice. Second, they come in so many colors, from black to gray to orange to brown to white. They also come in lots of combinations of those colors and some with stripes or spots. Cats also have different kinds of fur, which pushes me to create realistic long- or short-haired varieties. Lastly, they will hold a pose longer than dogs, allowing me to more easily paint them from life.
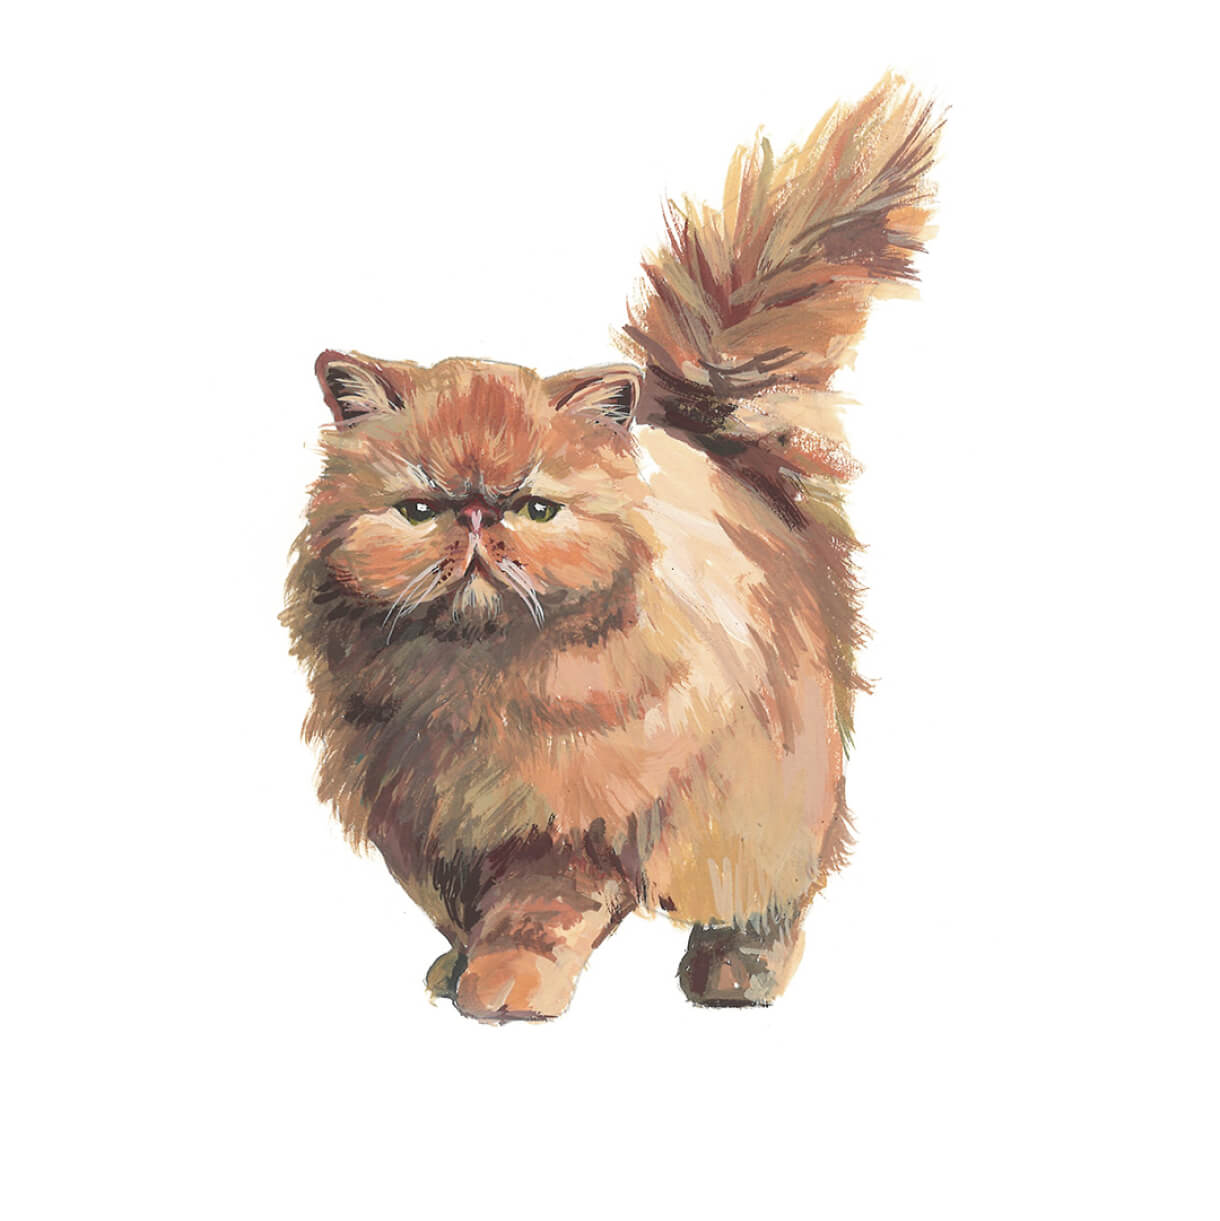
The cat I’m demonstrating for you here is a Persian cat. To capture its soft and fluffy fur, I used gouache paint , which is a thicker form of watercolor paint. I enjoy using it because it may be thinned with water to get translucent effects similar to watercolors, or used thicker for the look and feel of acrylics.
List of Supplies
- Gouache Premium Artist Paint, 12ml Tubes - Set of 60
- Detail Paint Brush
- Watercolor Pad, 9 x 12 in, 32 Sheets - Pack of 2
Create a Purrr-fect Cat Painting
Hint: If you don’t have a cat, use images off the internet as a reference for your cat sketch.
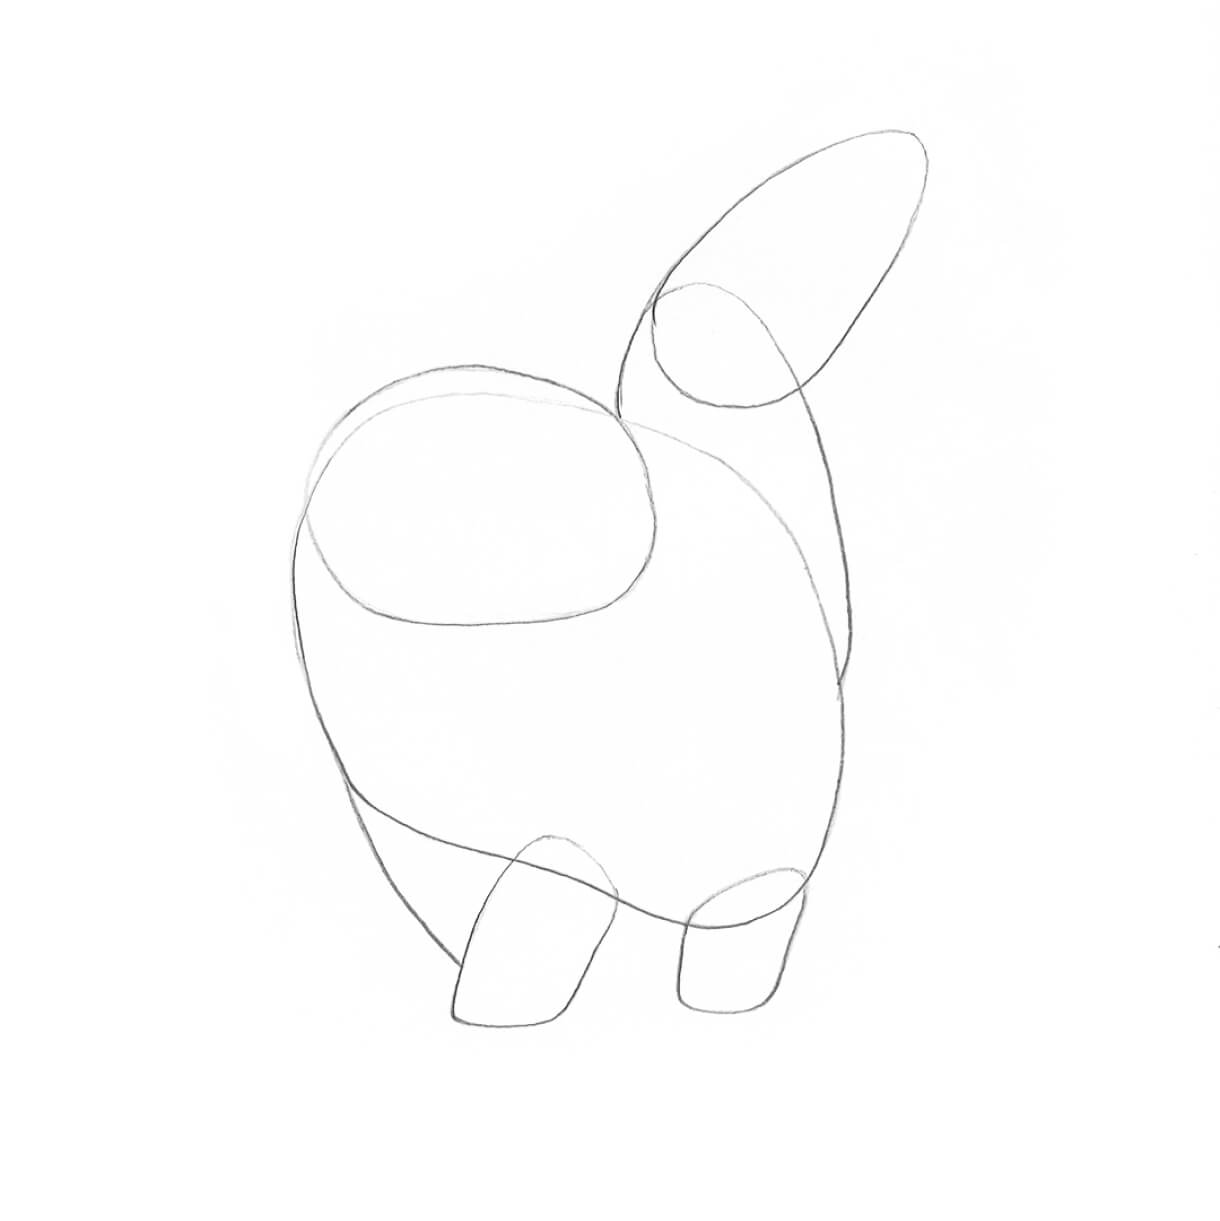
Step 1
I prepare by sketching simple rounded forms to represent a body, head, legs, and tail. Notice your cat’s pose and try to match your shapes to what you see.
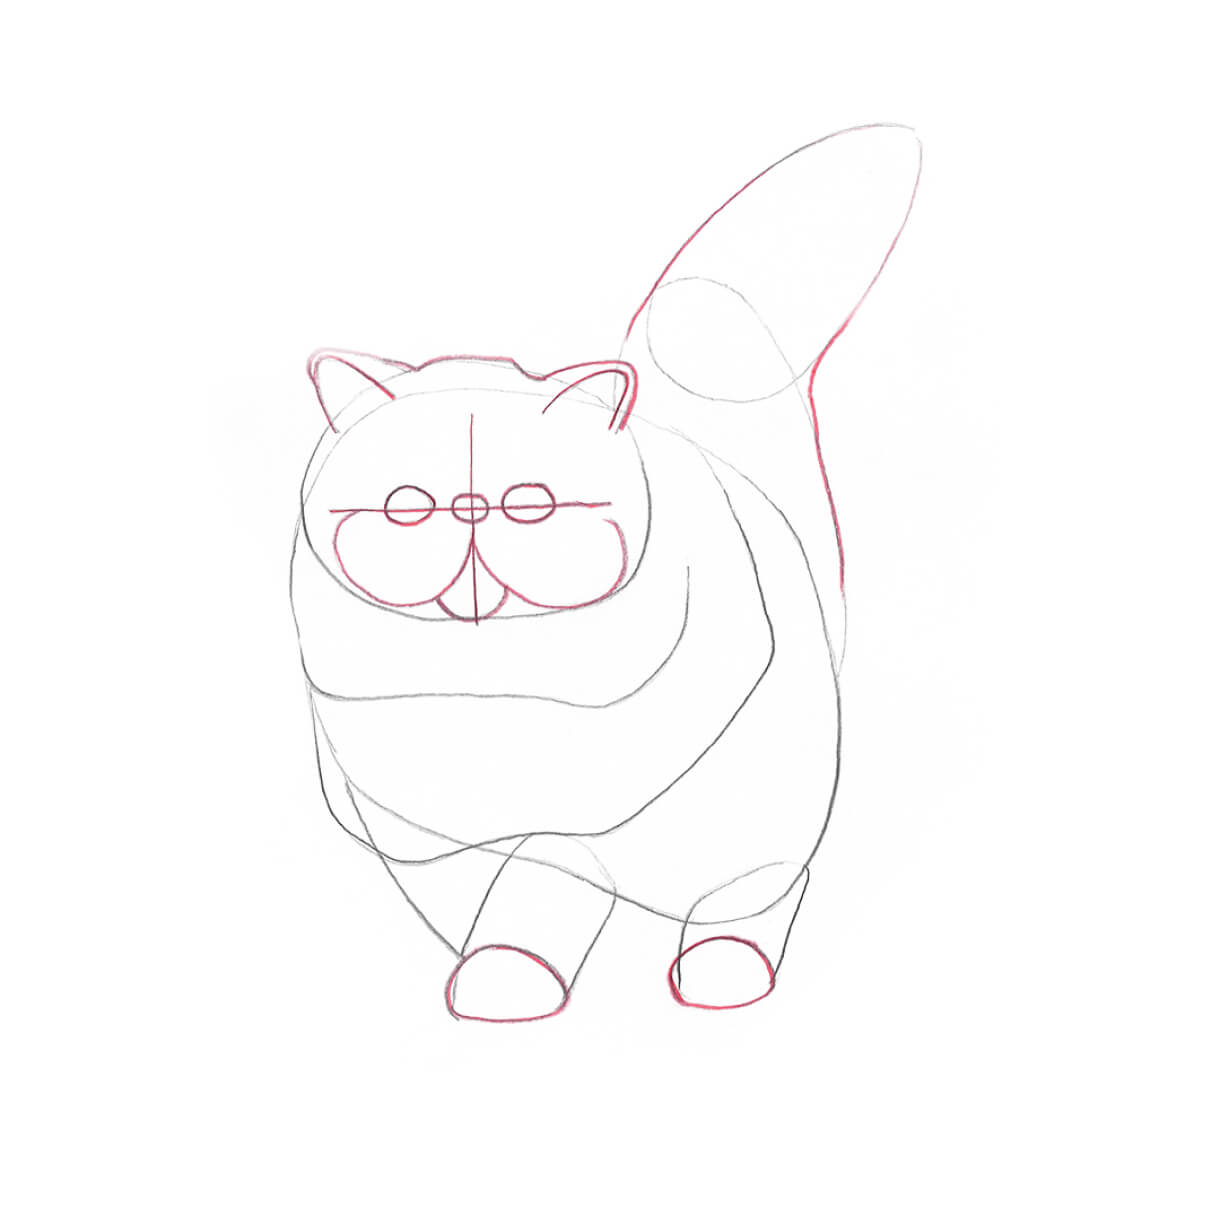
Step 2
Persian cats have really cute faces! To get mine just right, I place light vertical and horizontal marks on the center of its head for proper placement of its features. Focusing on these lines, I place its eyes, nose, and mouth. Next, I draw its ears and paws.
I combine the circle that’s the bottom of the tail with the oblong tail shape. This cat is very furry, so I put lines above the paws and under the neck to show rows of hair. Now that I have a completed drawing, I erase all preliminary sketch marks.
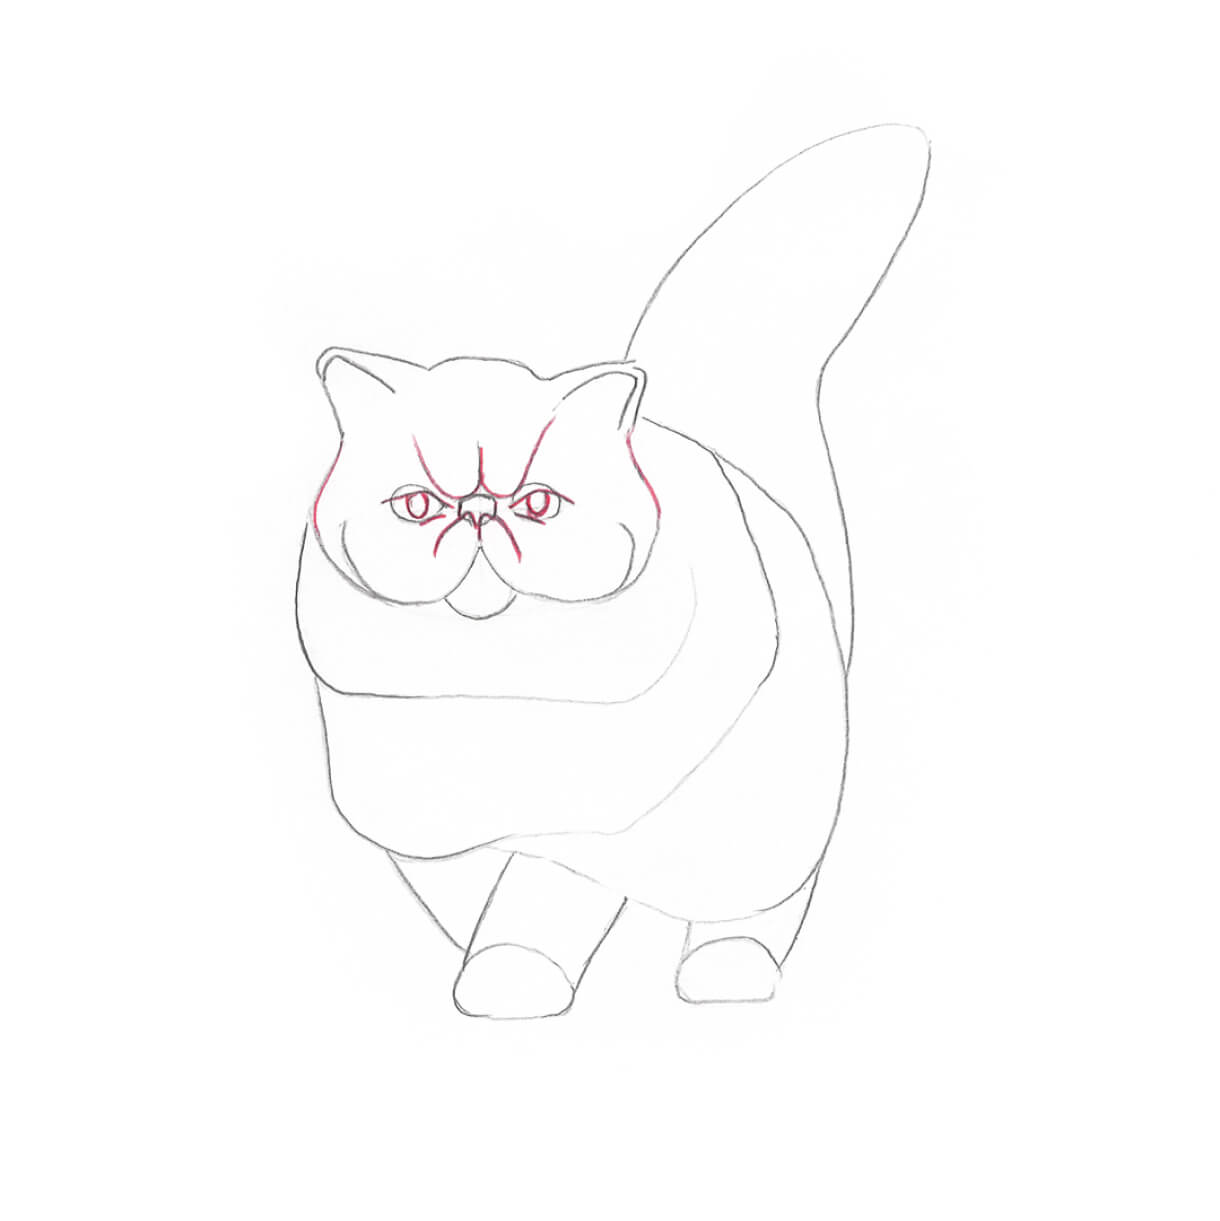
Step 3
Now, I put in the details of the face. After sketching its eyes with pupils, I draw all the tiny folds on its forehead and under its nose, which Persian cats have since their faces are so flat.
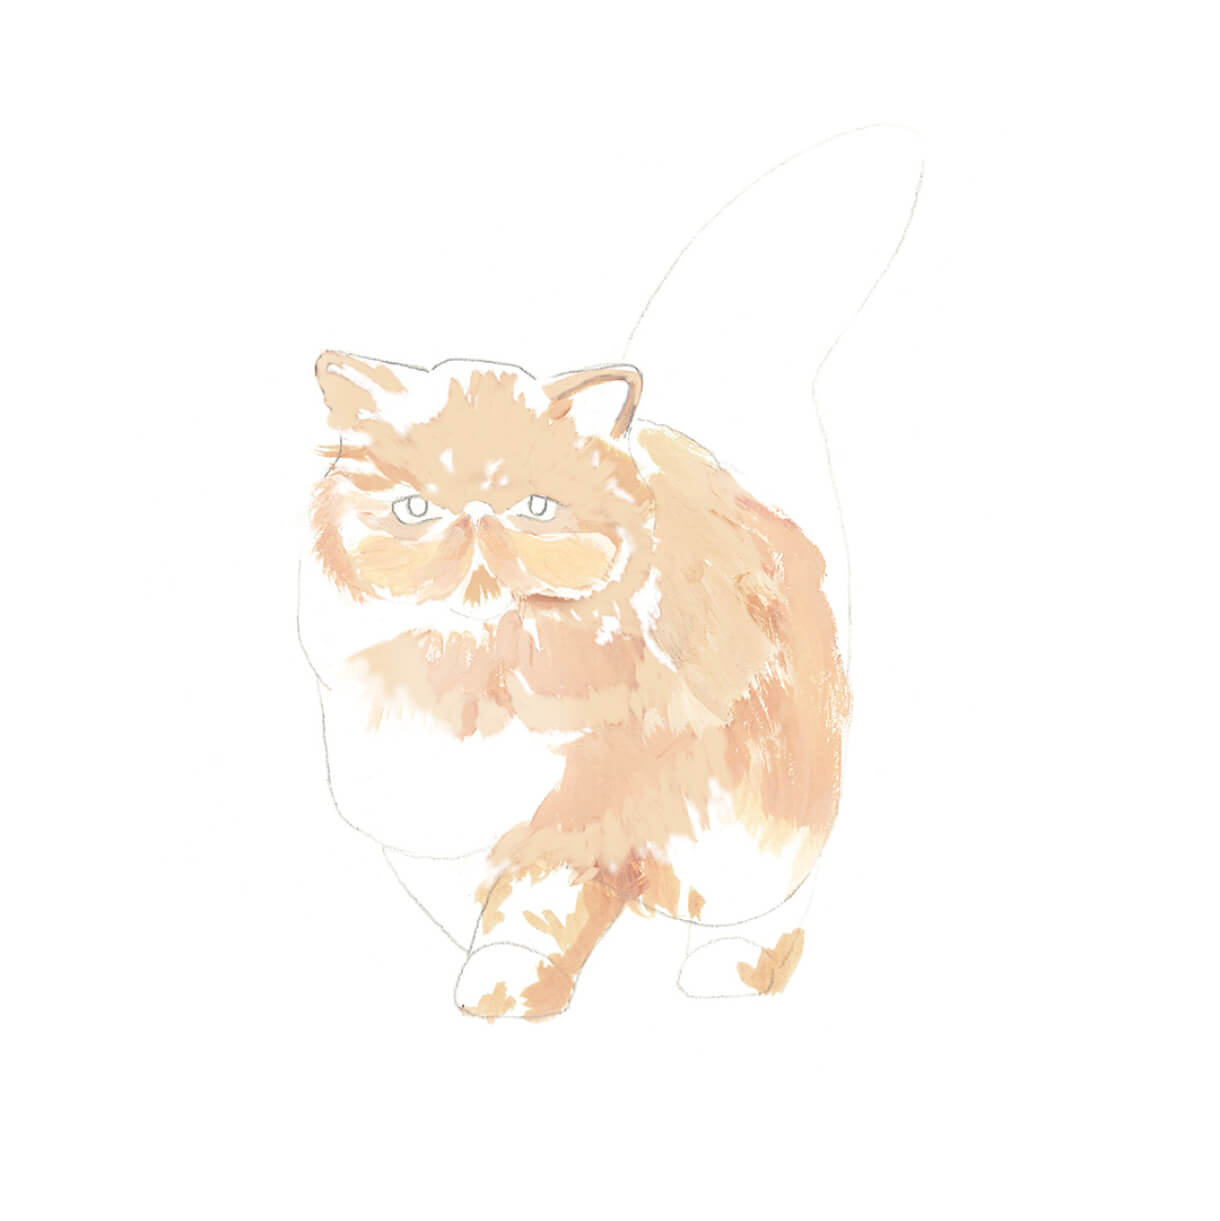
Step 4
It’s time to paint! Since my cat is a light orange-brown, I am using warm colors (Pearl Orange A214, Vermillion Red A145, Lemon Yellow A102). First, I decide where the light is shining on the cat. It looks like the light here is shining from the top right corner, so I’ll make sure to add my lightest colors to the cat’s right side.
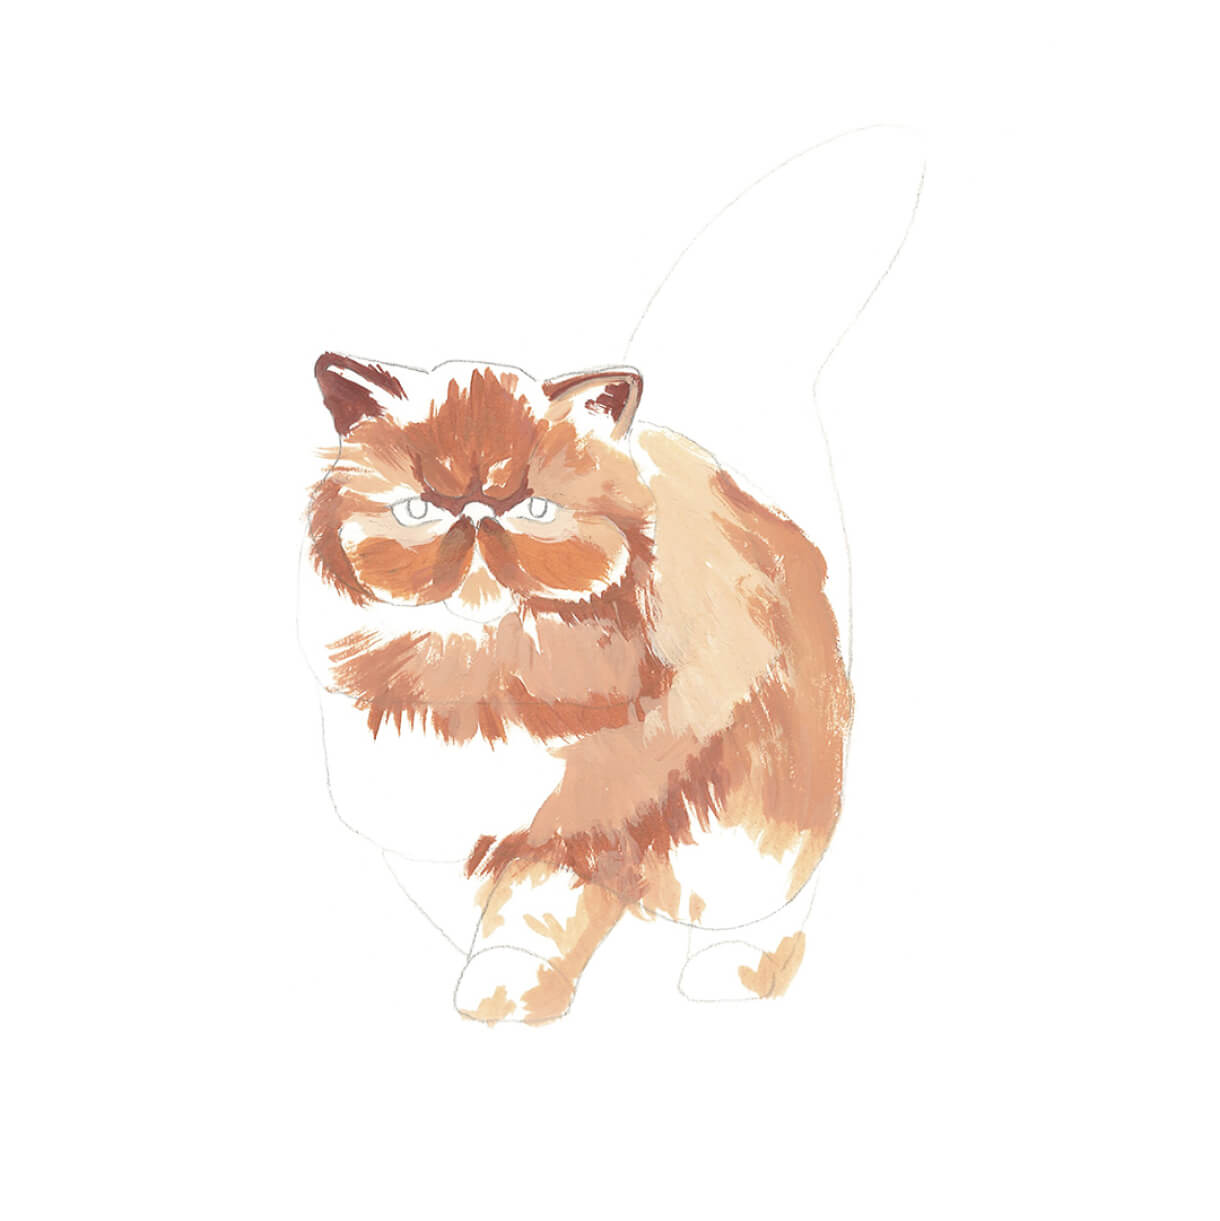
Step 5
As I keep thinking about where my light is shining, I realize that under its ears, head, and rows of fur, there is very little light. I paint these areas darker using Burnt Sienna A107.
Step 6
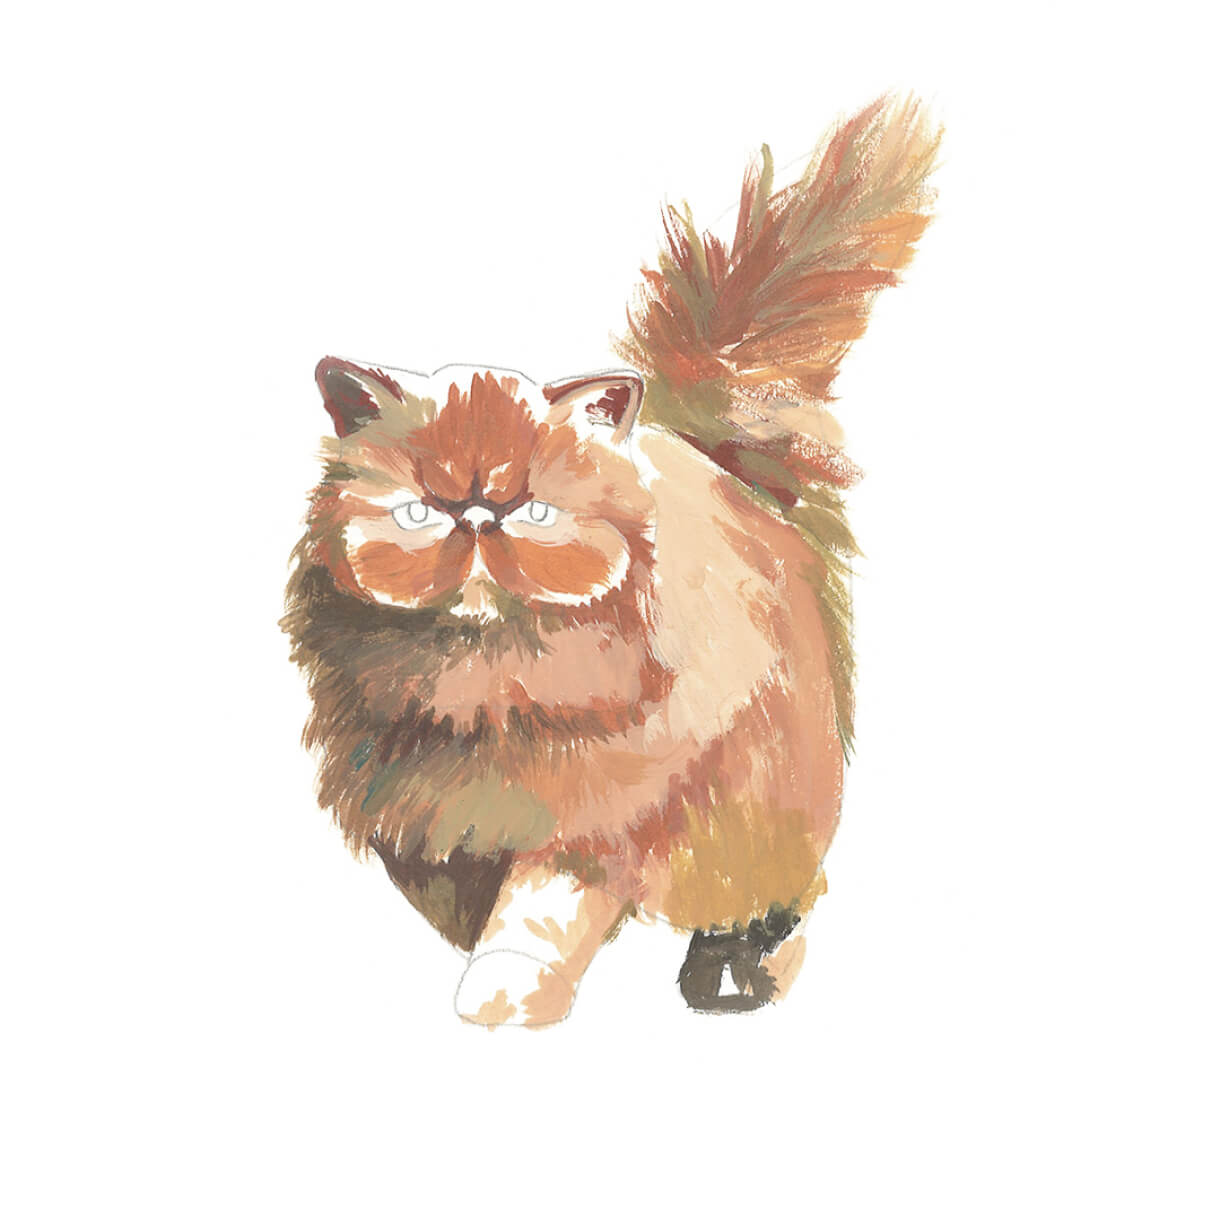
Since I’m using warm tones for my cat’s fur, I’ll use cool tones for the shadows, where there is very little light. I add Cerulean A123 for this on the cat’s left side as well as at the bottom of its tail and under the rows of hair.
Step 7
My cat has beautiful green eyes. I think Olive Green A142 is the perfect shade for them! To really show the folds in the face, I include some shadows around its nose and under its chin, too.
Step 8
I fill in all empty spaces with a mid-tone. After adding a shadow under the paws, I start creating the cat’s fur by putting in separate hairs with a small brush.
Step 9
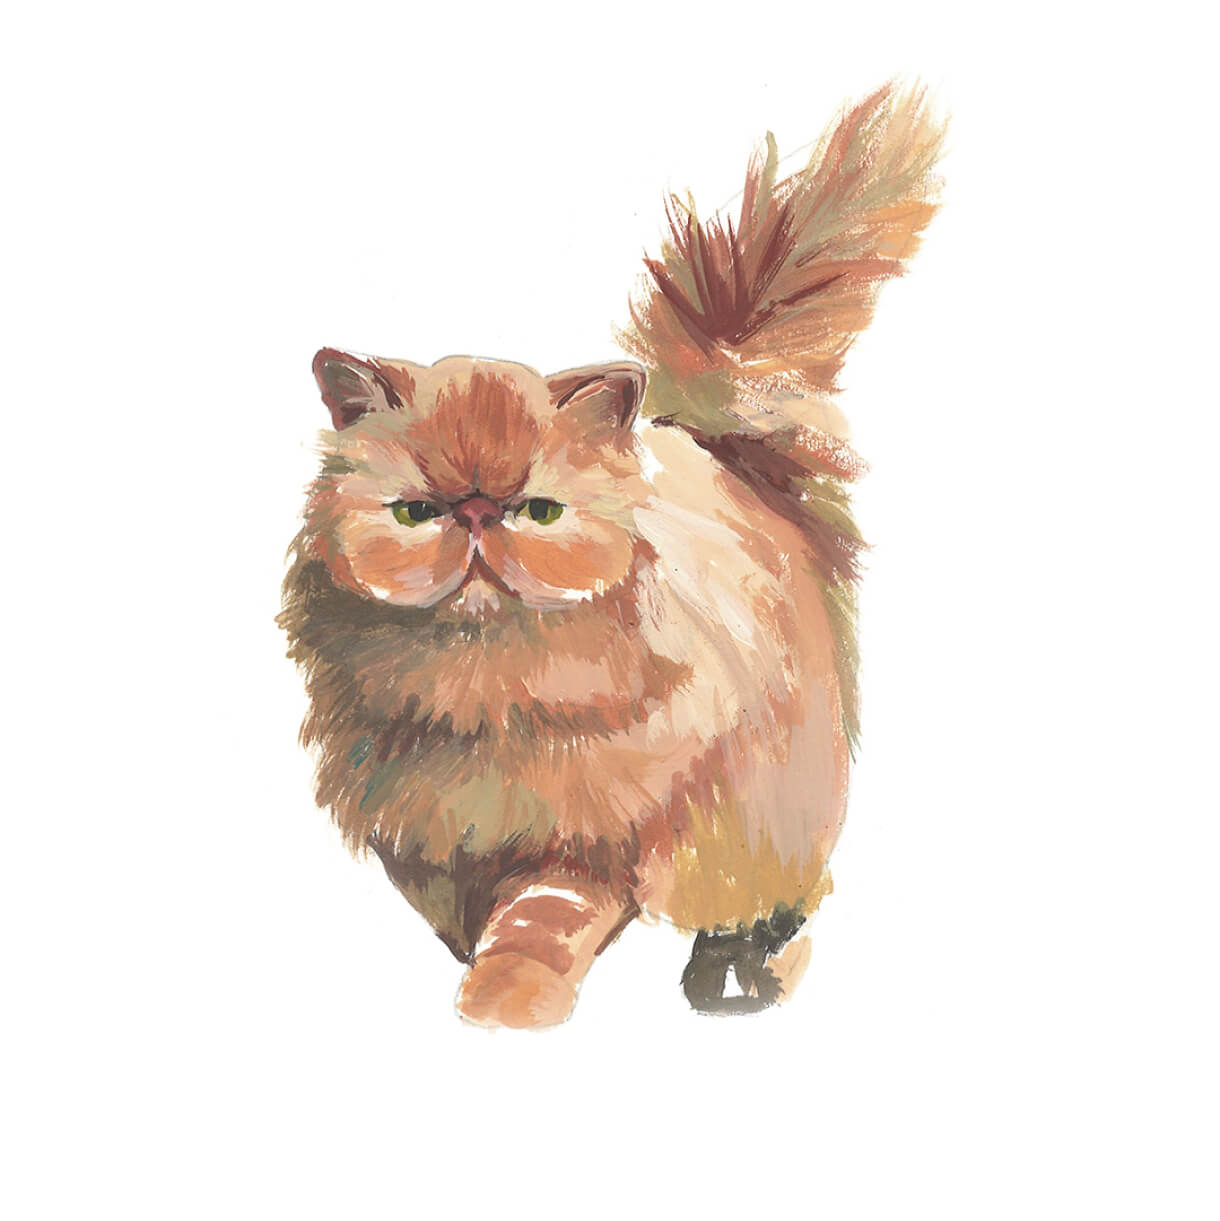
It looks as though there is more contrast, so I darken shadows on the left, under the lower portion of the tail, under its body, and on the bottom of its face.

Step 10
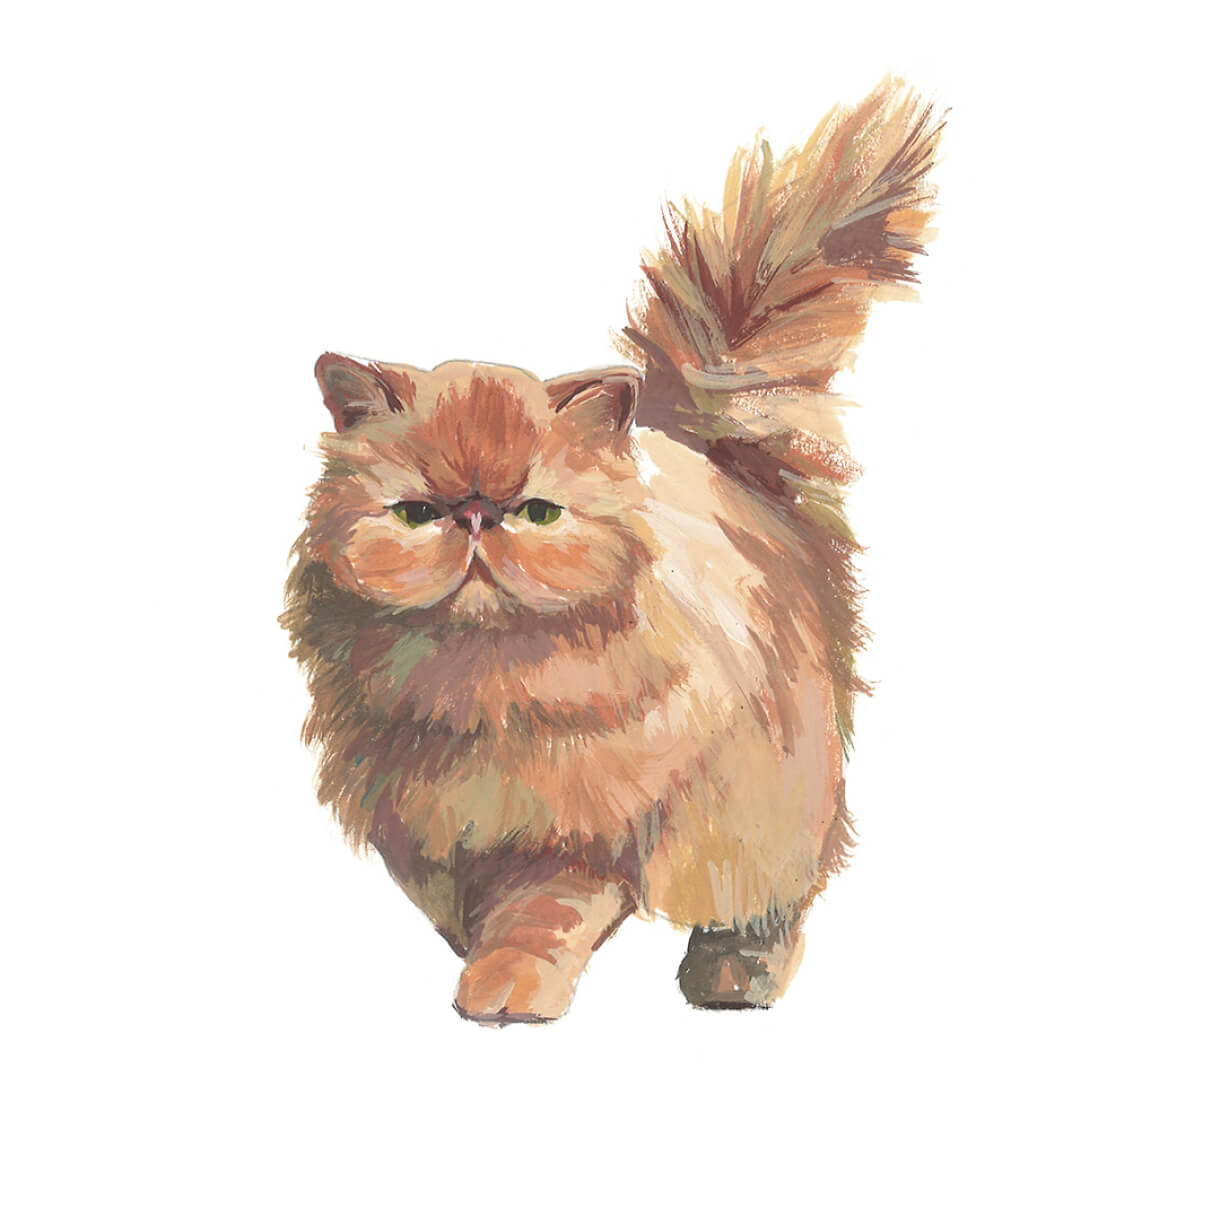
As a final step, I complete detailing the face by including the whiskers, highlights to the eyes, and fine hairs inside the ears.
What do you think? Use these steps for any drawing of a cat, no matter its size or shape. It’s fun to try painting cats in different poses, too!
Recommendations
- For the most realistic cat, follow the direction of the cat’s hair when adding paint.
- You may want to paint your cat a little darker than the color you want, as gouache has a tendency to lighten after drying.
- Don’t be afraid to add different color layers. You may use coats of both light colors and dark ones with gouache.
- It’s always a good idea to start your painting with a medium-size paintbrush and save the smaller brushes for details as you get close to finishing.
- Remember that the direction of the light enhances the overall quality of your work. Use the direction of the light as a guide to distribute light and shadows correctly.
- Each step in this guide builds on the last one, so it’s important you don’t skip any steps if you want a successful painting.
I highly recommend you try paintings of cats. Using these steps as a guide, you could capture the playfulness of your new kitten, your old tomcat curled up asleep, or even one of the big cats prowling around at the zoo! Whichever feline model you choose, have fun with it!


2 comments
Hi there, we don’t have any cardinals just yet but I’ll be sure to pass this to my team as a suggestion so we can get the ball rolling! Thank you so much! :)
Do you have any tutorials making red cardinals??