
Table of Contents:
17 Methods for Incredible Mixed Media Art
A great way to push yourself creatively is by combining your favorite art mediums to create mixed-media artworks. Whether you’re an oil painter, watercolorist, or marker enthusiast, you can make some incredible images by melding your medium with other materials. I’ve chosen my favorite 17 ways to do just that and want to share them with you now. I know that once you’ve started down the mixed-media trail, you’re going to want to take your artwork farther and farther. So grab your paints, pencils, pens, pastels and glitter, yes glitter, and anything else you like to use and let’s get started!
Simple Techniques to Get Started in Mixed Media
The great thing about mixed media is that anything goes. You can be as free and loose or controlled and precise as you like. You can use whatever colors and shapes that most appeal to you. There’s no pressure to make it look exactly like anything, so relax and have fun giving these techniques a try.

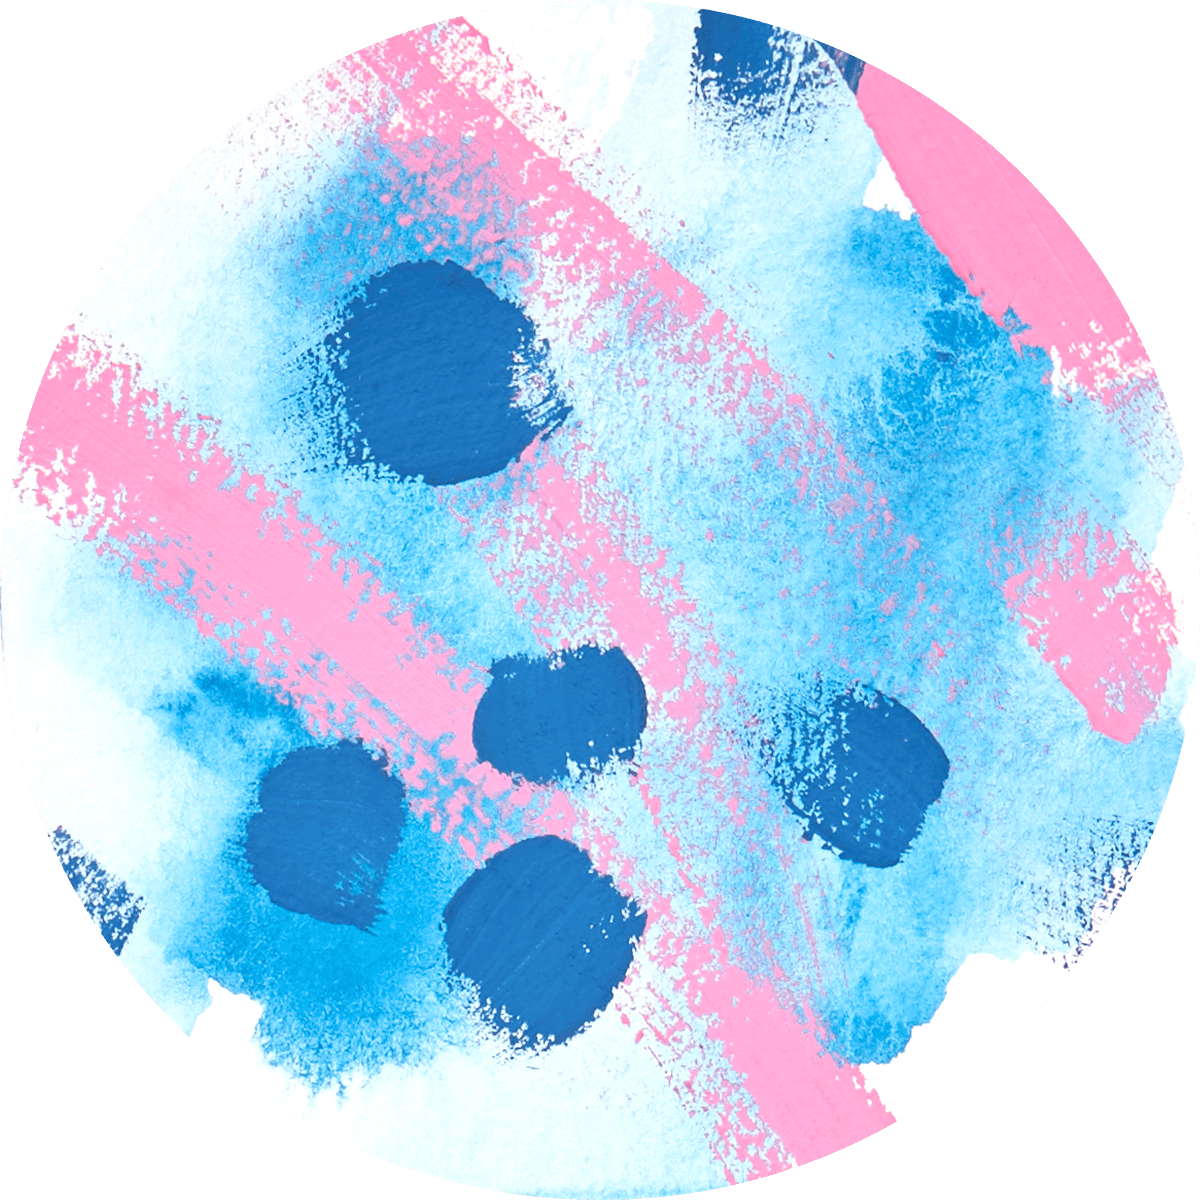
Watercolor + Acrylic
These two paint “cousins” are both water-based so you can use them together. The thing to remember is it works best if you paint acrylic over watercolor paint since after mixing watercolor with acrylic paint they are thicker and become waterproof after they dry, which means your watercolor paint won’t stick. I also recommend using a heavyweight paper for this to ensure your work doesn’t warp after these watery mediums have been applied.
To start, cover your paper in a layer of watercolor. You can lay down one solid, thick layer of paint, mix colors together, or add water to create a transparent glaze. Once that layer has dried completely, draw or paint over it with the acrylic paint.
Art Markers + Inkonic Pens
Arteza has lots of different art markers that can be combined with their Inkonic pens for some pretty interesting mixed media compositions. You can layer them any way you want. Markers with a wide tip are perfect for filling in large areas with color. They’re great to start with an initial layer. The finer point of the Inkonic pens allows you to draw and add details or decorative embellishments, hatching, and other linear aspects of your art piece. I use the markers and pens together to create my overall design and then come back with the pens and add hand-lettering.
Watercolor + Gouache
Here’s another pair of paints that work well together. Think of gouache as the heavier, more opaque form of watercolor and you can see why they make a good match for mixed media work. They can be used alone, layered on top of each other, or mixed together without losing any of the aspects you love about watercolor paint or gouache. This mix has a matte finish when dry and a slightly muted color.
Just like acrylic paint, gouache can be used over watercolor to: block or cover areas, add details that stand out, overlap unwanted details, and to add dry brush effects.
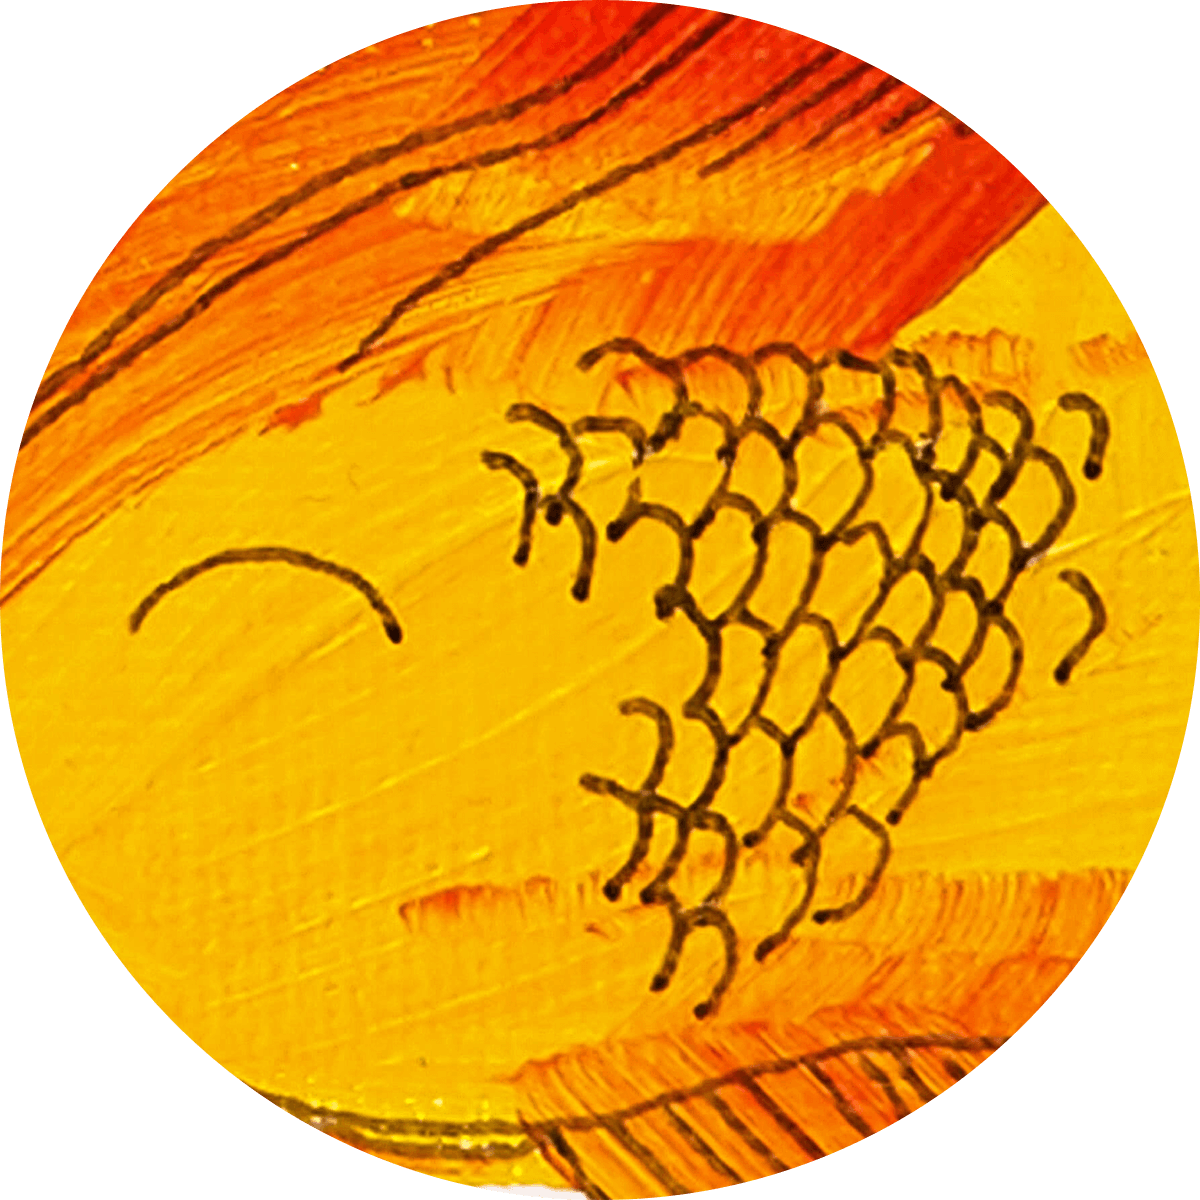
Acrylic + Oil Markers
Since acrylics are water-based and oil paints are oil-based, it's always best to layer oil over acrylic and not the other way around. The acrylic will have a hard time staying on an oil paint surface, as oil paint takes days to cure and dry. After covering your paper or canvas with acrylic paint, oil markers can be used to make decorative dots, lines, drawings, and lettering. Their thin tips give you a nice precise line. These markers also work well on blank or white paper.
Craft Acrylic Paint + Roller Ball Pen
Craft acrylics work great on so many surfaces, including wood, plastic, paper, and canvas. It dries to a waterproof layer, which is especially compatible with rollerball pens. In fact, you can use all sorts of pens over craft paint, including ballpoints and fine liners. The possibilities are endless when layering pen marks over craft paint. I use this method to create inspiring spreads in my art journal, drawings, and sketches, or to create greeting cards or signs on wood slices.
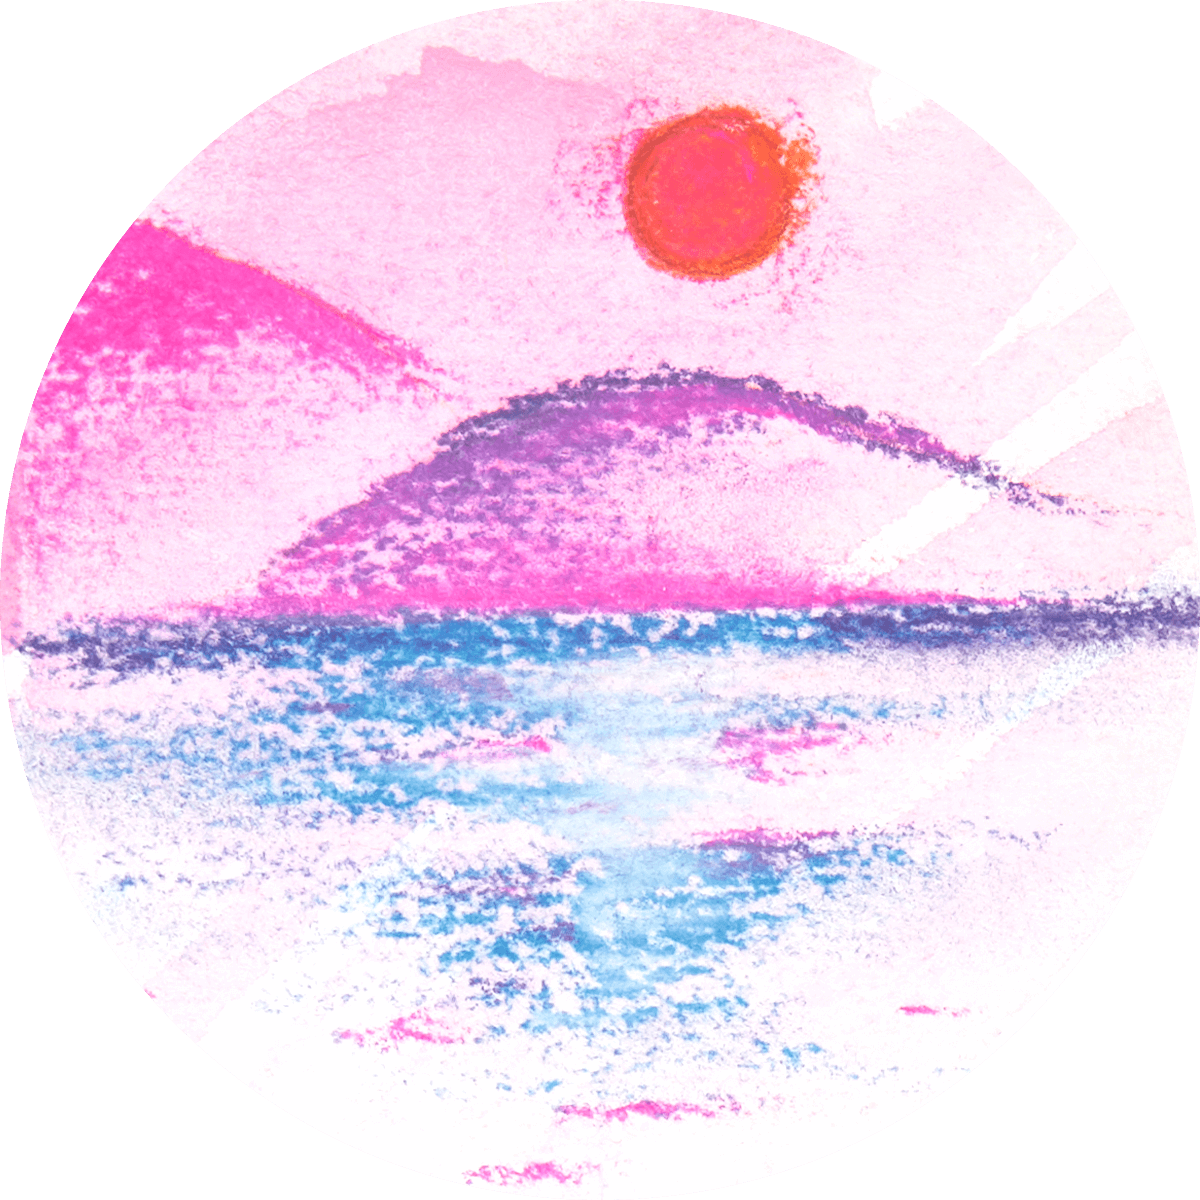
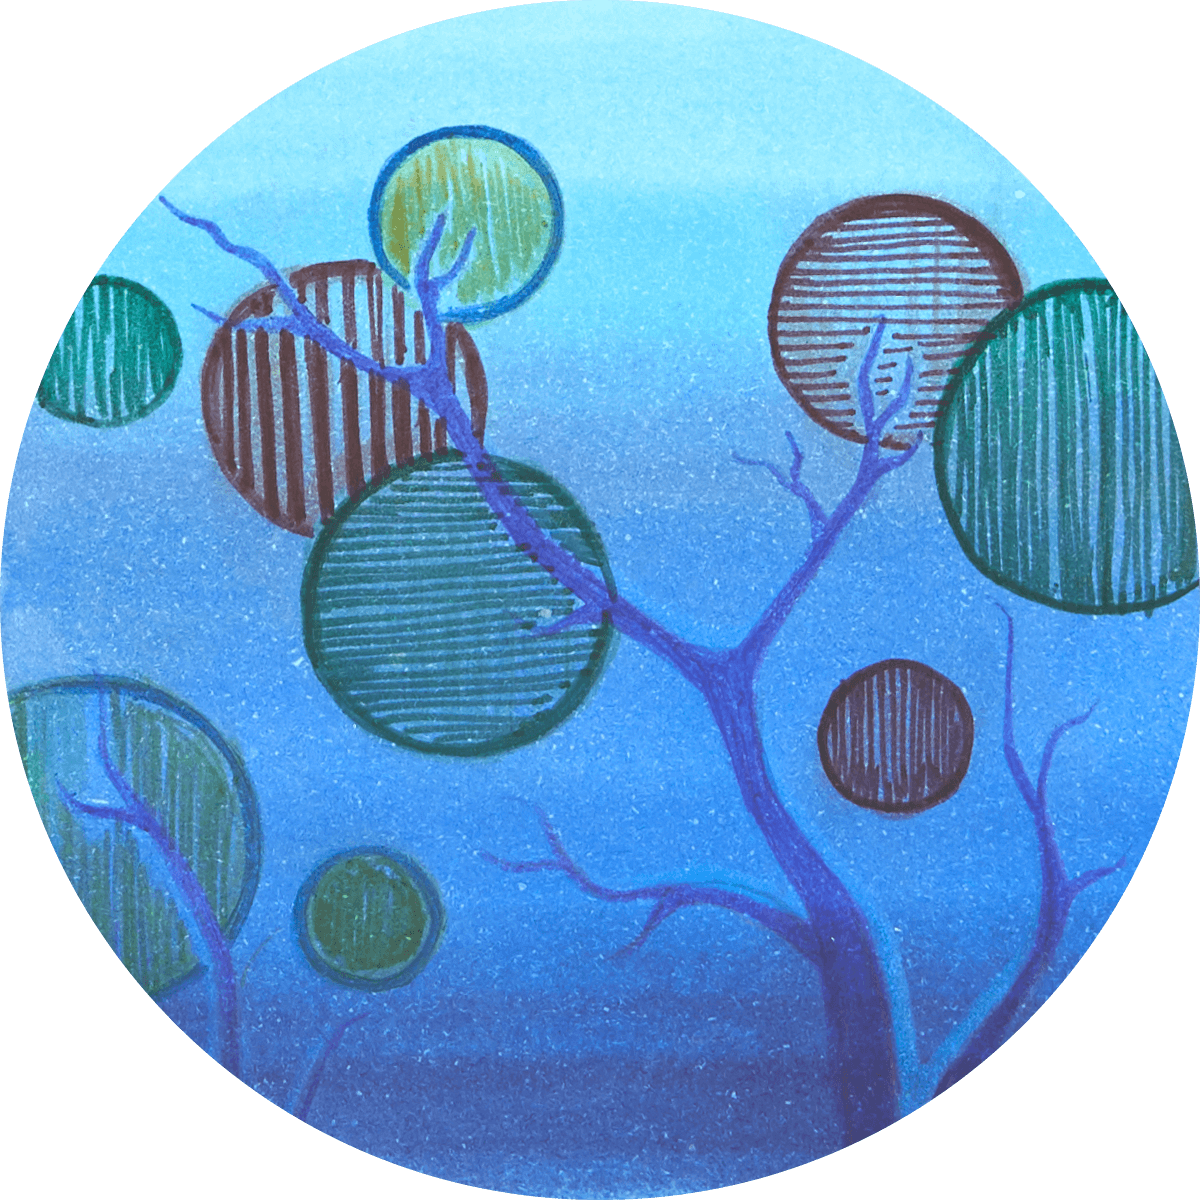
Watercolor + Pastels
Pastels cover watercolor layers especially well. Use them to add tints of color or for soft transitioning from one hue to the next. The beauty of this technique is that after the watercolor paint is absorbed into the paper, so many beautiful effects can be achieved from the contrast of overlapping with pastels. They add a special kind of depth that can’t be attained any other way. The fragile quality of pastels does require the finished work to be sprayed with a fixative or covered with varnish.
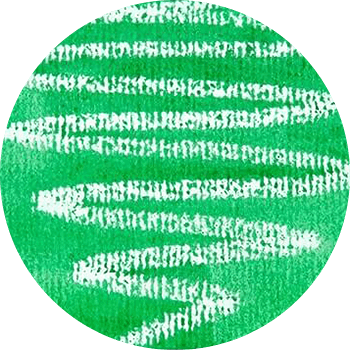
Watercolor + Pastels-Part 2
Here’s something I like to do for fun. I take a white pastel and write my name on the paper. Then, I brush the watercolor evenly over the writing and across the paper. Instantly, I see the paint resist the lettering and my name is revealed! When you try this you may have to rinse your brush and dab the letters to pick up any specks of paint that may have settled over some parts of the pastel. If you’re not satisfied with how much of the letters you can see, simply dab them with a paper towel and they’ll become clearer.
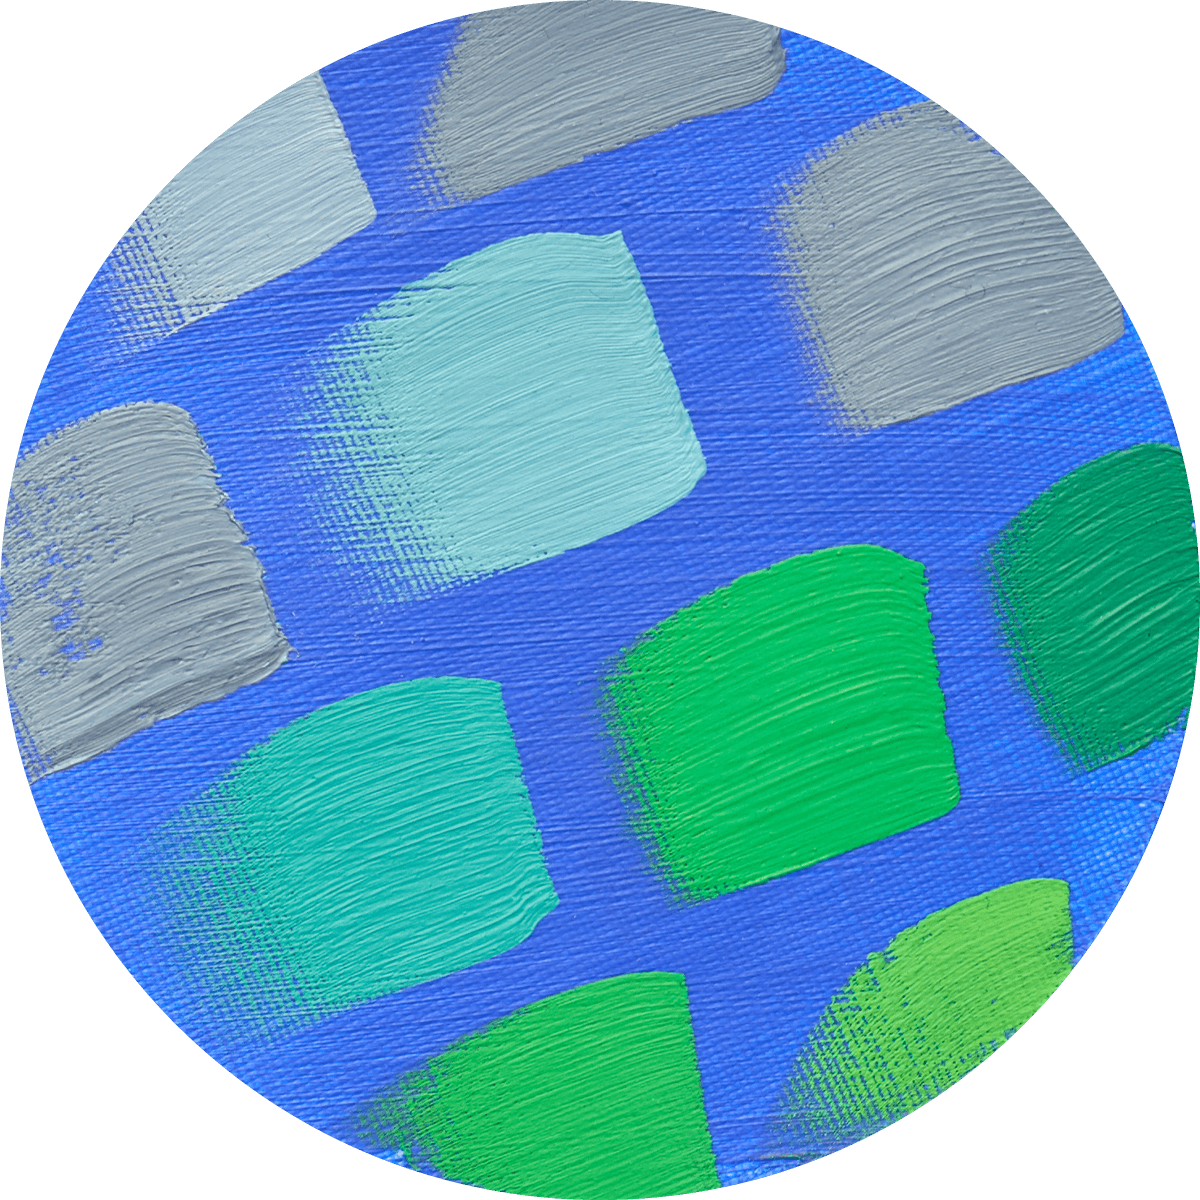
Oil Paint + Acrylic Paint
Once again, it’s better to always paint oil over acrylic and not the other way around. You’ll discover that by doing this you can use tons of techniques that will give you a different look each time. These include: underpainting, filling, glazing, and impasto. All these methods can be used with oil alone, but adding acrylic paint designs on top can make for some intriguing works. Plus, an underpainting of acrylic dries much faster than one of oil paint. I speed up the drying time by using my hairdryer! If you decide you don’t like the color you chose or there’s a flaw of some kind, it’s quick and easy to paint another layer over it.

Markers + Colored Pencils
This technique has been used for years by mixed media artists to smooth out their shades, create subtle shadows, increase the richness of their colors, sharpen their lines, and to add embellishments. There’s also something quite interesting about layering the rough texture of a colored pencil over the smooth layer the marker makes.
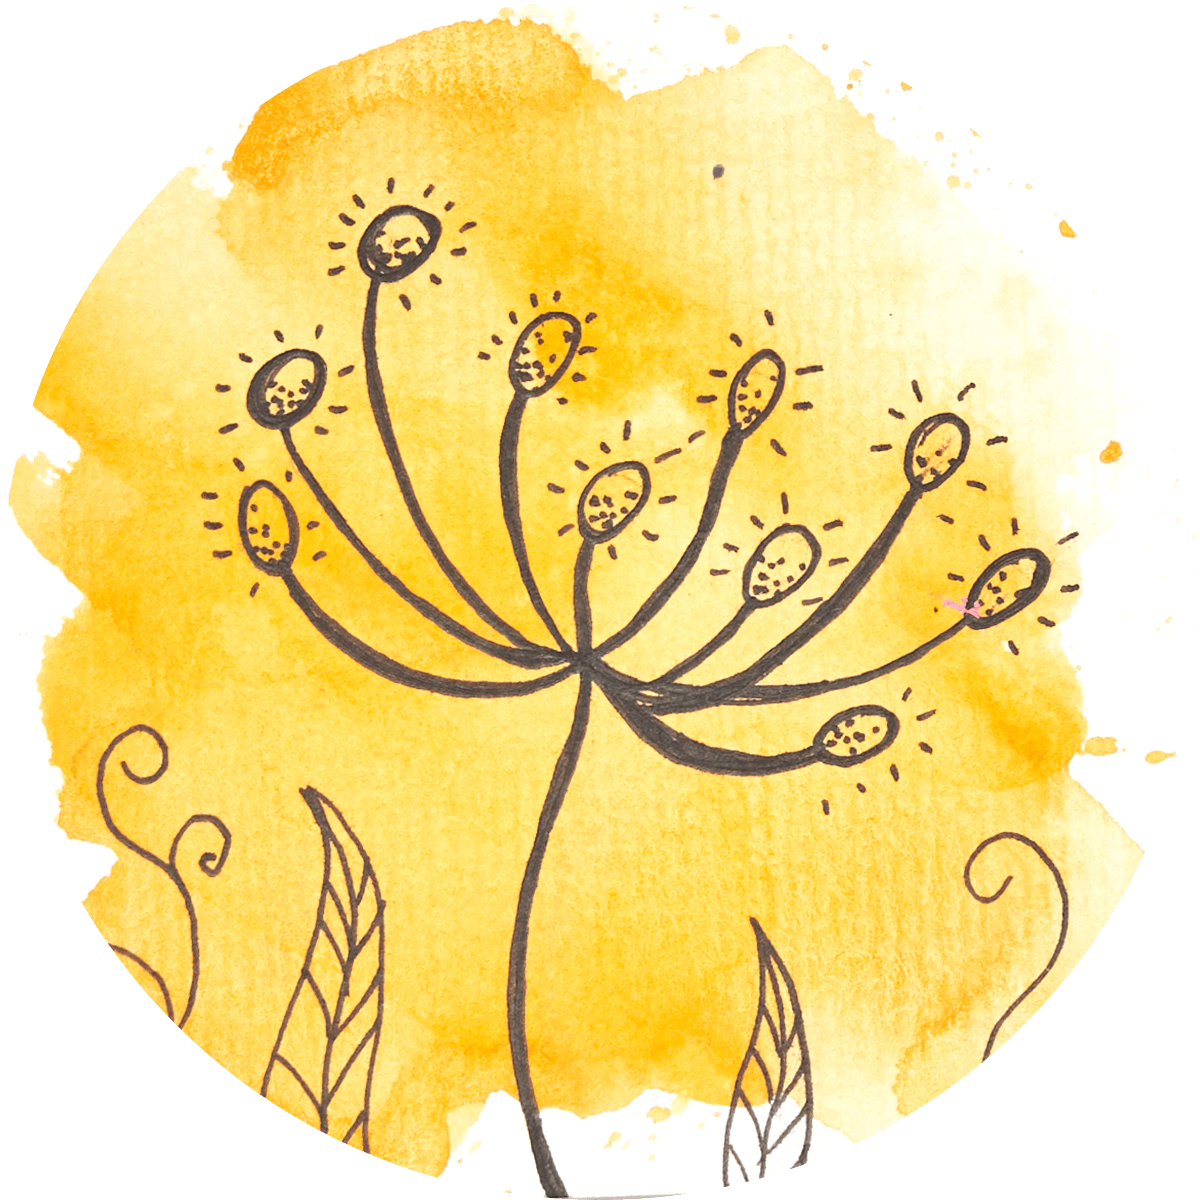
Roller Ball Pens + Watercolor
I find there’s nothing more satisfying than adding spots of color to an ink-drawn sketch. Rollerball pens make great partners with watercolors since they usually contain permanent ink. Once you’ve made your sketch you can go back with watercolor and fill in the colors without fear of the ink smearing. They also work beautifully on dry watercolor backgrounds. When you use a pen on top of wet watercolors, you can get streaks and “stars” from the pen, which can add another decorative element to your drawing.
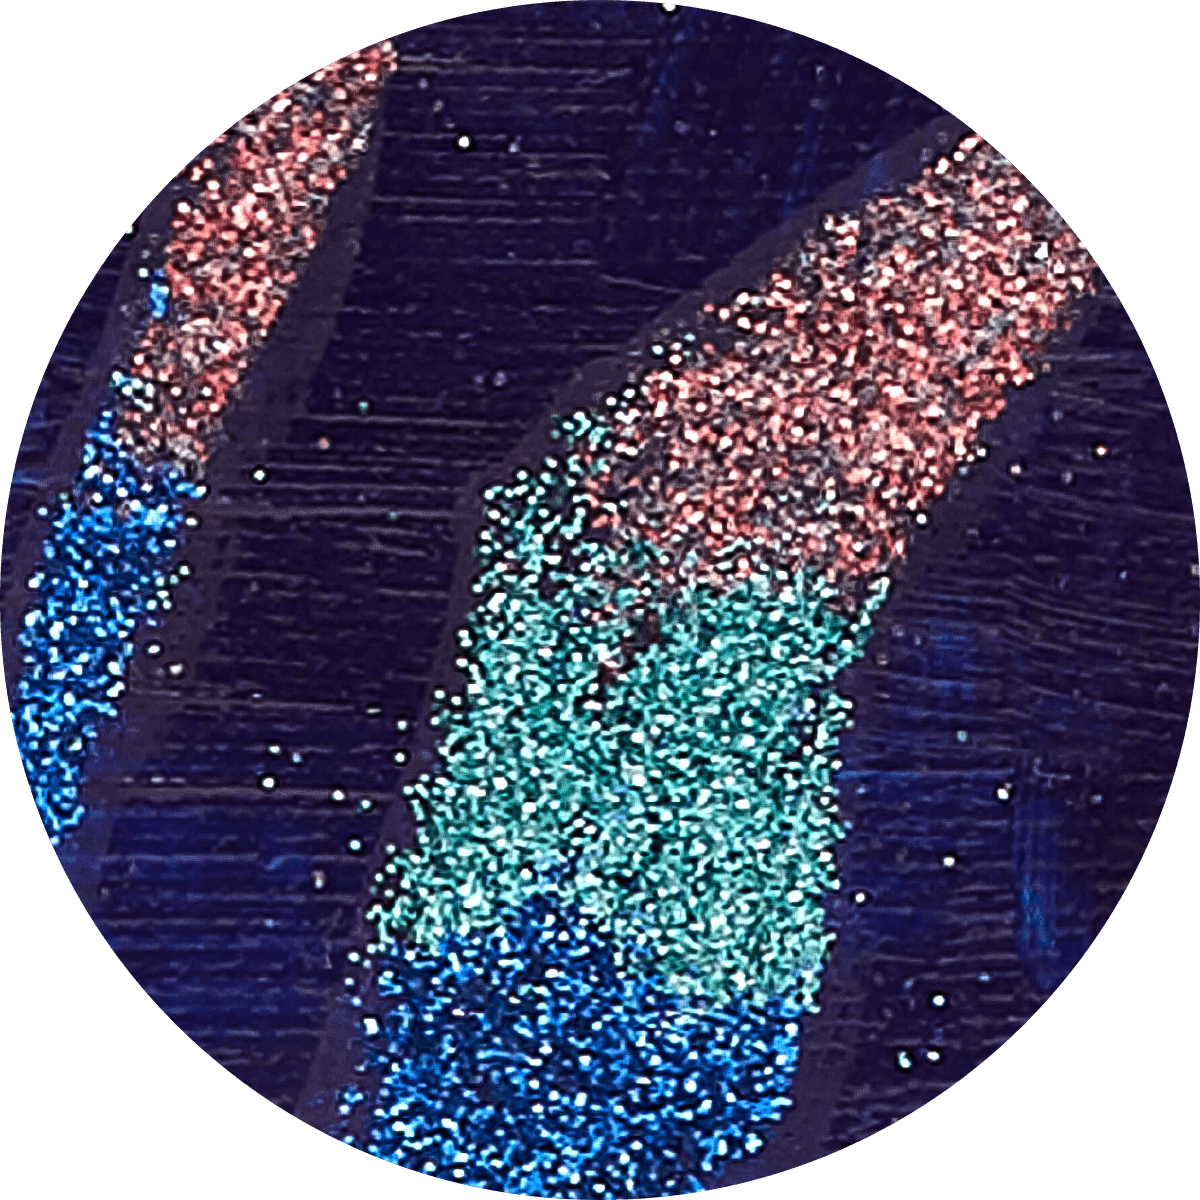
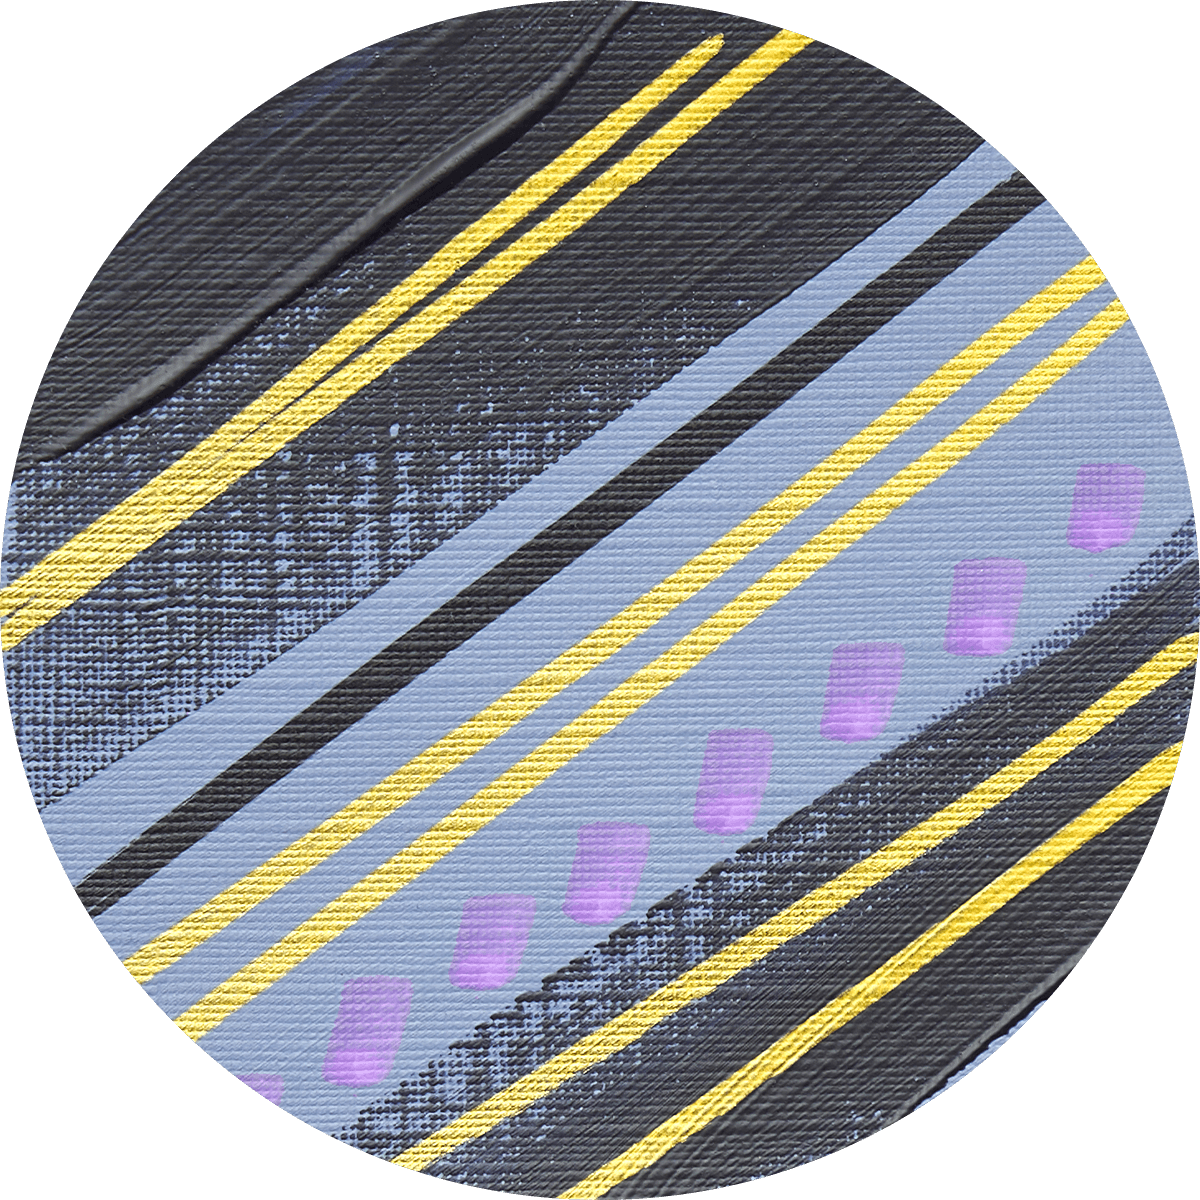
Acrylic + Glitter
Make your work sparkle by adding glitter. It’s fun and easy to do. Apply acrylic paint and wait for it to fully dry. On top of the painted layer use glue to draw stripes or other shapes. Sprinkle the glue lines with glitter in different colors, using more than needed, to thoroughly cover the glue. Shake off the excess glitter instant shimmer!

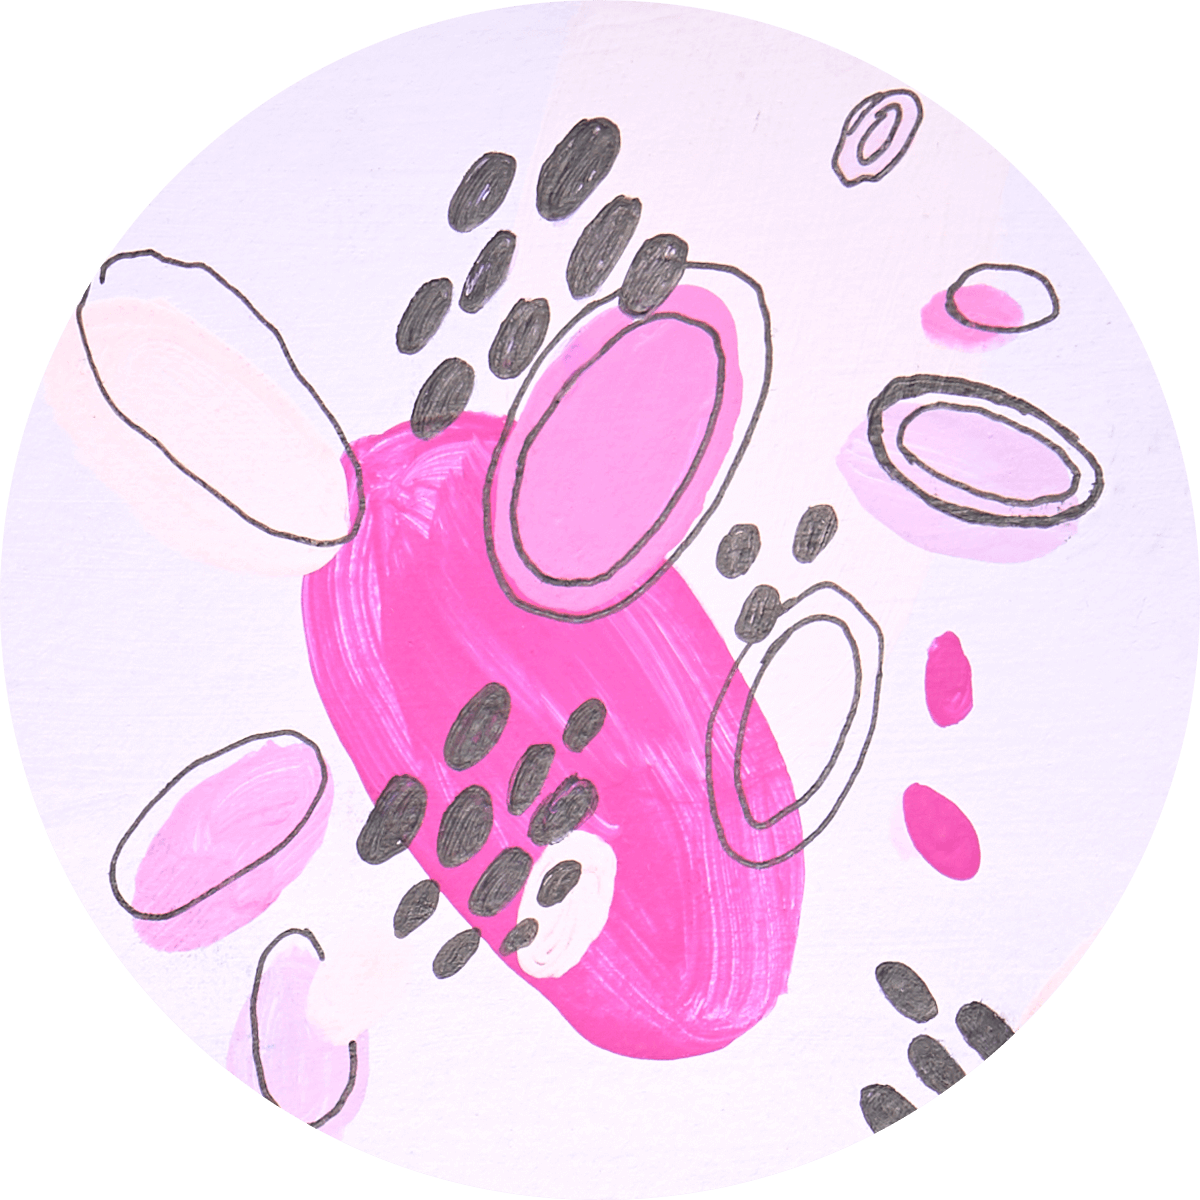
Acrylic + Pastel
This is a technique I use a lot in my art journals. To use these two mediums together, first, cover your page with diluted acrylic paint; Once the page is completely dry, use oil pastels to write, draw, or make marks on it to create a personal design.
Acrylic + Gel Pen
This is the same technique as using pastels over acrylic, only this time you use a gel pen. Gel pens are fun to use because they come in so many vibrant colors and are a sure way to brighten up your work. Their bold marks are great for drawing and hand-lettering or for bright points of colors with dots, dashes, or squiggly lines.
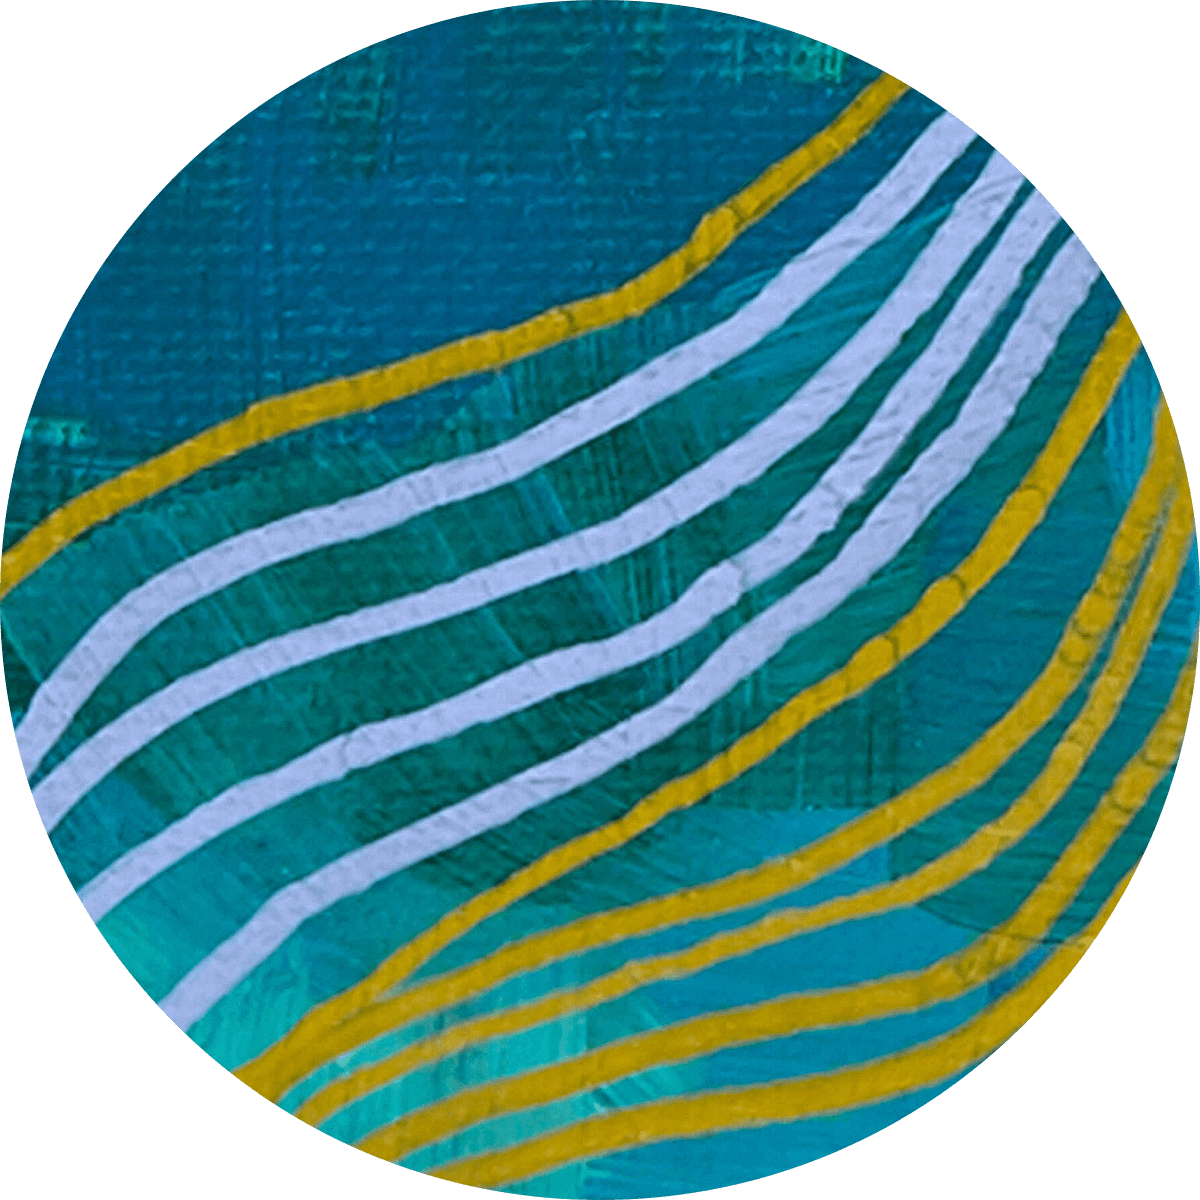
Acrylics + Acrylic Markers
Acrylic markers are so versatile. Not only do they come in a wide range of colors, but you can create lines in varying sizes. To use them with acrylic paint, you’ll need to paint your surface with acrylics and let it dry completely. Then use the markers over that layer to draw or write whatever you like.
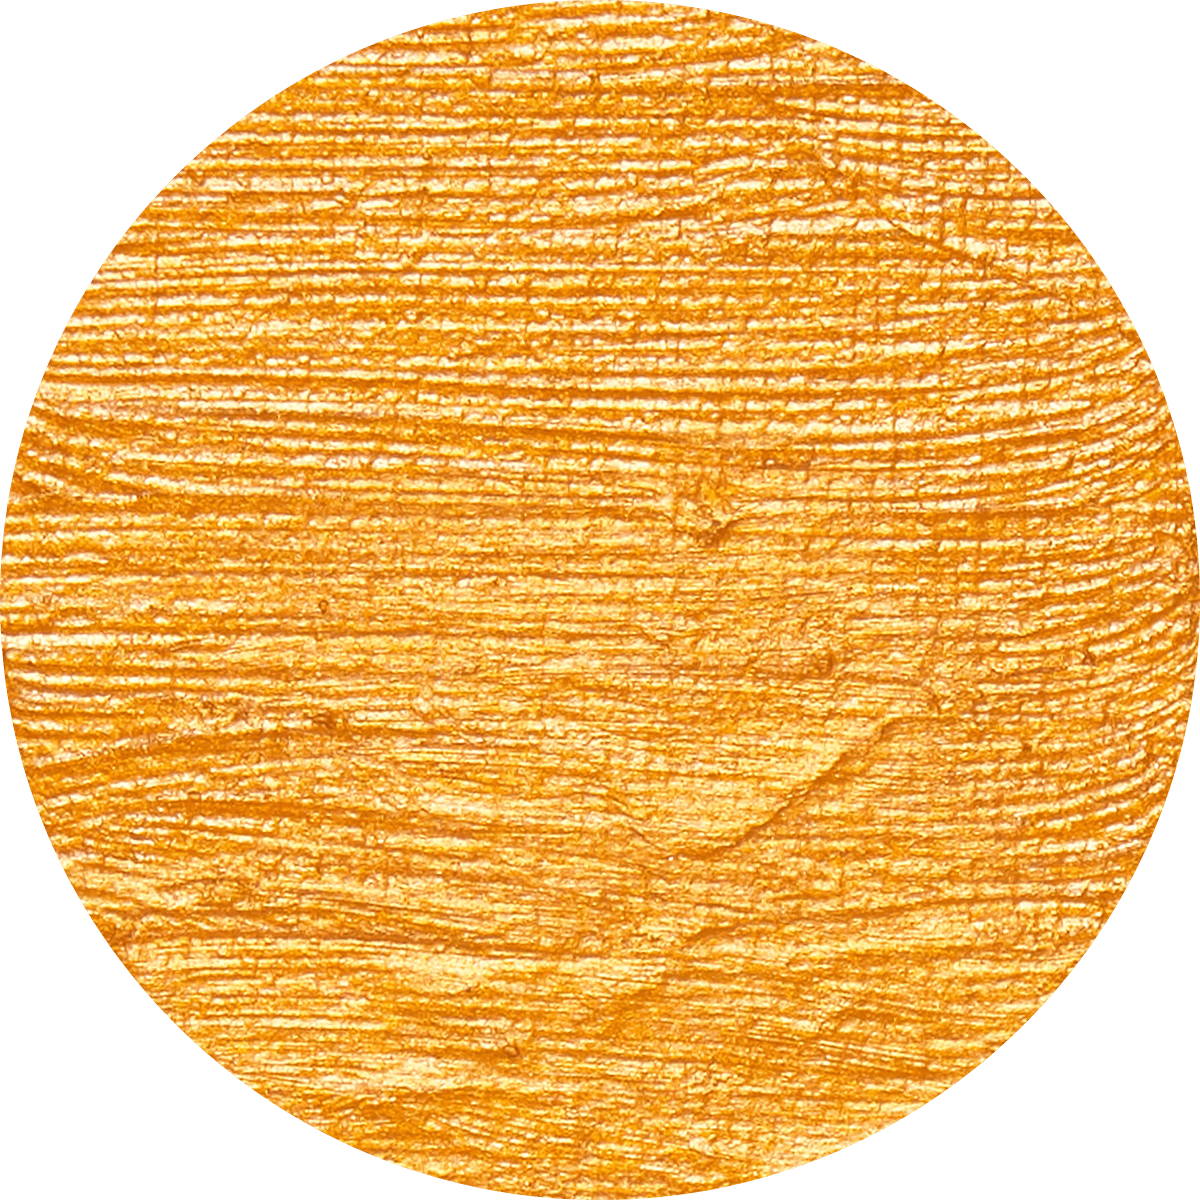
Acrylics + Mica Powder
If you’ve never used mica powder before, you’re in for a treat. Mica powder is a super-fine pigment powder that allows you to make your paint look metallic. To add it to acrylic paint put the paint on a palette and then carefully add the powder to the paint and slowly mix the two together. You want to do this slowly to prevent the powder from blowing away before it gets mixed and creating a mess. After it’s mixed, paint your page or canvas the same way you would normally do so.

Gouache + Colored Pencils
Since gouache is an opaque paint, it can make a strong base for your work. Diluted with water, it becomes more transparent and can be used for layering colors or creating stunning gradients. To add extra interest, subtle shadows, or intricate designs, use colored pencils or watercolor pencils, as I’ve done here.
Watercolors + Woodless Watercolor Pencils
This is a really fun technique. Sharpen your woodless pencil directly over the watercolor paper so that the shavings drop all over it. Next, wet a brush with water and paint over the shavings. As the water touches them, you can watch as they transform into rich colors. On my first try, it left some clumps of paint, so I gave it another try and found that it worked better when first I gently ran my finger over the shavings until they were crushed into dust. When I painted the water over them, I got a smooth vibrant color without any sediment.
Whether you’re creating a hyper-realistic still life or intuitive abstract painting, combining different media can enhance your artwork. It’s so freeing and lets you push yourself into unexpected directions. I hope these mixed media art techniques will inspire you to step out of the box and try something new. I’d love to hear how you’re mixing it up in on your mixed media journey, so please leave your comments in the section below.


12 comments
😍
I also do Fiber art